
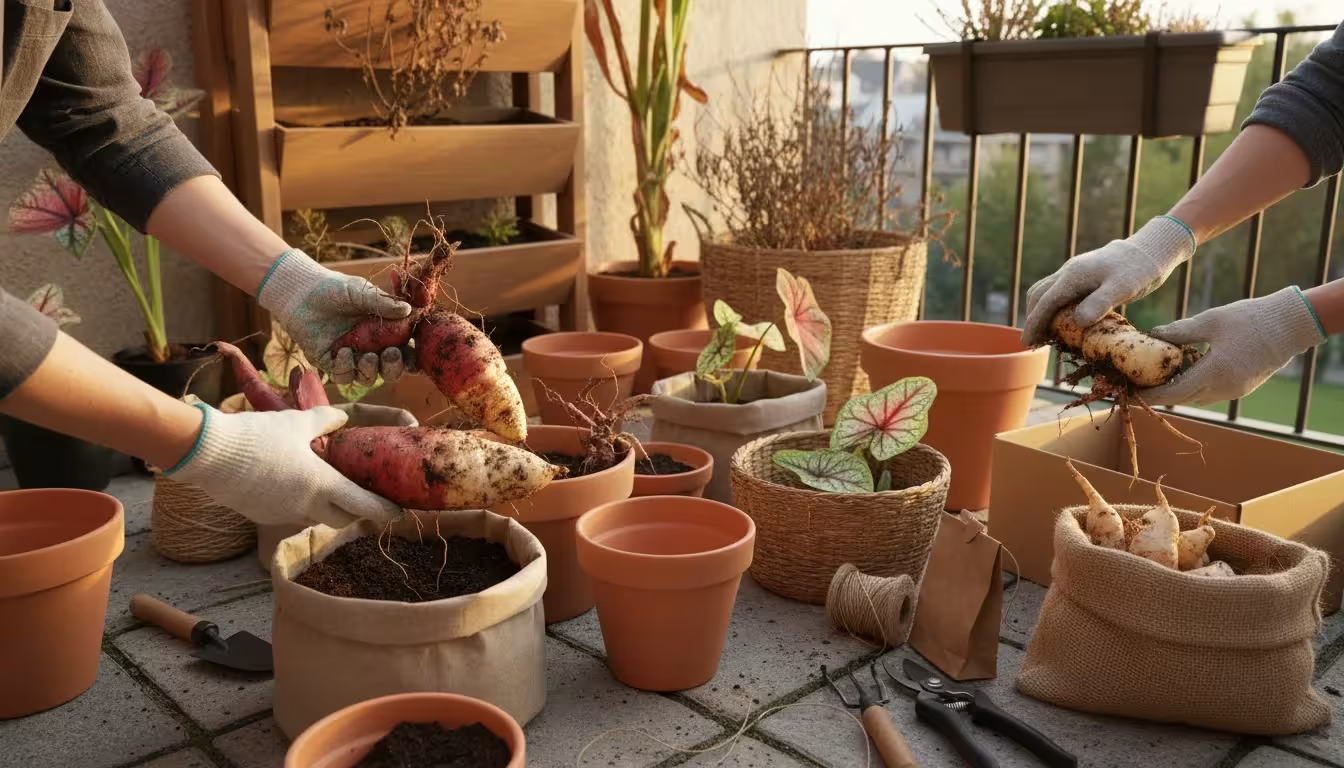
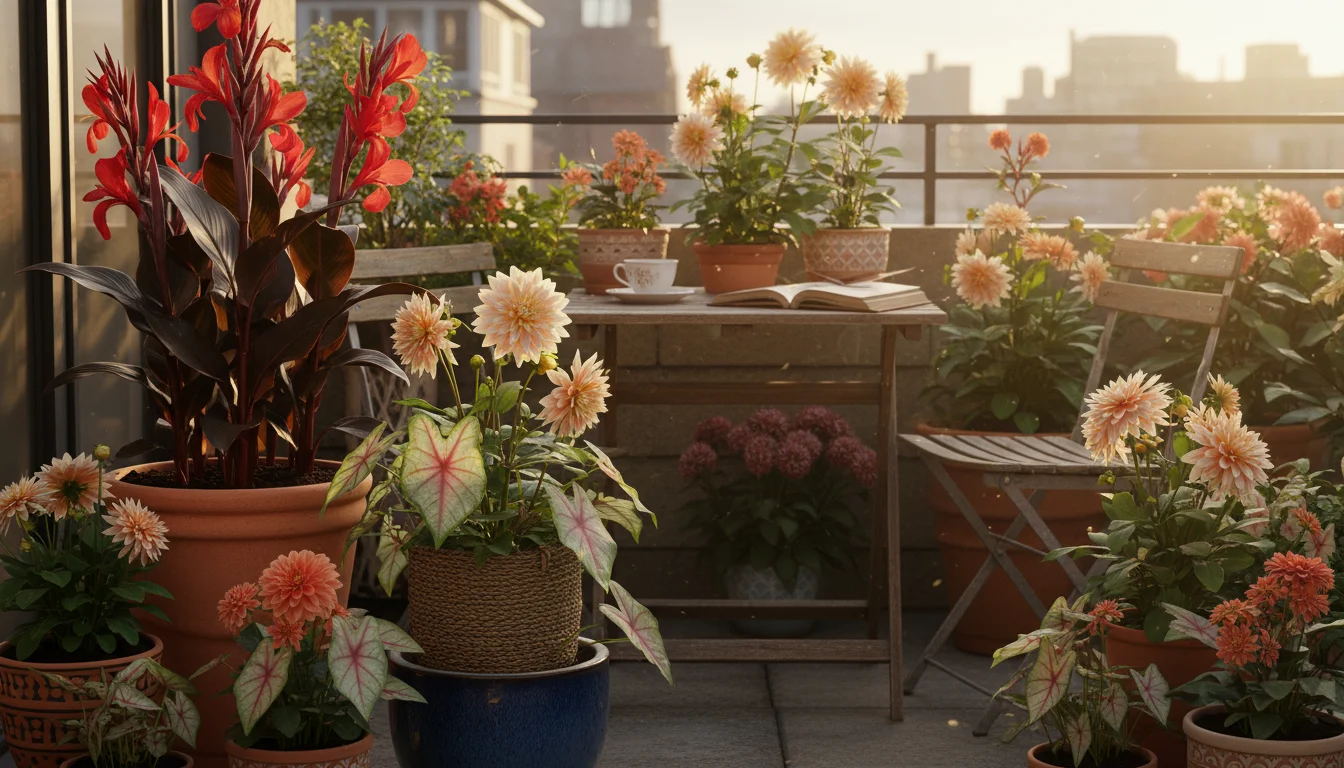
You adore the vibrant blooms of your dahlias, the tropical flair of cannas, and the stunning foliage of caladiums. These plants transform your small garden space, balcony, or patio into a lush oasis.
However, if you live in a region with cold winters, these tender beauties, often grown as annuals, typically perish with the first hard frost. Replacing them every spring represents a significant expense, especially when you consider the price of established plants or quality tubers.
Good news awaits. You can protect your investment and ensure these magnificent plants return year after year.
The secret lies in a simple, practical gardening technique called overwintering. By digging up and properly storing their tubers, you not only save money but also cultivate a more sustainable gardening practice.
This comprehensive guide helps you master the art of saving your potted dahlia, canna, and caladium tubers, ensuring a spectacular display next season without breaking the bank.
Contents9 sections
- Why Overwintering Matters: A Smart Gardener’s Secret
- Know Your Tender Beauties: Dahlias, Cannas, Caladiums
- When to Begin “The Great Dig-Up”: Timing is Everything
- Essential Tools for Your Dig-Up Mission
- Step-by-Step: How to Dig Up and Clean Your Tubers
- Drying and Curing: The Critical Prep for Storage
- Choosing the Right Storage Medium and Environment
- Troubleshooting: Common Storage Problems and Solutions
- Frequently Asked Questions
Why Overwintering Matters: A Smart Gardener’s Secret
Overwintering simply means bringing plants or their dormant parts, like tubers, indoors or to a protected space to survive the cold winter months. Many popular garden plants, including dahlias, cannas, and caladiums, originate from warmer climates.
Their root structures, which we often call “bulbs” though botanically they are tubers or rhizomes, cannot tolerate freezing temperatures.
Think of overwintering as providing a cozy, climate-controlled hibernation for your plants. Instead of letting them succumb to frost, you intervene, creating optimal conditions for their dormancy.
This practice offers several compelling benefits for the small-space gardener:
- Significant Cost Savings: This is arguably the biggest driver for overwintering. A single dahlia tuber can cost anywhere from $5 to $20, with cannas and caladiums in a similar range. If you grow multiple plants, replacing them annually quickly adds up. Successfully storing tubers means you invest once and reap rewards for years. For instance, a gardener with ten dahlia plants could save over $100 each season by simply storing them.
- Larger, More Vigorous Plants: Stored tubers often produce larger, more established plants in their second year. They emerge earlier and establish themselves faster, leading to a more robust display and potentially more blooms than new tubers. This is especially true for dahlias, which tend to grow larger and produce more impressive blooms from overwintered tubers.
- Preserve Cherished Varieties: Did you find a unique dahlia color or a particularly striking caladium pattern? Overwintering allows you to preserve those specific varieties, ensuring you enjoy them again. You might not find the exact same cultivar at your local nursery next spring.
- Sustainable Gardening: Reusing your plant material reduces your carbon footprint. You minimize demand for new plants grown and shipped from nurseries, often reducing packaging waste associated with new purchases. It is a wonderfully eco-friendly approach.
- Expanded Gardening Knowledge: Mastering overwintering deepens your understanding of plant life cycles and care. This skill builds confidence and broadens your gardening repertoire, transforming you from a casual planter into a truly knowledgeable plant steward.
By investing a small amount of time in the fall, you unlock continuous beauty and financial savings. Consider this effort a valuable part of your gardening calendar, similar to spring planting or summer watering.
Know Your Tender Beauties: Dahlias, Cannas, Caladiums
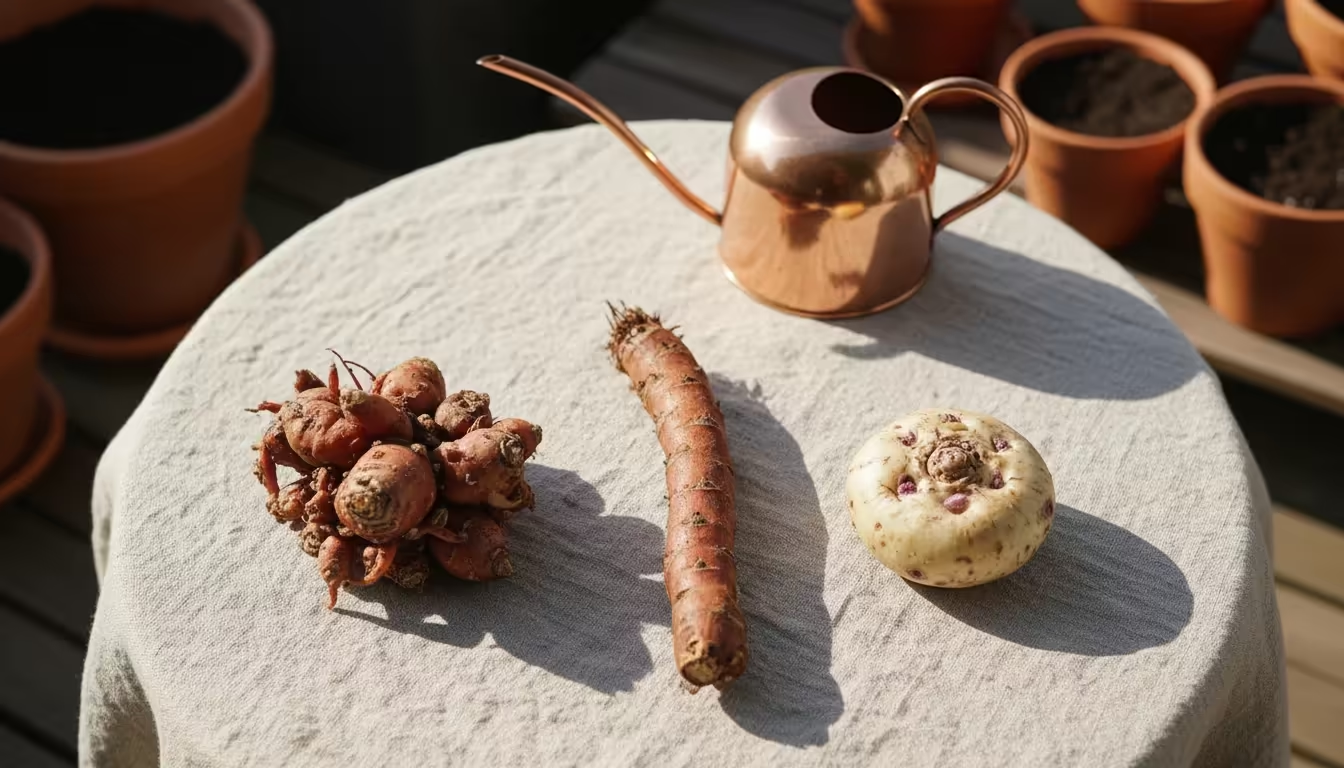
While all three are tender and require overwintering in cold climates, they are botanically distinct. Understanding these differences helps you care for their specific tuber types during storage.
Dahlias: The Clustered Tuber Queens
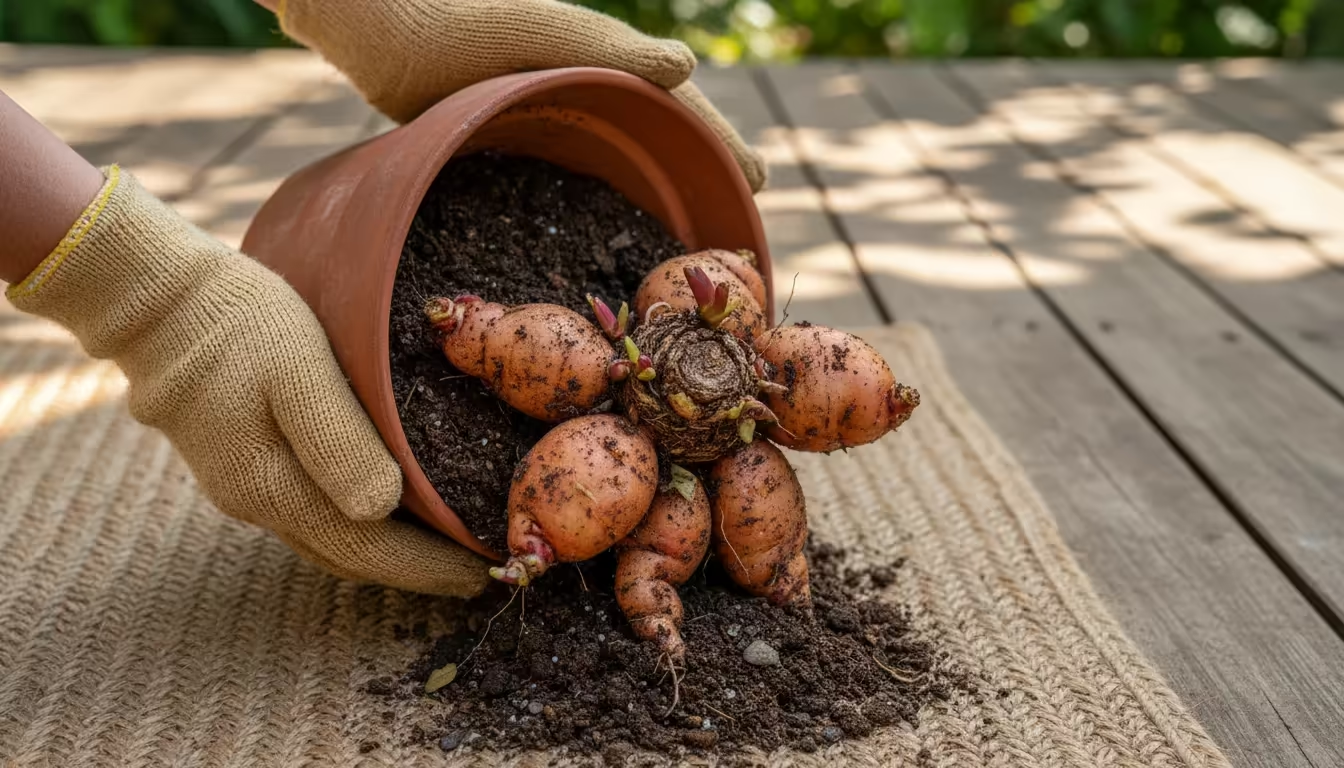
Dahlias are known for their incredible diversity in bloom size, shape, and color. They grow from clusters of small, fleshy tubers, often resembling sweet potatoes joined at a central “crown.” Each tuber needs an “eye” (a growth bud) to produce a new plant.
During dormancy, these eyes are tiny and difficult to spot, but they are crucial for next season’s growth.
In pots, dahlias perform beautifully, though they might require more frequent watering and feeding than in the ground. Their tubers develop robustly in containers, making them excellent candidates for overwintering.
Cannas: The Bold Rhizome Performers
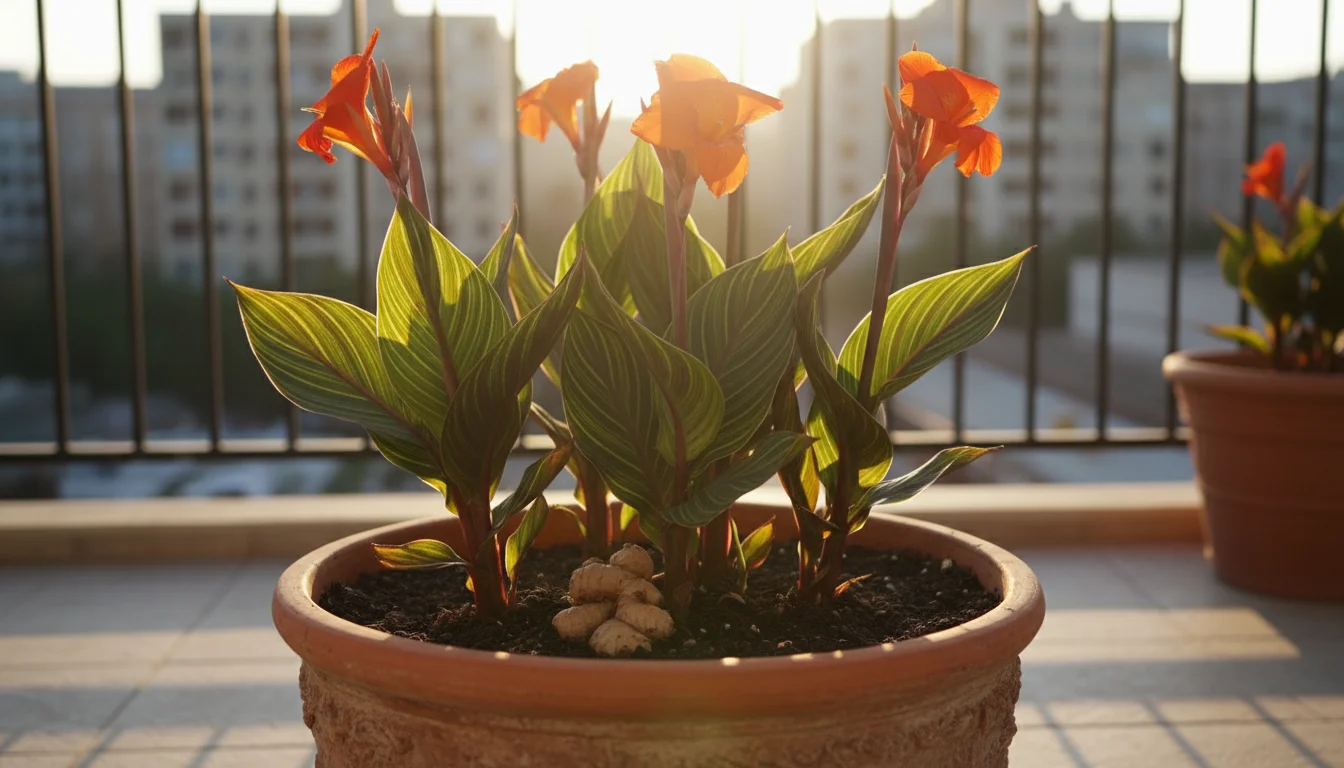
Cannas, often called canna lilies, bring dramatic foliage and vibrant, tropical flowers to any space. They grow from rhizomes, which are thickened, horizontal underground stems that spread and store nutrients.
Unlike dahlias’ clustered tubers, canna rhizomes look more like gnarled ginger roots. Each section of a rhizome capable of growing a new plant also needs at least one “eye.”
Potted cannas thrive in large containers, providing a stunning vertical element. Their rhizomes grow well in confined spaces, making them suitable for saving canna lily bulbs for winter.
Caladiums: The Leafy Heart-Stoppers
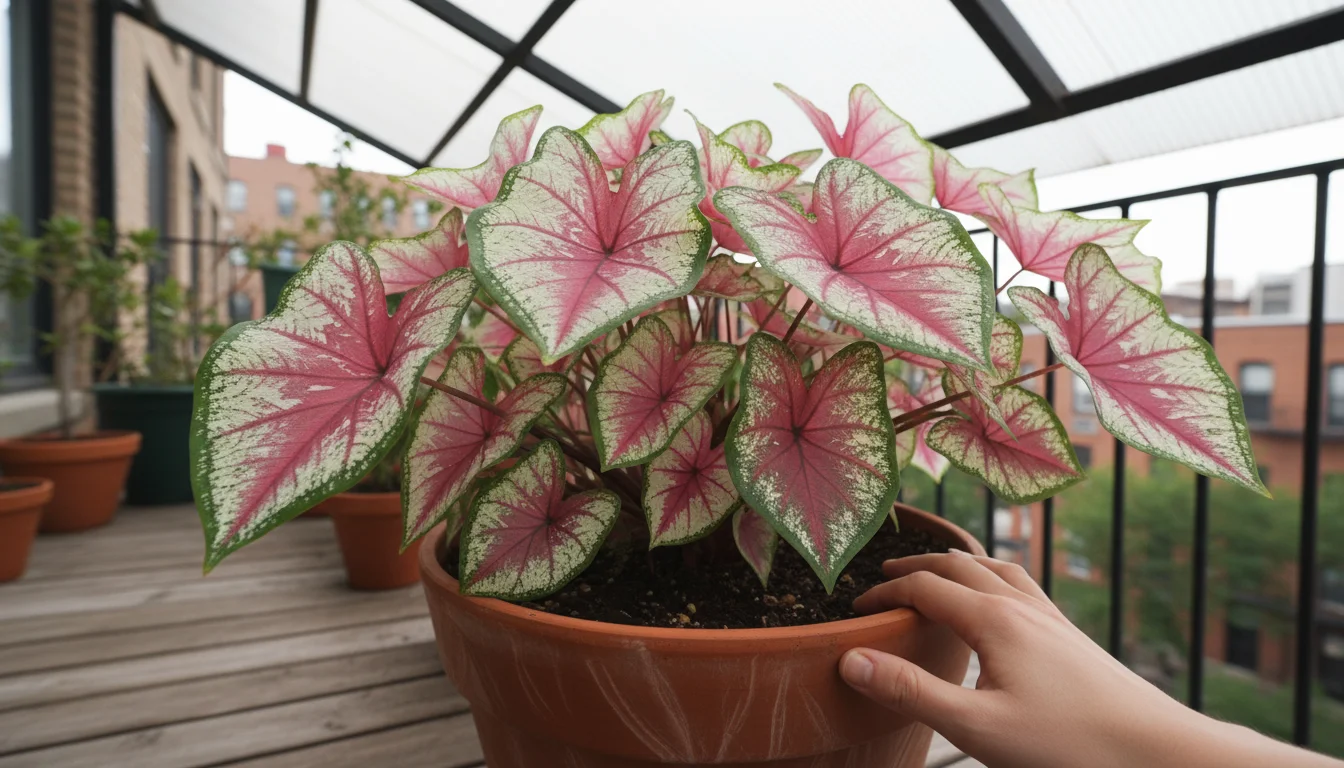
Caladiums are prized for their spectacular, often heart-shaped leaves, splashed and veined with shades of red, pink, white, and green. Their flowers are insignificant, as gardeners grow them solely for their foliage.
Caladiums grow from true tubers, which are more rounded and bumpy than dahlia tubers or canna rhizomes. They have distinct “eyes” or growth points from which new leaves emerge.
Caladiums are perfect for smaller pots and shadier spots on patios or balconies, brightening up areas where flowers might struggle. Preparing caladium tubers for dormancy in an apartment is a straightforward process, ensuring their colorful display returns.
Understanding these subtle differences helps you handle each plant’s specific needs as you dig them up and prepare them for their winter sleep.
When to Begin “The Great Dig-Up”: Timing is Everything
The precise timing for digging up your tubers is critical for successful overwintering. Too early, and the tubers might not have fully matured and stored enough energy for dormancy.
Too late, and a hard freeze can damage them, leading to rot.
The General Rule: After the First Frost
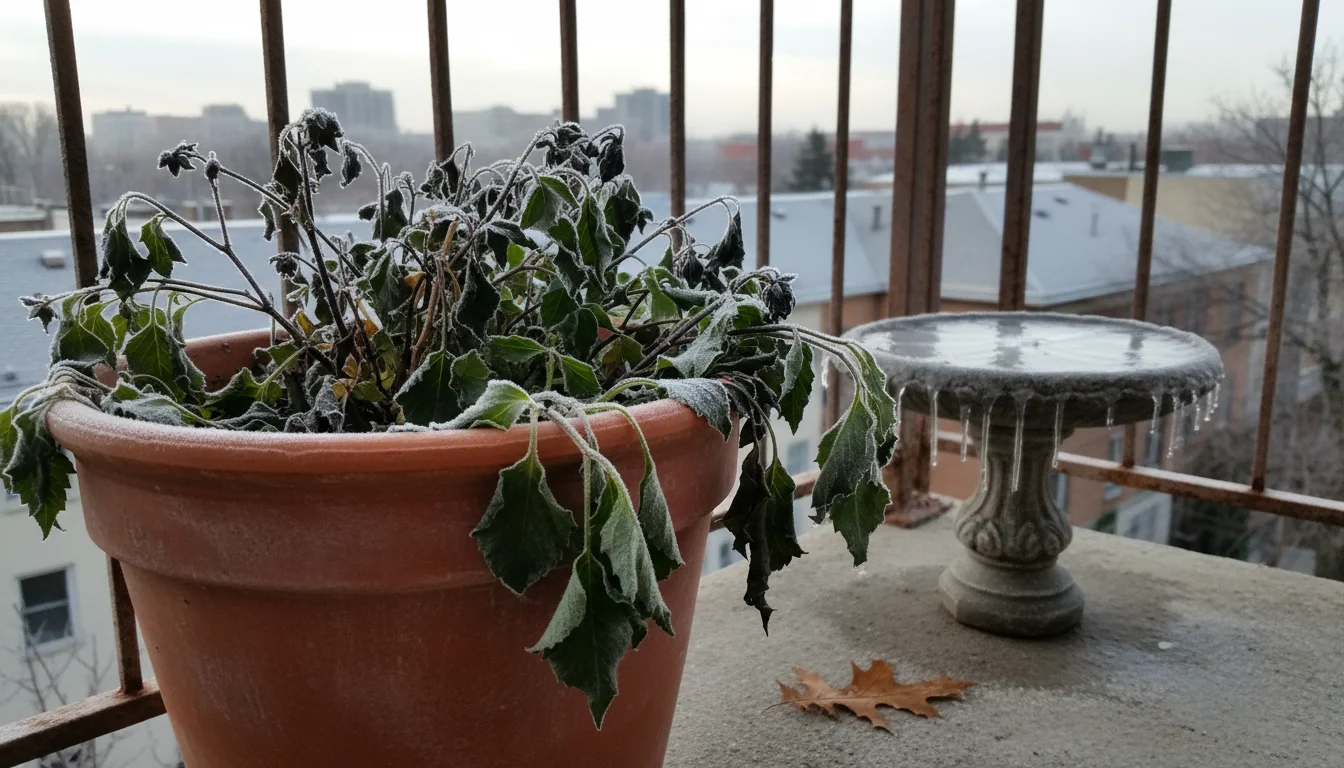
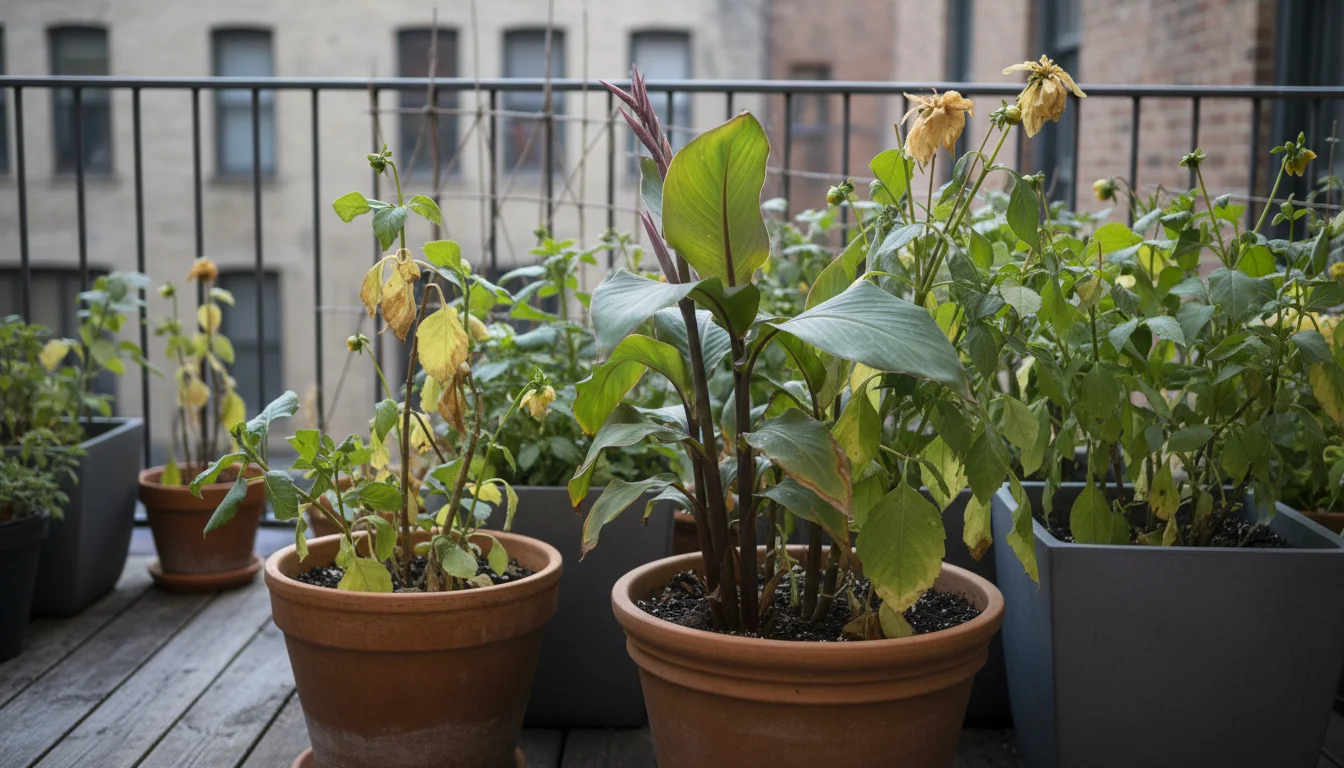
For most regions, you typically wait until after the first significant hard frost. A light frost might just nip the top foliage, but a hard frost causes the plant’s leaves and stems to blacken and collapse.
This signals that the plant has stopped growing actively and is directing its remaining energy back into the tubers for storage.
- Dahlias: Wait for the foliage to blacken from frost. This “curing” process in the ground (or pot) allows the plant to send maximum nutrients down to the tubers.
- Cannas: Similar to dahlias, let the frost do its work. The leaves will turn brown or black.
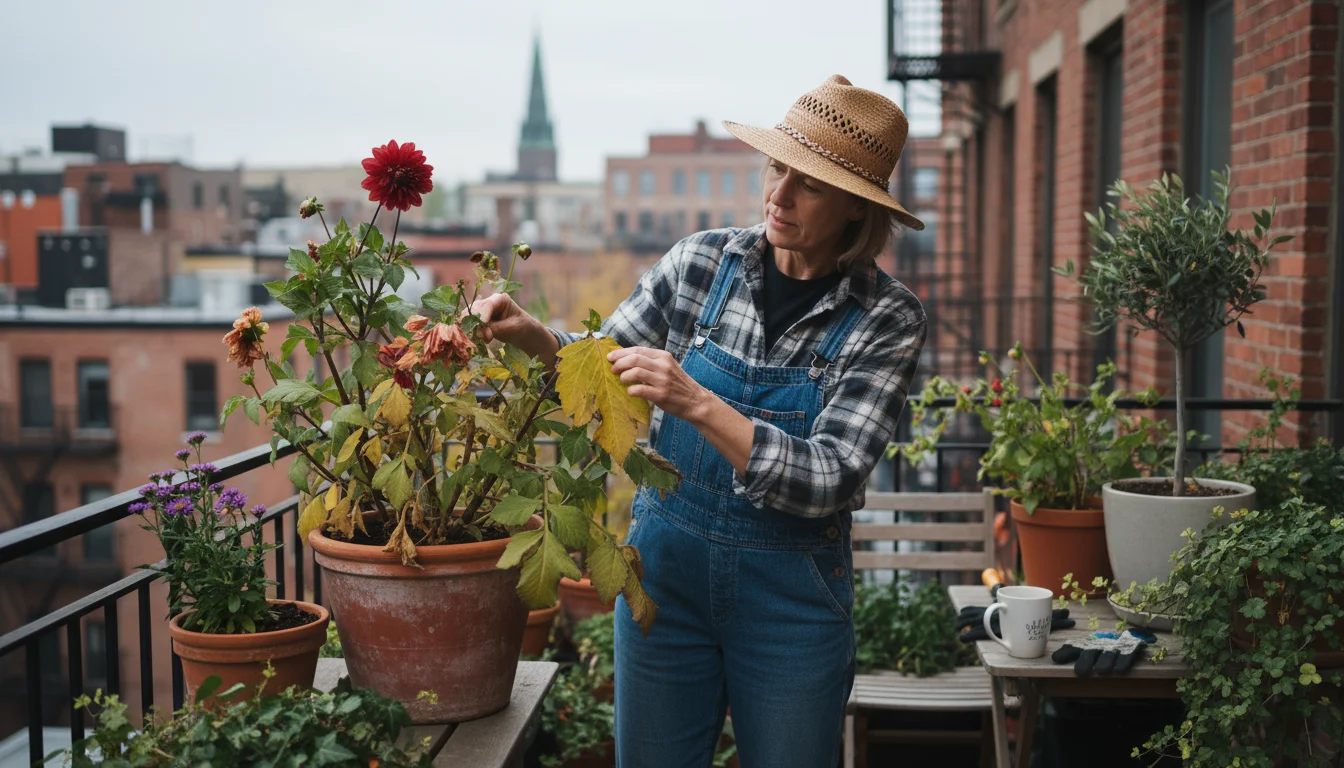
- Caladiums: Caladiums respond to cooler temperatures by yellowing and fading. They do not always need a hard frost to signal dormancy. When the leaves start to look ragged or yellow, or nighttime temperatures consistently drop below 50°F (10°C), it is time to act. You can even cut back the foliage earlier if you prefer, then wait a week or two before digging.
Consider Your Climate
If you live in a very mild climate (USDA Zones 8-11), you might not need to dig up some of these plants, as they might overwinter successfully in the ground or in their pots outdoors.
However, in most small-space scenarios, especially for container plants, digging them up and storing them in a controlled environment offers the best chance of success.
This is particularly relevant for how to dig up and store dahlia tubers from pots, as container soil is more exposed to freezing. Even in warmer zones, overwintering can result in stronger growth the following season.
Don’t Rush the Process
While you do not want to leave them out in freezing soil for extended periods, a few days or even a week after the first killing frost is perfectly fine and often beneficial.
This allows the plant to fully enter dormancy and concentrate its energy in the tubers. If you have limited space and manage many pots, staggering the dig-up over a few days can make the task more manageable.
Remember, your goal is to harvest healthy, fully charged tubers ready for their winter rest. Patience is key when it comes to timing.
Essential Tools for Your Dig-Up Mission
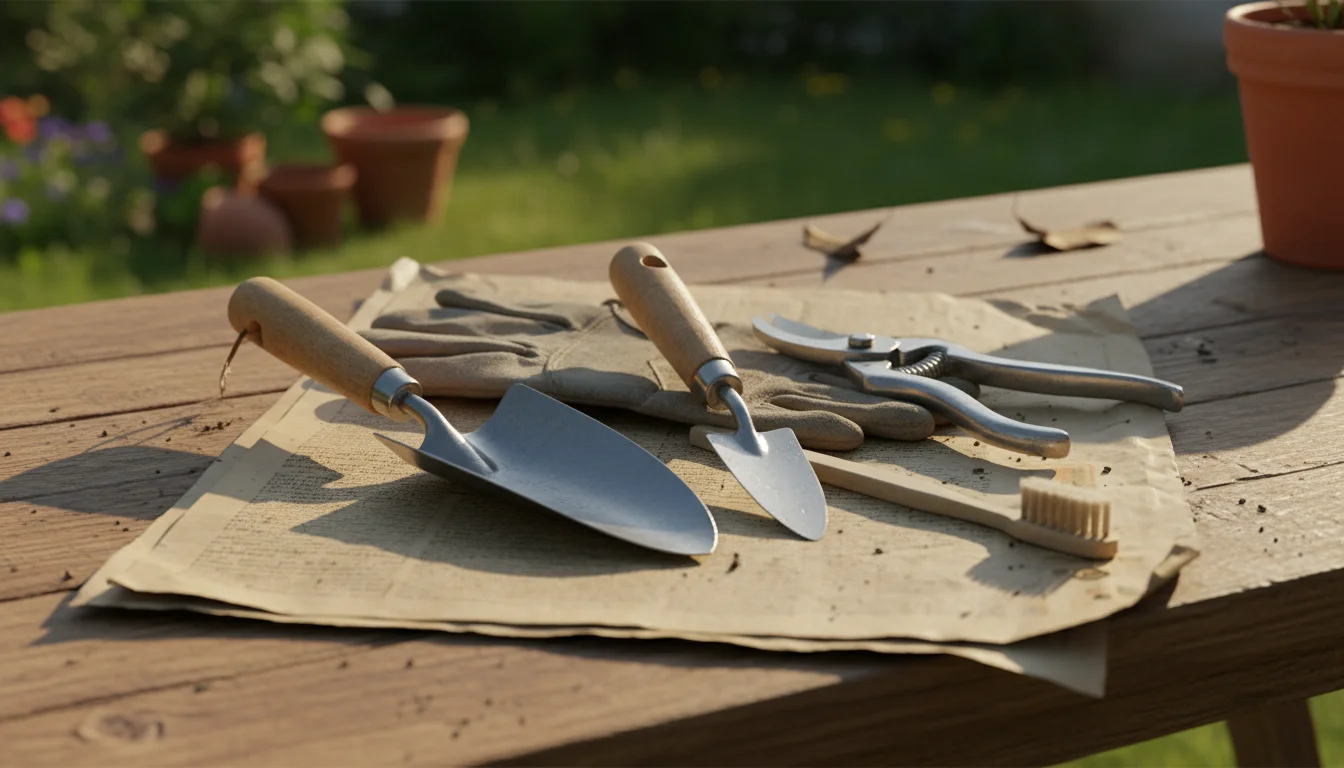
Gathering your tools beforehand makes the process smooth and efficient. You probably already own most of these items, showing how accessible this money-saving gardening practice truly is:
- Sturdy Trowel or Small Shovel: For carefully loosening the soil around the tubers in the pot. A small hand fork also works well.
- Pruning Shears or Scissors: To cut back the plant stems. Ensure they are clean and sharp to prevent crushing stems.
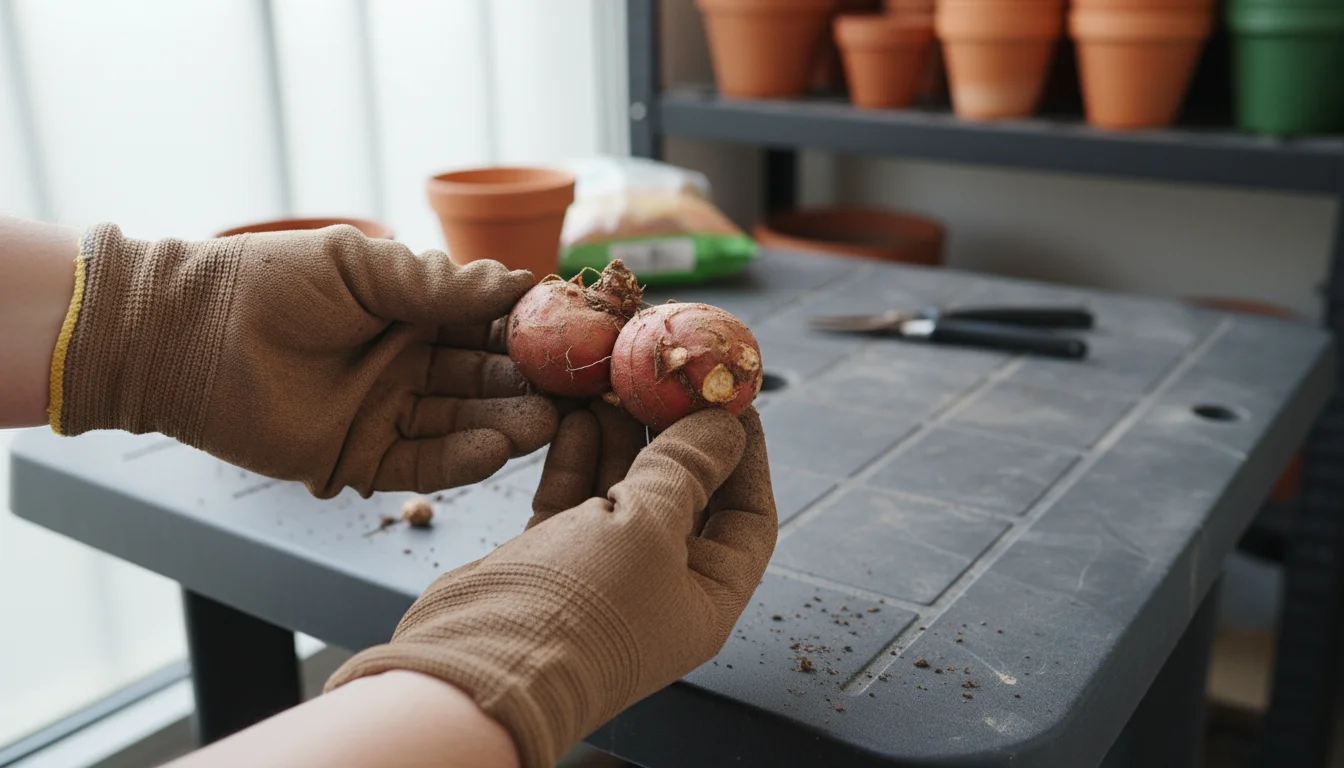
- Garden Gloves: Protect your hands from soil and potential skin irritations.
- Newspaper, Cardboard, or Tarpaulin: To protect your work surface, especially if you are working indoors or on a patio. It helps contain soil and debris.
- Soft Brush or Old Toothbrush: For gently removing excess soil from the tubers. Avoid anything too abrasive.
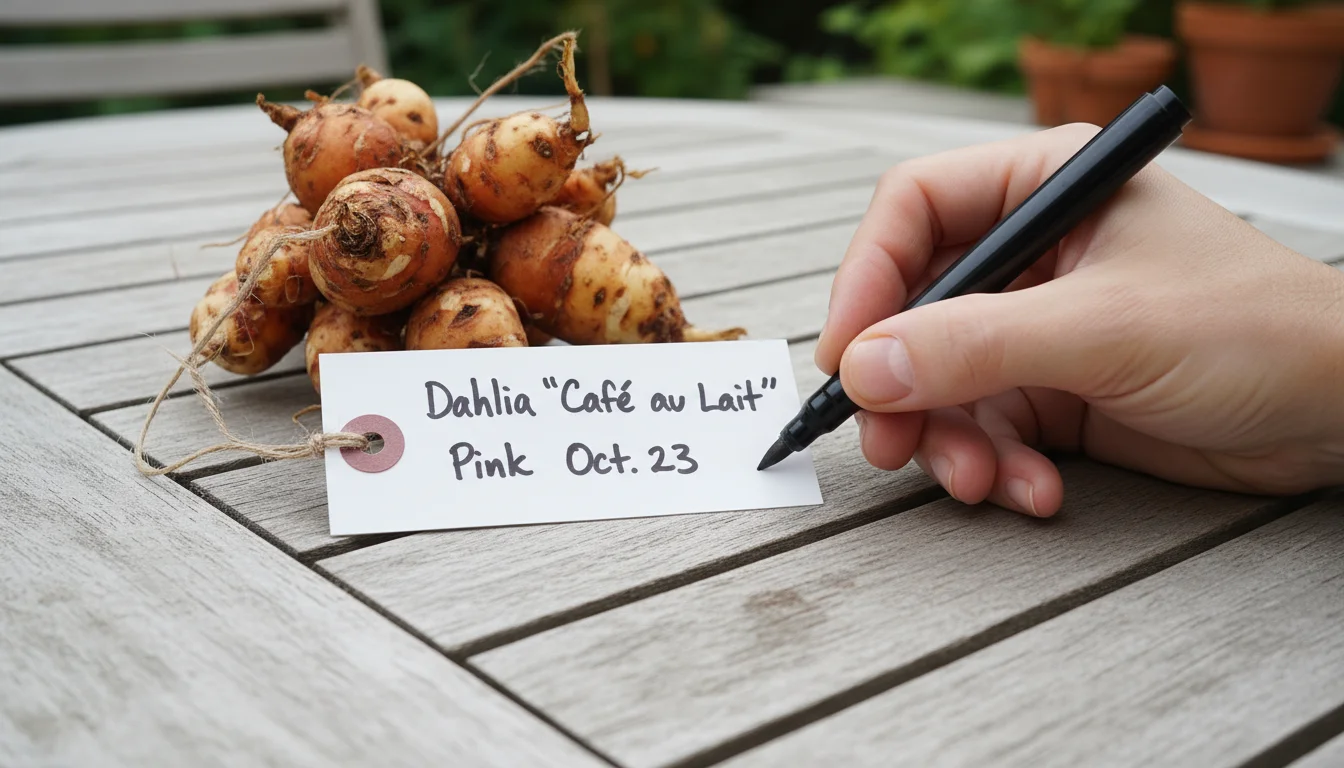
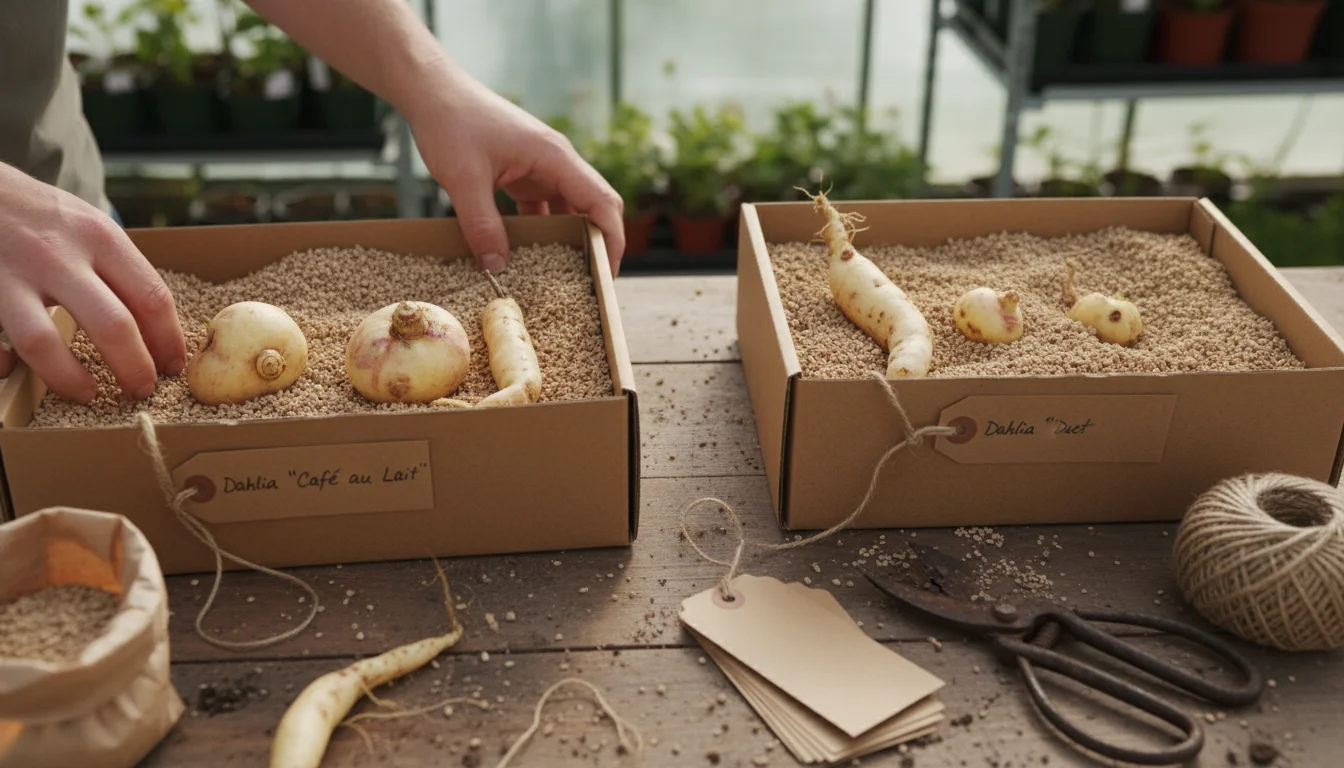
- Labels and Permanent Marker: Absolutely crucial! Label each tuber cluster or individual tuber with the plant variety, color, and date. For example, “Dahlia ‘Café au Lait’ – Pink – 10/2023.” This prevents “mystery plant” syndrome next spring.
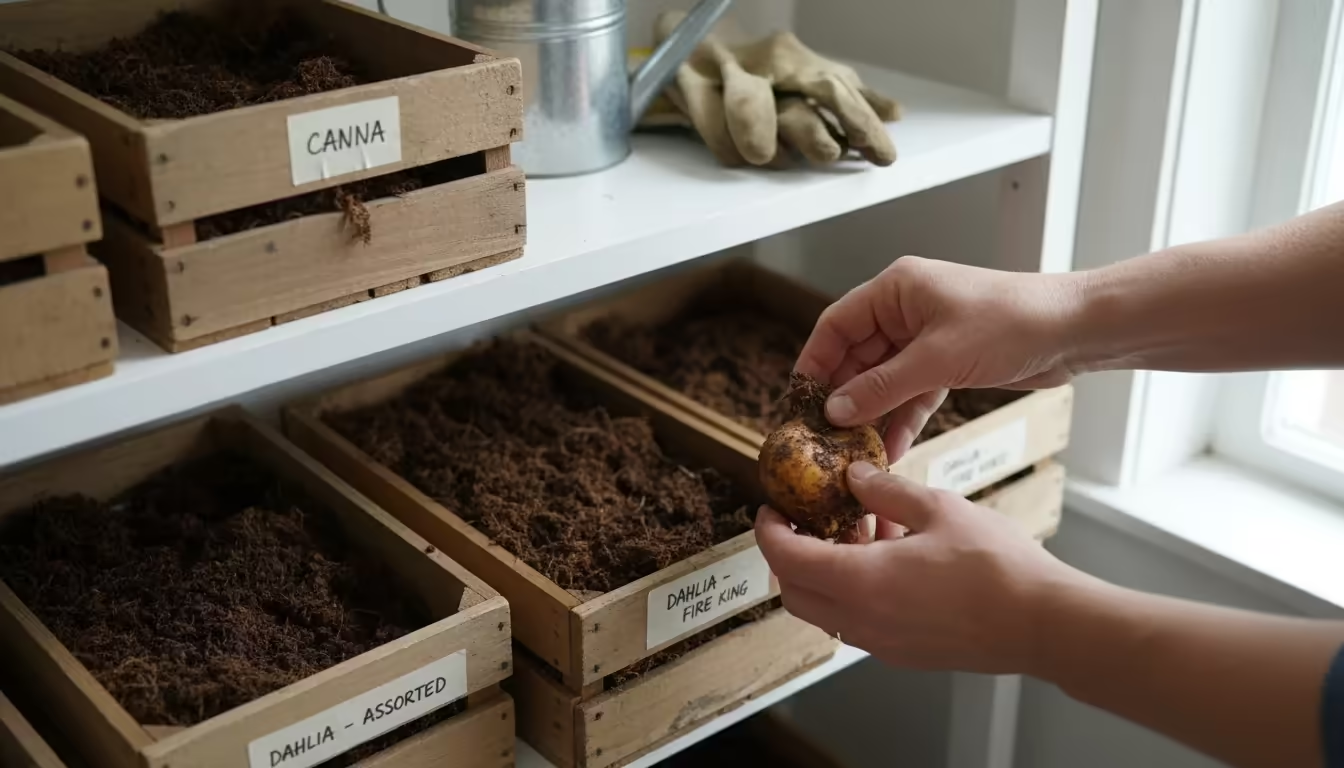
- Storage Containers: Cardboard boxes, plastic crates, mesh bags, paper bags, or even old nursery pots work well. Choose containers that allow for good air circulation. Avoid airtight containers, which promote rot.
- Storage Medium: Peat moss, coco coir, vermiculite, perlite, or even dry sand. This material helps insulate the tubers and maintain stable humidity during storage.
- Optional: Fungicide Dust or Sulfur Powder: Some gardeners apply a light dusting to prevent fungal diseases, especially in humid storage conditions. This is often more a preventative for large-scale operations but can be considered for valuable tubers.
Having everything ready minimizes interruptions and helps you focus on the delicate task of handling your valuable tubers.
Step-by-Step: How to Dig Up and Clean Your Tubers
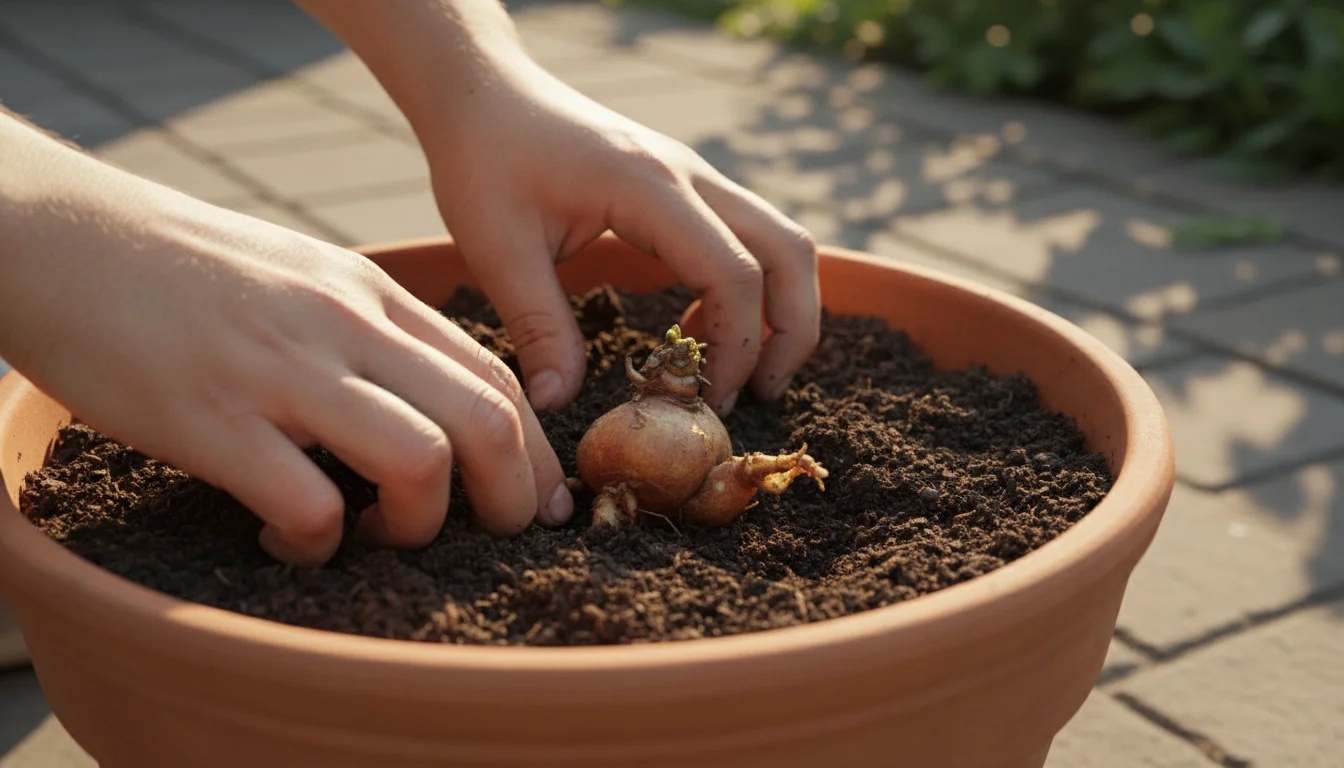
This is where “The Great Dig-Up” truly begins. Approach this task with care, as damaging the tubers can compromise their ability to sprout next spring.
Remember, these are living storage organs, not just roots.
Step 1: Cut Back the Foliage
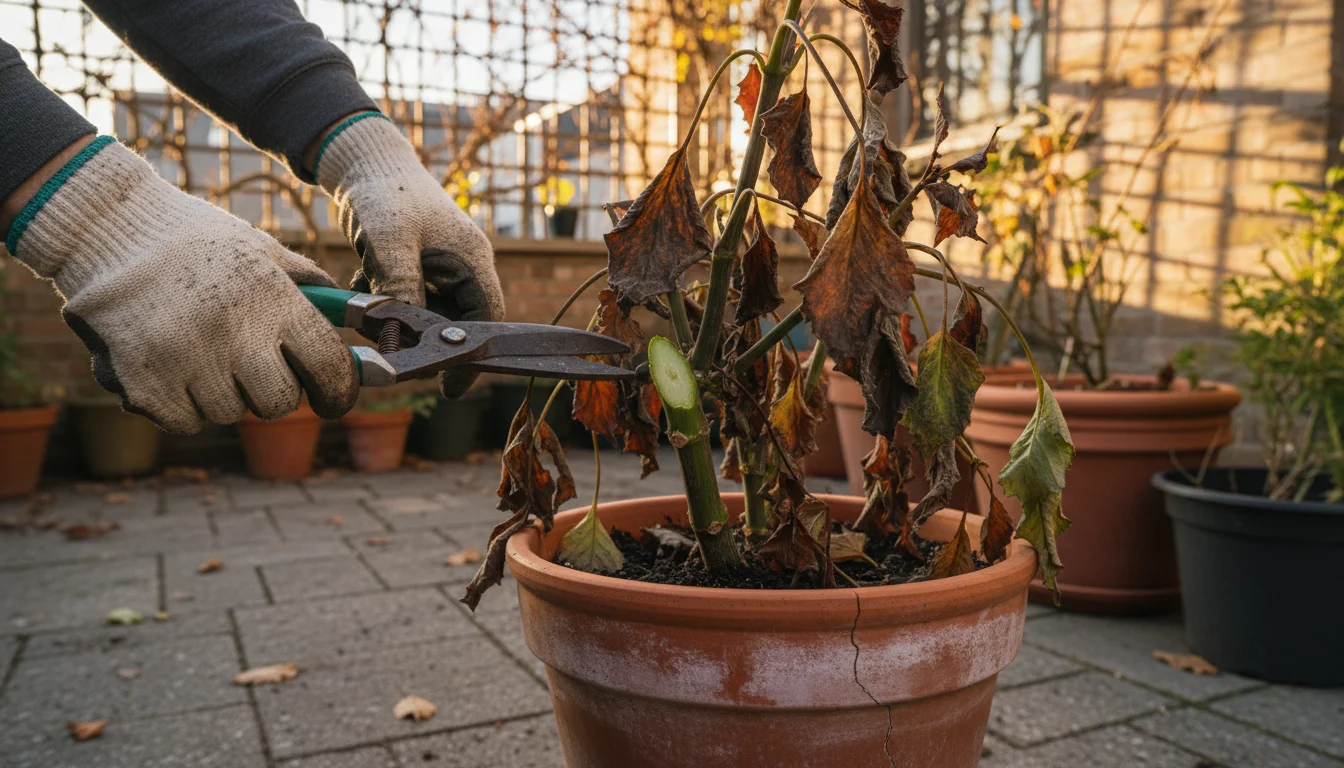
Once frost has killed the foliage or caladium leaves have yellowed, cut back the stems to about 4-6 inches (10-15 cm) above the soil line. For dahlias, leave a bit of stem; this helps protect the crown where new growth emerges.
For cannas and caladiums, cutting back the foliage allows you to access the tuber area more easily without large leaves in the way.
Step 2: Gently Remove from the Pot
This step requires patience. Your tubers likely fill a significant portion of the pot.
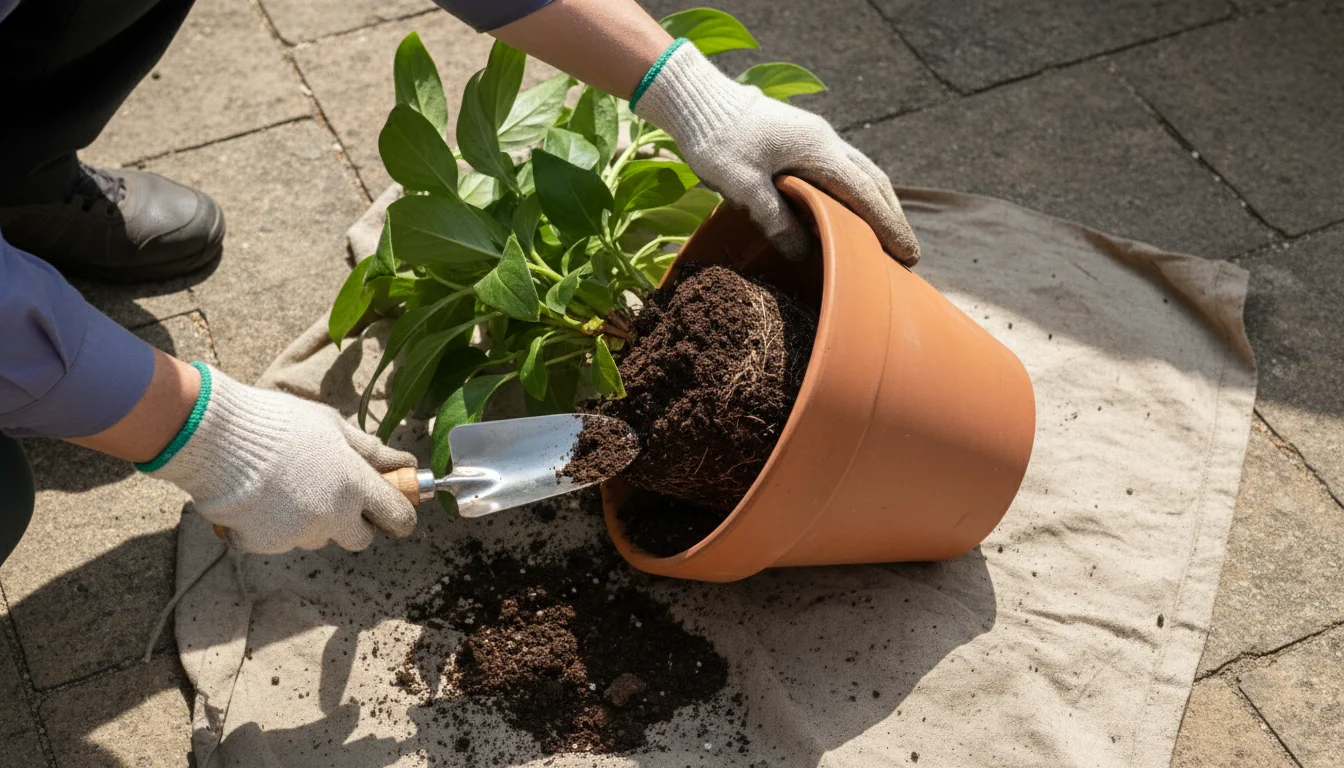
Turn the pot on its side, gently wiggle the plant out, or carefully slide it out. You might need to run a trowel along the inside edge of the pot to loosen the soil.
Be extremely careful not to stab or slice the tubers, as this creates entry points for diseases.
If the pot is large, you might need assistance or to gently break up the root ball with your hands to get it out. For small spaces, consider emptying the entire pot onto your tarp or newspaper.
This makes it easier to locate all the tubers.
Step 3: Shake Off Excess Soil
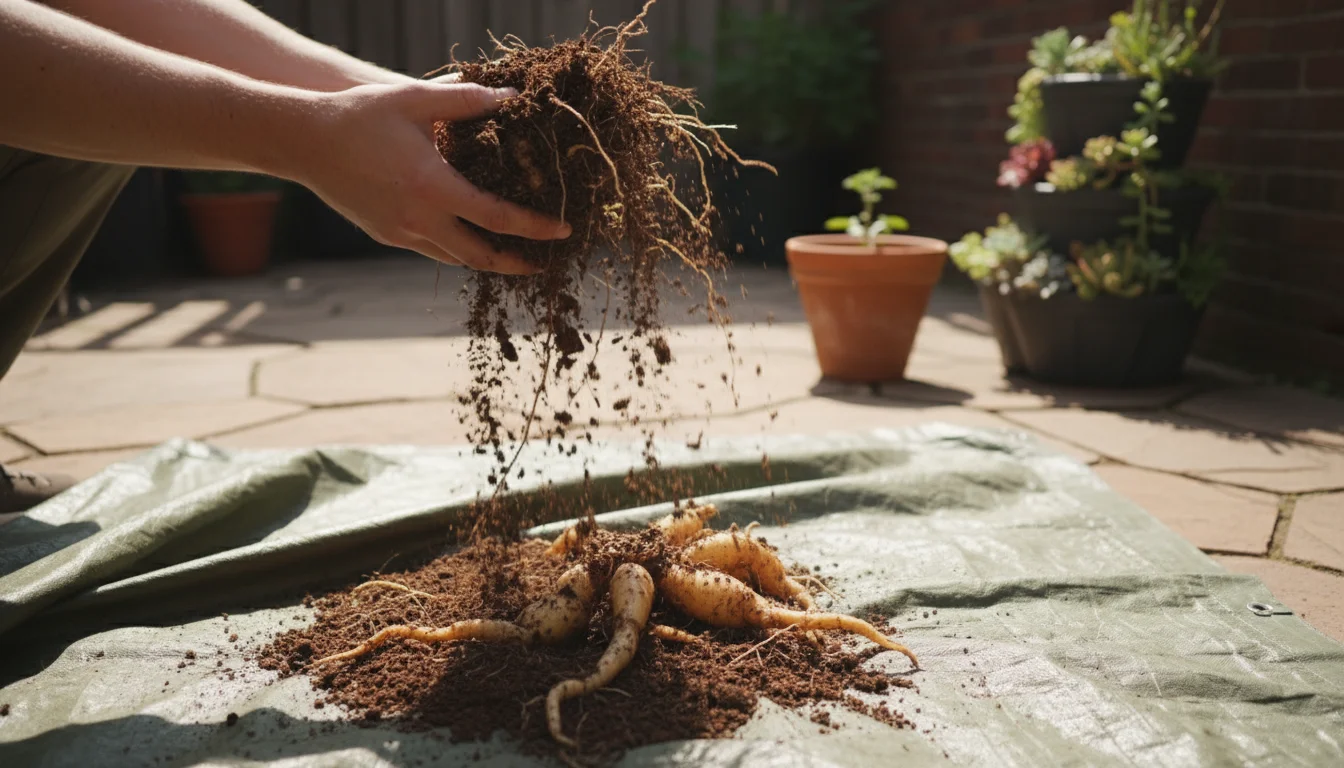
Once the root ball is out, gently shake off as much loose soil as you can. Avoid harsh scrubbing at this stage.
You want to expose the tubers without stripping away their protective outer layer.
Step 4: Clean the Tubers
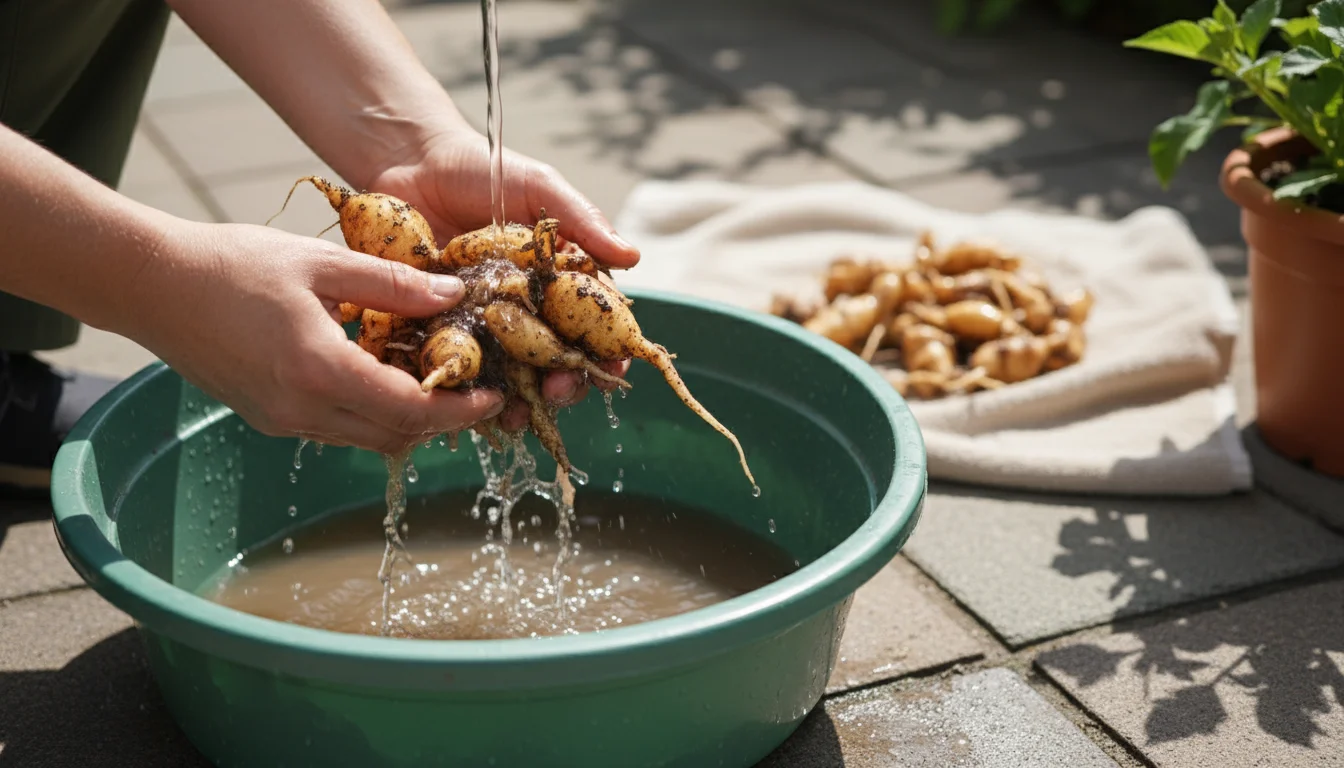
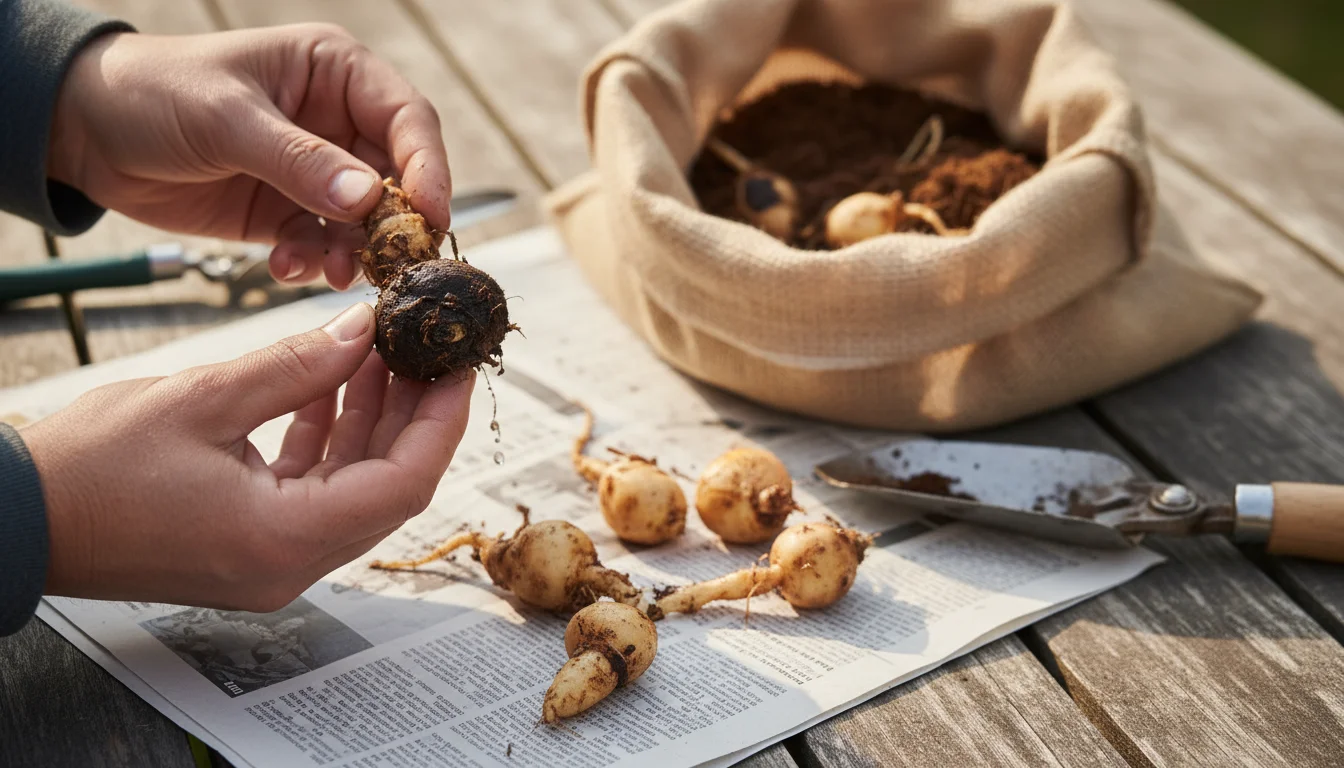
Using a soft brush or old toothbrush, carefully brush off remaining soil clinging to the tubers. For especially stubborn dirt, you can gently rinse them with a hose, but only if you have adequate time for them to thoroughly dry afterward.
If you rinse, ensure they dry completely before moving to the next step, as moisture promotes rot.
As you clean, inspect the tubers. Remove any that appear damaged, soft, mushy, or show signs of disease.
These will likely rot during storage and could spread disease to healthy tubers. Some gardeners choose to divide their dahlia tubers at this stage, but for beginners or for single potted plants, storing the whole clump is often easier and safer.
If you do divide, ensure each division has at least one “eye” and a piece of the “crown” (the stem attachment point).
Step 5: Label Immediately
This cannot be stressed enough: label your tubers immediately after cleaning. Attach a waterproof label directly to the tuber cluster or place it inside the container with the tubers.
Include the plant name, color, and the date. You might think you will remember, but come spring, you will be grateful for the clear identification.
This applies whether you are saving canna lily bulbs for winter or preparing caladium tubers for dormancy in an apartment; clear labeling prevents confusion.
Drying and Curing: The Critical Prep for Storage
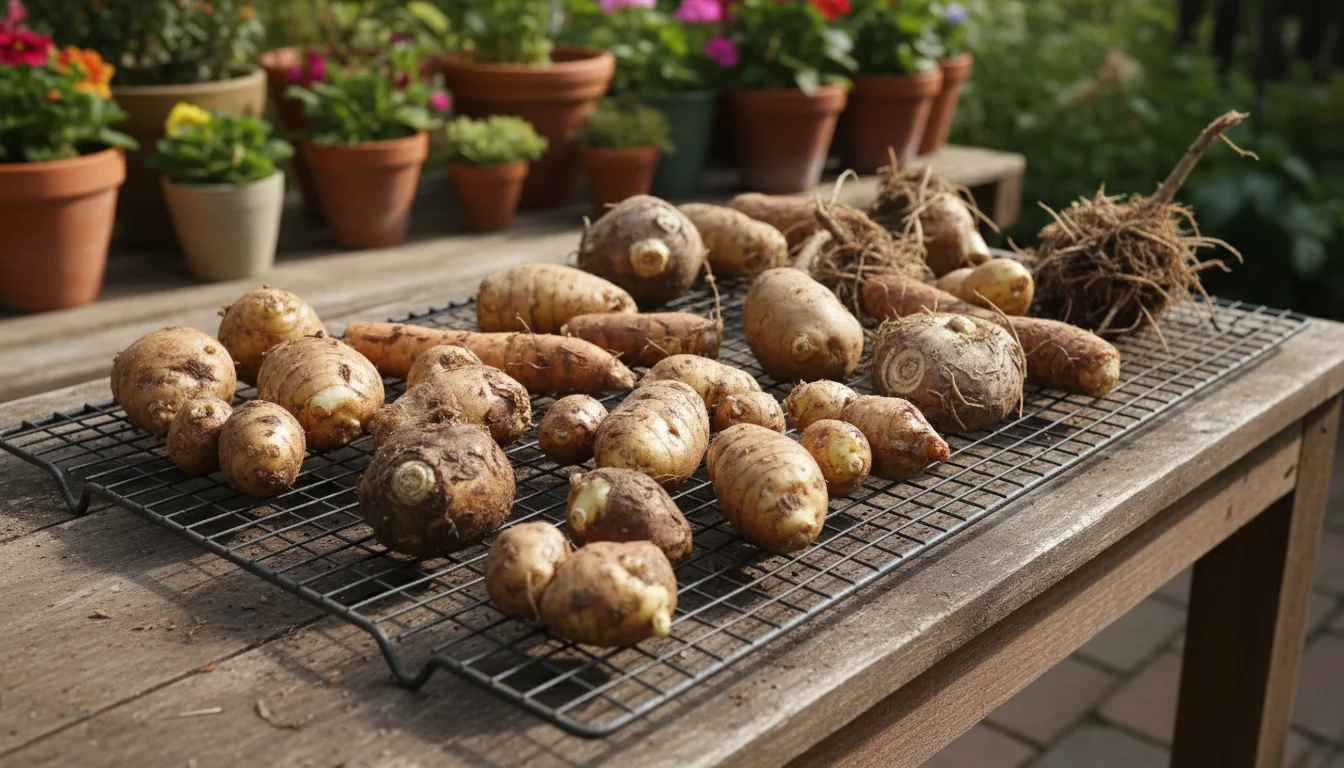
After digging and cleaning, your tubers need a crucial “curing” period. This process allows the skin to toughen, closes any small wounds, and helps prevent rot during their long dormancy.
Think of it like preparing an onion or garlic for storage; a dry outer layer is essential.
The Curing Process Explained
Curing involves drying the tubers in a cool, dark, and well-ventilated location for several days to a few weeks. This process:
- Hardens the Skin: It forms a protective layer on the tuber surface.
- Dries Surface Moisture: Eliminates any remaining moisture that could lead to fungal growth or rot.
- Seals Minor Wounds: Small nicks or cuts from digging heal over, creating a barrier against pathogens.
How to Cure Your Tubers:
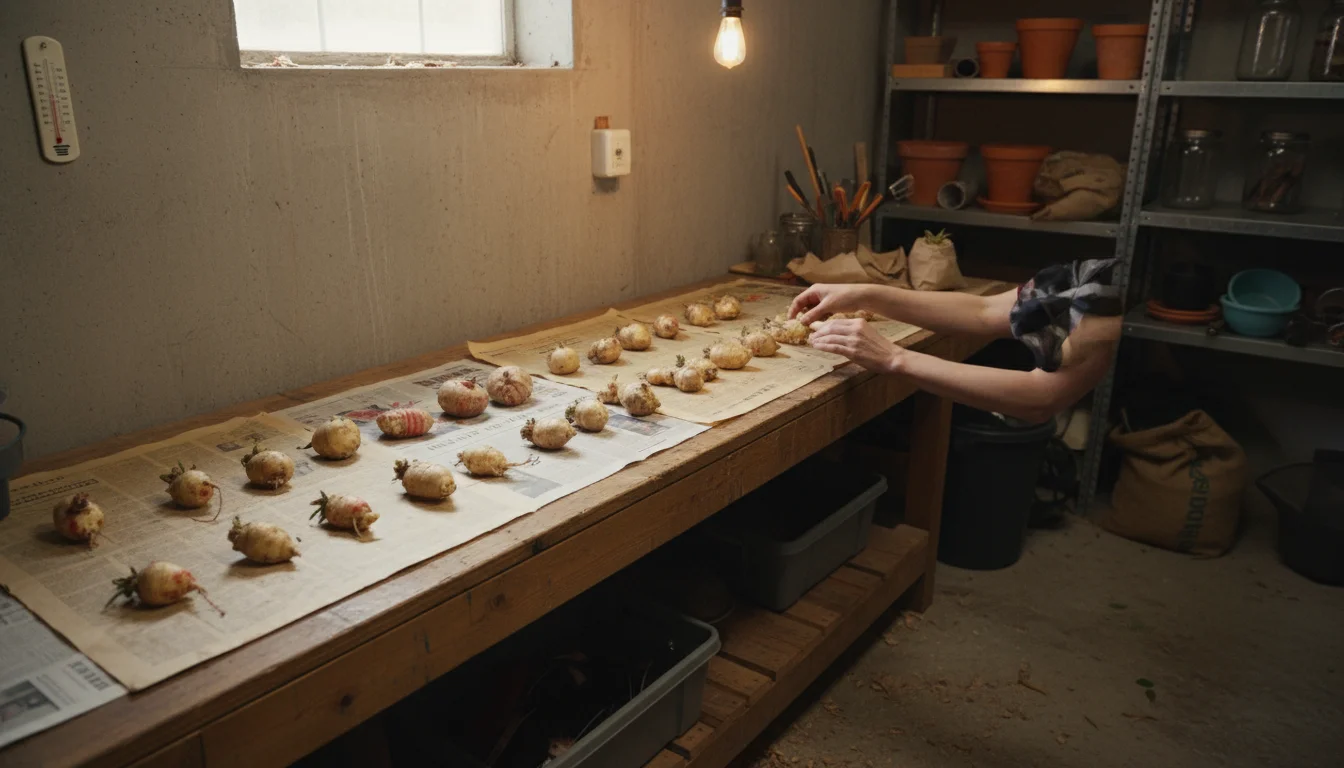
- Find the Right Spot: Choose a location that is cool (around 50-60°F or 10-15°C), dark, and has good air circulation. A garage, basement, shaded porch, or even a cool closet works well. Avoid direct sunlight, which can cook the tubers, and excessively warm, dry areas, which can cause them to shrivel too quickly.
- Lay Them Out: Spread the cleaned, labeled tubers in a single layer on newspaper, cardboard, or a drying rack. Ensure they do not touch each other, allowing air to circulate freely around each tuber.
- Duration:
- Dahlias: Cure for about 1 to 3 weeks. You want them firm, dry to the touch, and slightly shriveled, but not excessively so. The skin should feel leathery.
- Cannas: Cure for about 1 to 2 weeks. Their rhizomes are denser, so they might not shrivel as much as dahlias.
- Caladiums: Caladiums generally need a shorter curing period, about 5-7 days, as their tubers are smaller and dry faster.
- Monitor and Turn: Periodically check on your tubers. Turn them gently every few days to ensure even drying. Look for any soft spots or signs of mold, and remove affected tubers immediately to prevent spread.
Successful curing is a vital step in preparing your overwintering dahlias and other tender tubers for long-term storage. Do not skip or rush this stage.
It directly impacts their viability for next spring.
Choosing the Right Storage Medium and Environment
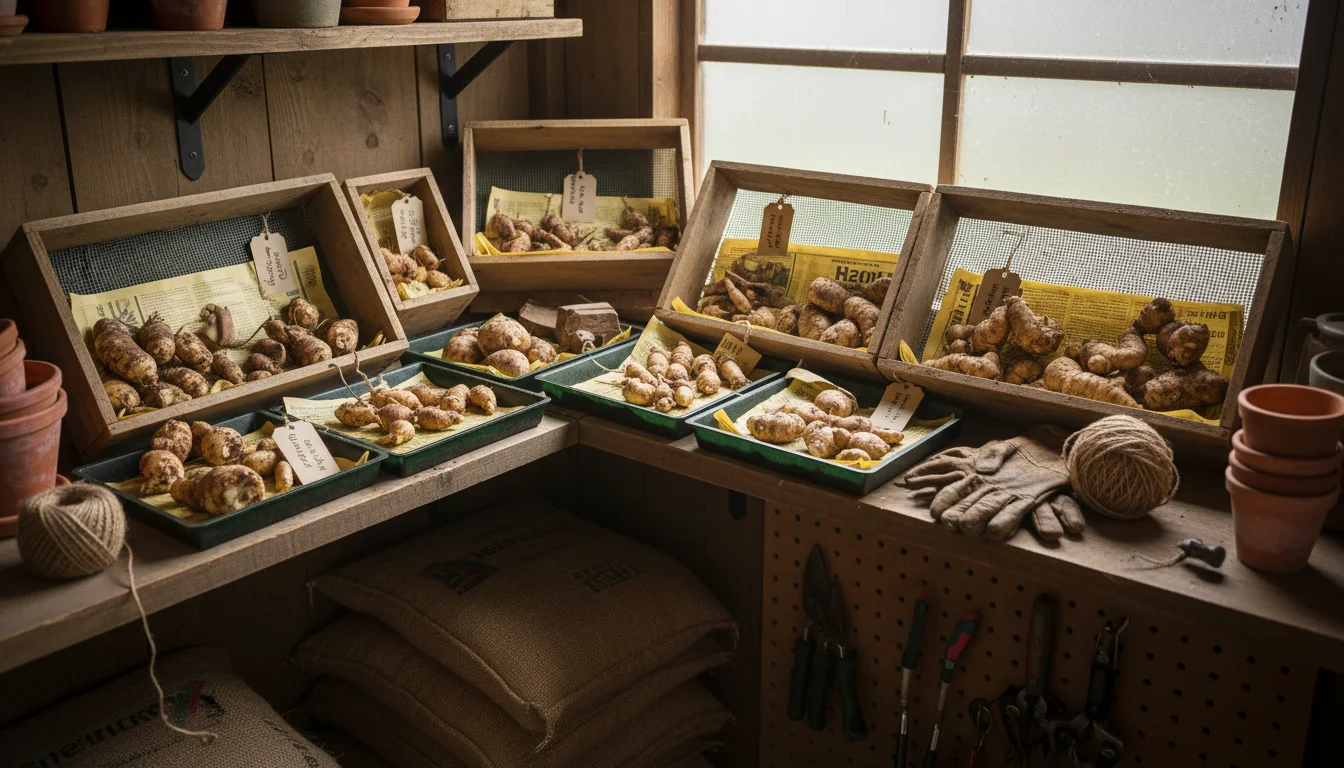
Once cured, your tubers are ready for their long winter’s nap. The goal for storage is to provide a consistent, cool, and somewhat humid environment that prevents them from drying out completely but also protects them from rotting.
The Ideal Storage Environment:
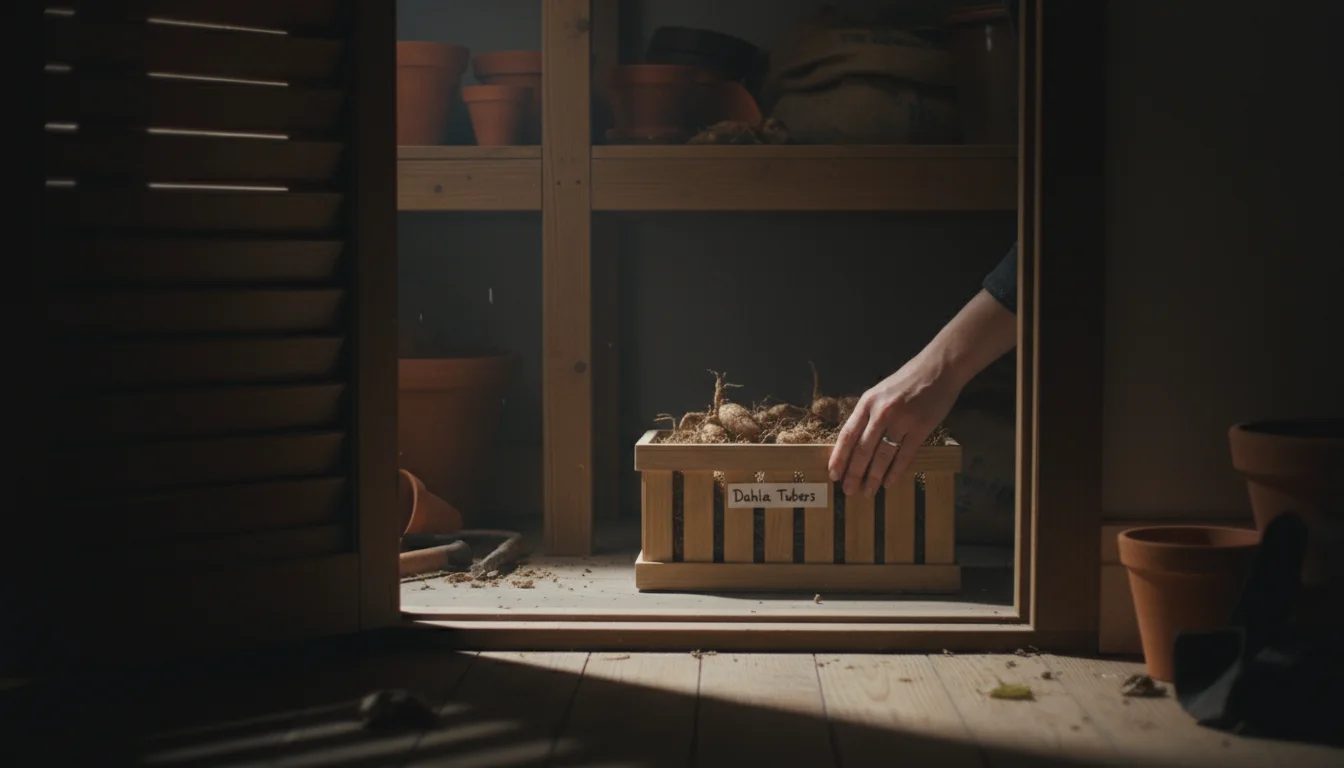
- Temperature: Aim for a consistent temperature between 40-50°F (4-10°C). Fluctuating temperatures can stimulate premature sprouting or lead to spoilage. A cool basement, unheated closet, or even a protected pantry can work. Avoid areas that drop below freezing or get excessively warm.
- Humidity: A relative humidity of around 70-80% is ideal. Too dry, and tubers shrivel; too wet, and they rot. The storage medium you choose helps regulate this. For small-space gardeners, this might mean a spot in a less-used apartment closet or a protected area in a garage that stays above freezing.
- Darkness: Keep tubers in the dark. Light can encourage premature sprouting.
- Ventilation: While humidity is important, stagnant, overly humid air promotes mold. Ensure your storage container allows for some air circulation.
Choosing a Storage Medium:
The storage medium surrounds the tubers, regulating moisture and providing insulation. Various options work well:
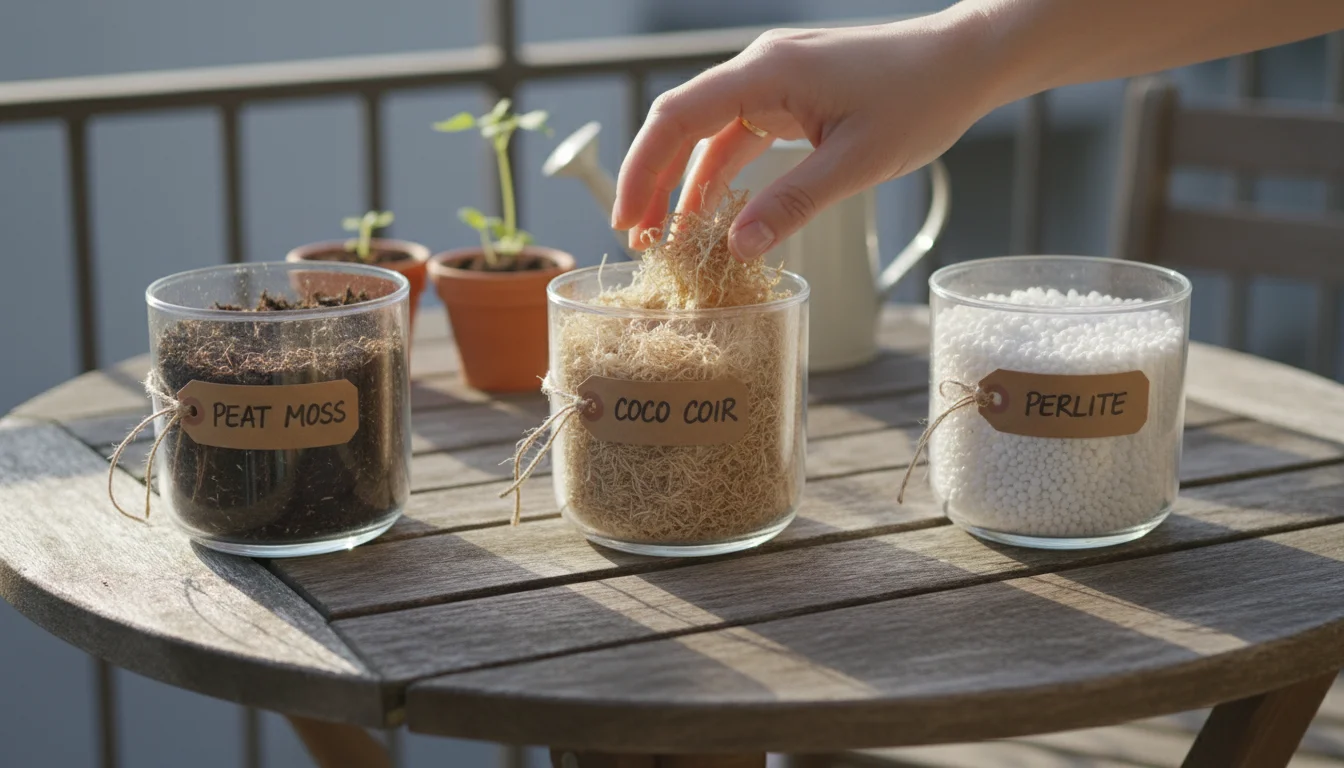
- Peat Moss: A classic choice. It retains moisture well without becoming waterlogged. Lightly moisten it before use, ensuring it is damp like a wrung-out sponge, not soaking wet.
- Coco Coir: An excellent, sustainable alternative to peat moss. It has similar moisture-retention properties. Prepare it the same way as peat moss.
- Vermiculite or Perlite: These inert minerals offer good aeration and moisture retention. They are lighter than peat moss and coco coir.
- Dry Sand: Coarse builder’s sand (not play sand) can also work. Ensure it is completely dry. This option is heavier but provides good insulation.
- Newspaper or Paper Bags: For very well-cured tubers, simply wrapping them in newspaper or placing them in paper bags can work, especially for caladium tubers. These provide some insulation and absorb excess moisture, while allowing air circulation. This is a common and effective method for preparing caladium tubers for dormancy in an apartment due to its simplicity.
Storage Containers:
Select containers that offer good air circulation. Avoid anything airtight.
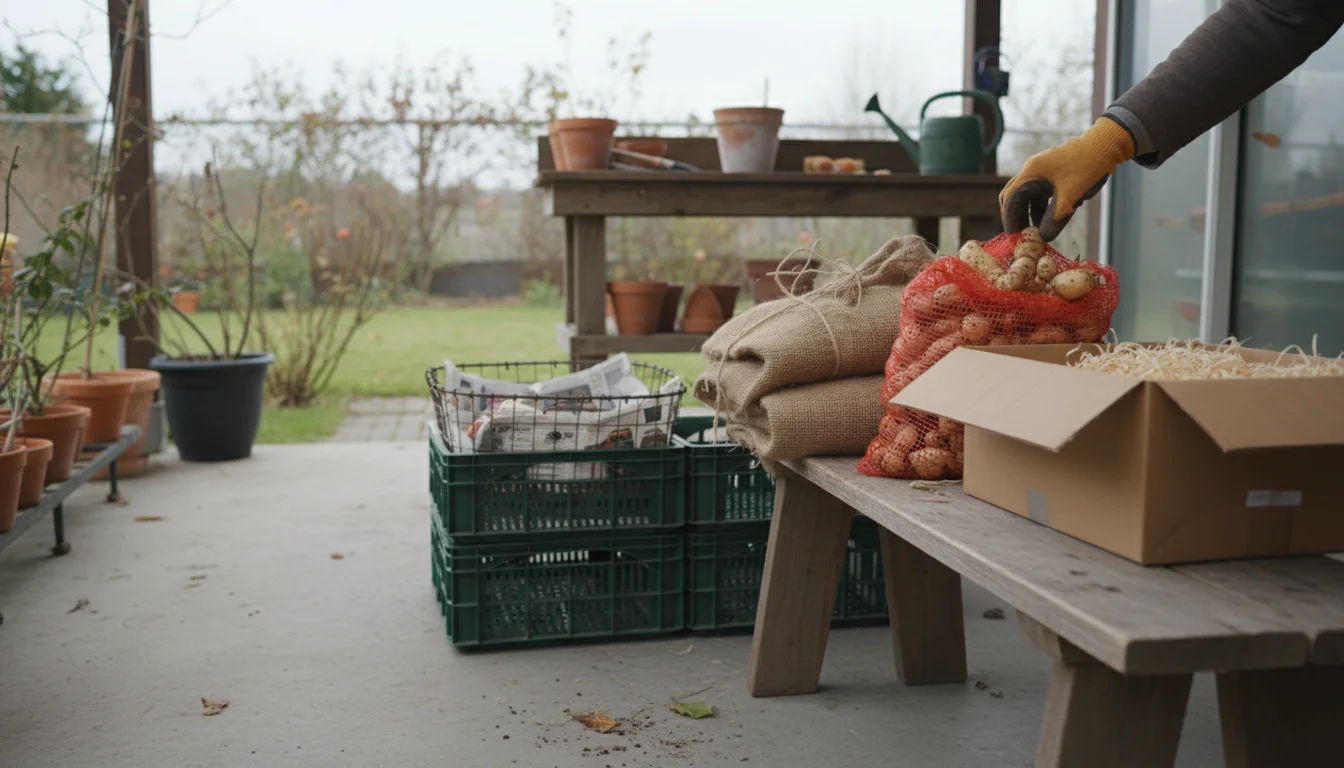
- Cardboard Boxes: Excellent choice. They breathe well. You can poke extra holes for more airflow.
- Plastic Crates or Laundry Baskets: Line these with newspaper or a breathable fabric, then add your storage medium and tubers.
- Mesh Bags: Onion or potato mesh bags work well for single clumps, allowing maximum airflow.
- Paper Bags: Ideal for smaller batches of tubers, especially caladiums.
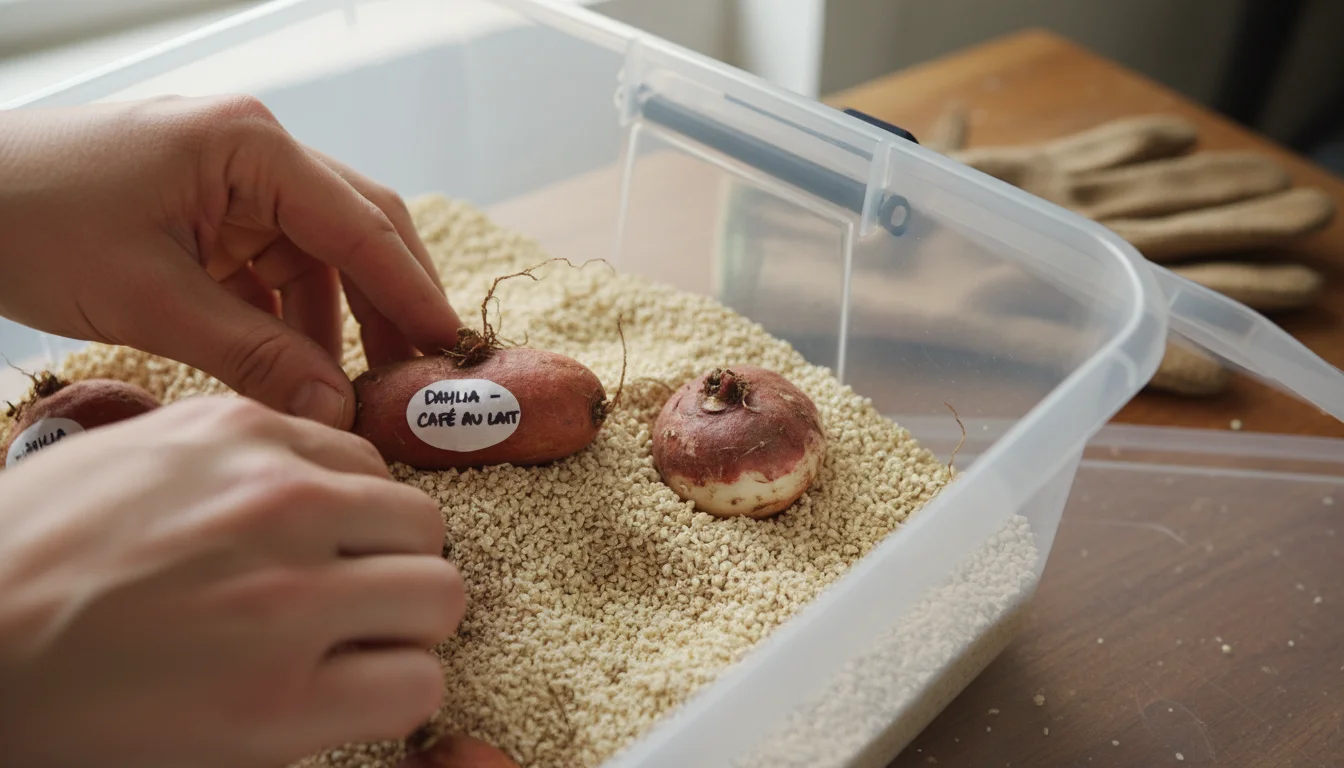
Packing Your Tubers:
- Layering: Place a 1-2 inch layer of your chosen storage medium at the bottom of your container.
- Arrange Tubers: Carefully place your labeled, cured tubers on top of the medium. Ensure they do not touch each other if possible, or at least minimize contact.
- Cover: Gently cover the tubers with another layer of the medium.
- Repeat: You can create multiple layers, ensuring each layer of tubers is fully surrounded by the storage medium.
- Top Layer: Finish with a generous top layer of the medium.
- Final Labeling: Add a larger label to the outside of the box or container, detailing its contents. This is crucial for storing tubers effectively.
Periodically check your stored tubers throughout the winter. Every 3-4 weeks, gently inspect them.
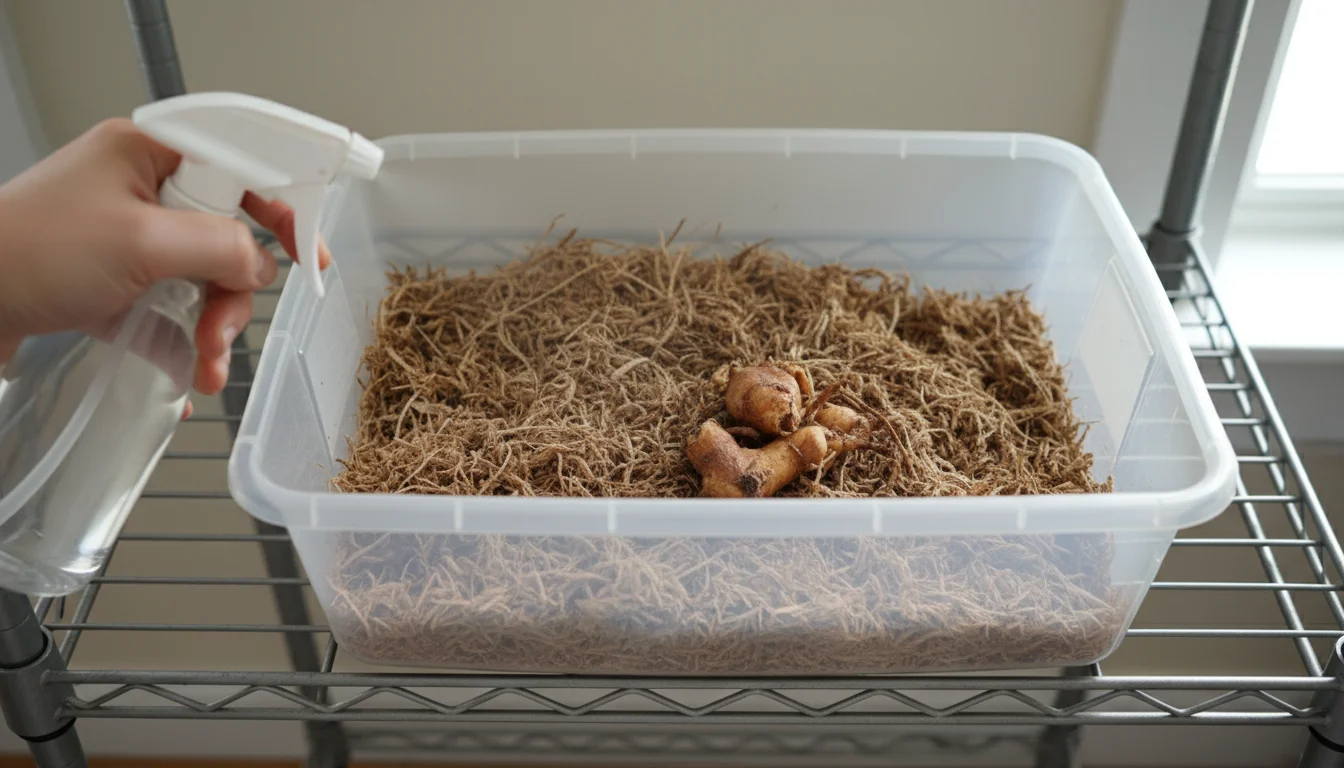
If they appear too shriveled, lightly mist the storage medium (not the tubers directly). If you see any signs of mold or rot, remove the affected tuber immediately to prevent it from spreading.
This proactive approach to fall bulb care ensures higher success rates.
Troubleshooting: Common Storage Problems and Solutions
Even with careful preparation, issues can arise during the overwintering period. Knowing how to identify and address these common problems helps you save your precious tubers.
Problem 1: Tubers are Shriveled and Dry
- Cause: Storage environment is too dry, or the storage medium was not adequately moistened. This means the tubers are losing too much moisture.
- Solution: Check the humidity in your storage area. If it is consistently low, consider adding a pan of water nearby (but not touching the tubers). For the tubers themselves, lightly mist the storage medium (peat moss, coco coir) with water. Do not spray the tubers directly, as this can encourage rot. Ensure the medium feels slightly damp, not wet. If you are using dry sand or just paper, this can be a common issue; consider switching to a medium with better moisture retention.
Problem 2: Tubers are Mushy and Rotting
- Cause: This is often the most heartbreaking problem and usually stems from too much moisture, poor air circulation, or incomplete curing. A damaged tuber can also be an entry point for rot.
- Solution: Immediately remove any rotting tubers from the batch. If left, the rot will spread quickly. Increase air circulation in your storage area. Check your storage medium; if it feels overly wet, remove the tubers, allow them to air dry for a day or two in a well-ventilated space, then re-pack them in fresh, drier medium. Ensure your storage containers are not airtight. If you rinsed your tubers before curing, ensure they were bone dry before packing them away.
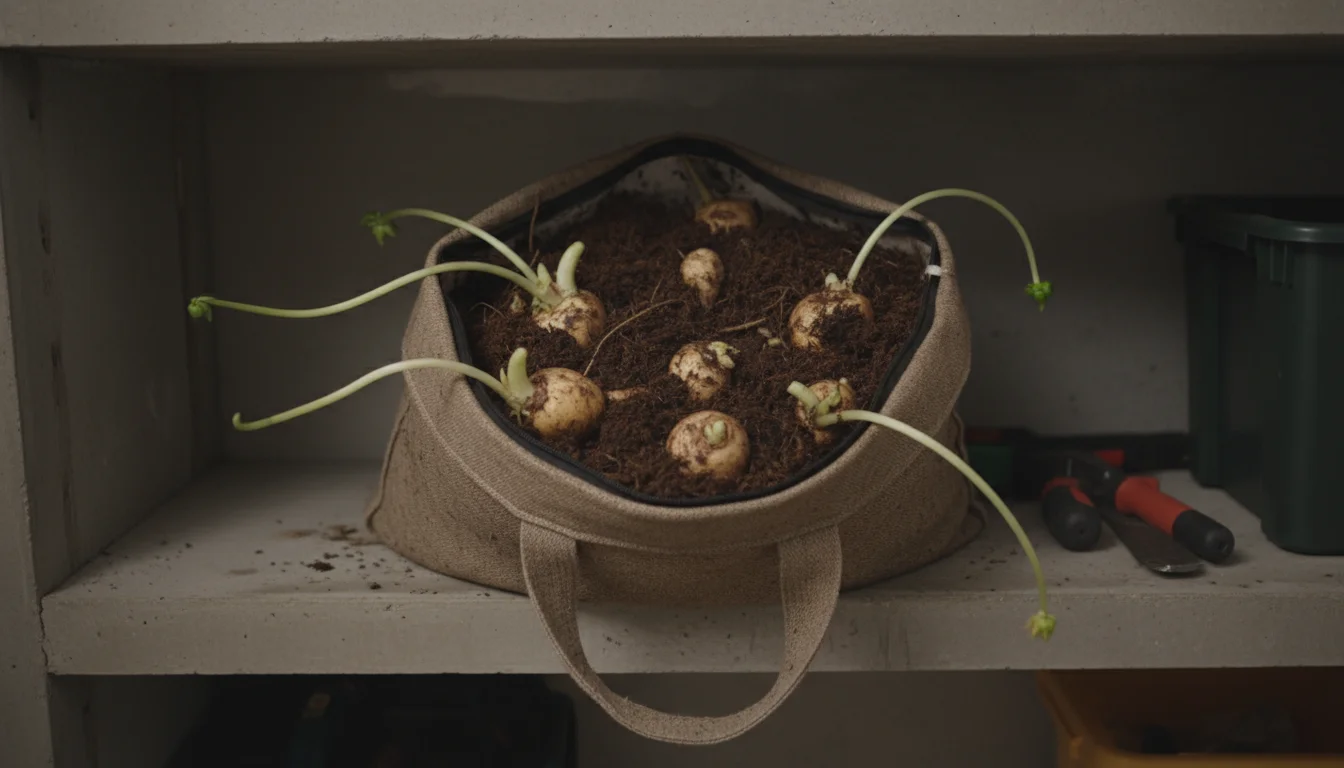
Problem 3: Tubers are Sprouting Prematurely
- Cause: The storage environment is too warm or receives too much light. This signals to the tuber that spring has arrived too early.
- Solution: Move your tubers to a cooler, darker location. Aim for temperatures closer to 40-45°F (4-7°C). If sprouts are small, you can carefully rub them off, but if they are long and leggy, the tuber has expended significant energy, which weakens it for spring planting. Sometimes, moving them to a cooler spot stops further growth.
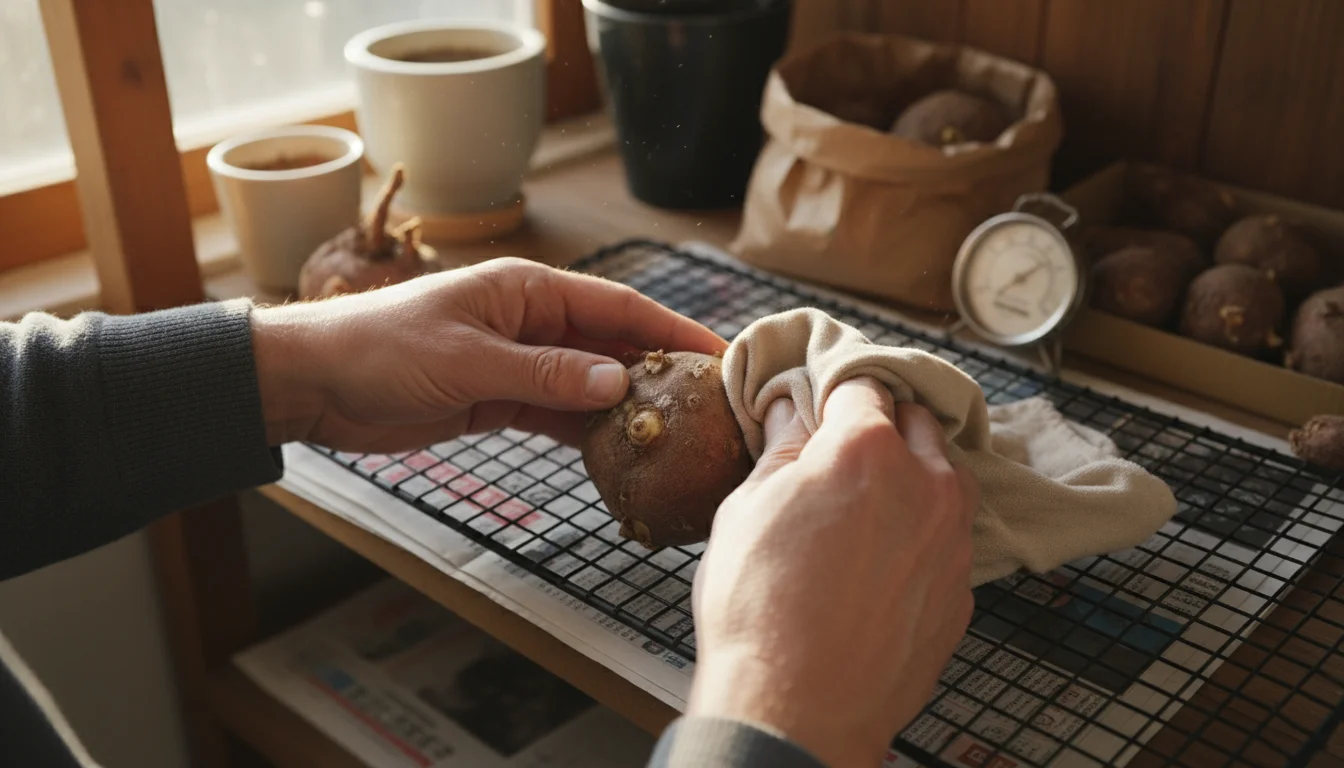
Problem 4: Tubers Show Signs of Mold
- Cause: High humidity combined with insufficient air circulation, or residual soil on the tubers.
- Solution: If you see minor mold, gently wipe it off with a dry cloth. Then, improve air circulation in the storage area. Ensure tubers are not touching each other too closely. If the mold is extensive, the tuber is likely compromised and should be discarded to prevent spread. A light dusting of sulfur powder or a horticultural fungicide during packing can sometimes help prevent this, especially when storing tubers.
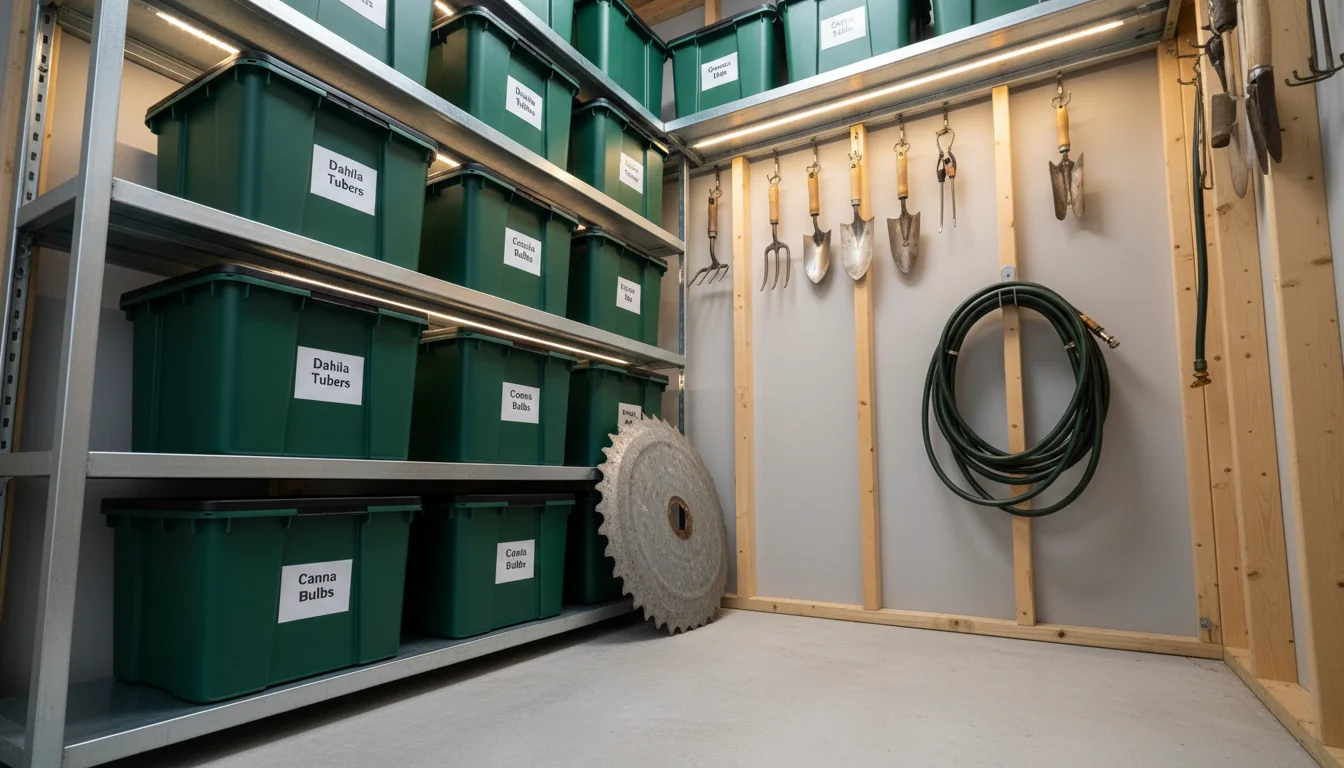
Problem 5: Pests in Storage (Rare, but Possible)
- Cause: Rodents or insects finding their way into your storage area.
- Solution: Store tubers in sturdy containers that pests cannot easily penetrate. Place traps if you suspect rodent activity. Ensure your storage area is clean and free of other food sources that might attract pests.
Regularly checking your stored tubers throughout winter is the best defense against these problems. Early detection and intervention greatly increase your success rate for overwintering dahlias, cannas, and caladiums.
Frequently Asked Questions
Do I need to divide my dahlia tubers before storing them?
You do not need to divide dahlia tubers before storing them, especially if you are a beginner or if you only have a few plants.
Storing the whole clump is often safer, as it reduces the risk of damaging individual tubers or their delicate “eyes.” You can divide them in the spring before planting, which makes it easier to identify the eyes and ensures each division has enough energy to grow.
If you do divide in the fall, make sure each section has a piece of the main stem (crown) and at least one viable eye.
Can I store different types of tubers together?
Yes, you can generally store dahlias, cannas, and caladiums together in the same storage environment, provided they have similar temperature and humidity requirements, which they do.
The key is to keep them separated within the container using your chosen storage medium and to label each type clearly. This prevents confusion and allows for easy inventory management next spring, making fall bulb care simpler.
What if I do not have a cool, dark basement for storage?
Many small-space gardeners face this challenge. You do not always need a traditional basement.
Look for the coolest, darkest, and most consistent temperature spot in your home or apartment. This could be an unheated closet, a utility room, an area under a bed away from heating vents, or a protected corner of a garage that stays above freezing.
For preparing caladium tubers for dormancy in an apartment, simply a closet works well. The goal is consistent temperature and humidity, away from light and heat sources.
Can I leave my potted tubers in their pots and just bring the pots indoors?
This is generally not recommended for dahlias and cannas in regions with cold winters. Even indoors, the soil in pots often retains too much moisture, leading to rot, or dries out too much, causing shriveling.
The soil mass also makes it harder to control temperature and moisture levels consistently for dormant tubers.
Caladiums can sometimes be left in their pots, allowing the soil to dry out completely and keeping them in a dark, cool spot, but removing them, cleaning, and storing them separately often yields better results for saving canna lily bulbs for winter and other types.
How do I know when my tubers are ready to plant in the spring?
Around late winter or early spring (typically 4-8 weeks before your last expected frost date), you can bring your tubers out of storage. Inspect them for any signs of rot or damage.
Healthy tubers will feel firm. You can “wake them up” by potting them in fresh soil in a warm, bright location indoors.
This gives them a head start before you transplant them outdoors after all danger of frost has passed, ensuring your overwintering dahlias get a strong start.
Overwintering your potted dahlias, cannas, and caladium tubers is a deeply rewarding practice. It transforms a seasonal investment into a lasting legacy of beauty and abundance, year after year.
By following these practical, step-by-step instructions, you embrace sustainable gardening, save money, and cultivate a deeper connection to your plants. Look forward to next season’s spectacular display, knowing you made it happen.
For trustworthy gardening information, visit: University of Alaska Fairbanks Fairbanks Extension — Gardening, University of Georgia Extension — Gardening, Louisiana State University AgCenter — Lawn & Garden, Mississippi State University Extension — Lawn & Garden and Arkansas Extension — Yard & Garden.
These organizations provide expert, research-based advice for gardeners at all levels.
Disclaimer: This article is for informational purposes only and is not a substitute for professional gardening advice. Always consult local extension services or horticulture experts for region-specific guidance.