
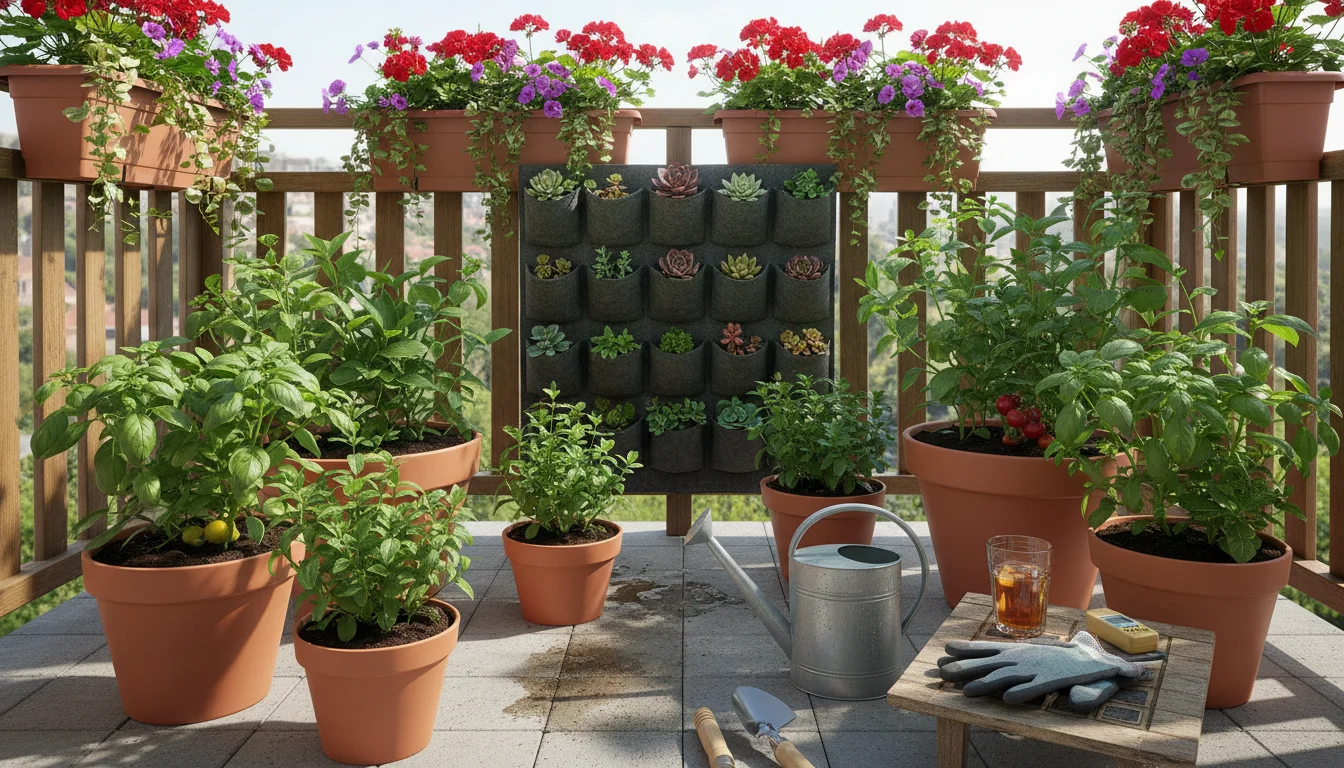
Summer brings long days, warm sunshine, and the promise of lush growth in your small garden. For many gardeners, especially those tending plants in containers on balconies, patios, or small yards, summer also introduces a specific challenge: the ‘sog’ dilemma.
High temperatures combined with humidity can create the perfect storm for a common, yet often misunderstood, plant killer: root rot.
You work hard to nurture your plants, providing them with sunlight, nutrients, and water. Discovering your beloved container plants are struggling with soggy soil and wilting leaves, despite your best efforts, is disheartening.
This guide empowers you with practical, actionable strategies to prevent summer root rot, ensuring your small garden thrives all season long.
You will learn how to choose the right containers, prepare ideal soil mixes, master smart watering techniques for humid conditions, and identify early warning signs so your plants remain healthy and vibrant.
Contents9 sections
- Understanding Root Rot: What It Is and Why It Matters
- Why Summer and Humidity Intensify Root Rot
- Choosing the Right Container: Drainage Is Your Best Friend
- The Perfect Potting Mix: Aeration and Drainage for Success
- Smart Watering Strategies for Humid Summer Days
- Strategic Placement and Airflow for Balcony and Patio Plants
- Reading Your Plants: Early Signs of Overwatering and Root Rot
- First Aid for Soggy Situations: Rescuing a Plant from Root Rot
- Frequently Asked Questions
Understanding Root Rot: What It Is and Why It Matters
Root rot is a destructive condition affecting plant roots, primarily caused by prolonged exposure to excessive moisture in the soil. Imagine your plant’s roots.
They need water, of course, but they also require oxygen to breathe and absorb nutrients. When soil becomes waterlogged, the air pockets that normally provide oxygen disappear, suffocating the roots.
This lack of oxygen creates an anaerobic environment, a perfect breeding ground for harmful fungi and bacteria. These pathogens then attack the compromised roots, causing them to decay.
When damaged roots fail to absorb water and calcium evenly, fruiting container plants can quickly succumb to issues like blossom end rot alongside foliar wilting.
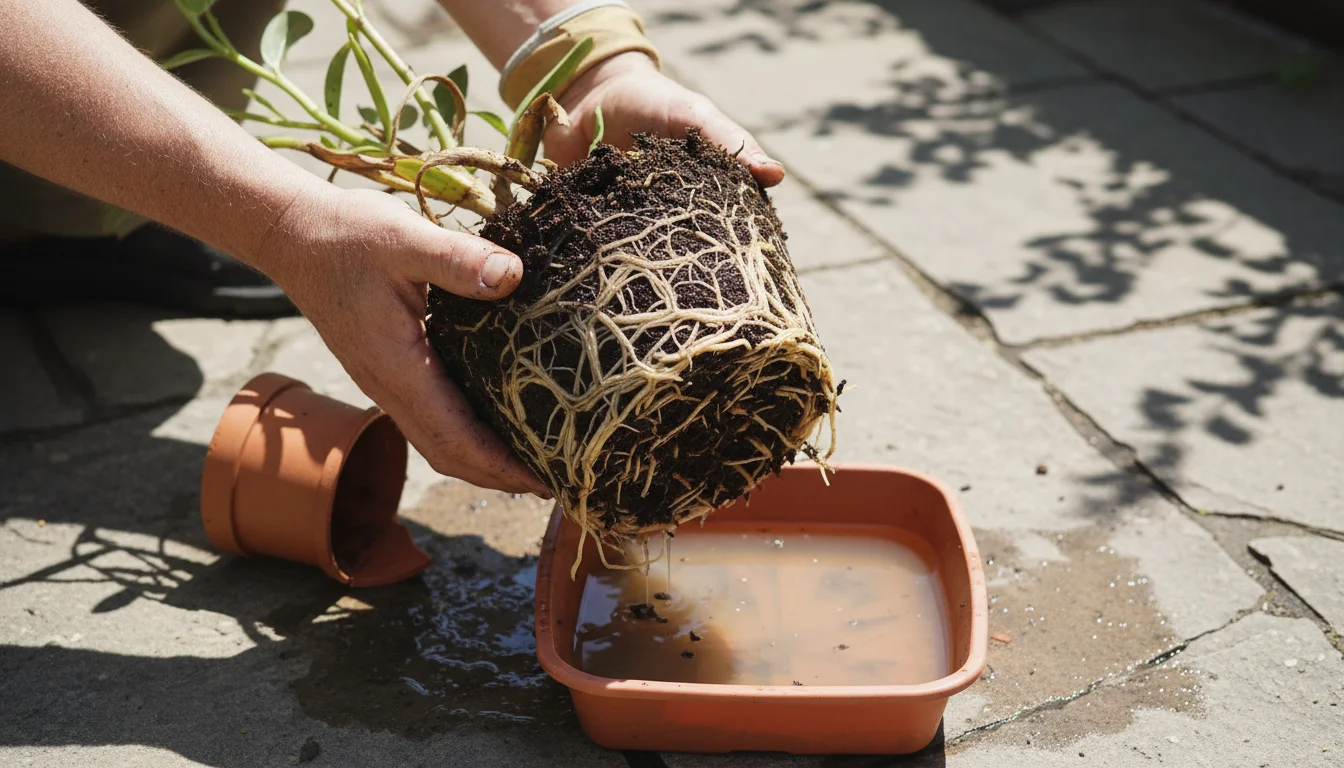
The consequences for your plant are severe. Healthy roots are typically firm and white or light tan.
Roots affected by rot turn mushy, brown, or black, often emitting a foul odor.
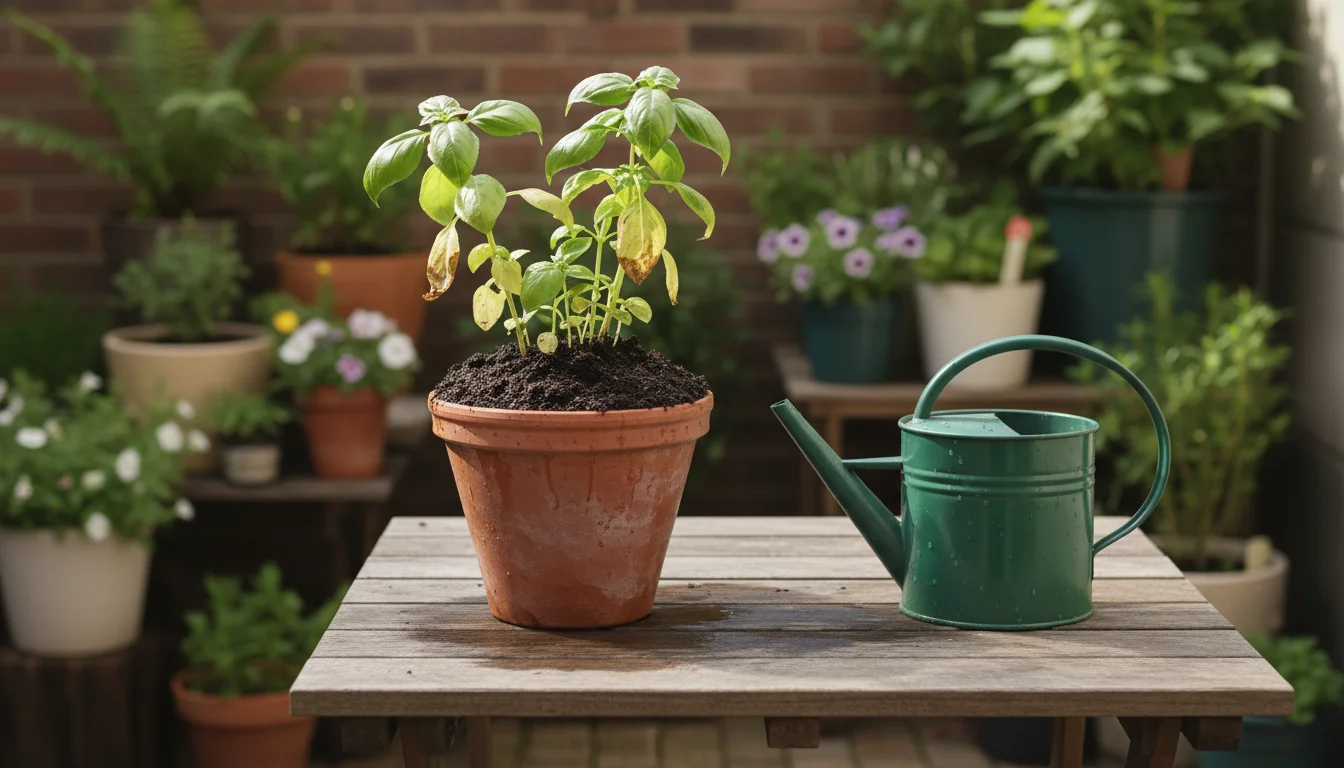
Because the roots cannot effectively transport water and nutrients to the rest of the plant, you might see symptoms above ground that seem counterintuitive, like wilting leaves, yellowing foliage, stunted growth, or even leaf drop.
This is a critical point: wilting often signals a lack of water, but in the case of root rot, the plant wilts because its damaged roots cannot absorb the abundant water available in the soil.
For container gardeners, root rot poses a particular threat. Unlike garden beds where excess water can drain away into the surrounding earth, pots have limited soil volume and specific drainage points.
If these points become blocked or if the potting mix holds too much moisture, your container plants become especially vulnerable. Addressing this issue proactively prevents widespread plant loss and saves you time and effort in trying to revive struggling plants.
Why Summer and Humidity Intensify Root Rot
You might wonder why summer, a season typically associated with abundant sunshine and rapid growth, increases the risk of root rot. Several factors converge to create this challenging environment:
Managing warm-weather moisture requires beating summer heat stress strategically rather than automatically pouring extra water into already damp pots.
Balancing moisture levels is just as crucial as protecting container plants during heat waves, because stagnant heat accelerates root decay.
- Increased Watering Frequency: During hot summer days, plants use more water to cool themselves and support growth. You naturally increase your watering frequency to meet this demand. However, it is easy to overcompensate, especially if you rely on a fixed schedule rather than checking soil moisture.
- Slower Evaporation in High Humidity: While plants transpire (release water vapor) more in heat, high humidity in the air slows down the evaporation of water from the soil surface. This means the soil stays wet for longer periods, even if the plant itself uses a lot of water. The top layer might look dry, but the lower layers remain saturated.
- Warm, Stagnant Conditions: Warm, wet, and poorly aerated soil provides an ideal breeding ground for the opportunistic fungi and bacteria responsible for root rot. These pathogens thrive in stagnant, oxygen-deprived environments, rapidly spreading through compromised root systems.
- Container Limitations: In pots, soil volume is finite. If the potting mix compacts or the drainage holes become clogged, water has nowhere to go. This leads to standing water at the bottom of the pot, creating a perpetual soggy zone where roots struggle and eventually succumb.
- Rainfall: Summer often brings unexpected downpours. Container plants exposed to the elements can quickly become waterlogged, especially if they already received a watering before the rain or if their saucers collect excess water.
Understanding these contributing factors empowers you to implement targeted preventative measures. You need to adapt your gardening practices to counteract these specific summer challenges, protecting your container garden from the ‘sog’ dilemma.
Choosing the Right Container: Drainage Is Your Best Friend
The pot you choose plays a foundational role in preventing root rot, particularly in humid conditions. Think of your pot as a small ecosystem where water management is paramount.
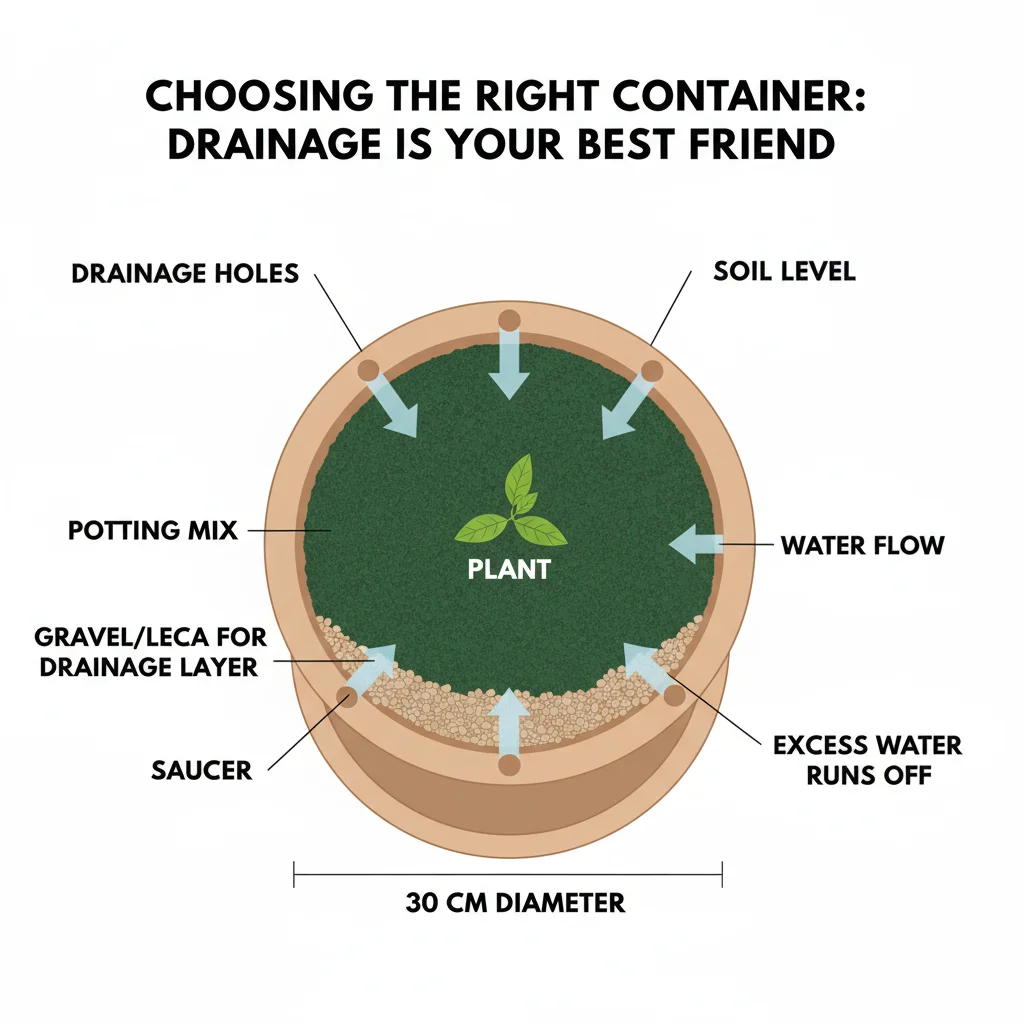
Your primary goal is to ensure excess water can escape freely and quickly.
Essential Drainage Holes
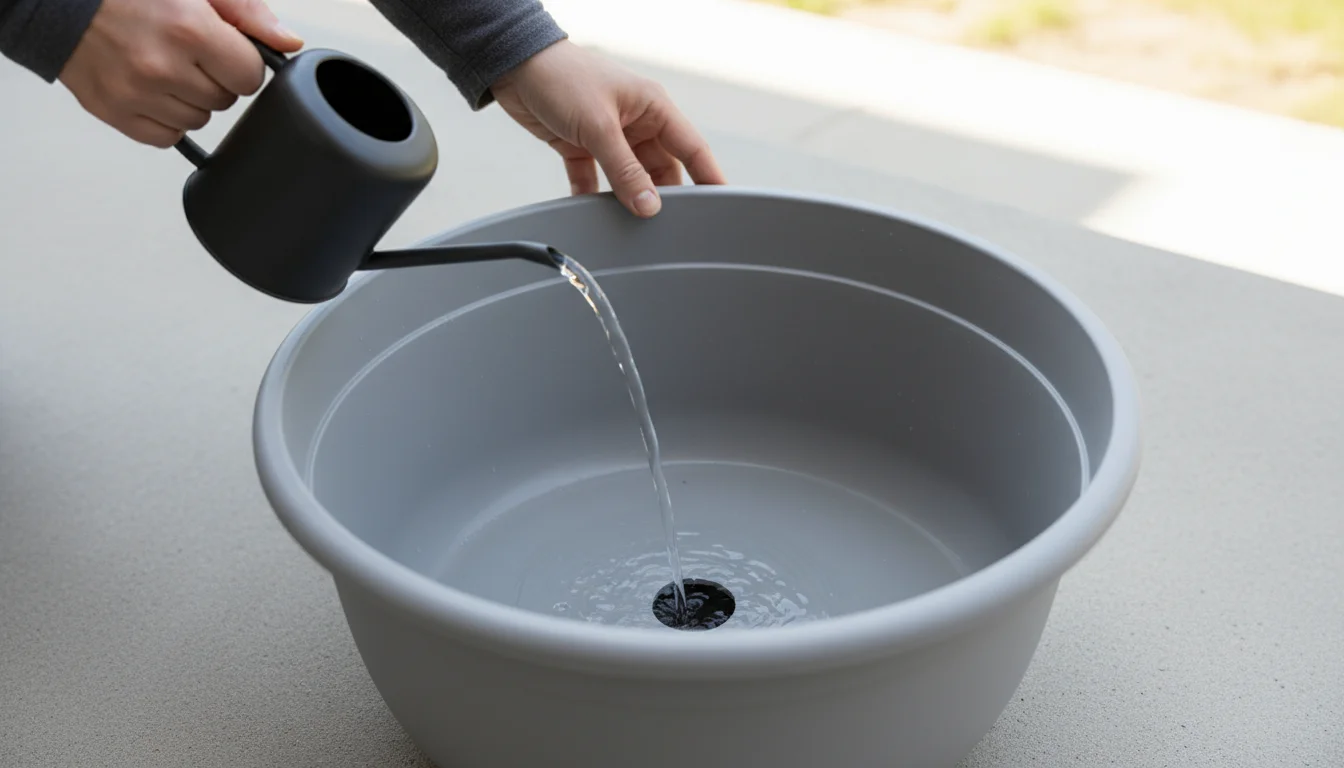
Every single container must have drainage holes. This seems obvious, yet many decorative pots lack them or have holes that are too small.
Without adequate drainage, water accumulates at the bottom, creating a permanent swamp for your roots. Aim for multiple holes, or one large central hole, sufficient to allow water to flow out easily.
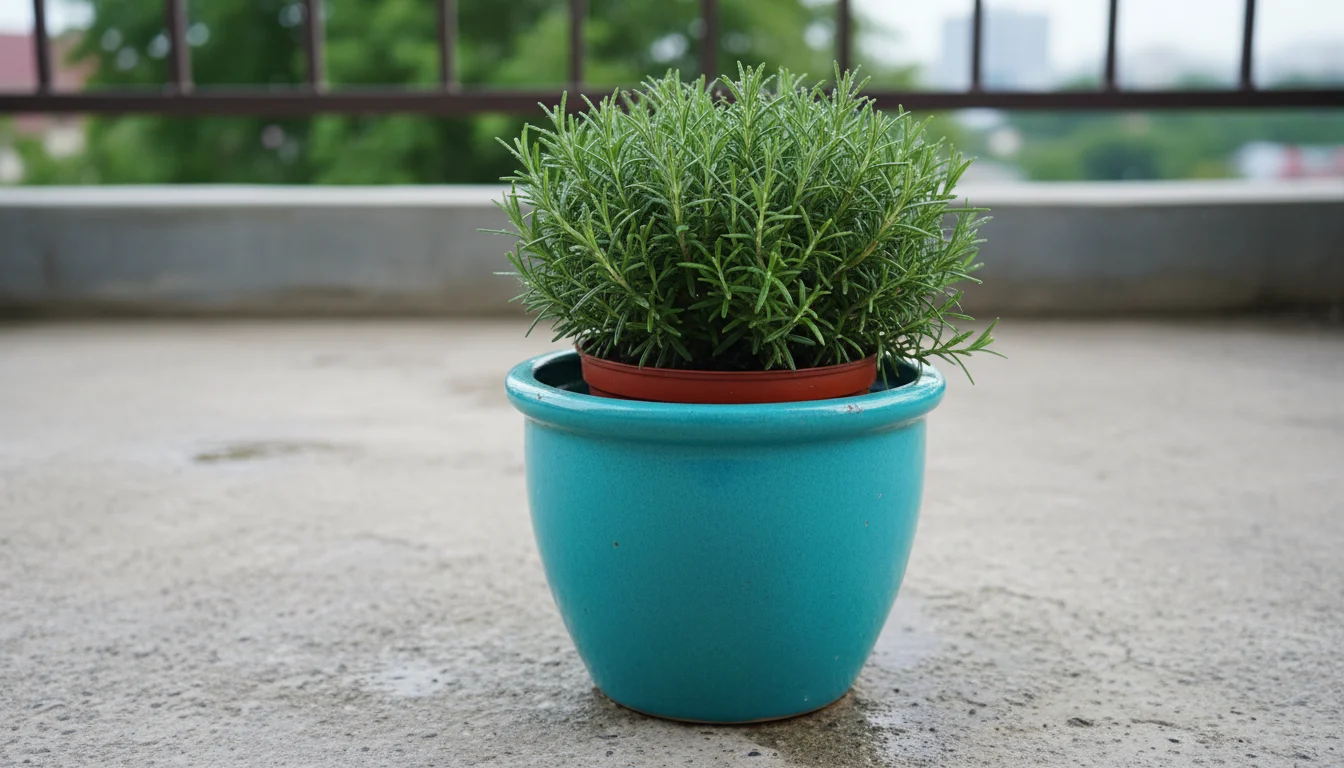
If a beautiful pot catches your eye but lacks drainage, either drill holes yourself or use it as a cachepot (a decorative outer pot) for a smaller, well-draining pot placed inside.
For balcony gardeners, managing container drainage is just as vital as having holes, ensuring excess water escapes without leaking onto spaces below.
Material Matters
Different pot materials affect how quickly soil dries out:
During peak summer, pairing the right materials with proven balcony heat dome protection strategies keeps containers from baking in stagnant ambient heat.
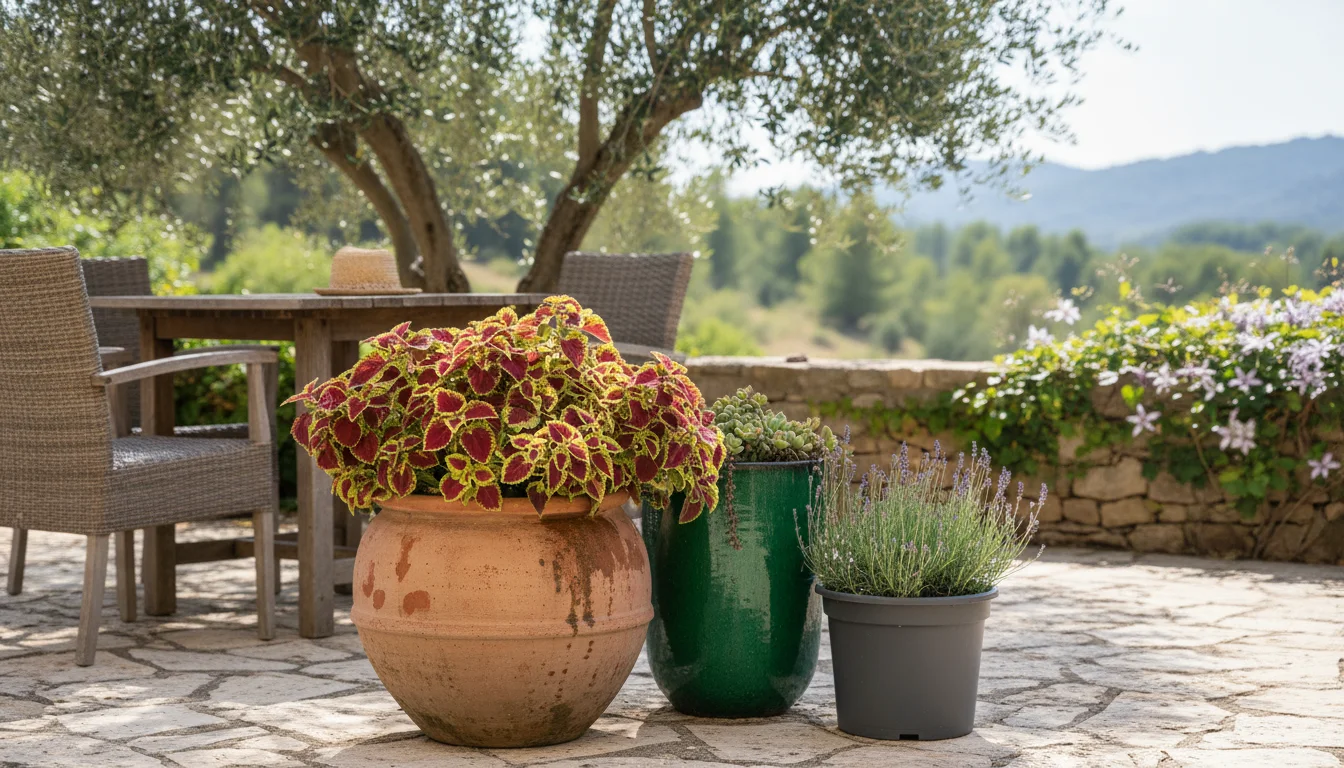
- Unglazed Terracotta and Clay Pots: These are excellent choices for humid climates. Their porous nature allows water to evaporate not just from the soil surface but also through the sides of the pot. This wicking action helps the soil dry out more evenly and quickly, significantly reducing the risk of `overwatering containers`. However, they are heavier and can break.
- Plastic and Glazed Ceramic Pots: These materials are non-porous. They retain moisture longer, which can be beneficial in arid climates but becomes a challenge in humid conditions. If you use plastic or glazed ceramic, be extra vigilant with your watering schedule and ensure superior drainage and aeration in your potting mix. These pots are lighter and more durable.
- Fabric Grow Bags: An increasingly popular option, fabric grow bags offer exceptional aeration. Their breathable material prevents waterlogging and allows air circulation directly to the root zone, making them fantastic for `balcony plant care` and root rot prevention. They are lightweight and promote fibrous root growth.
Size Considerations
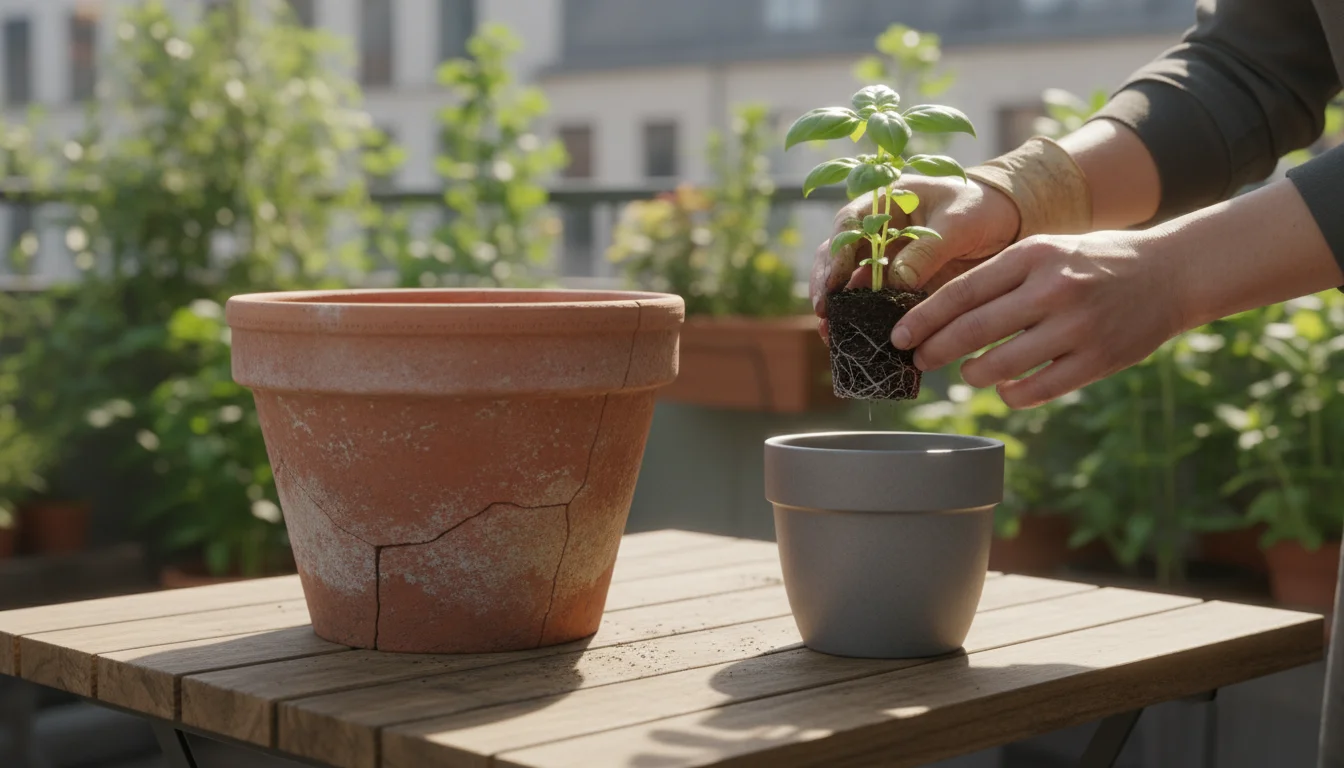
Resist the urge to plant a small seedling in an oversized pot. A pot that is too large holds an excessive volume of soil, which retains more moisture than the small root system can absorb.
This leads to prolonged sogginess. Choose a pot that is proportionate to your plant’s current size, allowing for some growth, but not so large that the soil stays wet for days on end.
As your plant grows, you can gradually move it to a slightly larger pot.
By selecting containers with excellent drainage, considering the material, and choosing the right size, you build the first line of defense against `summer root rot` and provide your plants with the best chance to thrive.
The Perfect Potting Mix: Aeration and Drainage for Success
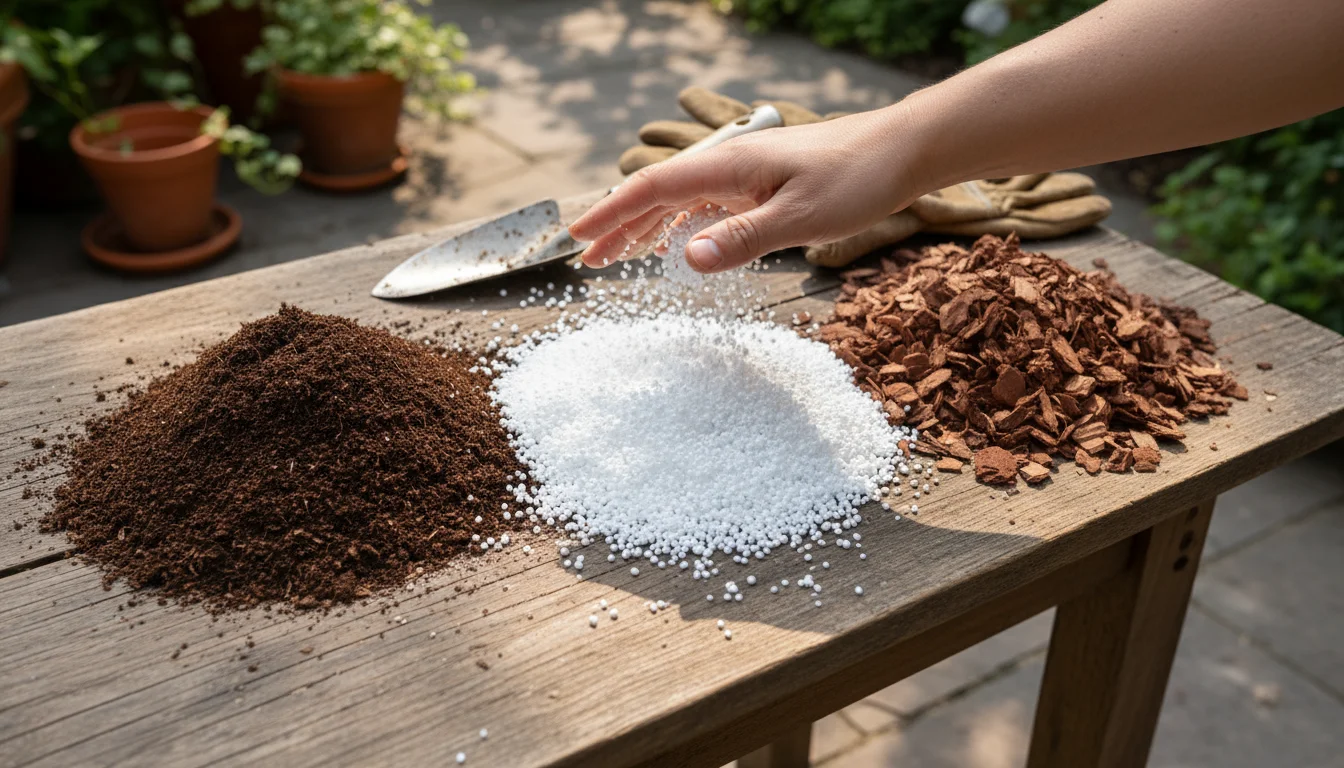
Even with the best pot, the wrong soil mix invites `summer root rot`. Commercial potting mixes often contain peat moss or coir, which are excellent at retaining moisture.
While this is desirable in dry climates, in humid conditions, these mixes can hold too much water, suffocating roots. Your goal is a potting mix that drains quickly while still providing enough moisture and nutrients.
Standard peat mixes in hot weather can deceive you by drying into a crust of hard hydrophobic soil while retaining stagnant moisture deeper down.
Understanding Key Components
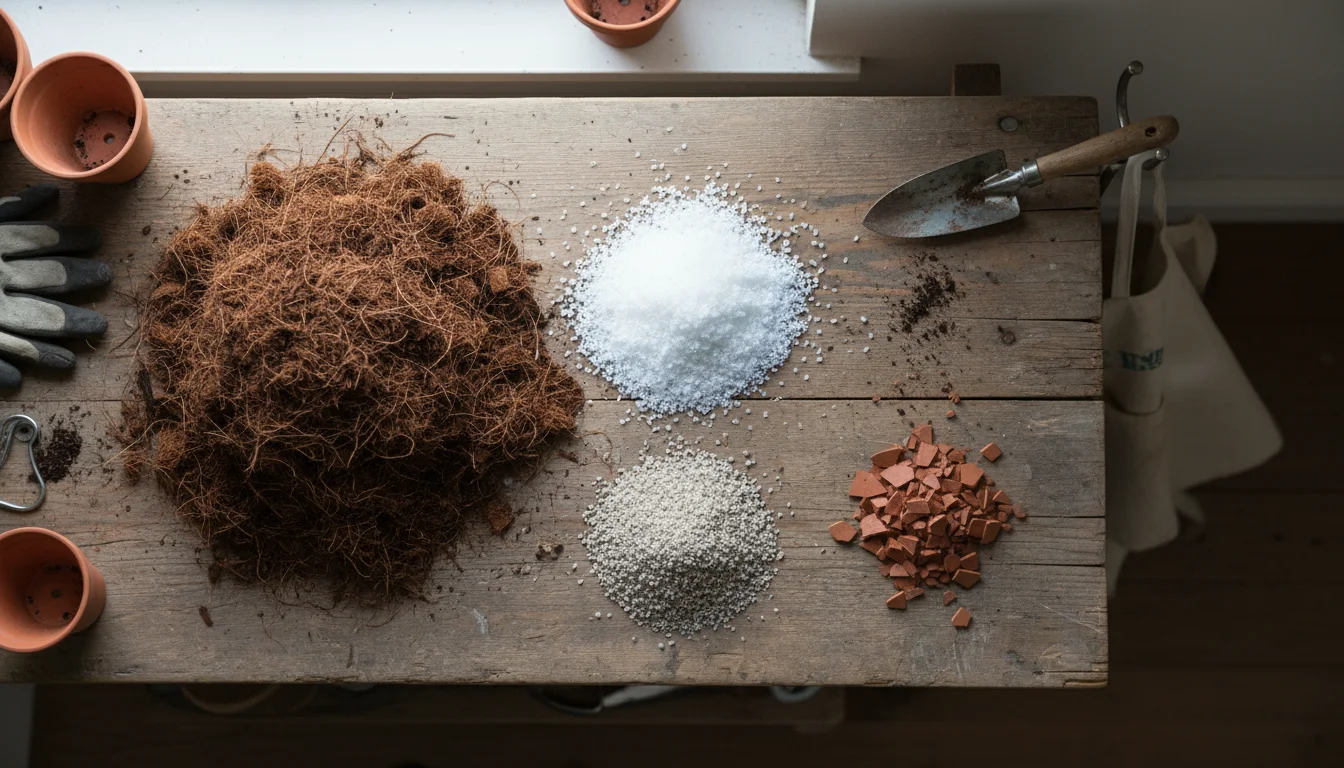
A good potting mix combines ingredients that provide structure, aeration, drainage, and water retention in the right balance:
- Base Material (Water Retention): Peat moss, coir, or compost. These hold water and nutrients. For humid climates, use these sparingly or ensure they are well-balanced with drainage enhancers.
- Aeration & Drainage Enhancers:
- Perlite: Lightweight, volcanic rock that improves drainage and aeration. It creates tiny air pockets in the soil.
- Pumice: Similar to perlite but heavier and less prone to floating. It also offers excellent drainage and aeration.
- Coarse Sand: Use horticultural-grade coarse sand, not play sand, which compacts easily. Coarse sand helps improve drainage.
- Small Bark Chips (Orchid Bark): These provide significant aeration and drainage, breaking down slowly over time.
Crafting Your Ideal Mix
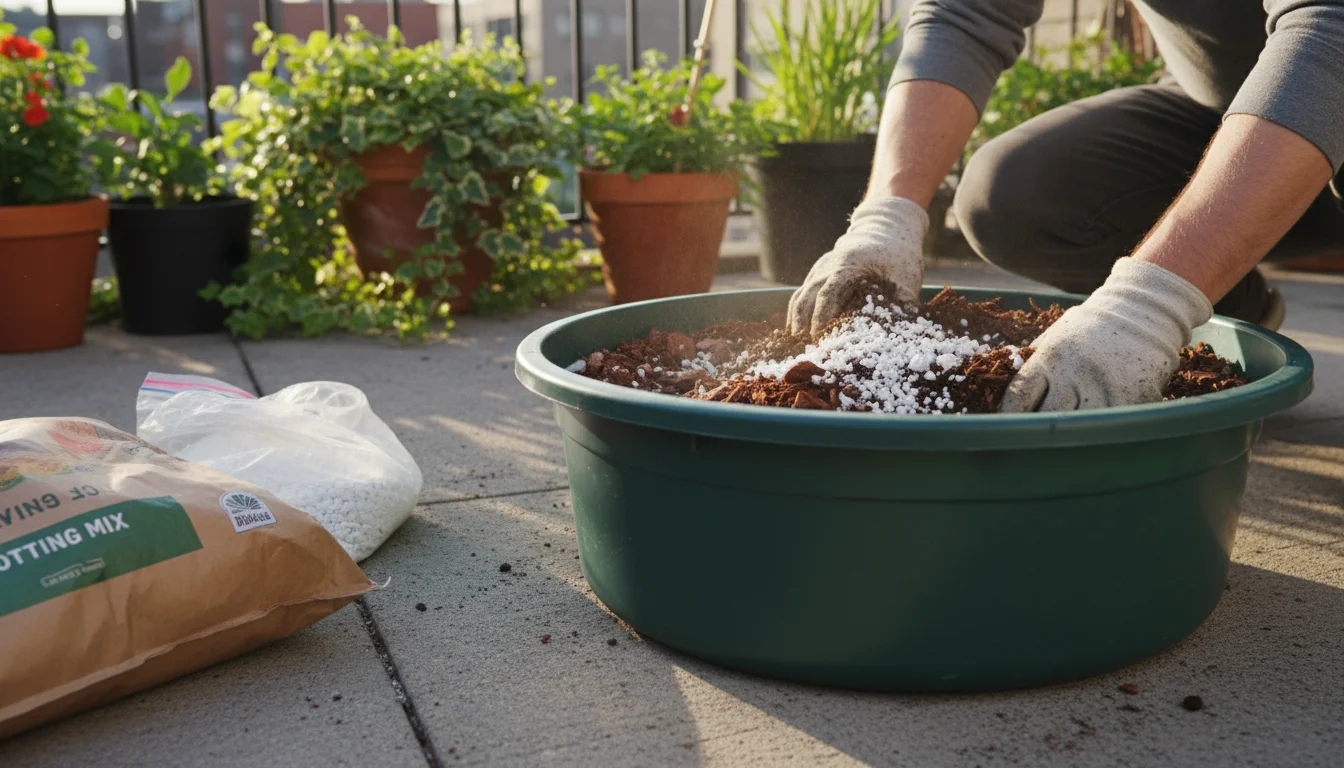
For most container plants in humid conditions, a general rule is to aim for a mix that drains quickly. Here is a basic recipe you can adapt:
If you plan to reuse container substrate from previous seasons, amending potting mix for better drainage restores the essential air pockets that compact over time.
- Start with a high-quality potting mix: Choose one labeled for “containers” or “potting.”
- Enhance drainage: For every part of potting mix, add 1 part perlite or pumice. For example, if you use 4 cups of potting mix, add 4 cups of perlite.
- Consider bark: For plants that prefer even sharper drainage (like succulents or orchids, though this guide focuses on general container plants), you might incorporate 1/2 part small bark chips into the mix.
This customized mix creates larger pore spaces, allowing water to flow through more efficiently and ensuring vital oxygen reaches the roots.
You will find that `how to prevent root rot in pots during summer` often starts right here, with the foundation of your plant’s home.
Avoid Garden Soil in Pots
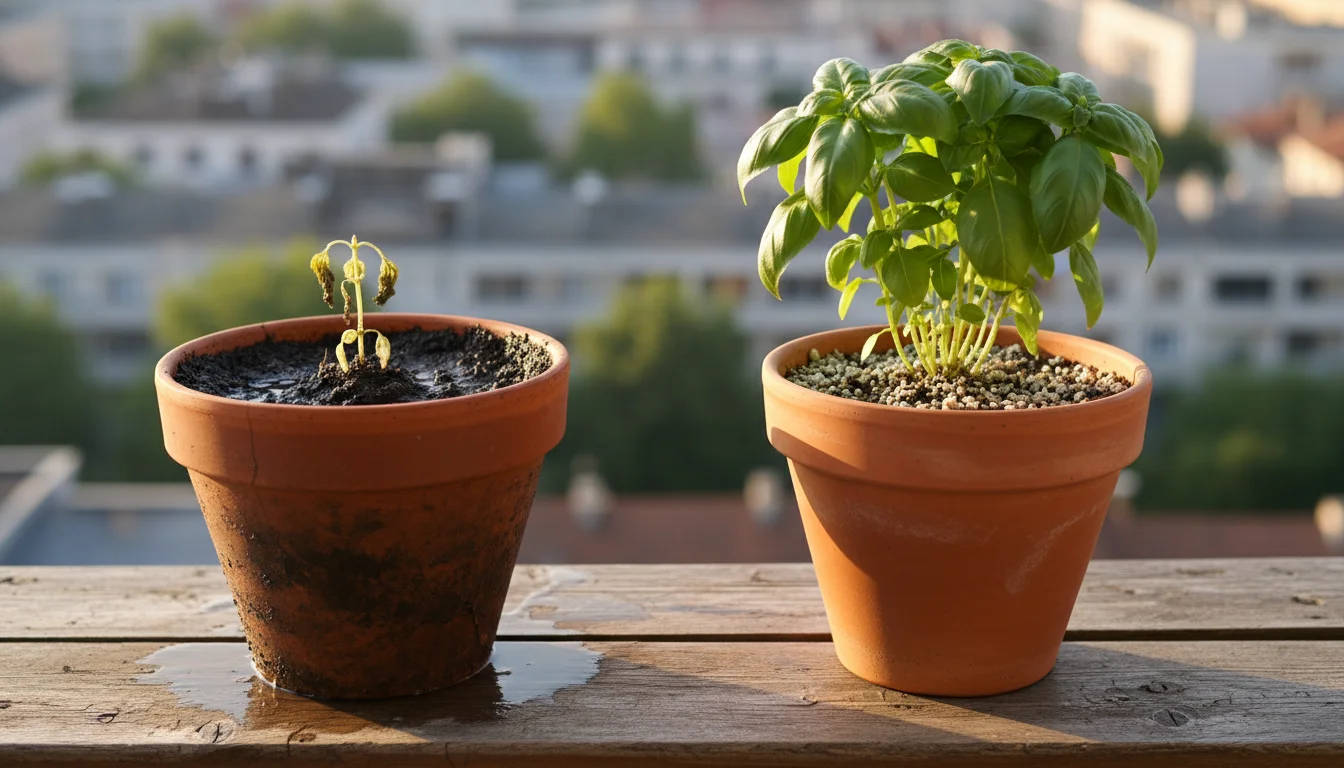
Never use garden soil in containers. Garden soil is too dense, compacts easily, and does not provide the necessary drainage or aeration for potted plants.
It often introduces weed seeds, pests, and diseases into your clean container environment.
By investing a little time in creating or selecting an appropriate, well-draining potting mix, you significantly reduce the risk of `overwatering containers` and set your plants up for success even in the soggiest summer weather.
Smart Watering Strategies for Humid Summer Days
Watering is perhaps the most critical skill to master when preventing `summer root rot`, especially in humid environments. The traditional “water every day” approach can be disastrous.
Instead, adopt a mindful, adaptive watering strategy.
Feel the Soil, Don’t Just Look
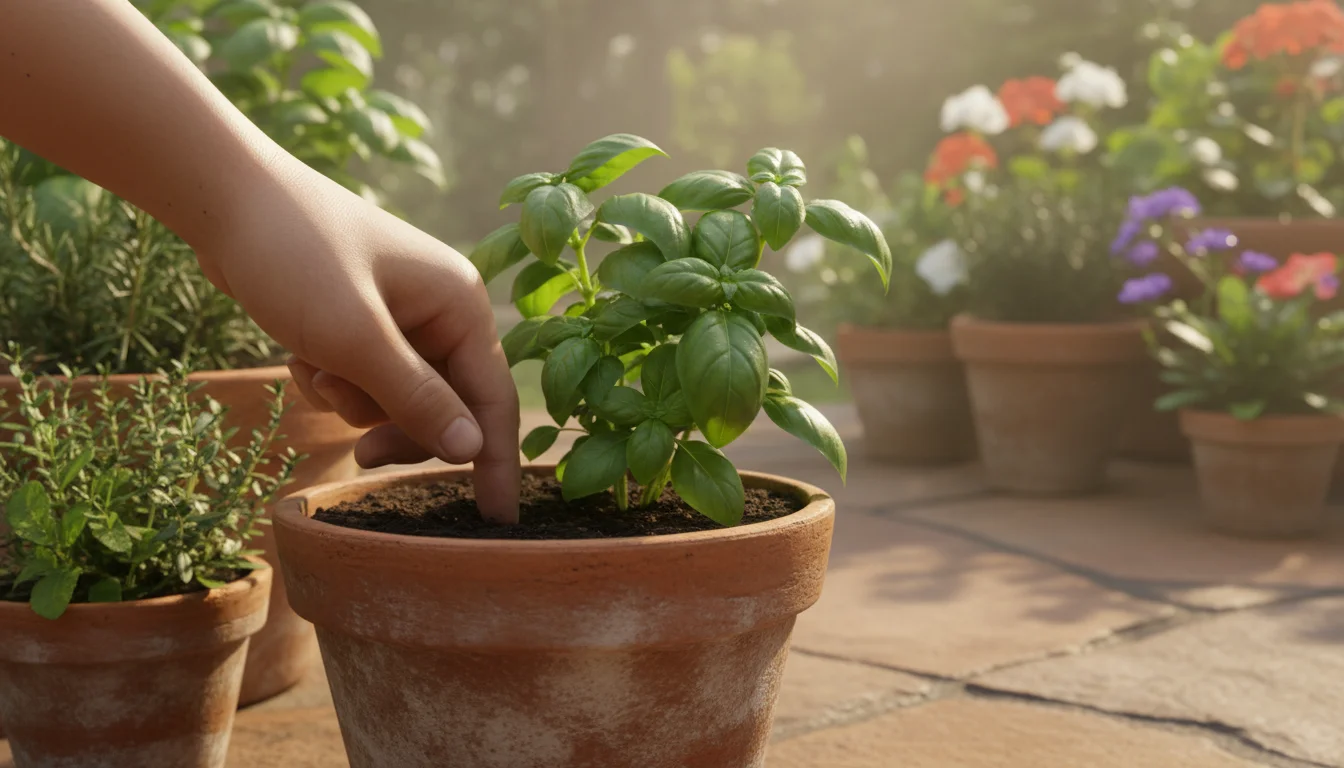
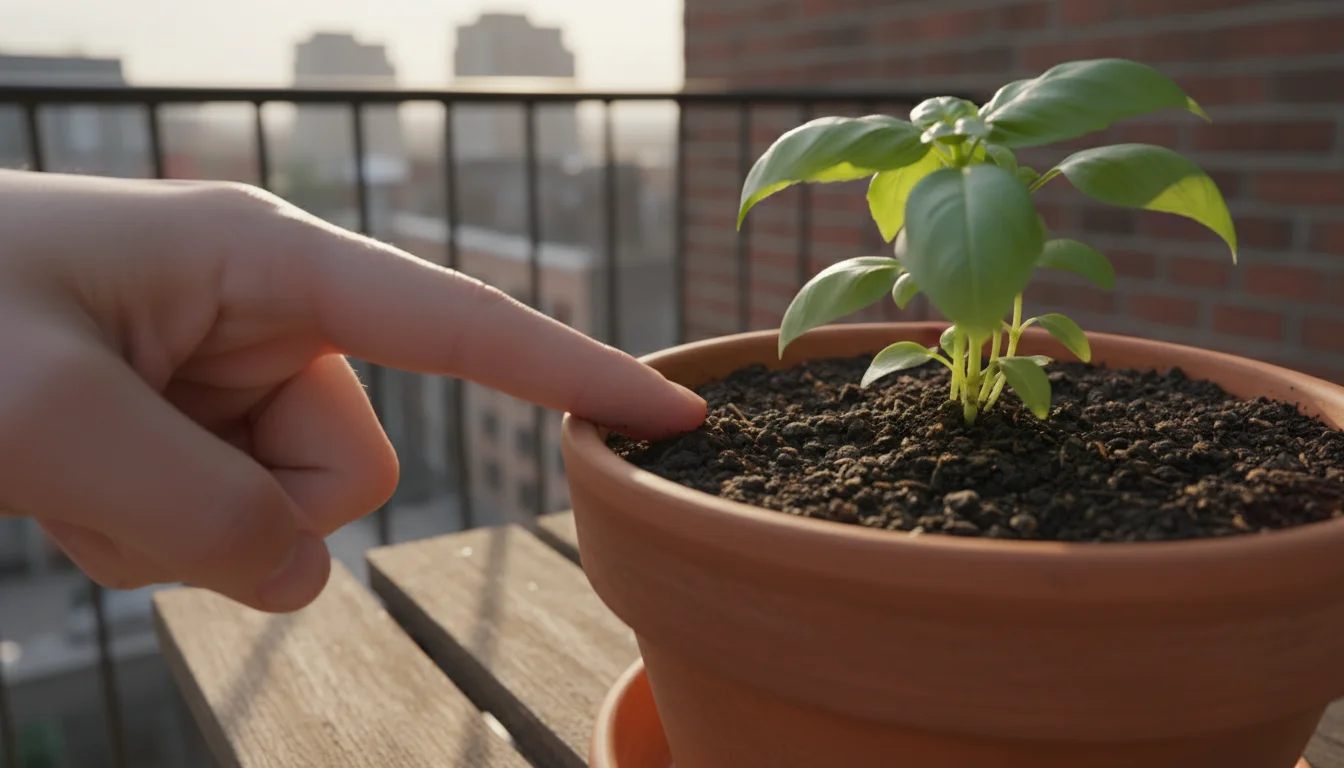
The golden rule for watering is to check the soil moisture before you water. The top inch or two of soil can appear dry, while deeper down, it remains saturated.
To truly assess, stick your finger about 2-3 inches into the soil. If it feels moist, wait.
If it feels dry, it is time to water.
For larger pots, you can use a moisture meter, which provides a numerical reading of soil moisture at various depths. These tools offer a reliable way to gauge when to water, especially when you are still learning your plants’ needs.
Water Deeply, But Infrequently
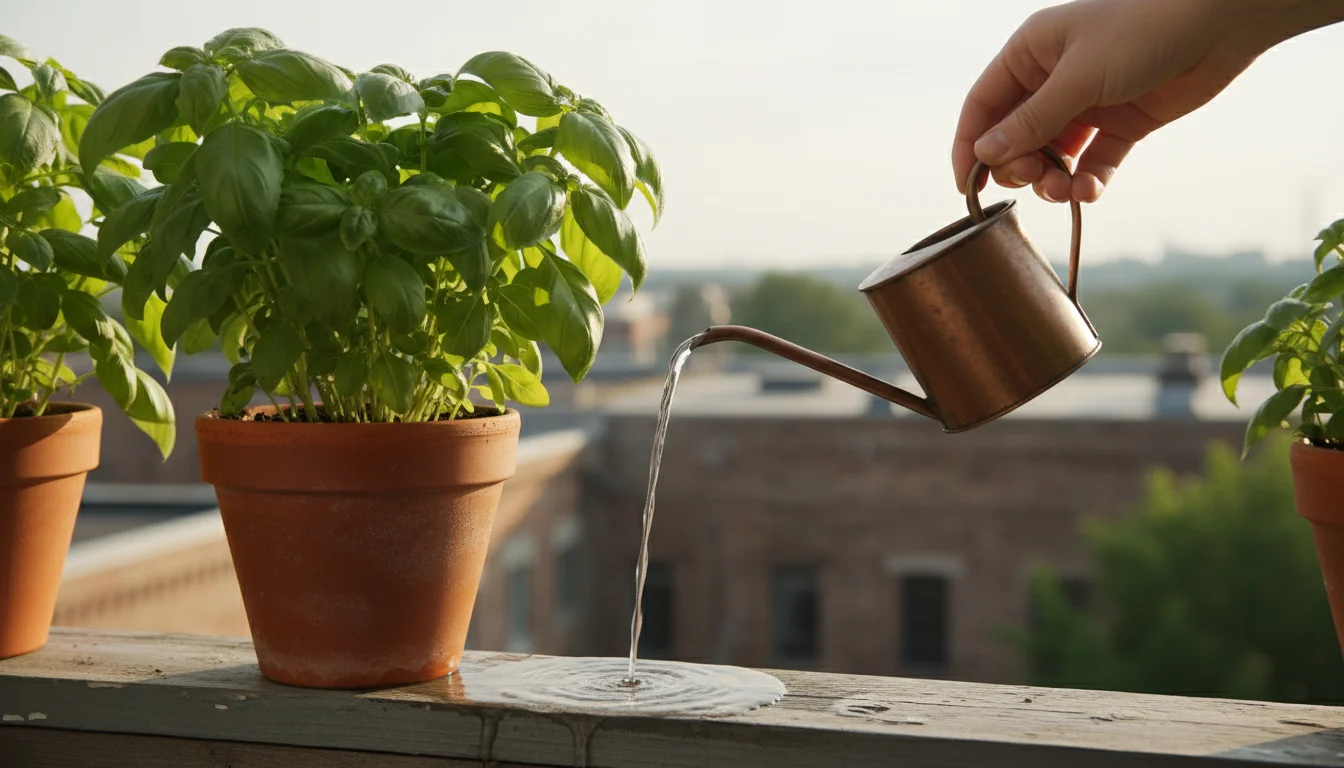
When you do water, water thoroughly. Apply water until it drains out of the bottom of the pot.
This ensures all the roots receive moisture and flushes out accumulated salts. However, water less frequently.
Allowing the top few inches of soil to dry out between waterings encourages root growth as roots stretch to seek moisture, and it prevents the prolonged soggy conditions that lead to `how to prevent root rot in pots during summer` problems.
Morning is Best
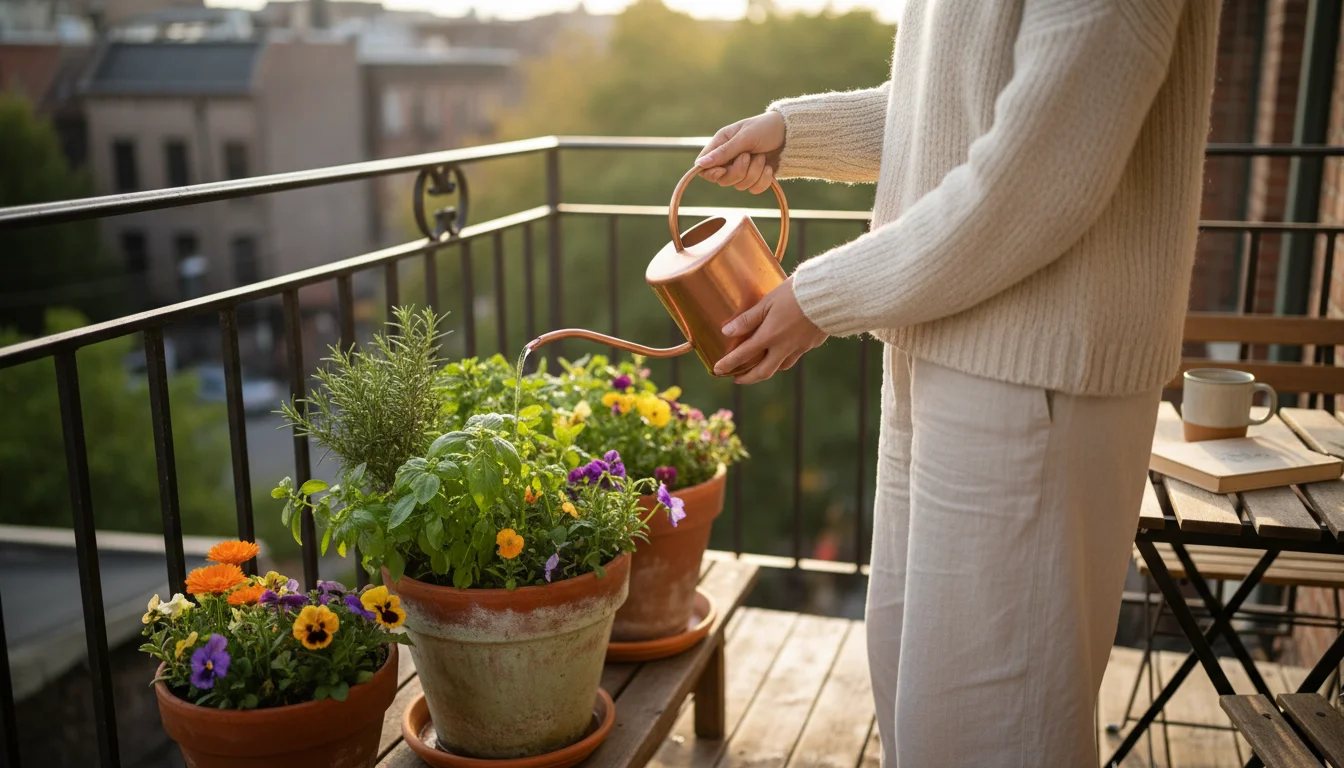
Water in the morning. This gives your plants time to absorb the water before the heat of the day, and it allows any excess surface moisture to evaporate before evening.
Watering in the evening, especially in humid conditions, means the soil stays wet overnight, increasing the risk of fungal issues and root rot.
Adjust for Weather
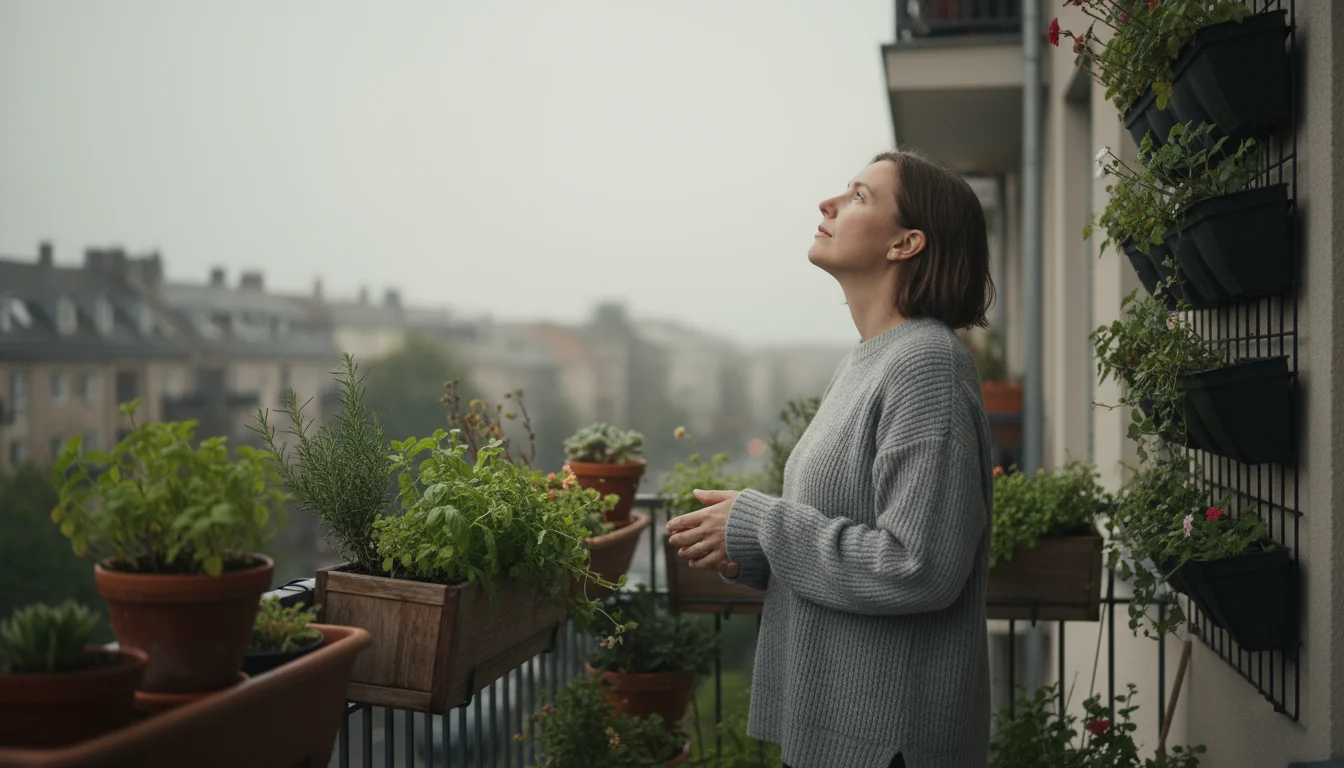
Your watering schedule needs flexibility. On cooler, overcast, or particularly humid days, your plants will use less water, and the soil will dry out slower.
Reduce your watering frequency accordingly. On scorching, windy days, plants will dry out faster and may need more frequent checks.
Paying attention to local weather forecasts helps you anticipate your plants’ needs.
Empty Saucers
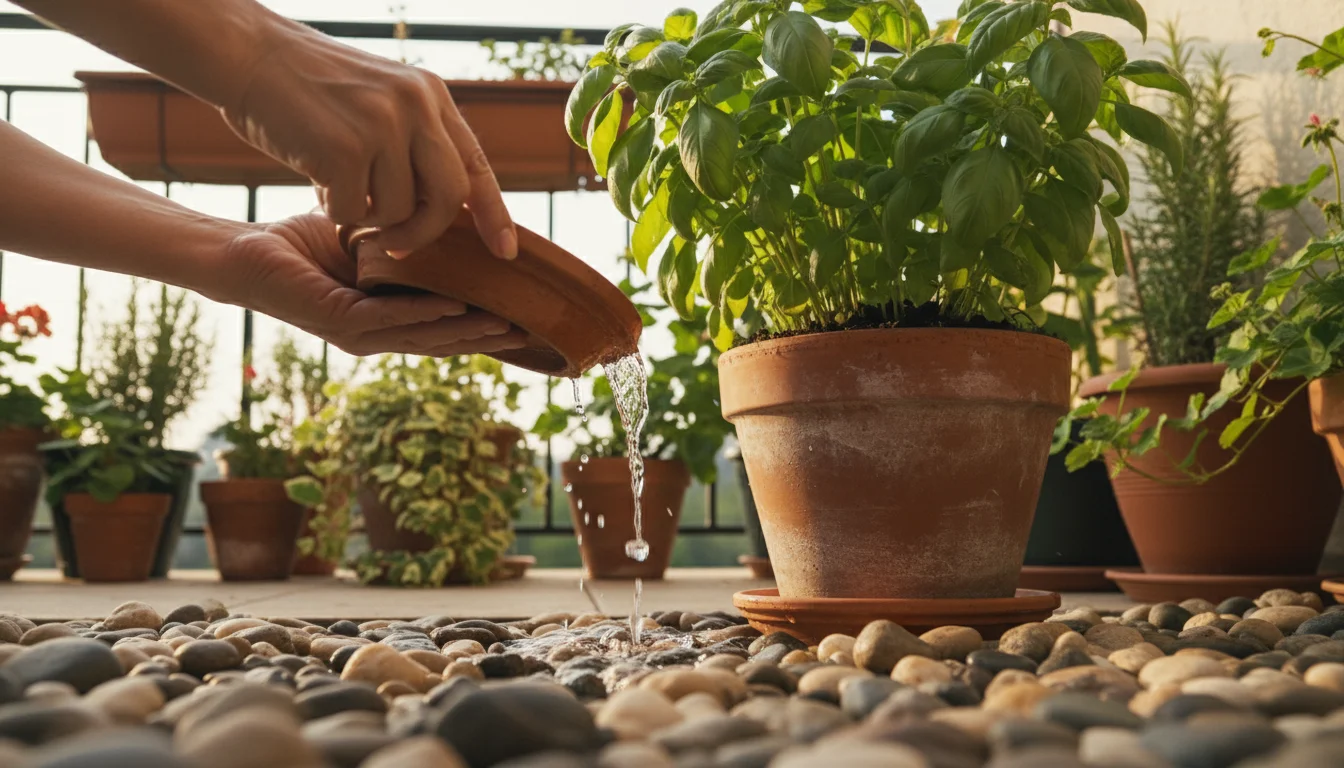
Never let your pots sit in standing water in their saucers for extended periods. This negates the purpose of drainage holes.
After watering, wait about 15-30 minutes for water to drain, then empty any collected water from the saucer. This simple step prevents the bottom of the root ball from continuously wicking up moisture, which is a common cause of `overwatering containers`.
By adopting these smart watering strategies, you actively manage moisture levels in your pots, ensuring your plants receive enough water without becoming waterlogged, a key aspect of `balcony plant care` in summer.
Strategic Placement and Airflow for Balcony and Patio Plants
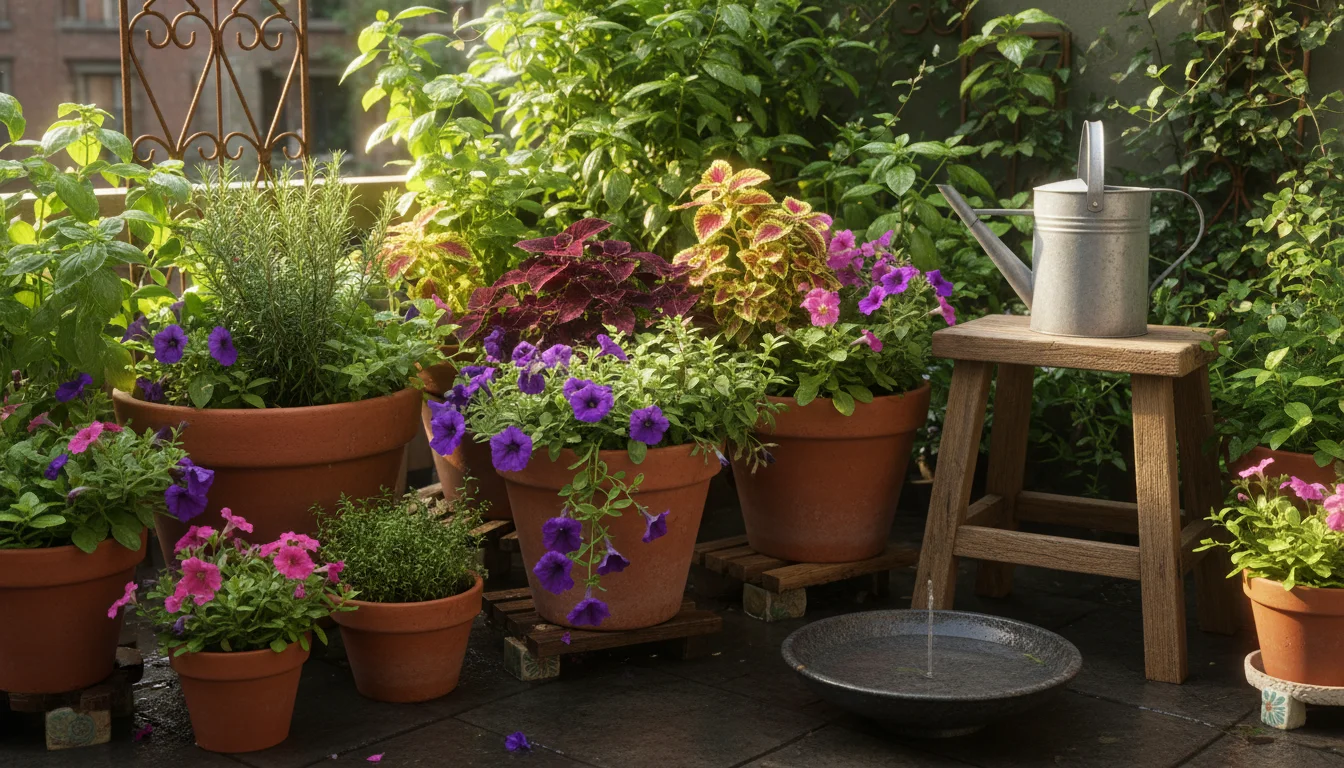
For small-space gardeners, optimizing the environment for your container plants extends beyond just the pot and soil. Where you place your plants, and how you ensure good air circulation, significantly impacts their vulnerability to `summer root rot`.
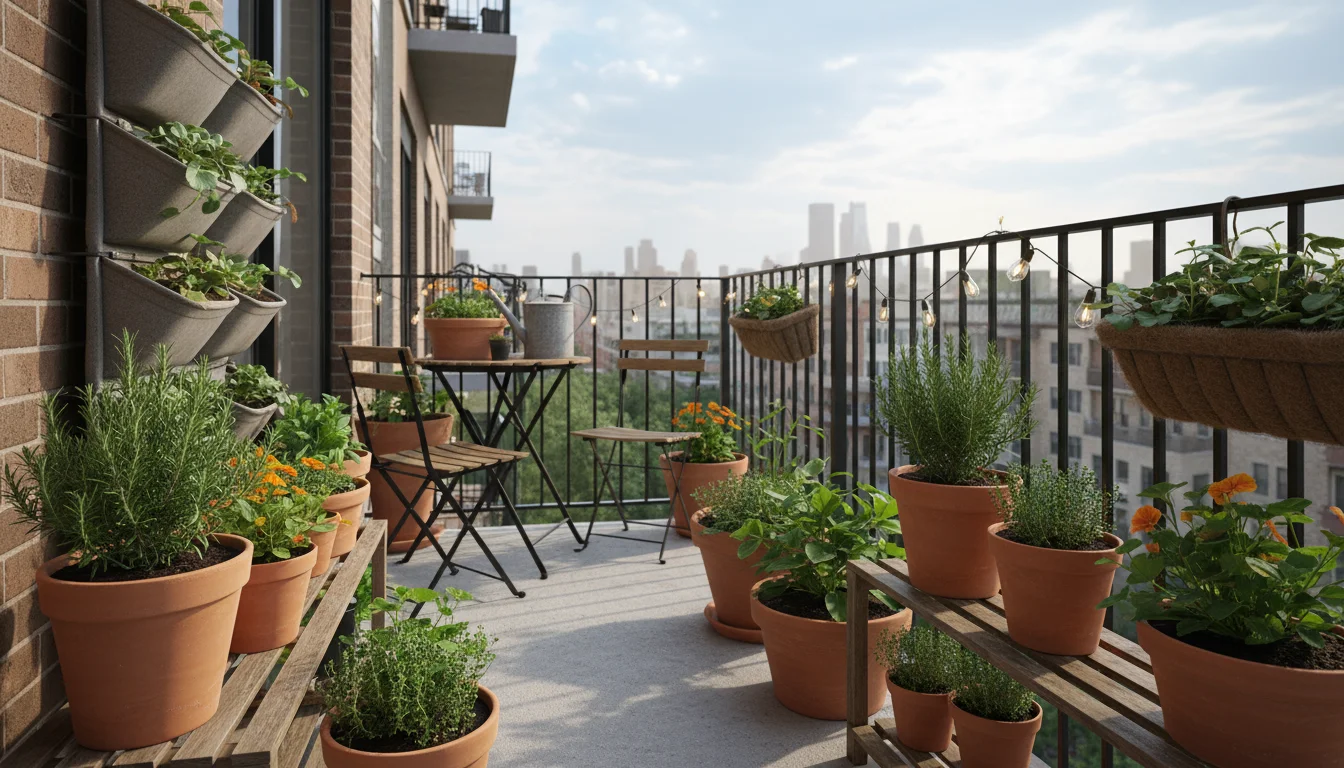
Elevation for Better Drainage and Airflow
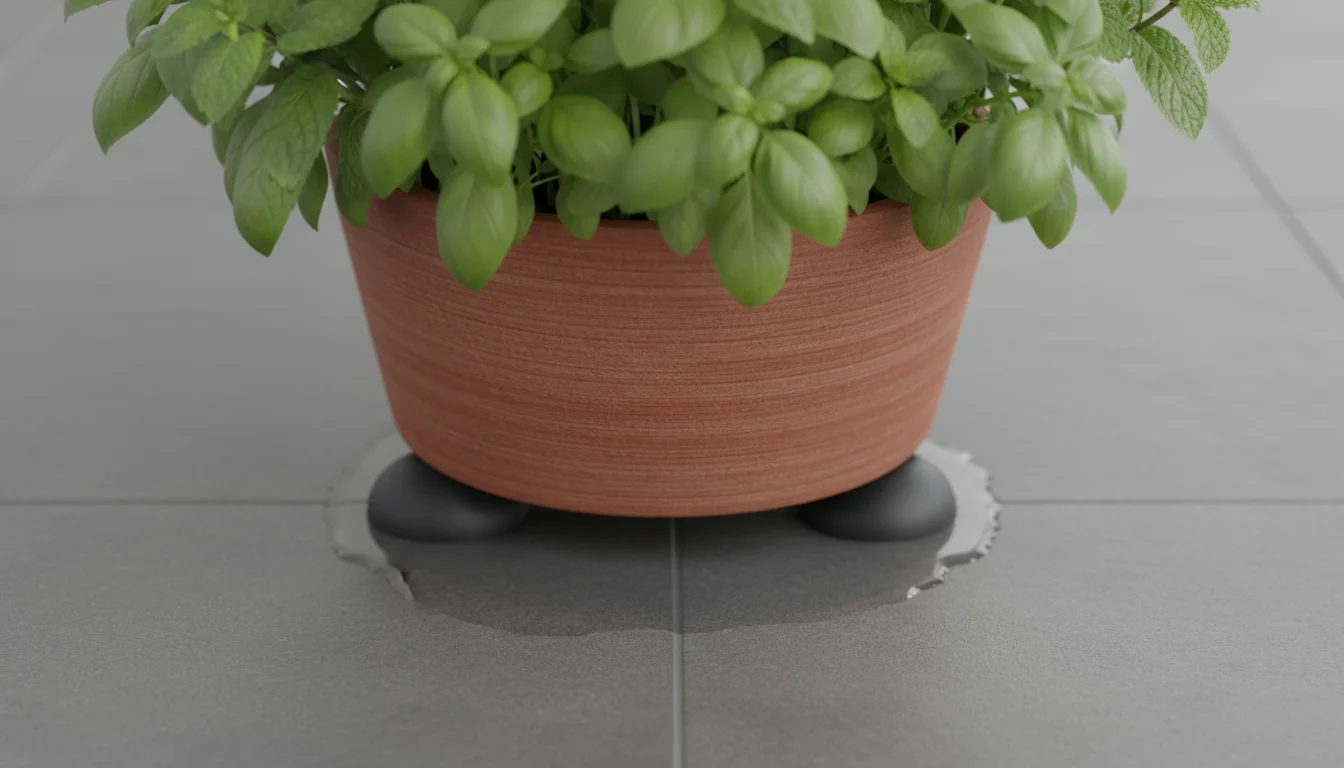
Even with excellent drainage holes, a pot sitting directly on a solid surface (like concrete, a balcony floor, or a patio) can have its drainage impeded. The bottom of the pot can suction to the surface, slowing drainage and keeping the soil perpetually wet.
Elevate your pots slightly:
- Pot Feet: Use dedicated pot feet, bricks, or even small blocks of wood to lift pots off the ground. This creates a small air gap underneath, allowing water to flow out freely and promoting air circulation around the drainage holes.
- Rolling Caddies: These are practical for heavy pots, allowing you to move plants easily. Ensure the caddy has a raised platform that keeps the pot’s base clear of its saucer.
This elevation is a simple yet highly effective strategy for `best pots for drainage in humidity` because it ensures gravity can do its job without obstruction.
Optimizing Air Circulation
Humidity thrives in still, stagnant air. Good air circulation helps reduce humidity around your plant’s foliage and accelerates the evaporation of moisture from the soil surface.
This is especially important for `balcony plant care` where structures can sometimes trap air.
- Spacing: Do not overcrowd your plants. Allow adequate space between pots and between plants within a container. This permits air to move freely around leaves and soil.
- Placement: Consider placing plants where they receive some gentle breeze, if possible. Avoid tucking them into tight, enclosed corners where air stagnates.
- Pruning: For bushy plants, judiciously prune to improve air circulation within the plant’s canopy. Removing dense lower foliage can also help increase airflow around the base of the plant.
While you cannot control the outdoor humidity, you can create a microclimate around your plants that discourages the conditions favorable for fungal growth and `summer root rot`. Thoughtful placement and attention to airflow are simple, passive ways to bolster your plant’s health.
Reading Your Plants: Early Signs of Overwatering and Root Rot
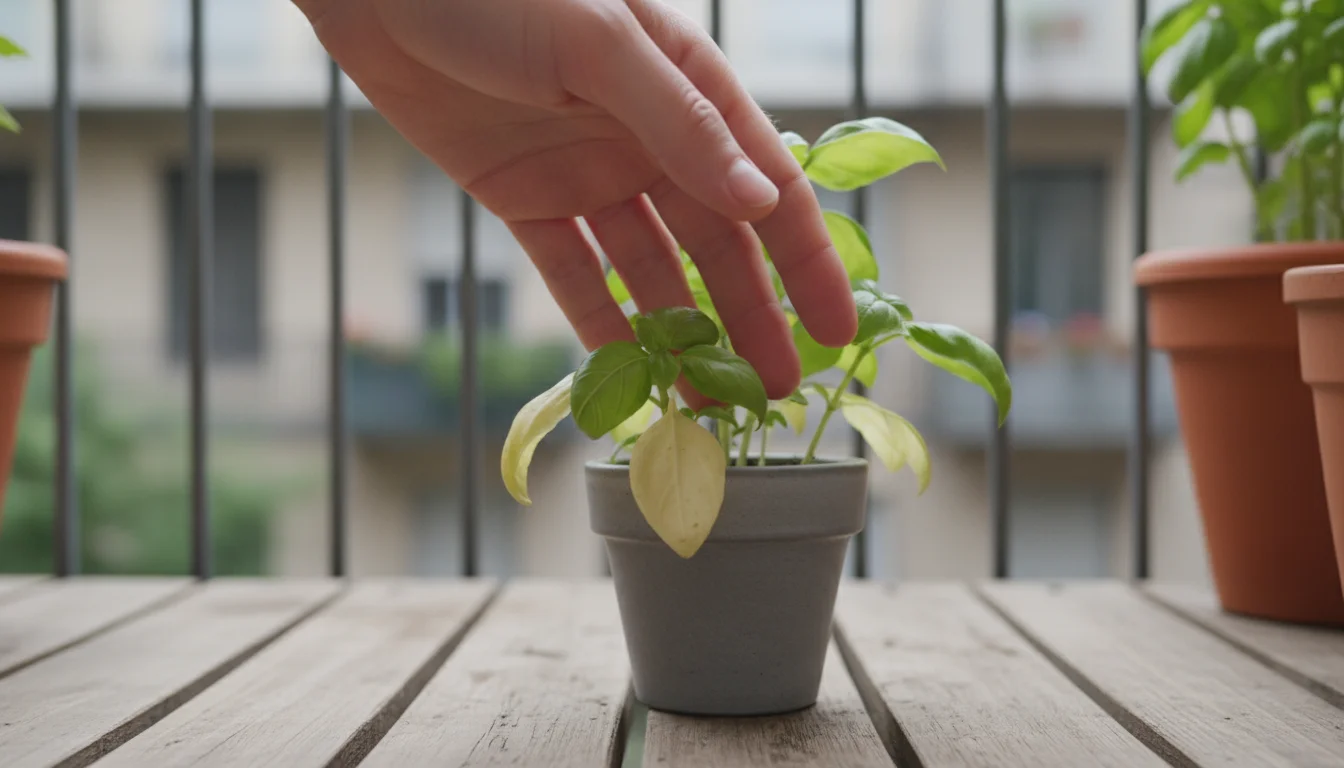
Your plants communicate their needs and distress through subtle, and sometimes not so subtle, cues. Learning to interpret these `signs of overwatering in hot weather` allows you to intervene early, often saving a plant from the brink of irreversible damage.
Leaves Tell a Story
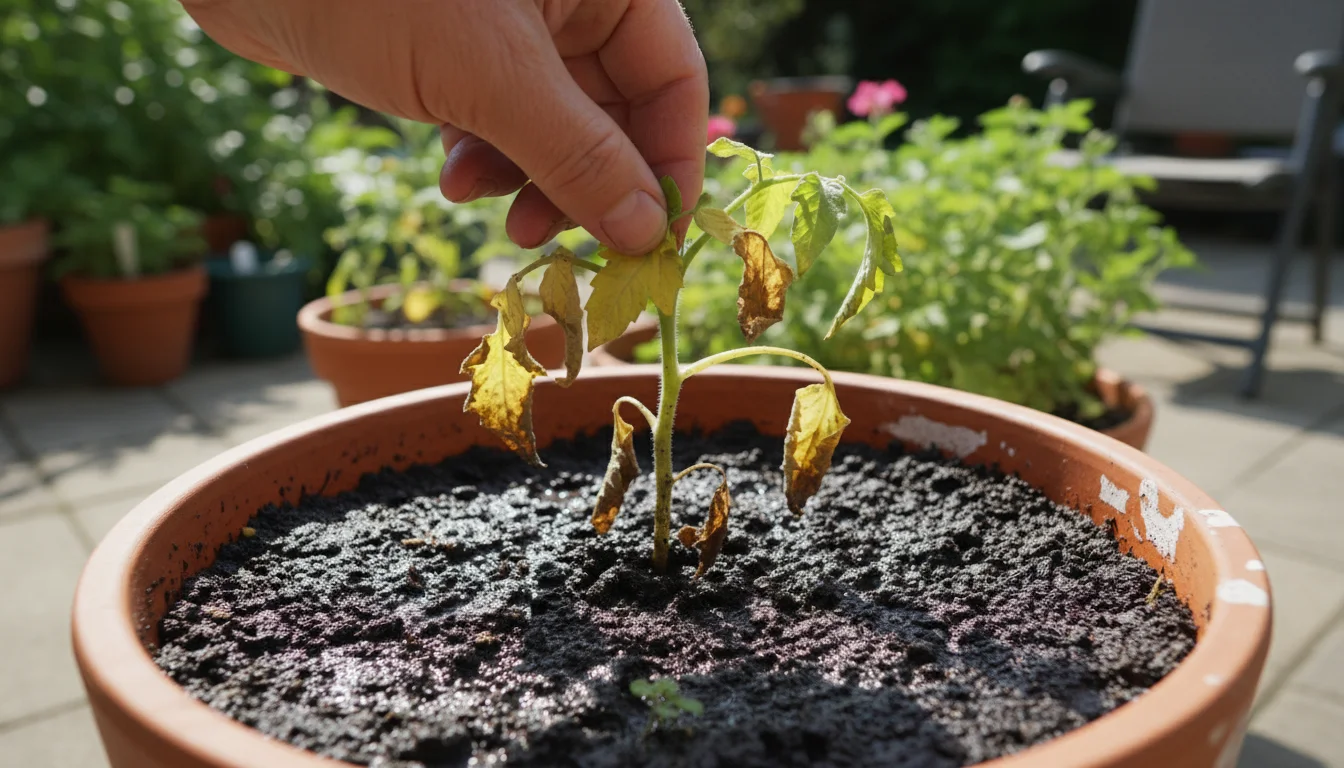
- Wilting: This is a common and often confusing symptom. While underwatered plants wilt from lack of moisture, overwatered plants also wilt because their water-logged, rotting roots cannot absorb water. The key difference lies in the soil: if a wilting plant is sitting in soggy soil, assume overwatering.
- Yellowing Foliage: Leaves turning yellow, especially lower leaves, can indicate many issues, but it is a strong sign of overwatering. The yellowing often progresses to browning, feeling soft and mushy rather than crispy.
- Stunted Growth: If your plant looks generally unhealthy, stops growing, or new growth appears weak and discolored, `summer root rot` could be the culprit. The plant cannot get the nutrients it needs.
- Leaf Drop: A plant shedding leaves, particularly yellowed or mushy ones, points towards severe stress, often from root issues.
Check the Stem and Soil
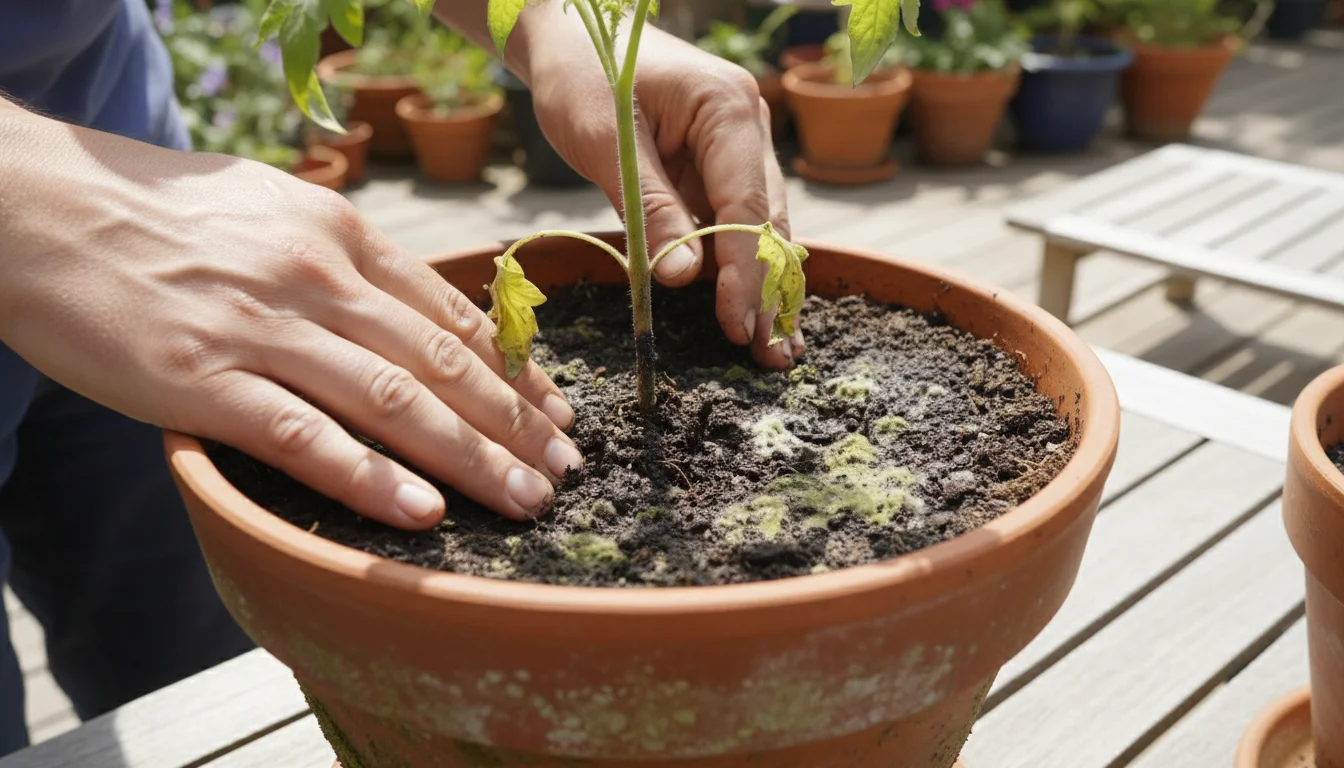
- Soft, Mushy Stem Base: Gently feel the base of the plant’s stem where it meets the soil. If it feels soft, mushy, or discolored (dark brown/black), it indicates stem rot, which often accompanies root rot.
- Mold or Algae on Soil Surface: A green or white fuzzy layer on the soil surface signifies consistently wet conditions. While not always directly harmful, it indicates the soil is remaining too moist for too long, setting the stage for `how to prevent root rot in pots during summer`.
- Foul Odor from Soil: Healthy soil smells earthy and fresh. Soil affected by root rot often emits a distinct, unpleasant, stagnant, or rotten egg-like smell. This odor comes from the anaerobic conditions and decaying roots.
Root Inspection (If Suspect)
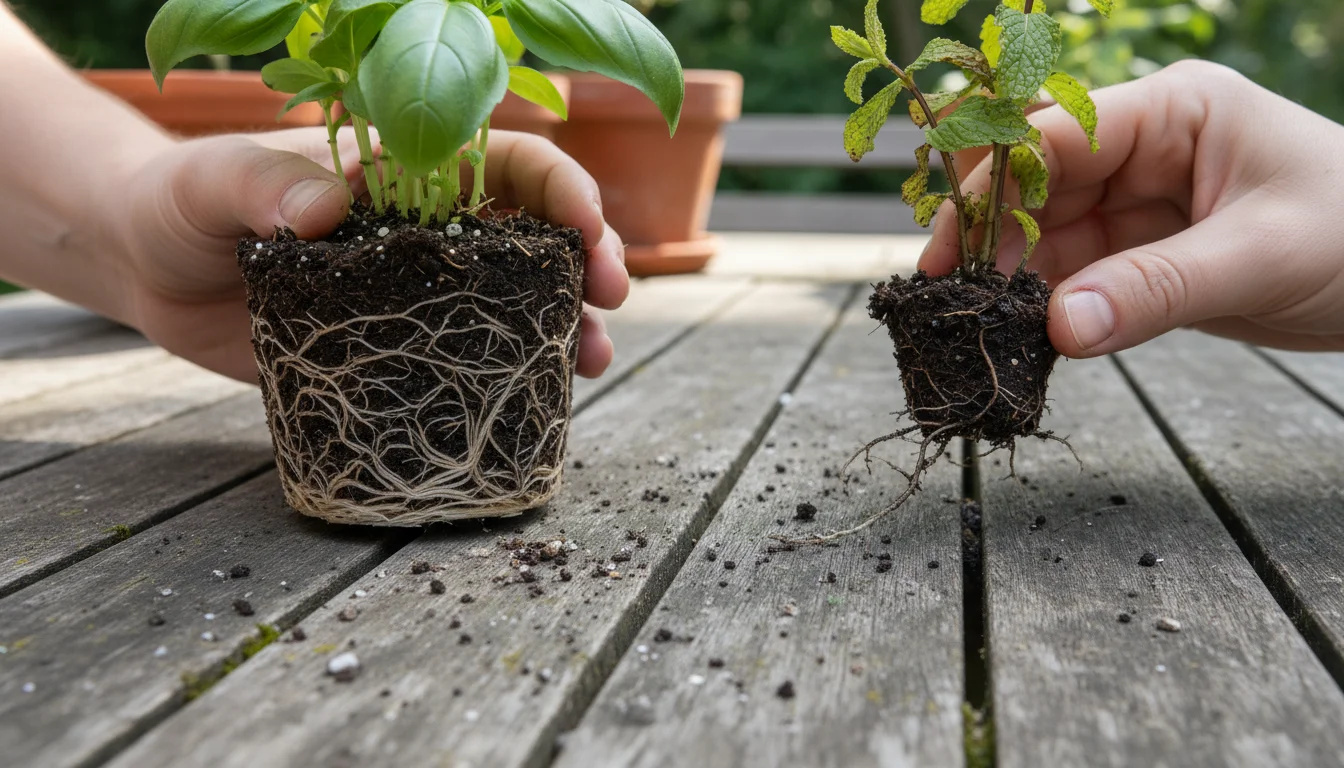
If you observe multiple `signs of overwatering in hot weather` and suspect root rot, a careful inspection of the roots confirms your diagnosis. Gently ease the plant out of its pot.
Tap the sides to loosen the soil, then invert the pot while supporting the plant’s base. Examine the root ball:
- Healthy Roots: White or light tan, firm, and often spread throughout the pot.
- Rotten Roots: Brown, black, mushy, slimy, and easily break apart. They might also smell foul.
Recognizing these signals early empowers you to take corrective action, turning a potential disaster into a manageable setback. Pay close attention to your plants; they are your best guides.
First Aid for Soggy Situations: Rescuing a Plant from Root Rot
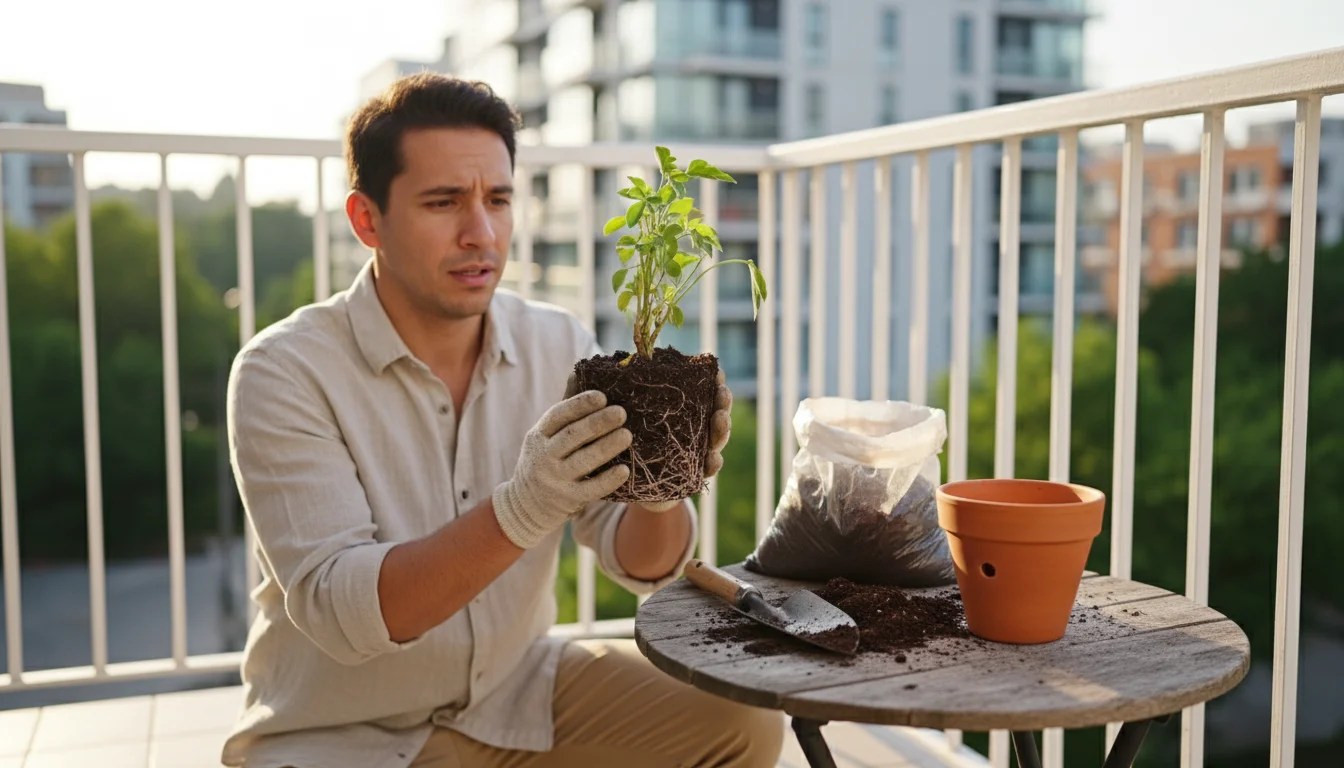
Discovering your plant has `summer root rot` is upsetting, but it is not always a death sentence. Early intervention significantly improves the chances of recovery.
Here is a step-by-step guide to attempting a rescue:
Step 1: Act Quickly and Gently Unpot
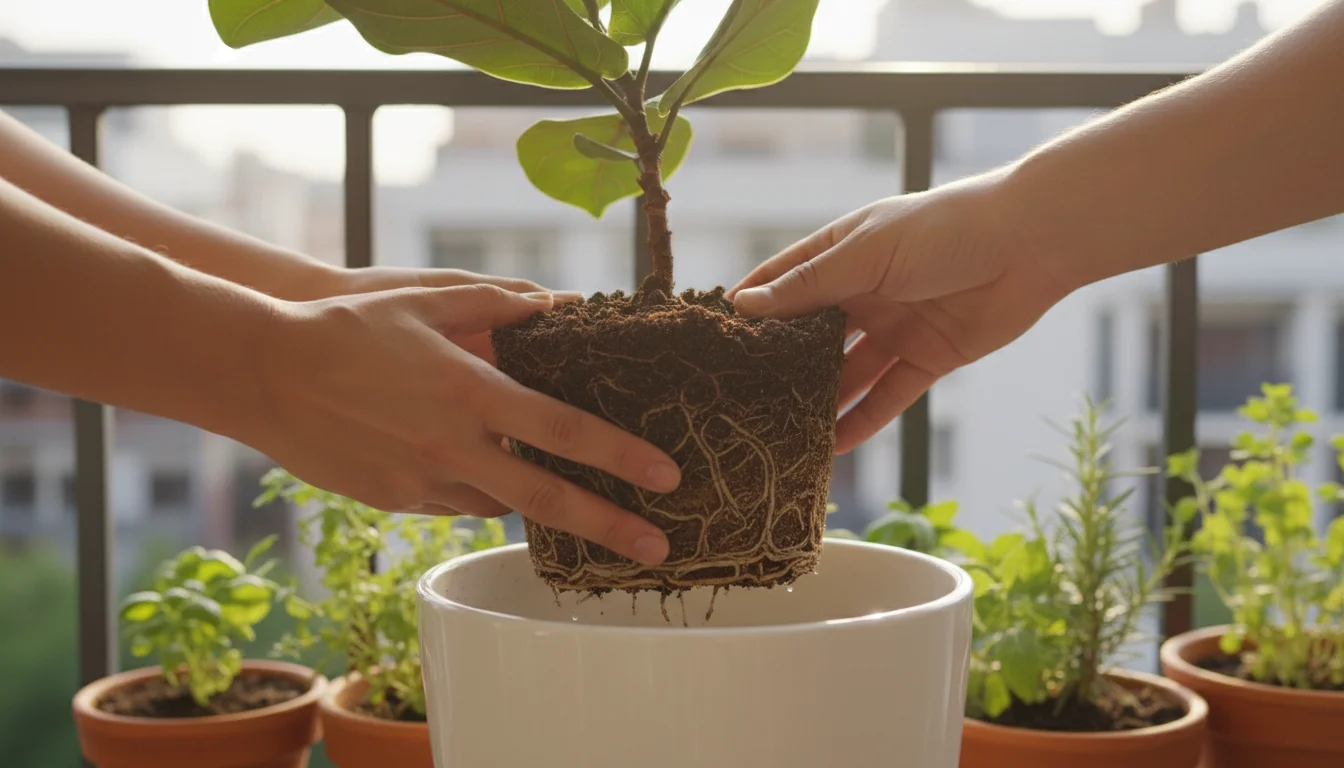
As soon as you suspect root rot, take action. Gently remove the plant from its container.
Take care to support the base of the plant to avoid further stress. Tap the sides of the pot to loosen the soil, then carefully slide the plant out.
Do not pull on the stem.
Step 2: Assess and Prune Damaged Roots
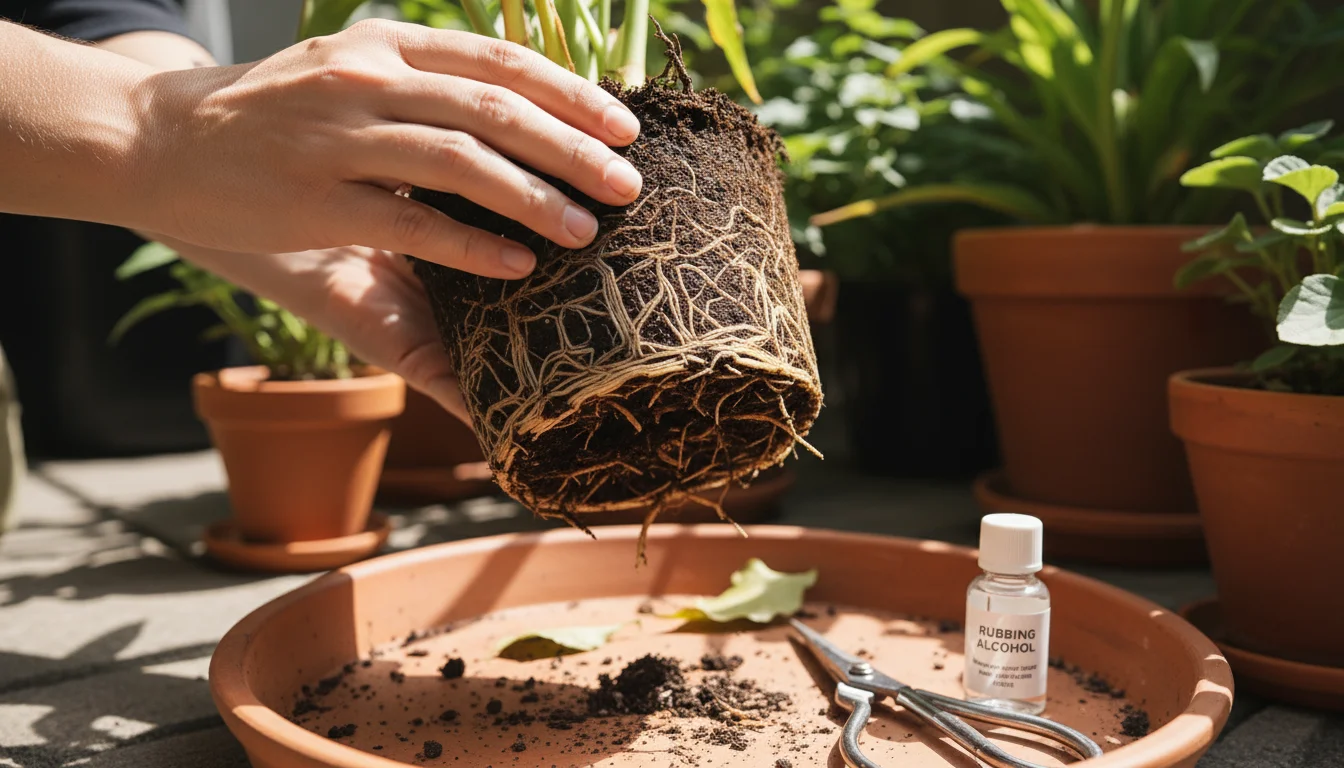
Carefully brush away as much of the old, soggy soil as possible from around the roots. You might even rinse the roots gently under lukewarm running water to expose them completely.
Examine the roots:
- Identify healthy roots (firm, white, or light tan).
- Identify rotten roots (mushy, black, brown, slimy, easily detach).
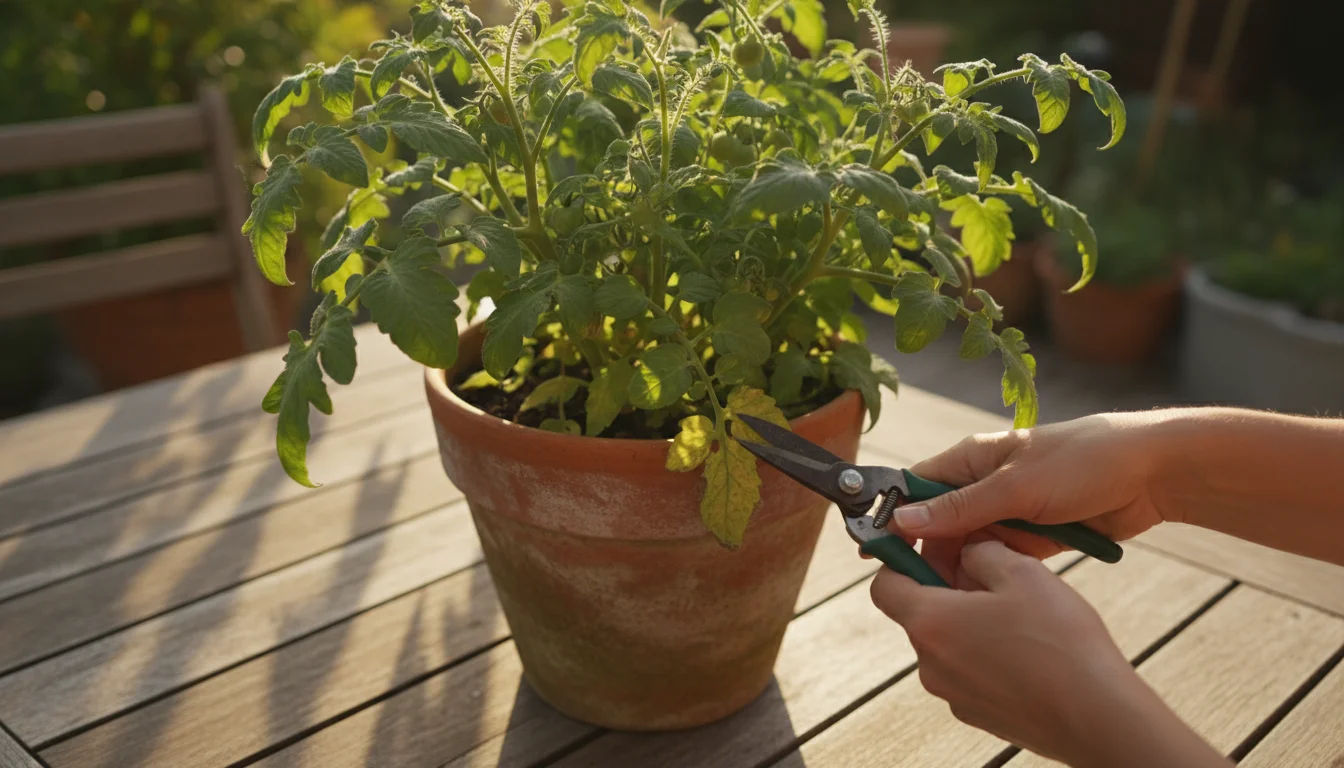
Using a clean, sharp pair of scissors or pruning shears, cut away all the diseased, rotten roots. Make clean cuts into healthy root tissue if necessary.
Sterilize your cutting tools with rubbing alcohol between cuts to prevent spreading any fungal pathogens.
Step 3: Prune Foliage (If Necessary)
If you removed a significant portion of the roots, your plant will struggle to support all its existing foliage. Reduce the stress on the remaining healthy roots by pruning back some of the leaves or stems.
Aim to remove about one-third of the foliage, focusing on yellowed, wilted, or oldest leaves. This helps the plant conserve energy and focus on root recovery.
Step 4: Repot with Fresh, Well-Draining Soil
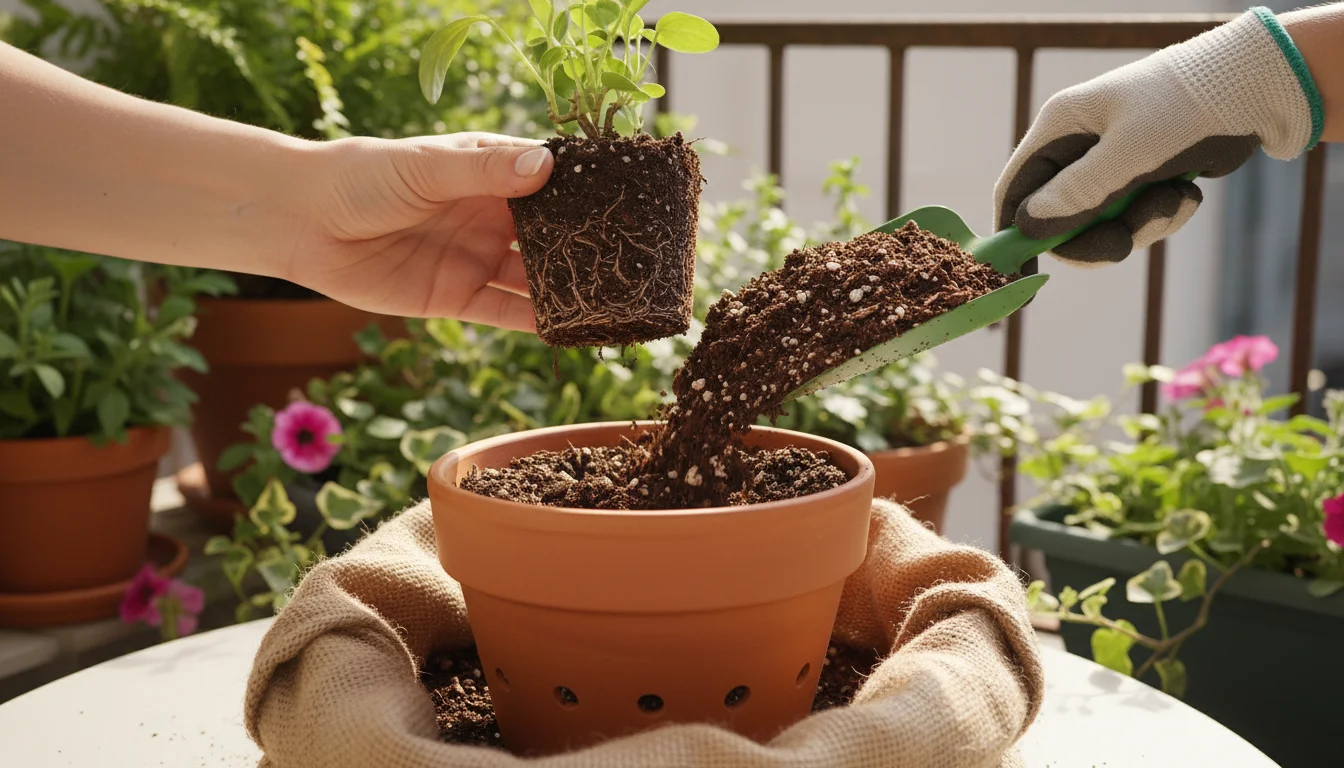
Never reuse the old, contaminated soil. Clean the old pot thoroughly with a bleach solution (1 part bleach to 9 parts water) to kill any remaining pathogens, or use a new, clean pot with ample drainage holes.
Repot your plant into a fresh, fast-draining potting mix. Refer back to “The Perfect Potting Mix” section for guidance on creating an ideal blend.
Ensure the plant is at the same depth it was previously.
Step 5: Hold Off on Watering
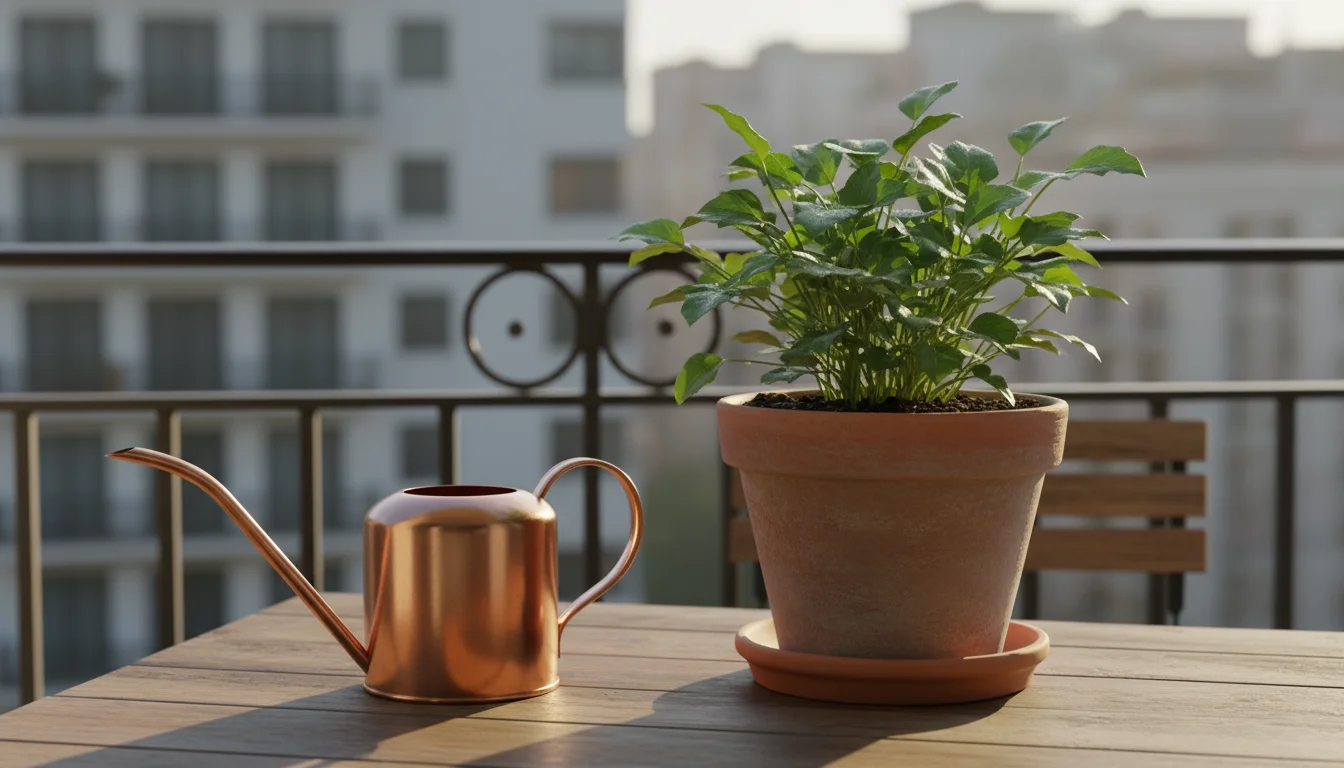
After repotting, resist the urge to water immediately. The roots need time to heal from the pruning.
Wait for several days, allowing the plant to acclimate and the soil to settle. When you do water, do so sparingly, following the smart watering strategies outlined earlier.
The goal is to encourage new, healthy root growth, not to drench the plant again.
Step 6: Provide Optimal Conditions and Patience
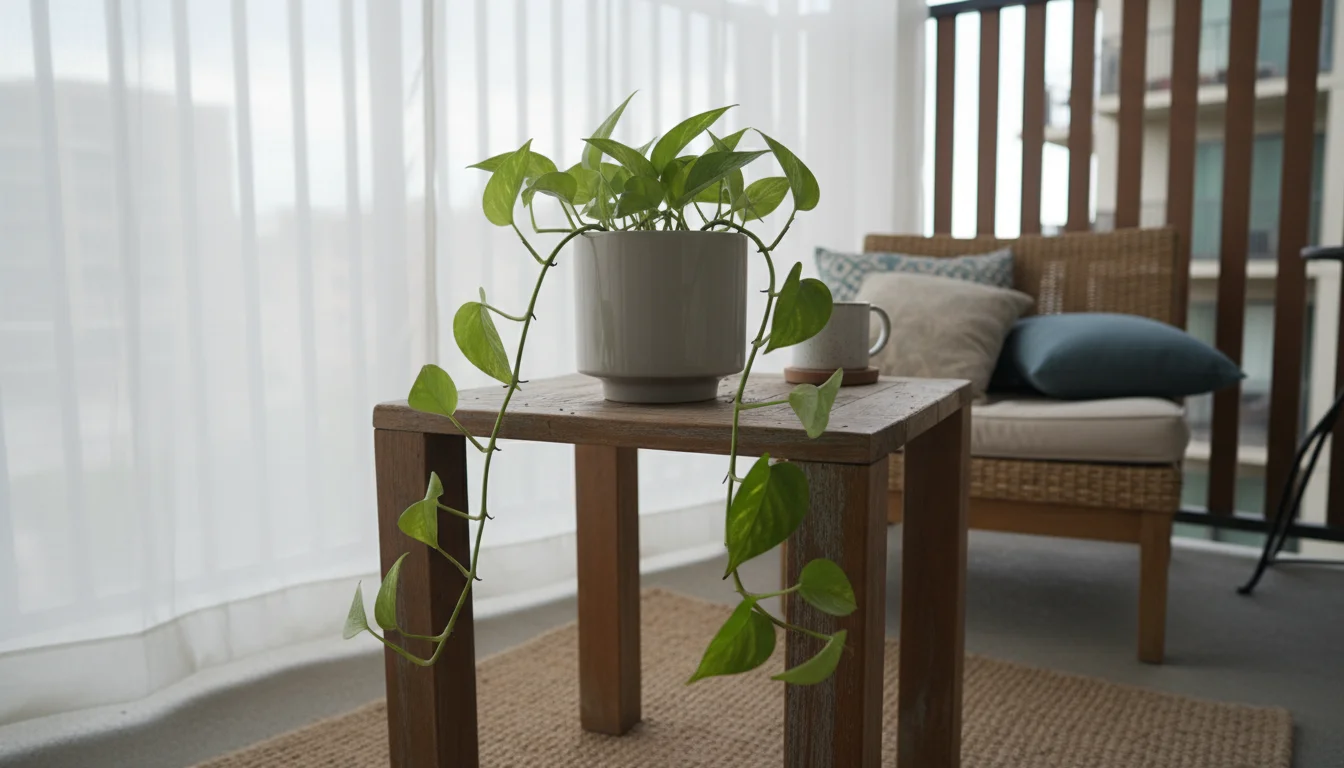
Place the recovering plant in a location with bright, indirect light. Avoid direct, intense sun or extreme temperatures, which add further stress.
Maintain good air circulation. Recovery from `how to prevent root rot in pots during summer` can take weeks or even months.
Be patient. Avoid fertilizing until you see clear signs of new, healthy growth.
While some plants may be too far gone to save, these steps offer the best chance for revival. Your consistent care and attention to `signs of overwatering in hot weather` are crucial for a successful rescue.
For trustworthy gardening information, visit:
University of Illinois Extension — Gardening, UC IPM (University of California Integrated Pest Management) and Missouri Botanical Garden. These organizations provide expert, research-based advice for gardeners at all levels.
Frequently Asked Questions
Is root rot contagious to other plants?
Yes, the fungi and bacteria that cause root rot can spread. If you reuse pots without sterilizing them, or if you use contaminated tools, you risk infecting healthy plants.
Always clean pots and tools thoroughly, and isolate infected plants if possible.
Can I put gravel at the bottom of my pot for better drainage?
No, adding a layer of gravel or broken pottery at the bottom of a pot actually hinders drainage.
This practice creates a “perched water table” where water accumulates just above the gravel layer, keeping the soil above it soggy and increasing the risk of `overwatering containers`.
The best approach for `best pots for drainage in humidity` is to use a well-draining potting mix and ensure adequate drainage holes.
How often should I fertilize my container plants in summer?
Fertilizing frequency depends on the plant, the fertilizer type, and how quickly nutrients leach out. In humid summer, plants may need less frequent feeding if growth slows due to stress, or more if they are actively growing.
Always follow the fertilizer’s instructions and consider a diluted liquid feed every 2-4 weeks. If a plant is recovering from `summer root rot`, hold off on fertilizing until you see clear signs of new, healthy growth.
My plant has small flies hovering around the soil. Is this related to overwatering?
Yes, these are likely fungus gnats, a common sign of consistently moist soil. Fungus gnats thrive in wet conditions and lay their eggs in the top inch of moist soil.
While they rarely cause direct harm to established plants, their presence indicates `overwatering containers` and the potential for `summer root rot`. Allowing the top inch or two of soil to dry out between waterings helps control them and improves overall soil health.
What type of plants are most susceptible to root rot in containers?
While nearly any plant can get root rot in waterlogged conditions, certain plants are particularly sensitive. These include succulents, cacti, rosemary, lavender, and other Mediterranean herbs that prefer very dry conditions.
Many houseplants like peace lilies and ZZ plants can also suffer from `overwatering containers`. Conversely, plants that naturally prefer consistently moist soil, such as impatiens or ferns, are more tolerant but still require good drainage in containers.
Disclaimer: This article is for informational purposes only and is not a substitute for professional gardening advice. Always consult local extension services or horticulture experts for region-specific guidance.