
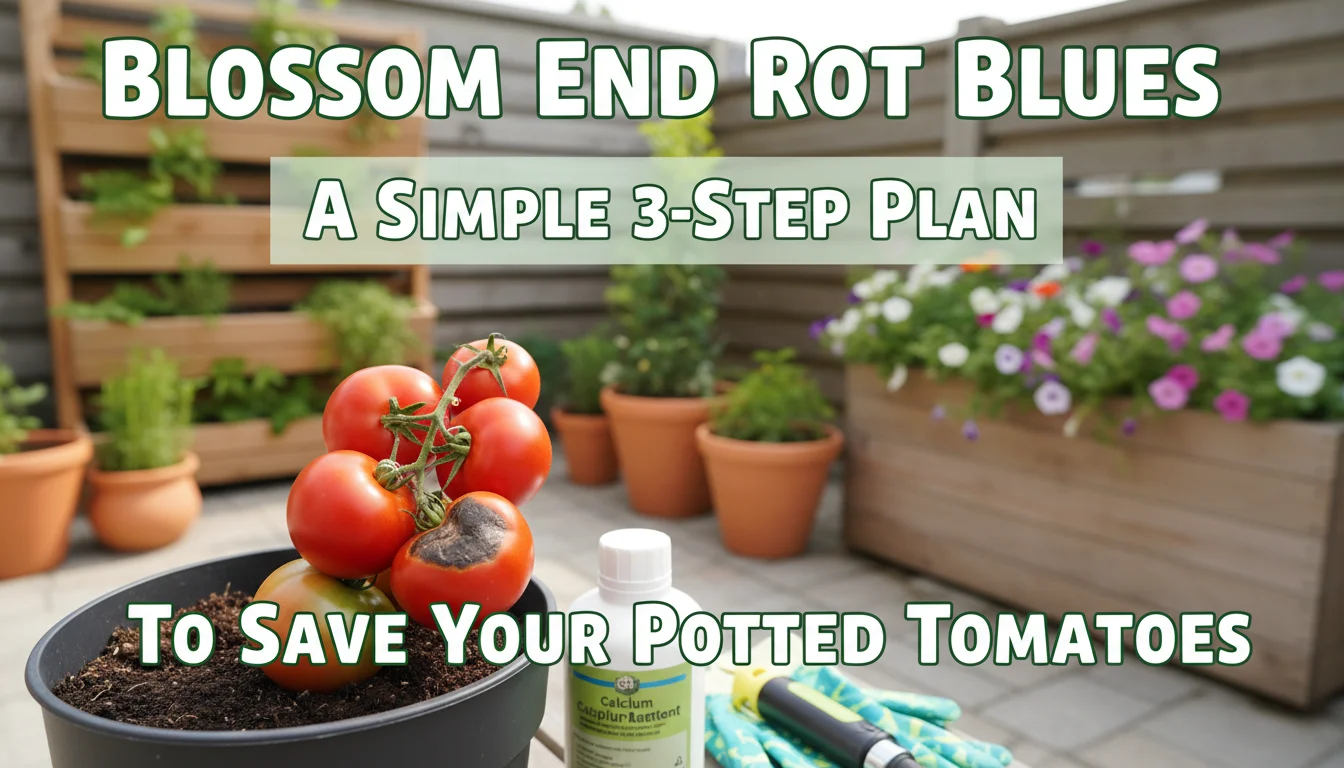
You pour effort and love into your container tomatoes, envisioning plump, juicy fruits. Then, you spot it: a dark, sunken spot on the bottom of a developing tomato.
This unsightly blemish, known as blossom end rot, strikes fear into the heart of many gardeners, especially those growing in pots. It feels disheartening to see your hard work literally rotting away.
But do not despair. Blossom end rot is not a disease, and you can absolutely prevent and manage it in your potted tomatoes.
This common issue stems from a simple cause: your tomato plant struggles to move enough calcium to its developing fruits.
While it might seem like a complex problem, a practical, three-step approach will empower you to deliver healthy, abundant harvests from your balcony, patio, or small yard. Get ready to transform your tomato troubles into triumph.
Contents10 sections
- Understanding Blossom End Rot
- Why Potted Tomatoes Are Prone to Blossom End Rot
- The Simple 3-Step Plan to Conquer Blossom End Rot
- Step 1: Master Your Watering Routine
- Step 2: Optimize Your Container’s Soil and Nutrients
- Step 3: Choose the Right Container and Tomato Variety
- Beyond the 3 Steps: Ongoing Care for Healthy Harvests
- Common Mistakes that Lead to Blossom End Rot
- Frequently Asked Questions
- Your Path to Blossom End Rot-Free Tomatoes
Understanding Blossom End Rot
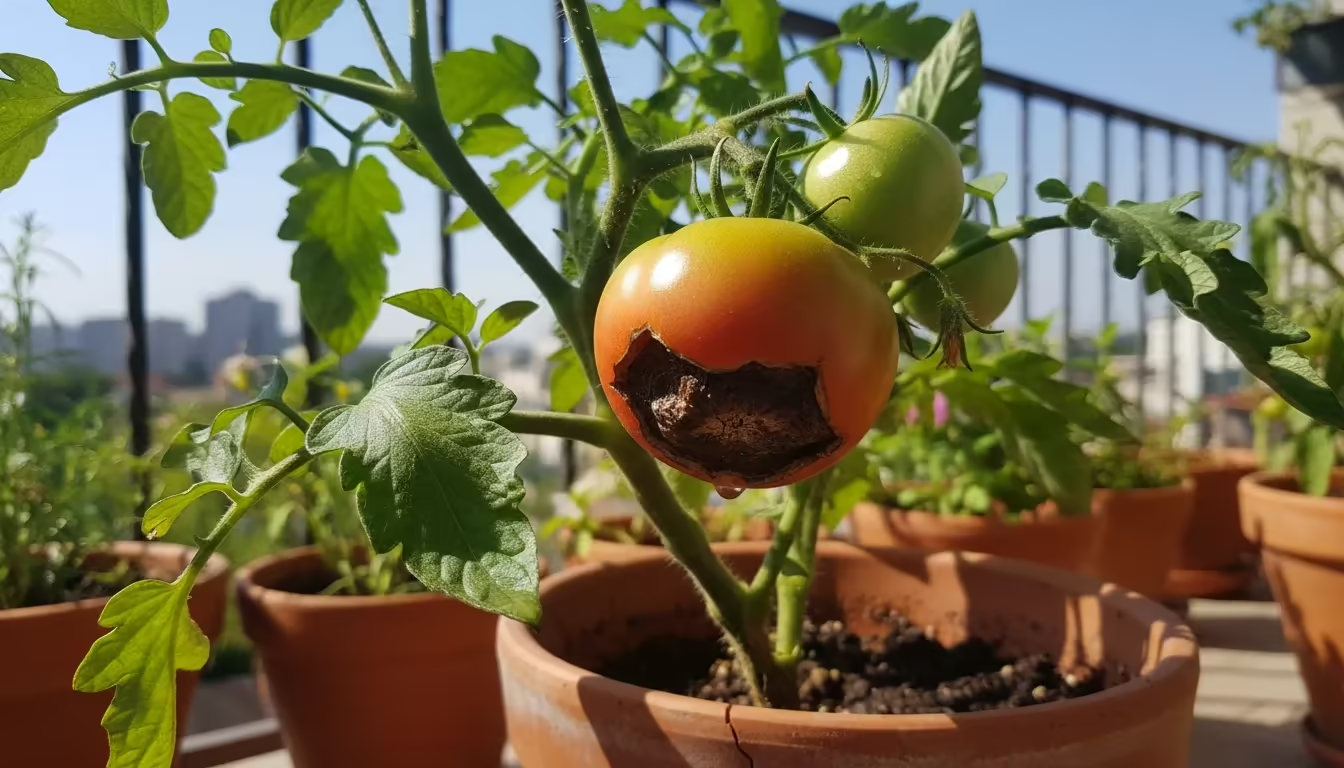
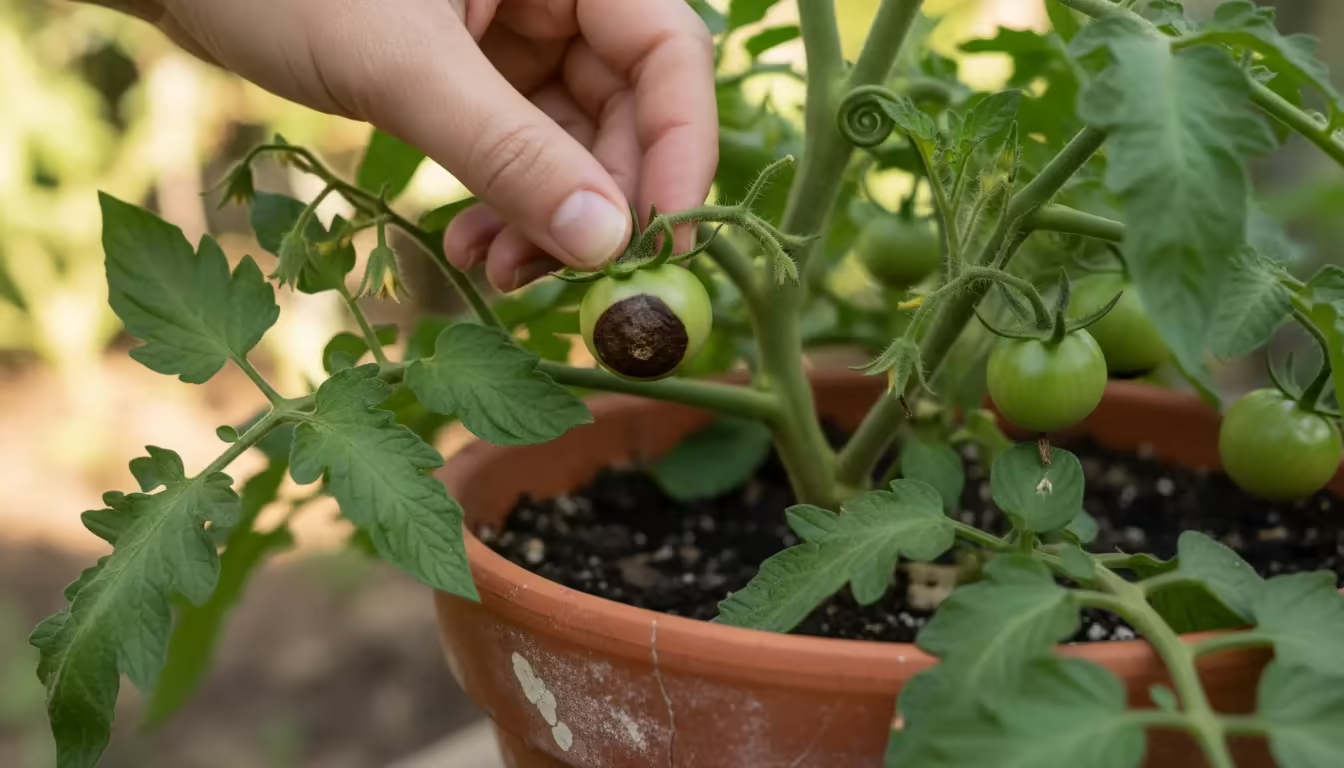
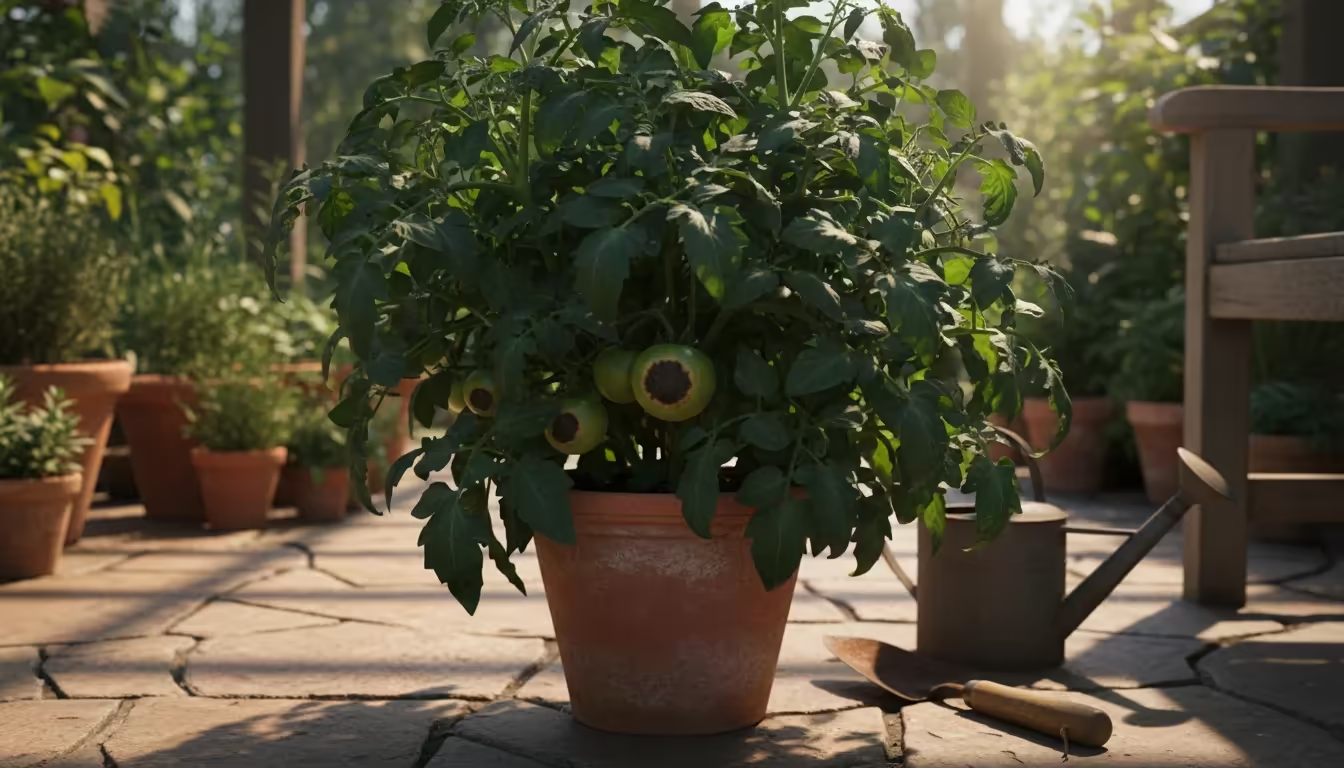
Blossom end rot, often abbreviated as BER, manifests as a dark, water-soaked spot on the bottom (blossom end) of tomato fruits. This spot quickly enlarges, turning brown or black and becoming leathery or sunken.
It appears on green, ripening, or mature fruit. You might find it on peppers, squash, and other vegetables, but it frequently affects tomatoes, especially in container gardening summer conditions.
Many gardeners mistakenly believe BER signals a lack of calcium in their soil. However, the issue is more nuanced.
Your soil likely contains sufficient calcium. The problem arises when the plant cannot effectively transport that calcium to the rapidly growing fruit.
Calcium is crucial for healthy cell wall development in plants. When a fruit lacks sufficient calcium during its formation, its cells break down, causing the characteristic sunken, dark lesions.
This physiological disorder is not contagious and will not spread from one plant to another.
Research indicates that factors affecting water uptake and movement within the plant directly influence calcium delivery. For instance, plants absorb calcium dissolved in water.
If water uptake is inconsistent, calcium delivery suffers. Rapid growth spurts can also outpace the plant’s ability to supply calcium to new tissues, leading to BER.
Why Potted Tomatoes Are Prone to Blossom End Rot
Container gardening, while fantastic for small spaces, introduces specific challenges that make your potted tomatoes more susceptible to blossom end rot. Understanding these factors helps you address the root causes effectively.
If your containers look exhausted halfway through the season, following a mid-summer balcony planter recharge plan helps restore steady nutrient uptake.
When containers dry out repeatedly under direct sun, you may first need to fix rock-hard, hydrophobic soil so moisture can actually reach the roots.
-
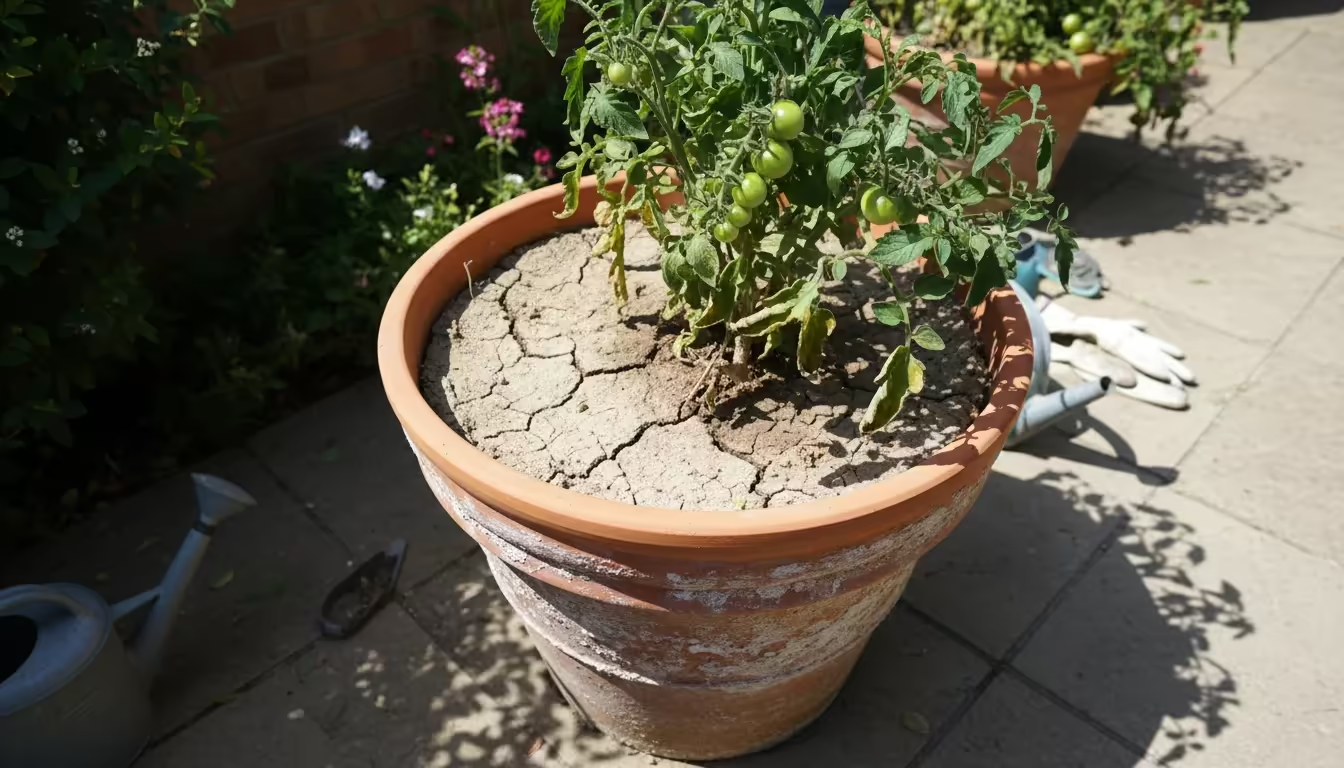
Rapid Soil Drying: Soil in pots dries out significantly faster than garden beds. Container soil has more exposure to air and sun, leading to quicker evaporation.
Inconsistent moisture levels directly impact calcium uptake, as calcium moves with water through the plant’s vascular system. One day of drought stress can be enough to trigger BER.
-
Limited Root Space: Tomato roots need ample room to grow and seek out water and nutrients. A small container restricts root development, making it harder for the plant to absorb consistent moisture and calcium, particularly during peak fruiting stages.
Over time, roots can become root-bound, further hindering water and nutrient absorption.
-
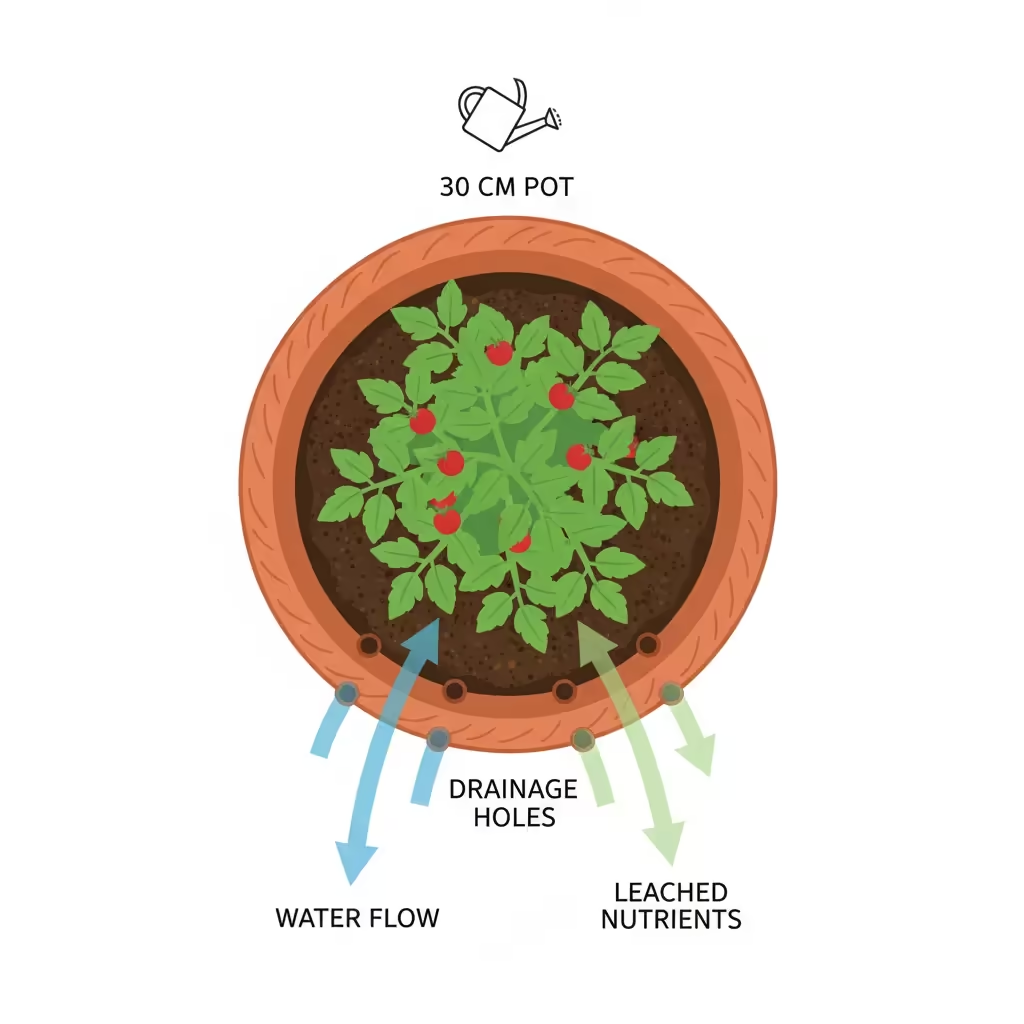
Nutrient Leaching: Each time you water your potted tomatoes, some nutrients can leach out of the drainage holes. Calcium, while relatively stable, can deplete over time in frequently watered containers, especially if you do not replenish it through fertilization or soil amendments.
This becomes a concern when you wonder why are my potted tomatoes rotting on the bottom.
-
Temperature Fluctuations: Container soil temperatures can fluctuate wildly, heating up quickly in direct sun and cooling rapidly at night. Extreme soil temperatures stress the plant, impairing its ability to absorb and transport water and nutrients, including calcium.
-
Imbalanced Fertilization: Applying too much high-nitrogen fertilizer encourages lush leafy growth at the expense of fruit production. This rapid vegetative growth can divert calcium away from developing fruits.
Additionally, an excess of certain salts in the fertilizer can compete with calcium uptake.
The Simple 3-Step Plan to Conquer Blossom End Rot
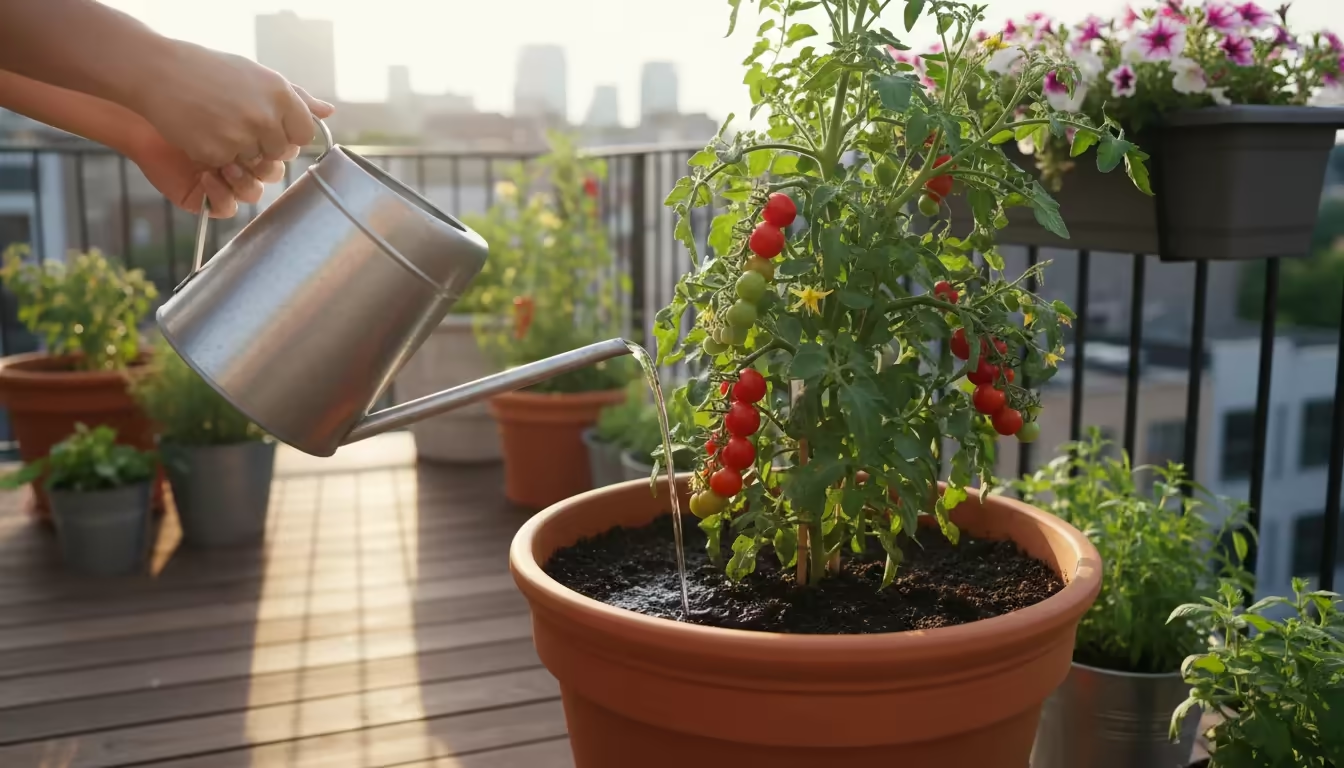
Fighting blossom end rot in your potted tomatoes does not require complex scientific solutions. It demands consistent, thoughtful care.
We simplify it into a practical, actionable three-step plan. Implement these steps, and you will see a significant improvement in your harvest quality, reducing the instance of why are my potted tomatoes rotting on the bottom.
If space is particularly tight, growing compact micro-tomatoes in small containers can make moisture regulation far simpler.
Here is your roadmap to healthy, delicious container tomatoes:
-
Master Your Watering Routine: Ensure consistent moisture delivery to your plants. This is the single most critical factor.
-
Optimize Your Container’s Soil and Nutrients: Provide a well-draining, nutrient-rich environment with appropriate calcium availability for balcony tomatoes.
-
Choose the Right Container and Tomato Variety: Select pots that support robust root growth and varieties known for BER resistance.
Let’s dive into each step with practical details.
Step 1: Master Your Watering Routine
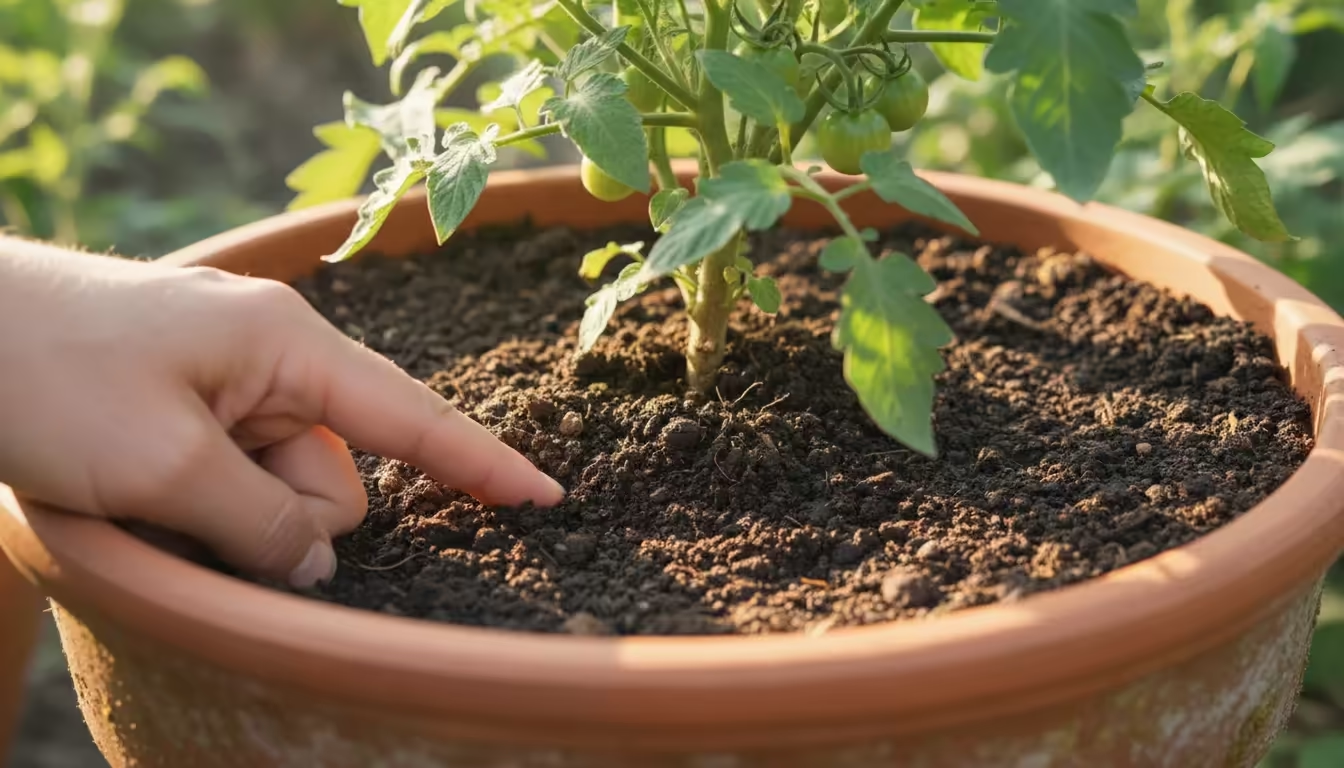
Inconsistent watering causes approximately 80% of blossom end rot cases in potted tomatoes. Your goal is to maintain consistently moist, but never waterlogged, soil.
This ensures a steady supply of calcium to your developing fruits.
Understand Your Tomato’s Water Needs
-
Depth of Watering: Always water deeply. Aim for water to run out of the drainage holes.
Shallow watering encourages surface roots, which are more susceptible to drying out.
Intense summer heat and dry container conditions can also encourage pest outbreaks, so check early for spider mites on balcony plants.
During intense summer heatwaves, knowing how to protect balcony planters from extreme heat will prevent your tomato plants from losing moisture faster than their roots can take it up.
-
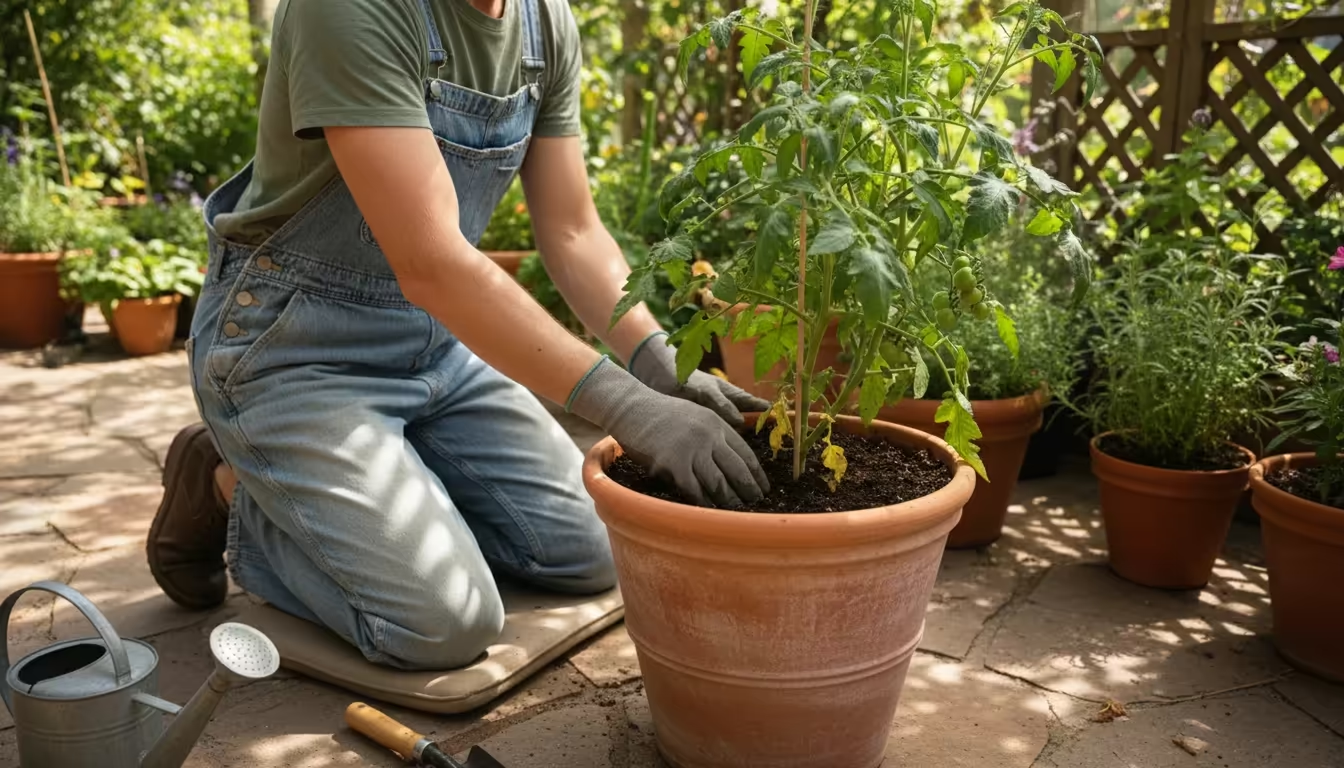
Frequency: In the heat of summer, especially for container gardening summer setups, your potted tomatoes may need watering daily, or even twice daily. Feel the soil.
Stick your finger about two inches deep. If it feels dry, it is time to water.
Do not wait until your plants are wilting to water them, as this creates a boom-and-bust cycle of moisture.
-
Time of Day: Water in the early morning. This allows the plant to absorb moisture before the midday heat and gives the foliage time to dry, reducing the risk of fungal diseases.
Avoid watering late in the evening if possible, as consistently wet leaves overnight can invite problems.
-
Monitor Weather: Adjust your watering schedule based on weather. Hot, windy days increase evaporation and plant transpiration, demanding more frequent watering.
Cooler, cloudy days mean you can water less often.
Tools for Consistent Moisture
-
Self-Watering Containers: These are game-changers for container gardening. Self-watering pots feature a reservoir at the bottom, wicking water up into the soil as needed.
They significantly reduce the risk of inconsistent moisture, making them an excellent investment for how to fix blossom end rot on container tomatoes.
-
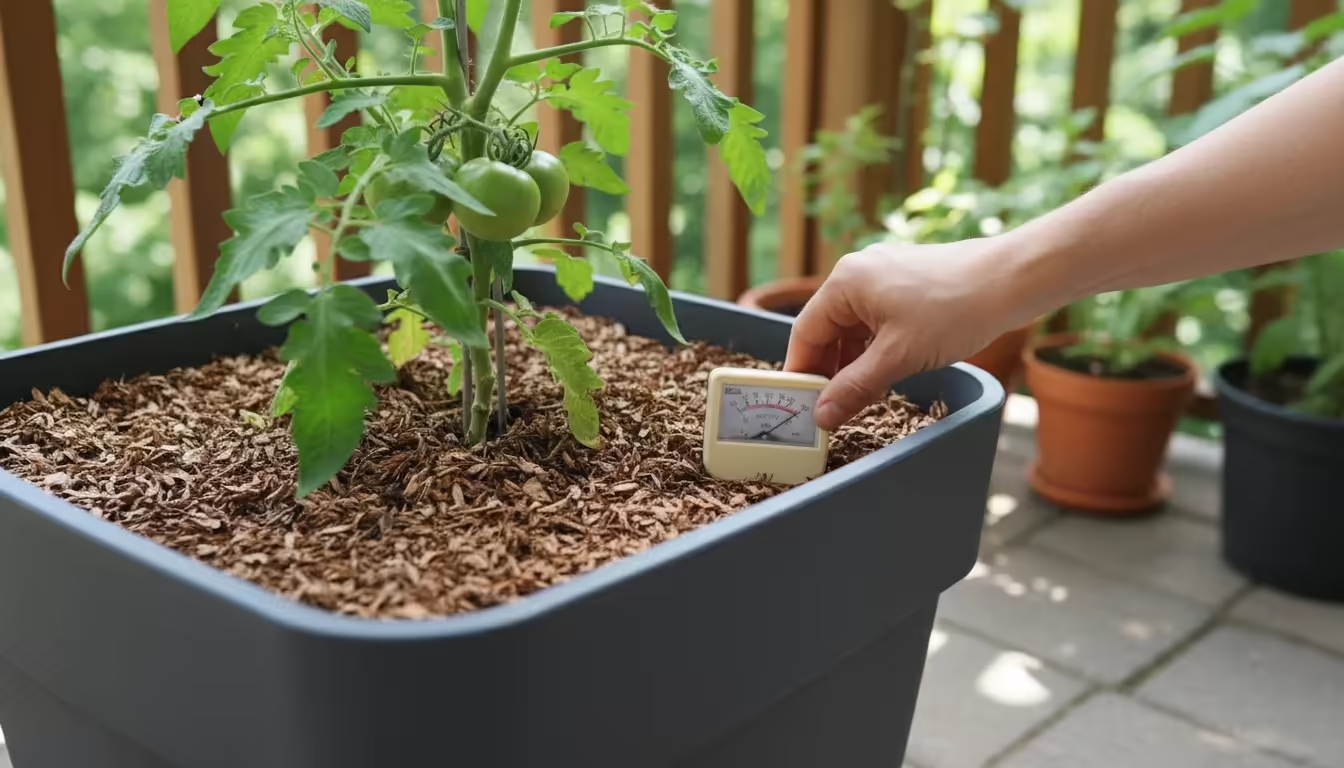
Mulch: Apply a 2-3 inch layer of organic mulch, such as straw, shredded leaves, or wood chips, on top of your potting mix. Mulch acts as an insulating blanket, reducing water evaporation from the soil surface, stabilizing soil temperature, and keeping moisture levels more even.
This is an environmentally conscious practice that benefits your plants immensely.
-
Moisture Meters: A simple moisture meter can provide precise readings of your soil’s moisture level, taking the guesswork out of watering. Stick the probe into the soil, and it will tell you if your plant is thirsty.
Even with self-watering containers, remember to check the reservoir regularly and refill it. Consistent water supply is your primary defense against blossom end rot.
Step 2: Optimize Your Container’s Soil and Nutrients
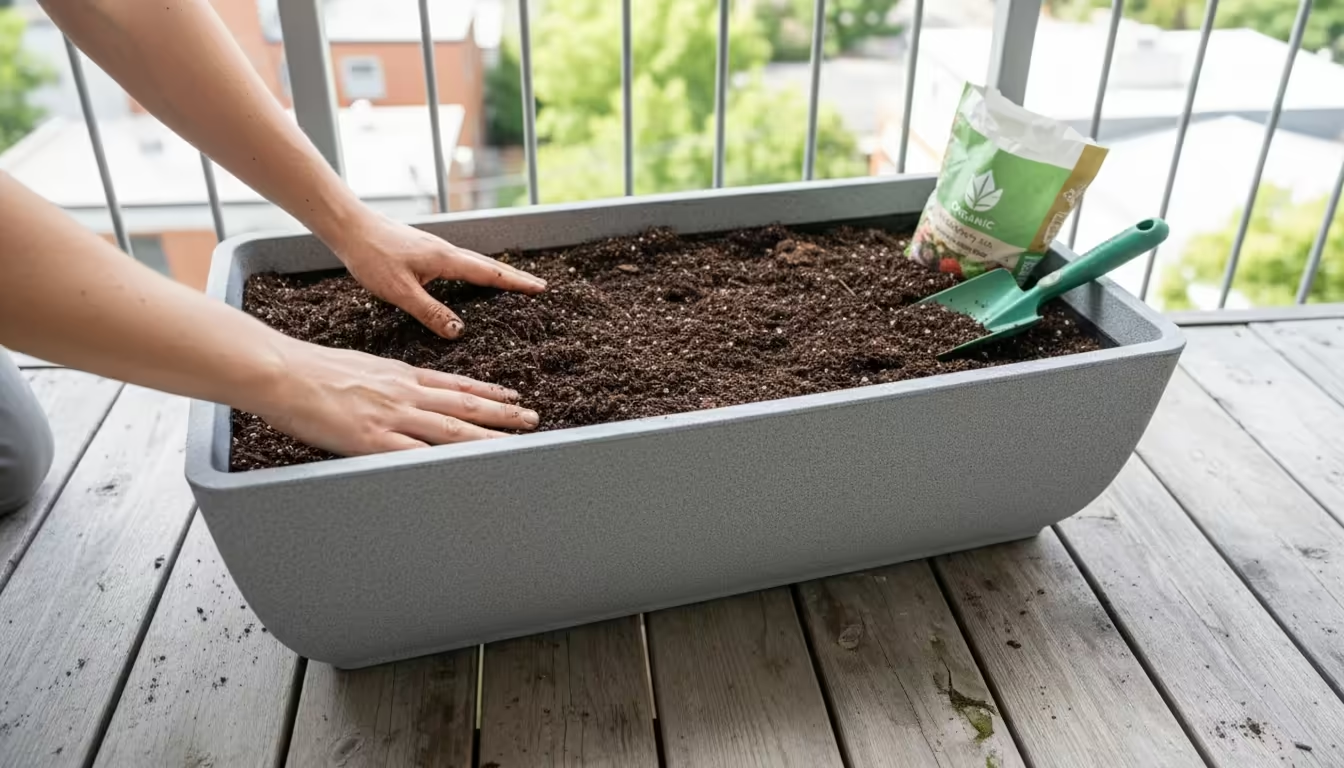
The foundation of a healthy potted tomato lies in its soil. A good potting mix provides aeration, drainage (how water moves through soil), and nutrient retention.
For blossom end rot prevention, we focus on calcium for balcony tomatoes.
At the end of the season, performing a fall potting soil inspection will show whether root crowding or salt accumulation contributed to your summer rot problems.
Choose the Right Potting Mix
-
High-Quality Potting Mix: Do not use garden soil in containers. It compacts, drains poorly, and can introduce pests and diseases.
Choose a premium, sterile potting mix specifically formulated for containers. These mixes typically contain peat moss, coco coir, perlite, and vermiculite, offering excellent drainage and aeration.
You can also refresh used potting soil ahead of time with easy fall soil amendments to rebuild essential mineral buffers for next year’s crop.
-
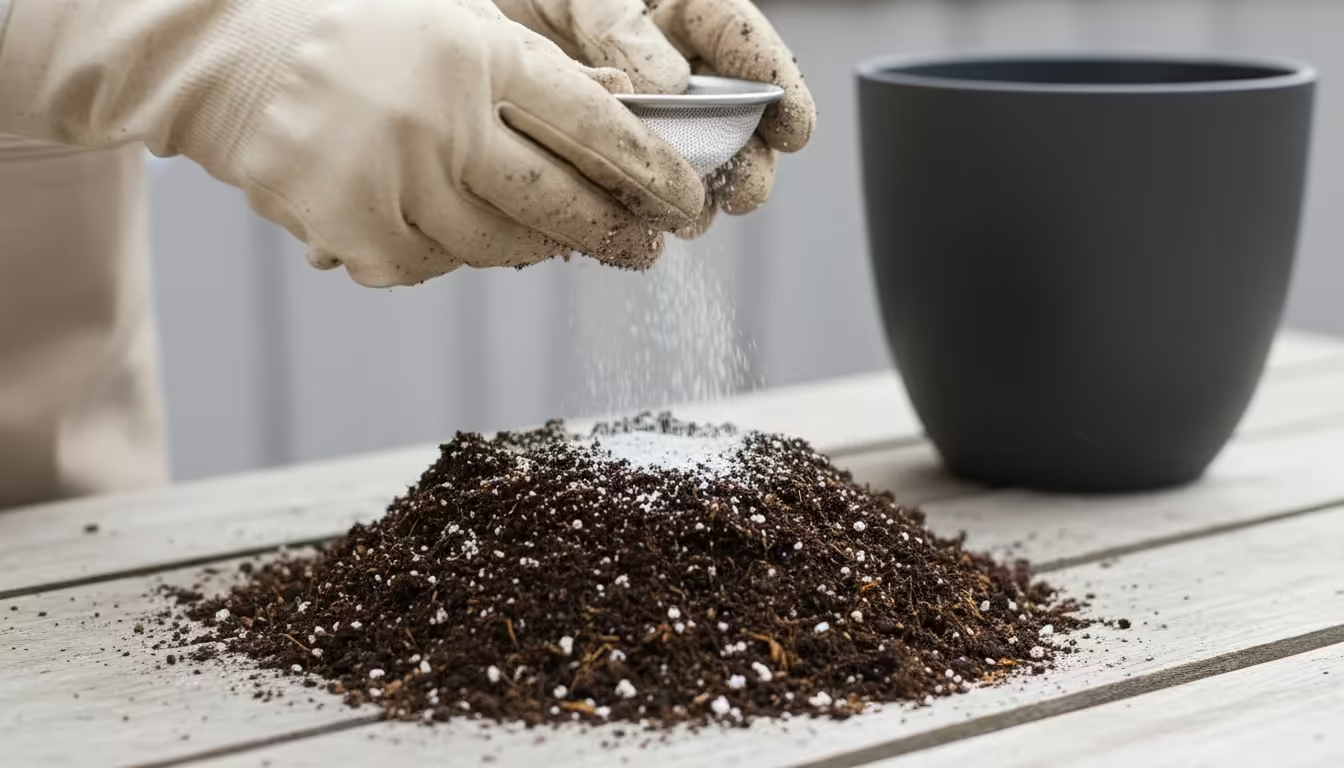
Enhance Calcium Availability: While soil calcium deficiency is less common than water transport issues, ensuring adequate calcium in your potting mix provides a buffer. You can amend your potting mix with a slow-release calcium source at planting time.
Good options include bone meal, crushed eggshells (finely ground for faster availability), or gypsum. For instance, incorporate 1-2 tablespoons of bone meal per gallon of potting mix when preparing your container.
Balanced Fertilization is Key
-
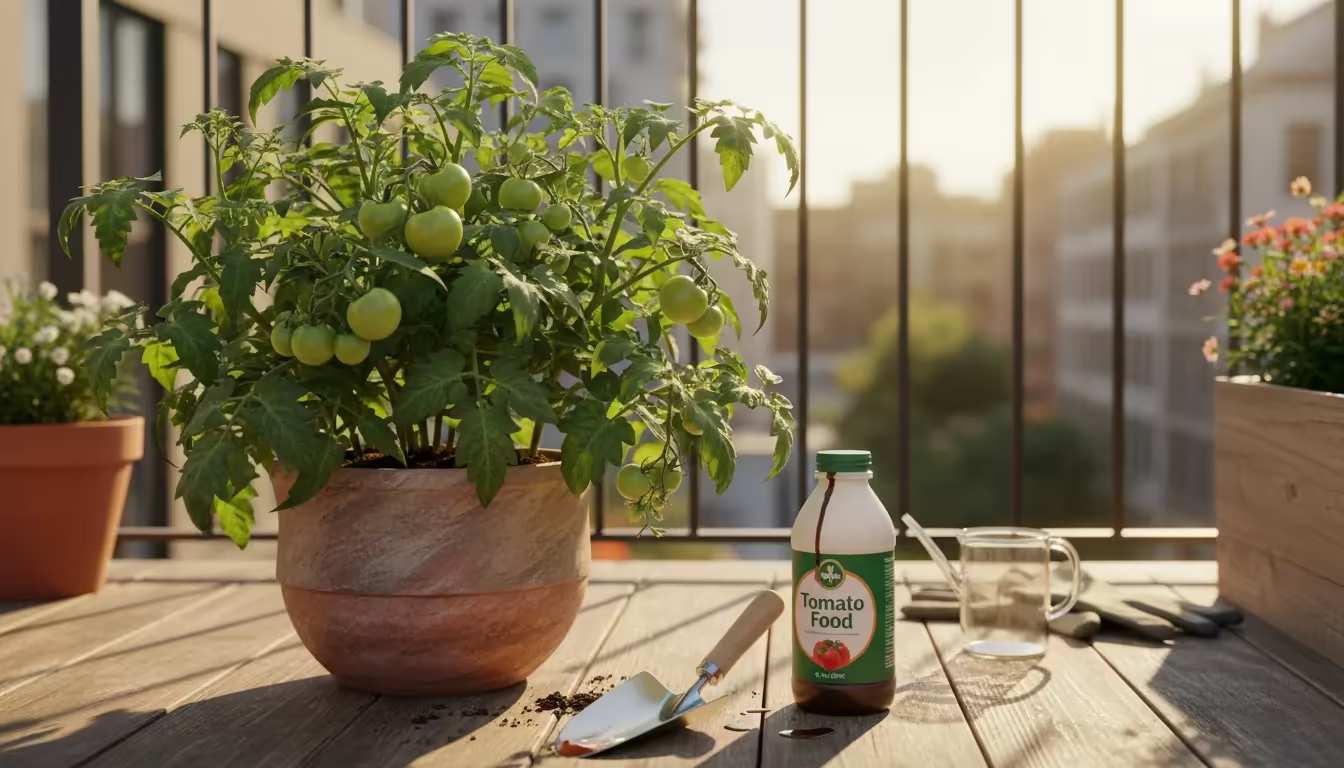
Start with a Balanced Fertilizer: When your tomato plants are young, use a balanced liquid or slow-release granular fertilizer, perhaps with an N-P-K ratio like 5-10-5 or 10-10-10. Follow package directions carefully.
-
Avoid Excessive Nitrogen: As your plants begin to flower and fruit, switch to a fertilizer lower in nitrogen and higher in phosphorus and potassium (e.g., 5-10-10 or 3-5-5).
High nitrogen promotes lush foliage growth, which can outcompete developing fruits for calcium, leading to blossom end rot.
-
Regular, Moderate Feeding: Potted plants need more frequent fertilization than in-ground plants because nutrients leach out with watering. Use a dilute liquid feed every 1-2 weeks or incorporate a slow-release granular fertilizer at the start of the season, which provides nutrients over several months.
Always water your plants thoroughly before applying liquid fertilizer to prevent root burn.
-
Epsom Salts (Magnesium Sulfate): While not a calcium source, Epsom salts can sometimes help if your soil is deficient in magnesium, a micronutrient essential for plant metabolism and nutrient uptake.
If you suspect magnesium deficiency (yellowing leaves with green veins), a foliar spray of 1 tablespoon Epsom salts per gallon of water can be beneficial, but this is a secondary measure to ensuring consistent watering and calcium availability.
Remember, the goal is not to flood your plant with calcium, but to ensure it can access what it needs when it needs it, especially when considering how to fix blossom end rot on container tomatoes.
Step 3: Choose the Right Container and Tomato Variety
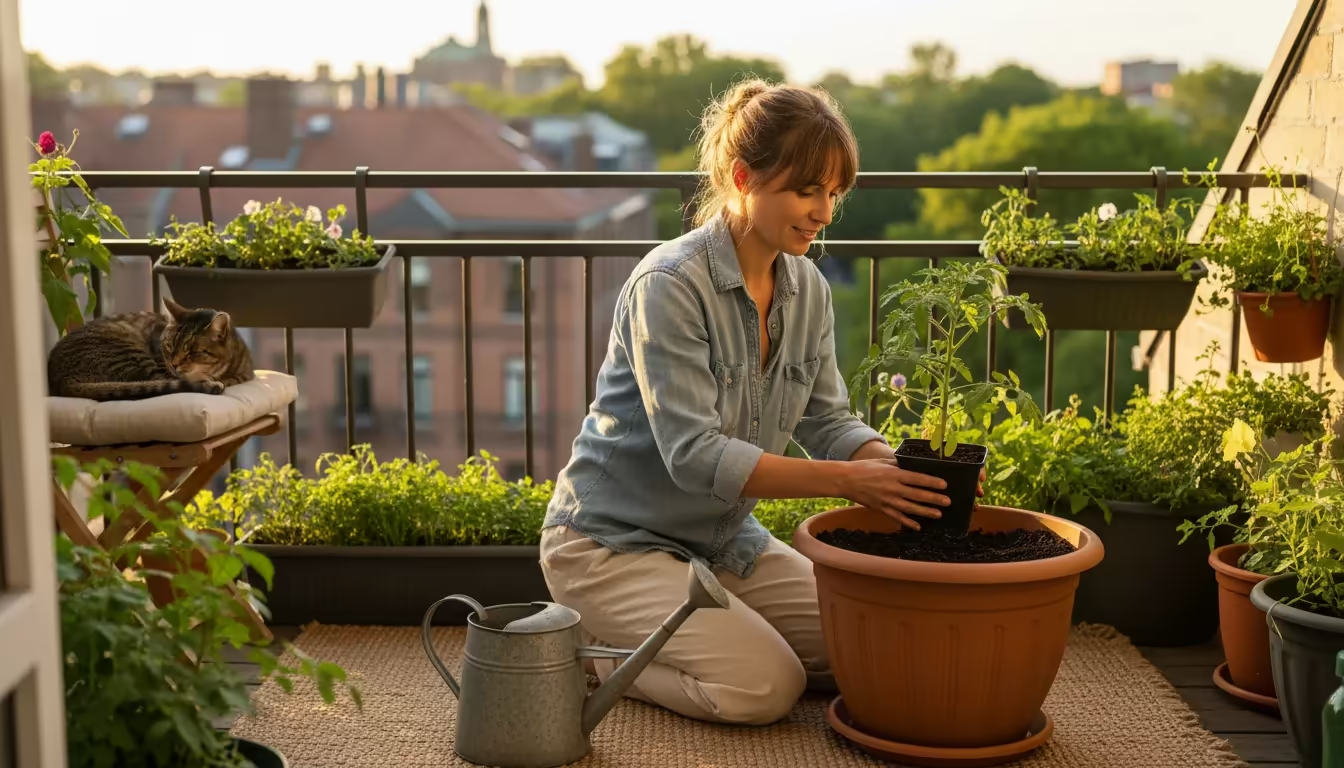
The size and type of container you choose, along with your specific tomato variety, play a significant role in preventing blossom end rot.
Container Selection for Success
-
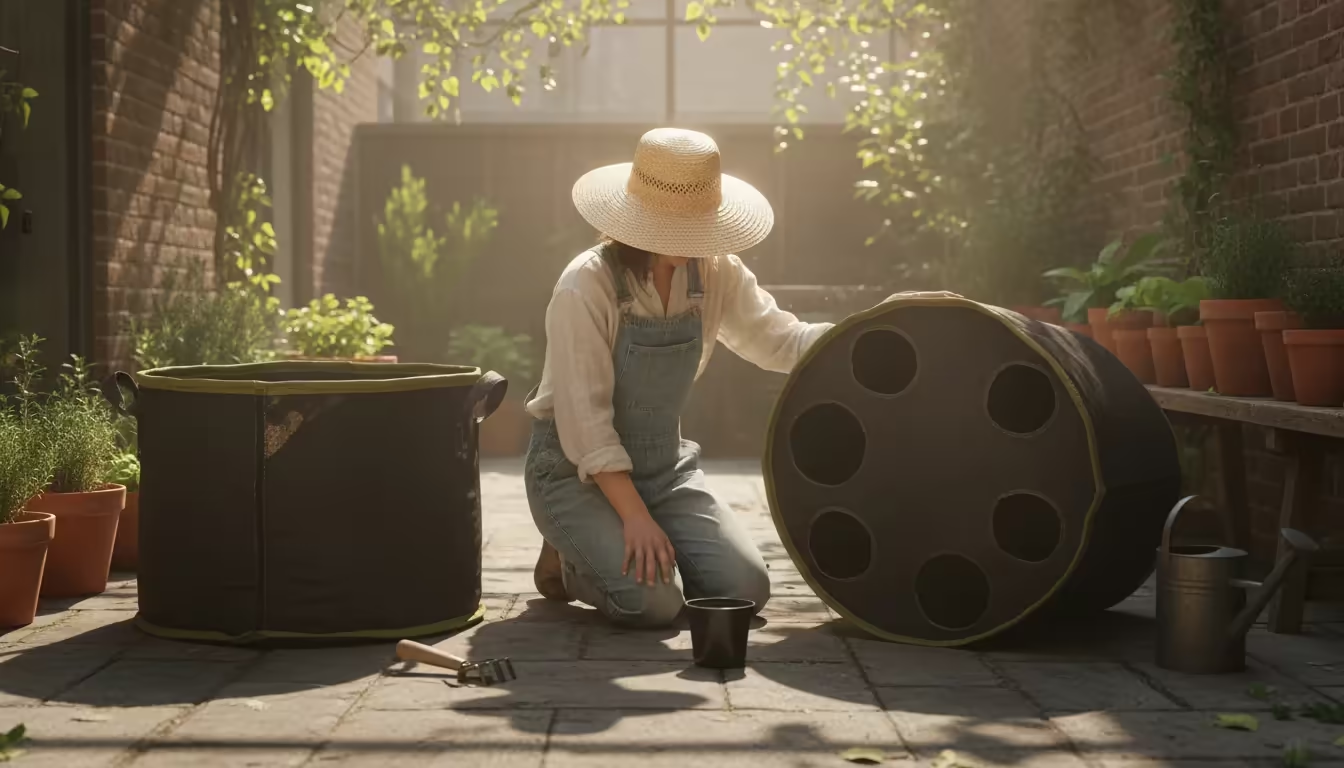
Adequate Size: This is non-negotiable for how to fix blossom end rot on container tomatoes. Tomato plants are hungry and thirsty growers.
A small container restricts root growth, which in turn limits water and nutrient absorption. For most indeterminate tomato varieties (those that keep growing and producing fruit until frost), aim for a container at least 20 gallons (75 liters) in size.
For determinate varieties (bushier plants that produce a set amount of fruit at once), a 10-15 gallon (38-57 liter) pot can suffice. If you have limited space, always err on the side of a larger container.
-
Drainage Holes: Your container absolutely must have adequate drainage holes. Without them, water accumulates, leading to root rot and other problems.
If your chosen pot lacks sufficient holes, drill more. Proper drainage prevents waterlogging while ensuring the soil retains sufficient moisture.
-
Material Matters:
- Plastic Pots: Retain moisture well, affordable. Darker colors can absorb more heat, potentially overheating roots in direct sun.
- Terracotta/Clay Pots: Porous material allows excellent air circulation but dries out very quickly, requiring more frequent watering.
- Fabric Grow Bags: Offer superior aeration (“air pruning” roots), preventing root circling. They also provide excellent drainage and help regulate soil temperature by allowing heat to dissipate. These are an excellent choice for container gardening summer success.
Smart Tomato Variety Selection
While any tomato variety can experience blossom end rot under unfavorable conditions, some are more susceptible than others. Paste tomatoes (like Roma) and large-fruited varieties (Beefsteak, Big Boy) often show higher instances of BER.
This is because they have a high demand for calcium to develop their large fruits.
Consider these options for better BER resistance, especially for potted tomatoes:
-
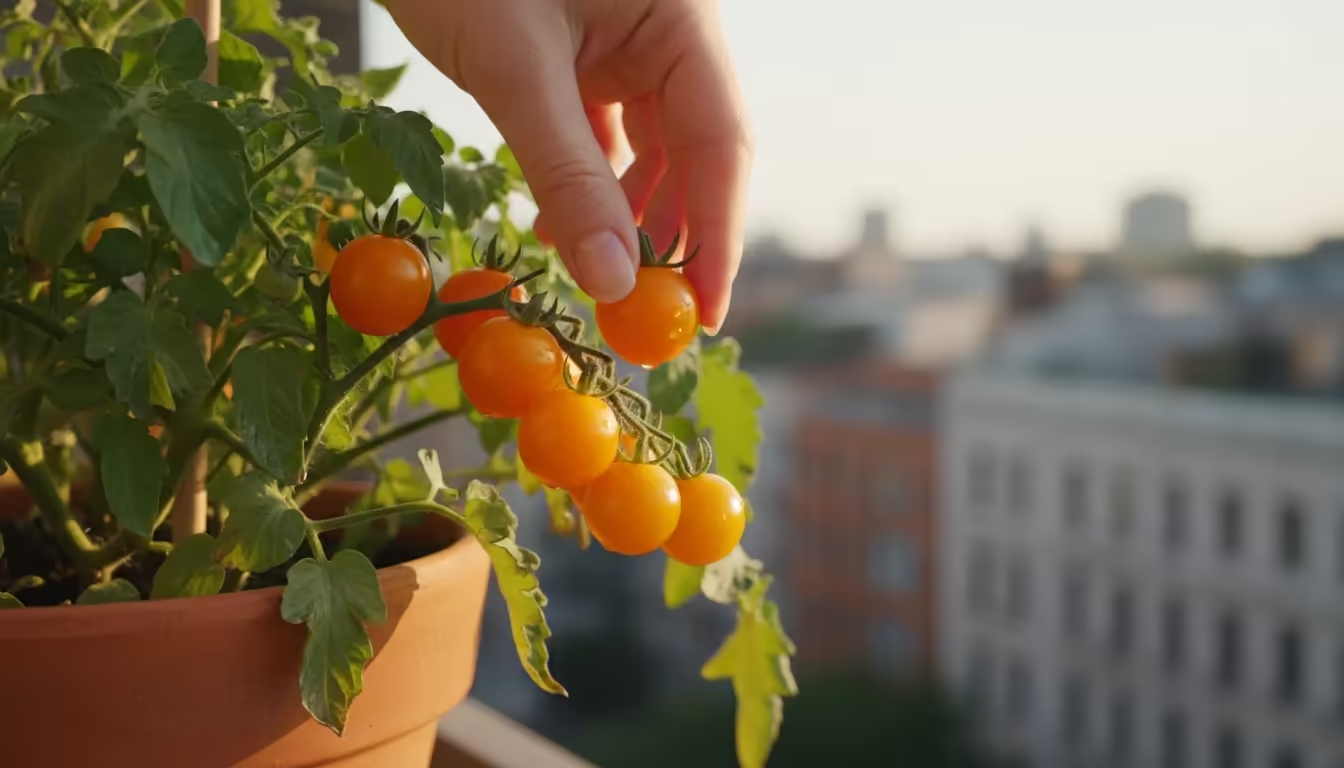
Cherry and Grape Tomatoes: Generally less prone to BER due to their smaller fruit size and faster maturation. Varieties like ‘Sungold’, ‘Sweet Million’, and ‘Indigo Cherry Drops’ are excellent choices for pots and tend to be more forgiving.
-
Determinate Bush Varieties: Look for determinate varieties specifically bred for container growth. These plants are more compact and often less susceptible.
Examples include ‘Celebrity’ (known for good resistance), ‘Patio Princess’, ‘Bush Early Girl’, and ‘Better Bush’.
-
Heirloom Varieties: While many heirlooms are delicious, some can be more temperamental and susceptible to BER. If you choose an heirloom for your pot, be extra diligent with watering and soil management.
Always check plant tags or seed descriptions for variety-specific information and recommendations for container growing.
Beyond the 3 Steps: Ongoing Care for Healthy Harvests
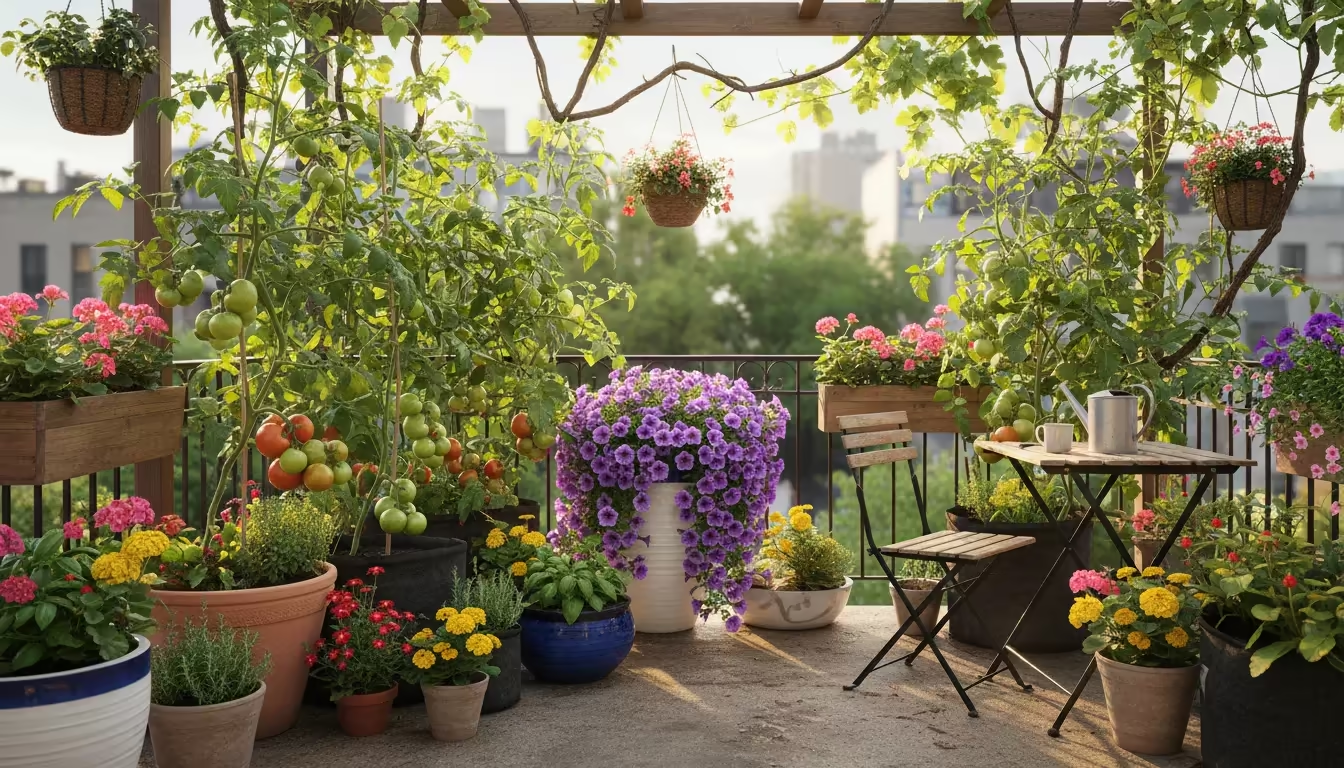
While the three-step plan provides a robust defense against blossom end rot, consistent, holistic care helps ensure your potted tomatoes thrive throughout the growing season. Think of these as supportive practices that enhance your primary efforts.
Protect from Extreme Heat
Container tomatoes are vulnerable to heat stress. Intense summer sun can overheat soil, leading to rapid water loss and impaired root function.
High temperatures also affect fruit set and quality.
-
Strategic Placement: If possible, move your potted tomatoes to a location that receives afternoon shade during the hottest parts of the day. A few hours of relief can make a significant difference.
-
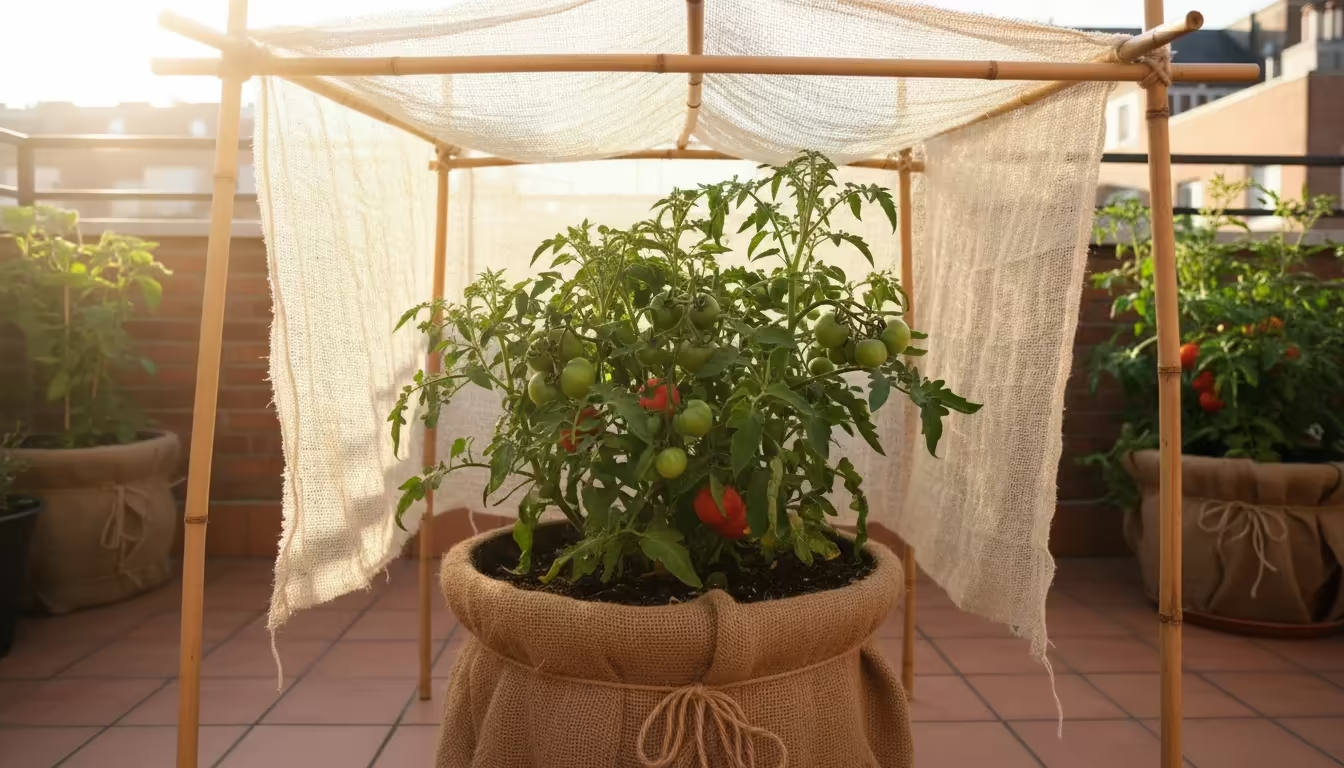
Shade Cloth: Consider using a lightweight shade cloth (30-50% shade) during heatwaves. Drape it over your plants to reduce direct sun exposure and lower ambient temperatures.
-
Insulate Pots: Dark-colored pots absorb more heat. You can wrap them with burlap, straw, or even reflective material to keep the soil cooler.
Proper Staking and Support
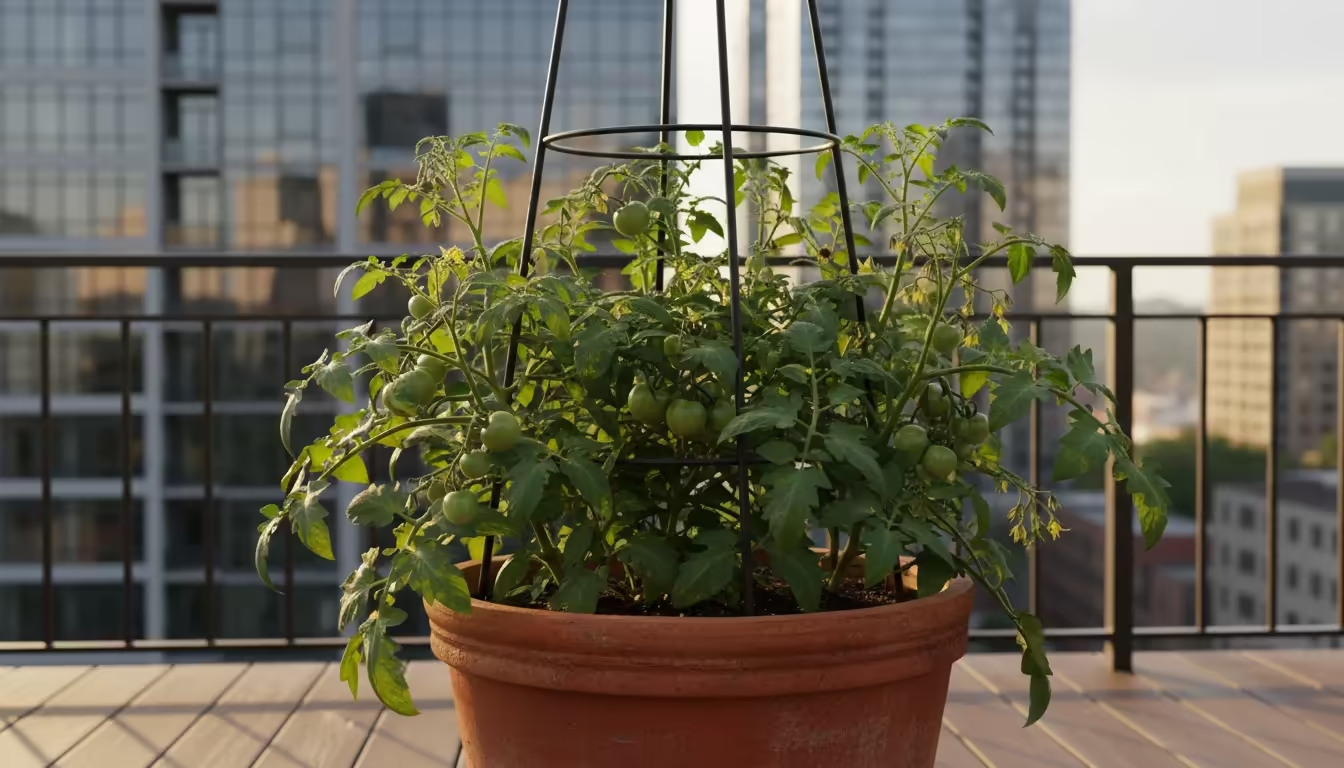
As your tomato plants grow, they need sturdy support. This prevents stems from breaking under the weight of fruits and keeps foliage off the ground, improving airflow.
Good airflow reduces humidity around the leaves, which can decrease disease risk. Use strong tomato cages, stakes, or trellises appropriate for the mature size of your chosen variety.
Judicious Pruning
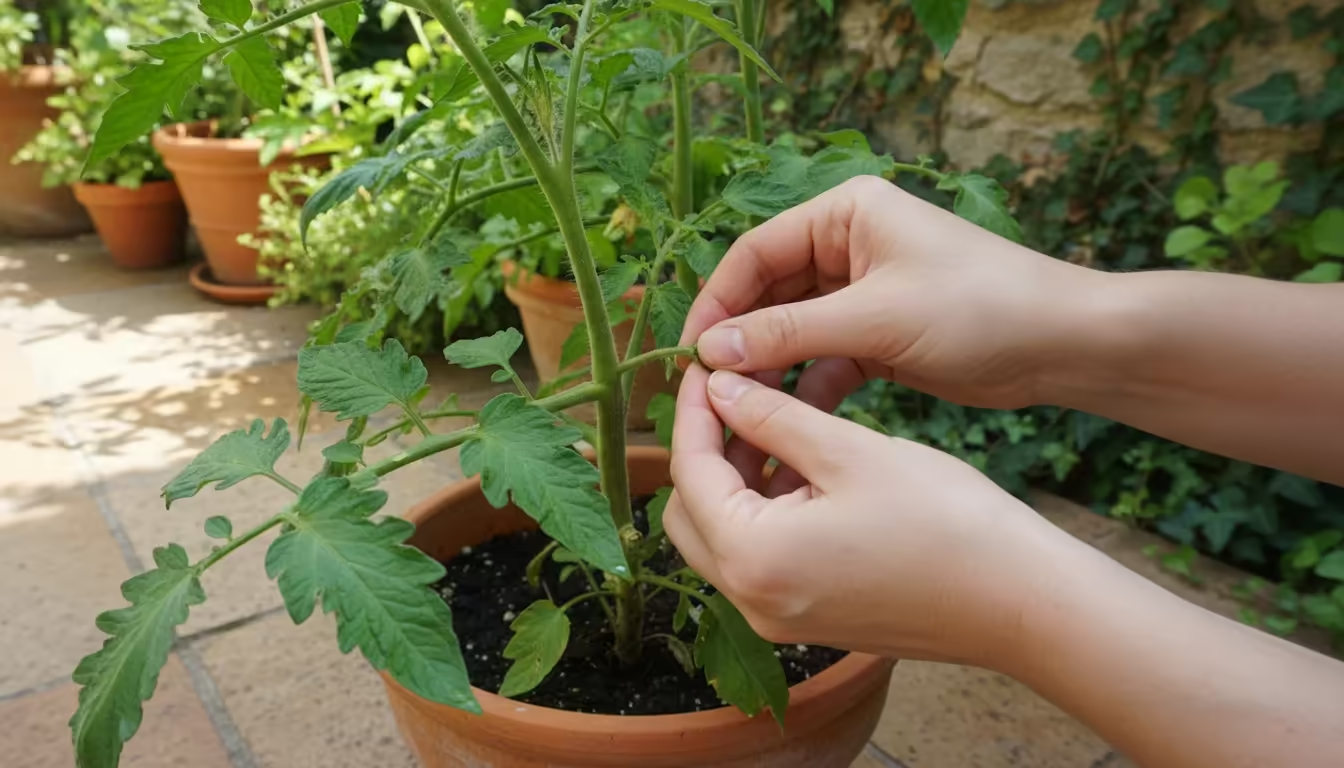
Pruning encourages better air circulation and directs the plant’s energy towards fruit production.
-
Suckers: For indeterminate varieties, pinch off “suckers” (small shoots that grow in the crotch between the main stem and a leaf branch). Removing suckers helps the plant focus its energy on existing fruits and flowers.
Be careful not to over-prune, as the leaves are essential for photosynthesis and protecting fruits from sunscald.
-
Bottom Leaves: Remove any leaves touching the soil or those that are yellowing or diseased. This improves airflow and reduces the risk of soil-borne diseases splashing onto the plant.
Monitor for Pests and Diseases
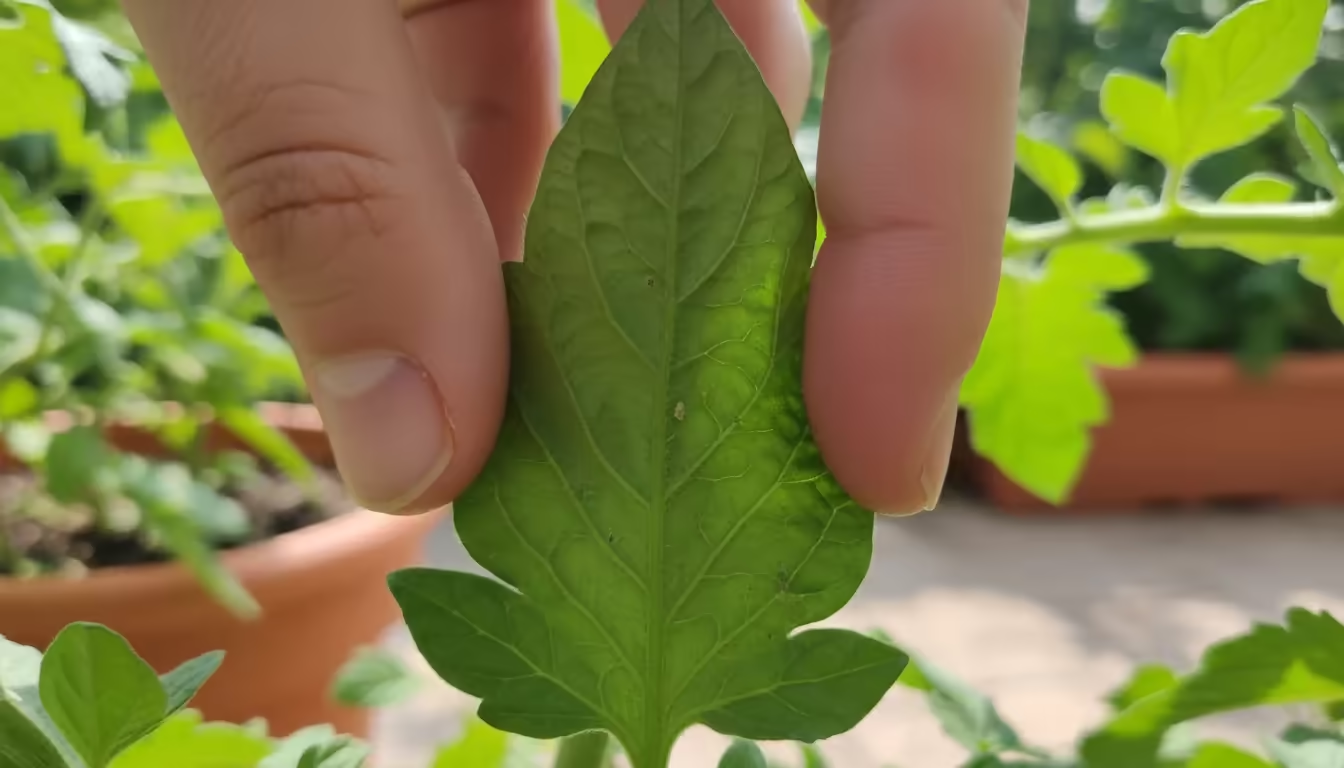
Healthy plants are more resilient. Regularly inspect your plants for signs of pests (aphids, hornworms) or diseases.
Address any issues promptly with organic solutions when possible. A stressed plant, battling pests or disease, is less able to cope with calcium transport challenges.
Addressing Existing Blossom End Rot
Once a fruit shows signs of blossom end rot, it will not recover. Remove and discard affected fruits to prevent the plant from expending energy on them.
Focus your efforts on new growth and subsequent fruits. Implementing the 3-step plan immediately will save future tomatoes.
You can start seeing improvements in as little as 10-14 days for new fruits forming.
For trustworthy gardening information, visit:
Washington State University Hortsense, University of Minnesota Extension and Penn State Extension — Trees, Lawns and Landscapes. These organizations provide expert, research-based advice for gardeners at all levels.
Common Mistakes that Lead to Blossom End Rot
Even with good intentions, some common gardening practices can inadvertently contribute to blossom end rot in your potted tomatoes. Avoiding these pitfalls enhances your success.
-
Over-fertilizing with Nitrogen: You want big, green plants, right? While nitrogen is essential for leafy growth, too much encourages foliage development at the expense of fruit.
This creates a calcium demand in the leaves that outstrips what is available for the fruit. Stick to balanced fertilizers early on, then transition to lower-nitrogen formulas once flowers appear.
-
Planting in Too Small a Pot: We touched on this, but it bears repeating. A 5-gallon bucket might seem sufficient, but it is often too small for most full-sized tomato varieties.
Restricted root space means restricted access to water and nutrients, especially as the plant matures and produces fruit. Always go larger than you think you need.
-
Ignoring Drainage Holes: If your pot does not drain properly, your roots sit in waterlogged soil. This suffocates the roots, making them unable to absorb water and nutrients, including calcium.
Ensure plenty of drainage holes exist, and do not place gravel at the bottom of the pot, which can actually impede drainage rather than improve it.
-
Planting Too Early: Tomatoes are warm-season crops. Planting them out when night temperatures are consistently below 50-55°F (10-13°C) stresses the plant.
Cold soil inhibits root activity and nutrient uptake, including calcium. Wait until the weather reliably warms up in your area before transplanting.
-
Using Soil from Your Garden: Garden soil is heavy and compacts easily in a container, restricting drainage and airflow crucial for healthy root growth. It often contains weed seeds, pests, and disease pathogens that can thrive in a confined pot.
Always opt for a high-quality, lightweight potting mix specifically designed for containers.
-
Applying Quick-Fix Calcium Sprays: While foliar calcium sprays exist, they offer a temporary and often incomplete solution for how to fix blossom end rot on container tomatoes. Plants primarily absorb calcium through their roots.
Sprays might provide a small amount of calcium to the leaves, but they do not address the fundamental issue of consistent calcium transport to the fruit. Focus on the root cause: consistent watering and proper soil management.
-
Letting Fruits Touch the Ground/Soil: While not a direct cause of BER, allowing developing fruits to touch the soil makes them vulnerable to soil-borne pathogens and moisture issues, which can compound stress on the plant.
Proper staking and pruning prevent this, keeping fruits clean and air circulation optimal.
By actively avoiding these common missteps, you significantly reduce the chances of encountering blossom end rot and promote overall plant health.

Frequently Asked Questions
Can I eat tomatoes affected by blossom end rot?
Yes, you can still eat the unaffected parts of tomatoes with blossom end rot. Simply cut away the damaged portion.
The rot does not make the rest of the fruit toxic. However, severely affected fruits may not taste as good due to the damage.
Will adding calcium to the soil immediately fix blossom end rot?
Adding calcium to the soil is a good preventative measure if your soil is truly deficient, but it rarely provides an immediate fix once BER appears. The primary issue is often inconsistent water delivery, not a lack of calcium in the soil.
Focus on mastering your watering routine first. Slow-release calcium amendments at planting help maintain a calcium reserve, but fast-acting solutions for existing problems are rare, as calcium moves slowly through the plant.
How quickly can I see results after implementing the 3-step plan?
You can expect to see new fruits forming without blossom end rot within 10-14 days of consistently implementing the watering and soil management steps. Fruits already affected will not recover, so remove them.
Your efforts benefit the next generation of tomatoes.
Are certain tomato varieties more resistant to blossom end rot?
Yes, smaller-fruited varieties like cherry and grape tomatoes generally show more resistance than large-fruited or paste varieties (e.g., Roma, Beefsteak). Determinate bush varieties specifically bred for containers also often have better resistance.
Consult seed packets or plant tags for specific recommendations.
Is blossom end rot a sign of disease?
No, blossom end rot is a physiological disorder, not a disease. It results from environmental factors affecting the plant’s ability to transport calcium, not from a pathogen like bacteria, fungi, or viruses.
It will not spread from plant to plant.
Your Path to Blossom End Rot-Free Tomatoes
Blossom end rot can feel like a formidable foe, but with the right knowledge and consistent practice, you gain complete control over it.
By focusing on consistent watering, optimizing your soil’s nutrition, and making smart choices about your containers and tomato varieties, you empower your potted tomatoes to thrive.
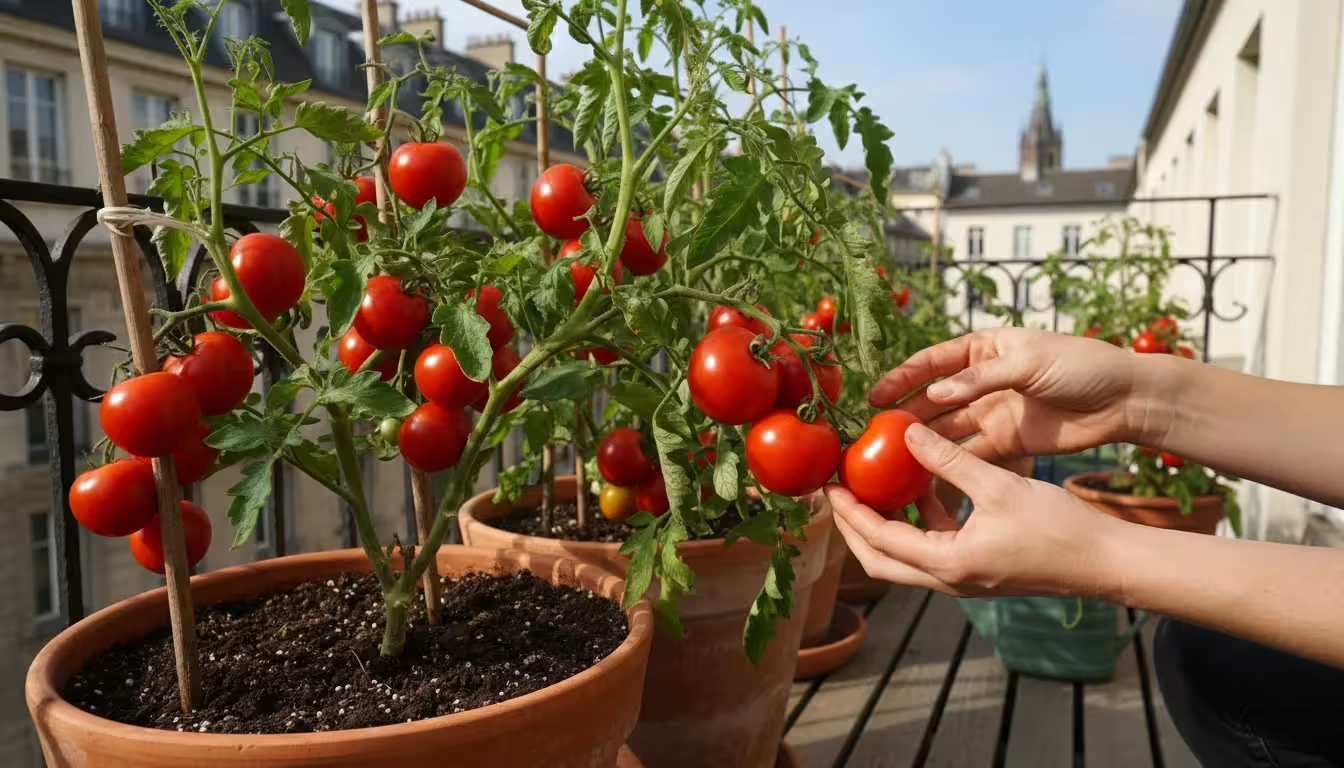
You now possess the practical, actionable insights needed to prevent and manage blossom end rot. Imagine harvesting basket after basket of perfect, unblemished tomatoes from your small space this summer.
This reality is well within your reach. Apply these simple steps with confidence and watch your container tomatoes flourish, delivering the delicious, homegrown taste you truly deserve.
Disclaimer: This article is for informational purposes only and is not a substitute for professional gardening advice. Always consult local extension services or horticulture experts for region-specific guidance.