As a passionate gardener, you give your plants what they need: sunlight, water, and plenty of love. But sometimes, that love, especially in the form of fertilizer, can become too much of a good thing. For those with summer containers on balconies, patios, or in small yards, providing the right nutrients is a delicate balance. Too little, and your plants struggle. Too much, and you risk a condition known as fertilizer burn, which can quickly damage or even kill your cherished greenery. This guide helps you visually identify the signs of fertilizer burn, understand why it happens, and provides actionable steps to bring your plants back to health and prevent future mishaps. You are not alone in making this common gardening mistake, and with these insights, you can quickly become a confident, successful container gardener.
Understanding Fertilizer Burn: The Root of the Problem
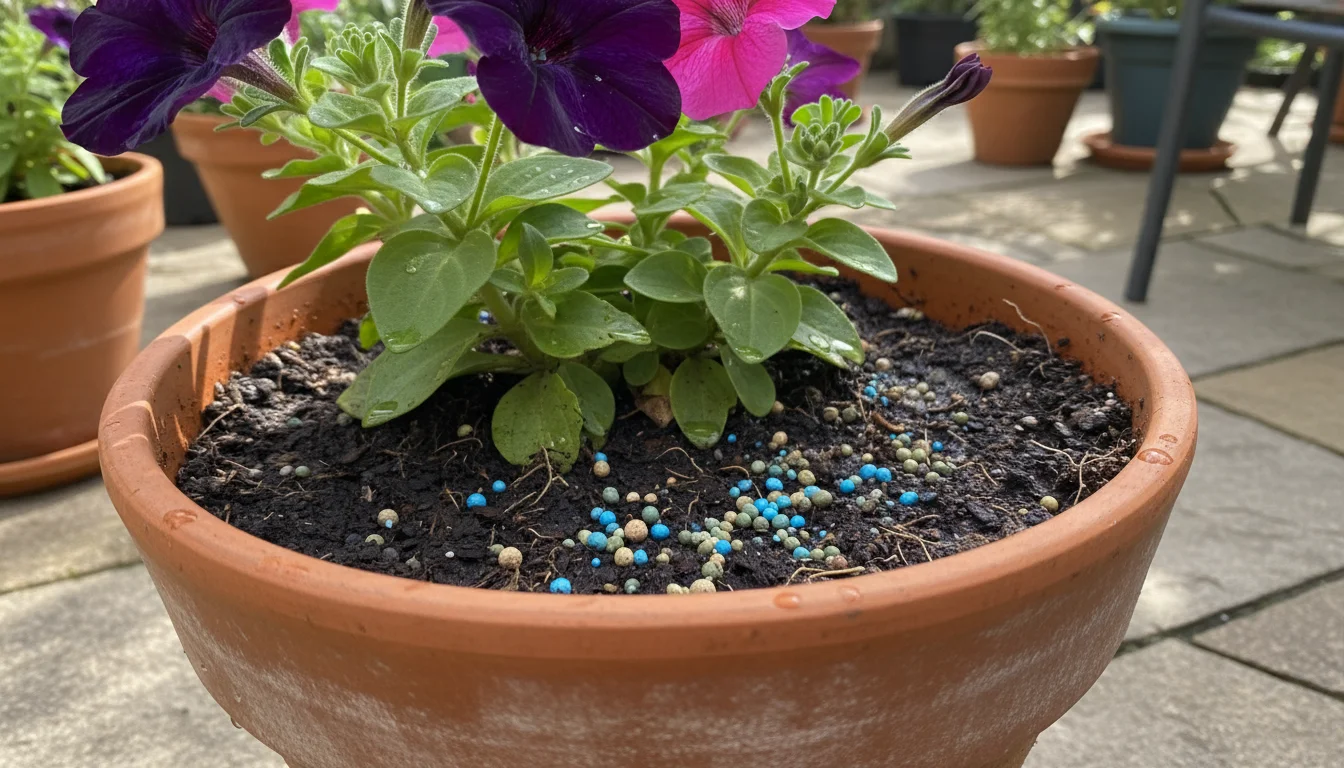
Think of fertilizer as a vitamin supplement for your plants. It provides essential nutrients like nitrogen, phosphorus, and potassium (the N-P-K on the label) along with micronutrients, which are vital for healthy growth, vibrant blooms, and bountiful harvests. Plants typically absorb these nutrients through their roots, dissolved in water. However, a delicate process called osmosis governs this absorption. Osmosis is how water moves across a plant’s root membranes, from an area of lower salt concentration (the soil water) to an area of higher salt concentration (inside the roots). This movement keeps the plant hydrated and allows it to draw up nutrients.
Fertilizer burn occurs when you apply too much fertilizer, creating an excessively high concentration of salts and nutrients in the soil. This imbalance reverses the natural process of osmosis. Instead of water moving into the roots, the high salt content outside the roots draws water *out* of the plant. Essentially, the plant becomes dehydrated at a cellular level, even if the soil itself feels moist. This “reverse watering” causes plant tissues to dry out, scorch, and eventually die. The term “burn” accurately describes the visual effect on the foliage, which appears scorched or crispy. Understanding this fundamental process helps you grasp why careful application is crucial for your plants’ well-being.
Why Container Plants are Prone to Fertilizer Burn
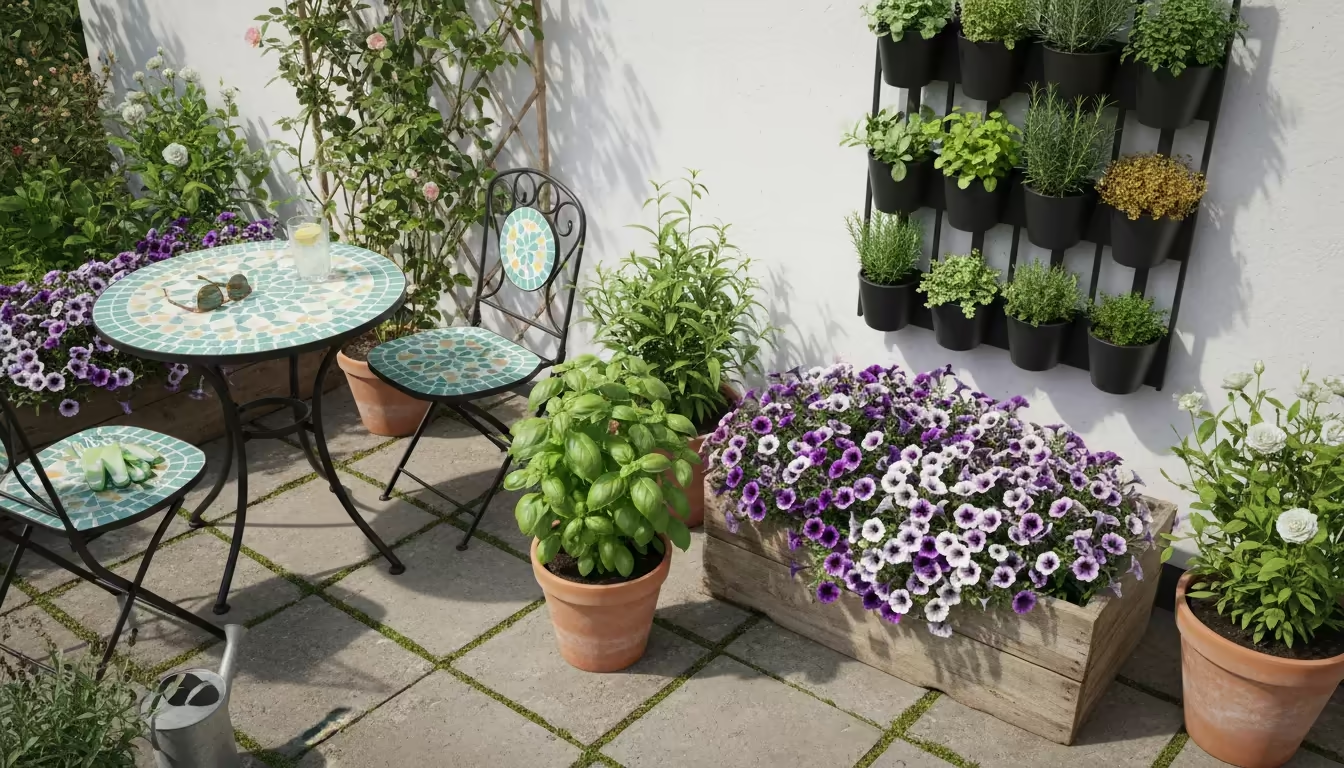
Container gardening offers immense rewards, allowing you to cultivate a thriving garden in even the smallest spaces. However, the confined environment of a pot or planter makes your plants particularly susceptible to fertilizer burn compared to their in-ground counterparts. Several factors contribute to this heightened risk, making container gardening mistakes like over-fertilizing a common challenge.
First, consider the limited soil volume in a container. In a garden bed, a large volume of soil acts as a buffer, diluting excess nutrients and providing space for them to disperse. In a pot, the root system is restricted, and the soil volume is finite. This means any applied fertilizer quickly reaches a higher concentration relative to the small amount of soil available. The plant roots have less room to escape highly concentrated areas, increasing their exposure to damaging salt levels.
Second, container plants often require more frequent watering, especially during hot summer months. Water serves two purposes here: it delivers nutrients to the roots, and it flushes out accumulated salts. However, if drainage is poor or if you consistently apply fertilizer and then only water lightly, salts can accumulate in the potting mix. When water evaporates from the soil surface, it leaves salts behind, further concentrating them. This salt buildup creates a hostile environment for your plant’s roots. Your small balcony plants in summer are particularly vulnerable because increased temperatures drive up both evaporation and the plant’s need for water, potentially leading to a faster accumulation of salts if fertilizing is not adjusted.
Finally, the very nature of container growing means plants rely entirely on you for their nutritional needs. Unlike garden beds where soil ecosystems can cycle nutrients, potting mixes are often inert, meaning they contain very little inherent nutritional value. While this makes controlled feeding possible, it also means that misjudging the dosage or frequency of fertilizer application has immediate and direct consequences for your plant’s health. You become the sole provider, and overzealous provision leads straight to fertilizer burn.
The Visual Clues: Spotting Fertilizer Burn on Your Plants
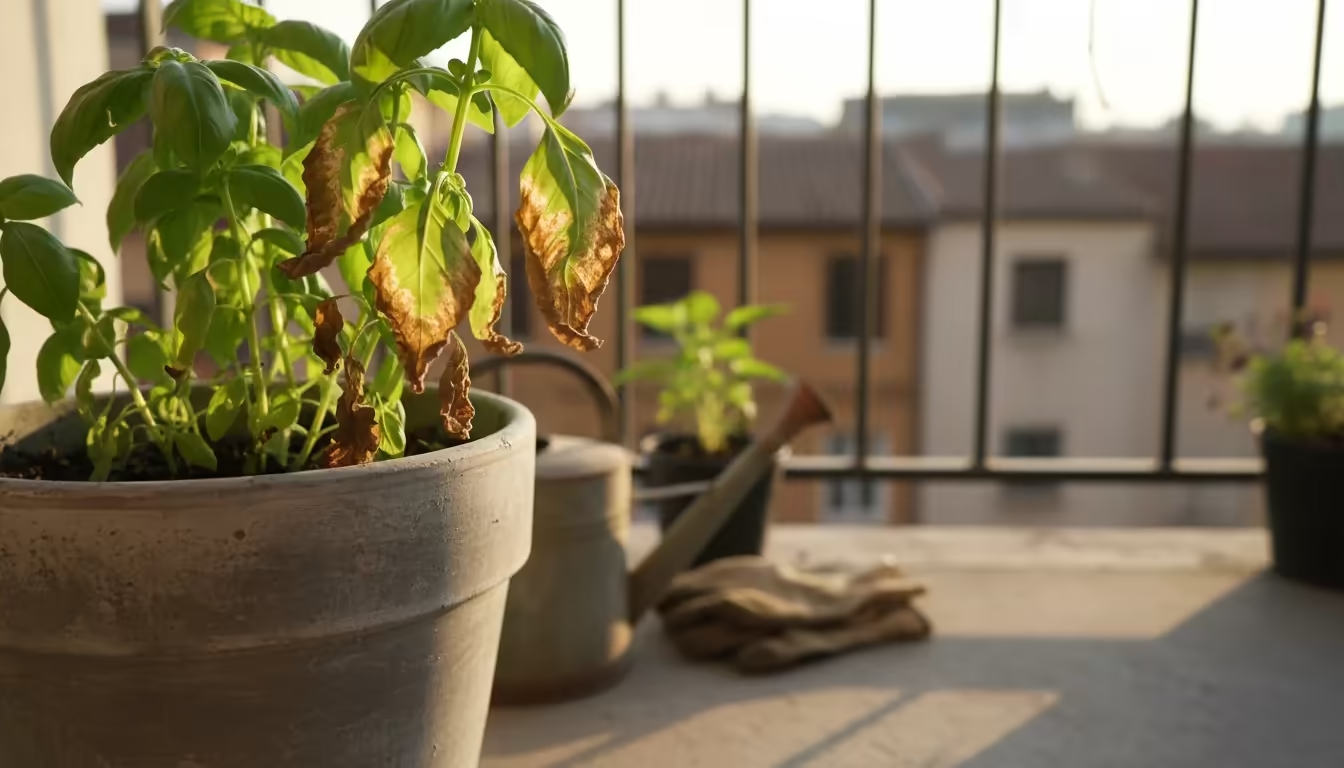
Identifying fertilizer burn early is critical for saving your plants. As a visual guide, we focus on the distinct signs your plants display when they have received too much of a good thing. These symptoms often mimic other plant stressors, which can make diagnosis tricky, but several key indicators point specifically to nutrient overload.
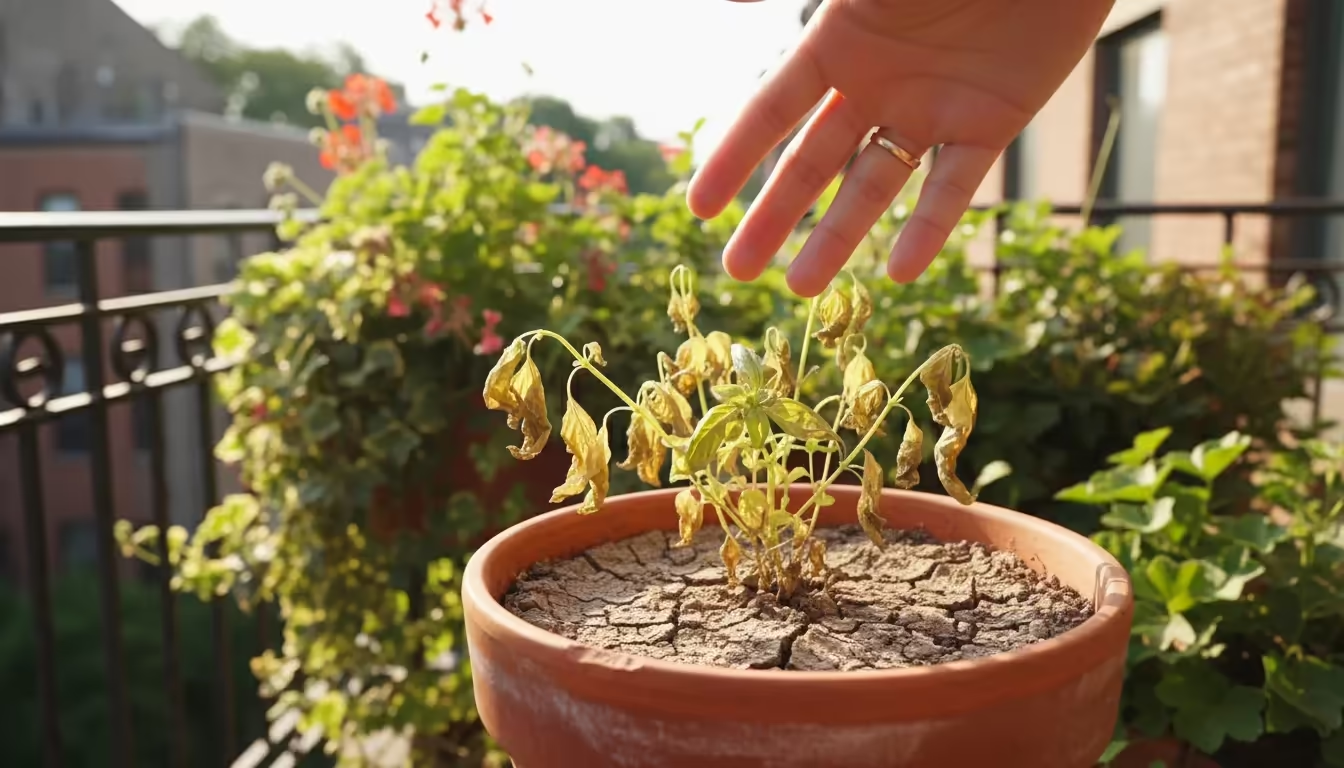
The most common and tell-friendly sign is the discoloration of leaves. You will typically see leaves turning yellow or brown, often starting at the tips and margins (edges) of the leaves. This yellowing or browning then progresses inward, sometimes creating a crisp, scorched appearance. The affected areas might feel dry and brittle to the touch. This symptom is especially prevalent on older, lower leaves, but can appear on newer growth as well if the burn is severe. For your yellow leaves on balcony plants in summer, this specific pattern of browning tips and edges, distinct from overall yellowing which might indicate a nitrogen deficiency, is a strong signal of fertilizer burn.
Another visual clue is stunted growth, or a sudden cessation of new growth. While this can also be a sign of nutrient deficiency, in the context of over-fertilization, you might notice that even new leaves, if they appear, are smaller, distorted, or quickly develop the characteristic scorched tips. The plant simply cannot invest energy in healthy growth when its root system is under attack.
Wilting is also a significant symptom. Your plants might droop or wilt, even when the soil feels moist to the touch. This is a direct result of the reverse osmosis mentioned earlier; the roots cannot absorb water, causing the plant to suffer from dehydration. This can be particularly confusing, as wilting often signals a need for water, tempting you to water more, which can exacerbate the fertilizer burn by further saturating the high-salt soil.
Finally, inspect the soil surface and the exterior of your container. You might observe a white or yellowish crust forming on the top of the potting mix or around the drainage holes. This crust is an accumulation of excess salts that have been drawn to the surface as water evaporates. If you see this, it is a very strong indicator that your soil has a dangerously high concentration of fertilizer salts.
Understanding these visual cues helps you confidently identify fertilizer burn, distinguishing it from general nutrient deficiencies, underwatering, or pest infestations. Your careful observation empowers you to act quickly.
First Aid for Your Over-Fertilized Plants: Immediate Steps
When you recognize the signs of fertilizer burn, acting quickly is paramount. Think of it as an emergency for your plant. Your primary goal is to dilute and remove the excess salts from the soil to prevent further damage and allow the roots to recover. Here are the immediate, actionable steps you should take:
- Stop Fertilizing Immediately: This might seem obvious, but it is the absolute first step. Do not apply any more fertilizer to the affected plant or surrounding plants if they show similar symptoms.
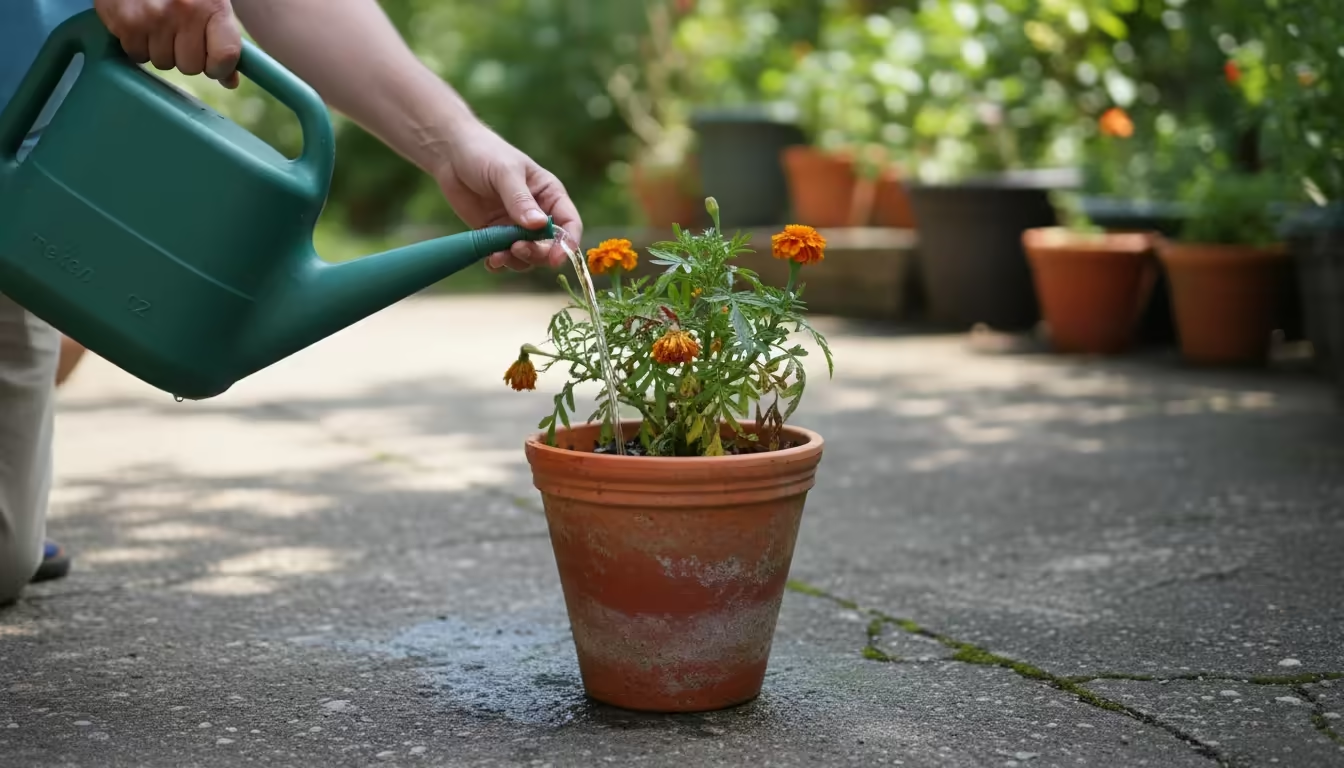
- Leach the Soil (Flush with Water): This is the most effective way to remove excess salts.
- Move your container to a location where water can drain freely without damaging anything below. A sink, bathtub, or outdoor patio area is ideal.
- Slowly pour a large volume of clean, fresh water through the potting mix. Aim for at least four times the volume of the pot. For example, if you have a 1-gallon pot, use 4 gallons of water.
- Pour slowly and steadily, allowing the water to soak through and drain completely from the bottom. This process washes out the accumulated salts.
- Repeat this flushing process over the next few days if the burn symptoms are severe or if you see continued salt crusting.
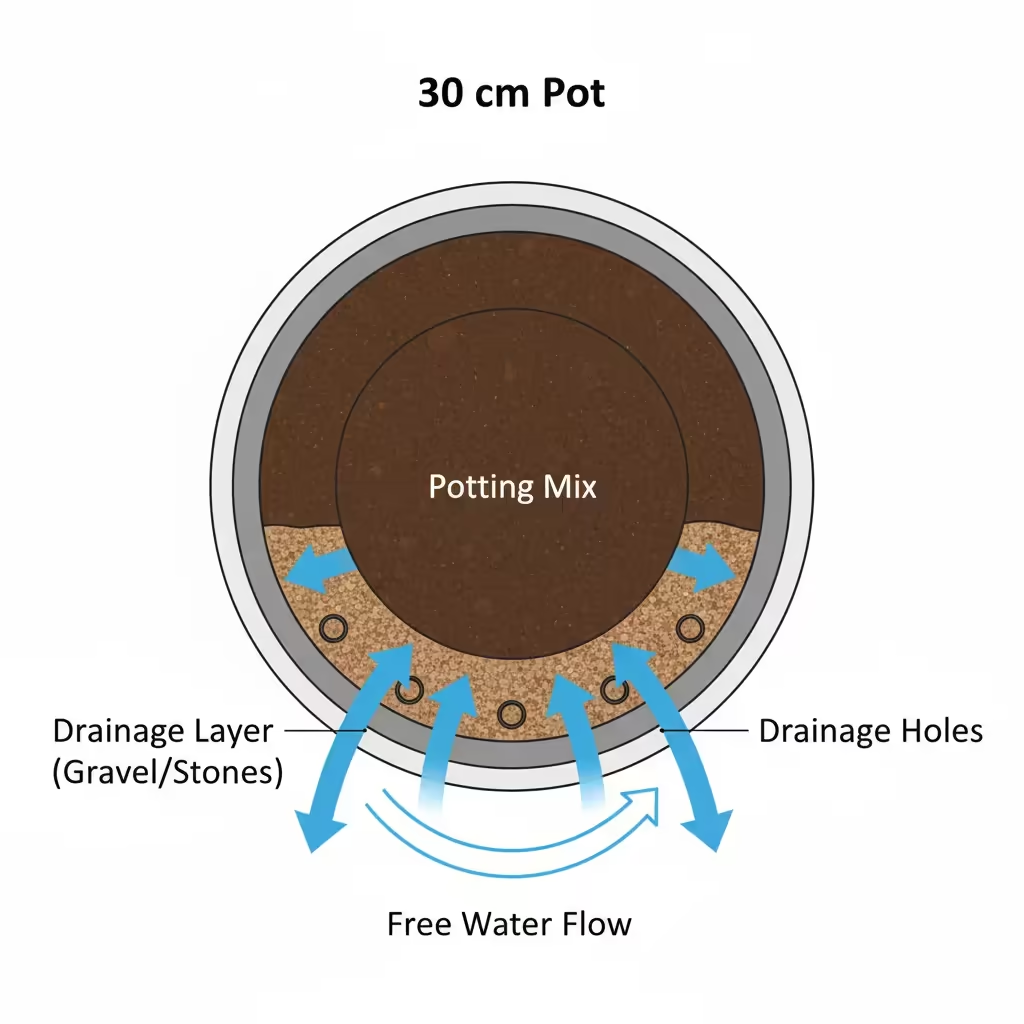
Understanding “drainage” here means simply allowing water to flow freely through the soil and out of the bottom holes of the pot. Good drainage is essential to prevent waterlogging and to allow for effective flushing.
- Trim Severely Damaged Foliage: If many leaves are heavily scorched or crispy, carefully remove them with clean, sharp pruning shears. Only remove leaves that are clearly beyond recovery. This helps the plant focus its energy on new, healthy growth rather than trying to sustain dead or dying tissue. However, do not remove too much foliage at once, as the plant still needs leaves for photosynthesis.
- Provide Temporary Shade: A plant recovering from fertilizer burn is stressed. Moving it to a location with partial or dappled shade for a few days helps reduce transpiration (water loss from leaves) and overall stress, allowing it to recover more easily.
- Resist Immediate Repotting: While repotting can sometimes refresh soil, it is generally not recommended as an immediate first aid step for fertilizer burn. The act of repotting itself is stressful for a plant, and adding this stress to an already struggling plant can be detrimental. Focus on flushing the existing soil first.
By following these steps, you give your over-loved plant the best chance for survival and recovery, setting the stage for healthier growth in the future.
Long-Term Recovery and Preventative Strategies
Once you have performed first aid on your plant, the next phase focuses on long-term recovery and, more importantly, implementing preventative strategies to ensure fertilizer burn does not happen again. This involves careful monitoring, adjusting your fertilizing habits, and understanding your plant’s specific needs.
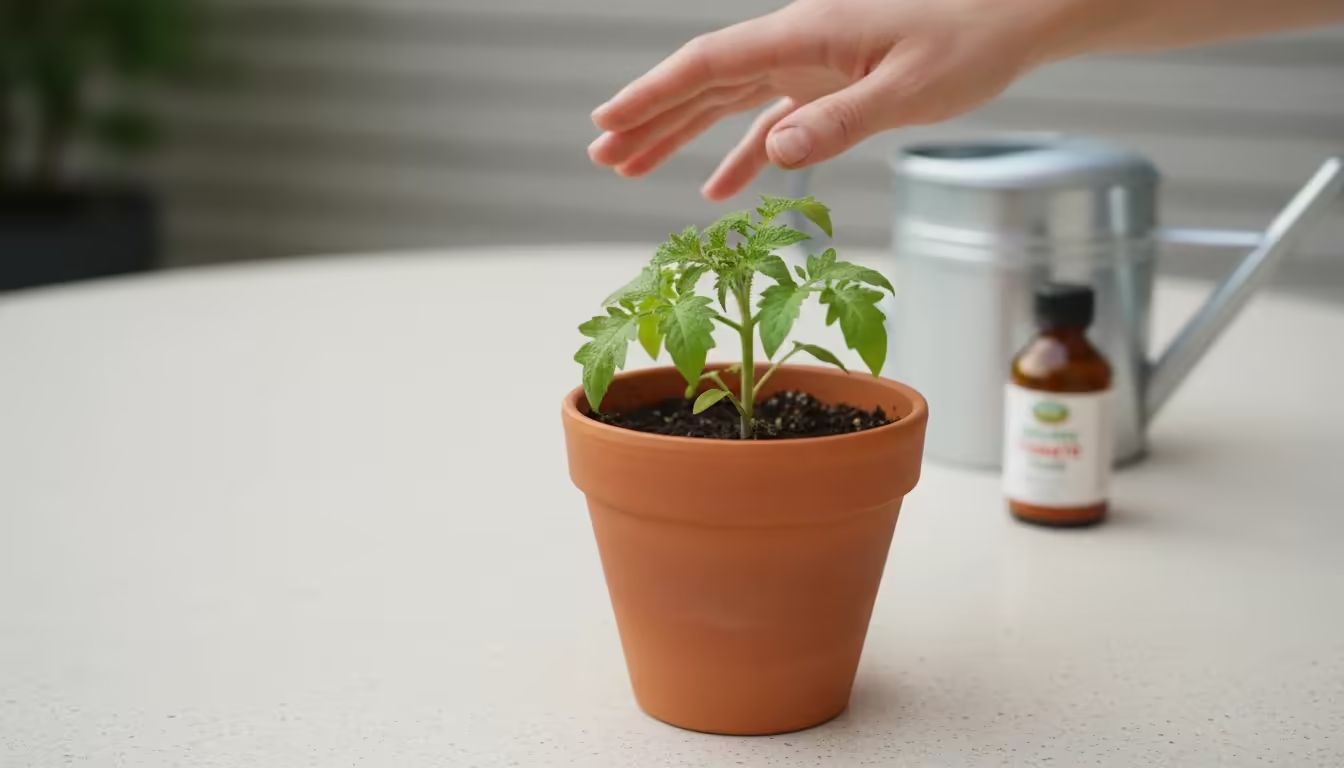
For long-term recovery, continue to monitor your plant closely. Look for signs of new, healthy growth. It takes time for a plant to bounce back, so be patient. New leaves should appear vibrant and green, without the scorched tips or discoloration you observed before. Do not reintroduce fertilizer until you see clear signs of recovery, typically several weeks after the initial flushing. When you do restart, begin with a much-diluted liquid fertilizer, perhaps at quarter strength, and observe the plant’s reaction before gradually increasing the dose.
Preventing future fertilizer burn is about mindful and informed practice. This is where your role as a practical gardening coach truly shines.
Key Preventative Strategies:
- Read Fertilizer Labels Thoroughly: Every fertilizer product comes with instructions regarding dosage, dilution ratios, and frequency of application. These instructions are not suggestions; they are crucial guidelines. Always err on the side of caution, especially for container plants.
- Always Fertilize Moist Soil: Never apply fertilizer to dry soil. Dry roots are more susceptible to immediate damage from concentrated salts. Water your plants thoroughly before applying any fertilizer, ensuring the soil is evenly moist. This helps dilute the fertilizer and prevents direct contact with dry root hairs.
- Start with Half-Strength Doses: When in doubt, or when using a new fertilizer, begin by diluting liquid fertilizers to half or even quarter strength, or applying granular fertilizers at half the recommended rate. It is easier to add more fertilizer later if your plant shows signs of nutrient deficiency than to reverse fertilizer burn.
- Consider Slow-Release Fertilizers: For small-space gardening, slow-release granules are an excellent option. These fertilizers gradually release nutrients over several weeks or months, reducing the risk of sudden nutrient overload. Apply them according to package directions, often just once or twice per growing season.
- Choose the Right Fertilizer Type: Different plants have different nutritional needs. A high-nitrogen fertilizer might be great for leafy greens, but a flowering plant needs more phosphorus and potassium for bloom production. Using a balanced fertilizer (e.g., 10-10-10) or one tailored to your plant type helps prevent over-application of a single nutrient.
- Practice Regular, Light Flushing: Even without obvious signs of burn, regularly flush your container plants with plain water every few weeks during the growing season. This helps prevent the slow buildup of salts that can silently stress your plant’s roots.
- Understand Your Plant’s Needs: Research the specific requirements of each plant you grow. Some plants are heavy feeders, while others require minimal fertilization. For example, many succulents and cacti need very little, if any, fertilizer.
By adopting these preventative measures, you move from reacting to problems to proactively creating a healthy, balanced environment for your container plants.
Choosing the Right Fertilizer for Your Container Plants
Selecting the appropriate fertilizer is a vital step in preventing fertilizer burn and ensuring your container plants thrive. The market offers a dizzying array of options, but understanding a few key principles helps you make informed choices tailored to your small-space garden.
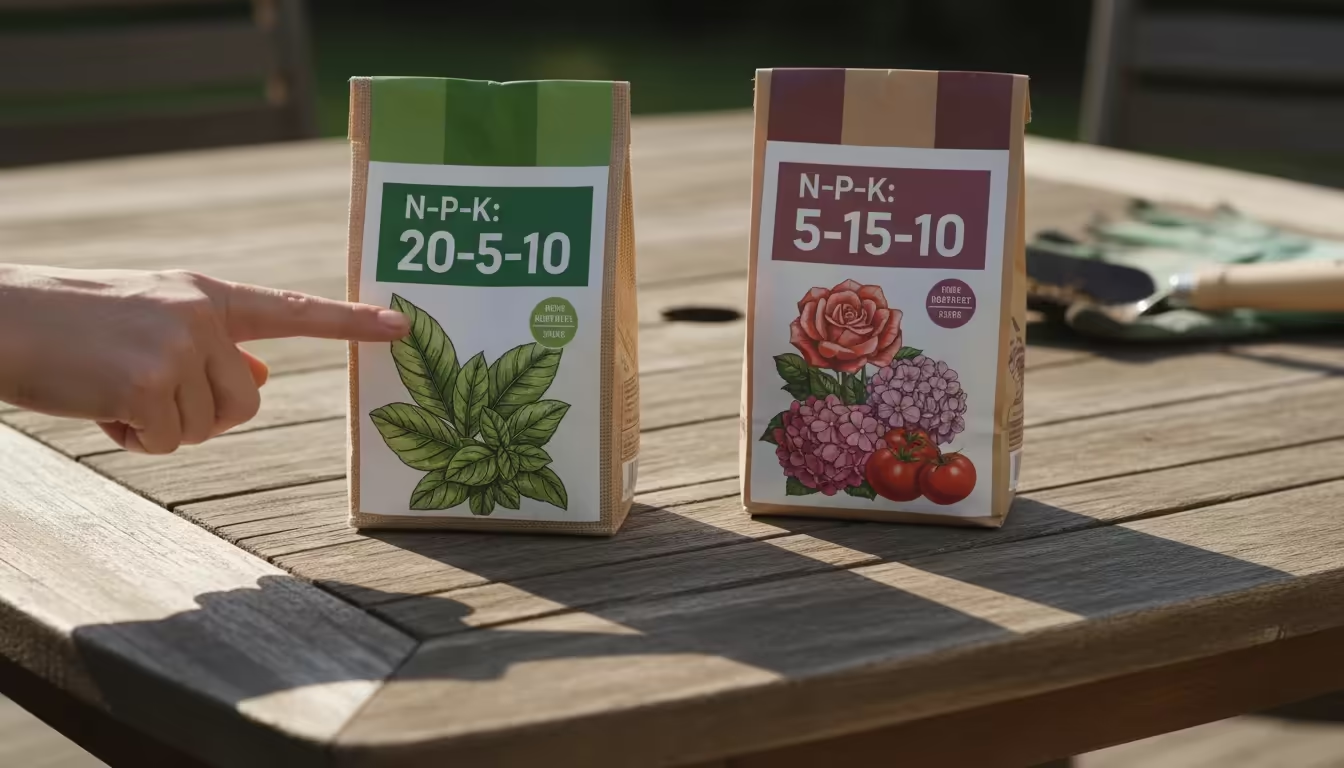
The most prominent feature on any fertilizer package is the N-P-K ratio, representing the percentage by weight of Nitrogen (N), Phosphorus (P), and Potassium (K).
- Nitrogen (N) promotes lush, green foliage. Think of it for leafy vegetables like lettuce, spinach, or herbs, and for vigorous growth in general.
- Phosphorus (P) supports strong root development, flowering, and fruiting. This is essential for plants like tomatoes, peppers, and most flowering annuals.
- Potassium (K) contributes to overall plant health, disease resistance, and water regulation. It is important for all plants.
A “balanced” fertilizer, such as a 10-10-10 or 20-20-20, provides equal parts of these primary nutrients. This is a good general choice for many plants. However, if your goal is abundant flowers or fruit, you might opt for a “bloom booster” fertilizer with a higher middle number (e.g., 5-10-5). For leafy greens, a higher first number (e.g., 20-5-5) is beneficial.
Types of Fertilizers for Container Gardening:
| Fertilizer Type | Pros for Containers | Cons for Containers | Best Use Case |
|---|---|---|---|
| Liquid Fertilizers | Immediate nutrient availability, easy to control dilution, allows precise feeding. | Requires frequent application, higher risk of burn if not diluted correctly. | Quick boost, precise feeding for specific growth stages, immediate action for deficiencies. |
| Granular Fertilizers | Often slow-release, fewer applications needed, good for consistent feeding. | Harder to control exact dosage, can create hot spots of nutrients if not evenly distributed, slower release. | Long-term feeding, mixing into potting soil before planting, reduced labor for ongoing care. |
| Slow-Release Pellets/Spikes | Releases nutrients over weeks/months, greatly reduces burn risk, very low maintenance. | Less control over immediate nutrient levels, can be more expensive upfront, less flexible for changing plant needs. | Busy gardeners, consistent feeding for long-season plants, set-it-and-forget-it convenience. |
| Organic Fertilizers | Gentle, improves soil health, lower burn risk, often derived from natural sources. | Nutrient release can be slower and less predictable, may have odors, can attract pests if not properly composted. | Eco-conscious gardeners, building long-term soil fertility, gentle feeding for sensitive plants. |
For your container plants, liquid fertilizers offer excellent control because you can easily dilute them. This flexibility is particularly beneficial for small-space gardeners who might be feeding a variety of plants with differing needs. Slow-release options are also fantastic for minimizing effort and burn risk, especially during busy summer plant care routines. Always remember: start with a lower dose than recommended, and never fertilize a dry plant. Your plants will thank you with vibrant growth, free from the stress of over-loving.
Sustainable Fertilizing Practices for Small Spaces
As a supportive and environmentally conscious gardening coach, I encourage you to adopt sustainable fertilizing practices. These methods not only protect your plants from fertilizer burn but also contribute to healthier soil, conserve resources, and reduce your environmental footprint, especially important in small garden spaces.
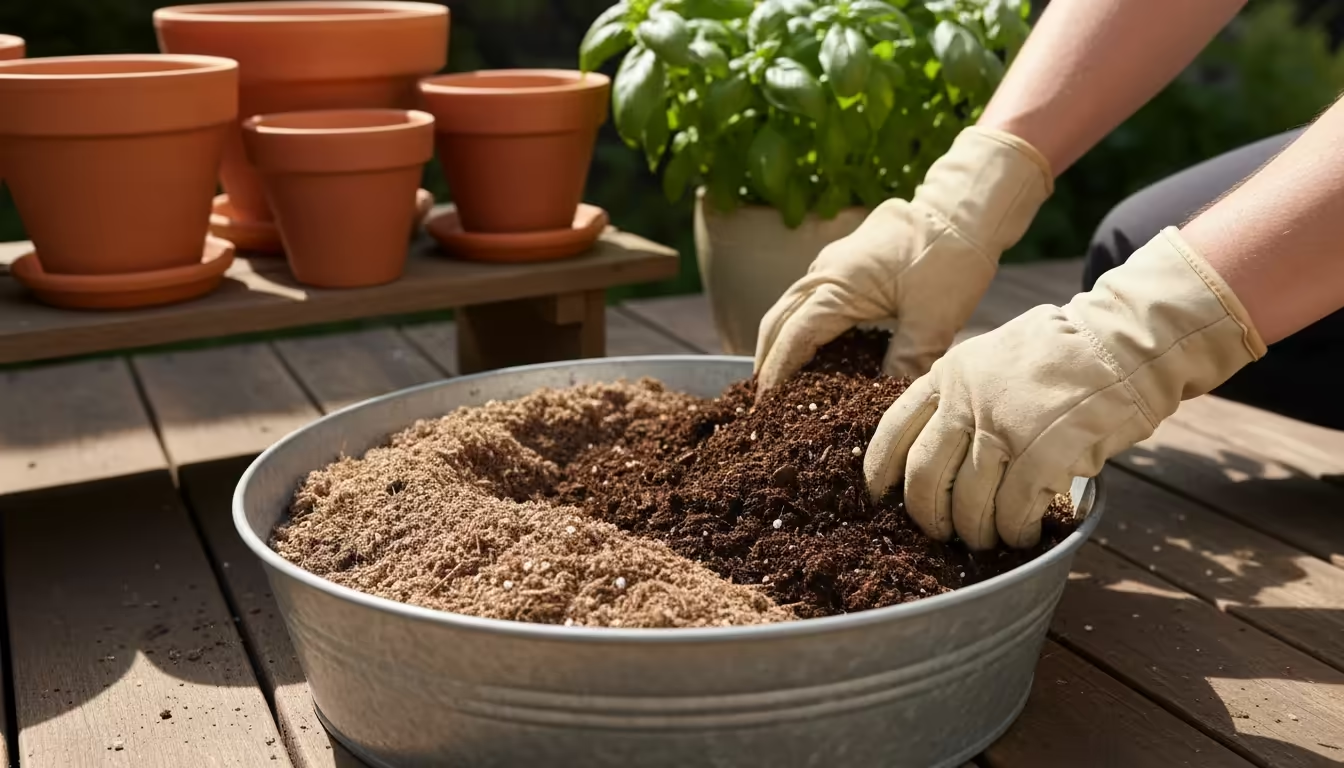
One of the most effective and eco-friendly ways to feed your container plants is through the use of compost and compost tea. Compost is decomposed organic matter rich in nutrients and beneficial microorganisms. Mixing a small amount of finished compost into your potting mix at planting time provides a slow, steady release of nutrients and improves soil structure, enhancing its ability to hold water and nutrients. Compost tea, made by steeping compost in water, offers a liquid, nutrient-rich feed that is much gentler than synthetic fertilizers, significantly reducing the risk of fertilizer burn. You can apply compost tea every few weeks as a mild, beneficial boost.
Worm castings, the excretions of earthworms, are another fantastic organic fertilizer. They are packed with beneficial microbes and nutrients in a form readily available to plants, yet they are extremely gentle and virtually impossible to over-apply to the point of causing burn. A tablespoon or two mixed into the topsoil of a container or brewed into a “tea” provides a consistent, healthy feed. This aligns perfectly with low-maintenance gardening as it provides consistent feeding without constant vigilance against over-application.
Consider making your own liquid feeds from kitchen scraps. While not suitable for direct application to pots, brewing “tea” from banana peels (for potassium) or coffee grounds (for nitrogen and acidity) can provide mild, natural boosts. Always research which scraps are suitable and how to prepare them to avoid attracting pests or creating imbalances.
Watering efficiently also plays a role in sustainable fertilizing. When you water, nutrients leach out of the bottom of the pot. By ensuring your pots have excellent drainage and watering just enough to moisten the soil without excessive runoff, you minimize nutrient loss. Using saucers can help capture some runoff, which can then be reabsorbed by the plant. However, do not let plants sit in standing water for extended periods, as this can lead to root rot.
Ultimately, sustainable fertilizing is about fostering healthy soil, which in turn fosters healthy plants. By prioritizing organic amendments and careful, measured application, you create a robust ecosystem within your container, reducing the need for harsh chemicals and providing your plants with a stable, nourishing environment. This approach prevents common container gardening mistakes and builds resilience into your small-space garden.
Common Container Gardening Mistakes Beyond Over-Fertilizing
While fertilizer burn is a significant challenge, it is important to remember it is just one of many container gardening mistakes that can impact your plants. As your gardening coach, I want to equip you with a broader understanding of common pitfalls, helping you cultivate a thriving small-space garden. Many of these issues can appear similar to fertilizer burn, so knowing the distinctions is key.
Incorrect Watering Practices: This is arguably the most common mistake. Both underwatering and overwatering can cause stress and mimic symptoms of fertilizer burn, such as wilting and yellowing leaves.
- Underwatering: Leaves may turn yellow, crisp, and drop. The soil will feel dry and pull away from the edges of the pot. Ensure your soil is consistently moist but not soggy.
- Overwatering: Leaves might turn yellow, droop, and often feel soft. The soil will be constantly saturated, and roots can rot, preventing water and nutrient uptake. Ensure your pots have good drainage, meaning water can easily flow out the bottom.
Poor Drainage: An essential for container success is proper drainage. Pots without drainage holes, or with clogged holes, cause water to sit, leading to root rot. This suffocates roots, preventing them from absorbing water and nutrients, which can appear like fertilizer burn or underwatering. Always use pots with drainage holes, and consider adding a layer of gravel or broken pot pieces at the bottom if your soil mix is very dense, though a good quality potting mix usually suffices.
Wrong Pot Size: Planting a small seedling in a huge pot can lead to waterlogging, as the large volume of soil retains too much moisture for the small root system. Conversely, a large plant in a small pot quickly depletes nutrients and water, requiring constant attention. Choose a pot size appropriate for the plant’s current size and expected mature size.
Using the Wrong Potting Mix: Garden soil is too dense for containers and compacts easily, preventing proper aeration and drainage. Always use a high-quality potting mix specifically designed for containers. These mixes are lighter, drain better, and retain moisture efficiently.
Insufficient Light: All plants have specific light requirements. Placing a sun-loving plant in deep shade, or a shade-lover in scorching direct sun, causes stress. Symptoms can include leggy growth, yellowing leaves, or scorched foliage, which can be confused with other issues. Research your plant’s light needs and position your containers accordingly.
By understanding and avoiding these common container gardening mistakes, you build a foundation for success. Regularly observing your plants, feeling the soil moisture, and knowing your plants’ preferences empower you to provide optimal care, ensuring your small-space garden flourishes.
Frequently Asked Questions
Can fertilizer burn kill my plant?
Yes, fertilizer burn can absolutely kill your plant if left untreated. The high concentration of salts draws water out of the plant’s cells, leading to severe dehydration and cellular damage. The roots become scorched and unable to absorb water and nutrients, eventually causing the entire plant to die. Prompt action, such as flushing the soil, is crucial for recovery.
How often should I fertilize my container plants in summer?
The frequency of fertilizing container plants in summer varies greatly depending on the plant type, the fertilizer used, and the potting mix. Generally, fast-growing annuals in small pots might need feeding every 2-4 weeks with a diluted liquid fertilizer. Slow-release fertilizers last for months. Always refer to your specific fertilizer product’s instructions and adjust based on your plant’s vigor and signs of nutrient deficiency. It’s better to under-fertilize than to over-fertilize, especially during intense summer heat.
Are organic fertilizers safer than synthetic ones for avoiding burn?
Organic fertilizers are generally much safer than synthetic fertilizers in terms of avoiding immediate fertilizer burn. They release nutrients slowly as they break down, mimicking natural processes. This gradual release makes it very difficult to over-concentrate salts in the soil. However, it’s still possible to over-apply organic fertilizers, leading to nutrient imbalances or other issues, so always use them according to package directions, or as part of a balanced soil health strategy.
What is the white crust on my pot, and how do I get rid of it?
The white crust on the rim of your pot or on the soil surface is an accumulation of mineral salts. These salts come from dissolved minerals in your tap water and from excess fertilizer that has evaporated. This is a clear sign of high salt levels in the soil, often associated with fertilizer burn. To get rid of it and prevent further buildup, regularly flush your pots with plain water, ensuring good drainage, and consider using filtered water if your tap water is very hard. You can gently scrape off the visible crust from the pot’s rim.
When should I repot an over-fertilized plant?
Avoid immediate repotting if your plant is suffering from fertilizer burn. Repotting is stressful, and adding that stress to an already damaged plant can hinder its recovery. First, focus on flushing the existing soil thoroughly to remove excess salts. Once the plant shows clear signs of recovery, such as new, healthy growth, you can consider repotting it into fresh potting mix if the original soil quality is poor or if the plant has become root-bound. This ensures the plant has a stable and healthy environment for continued growth.
Your journey in gardening, especially in small spaces, is about learning and adapting. Recognizing and rectifying fertilizer burn is a key skill that will empower you to keep your container plants thriving. Remember, a little less can often mean a lot more when it comes to feeding your beloved plants. Happy gardening!
For trustworthy gardening information, visit:
Denver Botanic Gardens, San Diego Botanic Garden and U.S. National Arboretum. These organizations provide expert, research-based advice for gardeners at all levels.
Disclaimer: This article is for informational purposes only and is not a substitute for professional gardening advice. Always consult local extension services or horticulture experts for region-specific guidance.
Leave a Reply