
The ‘No-Mess’ Fall Cleanup: A Tidy Gardener’s Guide to Refreshing Soil on a Tiny Balcony
Fall arrives, bringing crisp air, changing leaves, and a crucial moment for your small garden spaces. As your summer annuals fade and cool-season crops take center stage, you face the often-dreaded task of fall garden cleanup. For those of us tending plants on a tiny balcony or a compact patio, the thought of wrestling with spent plants and old container soil can feel overwhelming. Visions of spilled dirt, tracked-in debris, and a general mess often deter even the most enthusiastic apartment gardener from tackling this essential chore. But what if you could refresh your container soil with minimal fuss and zero mess?
As your supportive gardening coach, I am here to tell you that a tidy fall cleanup is absolutely achievable, even in the smallest of spaces. This guide empowers you with practical, actionable strategies and tidy gardening hacks for small spaces, transforming your autumn garden chores into an efficient and clean process. You will learn how to change soil in pots without making a mess, ensuring your balcony remains a serene sanctuary, not a construction zone. Let us embark on a journey to a pristine balcony garden, ready for a restful winter and a vibrant spring.
Why Fall Cleanup is Crucial for Small Spaces
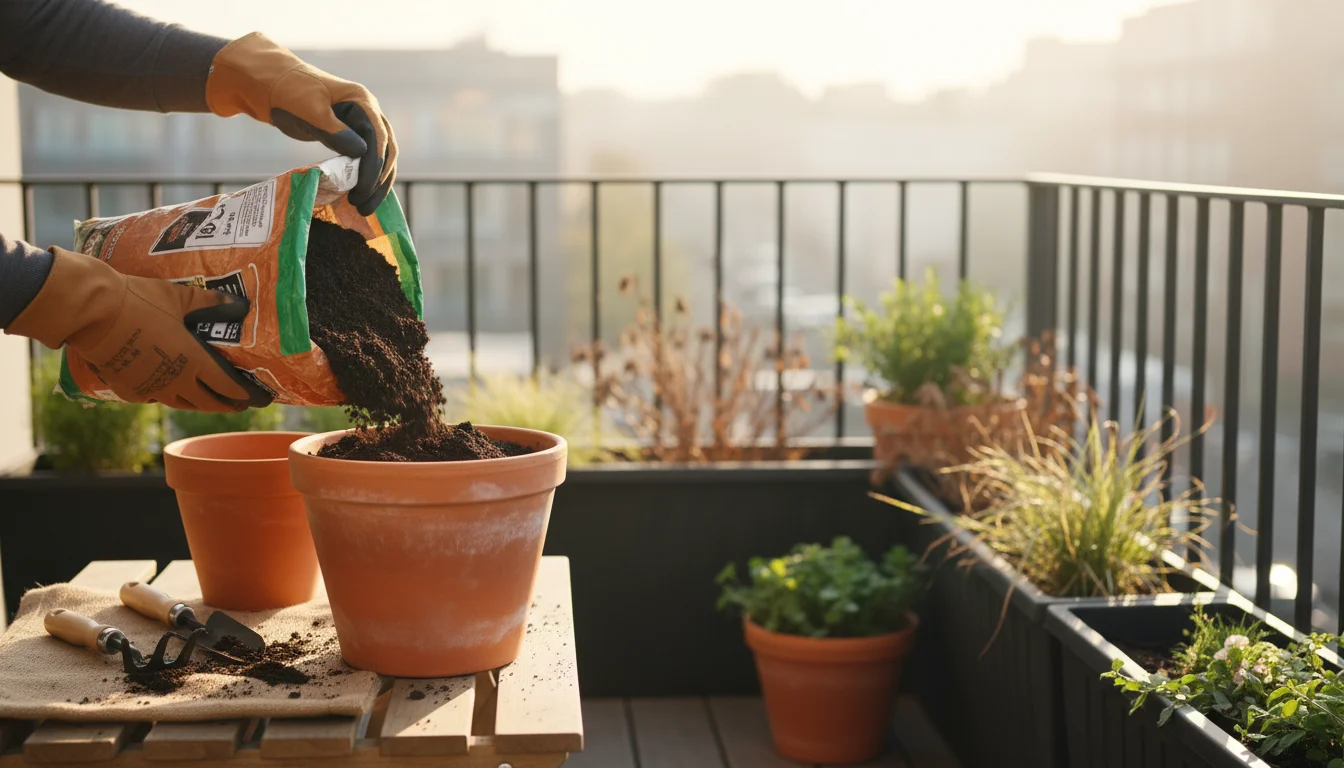
Many gardeners view fall cleanup as merely tidying up. However, for a small-space garden, particularly one reliant on containers, fall cleanup provides a critical foundation for future success. This seasonal reset offers several significant benefits, impacting plant health, pest management, and the overall aesthetic of your apartment gardening space.
Protecting Your Plants from Pests and Diseases
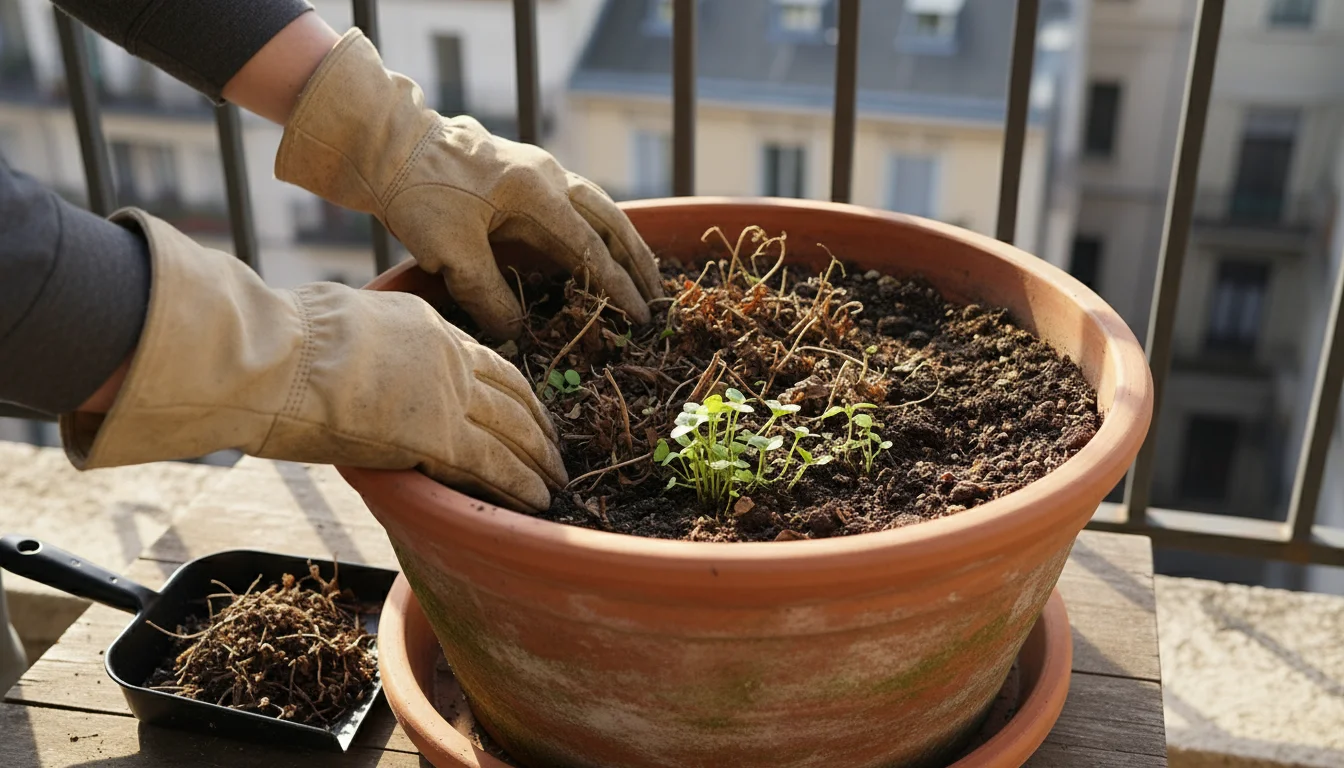
Spent plant material, fallen leaves, and neglected weeds provide ideal overwintering sites for pests like aphids, spider mites, and fungus gnats. These unwelcome guests often hibernate in plant debris or in the top layers of your container soil, ready to emerge with a vengeance next spring. Similarly, old plant material can harbor fungal spores and bacterial pathogens. Removing these sources of infestation and infection in the fall drastically reduces the likelihood of future pest and disease outbreaks. You proactively safeguard your future plantings by eliminating these hiding spots and food sources.
Rejuvenating Your Container Soil
Container soil is a finite resource. Unlike garden beds where natural decomposition and soil biology continuously replenish nutrients, pots offer a confined environment. Over a growing season, plants deplete the available nutrients, and the soil structure itself can break down. Water leaches away soluble minerals, and organic matter decomposes, leaving behind a less fertile, more compacted medium. Fall cleanup provides the perfect opportunity to assess and refresh this vital component. Ignoring this step leads to stunted growth and nutrient deficiencies in subsequent plantings. You ensure your plants have the best possible start next season by replenishing your container soil.
Maintaining Aesthetic Appeal and Preventing Damage
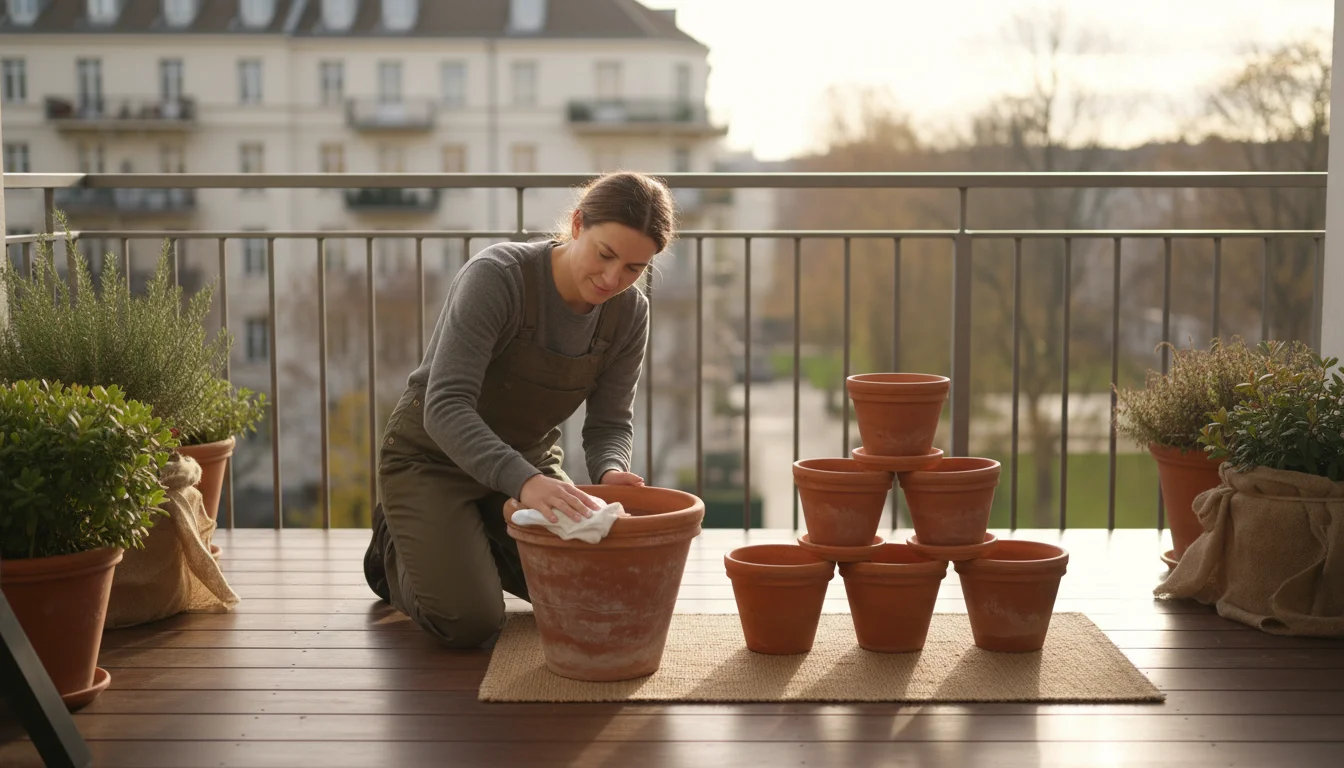
A tidy balcony brings joy, and a neglected one quickly loses its charm. Removing dead plants and tidying up your pots prevents unsightly messes and also protects your balcony infrastructure. Decaying leaves can stain surfaces, and overflowing, waterlogged pots can become excessively heavy, potentially stressing balcony structures. Furthermore, clean pots store better and are less likely to accumulate grime over winter. This attention to detail reflects good fall balcony maintenance for apartments, creating a pleasant and sustainable gardening environment.
Optimizing Space for New Plantings
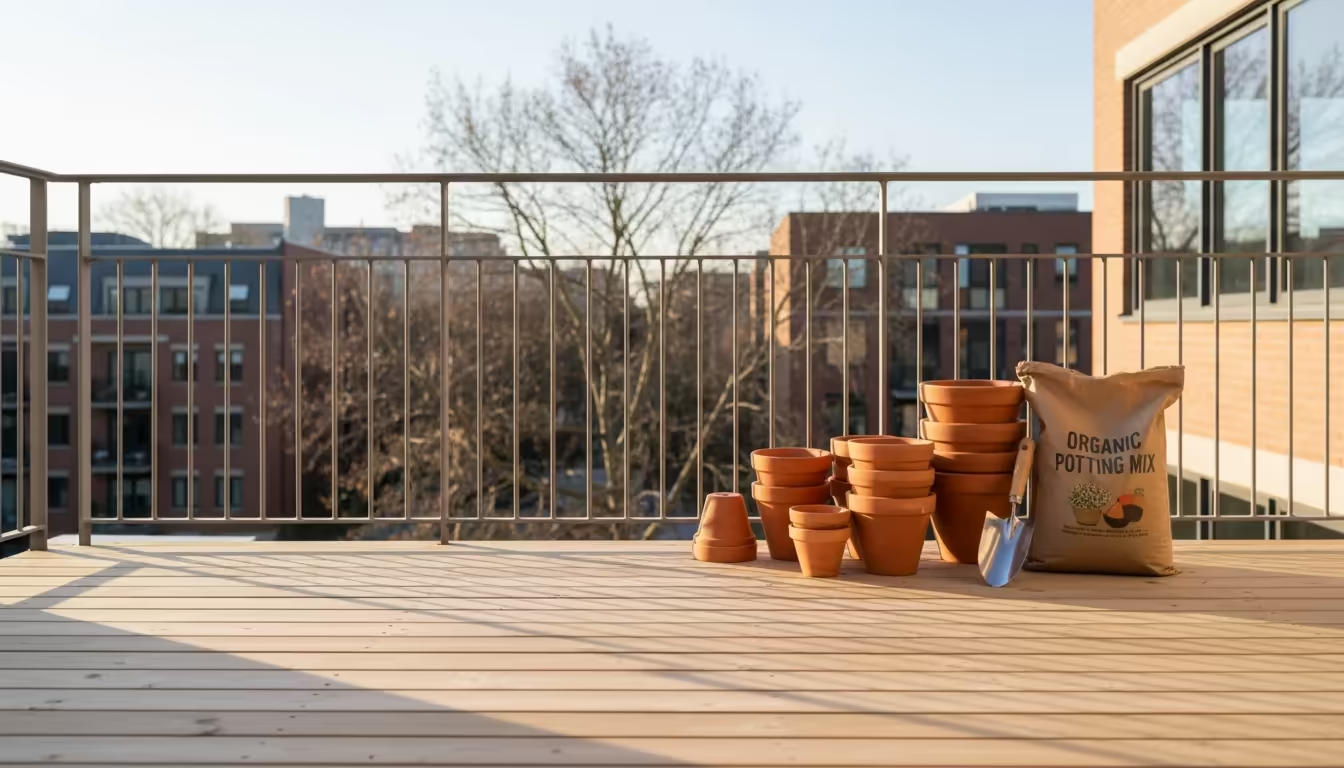
Small spaces demand efficiency. Fall cleanup clears out the old, making way for the new. Whether you plan to plant cool-season vegetables like kale or pansies, or you simply want to store your pots neatly for winter, a thorough cleanup maximizes your limited square footage. You gain a clean slate, both literally and figuratively, making subsequent planting or storage much easier and more organized. This allows you to plan your next gardening venture without fighting against last season’s remnants.
Decoding Your Container Soil: When and Why to Refresh It
Understanding your container soil is fundamental to successful small-space gardening. It serves as the anchor for your plants, the reservoir for water and nutrients, and the home for beneficial microbes. After a season or two of continuous use, even the best potting mix undergoes significant changes. Recognizing these changes and knowing when to refresh your container soil is crucial for plant vitality.
What Happens to Container Soil Over Time?
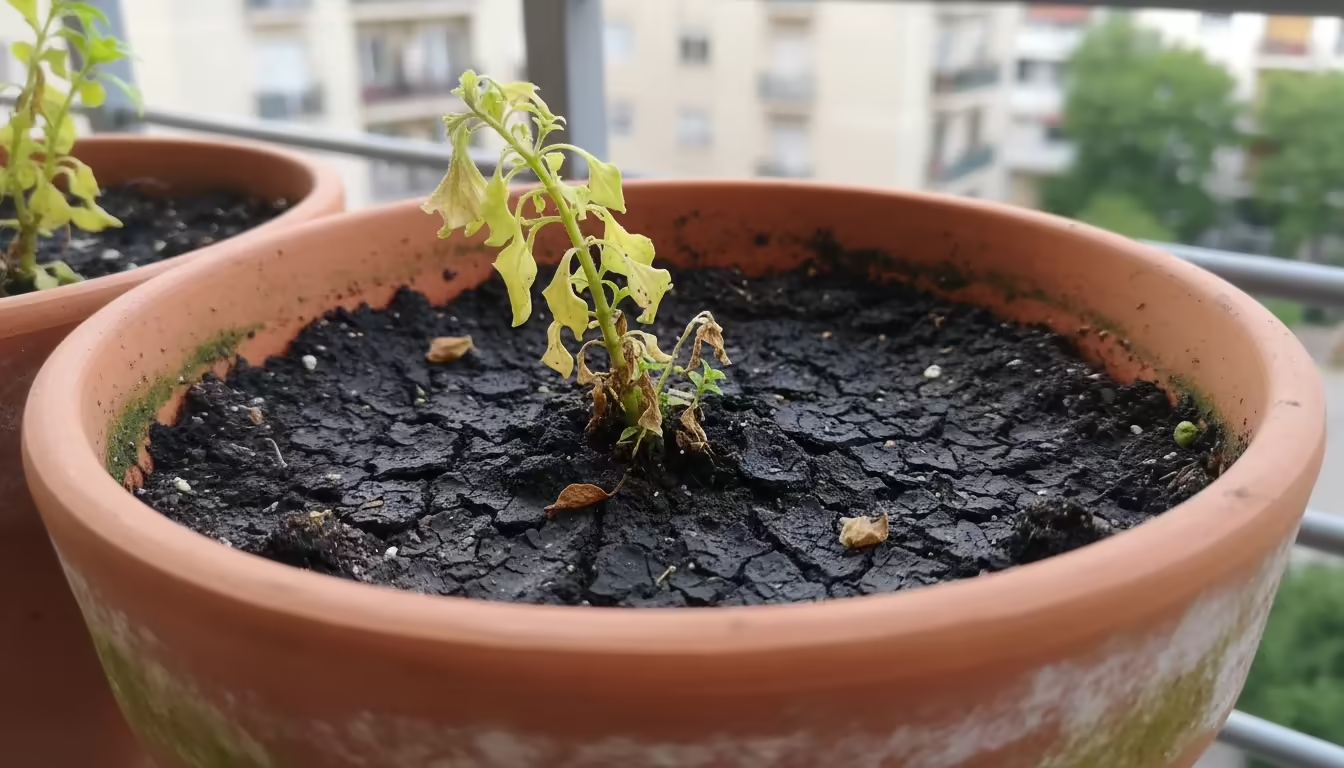
1. Nutrient Depletion: Plants are hungry. They draw nutrients from the soil to fuel their growth. While you likely fertilize throughout the season, a good portion of the original nutrient content in your potting mix gets consumed or leached out with watering. By the end of a growing cycle, the soil often lacks the essential elements plants need for robust growth.
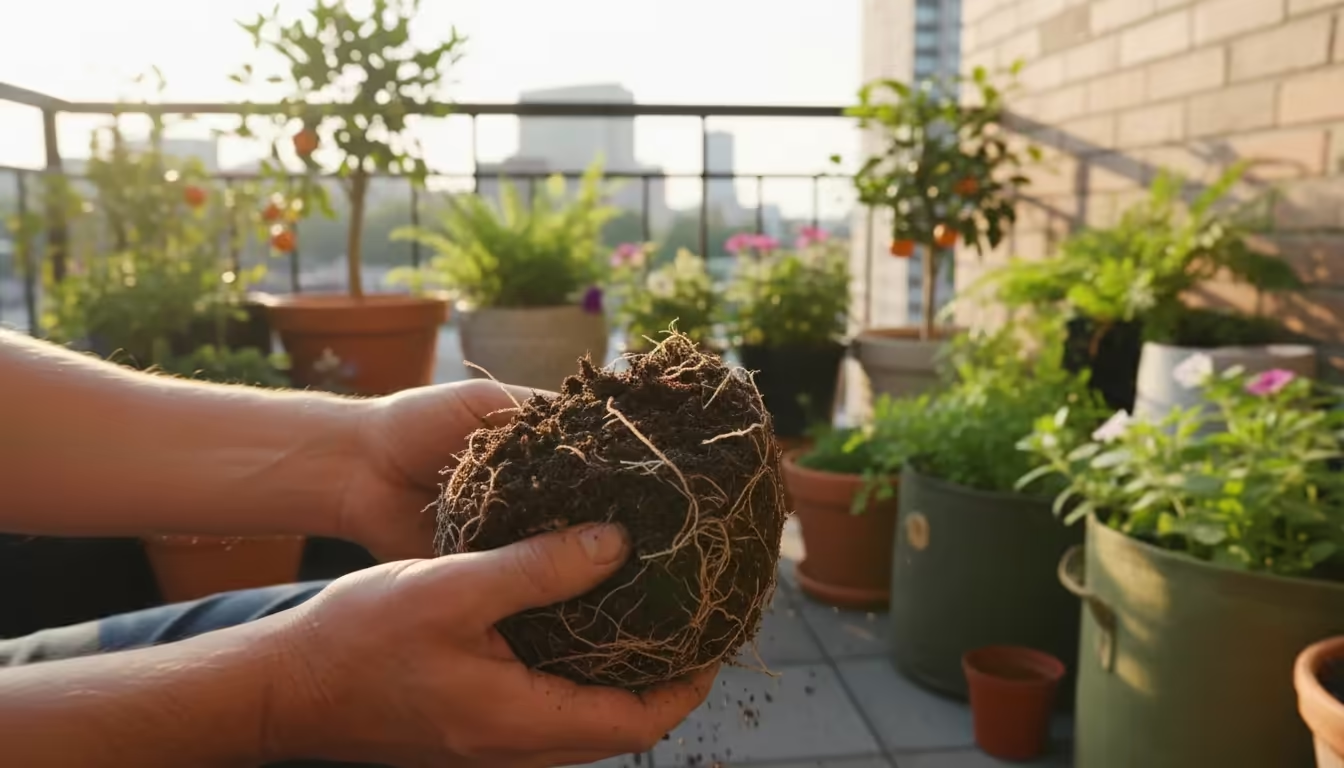
Before tossing out old dirt, conducting a quick fall soil autopsy can reveal valuable clues about root health and past drainage problems.
2. Structural Breakdown: Potting mixes are designed to be airy and well-draining. They typically contain components like peat moss, coir, perlite, or vermiculite. Over time, these materials break down, compact, and lose their ability to hold air. This leads to poor drainage, meaning water struggles to move through the soil, and a suffocating environment for plant roots. Good drainage ensures roots receive adequate oxygen and do not sit in stagnant water.
3. Salt Buildup: Fertilizers and tap water contain dissolved salts. As water evaporates from your pots, these salts accumulate, especially around the rim. High salt concentrations can burn plant roots, hinder water uptake, and create an unhealthy growing environment. You often see a white crust on the soil surface or pot edges, signaling salt buildup.
4. Pest and Disease Presence: Old soil can harbor dormant insect eggs, larvae, or fungal spores. Even if you did not notice active infestations during the growing season, potential issues can linger, ready to affect your next crop.
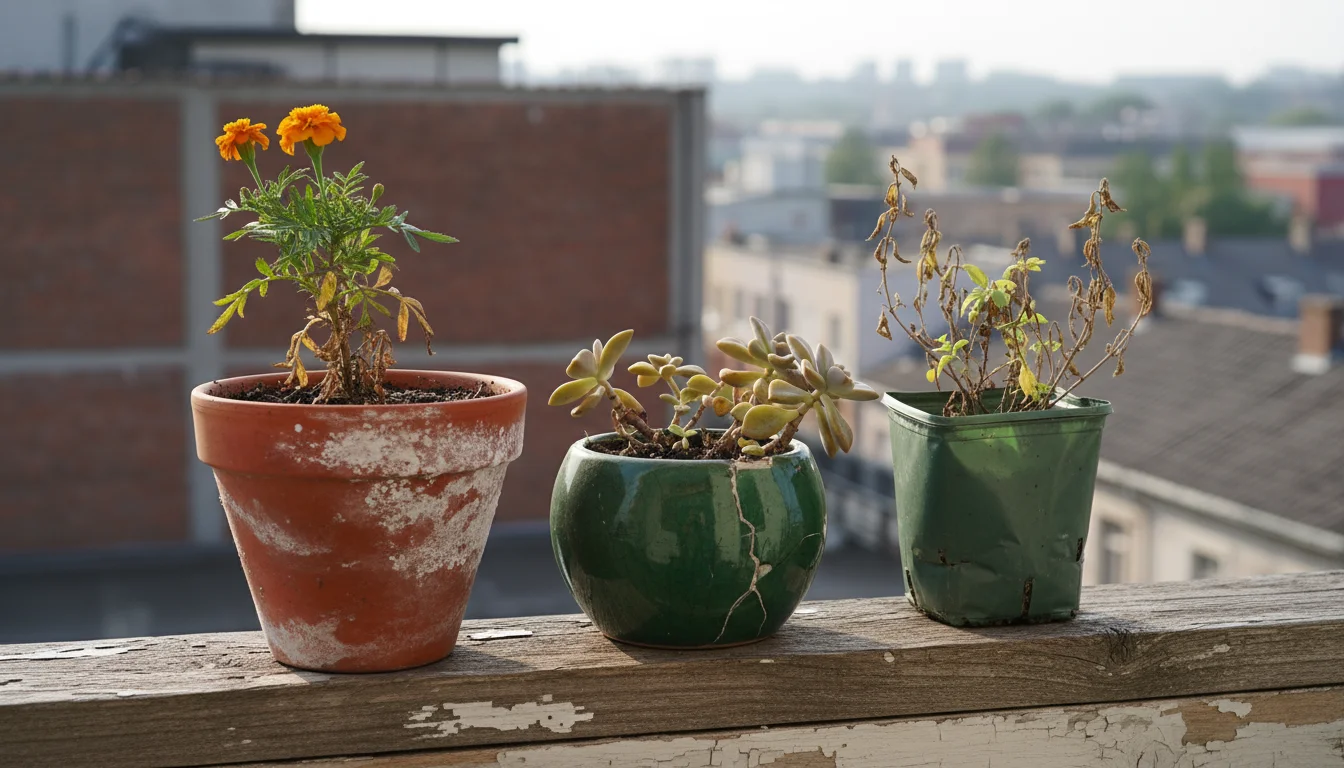
When to Refresh Your Container Soil
The general rule of thumb dictates refreshing container soil annually for most annuals and biennials. Perennials and shrubs in pots may tolerate two to three seasons before needing a full soil refresh, often just requiring a top-dressing of fresh soil and compost. However, observe these signs:
- Stunted Growth: If your new plants struggle to thrive despite adequate light and water, poor soil quality might be the culprit.
- Poor Drainage: Water sits on the soil surface for too long or drains very slowly. This indicates compaction and a breakdown of soil structure.
- Salt Crust: A visible white or yellowish crust on the soil surface or the sides of terracotta pots.
- Unpleasant Odor: Anaerobic conditions from poor drainage can lead to a sour or rotten smell from the soil.
- Visible Pests: If you notice a persistent pest problem, a complete soil change helps break the pest cycle.
Fall provides the ideal time for this task. You have finished with summer crops, and the weather is generally cooler and more pleasant for outdoor work. By refreshing the soil now, your pots are ready for winter plantings or for a quick start in spring.
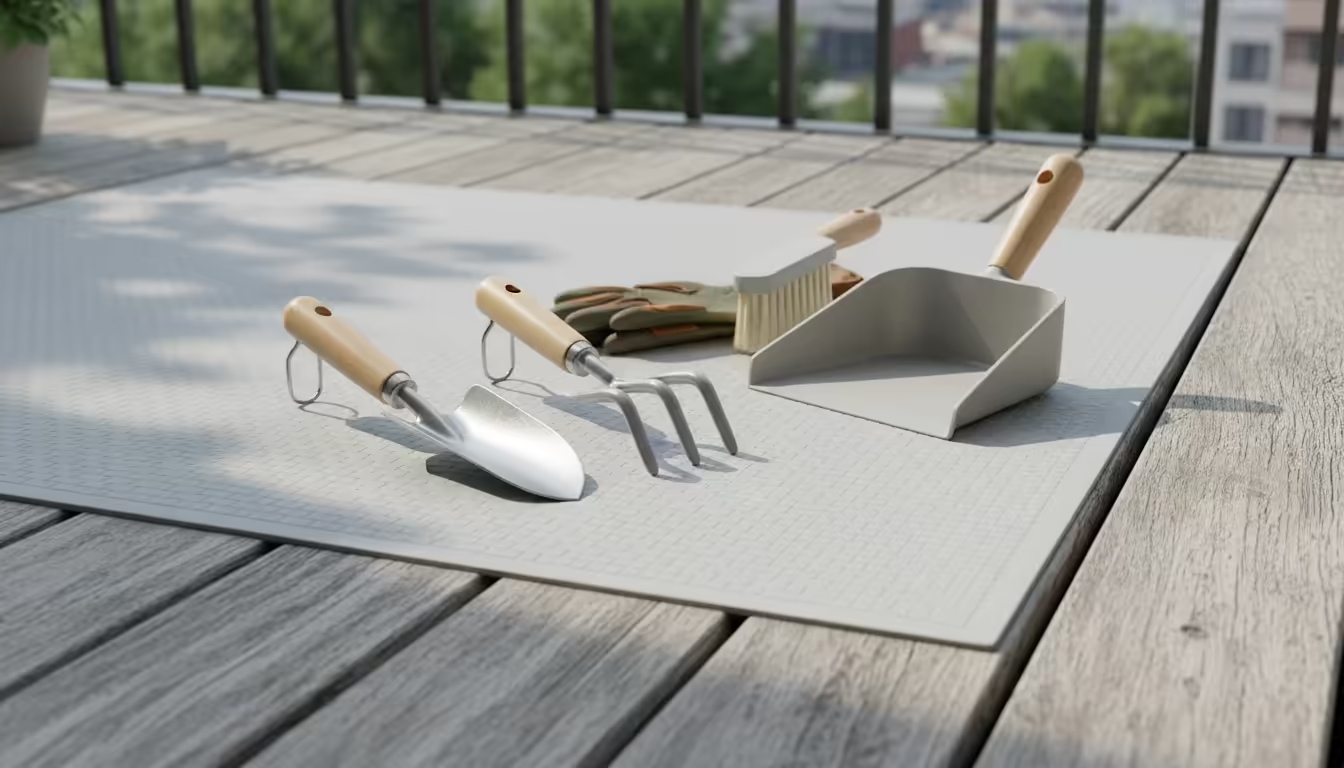
Assembling Your Tidy Gardener’s Toolkit for a Spotless Balcony
A successful, no-mess fall cleanup starts with the right tools. Investing in a few key items makes the process efficient, clean, and even enjoyable. You do not need a vast collection of heavy-duty gardening equipment for a small balcony; instead, focus on compact, easy-to-clean items that support tidy gardening hacks for small spaces.
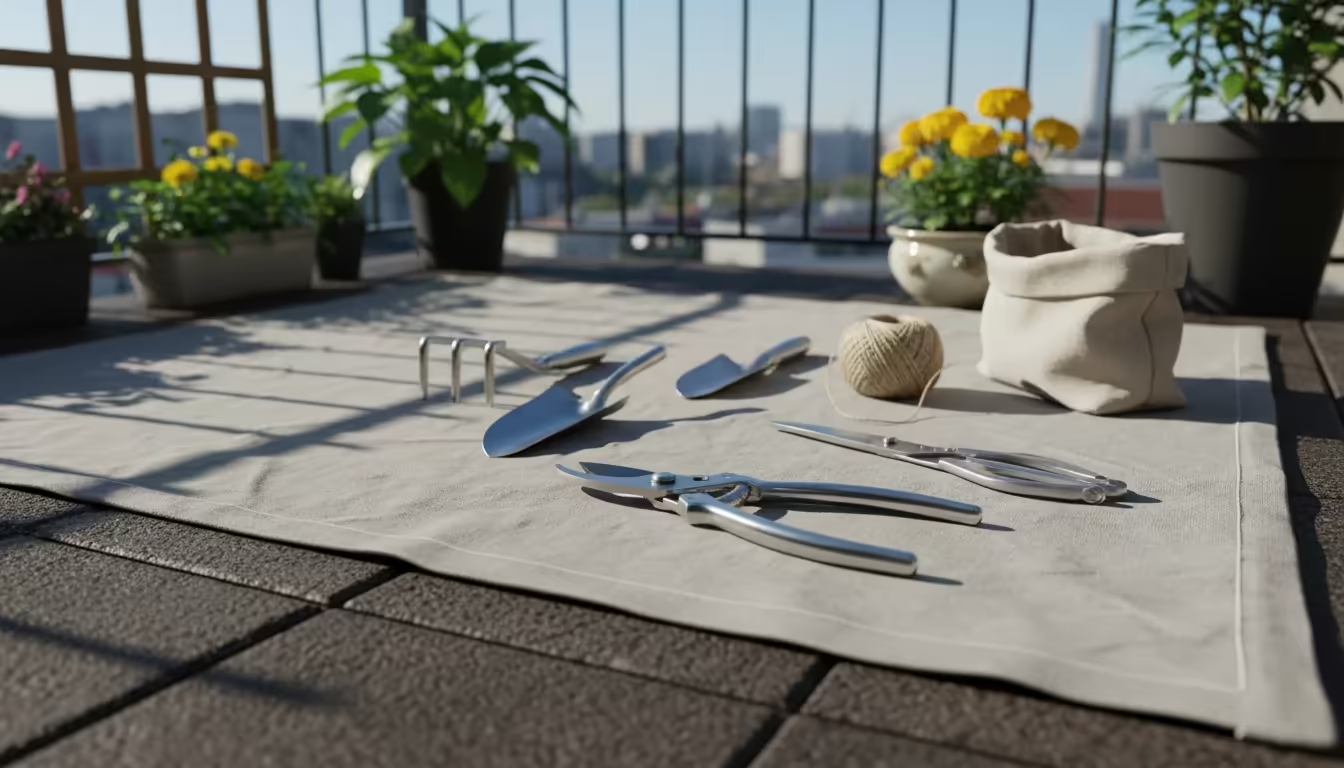
Essential Tools for a Clean Cleanup
-
A Sturdy Tarp or Drop Cloth: This is your absolute MVP for a no-mess cleanup. Choose a durable, waterproof tarp, a painter’s drop cloth, or even an old shower curtain. Lay it down as your designated workspace before you begin any soil handling. This single item contains any spills, making cleanup a breeze. Look for one that is easy to shake out and wipe clean.
-
Hand Trowel and Small Spade: A good quality hand trowel is indispensable for scooping out old soil and adding fresh mix. A small spade helps loosen stubborn root balls. Opt for stainless steel tools, as they are durable and easier to clean, resisting rust and caked-on soil.
-
Hand Pruners or Snips: Use these for neatly cutting back spent plant material. Sharp pruners make clean cuts, preventing damage to the plant if you are overwintering it, and they make quick work of removing dead stems. Always clean your pruners before and after use to prevent spreading diseases.
-
Small Dustpan and Brush: Even with a tarp, a few stray bits of soil might escape. A dedicated small dustpan and brush set (perhaps an old kitchen one) ensures you can quickly sweep up any rogue particles, maintaining a truly spotless workspace.
-
Bucket or Container for Old Soil: Have a designated bucket or sturdy bag ready for the spent container soil. This prevents you from creating small piles of dirt around your workspace. A bucket with a lid is even better if you plan to store the soil temporarily or transport it for disposal.
-
New Potting Mix: Ensure you have fresh, high-quality potting mix on hand. Choose one specifically formulated for containers, as it offers the right balance of drainage, aeration, and nutrient retention. A bag that is easy to reseal keeps the remaining soil fresh.
-
Gardening Gloves: Protect your hands from dirt, thorns, and potential irritants. Choose gloves that offer good dexterity, allowing you to handle delicate plants or small tools comfortably.
-
Watering Can or Spray Bottle: A watering can helps moisten new soil for easier handling, and a spray bottle is useful for a quick rinse of your tools or cleaning surfaces after the job.
-
Rubbing Alcohol or Disinfectant Wipes: For cleaning and sanitizing your tools and pots, especially if you encountered any diseased plants. A clean tool prevents the spread of pathogens.
By gathering these items before you start, you streamline the fall garden cleanup process. You avoid interrupting your work to search for a tool and ensure you are fully equipped for a truly ‘no-mess’ experience. You set yourself up for success by being prepared.
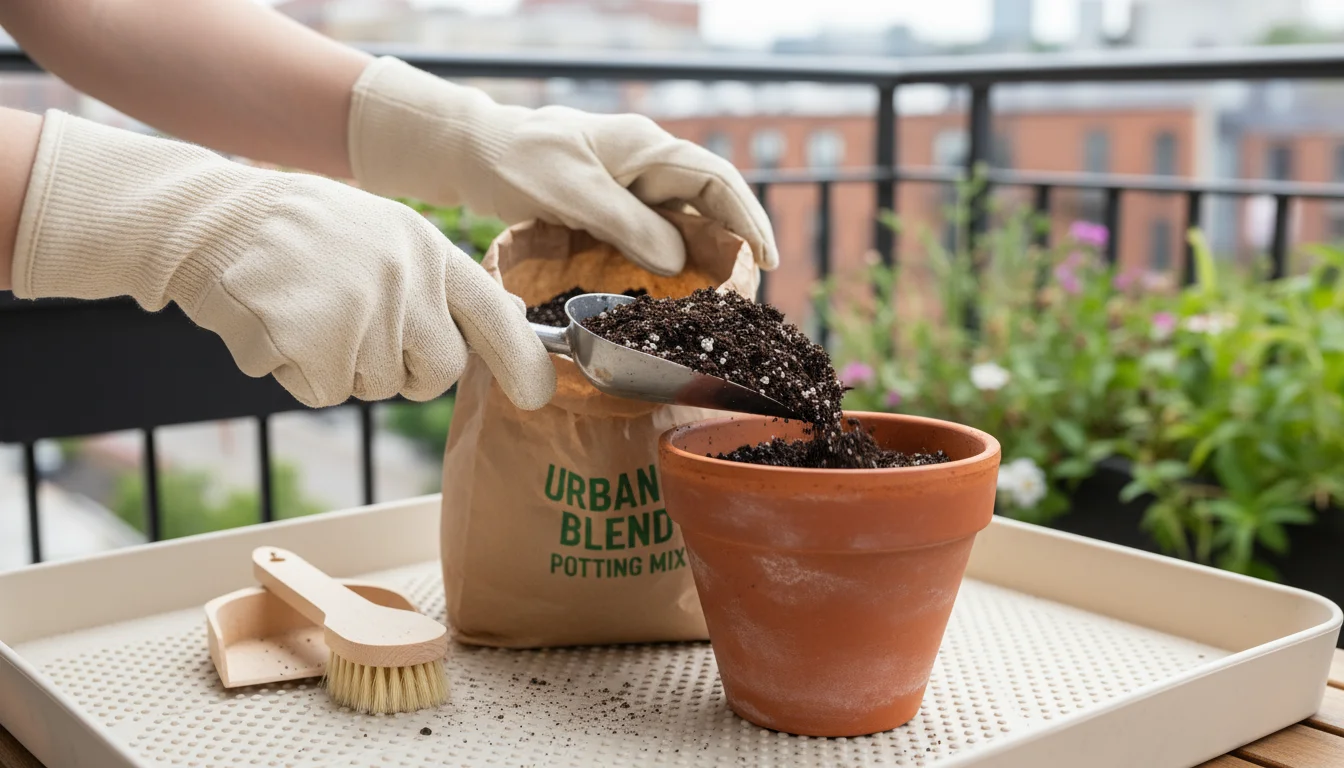
The ‘No-Mess’ Soil Refresh: A Step-by-Step Guide to Clean Container Care
Now that you have your toolkit ready, let us tackle the main event: refreshing your container soil without turning your balcony into a mud pit. This systematic approach ensures efficiency and cleanliness, making how to change soil in pots without making a mess a simple, stress-free task.
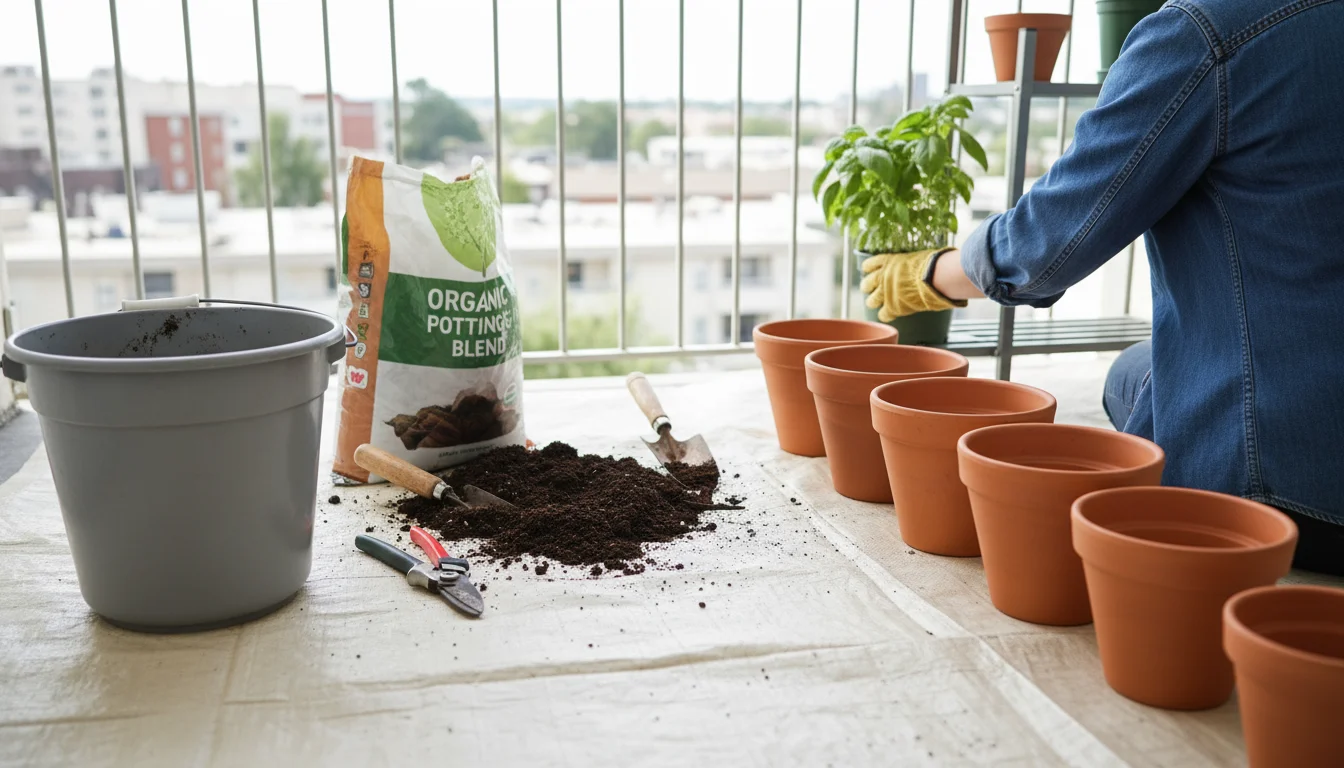
Step-by-Step ‘No-Mess’ Soil Refresh
-
Prepare Your Workspace (The Foundation of ‘No-Mess’):
- Choose a calm, wind-free day if possible.
- Lay your sturdy tarp or drop cloth generously over your entire work area on the balcony. Extend it beyond the immediate space where you will handle soil. This forms your spill zone and makes cleanup incredibly easy.
- Position your empty bucket for old soil, your new potting mix bag, and your tools within easy reach on the tarp.
-
Remove Spent Plants:
- Using your hand pruners, cut back any dead or dying plant material at the soil line. For annuals, you can often pull the entire plant out gently.
- If you are removing perennials or shrubs that you will replant or dispose of, carefully loosen the soil around the root ball with your trowel before lifting the plant. Place all plant debris directly into a separate bag or compost bin.
-
Extract the Old Soil:
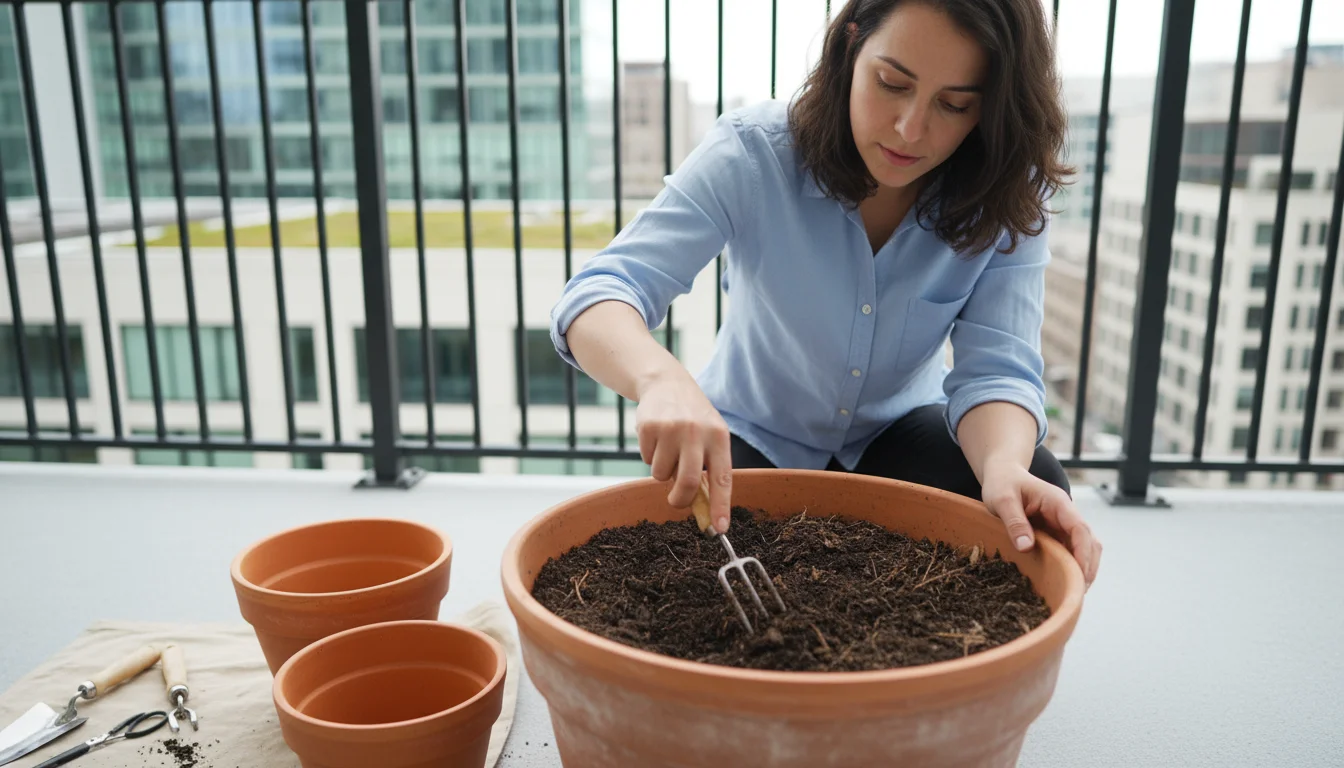
- This is where precision prevents mess. Carefully tilt the pot over your tarp. Use your hand trowel or small spade to gently scoop out the old container soil into your designated bucket.
- Avoid aggressively dumping the pot, which sends dust and soil particles flying. If the soil is compacted, you might need to use your trowel to break it up first.
- For pots with large, established root balls, you might need to use your spade to slice around the edges to help lift the entire root mass out. Once lifted, shake off as much old soil as possible from the roots over the tarp and into the bucket.
- If roots are heavily intertwined, consider placing the entire root ball onto a newspaper or small dedicated mat on your tarp, breaking it apart with your trowel, and then collecting the soil.
-
Clean Your Pots Thoroughly:
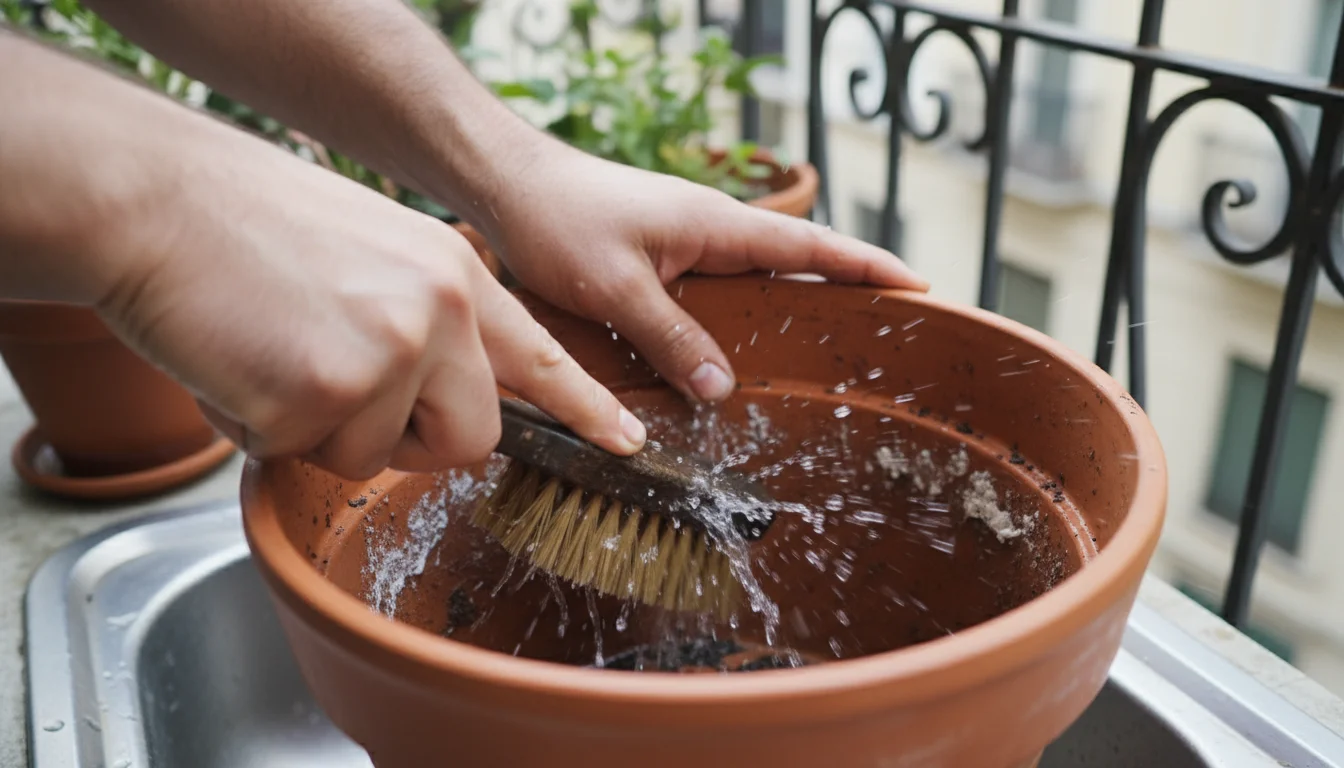
- Once empty, brush out any remaining soil or debris from inside the pot.
- Inspect the drainage holes to ensure they are clear. Use a stick or an old screwdriver to poke through any blockages.
- For an extra clean start, wash your pots with warm soapy water, especially if you had any disease issues during the past season. A solution of 1 part bleach to 9 parts water can sanitize pots, particularly plastic or ceramic ones. Rinse thoroughly and let them air dry completely. This step is vital for fall balcony maintenance for apartments, preventing future problems.
-
Prepare New Soil and Refill Pots:
- Place a thin layer of fresh potting mix at the bottom of your clean pot. This is also a good time to add a slow-release granular fertilizer if desired, mixing it into the bottom layer.
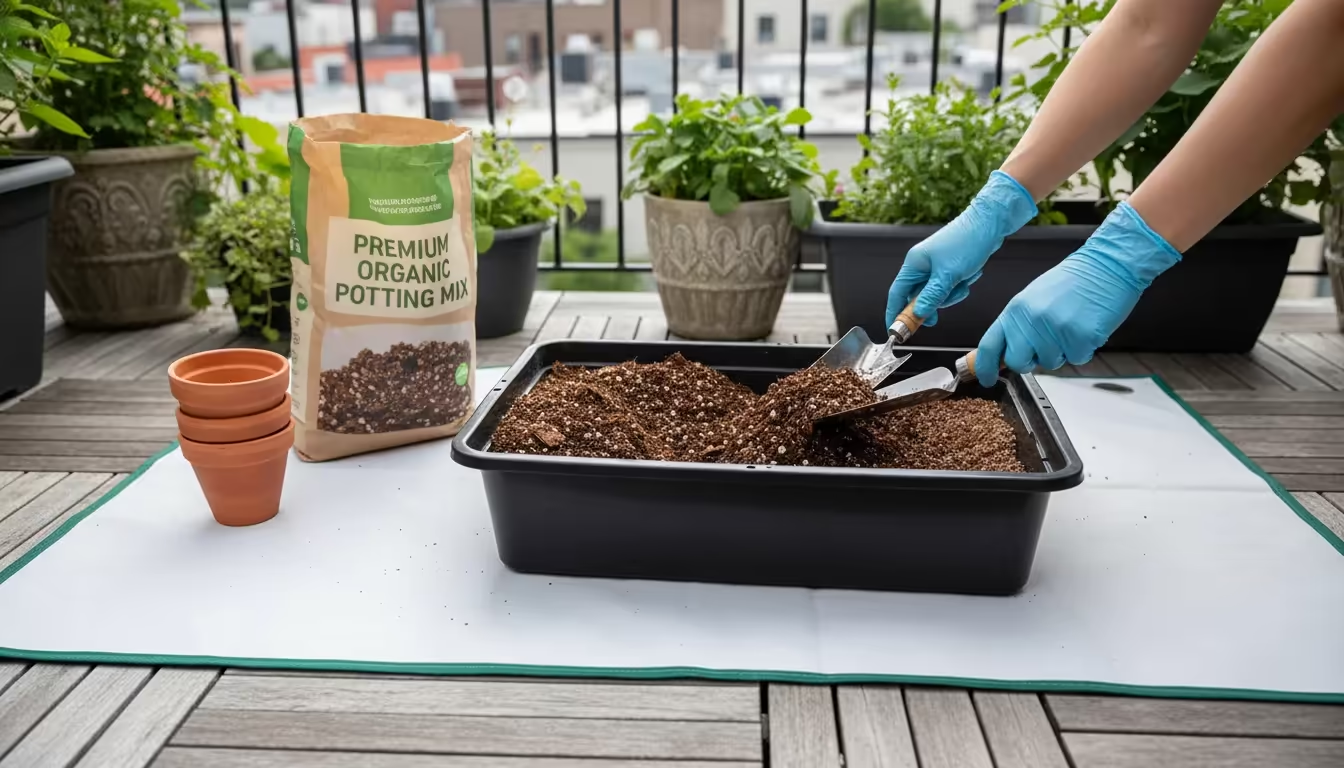
- Gently break up any clumps in your fresh potting mix directly in its bag or on the tarp. Slightly moistening the new soil makes it less dusty and easier to handle.
- Using your hand trowel, carefully scoop the fresh soil into your pot. Fill it to about one inch below the rim, leaving enough space for watering. Avoid compacting the soil too much; you want it airy.
- If you are replanting, place your plant in the center and fill in around the root ball, gently firming the soil to remove large air pockets.
-
The Final Clean-up:
- Carefully fold the edges of your tarp inwards, containing any scattered soil.
- Lift the tarp, shake any remaining loose soil into your old soil bucket, or directly into a compost pile if appropriate.
- Wipe down your tools with rubbing alcohol or a disinfectant wipe, especially if they came into contact with diseased plants.
- Use your dustpan and brush to sweep up any final stray bits from your balcony floor.
- Wash your hands and admire your sparkling clean workspace!
This methodical approach turns the daunting task of changing container soil into a manageable and mess-free activity. You not only refresh your pots but also maintain the cleanliness of your limited balcony space. Your future plants will thank you for the fresh start, and your neighbors will appreciate the tidy operation.
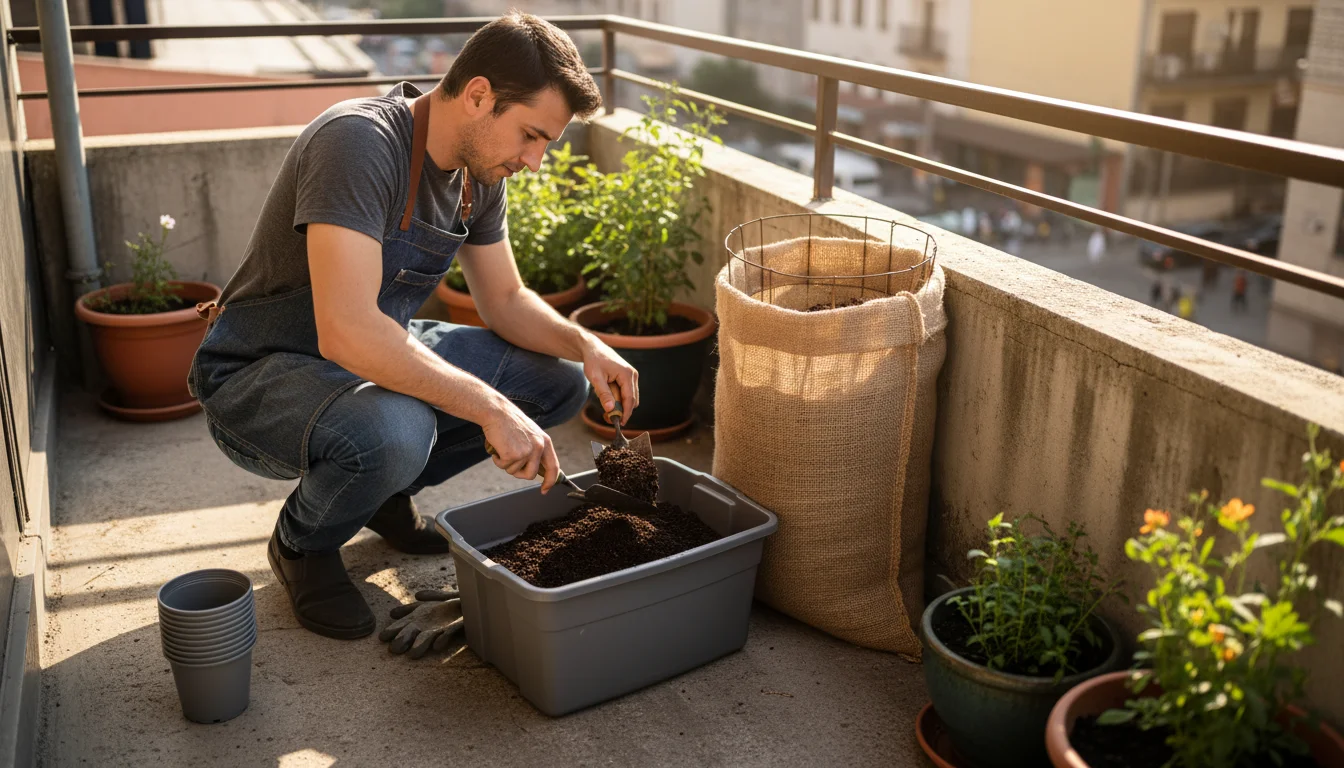
Sustainable Strategies for Spent Soil: Reusing and Disposing Responsibly
After a thorough soil refresh, you inevitably face the question: what do I do with all this old container soil? Simply tossing it in the trash is not the most eco-friendly or resourceful option. Embracing sustainable practices allows you to minimize waste and even improve your garden’s health. You can contribute to environmental stewardship even with small-scale apartment gardening.
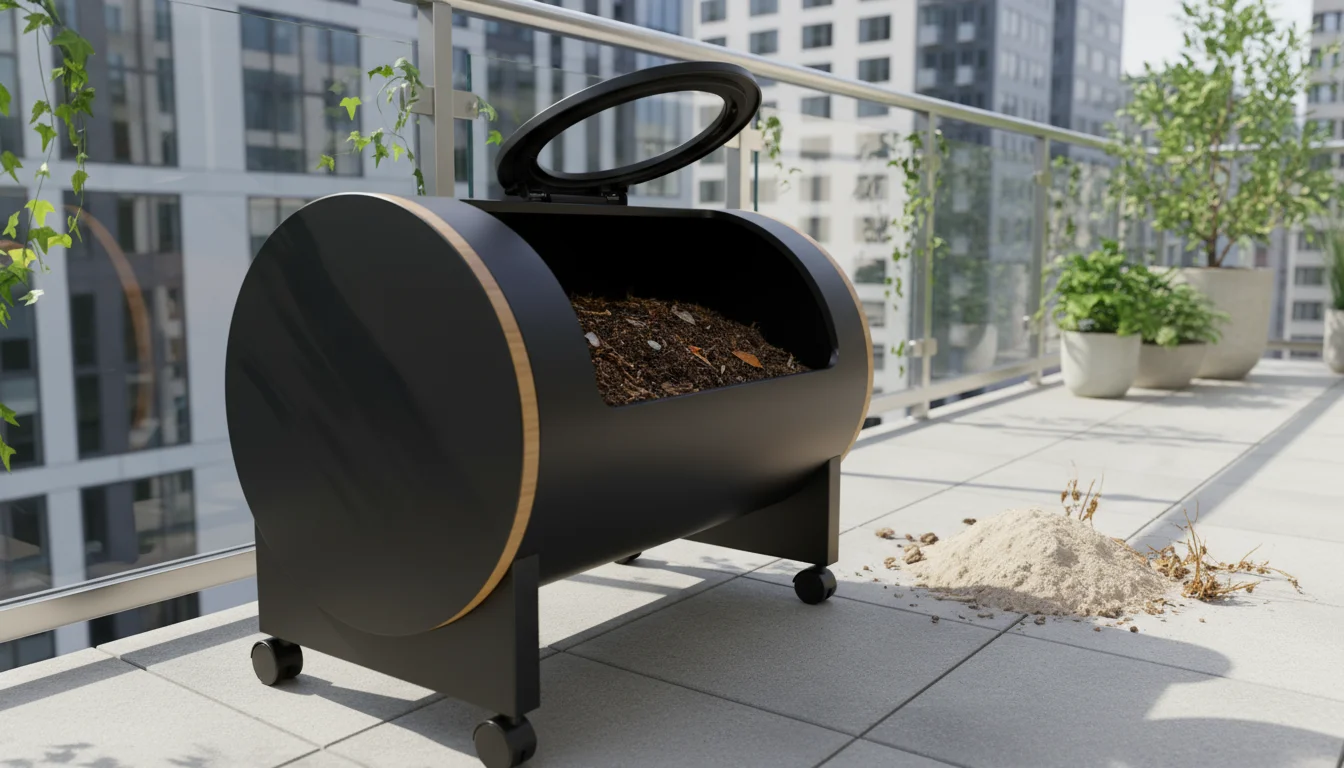
Rejuvenating and Reusing Old Potting Mix
While spent potting mix has lost much of its nutrient content and some structure, it is not entirely useless. You can often rejuvenate it for certain purposes:
-
Compost It: The best option for spent potting mix is to add it to your compost pile or a community composting program. The organic matter will break down, and any lingering pathogens will be neutralized by the composting process. This enriches your compost, creating a valuable amendment for future planting. This method aligns perfectly with eco-friendly fall garden cleanup practices.
-
Enrich Garden Beds (If You Have Them): If you have access to a small in-ground garden bed or even a large raised bed, old potting mix makes an excellent amendment. Spread it over the soil surface and gently work it in. It improves soil structure, drainage, and aeration. However, avoid adding soil from pots that had severe pest or disease problems directly to a garden bed without composting first.
-
Use as Filler in Large Pots: For very deep containers, you can place a layer of old, rejuvenated soil at the bottom before adding fresh potting mix for the root zone. This reduces the amount of new soil needed, saving money and resources. Ensure it is not too compacted and provides some drainage.
-
Sterilize and Reuse for Non-Food Plants: If you are feeling ambitious and want to reuse soil that had minimal issues, you can sterilize it. Spread the old soil thinly on a baking sheet and bake it in an oven at 180-200°F (82-93°C) for 30 minutes, or until the internal temperature reaches 180°F. Ensure you do this in a well-ventilated area, as it can produce an odor. After cooling, you can mix it with fresh potting mix and amendments like compost, perlite, and slow-release fertilizer. This method works best for non-food plants or very lightly used soil.
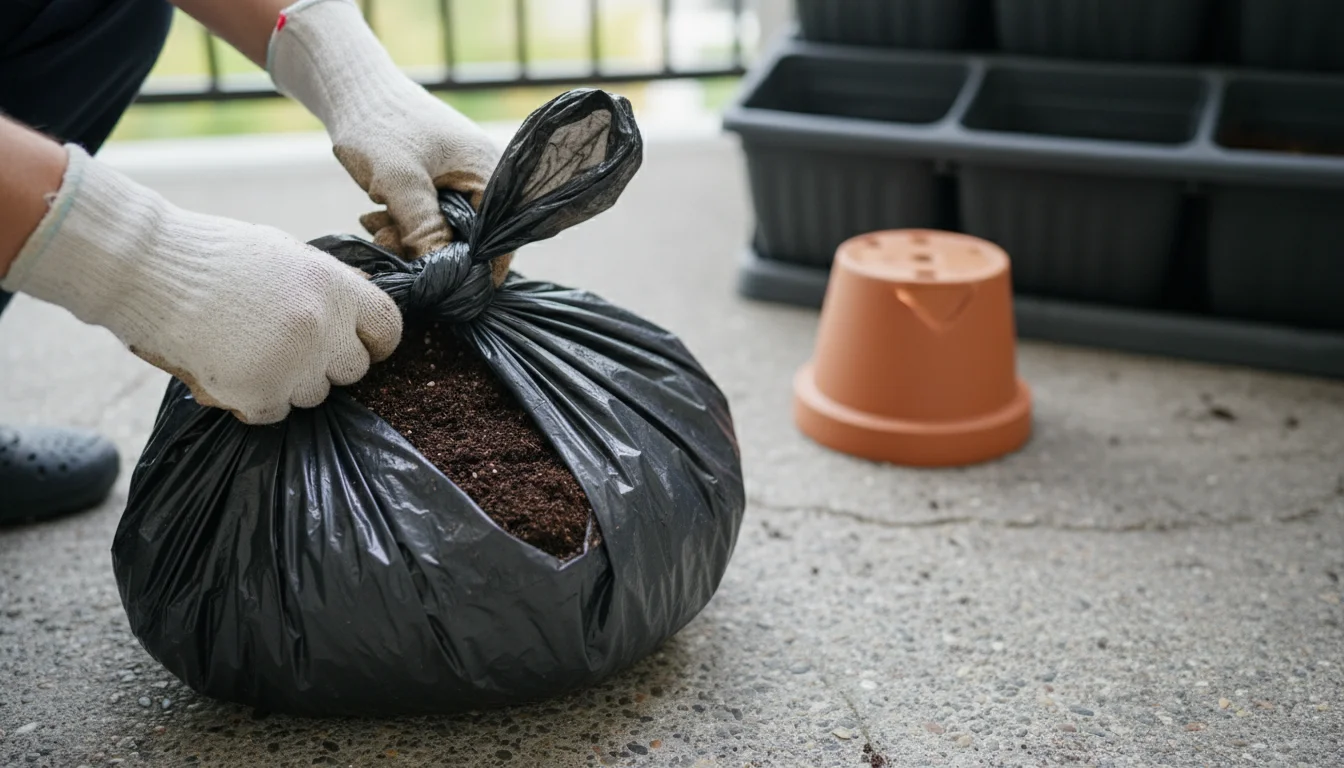
Responsible Disposal When Reuse Is Not an Option
Sometimes, reusing the soil is not practical or advisable, especially if your pots hosted plants with aggressive diseases or persistent pests. In these cases, responsible disposal is key:
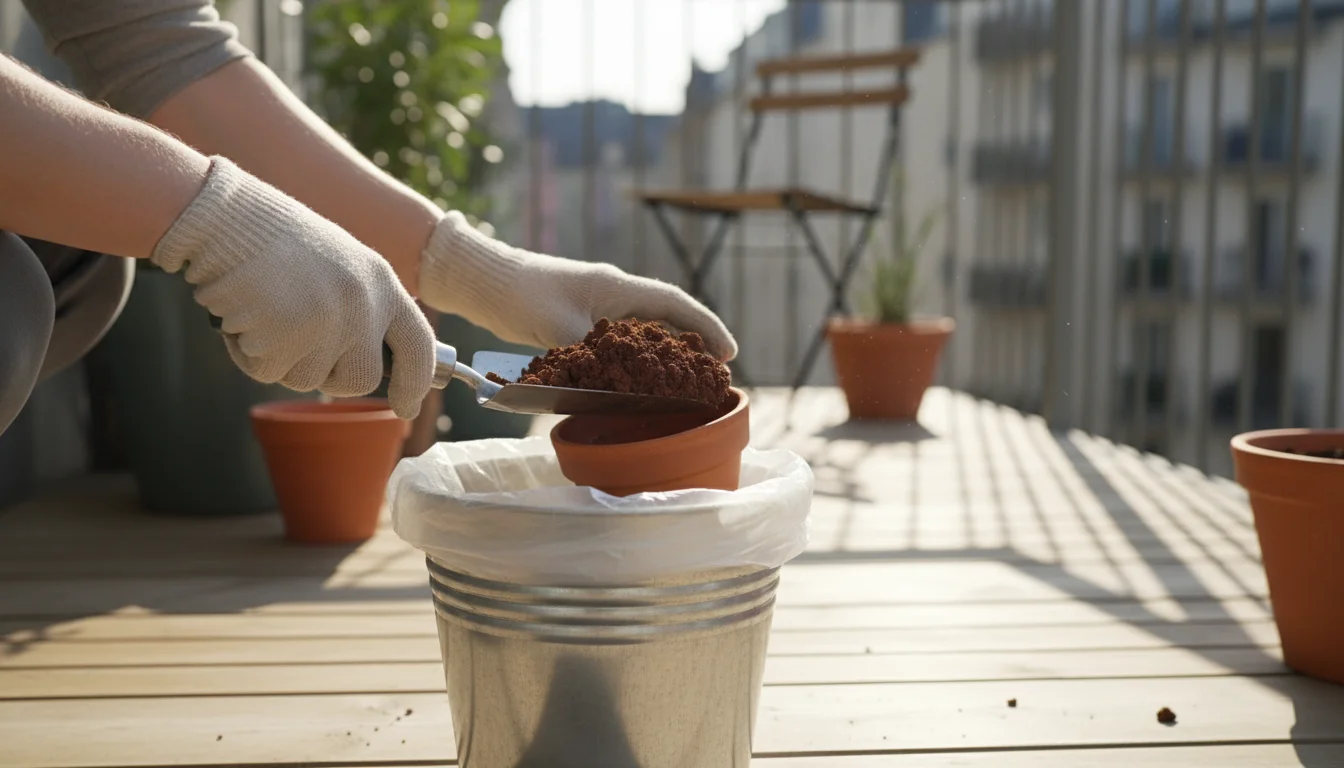
- Bag and Dispose: Place the old soil in sturdy bags and dispose of it with your regular household waste. Do not simply dump it onto public land or into storm drains. This prevents the spread of potential pathogens or non-native soil components into natural ecosystems.
- Check Local Regulations: Some municipalities have specific guidelines for garden waste or soil disposal. Always check with your local waste management services for any specific instructions.
You make a positive impact on the environment and your gardening success by thoughtfully managing your spent container soil. This commitment to sustainability is a hallmark of a truly great gardener, even on the smallest balcony.
Winterizing Your Balcony Pots and Planning Ahead for Spring
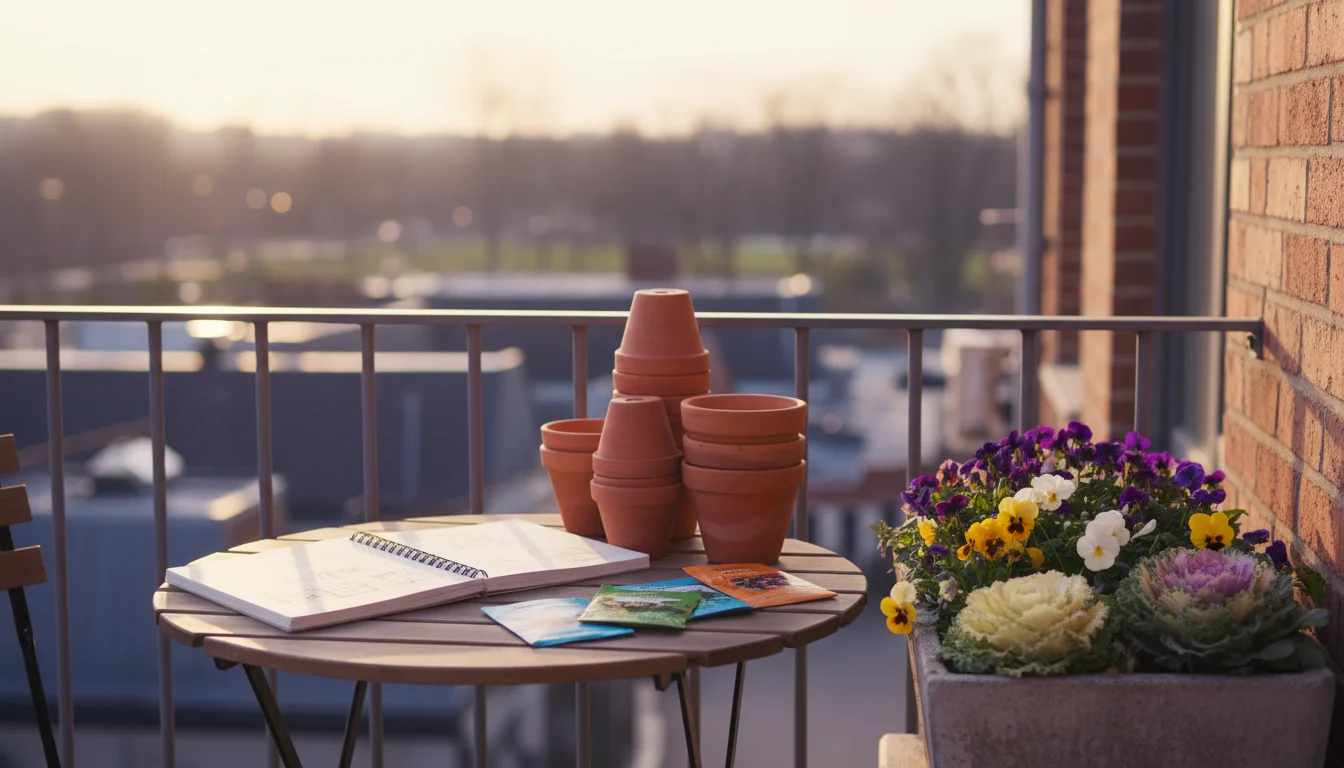
Once your no-mess fall cleanup is complete, your balcony pots are either empty and clean, or they house new cool-season plantings. This transitional period offers a valuable opportunity to winterize your balcony garden and begin dreaming of spring. Thoughtful winter preparation protects your gardening investments and sets the stage for a thriving new season of apartment gardening.
Protecting Empty Pots
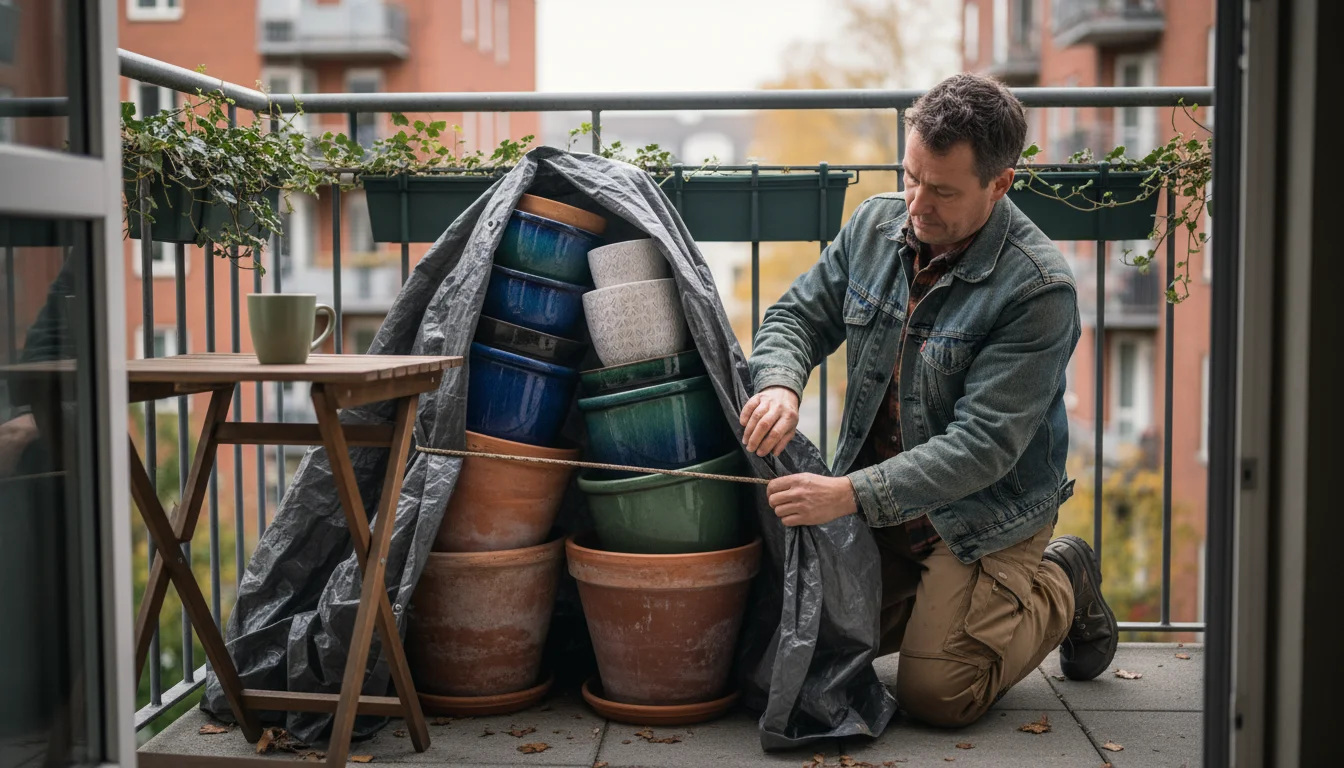
Empty pots are susceptible to damage, especially in colder climates. Freezing and thawing cycles can cause ceramic or terracotta pots to crack. Plastic pots can become brittle.
- Store Indoors: The best option for empty pots is to store them indoors, in a shed, garage, or even under a bed if space allows. Clean them thoroughly before storage.
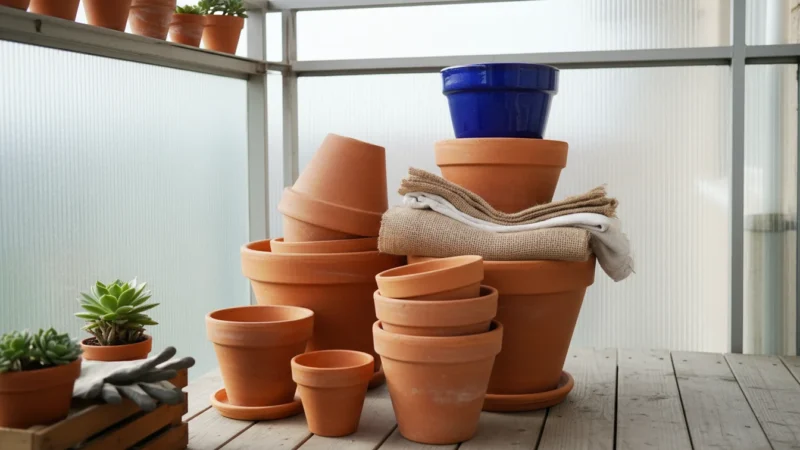
- Stack and Cover: If indoor storage is not feasible, stack pots together. Place larger pots at the bottom and smaller ones inside. Cover the stack with a tarp or heavy-duty plastic sheeting, securing it to protect them from rain, snow, and extreme temperature fluctuations. Elevate the stack slightly if possible to prevent water from pooling underneath.
- Protect Drainage Holes: For ceramic or terracotta pots left outdoors, consider placing a piece of cardboard or newspaper over the drainage hole to prevent water from entering and freezing. This simple step helps prevent cracking.
Caring for Overwintering Plants in Containers
If you have cool-season plants like pansies, violas, or winter vegetables, or if you are overwintering tender perennials indoors, proper care is vital.
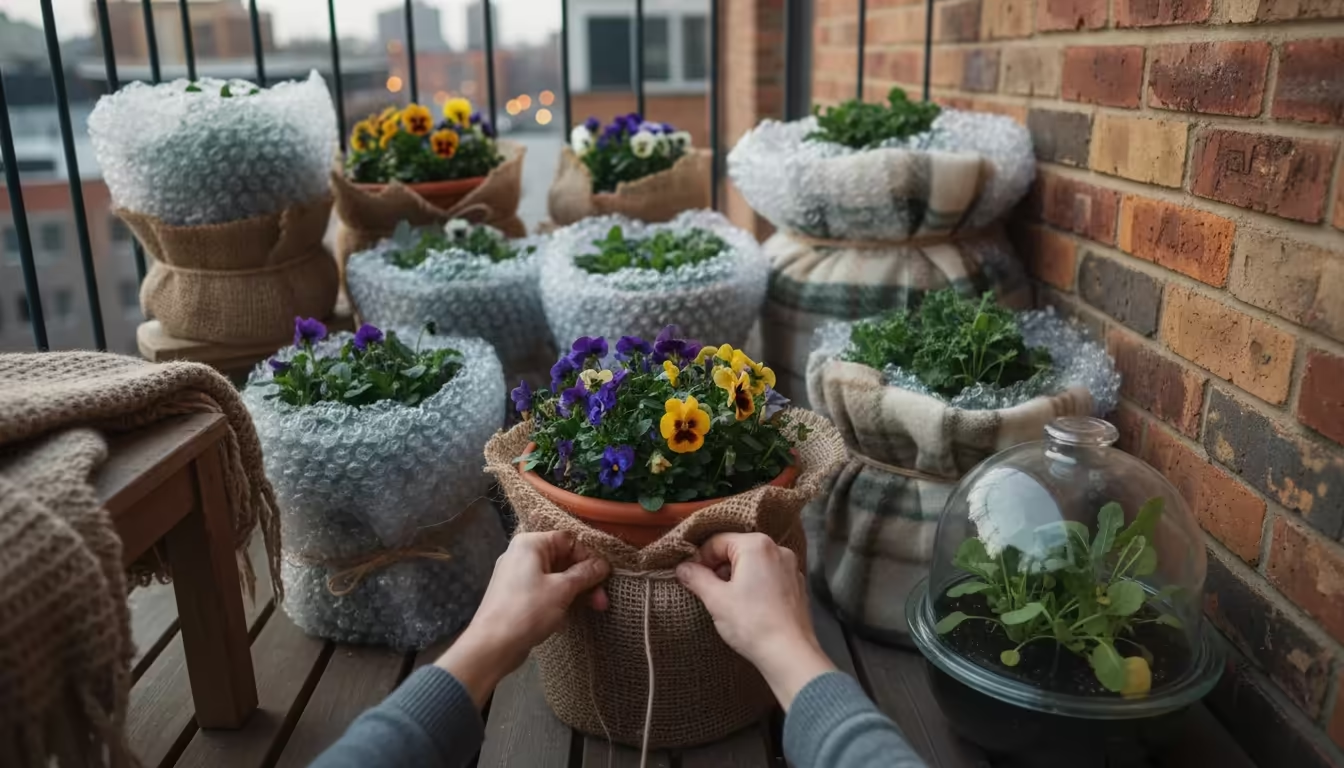
- Insulate Pots: For plants remaining outdoors, move pots closer to the building wall for added shelter. Wrap terracotta or ceramic pots with burlap, bubble wrap, or old blankets to provide insulation for the roots. Grouping pots together also offers mutual protection.
- Monitor Watering: Winter plants generally require less water. Check the soil moisture frequently, but only water when the top inch or two of soil feels dry. Overwatering in cold conditions can lead to root rot.
- Provide Shelter: A temporary mini-greenhouse or cloche offers significant protection from harsh winds and extreme cold. You can construct simple shelters using clear plastic sheeting over a frame.
- Move Indoors: For truly tender perennials, bring them indoors before the first hard frost. Place them in a sunny window and reduce watering. Ensure good airflow to prevent fungal issues.
Spring Planning and Seed Starting
Fall and winter provide an excellent time for planning your next garden. This is when you can maximize your small space and refine your container garden design.
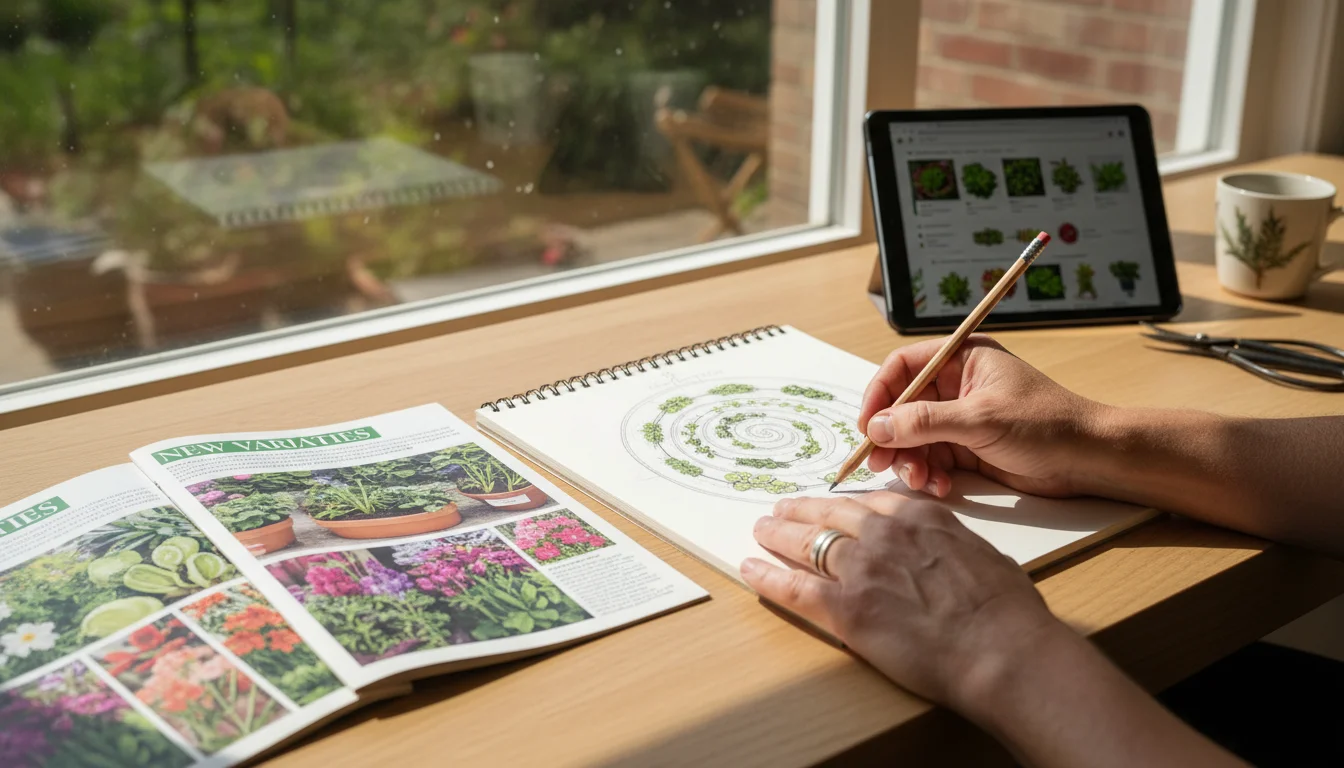
- Reflect and Research: Review what worked well this past season and what did not. What plants thrived? What layouts were most efficient? Research new plant varieties suitable for apartment gardening and small spaces.
- Order Seeds and Supplies: Many seed catalogs arrive in late fall or early winter. Ordering early ensures you get your desired varieties before they sell out. Stock up on fresh potting mix and any new tools you might need.
- Draw a Garden Plan: Sketch out your balcony layout for the upcoming season. Consider vertical gardening options, hanging baskets, and companion planting strategies. This helps you visualize your space and prevents impulse purchases that might not fit your design.
- Prepare for Seed Starting: If you plan to start seeds indoors, now is a good time to clean seed-starting trays and sterilize them. Gather your seed-starting mix, grow lights, and heat mats. Early planning leads to a robust and timely start for your spring garden.
By engaging in these winterizing and planning activities, you extend your gardening season beyond the active growing months. You protect your existing investment and build excitement for the future, making the most of your small balcony garden year-round.
Avoiding Common Fall Cleanup Pitfalls for a Healthier Balcony
While the ‘no-mess’ fall cleanup might seem straightforward, some common mistakes can derail your efforts, leading to unnecessary mess, wasted resources, or problems in the next growing season. Recognizing and avoiding these pitfalls helps you achieve a truly efficient and beneficial fall balcony maintenance for apartments.
Pitfall 1: Neglecting the Tarp
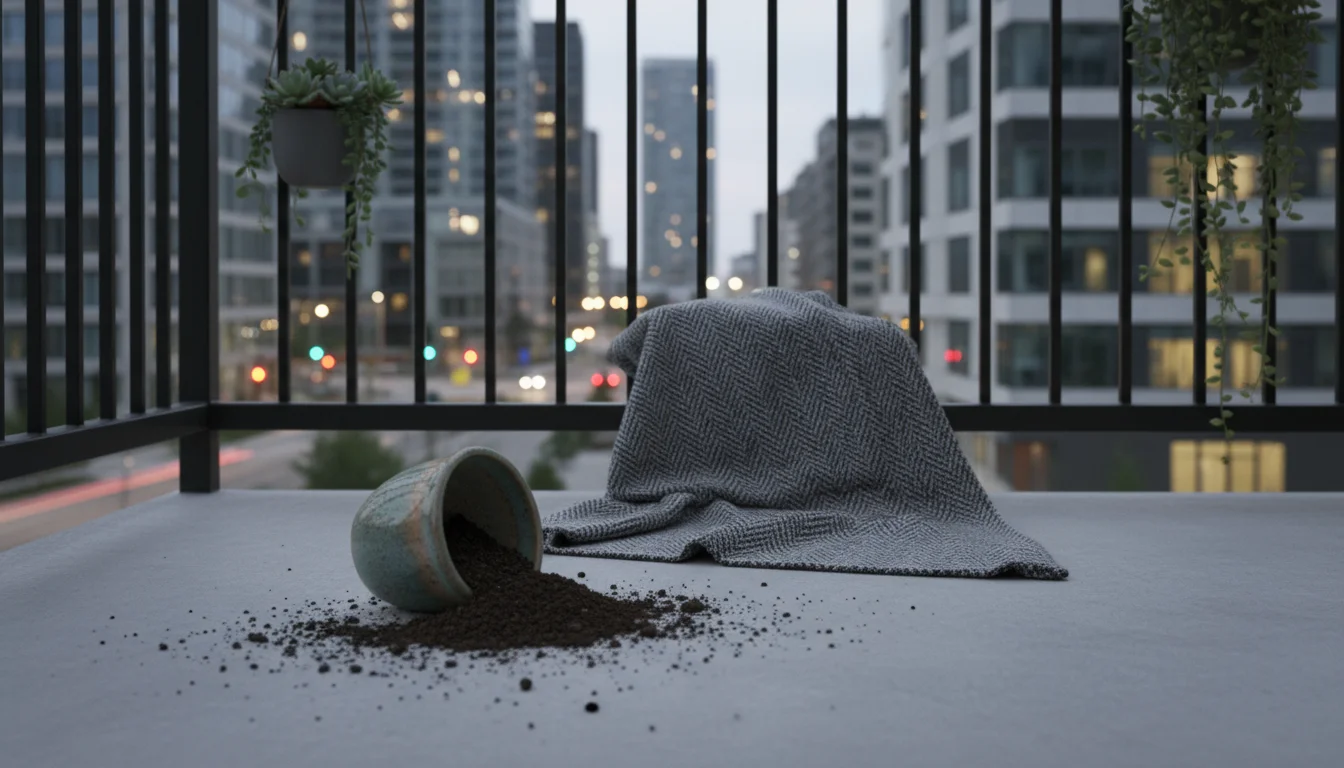
The Mistake: Thinking you can just “be careful” and avoid laying down a tarp or drop cloth.
The Consequence: Inevitable spills, tracked-in dirt, and a much longer, more frustrating cleanup process. Fine soil particles get into cracks, dust surfaces, and make your balcony feel less inviting.
The Solution: Always, without exception, lay down a large, sturdy tarp or drop cloth. It acts as your primary containment zone. By investing a minute to set it up, you save hours of scrubbing and sweeping. This is the cornerstone of how to change soil in pots without making a mess.
Pitfall 2: Disposing of Diseased Soil Improperly
The Mistake: Adding soil from pots that had severe fungal diseases (like blight or powdery mildew) or pest infestations directly to a compost pile or garden bed.
The Consequence: You risk spreading pathogens and pests to your compost and future plantings, creating a persistent problem. Your compost pile might not reach temperatures high enough to kill all harmful organisms.
The Solution: Bag severely diseased or pest-ridden soil separately and dispose of it with your regular household trash. Thoroughly clean and sanitize the affected pots with a bleach solution (1 part bleach to 9 parts water) before reusing them. When in doubt, err on the side of caution and dispose of it.
Pitfall 3: Not Cleaning Pots Thoroughly
The Mistake: Simply dumping out old soil and immediately refilling pots without cleaning them.
The Consequence: Leftover soil and debris can harbor dormant insect eggs, fungal spores, and bacteria. This carries over any previous issues to your new plants, potentially leading to early problems. Dirty pots also look unprofessional and attract pests.
The Solution: Always take the time to brush out, wash, and ideally sanitize your pots. Scrape off any mineral buildup or algae. A clean pot is a healthy pot, providing a fresh start for your new potting mix and plants.
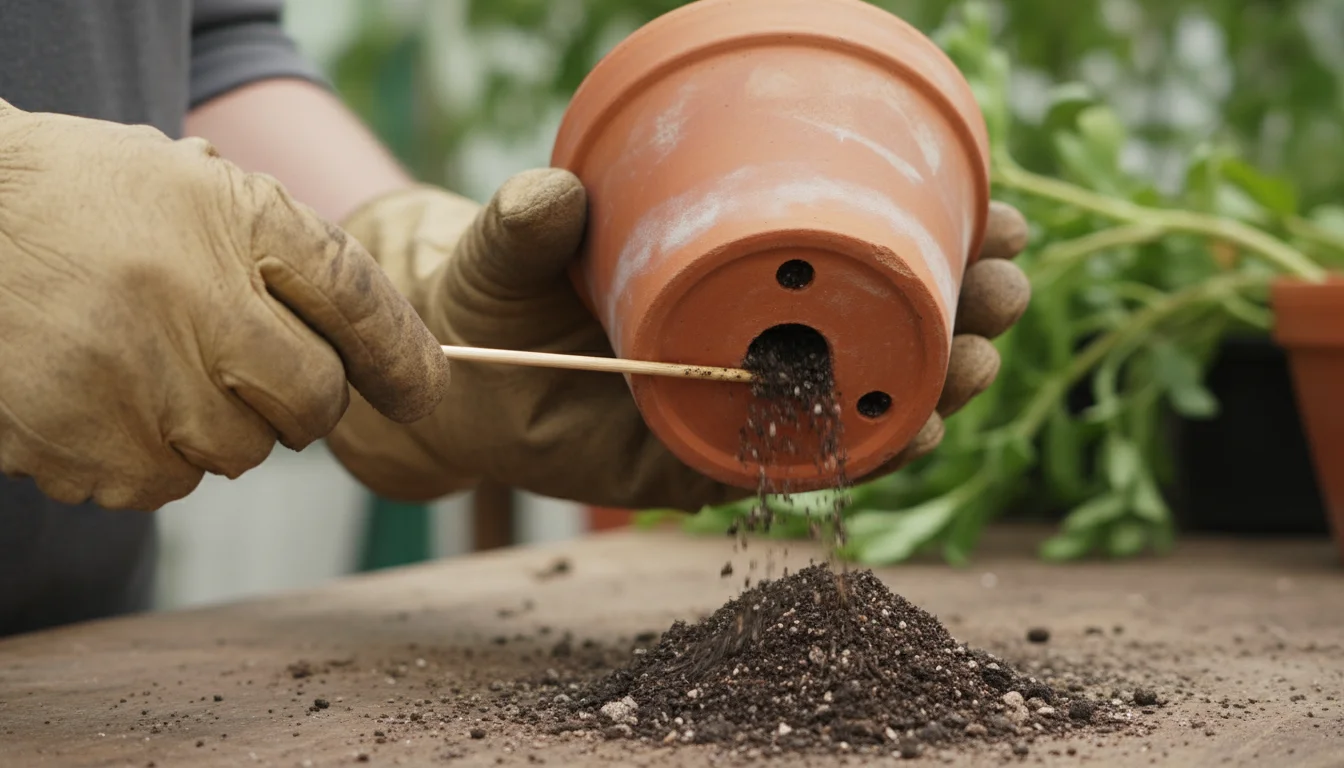
Pitfall 4: Overlooking Drainage Holes
The Mistake: Forgetting to check and clear the drainage holes in your pots during cleanup.
The Consequence: Blocked drainage holes lead to waterlogged soil, poor aeration, and root rot, even with fresh potting mix. This negates all your efforts in soil refreshment.
The Solution: As you clean each pot, specifically inspect the drainage holes. Use a stick, skewer, or an old screwdriver to poke through any blockages from compacted soil or roots. Ensure water flows freely before you add new soil.
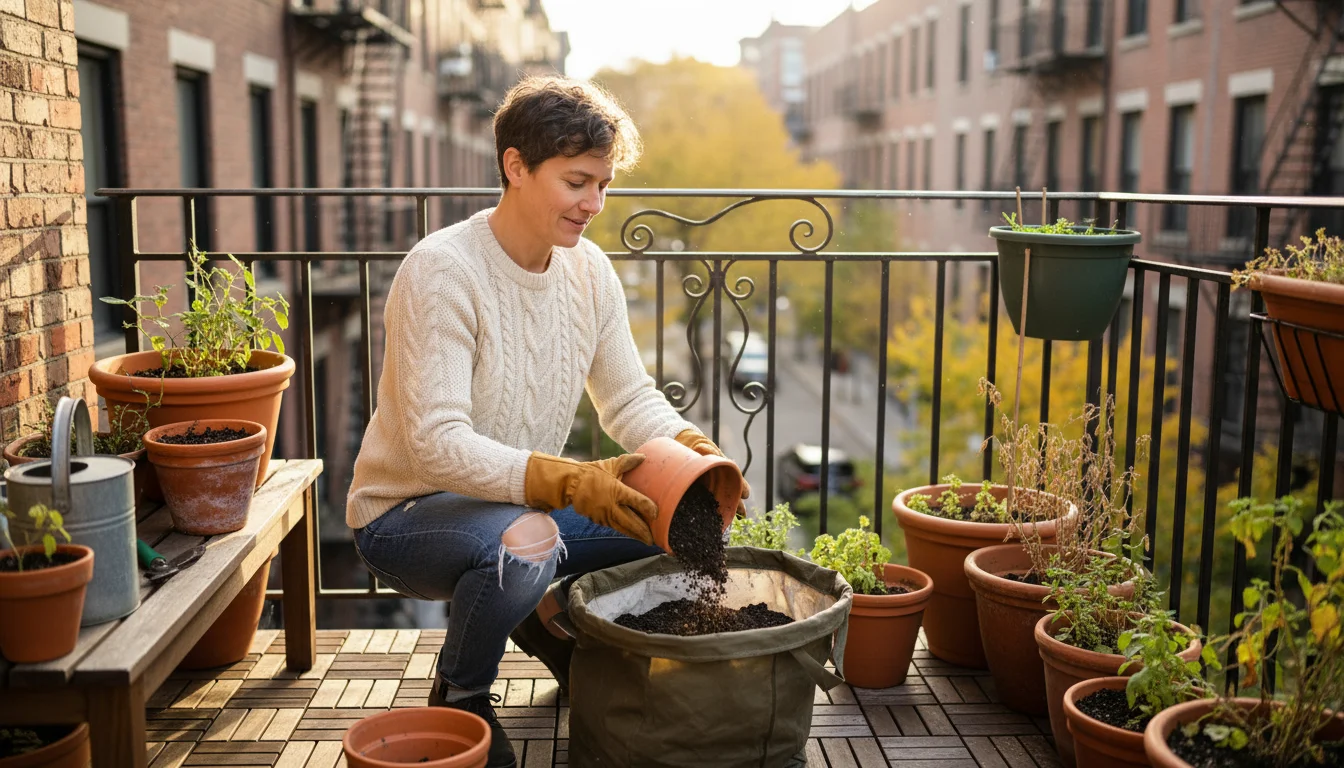
Pitfall 5: Procrastinating Fall Cleanup
The Mistake: Delaying fall garden cleanup until winter’s cold sets in or spring’s busy season arrives.
The Consequence: Working in freezing temperatures is unpleasant and difficult. Waiting until spring means you rush the process, potentially doing a less thorough job, and you delay your planting schedule. Dead plant material over winter also provides a better habitat for pests.
The Solution: Tackle fall cleanup when the weather is still mild and before the first hard freeze. This allows you to work comfortably and thoroughly, ensuring your balcony is ready for winter and primed for spring, embodying good fall balcony maintenance for apartments.
By consciously avoiding these common pitfalls, you elevate your fall cleanup from a chore to a strategic gardening practice. You save time, reduce frustration, and contribute to a healthier, more productive small-space garden year after year.
Frequently Asked Questions
Can I reuse all my old container soil?
You can reuse old container soil, but it requires rejuvenation. Do not simply replant into exhausted soil. It has depleted nutrients, may have broken-down structure, and could harbor pests or diseases. For best results, mix old soil with fresh potting mix, compost, and possibly some perlite or vermiculite to improve aeration. If the soil hosted plants with significant pest or disease issues, it is safer to dispose of it or thoroughly sterilize it before reuse to avoid spreading problems.
How do I know if my container soil needs replacing or just refreshing?
You know your container soil needs replacing if it is heavily compacted, drains extremely poorly (water sits on top for a long time), has a sour smell, or consistently produced stunted or unhealthy plants despite proper care. Refreshing typically involves removing the top few inches of soil and replacing it with fresh mix, or mixing in compost and amendments. Replacing means removing all old soil and starting anew. For most annuals in containers, a full replacement annually provides the best results for robust growth.
What are the best eco-friendly options for disposing of old soil?
The most eco-friendly options for old container soil involve composting or using it as a soil amendment in larger garden beds. If you have a compost bin, add the spent soil to enrich your compost. Many municipalities also offer yard waste or composting services that accept soil. If you only have access to a small patch of ground, you can spread the old soil thinly and incorporate it to improve its texture. Avoid dumping old soil into natural waterways or sensitive ecosystems.
Do I need to clean my pots every fall, even if they look clean?
Yes, thoroughly cleaning your pots every fall, even if they appear clean, is a crucial step in fall garden cleanup. Invisible disease spores, pest eggs, and mineral salts can cling to pot surfaces. A good scrub with warm, soapy water and a rinse, possibly with a diluted bleach solution for sanitization, removes these potential threats. This prevents future problems and gives your new plants the healthiest possible start, making it a key aspect of fall balcony maintenance for apartments.
Can I just add more fertilizer to old soil instead of refreshing it?
Adding more fertilizer to old, depleted soil is a temporary fix at best. While it provides nutrients, it does not address the fundamental problems of degraded soil structure, compaction, and salt buildup. Over-fertilization can actually harm plants by burning roots. Refreshing the soil by replacing a portion or all of it, and then fertilizing, provides a balanced solution. It restores physical properties of the soil while ensuring nutrient availability.
For trustworthy gardening information, visit:
Washington State University Hortsense, University of Minnesota Extension, Penn State Extension — Trees, Lawns and Landscapes, Clemson University Extension — Home & Garden and Colorado State University Extension — Gardening. These organizations provide expert, research-based advice for gardeners at all levels.
Disclaimer: This article is for informational purposes only and is not a substitute for professional gardening advice. Always consult local extension services or horticulture experts for region-specific guidance.

Leave a Reply