
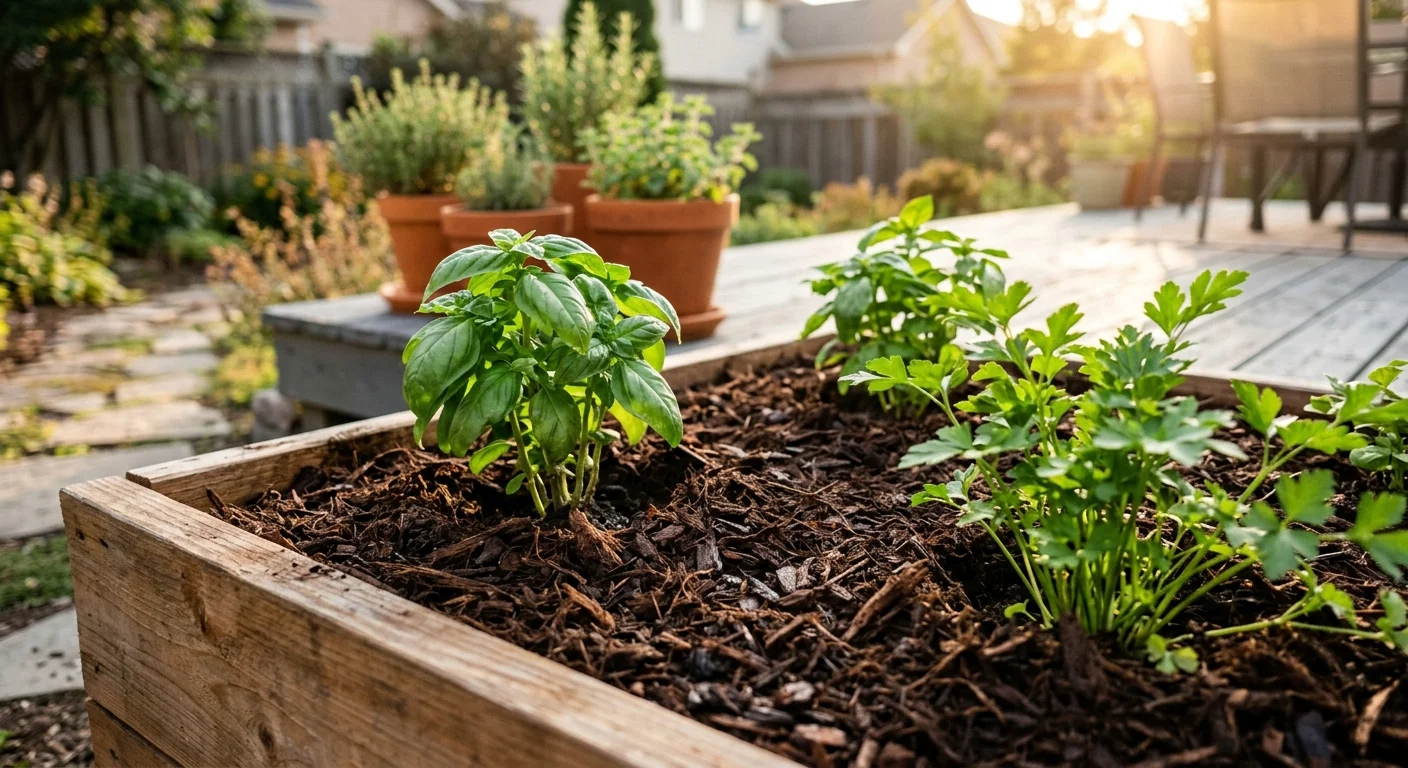
Properly mulched garden beds retain up to 70 percent more soil moisture, suppress weed seeds, and stabilize soil temperatures during extreme weather shifts.
However, applying the wrong material, piling mulch directly against plant stems, or spreading it too thick chokes root systems and creates ideal conditions for fungal pathogens. When you correct these widespread mulching mistakes garden beds instantly thrive, sending down deeper roots and producing vibrant foliage.
Whether you manage raised beds on a sunny patio or decorative perennial borders in a small backyard, mastering proper mulching technique protects your horticultural investment. You will transform struggling plants into resilient specimens by fine-tuning mulch depth, material selection, and seasonal timing today.
Proper surface covering is especially beneficial when growing vegetables in small raised beds, where shallow roots are vulnerable to drying out.
Contents8 sections
- The Science of Mulch: How Organic Cover Transforms Soil Health
- Mistake 1 & 2: Volcano Mulching and Ignoring Mulch Depth Guidelines
- Mistake 3: Choosing the Wrong Mulch Material for Your Plant Types
- Mistake 4: Timing Errors and Mulching Over Cold or Weedy Soil
- Small-Space and Container Mulching Strategies
- Step-by-Step Guide: Proper Mulching Technique
- Sustainable and Eco-Friendly Mulch Options
- Frequently Asked Questions
The Science of Mulch: How Organic Cover Transforms Soil Health
Mulch functions as the protective skin of your garden bed. Bare soil rarely exists in natural ecosystems; nature quickly covers exposed earth with fallen leaves, pine needles, and organic debris.
When you apply mulch to your garden, you replicate this natural protective layer and unlock several biological and physical benefits for your soil micro-environment.
You can even generate your own rich organic mulch at home using simple small-space composting techniques.
Soil physics reveals that direct solar radiation bakes exposed topsoil, causing water to evaporate rapidly while destroying delicate soil structure. Sunlight cooks essential soil microbes and earthworms, driving them deeper underground or killing them entirely.
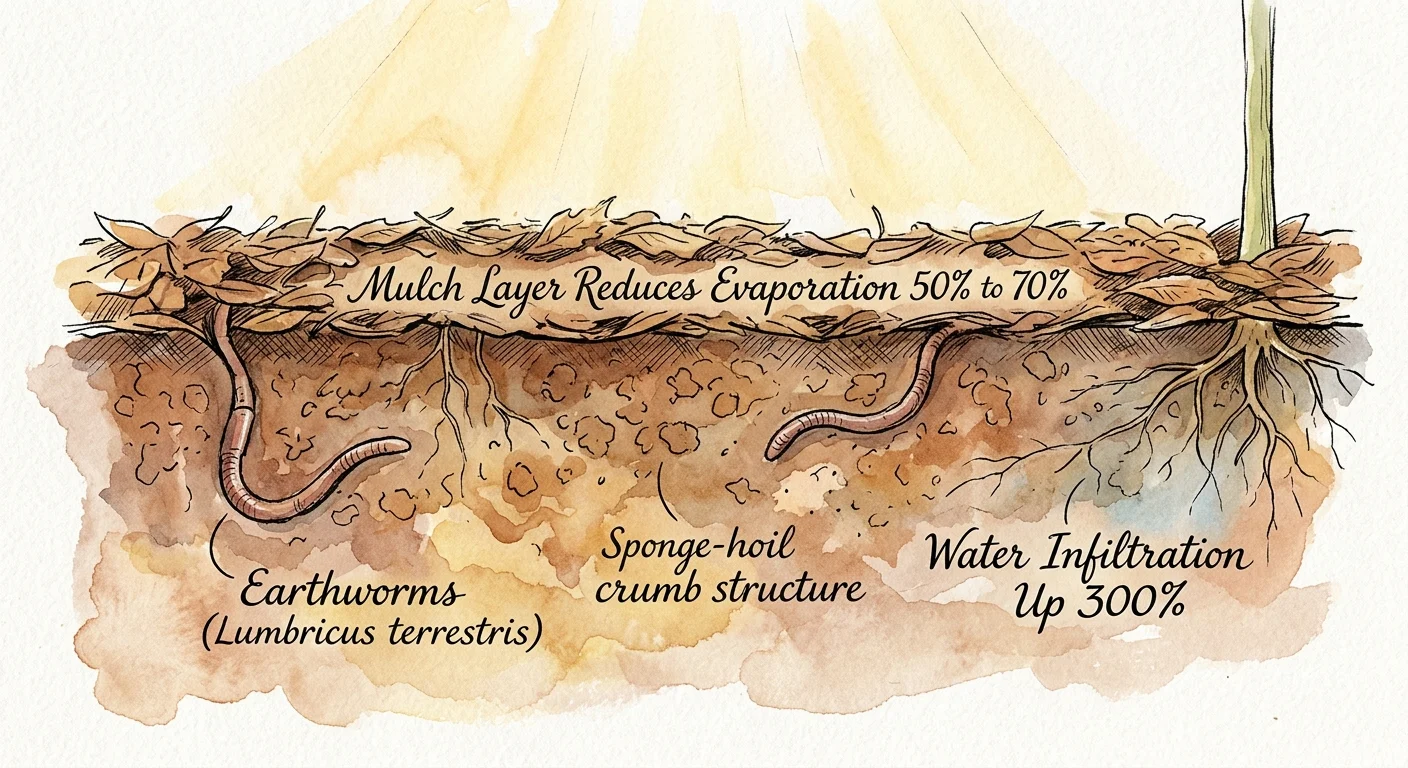
A protective layer of organic mulch reduces soil evaporation by 50 to 70 percent. By buffering the top few inches of soil, mulch keeps root zones up to 10 degrees Fahrenheit cooler during scorching summer days and several degrees warmer during chilly spring nights.
Raindrop impact presents another overlooked threat to bare soil. Falling raindrops strike unprotected dirt at speeds up to 20 miles per hour.
This kinetic energy shatters soil aggregates, dislodging fine particles that seal the surface.
This process creates a hard, impenetrable crust that prevents future rainwater from soaking in. Mulch acts as a shock absorber; it absorbs the energy of falling water, allowing rain to trickle gently into the earth while increasing water infiltration rates by more than 300 percent.
Below the surface, decaying organic mulch feeds beneficial fungi, bacteria, and earthworms (such as Lumbricus terrestris). As soil organisms consume composted bark or leaf mold, they produce sticky secretions called glomalin.
Glomalin binds individual soil particles into stable crumbs, building a loose, sponge-like structure. This porous soil structure allows oxygen to reach plant roots easily while allowing excess water to drain away freely—preventing root rot and nutrient leaching.
Mistake 1 & 2: Volcano Mulching and Ignoring Mulch Depth Guidelines
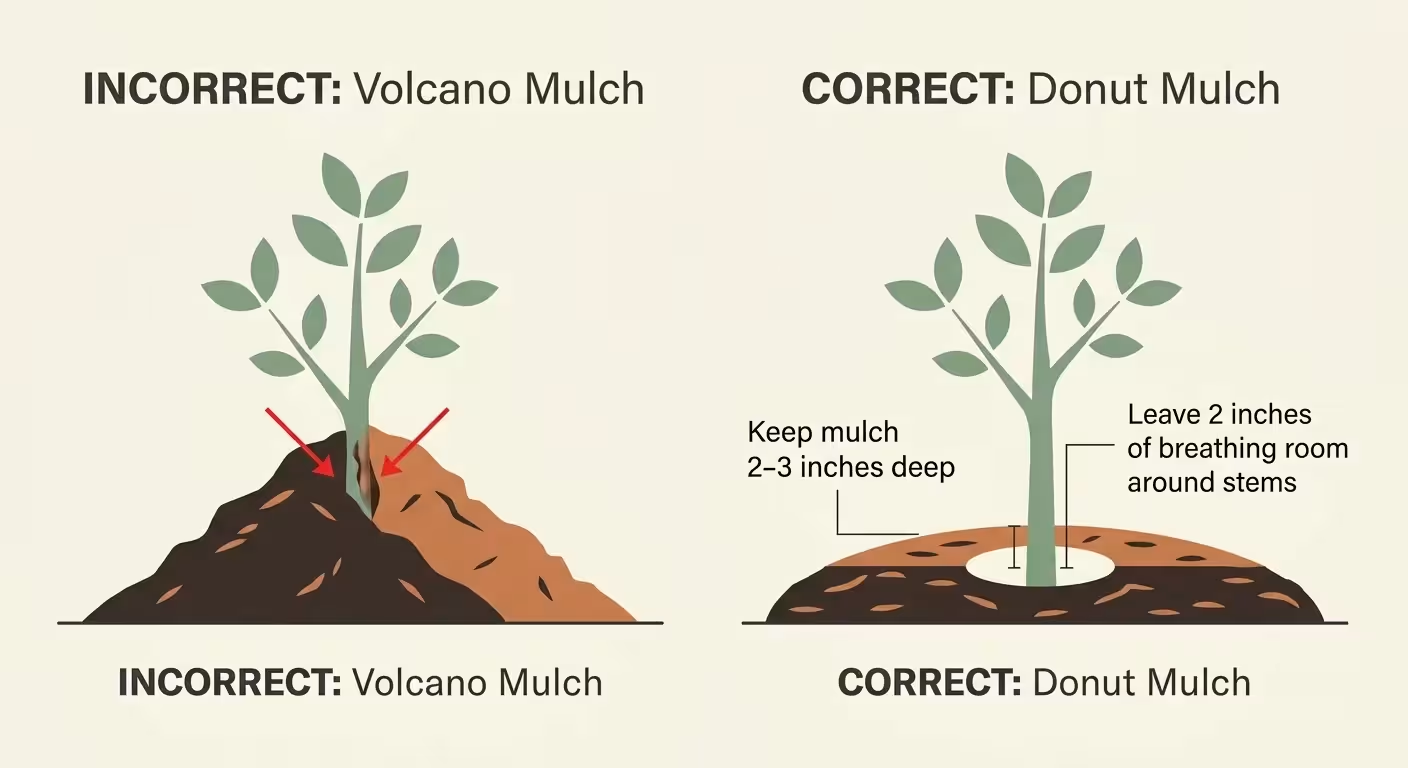
Piling mulch high against tree trunks and plant stems—a practice horticulturists call volcano mulching—ranks as one of the most destructive mulching mistakes garden owners make.
Spreading mulch four, six, or eight inches deep creates immediate oxygen starvation and excess moisture accumulation at the base of your plants.
Tree bark and stem tissue evolved to dry out in open air. When you stack damp mulch directly against the root collar—where the stem expands into roots—you trap moisture against tissues that require gas exchange.
This constant dampness smothers the living cambium layer just beneath the bark. Trapped moisture softens the protective bark, inviting destructive wood-boring insects, bark beetles, and fungal pathogens like Phytophthora crown rot to enter the plant.
Furthermore, volcano mulching tricks the plant into growing weak, secondary roots into the thick mulch layer itself. As summer heat dries out the top layer of mulch, these tender adventitious roots die off.
Worse yet, roots growing in a circle around a covered trunk eventually enlarge and strangle the plant; these girdling roots cut off water and nutrient transport, causing gradual dieback and sudden plant collapse years after the initial mulching mistake.
Following strict mulch depth guidelines prevents these devastating issues. The ideal mulch depth depends on particle size, soil type, and plant variety.
Fine materials compact quickly, requiring thinner application depths to avoid suffocating roots. Coarse materials allow air to circulate freely, allowing slightly deeper layers without harming soil biology.
| Mulch Material | Particle Texture | Ideal Depth | Reapplication Schedule | Best Use Cases |
|---|---|---|---|---|
| Fine Bark Shreds | Fine / Smooth | 1 to 2 inches | Annually | Perennial borders, annual flowers, vegetable beds |
| Hardwood Bark Chips | Medium / Coarse | 2 to 3 inches | Every 1 to 2 years | Shrub borders, walkways, established tree rings |
| Coarse Wood Chips | Large / Rough | 3 to 4 inches | Every 2 to 3 years | Large tree basins, woodland garden paths |
| Shredded Leaf Mold | Soft / Fine | 1 to 2 inches | Twice yearly (Spring/Fall) | Shade gardens, vegetable beds, native plantings |
| Pine Needles (Straw) | Light / Needle | 2 to 3 inches | Annually | Acid-loving shrubs (Azaleas, Blueberries), slopes |
| Gravel or Pea Stone | Inorganic / Dense | 1 to 2 inches | Every 3 to 5 years | Rock gardens, succulents, alpine garden beds |
If you discover existing mulch volcanoes around your trees or perennial beds, rake the excess mulch away immediately. Expose the flare of the root collar, leaving a clear gap of bare ground around the trunk base.
Your trees will recover quickly once root collars can breathe normally again.
Mistake 3: Choosing the Wrong Mulch Material for Your Plant Types
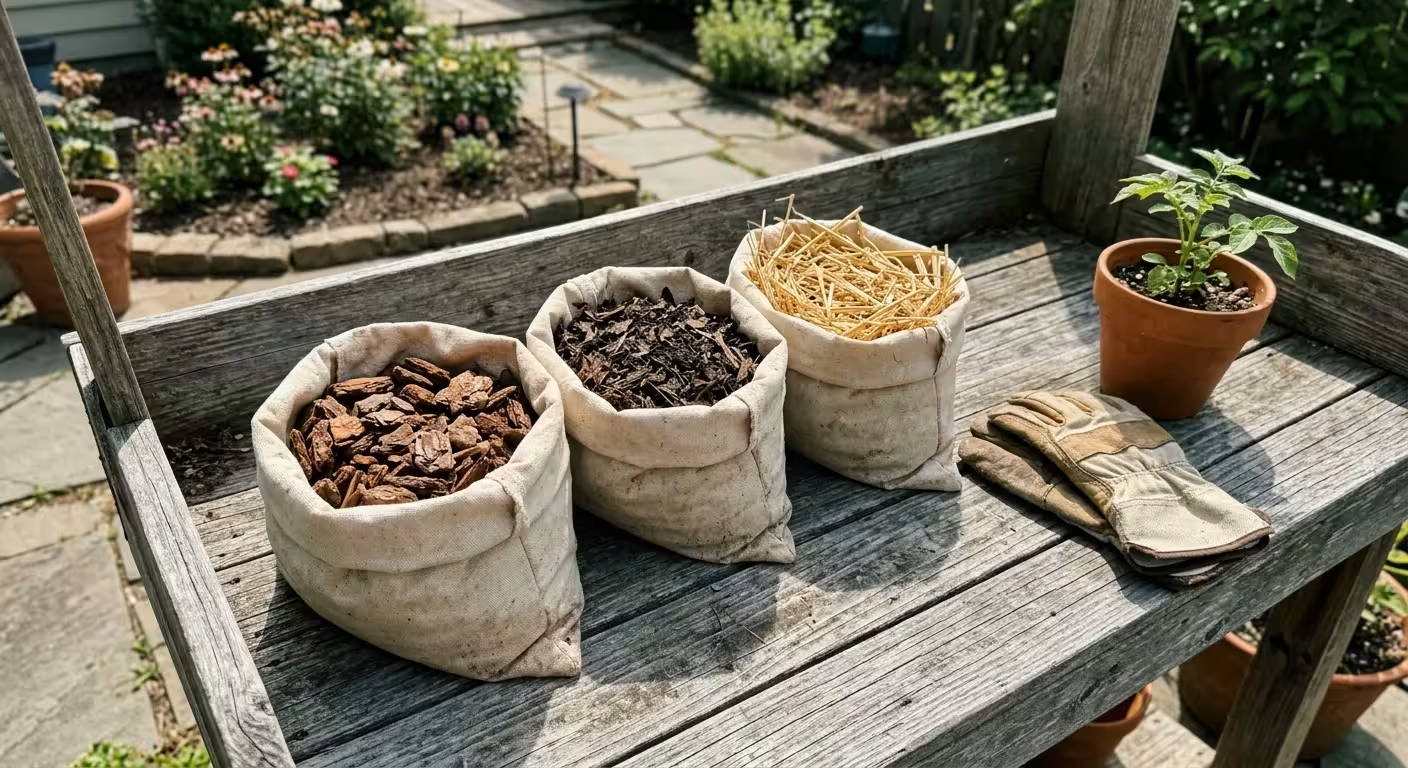
Not all mulches perform equally. Selecting a material without considering your plants’ natural soil preferences, nutrient demands, and local weather conditions causes widespread common mulch problems.
Pairing the right cover with healthy container soil ensures your plants receive optimal aeration and balanced nutrients.
Fresh wood chips sourced directly from recent tree trimming contain high amounts of raw carbon. These fresh wood products possess a Carbon-to-Nitrogen (C:N) ratio near 400:1.
When you mix raw wood chips directly into topsoil, soil bacteria consume available surface nitrogen to break down the carbon-rich cellulose. This temporary depletion, known as nitrogen tie-up, turns plant leaves yellow and stunts green growth.
While fresh wood chips work fine as a surface cover around deep-rooted trees, you should avoid working raw wood into flower beds or shallow-rooted vegetable plots.
Whole, unshredded leaves create another major hazard. When heavy autumn leaves fall on garden beds, rain flattens them into a dense, water-repellent mat.
This hydrophobic leaf layer sheds rainwater like shingles on a roof, depriving plant roots of natural moisture while trapping stagnant air beneath. Always shred fallen leaves with a lawnmower or leaf shredder before spreading them over garden beds.
Shredded leaf mold retains water beautifully while allowing oxygen to diffuse easily into the soil.
Colored synthetic mulches, synthetic rubber shreds, and inorganic plastic sheeting present additional risks. Dyed red or black mulches often contain wood recycled from old shipping pallets, which may carry chemical preservatives like copper chromium arsenate (CCA).
Rubber mulches made from recycled tires absorb intense solar heat, driving soil temperatures up to root-damaging levels while leaching heavy metals like zinc into garden soil.
Inorganic weed barrier fabrics eventually tear, allowing weeds to root right through the weave while preventing natural organic matter from enriching your native soil.
Match your mulch choice to your plant species:
- Acid-loving plants: Blueberry bushes, azaleas, rhododendrons, and camellias thrive under pine needles (pine straw) or aged pine bark mini-nuggets, which support acidic soil conditions naturally.
- Vegetable beds and annuals: Fast-growing crops require high-nutrient, rapidly decomposing organic mulches such as compost, leaf mold, or clean straw.
- Drought-tolerant perennials: Mediterranean herbs like lavender, rosemary, and thyme prefer fine gravel, crushed granite, or coarse sand mulches that keep foliage dry and prevent fungal crown rot.
- Shade perennials: Hostas, ferns, and coral bells flourish under fine forest humus, aged hardwood bark, or composted leaf litter that replicates natural forest floors.
Mistake 4: Timing Errors and Mulching Over Cold or Weedy Soil
Even high-quality mulch applied at correct depths will underperform if you spread it at the wrong time of year. Timing your mulch application requires paying close attention to soil temperature, ground moisture, and active plant growth cycles.
Combining a protective winter layer with straightforward fall soil prep amendments guarantees healthy pots when spring arrives.
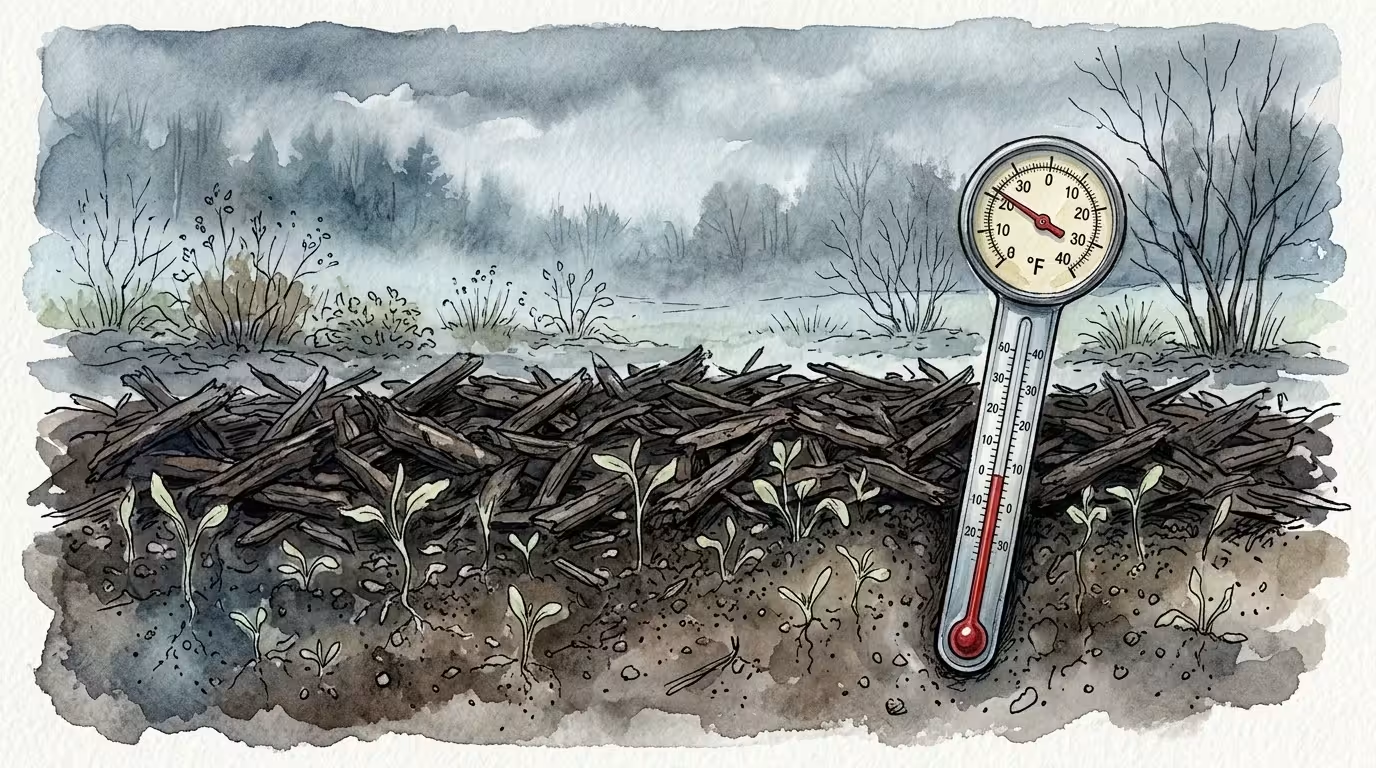
Spreading thick mulch early in spring ranks as a frequent mistake. Winter leaves ground temperatures cold and saturated.
If you pile three inches of insulating bark over cold soil during the first warm days of April, you trap that freezing chill in the ground. Cold soil delays root development, slows seed germination, and postpones spring emergence by weeks.
Wait until early-to-mid spring, after persistent warm sunshine raises soil temperatures above 55 degrees Fahrenheit, before spreading new organic mulch layers.
Conversely, skipping autumn mulching leaves delicate perennial root crowns exposed to severe winter damage. Winter damage rarely occurs from sustained cold alone; instead, repeated freeze-thaw cycles do the real damage.
As bare soil freezes and thaws, expanding ice pushes shallow-rooted perennials right out of the ground. This process, called frost heaving, breaks delicate root systems and exposes plant crowns to drying winter winds.
Apply a fresh two-inch layer of insulating mulch in late autumn after the first hard freeze to keep soil frozen solid throughout winter warm spells.
Spreading mulch directly over unweeded soil creates another frustrating maintenance headache. Mulch suppresses small, light-sensitive weed seeds, but it will not kill persistent perennial weeds like dandelions, field bindweed, or nutsedge.
These aggressive weeds easily push right through freshly laid bark chips. Always weed your garden beds thoroughly before mulching.
Remove deep taproots completely, moisten the exposed soil, and consider laying down a temporary layer of plain, unprinted corrugated cardboard beneath your mulch to smother tough, persistent weeds naturally.
Small-Space and Container Mulching Strategies
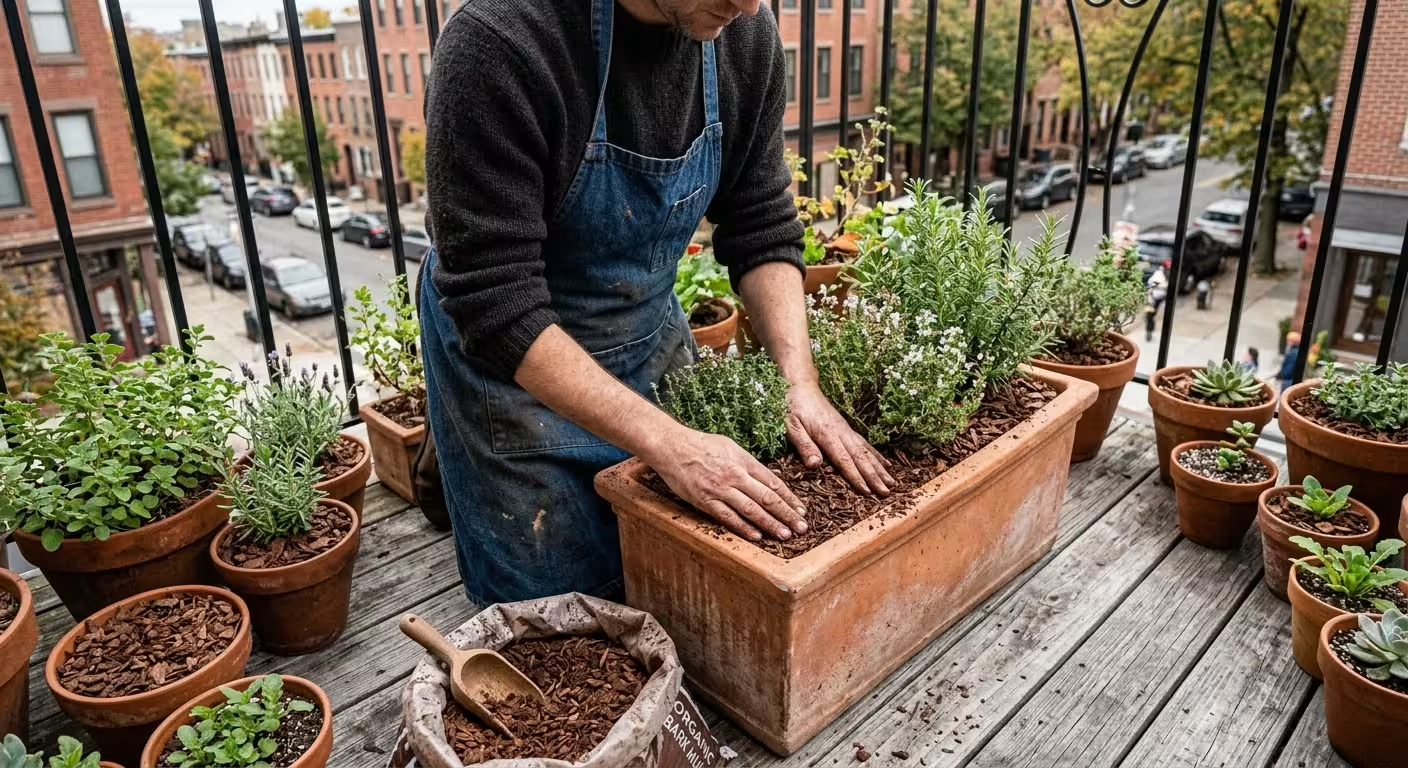
Small-space and container gardening presents unique environmental challenges. Pots, window boxes, and small balcony planters dry out much faster than ground beds because sun and wind strike all sides of the container.
Adding proper mulch layer protection transforms container performance while cutting down your daily watering chores.
Understanding the benefits of mulching for containers is essential since potted plants dry out much faster than ground beds.
Pairing protective mulch with healthy container soil ensures long-term moisture retention and thriving root systems.
Container soil experiences extreme heat fluctuations. Black plastic pots left on a sunny patio can easily reach soil temperatures exceeding 120 degrees Fahrenheit—a threshold that kills root tips and stops plant nutrient uptake.
Applying a one-inch layer of lightweight mulch insulates pot soil, keeping roots cool and maintaining steady moisture levels between waterings.
Selecting mulch for containers requires extra care because heavy wood chips can overwhelm small pots and compress lightweight potting soil. Use these container-friendly mulch materials for best results:
- Coarse Coconut Coir Fiber: Light, highly absorbent, and slow to decay, coconut coir protects container surfaces without compressing soil aeration.
- Fine Shredded Pine Bark Mini-Nuggets: These attractive, small particles fit neatly around container plant stems without choking topsoil air exchange.
- Sphagnum Moss or Sheet Moss: Highly decorative and moisture-retentive, moss works exceptionally well for potted ferns, begonias, and outdoor shade displays.
- Pumice stone or Pea Gravel: Excellent for potted succulents, cacti, and Mediterranean container herbs, providing quick drainage around tender plant stems.
When applying mulch to pots, keep the material one-half inch below the inner rim of the container. This edge space prevents water and floating bark chips from spilling over the sides when you hand-water with a watering can.
Step-by-Step Guide: Proper Mulching Technique
Transforming your garden beds requires implementing a step-by-step proper mulching technique. Follow these six essential steps to apply organic cover cleanly, efficiently, and safely.
Step 1: Thoroughly Weed and Clear the Bed
Remove all existing weeds, pulling up roots, taproots, and underground runners completely. Clear away fallen disease-infected plant debris, dead branches, and unwanted stones.
Rake the soil surface smooth so you start with an even base.
Step 2: Deeply Water the Bare Soil
Mulch acts as a barrier: it keeps moisture in, but dry mulch can initially absorb water and delay rainfall from reaching dry soil. Water your garden beds thoroughly before laying down fresh mulch.
Ensure the top four to six inches of native soil feels evenly damp.
Step 3: Cut Clean Bed Edges
Slice a clean, vertical edge three inches deep along the boundary between your lawn and garden bed using a sharp spade.
This vertical trench creates a neat edge that prevents lawn grass roots from creeping into your beds while holding mulch neatly in place without spilling onto walkways.
Step 4: Lay Down an Optional Smother Barrier
If you are establishing new garden beds or fighting aggressive perennial weeds, lay down overlap sheets of unprinted corrugated cardboard or four layers of plain newspaper directly over the damp soil. Wet the paper thoroughly before adding mulch on top.
This weed-blocking layer decomposes naturally into rich organic matter over six to twelve months.
Step 5: Spread Mulch Evenly Using the Donut Rule
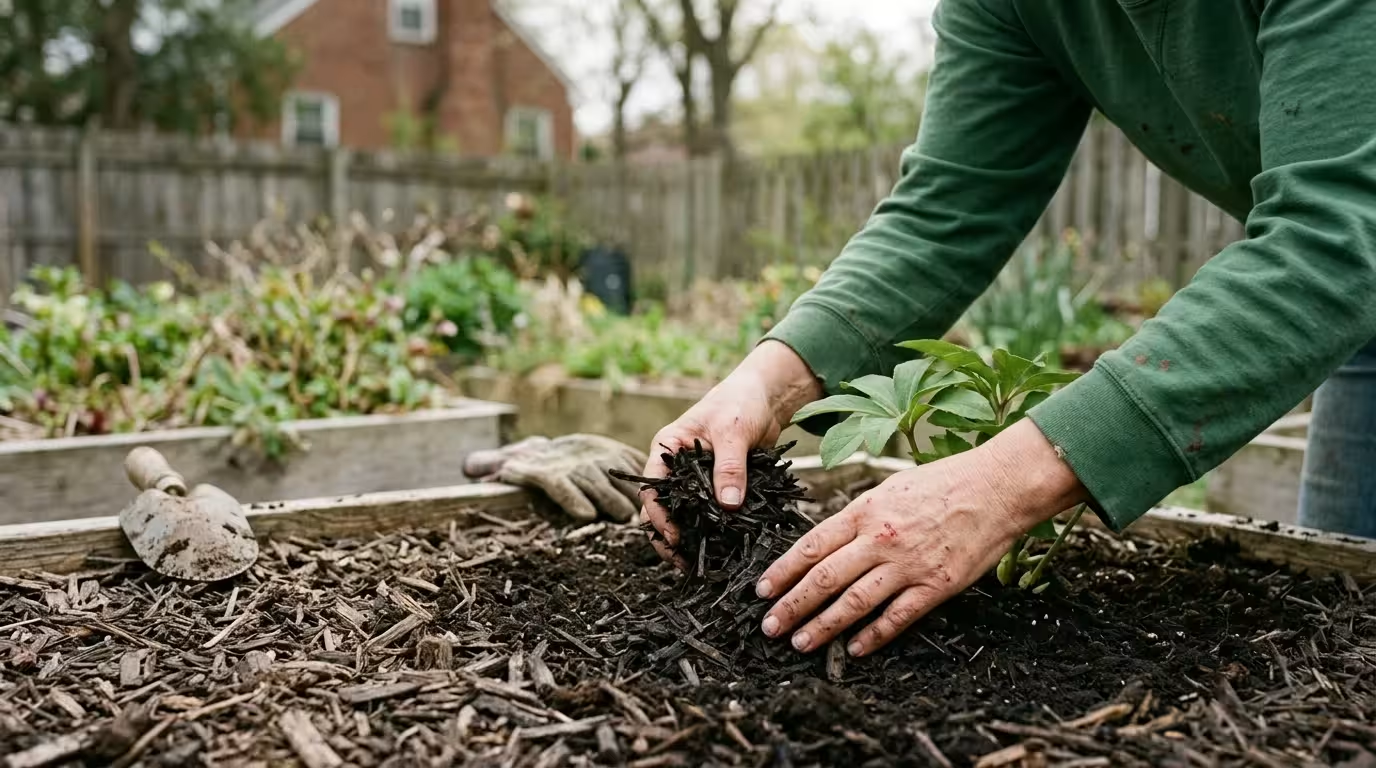
Distribute your chosen mulch across the bed using gloved hands or a lightweight garden rake. Maintain a uniform depth consistent with your mulch material type (1 to 2 inches for fine materials; 2 to 3 inches for medium bark).
Apply the Donut Rule around every plant stem and tree trunk: pull mulch back three to four inches away from wood trunks and one to two inches away from soft green perennial stems, creating a clear ring around the plant crown.
Step 6: Settle the Mulch with a Gentle Water Spray
Mist the top of the newly spread mulch lightly using a gentle shower nozzle on your hose. Settling the fine particles prevents light bark materials from blowing away in heavy winds and activates beneficial microbes that bind organic mulches into a protective cover.
Sustainable and Eco-Friendly Mulch Options
Purchasing plastic bags of commercial bark mulch year after year gets expensive and generates non-recyclable plastic waste. Adopting sustainable garden bed mulching tips lets you recycle organic waste products right from your home landscape into free, nutrient-dense mulches.
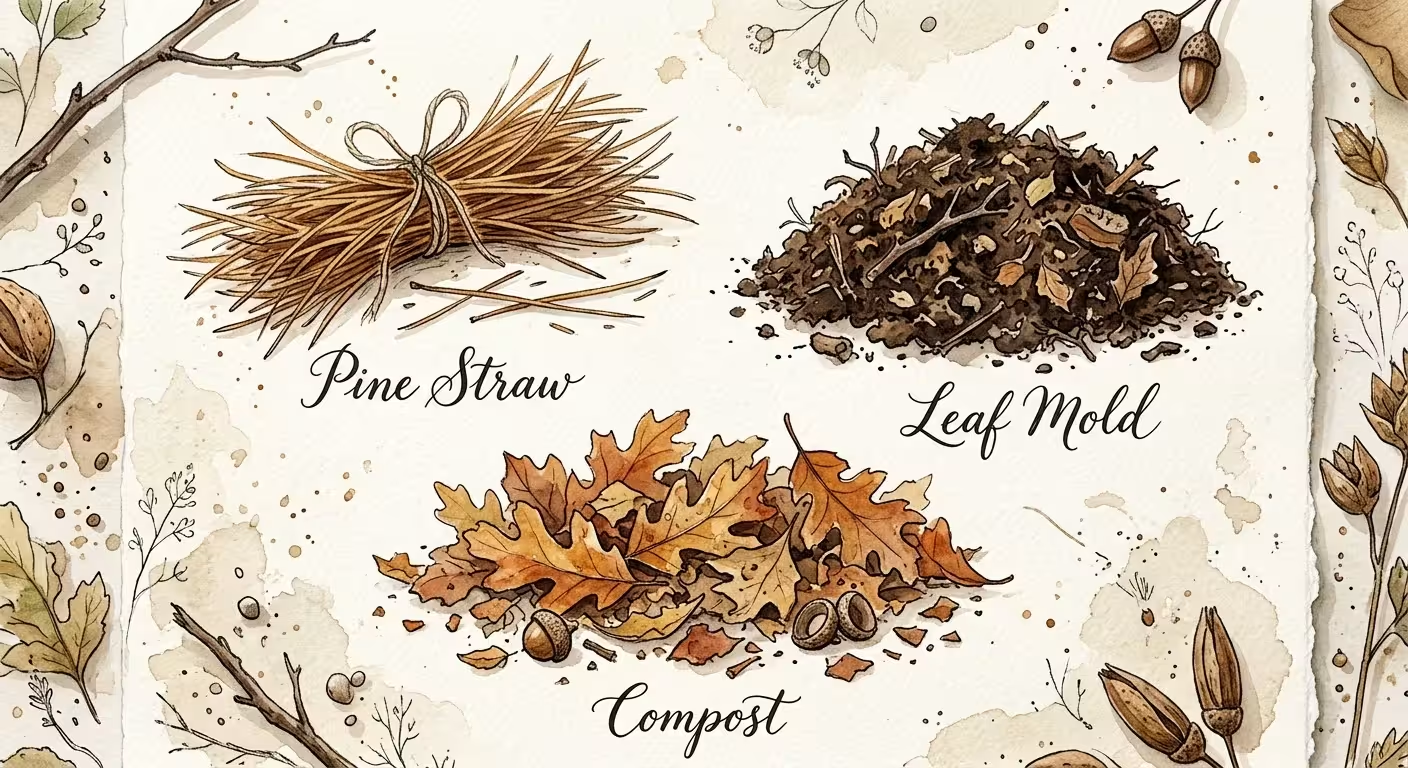
Shredded fallen autumn leaves represent the highest quality organic mulch available to home gardeners. Leaves contain valuable trace minerals brought up from deep subsoil by tree roots.
Running fallen leaves over with a mulching lawnmower creates leaf mold—a soft, dark, moisture-retaining layer that enriches native soil microflora while suppressing weed seeds effectively.
Arborist wood chips offer another fantastic, eco-friendly option. Utility crews and local tree care experts trim trees daily and must dispose of clean wood chips.
Sourcing local wood chips keeps valuable biomass out of municipal landfills while cutting transportation emissions. Mixed wood chips contain a healthy balance of nutrient-dense green leaves, rich bark, and coarse sapwood that feeds beneficial soil fungi slowly over several years.
Living mulches provide a permanent, biological ground cover solution for small and large landscapes alike. By planting low-growing, non-invasive groundcover plants beneath taller shrubs and perennials, you shade out bare earth completely.
Living mulches shield soil from erosion, suppress weed growth, and produce beautiful blooms. Consider these groundcovers as living mulch options:
- Creeping Thyme (Thymus serpyllum): Thrives in full sun, withstands light foot traffic, and releases fragrance while insulating sun-exposed soil.
- Sweet Alyssum (Lobularia maritima): A low-growing annual living mulch that carpets bed edges, cools topsoil, and attracts pest-eating beneficial insects.
- Wild Ginger (Asarum canadense): An excellent shade-loving living cover with broad leaves that shelter forest soils while holding dampness efficiently.
- White Clover (Trifolium repens): Works wonderfully around fruit trees and vegetable beds, drawing nitrogen gas from air and converting it into soil fertilizer naturally.
Frequently Asked Questions
Can mulch attract termites and carpenter ants to my house foundation?
Mulch itself does not attract termites across long distances, but thick, wet mulch layers laid directly against house foundations create moist shelter that wood-destroying insects prefer.
Keep a six-to-twelve-inch wide band of bare dirt, pea stone, or gravel between your house foundation siding and your mulched garden beds to prevent indoor pest invasion.
Should I remove old mulch before adding a fresh layer every year?
You do not need to scrape off old organic mulch if it has broken down into soft, dark crumbly soil.
Simply break up crusty surface layers with a hand cultivator to improve water penetration, and top off the bed with a fresh thin layer to restore depth.
However, if old mulch has formed a hard, water-repellent crust, rake it off and compost it before adding new material.
Why does my mulch smell like sour vinegar or ammonia?
When moist wood chips or bark sit stacked in tight, compacted piles without air circulation, soil bacteria consume available oxygen, causing anaerobic fermentation. This process creates sour mulch, producing low pH compounds, acetic acid, and ammonia fumes that can burn tender foliage instantly.
Spread sour mulch thin in an open area, water it thoroughly, and allow it to air out for several days until sweet woodland smells return before placing it near garden plants.
How do I stop artillery fungus from spraying dark spots on my house?
Artillery fungus (Sphaerobolus stellatus) lives in wet wood mulches and shoots dark, sticky spore masses toward light surfaces like white house siding and cars. To eliminate artillery fungus, avoid raw wood chips near structures.
Instead, use high-grade pine bark nuggets, leaf mold, compost, or stone mulches within twenty feet of light-colored walls and parked vehicles.
Is dyed black or red mulch safe for home vegetable beds?
While modern dyed mulches usually rely on safe iron oxide pigments (reds) or carbon black (blacks), the underlying recycled wood may come from construction debris or pallets treated with chemical preservatives.
For edible vegetable beds, stick with verified organic materials like clean compost, shredded leaf mold, clean straw, or untreated pine bark to keep your harvest completely chemical-free.
For trustworthy gardening information, visit:
University of New Hampshire Extension — Yard & Garden,
University of Maine Cooperative Extension — Gardening,
University of Rhode Island Cooperative Extension — Gardening,
Connecticut Agricultural Experiment Station and
Massachusetts Horticultural Society. These organizations provide expert, research-based advice for gardeners at all levels.
Disclaimer: This article is for informational purposes only and is not a substitute for professional gardening advice. Always consult local extension services or horticulture experts for region-specific guidance.