
The ‘One-Gallon’ Challenge: A Beginner’s Guide to Growing a Bumper Crop of Micro-Tomatoes in a Tiny Pot
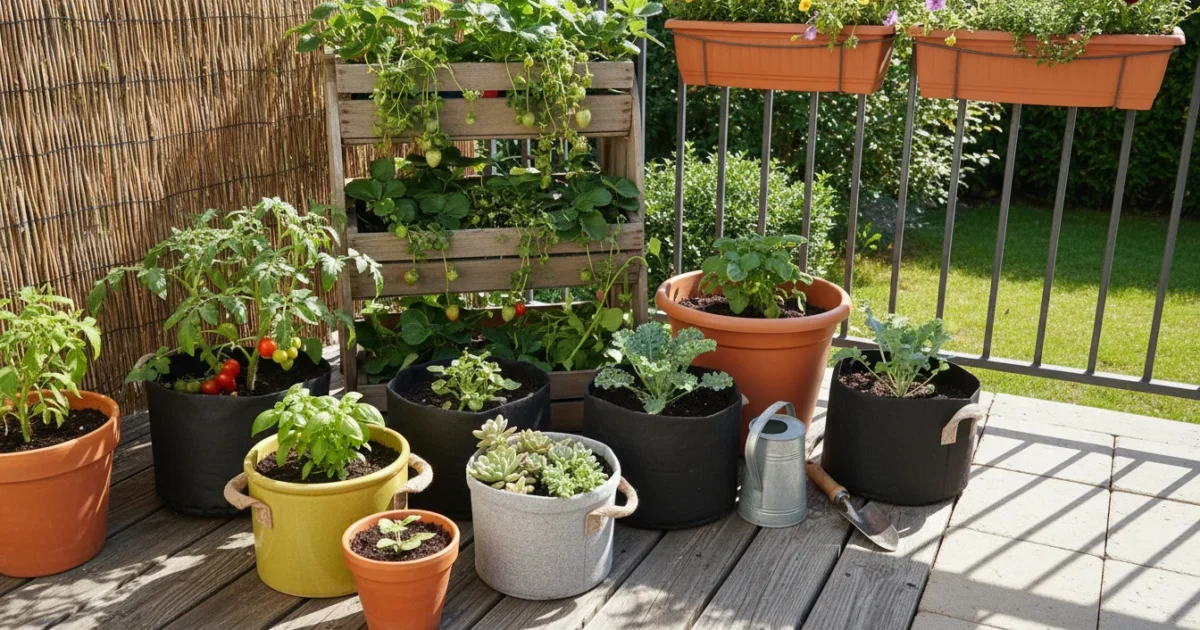
Growing your own food brings immense satisfaction, even when you have limited space. Imagine plucking sun-ripened, flavorful tomatoes right from your balcony or patio. With micro-tomatoes, this dream becomes a reality. This guide empowers you to cultivate an abundant harvest of these delightful miniature fruits in nothing more than a one-gallon pot. You will learn the specific steps, choose the right varieties, and apply simple care techniques to achieve a thriving, productive micro-tomato plant, proving that big gardening dreams fit perfectly in small spaces.
If you want to try other fun container projects alongside your tomatoes, you can also learn how to grow mini pumpkins in a pot for a festive autumn display.
Unleashing Tiny Space Potential with Micro-Tomatoes
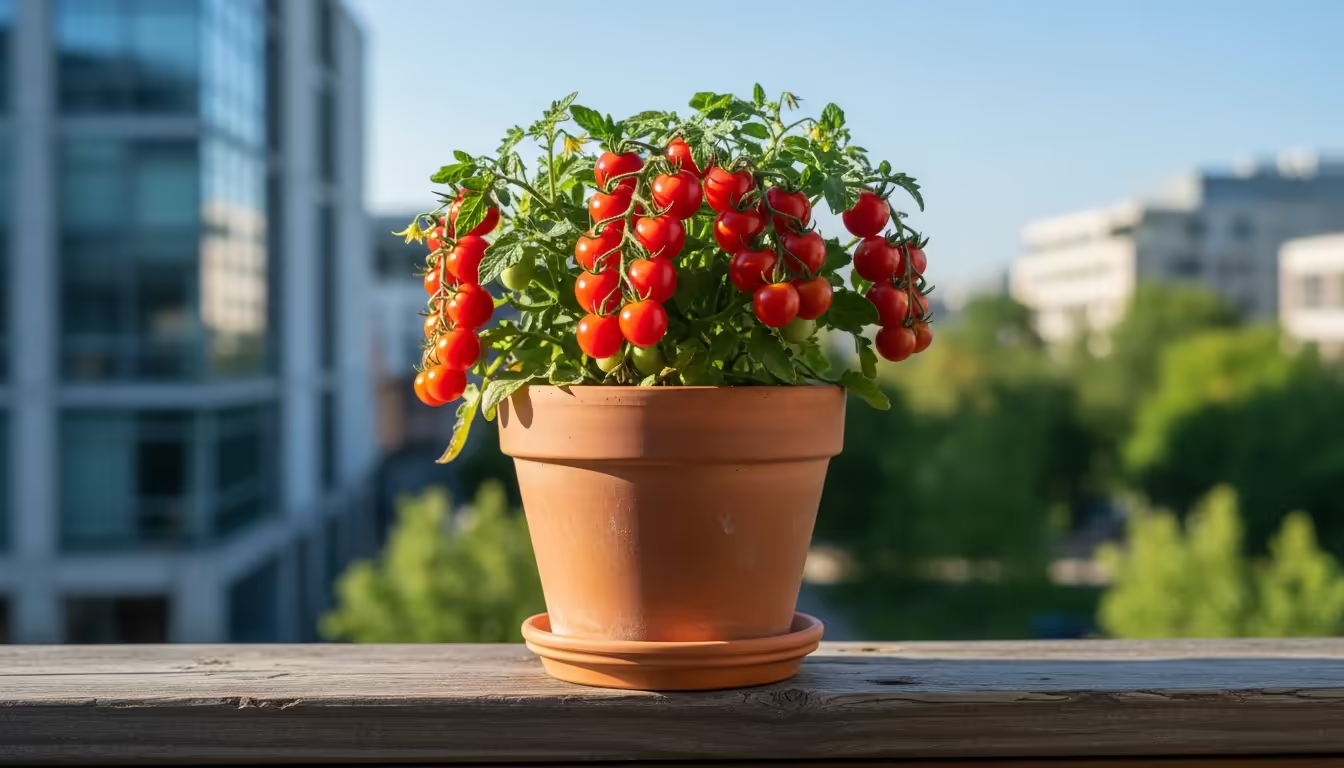
Micro-tomatoes are a game-changer for urban gardeners, apartment dwellers, and anyone with a compact living area. Unlike their sprawling cousins, these miniature plants remain compact, often reaching heights of only 6 to 12 inches. They specifically breed for small spaces, making them the ultimate container tomato. This inherent dwarf nature means you do not need vast garden beds; a sunny windowsill, a small corner of your balcony, or even a patio table provides ample room.
To maximize your harvest throughout the year, combining micro-tomatoes with a smart succession planting schedule ensures you never have an empty pot.
As the weather cools down, you can keep your balcony productive by transitioning to growing kale in a pot to enjoy fresh greens through the winter.
If you want another quick win for your small-space garden, you can also learn how to grow radishes in a pot in just 30 days.
Beyond tomatoes, there are many other highly productive vegetables to grow in pots that can maximize your small-space harvest.
The “one-gallon challenge” centers on the fact that these plants thrive in remarkably small containers. A one-gallon pot, which measures roughly 6-7 inches in diameter and depth, offers enough root space for a healthy plant to produce a surprisingly large harvest. You gain fresh, homegrown flavor without sacrificing precious space.
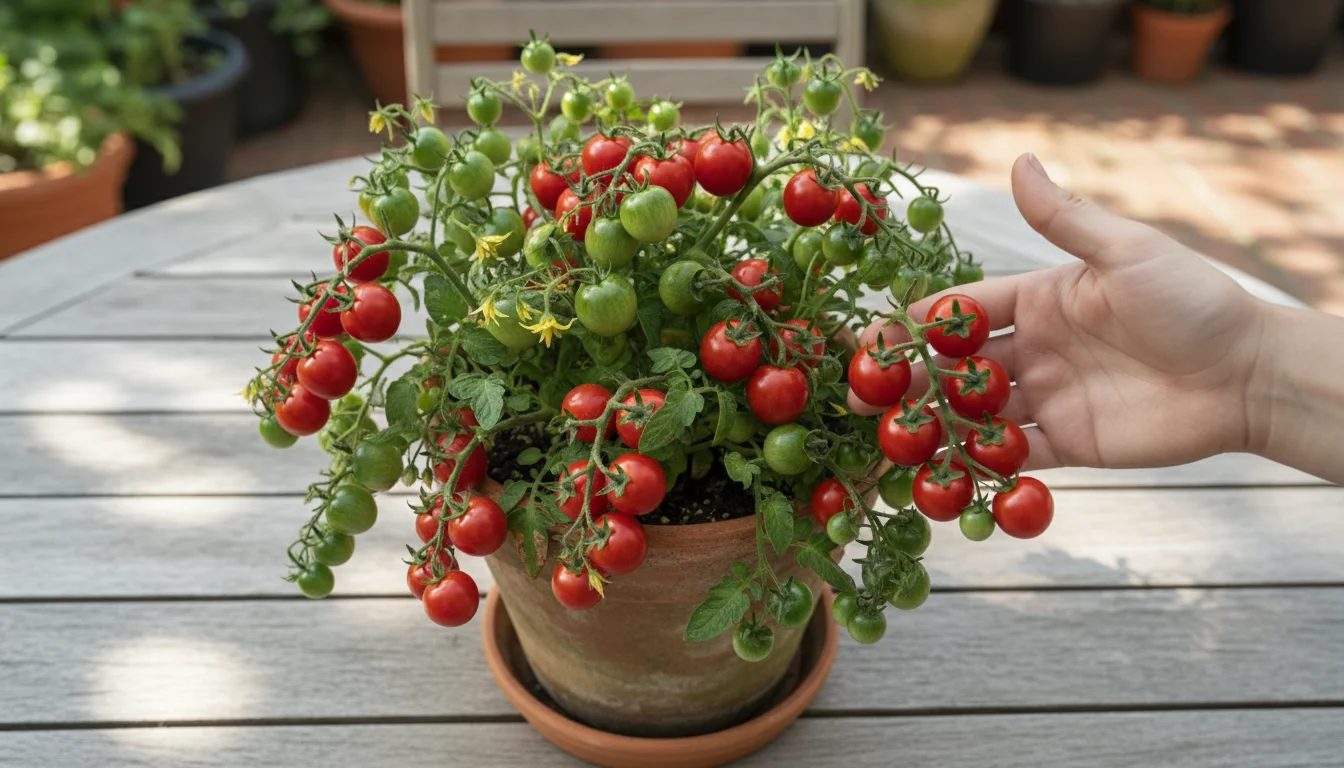
You might wonder about the yield from such a small plant. Do not underestimate these tiny powerhouses. A single well-cared-for micro-tomato plant can yield dozens, even hundreds, of pea-sized tomatoes over its growing season. For instance, varieties like ‘Micro Tom’ or ‘Tiny Tim’ are known for their prolific fruiting. You enjoy a continuous supply of sweet, juicy tomatoes for salads, snacks, or garnishes. You also learn valuable gardening skills with minimal commitment, building your confidence for future gardening endeavors.
Beyond the practical benefits, growing micro-tomatoes also contributes to a more sustainable lifestyle. You reduce your carbon footprint by minimizing transportation needs for produce. You also avoid pesticides and chemicals often found in commercially grown tomatoes, ensuring a healthier snack for your family. This small-scale gardening effort truly embodies the ethos of self-sufficiency and environmental mindfulness, even in the smallest of urban settings.
Choosing Your Micro-Tomato Superstars for Small Pots
Selecting the right micro-tomato variety is crucial for success in the one-gallon challenge. You need varieties specifically bred for compact growth, often labeled as “dwarf,” “patio,” or “micro.” These plants possess a determinate growth habit, meaning they grow to a certain size, produce their fruit, and then largely stop growing. This characteristic makes them perfect for container life, as they do not require extensive pruning or staking.
To complement your fresh crop, you can plant some fast-growing herbs in nearby containers for an instant patio kitchen garden.
If you enjoy cultivating pint-sized crops, you might also like to try growing dwarf fruit trees for patios and balconies to add some variety to your outdoor space.
Here are some top micro-tomato varieties ideal for growing tomatoes in small pots:
- Micro Tom: This is arguably the smallest tomato plant available, typically growing only 6-8 inches tall. It produces abundant crops of tiny, cherry-sized red fruits. It performs exceptionally well in a 1-gallon pot.
- Tiny Tim: A slightly larger dwarf variety, reaching 10-12 inches. It yields sweet, red cherry tomatoes in impressive numbers. ‘Tiny Tim’ also demonstrates good disease resistance, which benefits beginner gardeners.
- Yellow Balcony (Balcony Yellow): As its name suggests, this variety thrives on balconies. It produces bright yellow, flavorful cherry tomatoes on compact plants, usually around 12-18 inches tall.
- Patio Princess: While slightly larger than ‘Micro Tom,’ ‘Patio Princess’ tomato care is still straightforward for container growing. It reaches about 18-24 inches and offers a consistent harvest of red cherry tomatoes. It requires a 1-gallon pot or slightly larger, but its productivity justifies the space.
- Red Robin: Another excellent micro-dwarf, staying under 12 inches. It provides sweet, juicy red cherry tomatoes early in the season.
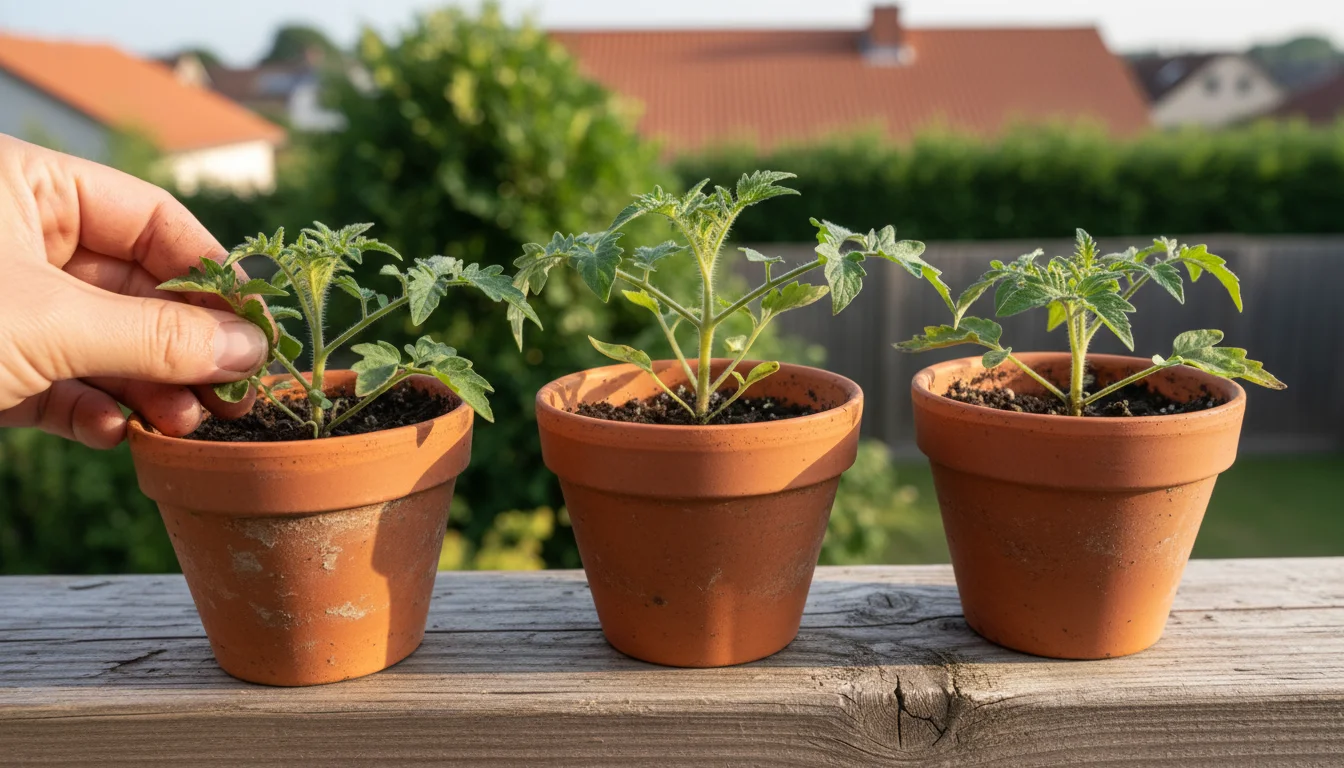
When you acquire your plants, you can start from seed or purchase young seedlings. Starting from seed offers a wider selection of varieties and costs less, but requires more time and controlled conditions. If you choose seeds, plant them indoors 6-8 weeks before your last expected frost date. Use seed-starting mix in small trays or biodegradable pots. Keep the soil consistently moist and provide plenty of light, either from a sunny window or under grow lights. Once seedlings develop two sets of true leaves, you can transplant them into slightly larger containers before their final home in the one-gallon pot.
Purchasing seedlings provides an immediate head start. Look for healthy, compact plants without yellowing leaves or signs of pests. Avoid leggy or overgrown plants, as they often struggle to establish themselves. Ensure the nursery uses good potting practices, so the transition to your 1-gallon pot is smooth for the plant.
Your One-Gallon Grow Kit: Essential Supplies for Success
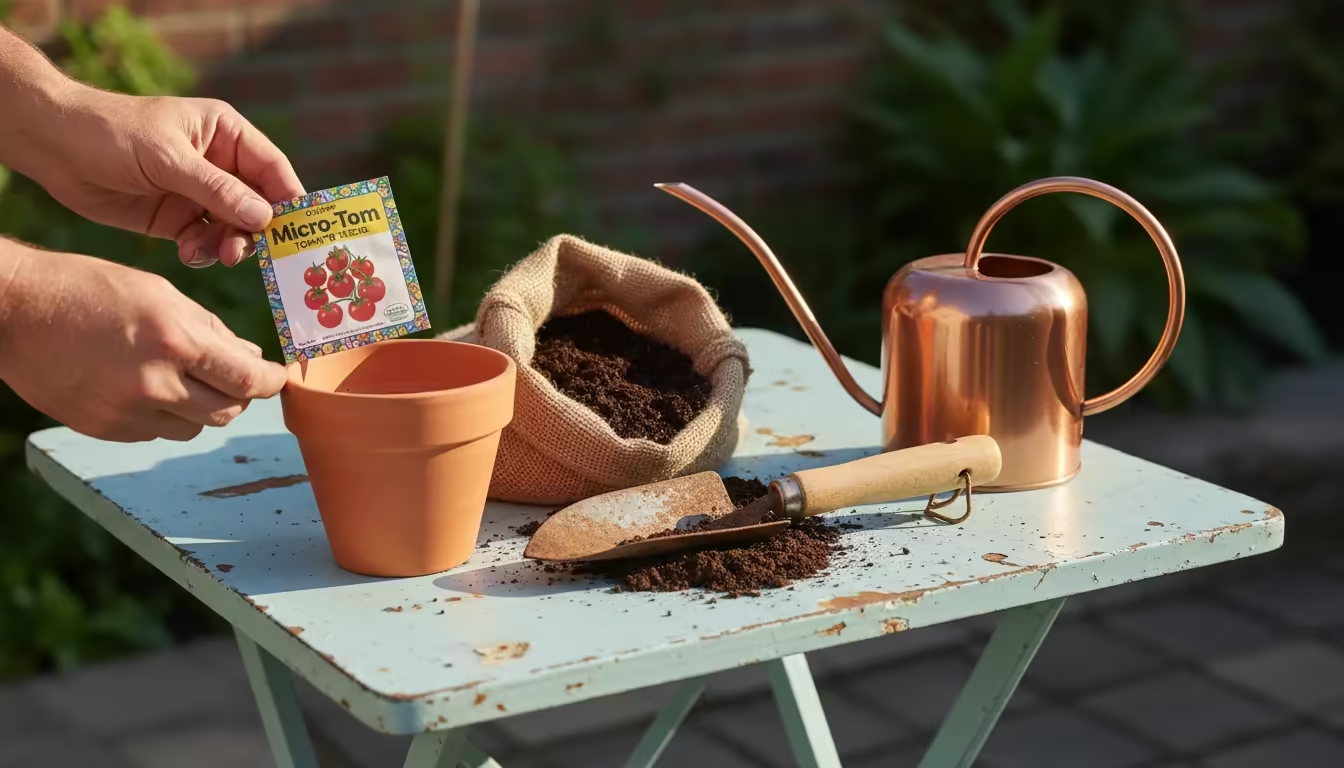
Setting up your micro-tomato growing station requires a few key items. Gathering these before you start ensures a smooth process and provides your plant with the best chance to thrive.
Gathering your materials doesn’t have to be expensive, and you can save money by using clever DIY garden tool hacks using everyday household items.
1. The Container
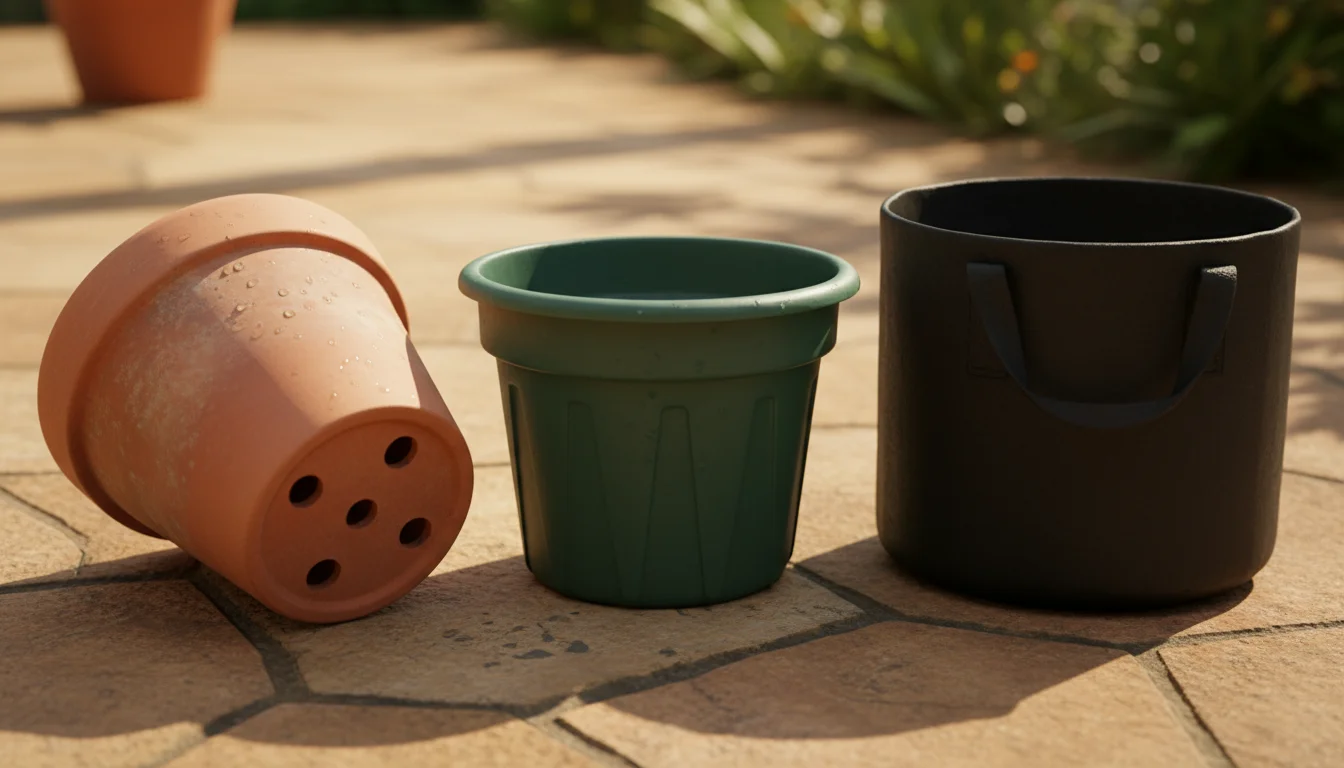
Your pot selection impacts plant health directly. Choose a one-gallon pot made from plastic, terracotta, or fabric. Plastic pots retain moisture well, ideal for hot climates. Terracotta pots offer excellent aeration, but dry out faster. Fabric grow bags provide superior drainage and aeration, promoting robust root growth and preventing root circling. Regardless of material, ensure your pot has adequate drainage holes at the bottom. Without proper drainage, water collects, suffocating roots and leading to root rot. If your chosen pot lacks holes, you must drill several yourself.
2. Quality Potting Mix
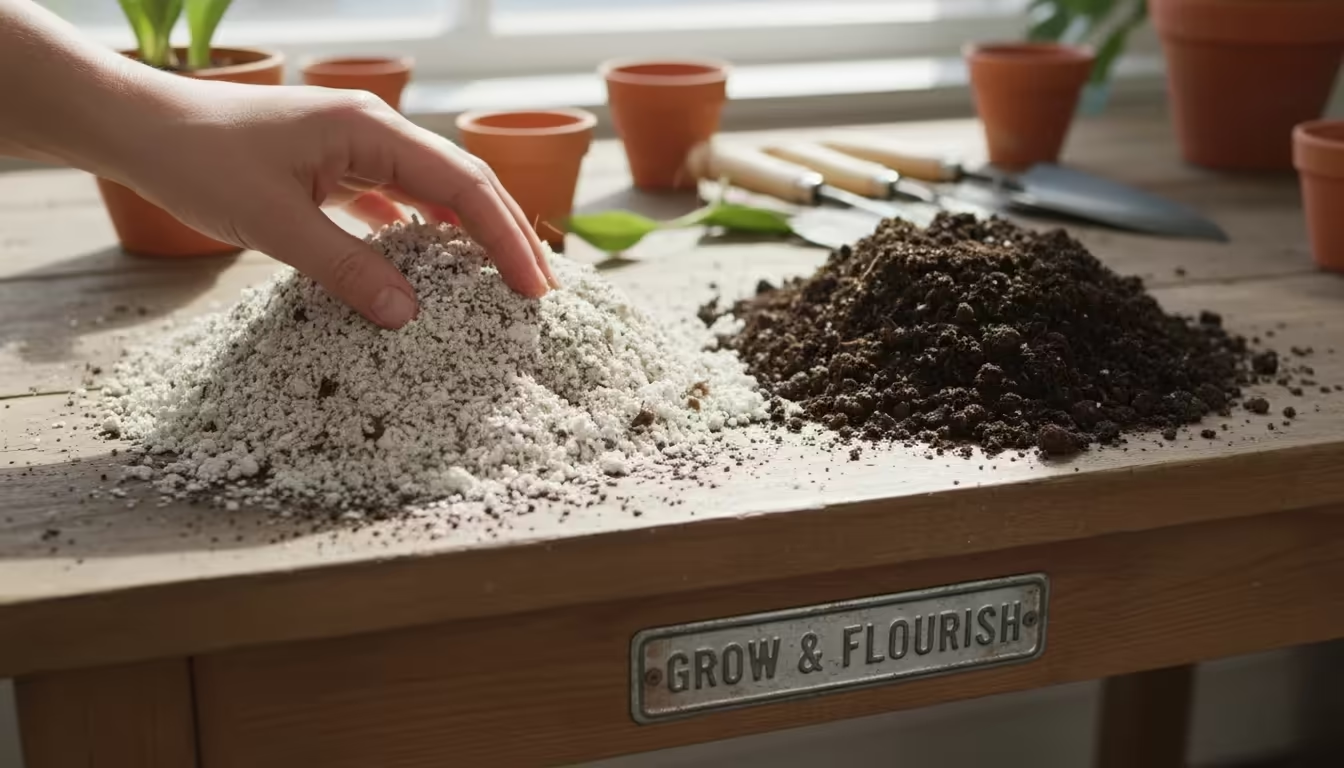
Do not use garden soil from your yard. Garden soil compacts in containers, restricting root growth and preventing adequate drainage. Instead, invest in a high-quality, lightweight potting mix specifically formulated for containers. These mixes contain ingredients like peat moss, coco coir, perlite, and vermiculite, which provide good aeration, retain moisture, and allow for proper drainage. A good potting mix is the foundation for healthy roots and a productive plant.
To feed your plants naturally, you can also practice composting in small spaces to generate your own rich organic matter.
3. Fertilizer
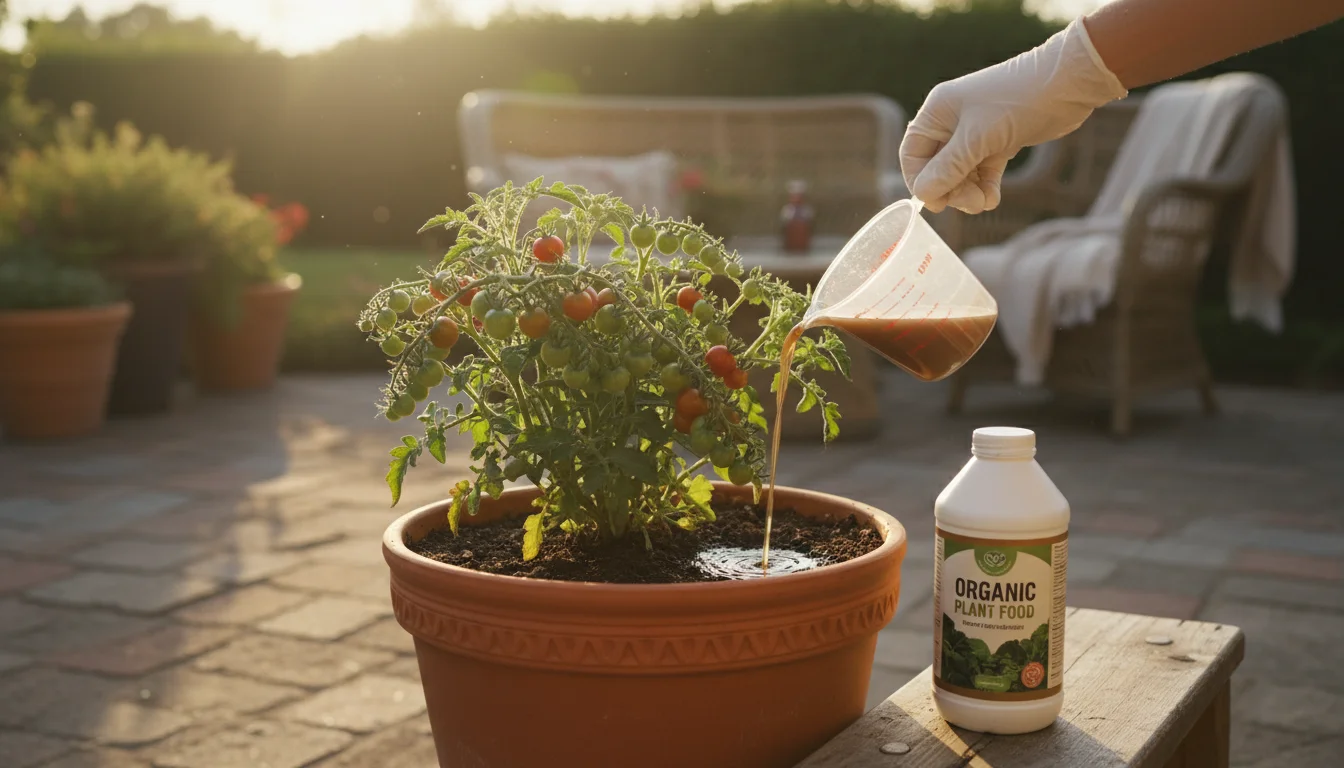
Container plants rely entirely on you for nutrients. A slow-release granular fertilizer mixed into the potting soil at planting provides initial nourishment. Alternatively, use a liquid fertilizer, such as a balanced 5-10-5 or 10-10-10 formulation, applied every 2-4 weeks. Look for organic options if you prefer. Consider a fertilizer with a slightly higher potassium content once fruit production begins, as potassium supports fruiting.
4. Watering Can or Sprayer
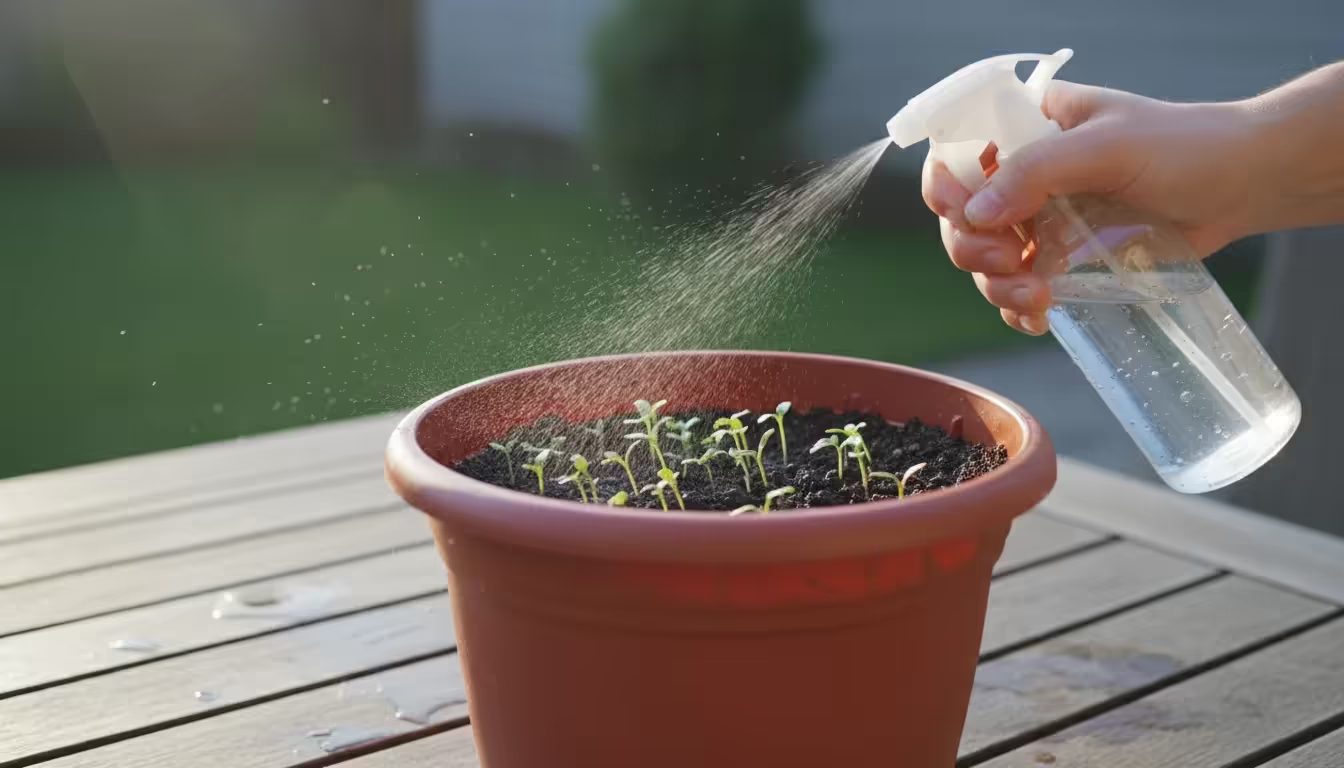
Consistent watering is vital. A small watering can with a fine rose attachment delivers water gently, preventing soil erosion and damage to delicate seedlings. For larger plants, a simple watering can works perfectly. For very small seedlings, a spray bottle on a mist setting works well to keep the topsoil moist without disturbing the tiny plants.
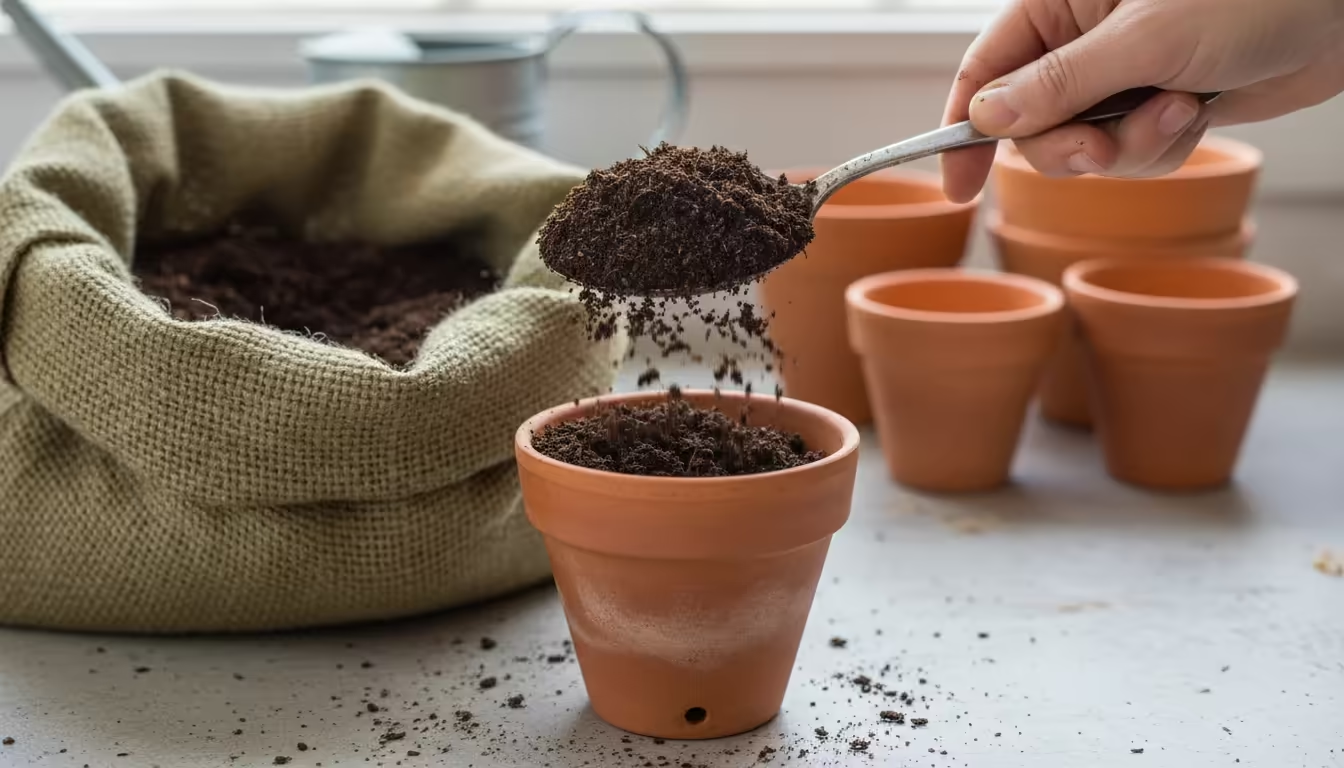
5. Small Trowel or Scoop
A hand trowel helps you scoop potting mix and create planting holes. For small pots, a sturdy kitchen spoon can even suffice.
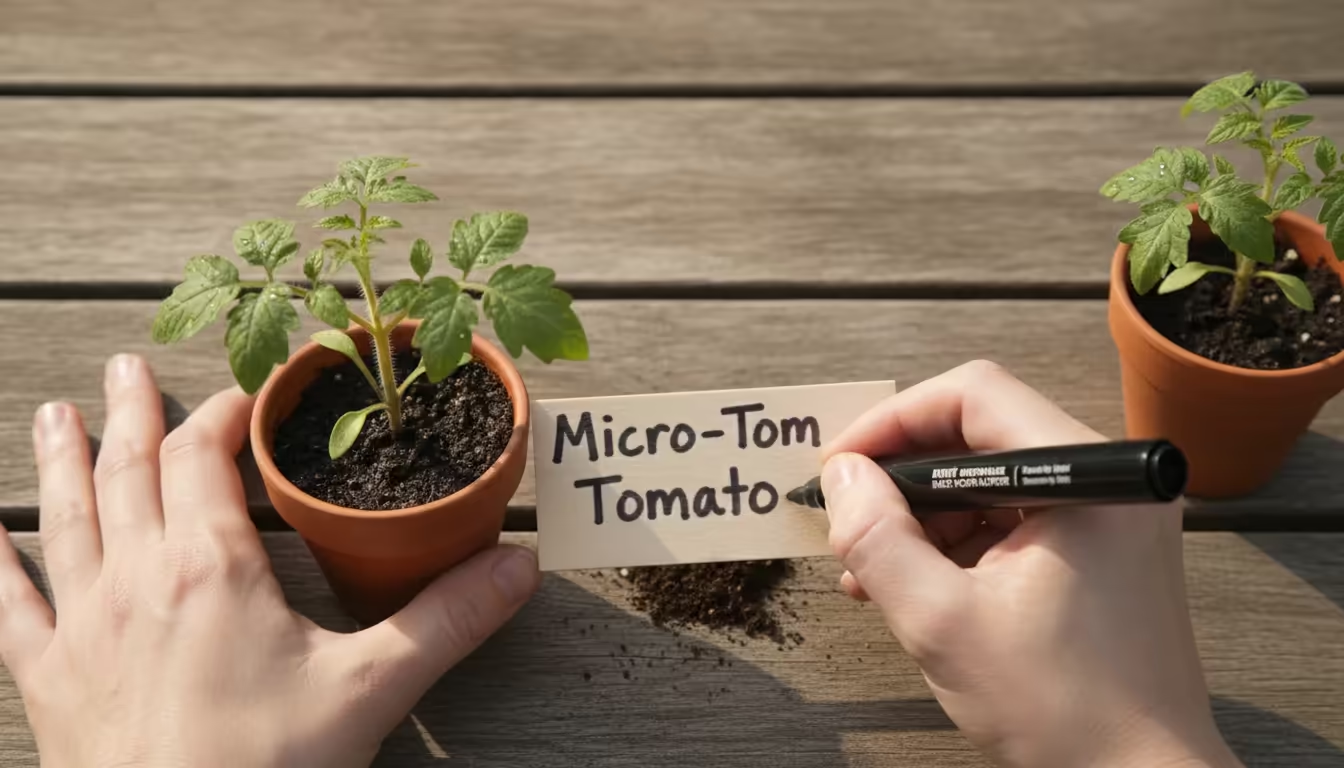
6. Plant Labels (Optional, but Recommended)
If you grow multiple varieties, labels help you keep track of which plant is which. Use waterproof markers to avoid fading.
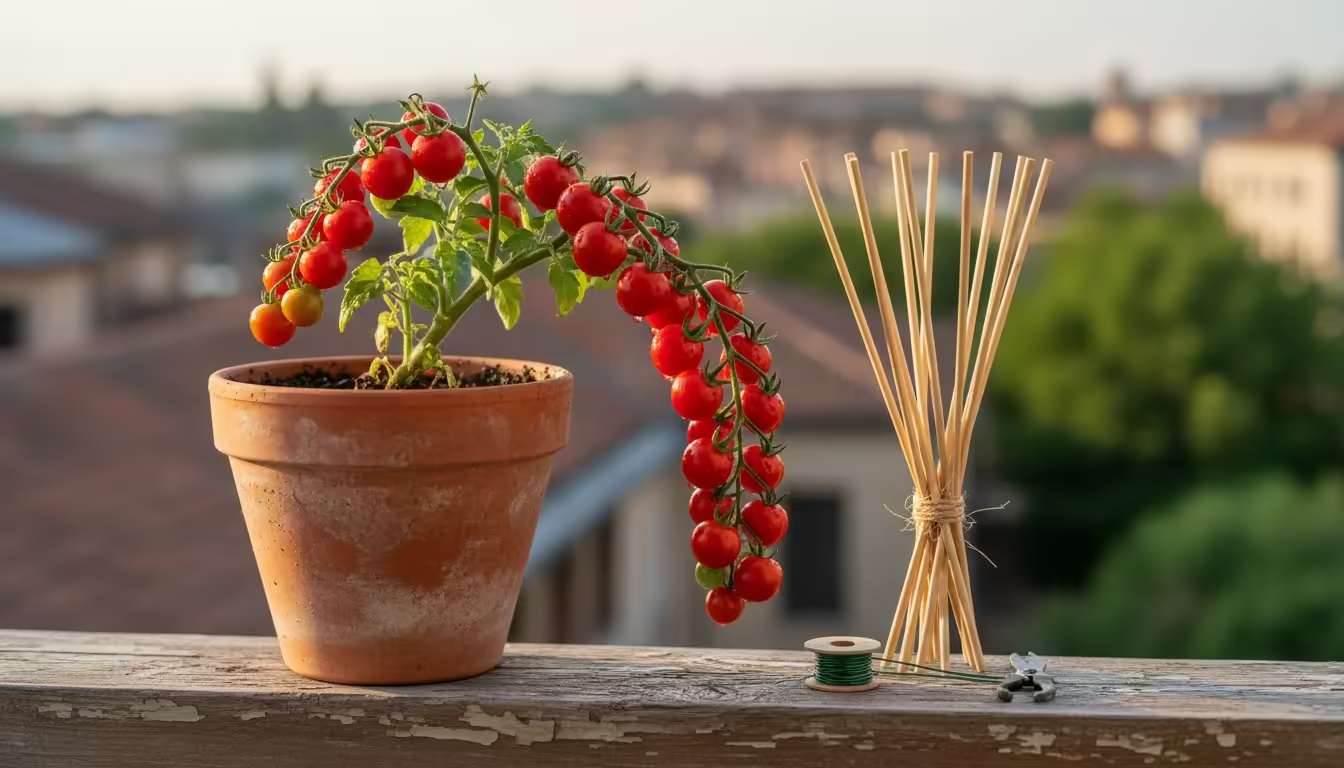
7. Support (Optional, for some varieties)
While most micro tomatoes remain self-supporting, some slightly larger dwarf varieties might benefit from a small stake or a mini tomato cage. This prevents fruit-laden branches from bending or breaking. A bamboo skewer or a small wire support pushed into the soil generally suffices.
Having these supplies ready before you begin your planting process streamlines the entire experience and sets you up for success in your micro tomatoes journey.
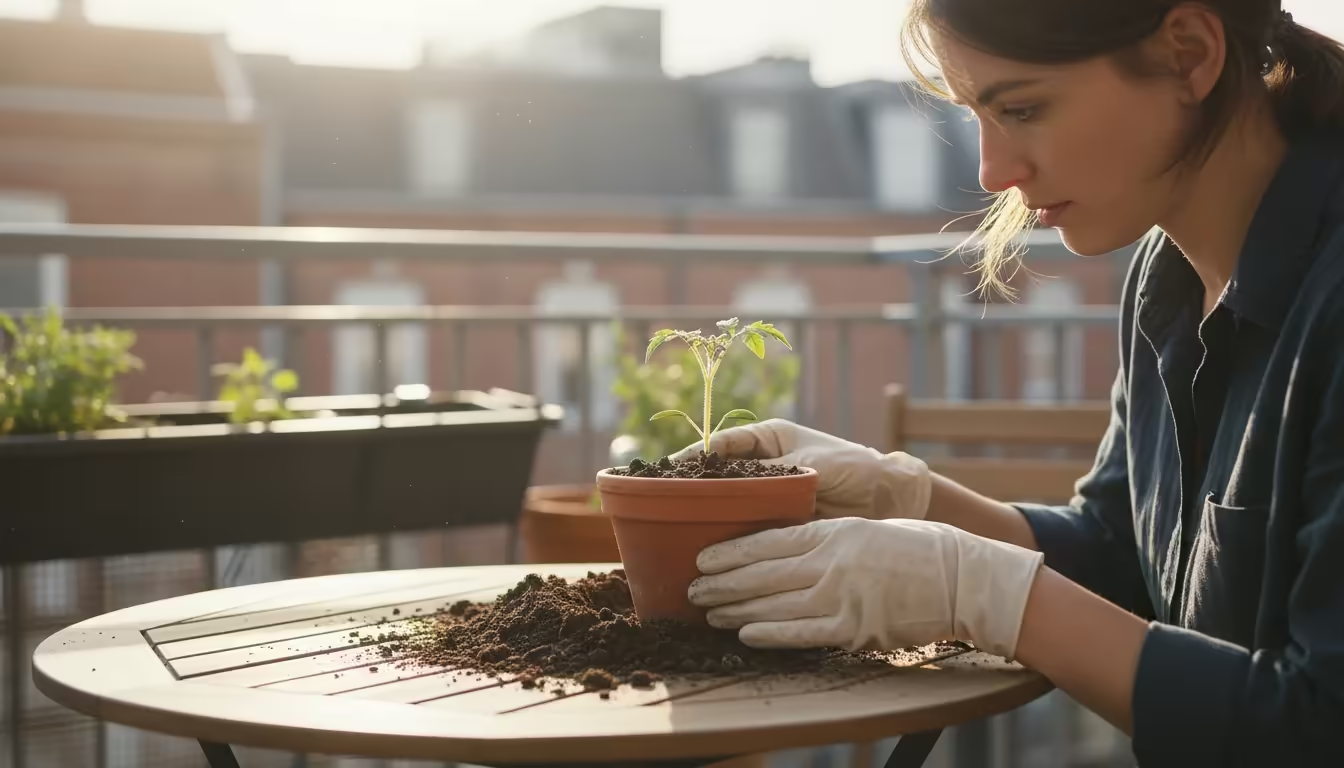
Planting for Success: A Step-by-Step Guide
You have your supplies and your chosen micro-tomato variety. Now, let us get your plant into its new home. Follow these steps carefully to give your micro-tomato the best start.
Once your plants start producing, you’ll want to ensure every single fruit matures, so keep a guide on ripening your tomato harvest indoors handy for late-season success.
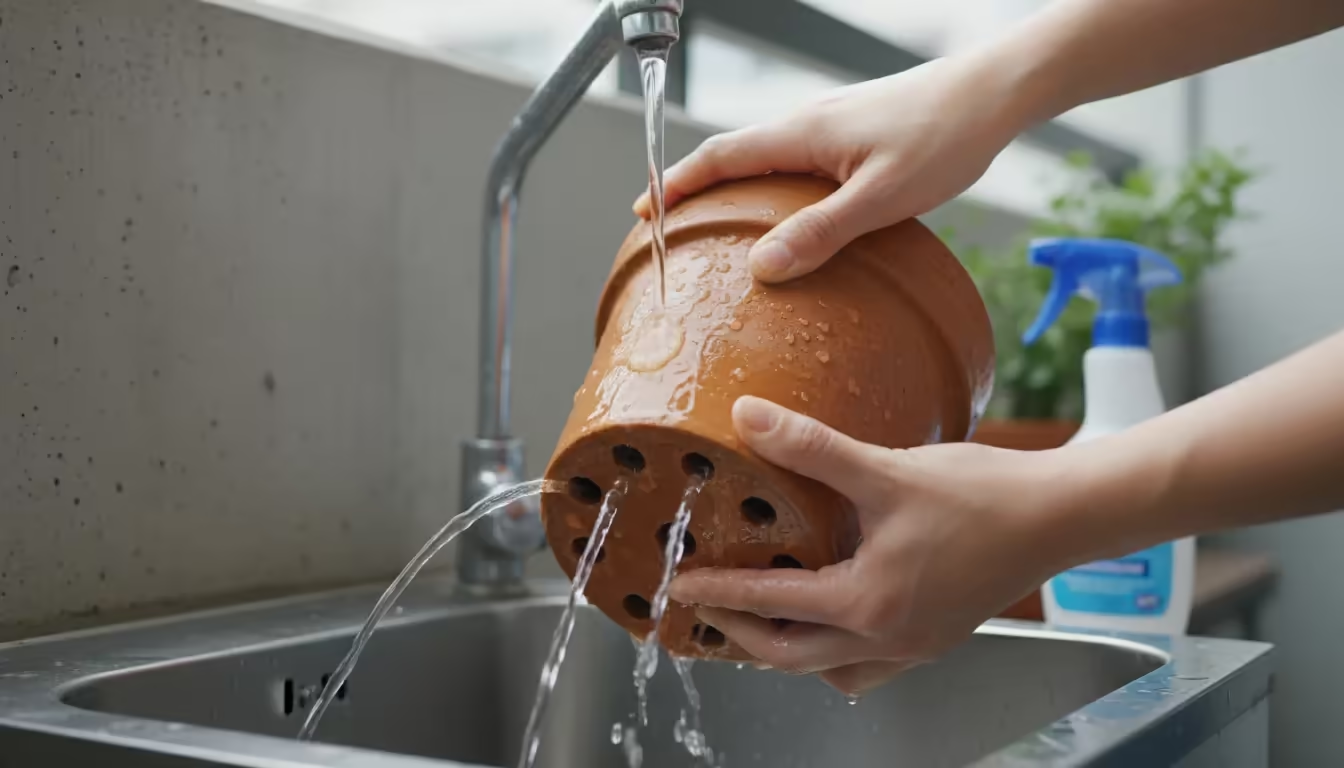
Step 1: Prepare Your Pot
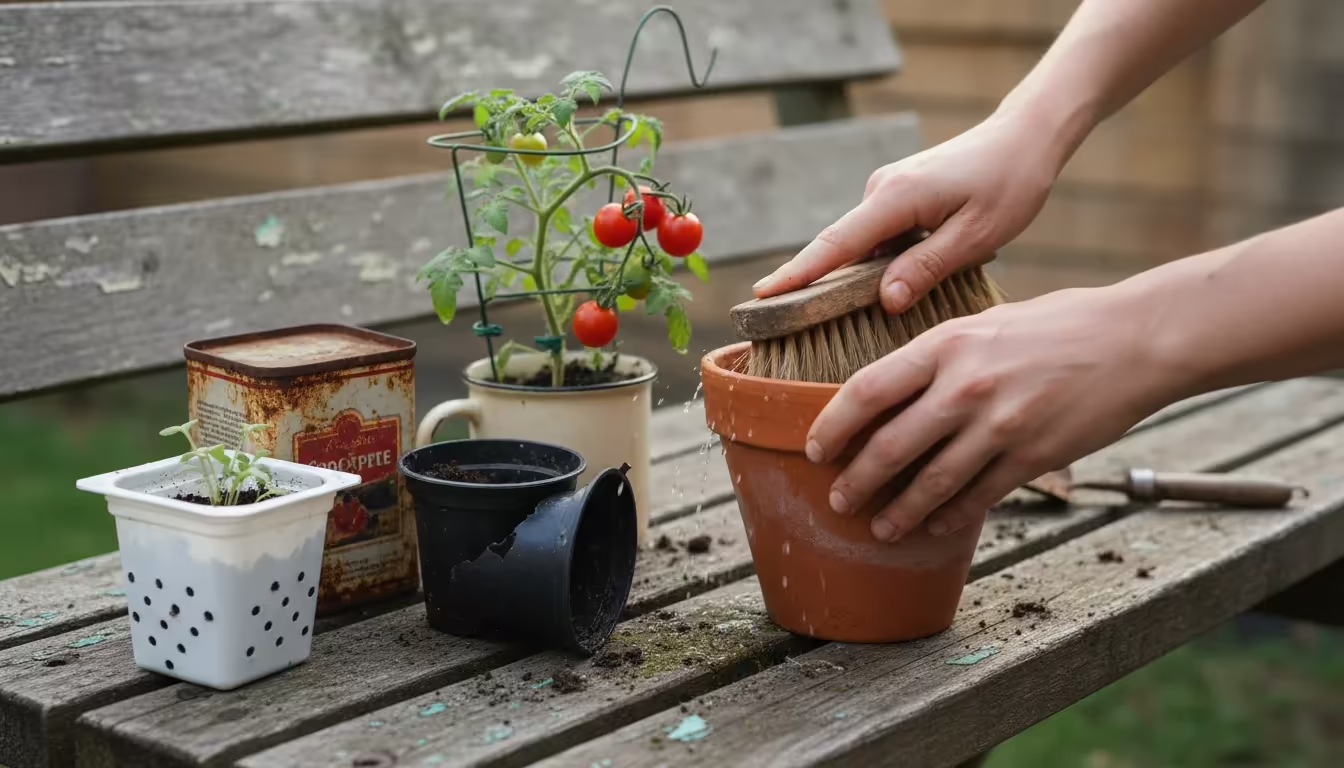
Ensure your one-gallon pot is clean and has ample drainage holes. If you are reusing a pot, wash it thoroughly with soap and water, then rinse it with a diluted bleach solution (one part bleach to nine parts water) to sterilize it. This prevents the spread of diseases from previous plants. Rinse again thoroughly with plain water.
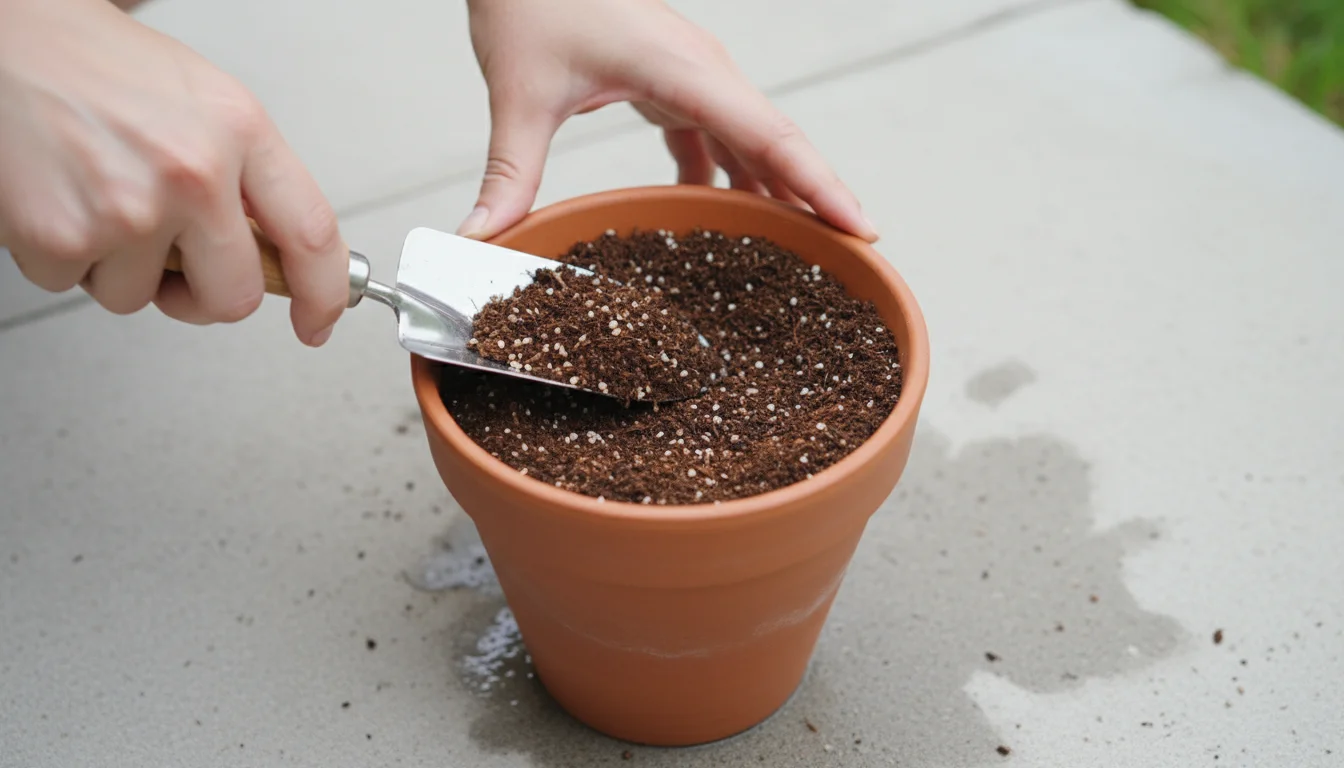
Step 2: Fill with Potting Mix
Fill your pot nearly to the brim with your quality potting mix. Leave about an inch of space from the top rim. If using a slow-release granular fertilizer, mix it into the top few inches of soil now, following the product’s instructions for container plants. Gently pat the soil down, but do not compact it too much. You want the soil to be light and airy for good root development.
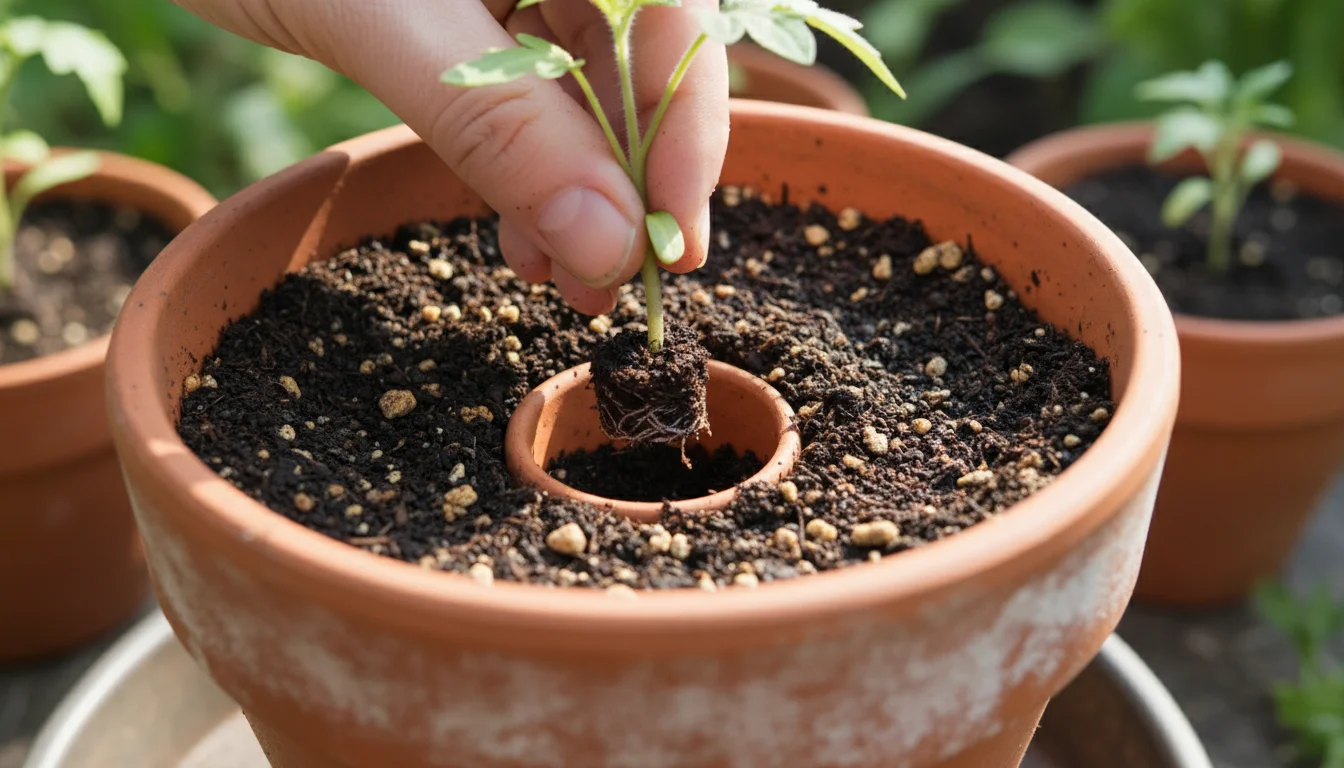
Step 3: Create a Planting Hole
Using your trowel or scoop, dig a hole in the center of the potting mix. The hole should be slightly wider and deeper than the root ball of your tomato seedling. For seedlings, you can plant tomatoes deeper than they grew in their nursery pot. Tomato stems produce roots along their length when buried, leading to a stronger root system. Bury a good portion of the stem, removing any leaves that would fall below the soil line.
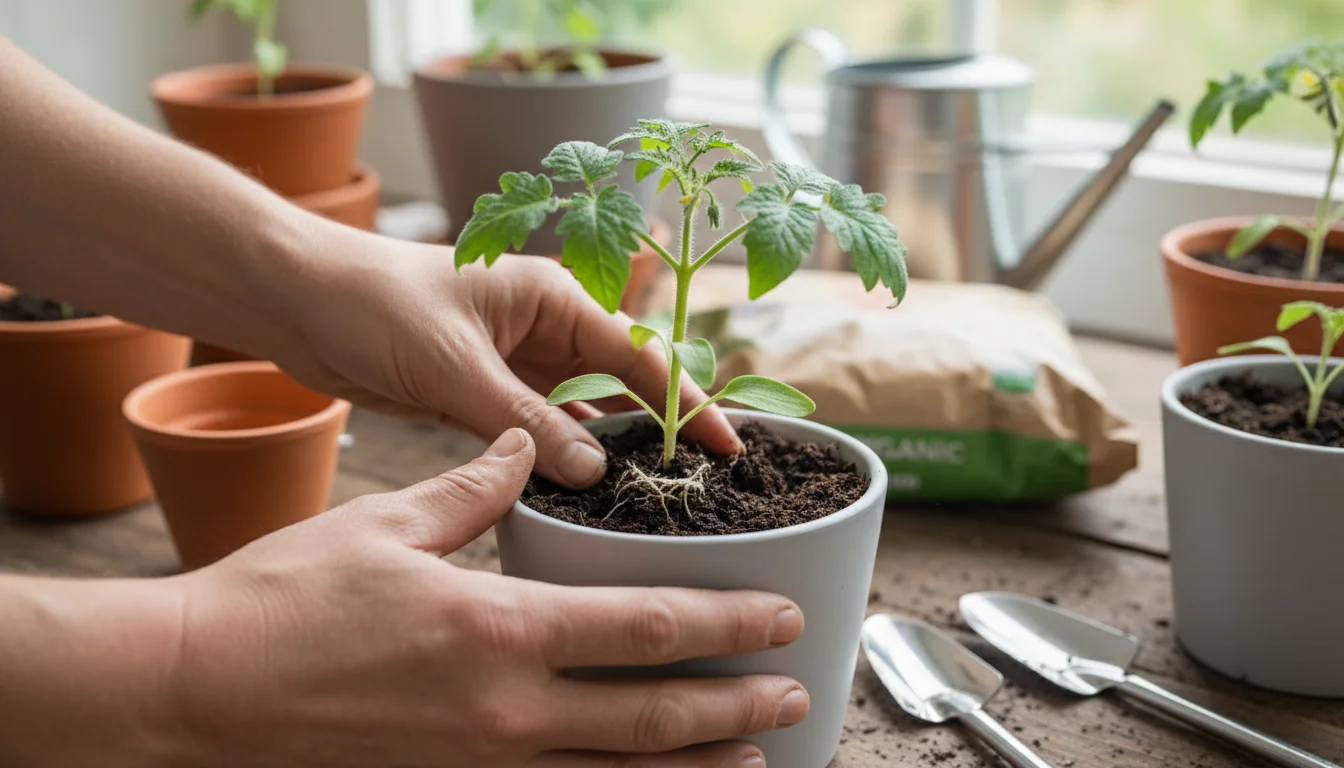
Step 4: Plant Your Micro-Tomato
Carefully remove your micro-tomato seedling from its nursery pot. Gently squeeze the sides of the nursery pot and invert it, supporting the plant with your other hand. Avoid pulling the plant by its stem. If the roots are circling tightly at the bottom, gently loosen them with your fingers to encourage outward growth. Place the seedling into the prepared hole. Ensure the plant stands upright and the top of the root ball is slightly below the pot’s rim. Fill around the root ball with more potting mix, gently firming it to remove large air pockets.
Step 5: Water Thoroughly
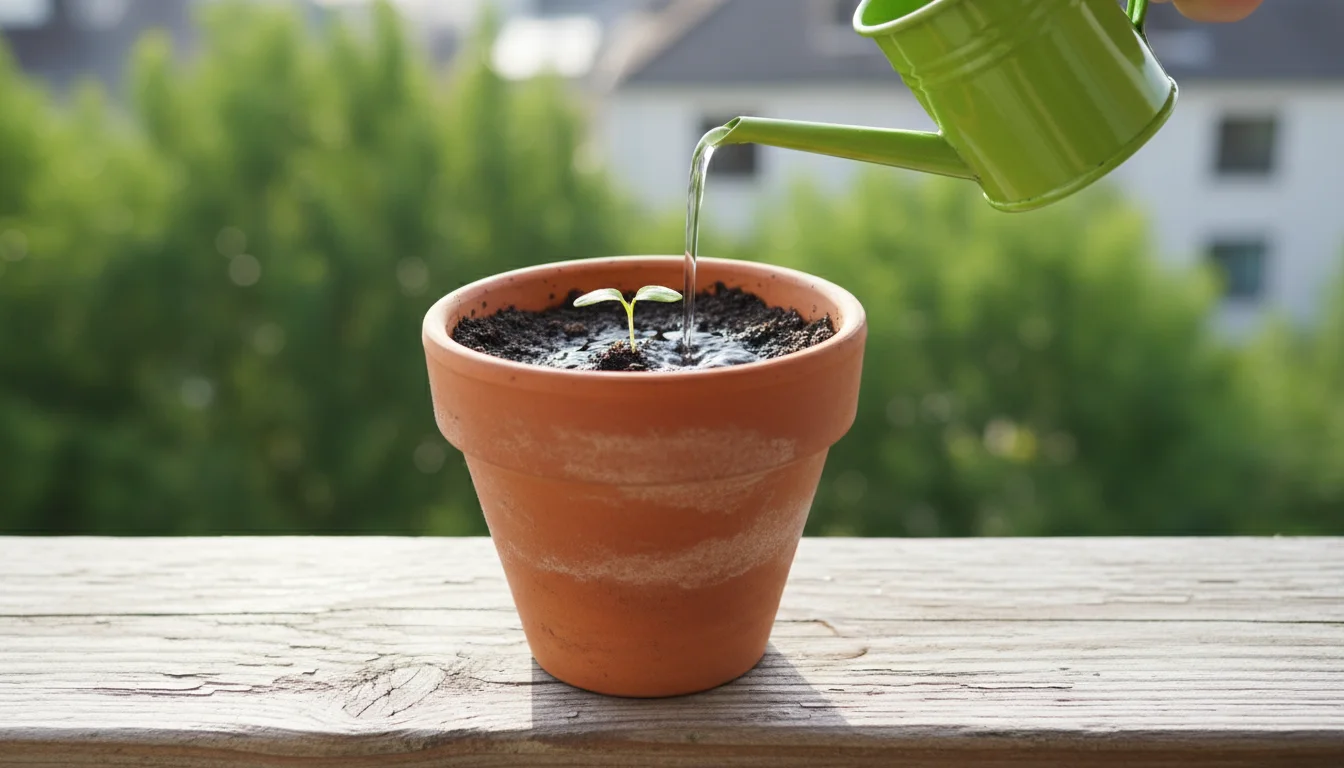
Immediately after planting, water your tomato thoroughly. Water slowly until you see water draining from the bottom of the pot. This settles the soil around the roots and eliminates any remaining air pockets. This first watering is crucial for reducing transplant shock and helping the plant adjust to its new environment.
Step 6: Provide Initial Light and Support
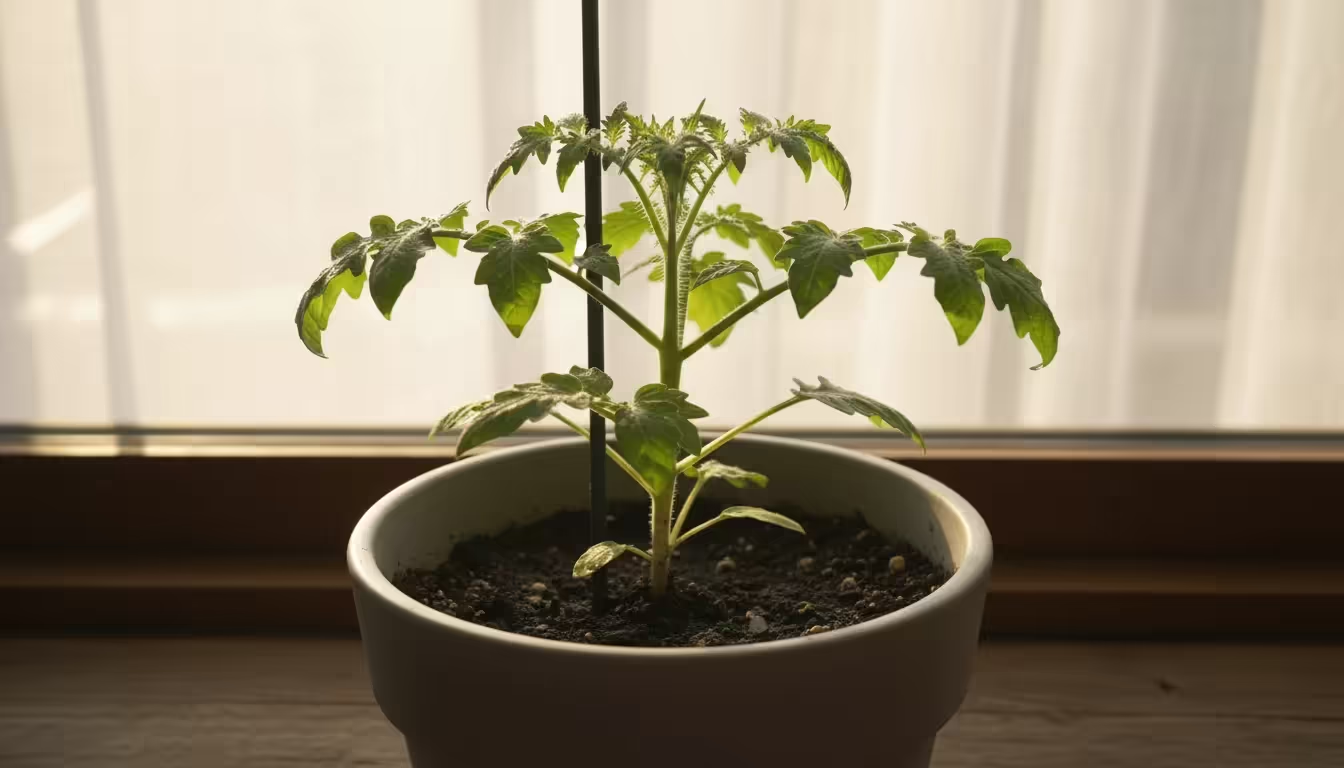
Place your newly potted micro-tomato in a location that receives full sun, meaning at least 6-8 hours of direct sunlight per day. Micro tomatoes, like all tomatoes, are sun-loving plants. If your chosen variety might benefit from support, insert a small stake or cage now, being careful not to damage the roots. This provides stability as the plant establishes itself and begins to produce fruit.
You have successfully completed the planting process. Your micro-tomato plant is now ready to grow and produce! Observing its growth over the next few days will confirm it has settled well.
Daily Care: Nurturing Your Tiny Tomato Plants
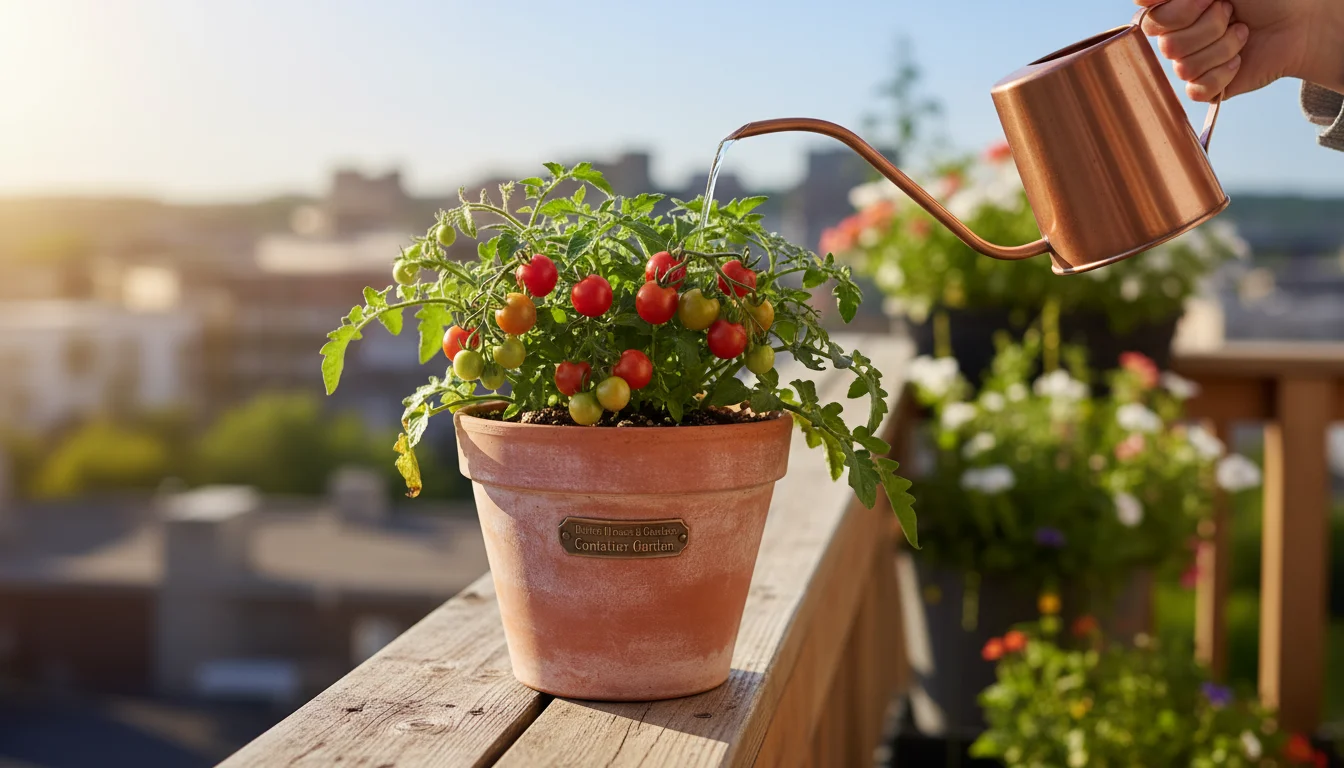
Consistent, attentive care ensures your micro-tomatoes thrive and provide a continuous harvest. While they are low-maintenance, they still require your thoughtful attention.
Watering: The Foundation of Growth
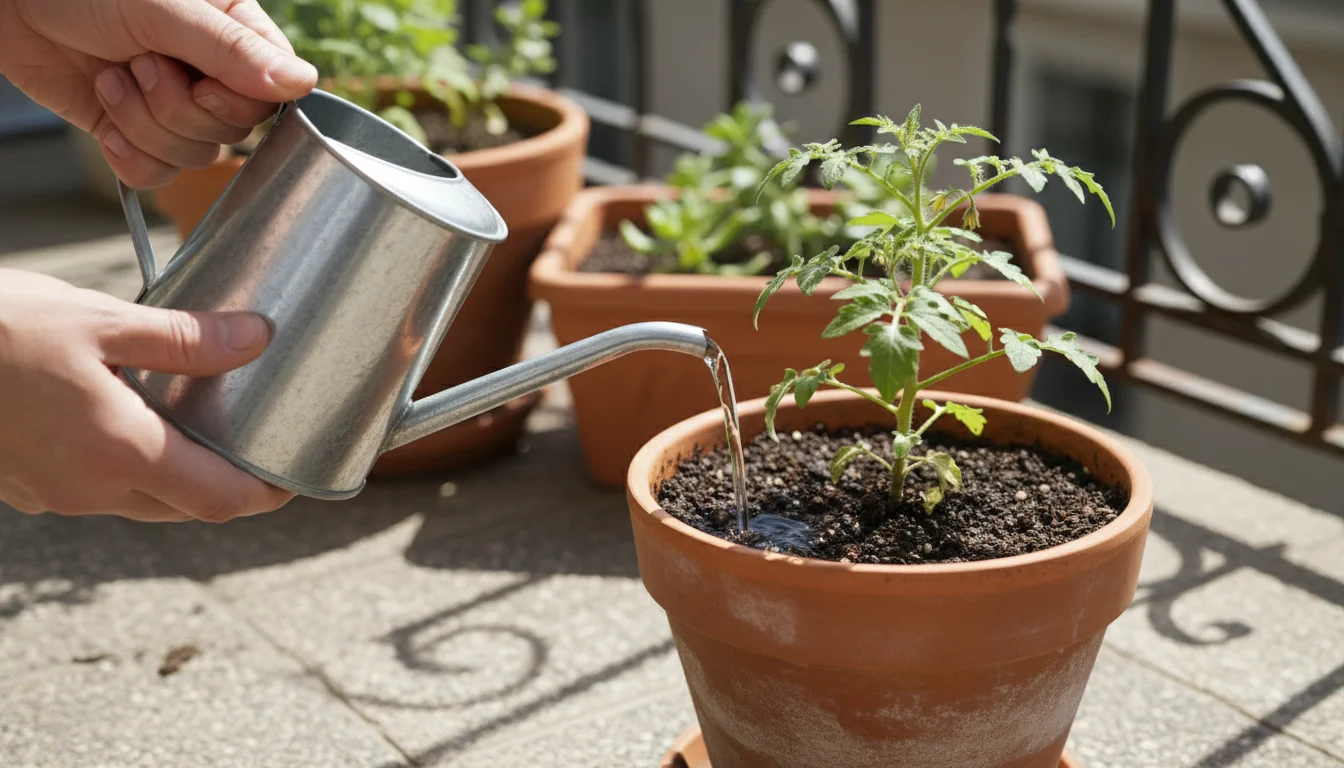
Watering is arguably the most critical aspect of container tomato care. Container plants dry out much faster than garden plants. You must check your soil moisture daily, especially during hot, sunny weather. Stick your finger about an inch or two into the soil. If it feels dry, it is time to water. Water thoroughly until water drains from the bottom of the pot. Avoid shallow watering, which encourages shallow root growth. Also, avoid overhead watering, which can spread fungal diseases; instead, direct water to the soil surface. Consistent moisture prevents blossom end rot, a common issue in tomatoes caused by fluctuating water levels and calcium uptake issues. On average, you might water every day or every other day during peak summer. In cooler weather or after heavy rain, you might water less frequently.
Sunlight: Powering Your Production
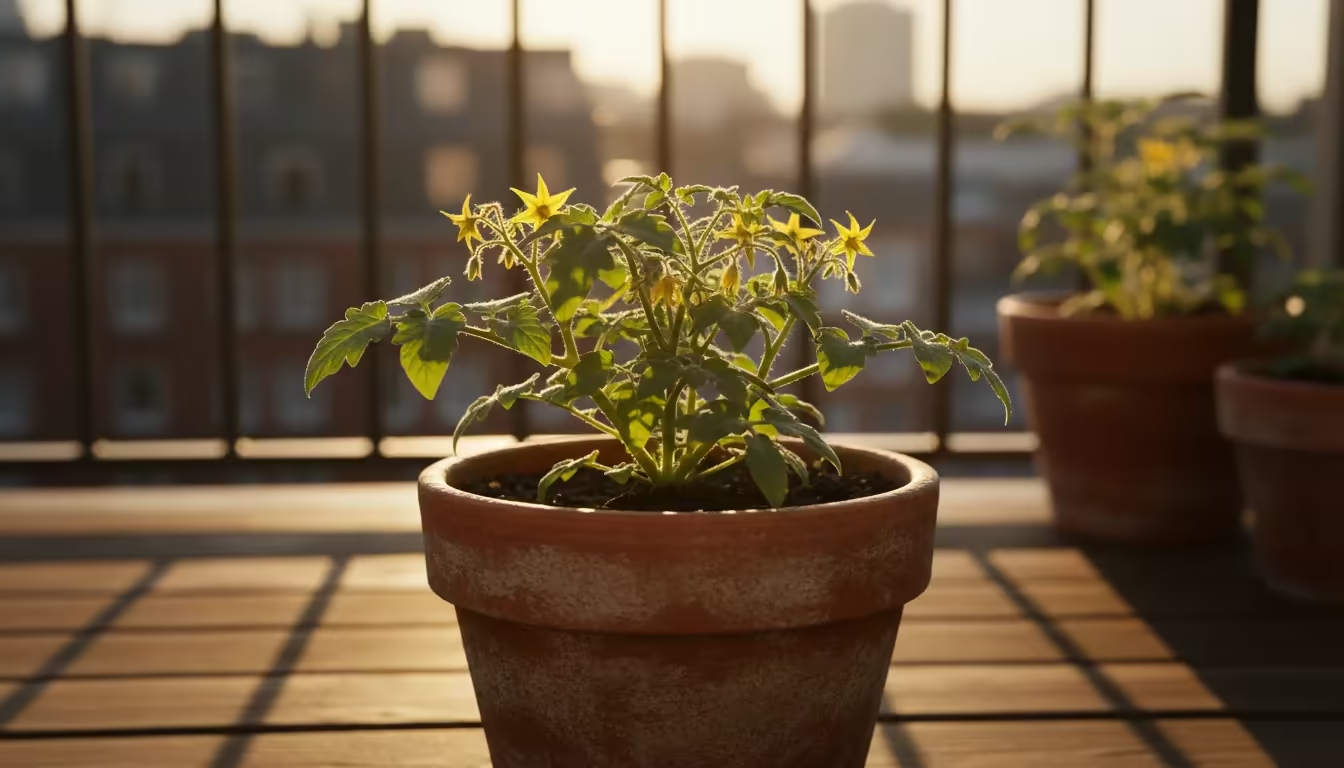
Micro-tomatoes demand full sun. This means at least 6-8 hours of direct sunlight daily. Less sun results in leggy plants, fewer flowers, and reduced fruit production. Place your pot in the sunniest spot available on your balcony, patio, or windowsill. If you notice your plant stretching significantly towards a light source, it indicates insufficient light.
Feeding: Fueling Your Harvest
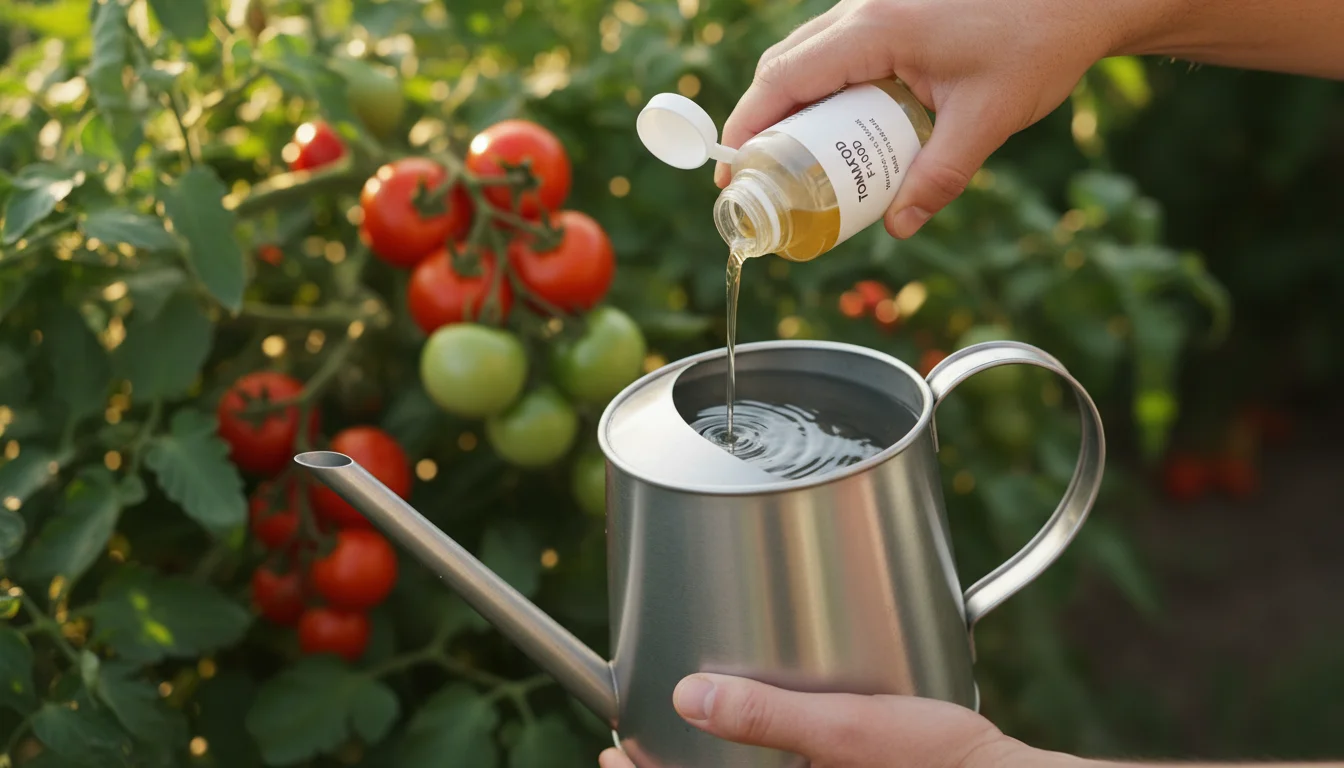
As mentioned, container plants rely on you for nutrients. If you used a slow-release fertilizer at planting, you might not need to fertilize for the first few weeks or even months. Monitor your plant for signs of nutrient deficiency, such as yellowing leaves. For liquid feeding, start fertilizing about 2-3 weeks after planting. Use a balanced liquid fertilizer (like a 5-1-1 or 5-10-5) every 2-4 weeks. As your plant begins to flower and set fruit, switch to a fertilizer with slightly higher potassium (K) to support fruit development. Always follow the product label for dilution rates and application frequency. Over-fertilizing can damage roots, so more is not always better.

Pest Monitoring: Early Detection is Key
Regularly inspect your plant for signs of pests. Common tomato pests include aphids, whiteflies, and spider mites. Turn over leaves to check their undersides. If you spot pests, address them immediately. A strong spray of water dislodges many pests. For more persistent infestations, use an insecticidal soap or neem oil spray, ensuring it is safe for edible plants and following the instructions. Early detection prevents minor issues from becoming major problems.
Support (If Needed): Keeping Branches Strong
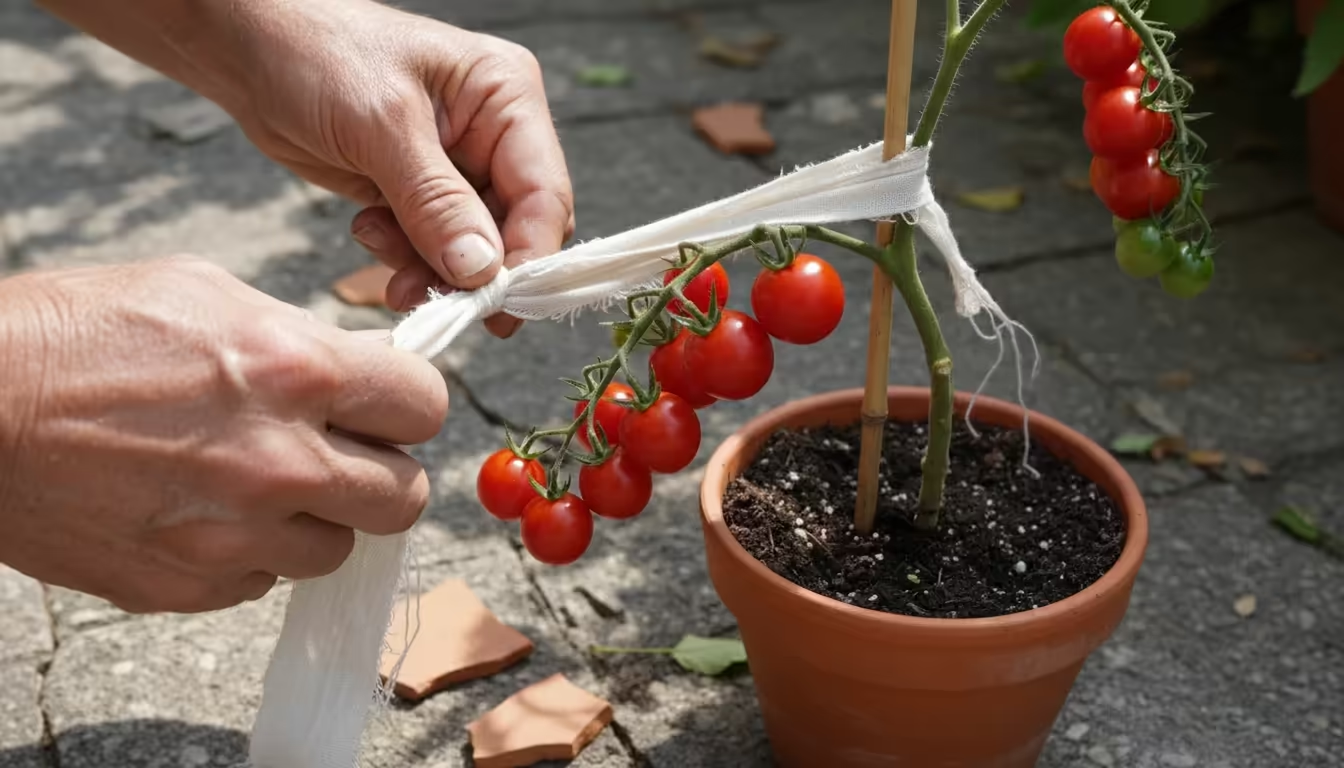
Even though micro tomatoes are compact, heavy fruit loads can sometimes weigh down branches. If your plant appears strained, gently tie any heavily laden branches to your small stake or mini cage using soft plant ties or strips of old cloth. This prevents breakage and keeps fruits off the soil, reducing the risk of disease.
By consistently applying these daily care practices, you ensure your micro-tomato plant remains healthy, vigorous, and highly productive, rewarding you with an abundance of delicious fruit.
Harvesting Your Micro Bounty and Beyond
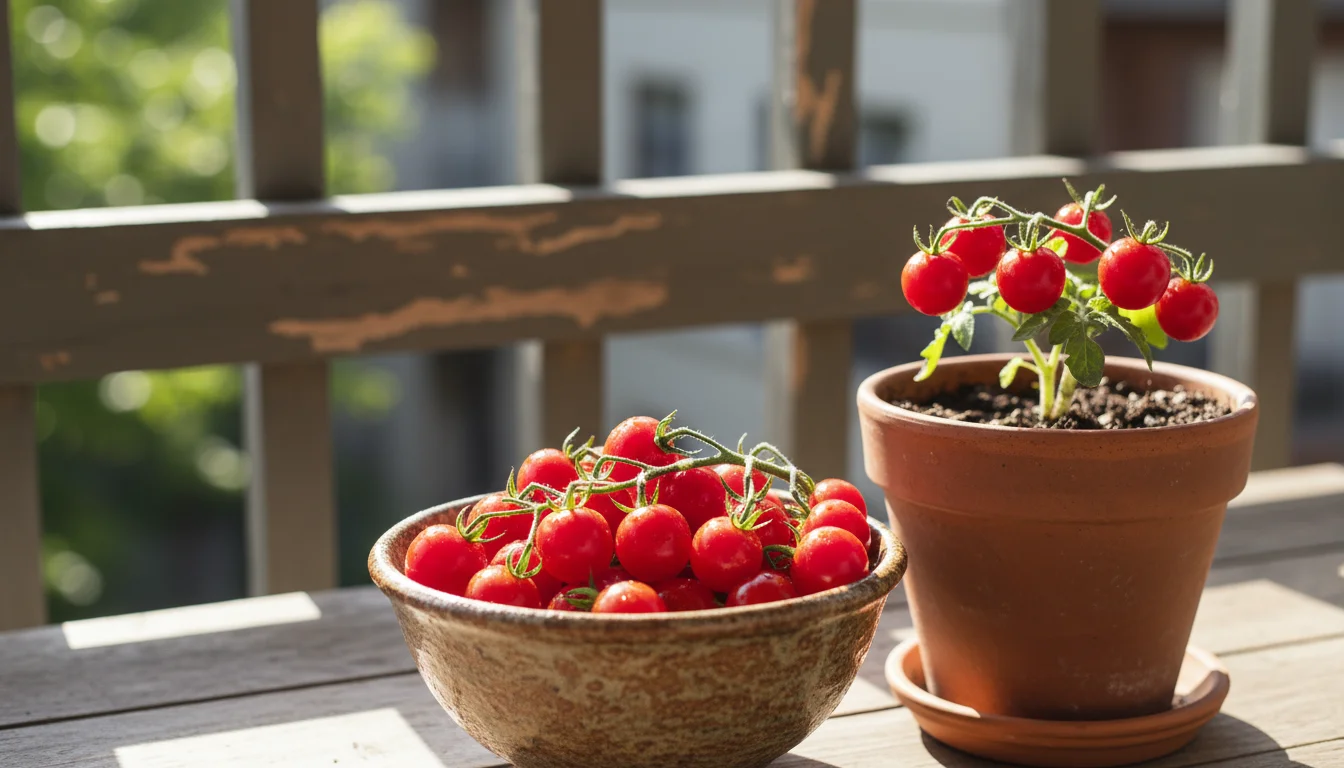
The moment you have waited for arrives: harvesting your homegrown micro-tomatoes. This is where your efforts truly pay off, and you enjoy the fresh, vibrant taste that only homegrown produce offers.
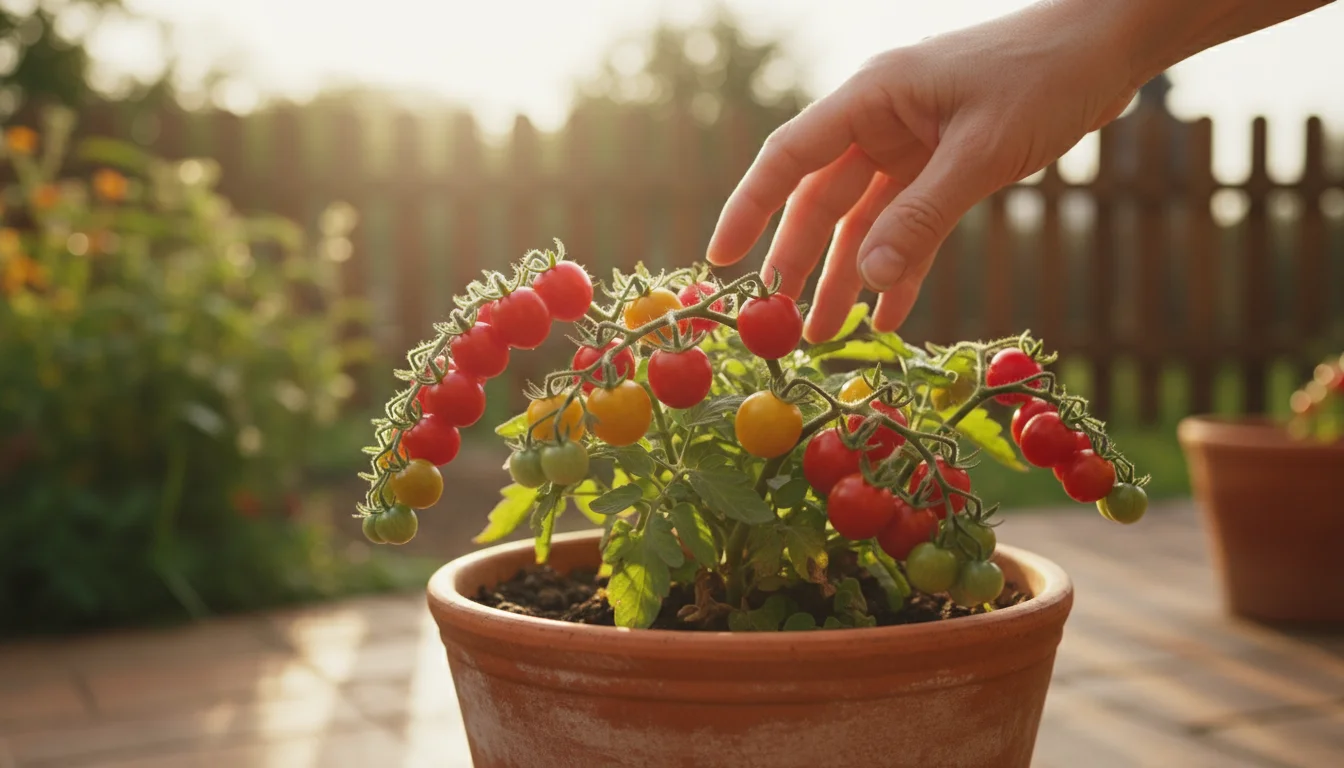
When to Harvest
Micro-tomatoes are ready for harvest when they achieve their full color, whether that is bright red, vibrant yellow, or deep orange, depending on the variety. They should feel firm but yield slightly to a gentle squeeze. If you pick them too early, they lack full flavor. If you leave them on the vine too long, they may become overripe, soft, or even split, especially after rain.
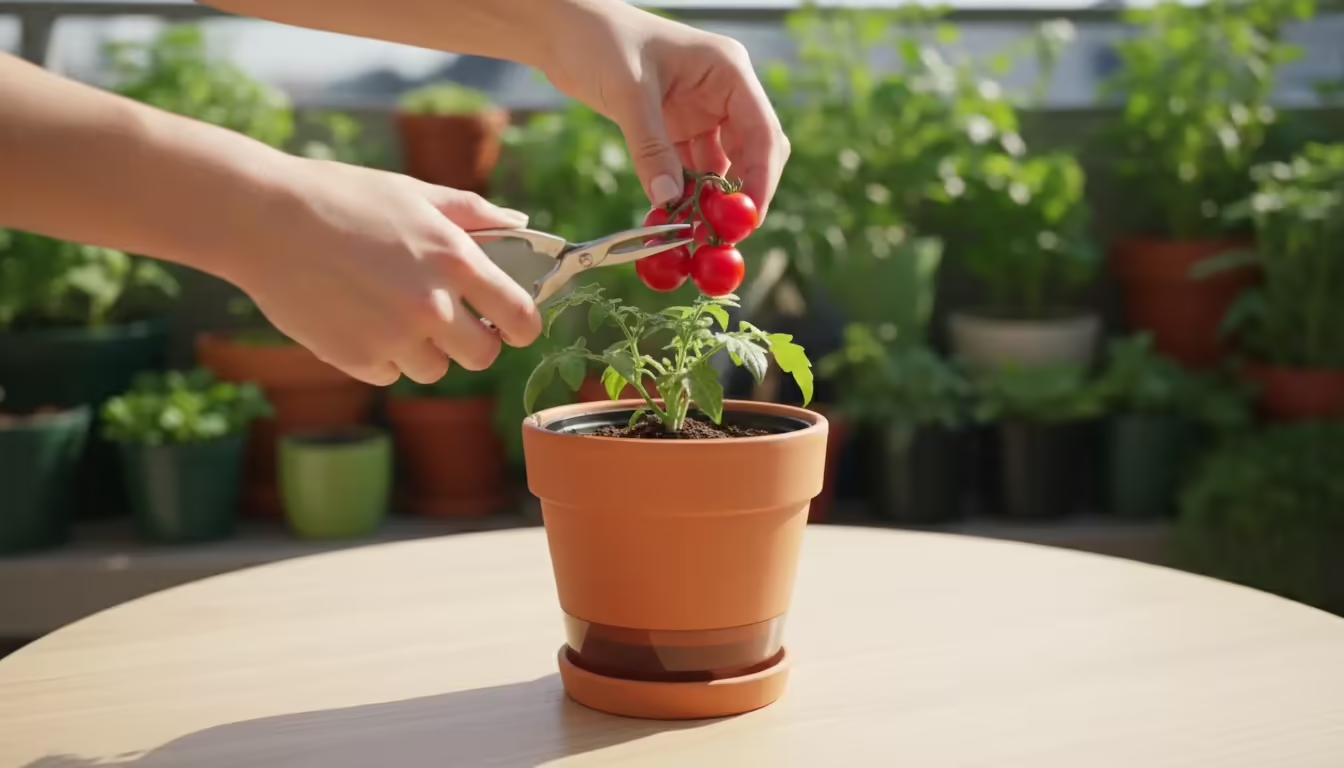
How to Harvest
Harvesting micro-tomatoes is simple. Gently twist the fruit from the stem, or use a small pair of gardening snips to cut the stem just above the fruit. This ensures you do not damage the plant. Harvest frequently, as ripe fruit left on the plant signals it to stop producing more flowers. Regular harvesting encourages continued production, leading to a larger overall yield.
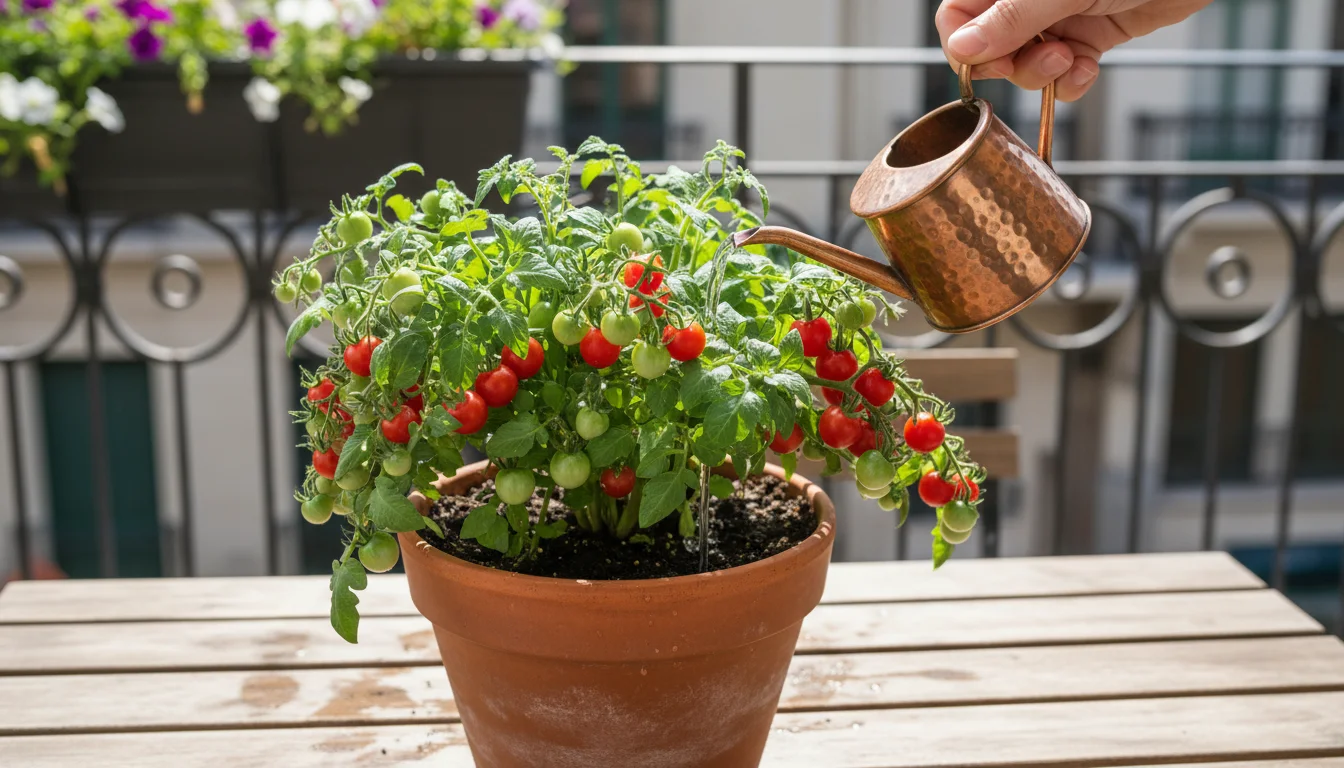
Maximizing Your Yield
- Consistent Harvesting: As mentioned, pick ripe tomatoes often. This keeps the plant focused on producing new flowers and fruits.
- Adequate Nutrition: Continue regular feeding, especially with a potassium-rich fertilizer, throughout the fruiting period. This fuels the plant’s continuous production efforts.
- Proper Watering: Avoid drought stress or waterlogging. Both can reduce fruit set and overall yield. Consistent moisture is key.
- Pest and Disease Management: Healthy plants produce more. Address any pest or disease issues promptly to maintain plant vigor.
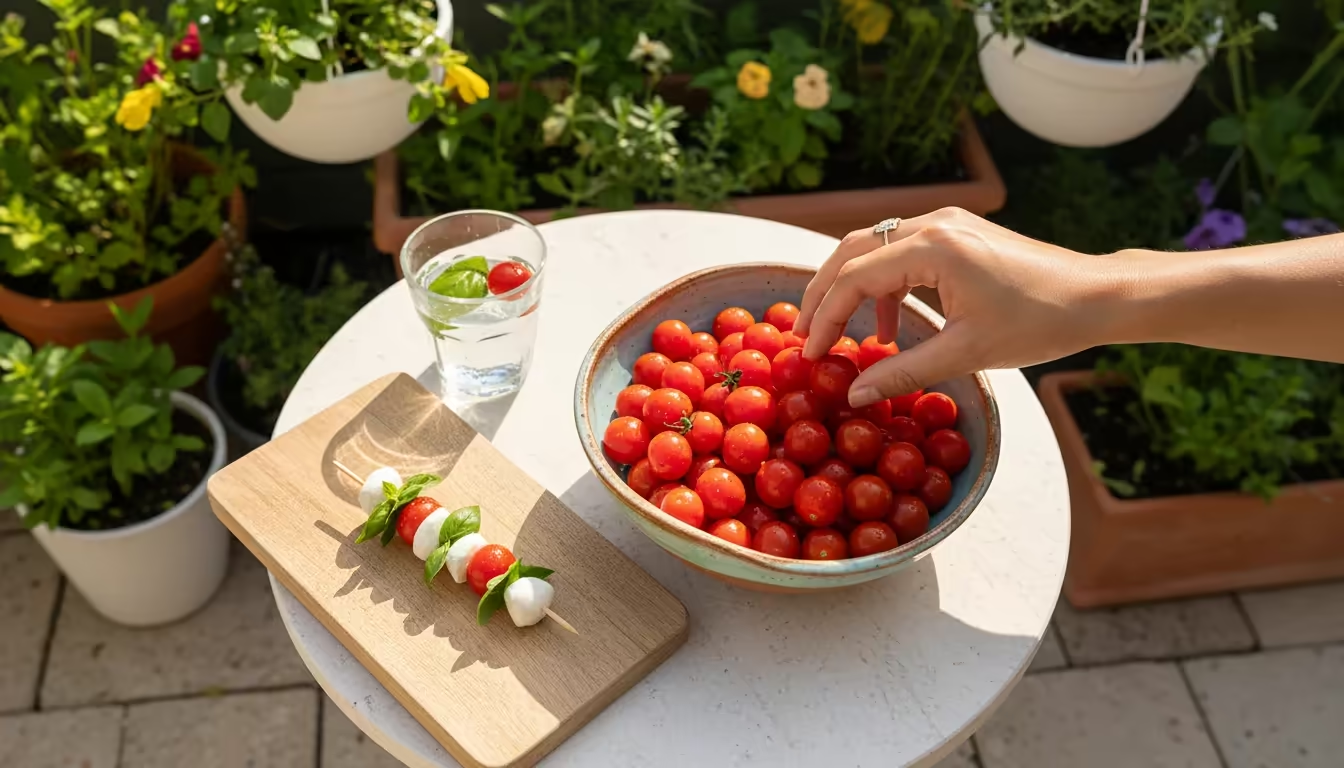
Using Your Micro-Tomatoes
Your fresh micro-tomatoes are versatile and delicious. Here are a few ideas:
- Fresh Snacks: Enjoy them straight off the vine. Their sweetness makes them a perfect healthy snack.
- Salads: Add a burst of color and flavor to any green salad, pasta salad, or grain bowl.
- Garnishes: Use them to adorn appetizers, main dishes, or even cocktails.
- Roasting: Toss them with a little olive oil, salt, and pepper, then roast at 400°F (200°C) until slightly shriveled and caramelized. This intensifies their sweetness.
- Simple Sauce: Briefly sauté them with garlic and herbs for a quick, fresh pasta sauce.
The joy of harvesting your own food, especially in a small space, is immense. You gain not only delicious produce but also a deeper connection to where your food comes from. Continue caring for your plant, and it will reward you with a continuous supply of these delightful miniature fruits for weeks, sometimes even months.
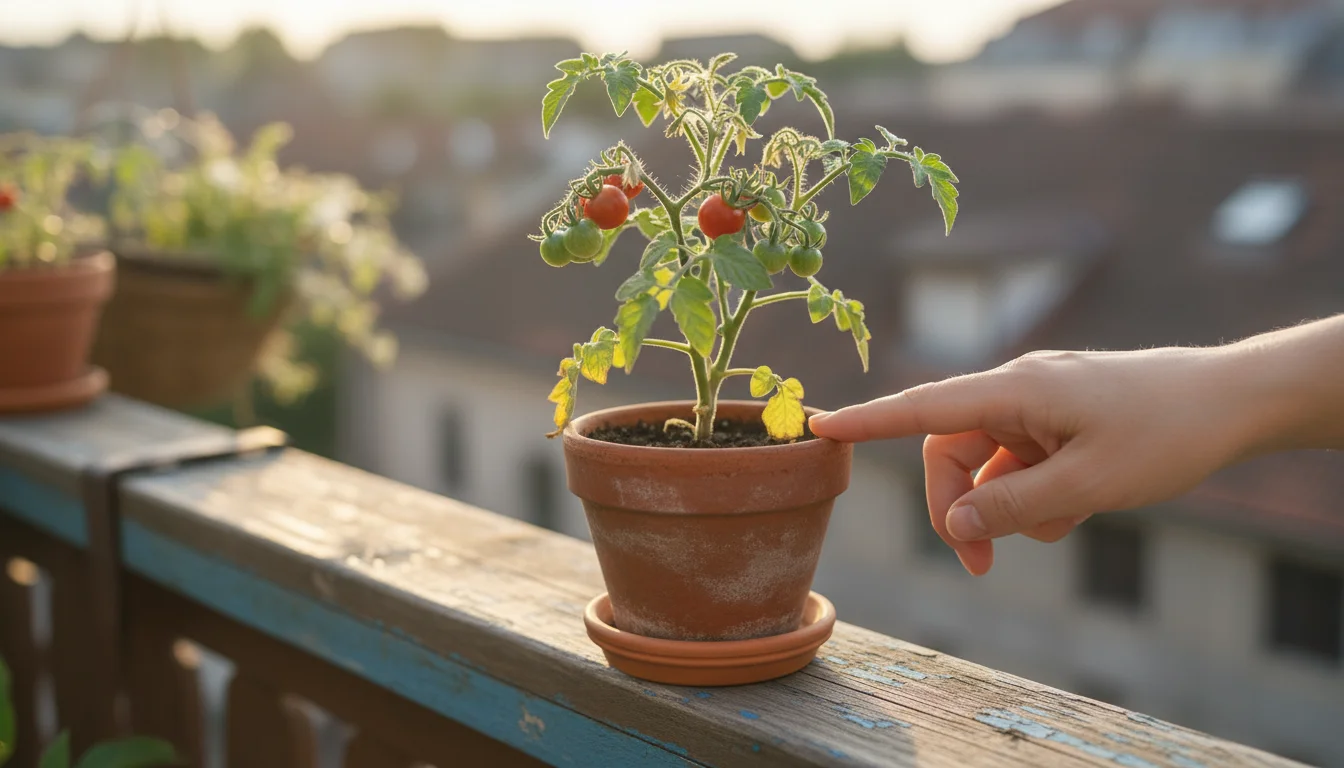
Troubleshooting Common Micro-Tomato Challenges
Even with the best care, you might encounter a few common issues. Recognizing these problems early and knowing how to address them helps you keep your micro-tomato plant healthy and productive.
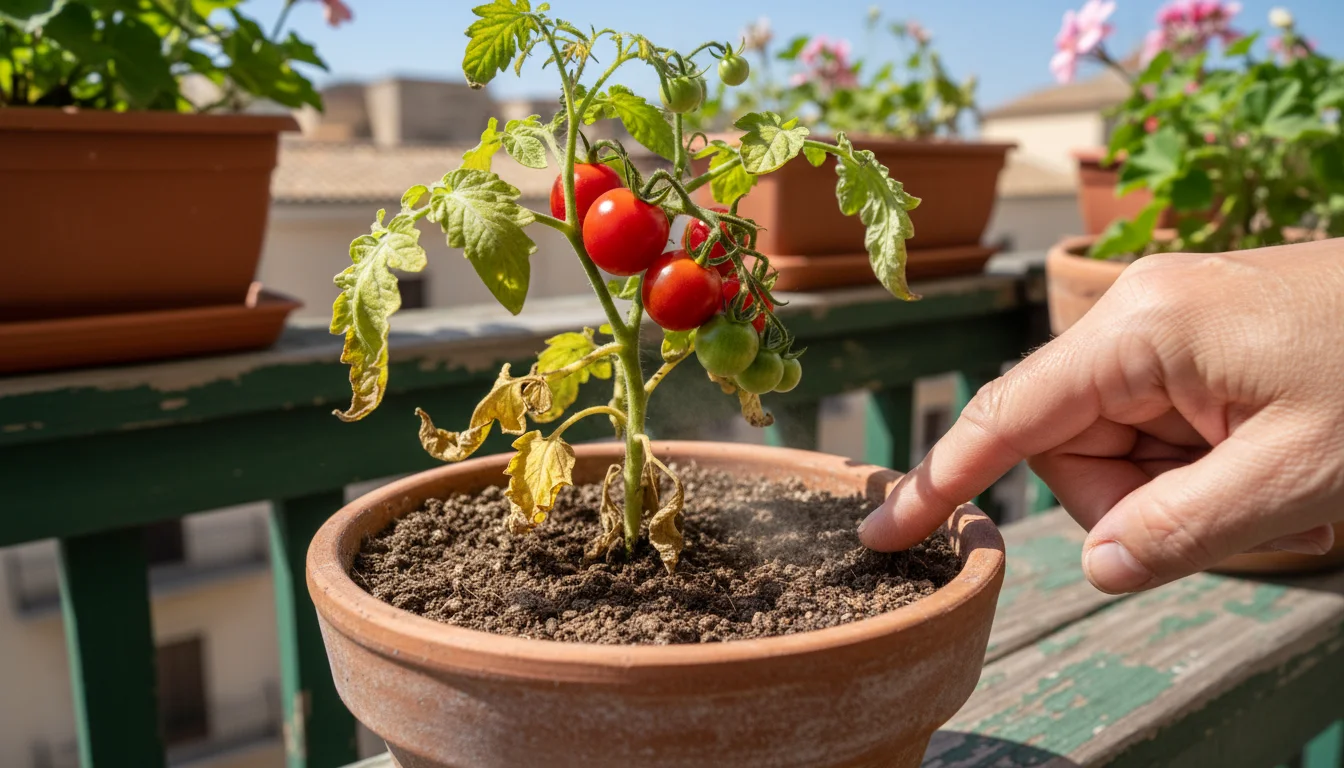
1. Yellowing Leaves
- Issue: Lower leaves turning yellow.
- Cause: Often a sign of nitrogen deficiency or overwatering. Nitrogen deficiency usually affects older leaves first, while overwatering causes general yellowing and wilting.
- Solution: If nitrogen is lacking, apply a balanced liquid fertilizer. For overwatering, check your soil drainage. Ensure your pot has adequate drainage holes and that you are not watering too frequently. Allow the top inch or two of soil to dry out between waterings.
- Issue: Upper leaves turning yellow, possibly with green veins.
- Cause: Could indicate an iron deficiency, especially in alkaline soil, or cold temperatures.
- Solution: Adjust your fertilizer to include micronutrients or use a chelated iron supplement. Ensure the plant is not exposed to consistently cold temperatures.
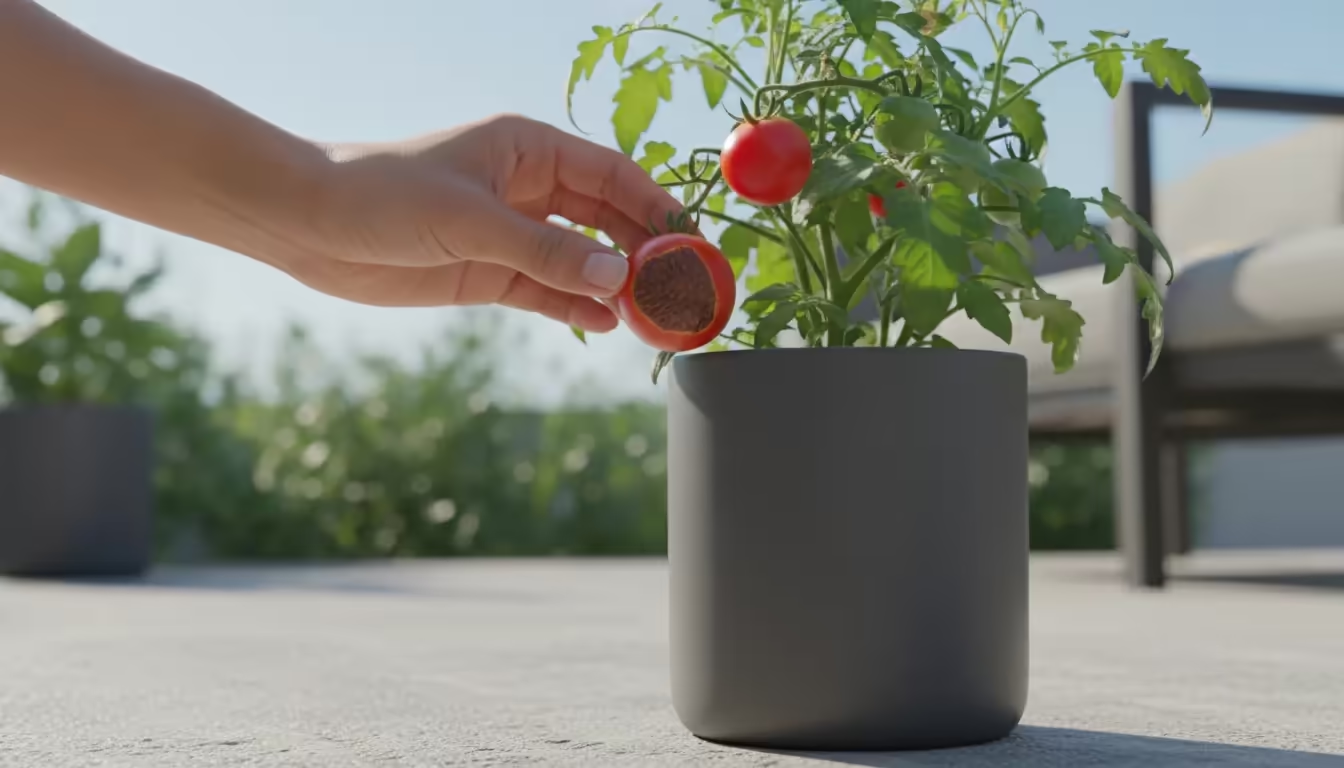
2. Blossom End Rot
- Issue: A dark, leathery spot appears on the bottom (blossom end) of the fruit.
- Cause: Not a disease, but a physiological disorder caused by a calcium deficiency in the fruit, often due to inconsistent watering that affects calcium uptake.
- Solution: Maintain consistent soil moisture. Water regularly and deeply. Avoid letting the pot dry out completely or stay waterlogged. While adding calcium to the soil might help, consistent watering is the primary preventative measure.
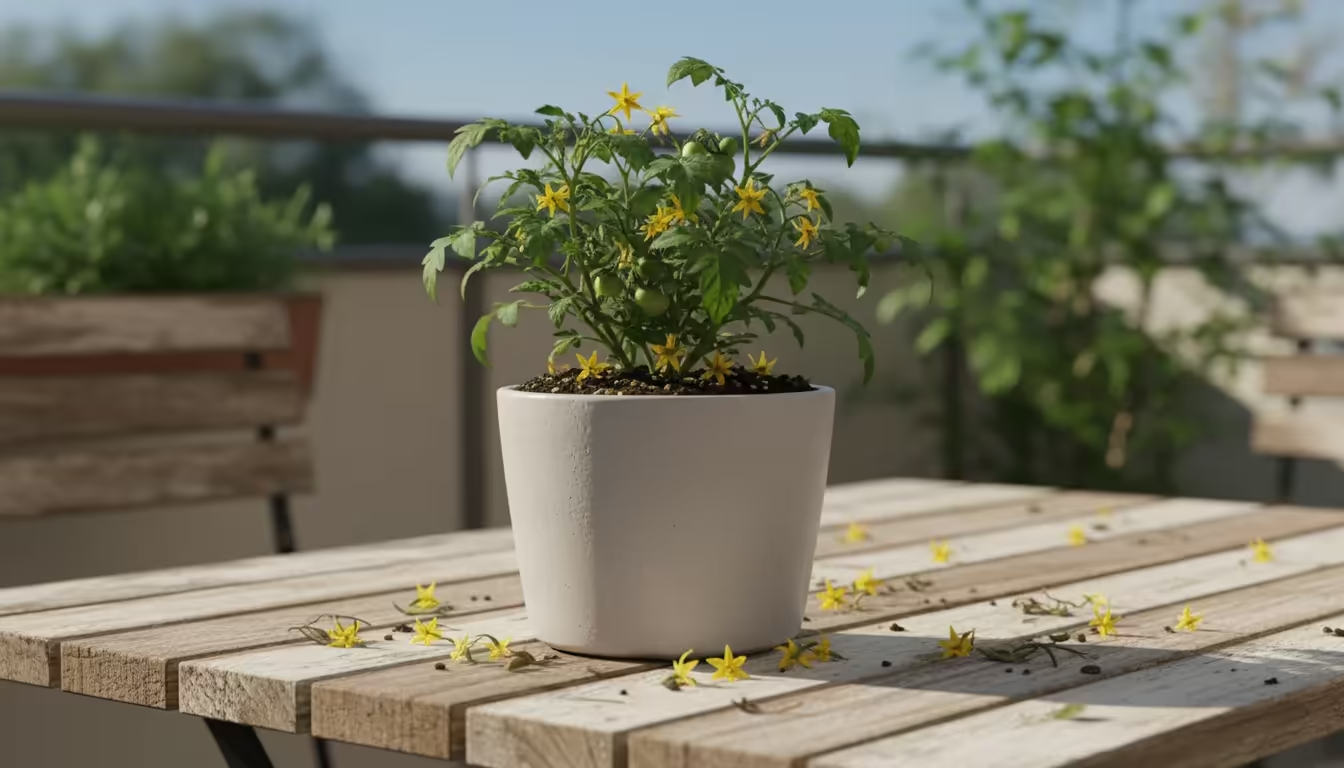
3. Flowers Dropping Off (Blossom Drop)
- Issue: Flowers form but then fall off before setting fruit.
- Cause: Extreme temperatures (too hot or too cold), inconsistent watering, or lack of pollination. Temperatures above 90°F (32°C) or below 55°F (13°C) often cause blossom drop.
- Solution: Try to shield the plant from extreme heat during peak afternoon sun. Ensure consistent watering. If grown indoors with no air movement, gently shake the plant or use a small brush to transfer pollen between flowers to aid pollination.
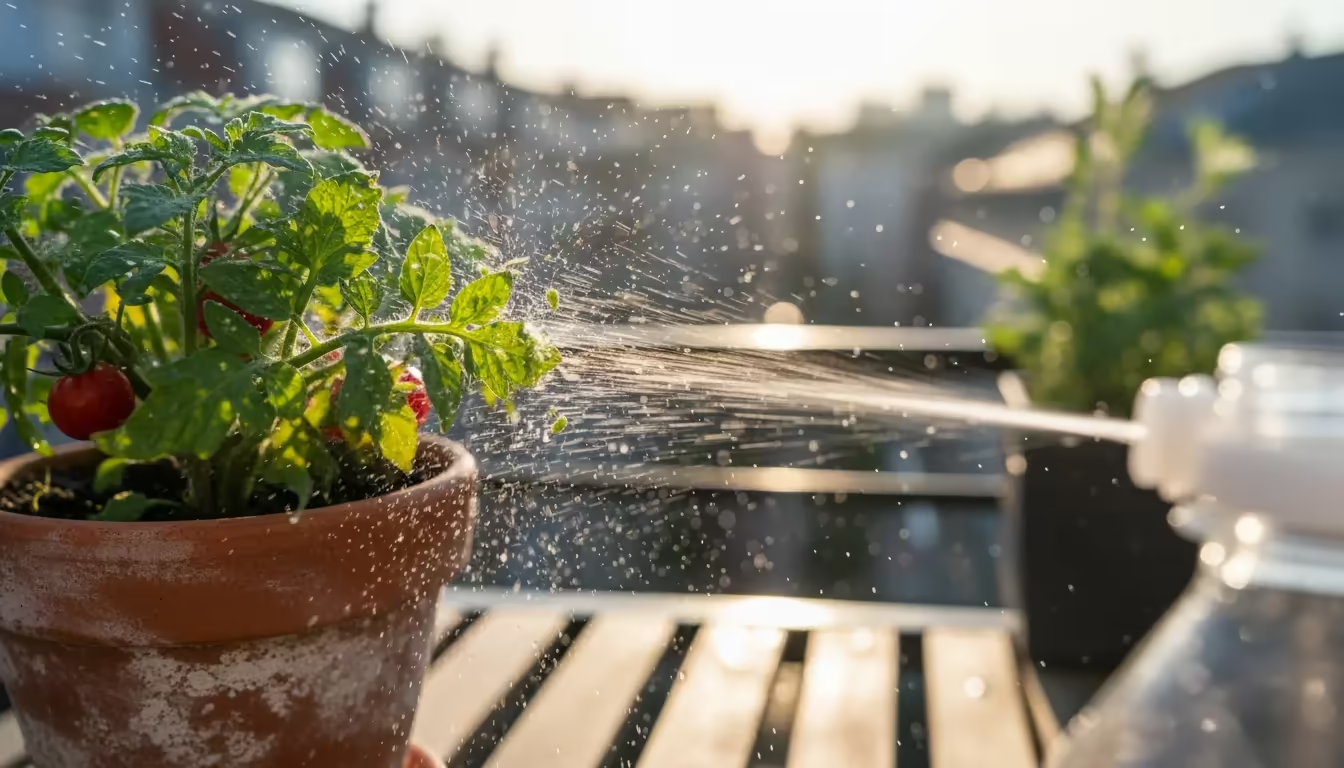
4. Pests: Aphids, Whiteflies, Spider Mites
- Issue: Small insects on leaves, sticky residue, or fine webbing.
- Cause: Pests feeding on plant sap.
- Solution: For minor infestations, a strong spray of water dislodges them. For more severe cases, apply insecticidal soap or neem oil, following product instructions carefully. Early detection and treatment prevent widespread damage.
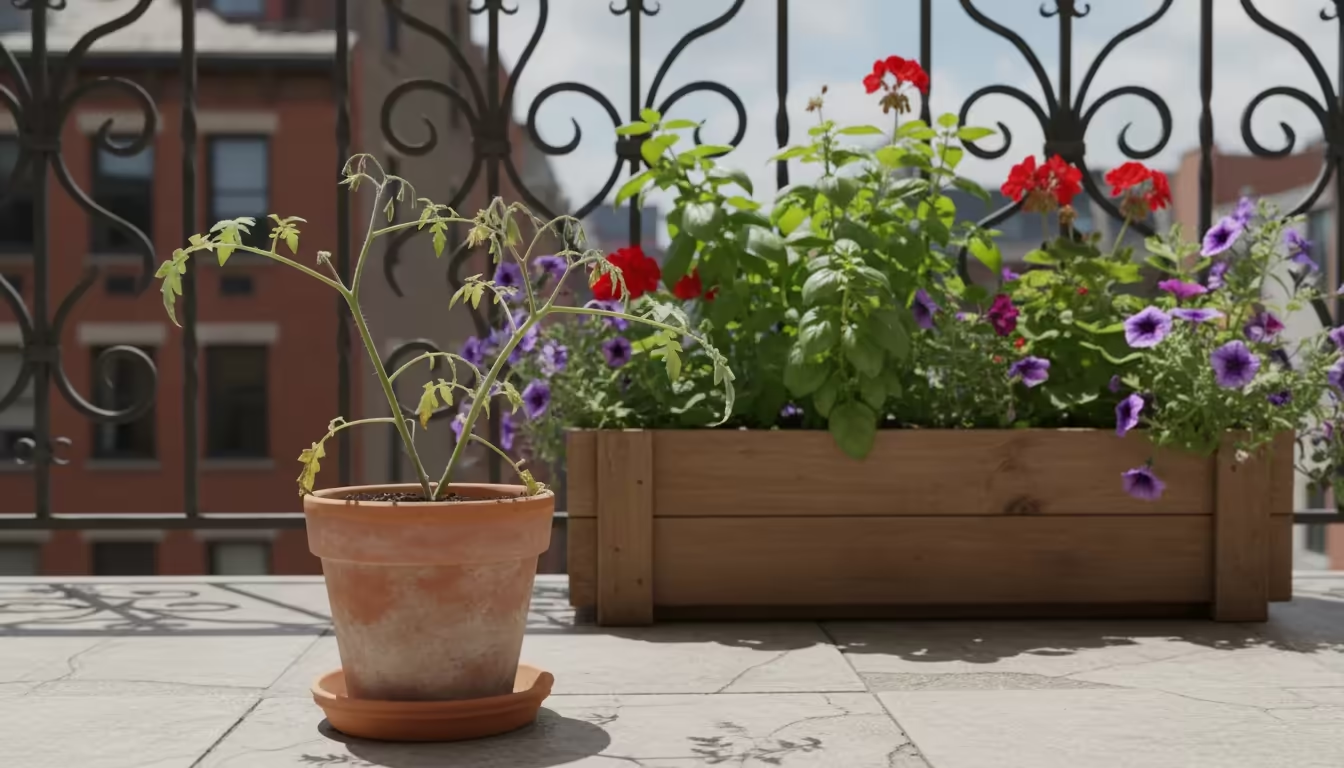
5. Leggy Growth
- Issue: Tall, thin, weak stems with sparse leaves.
- Cause: Insufficient light.
- Solution: Move your pot to a location that receives at least 6-8 hours of direct sunlight daily. If growing indoors, supplement with a grow light.
Addressing these common problems proactively helps your micro-tomato plant recover and continue producing. Regular observation of your plant becomes your best tool for identifying and resolving issues before they become severe.
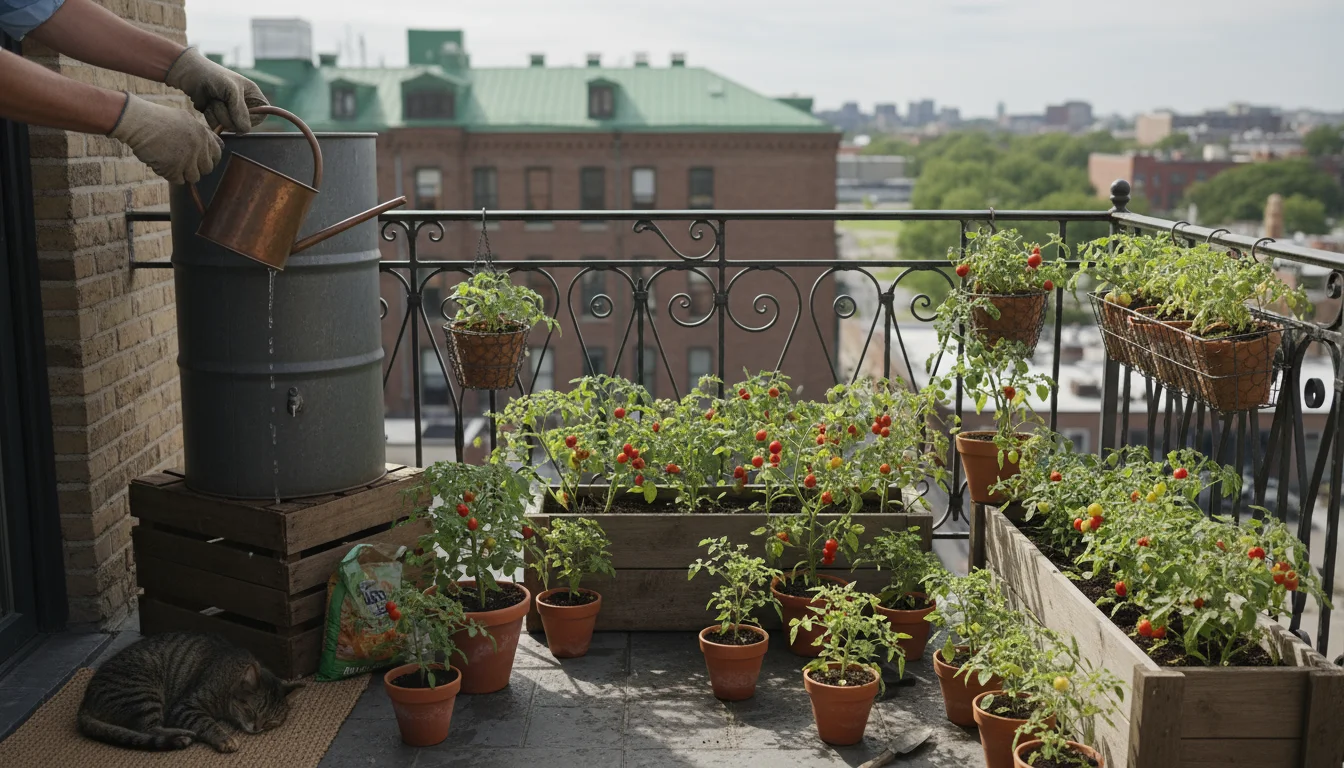
Eco-Friendly Tips for Sustainable Micro-Tomato Growing
Gardening in small spaces naturally lends itself to sustainable practices. You can further reduce your environmental footprint while growing your delicious micro-tomatoes. Incorporating these eco-friendly tips benefits both your garden and the planet.
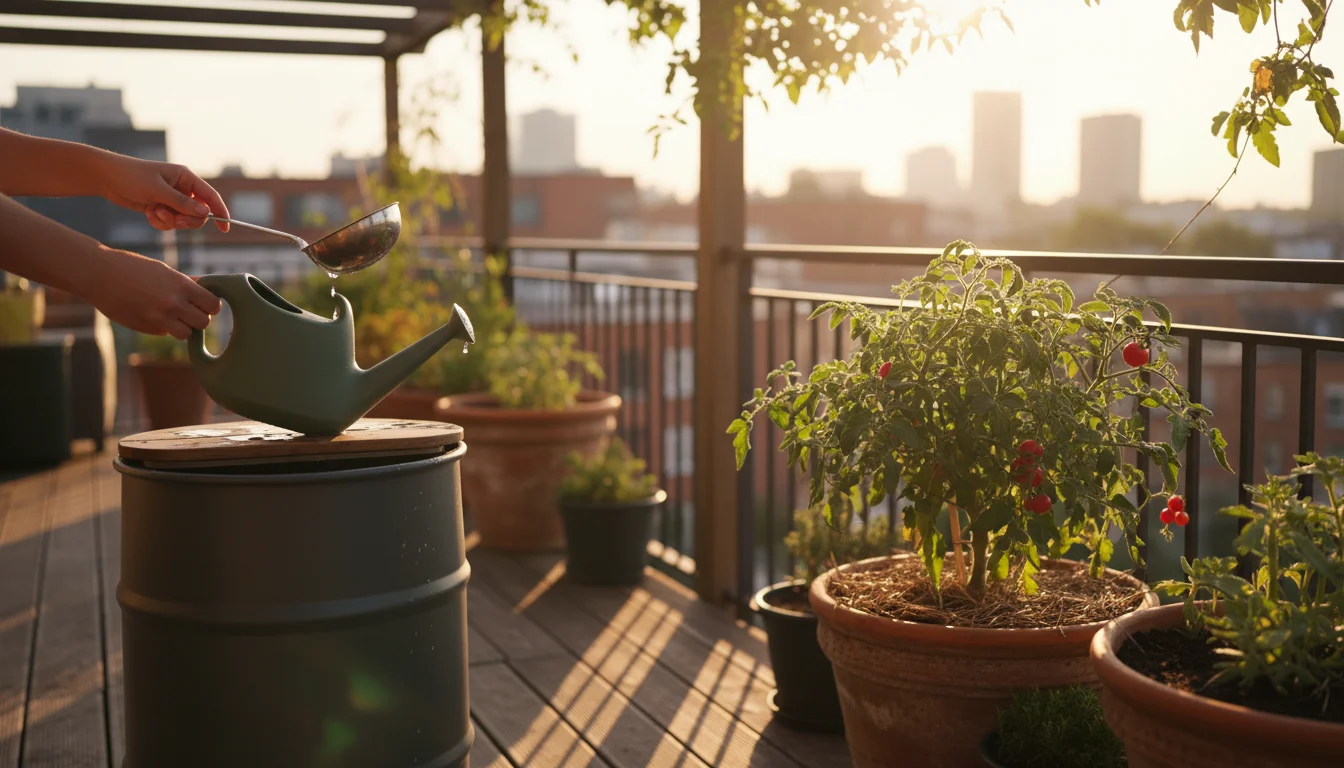
1. Water Conservation
- Mulch Your Pots: Apply a thin layer of organic mulch, such as straw or shredded leaves, to the top of your potting mix. Mulch helps retain soil moisture, reduces evaporation, and regulates soil temperature. This means you water less frequently.
- Collect Rainwater: If feasible, set up a small rain barrel or simply use a bucket to collect rainwater. Rainwater contains natural nutrients beneficial to plants and is free from the chlorine found in tap water.
- Water Efficiently: Water in the early morning or late evening to minimize evaporation. Water slowly and deeply, allowing the soil to absorb moisture thoroughly, rather than letting it run off.
2. Reusing and Repurposing
- Reuse Pots: Clean and sterilize old pots instead of buying new ones. This reduces plastic waste and saves resources.
- DIY Supports: Instead of purchasing new stakes, use bamboo skewers, sturdy sticks, or even old coat hangers bent into shape for plant support.
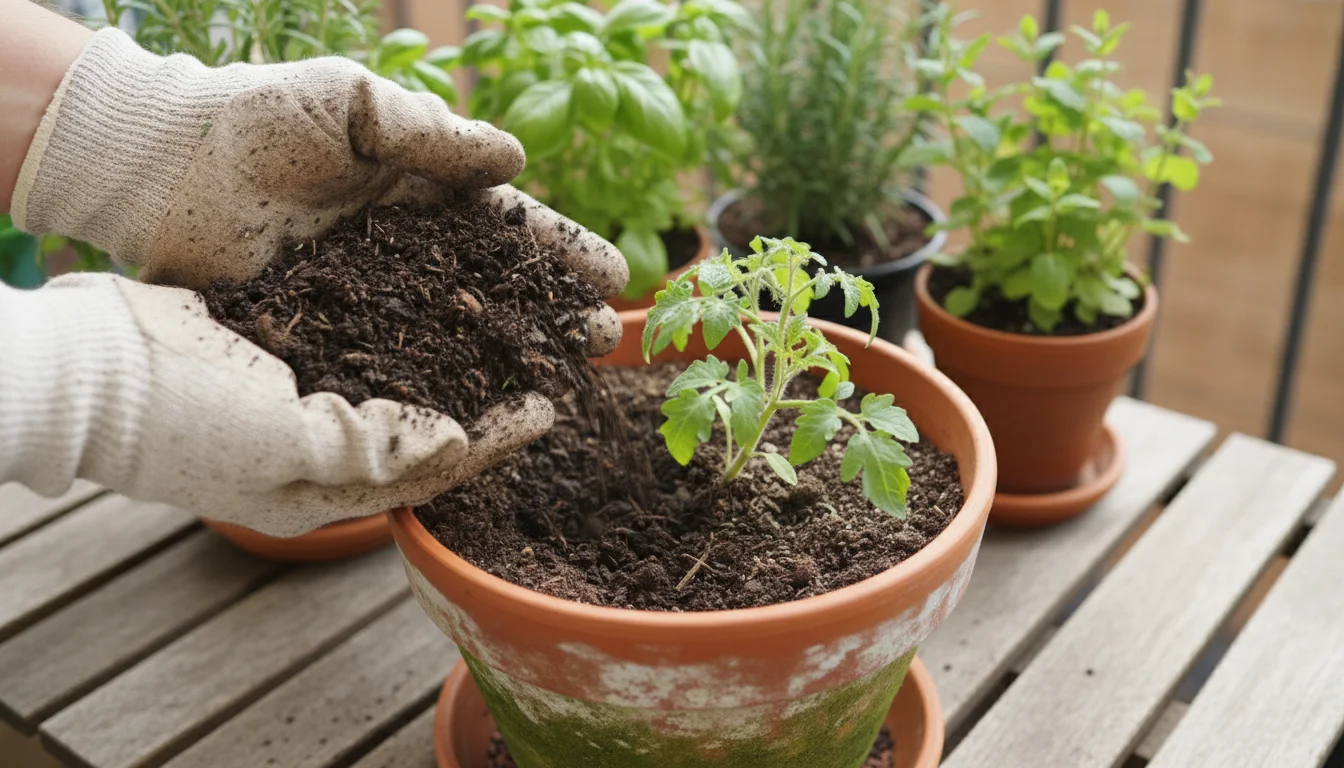
- Compost Scraps: If you have a small compost bin or worm farm, add your kitchen scraps. The resulting compost enriches your potting mix, reducing the need for purchased fertilizers and improving soil structure. Even a small amount of compost tea, made by steeping compost in water, provides excellent liquid feed.
3. Organic Pest Control
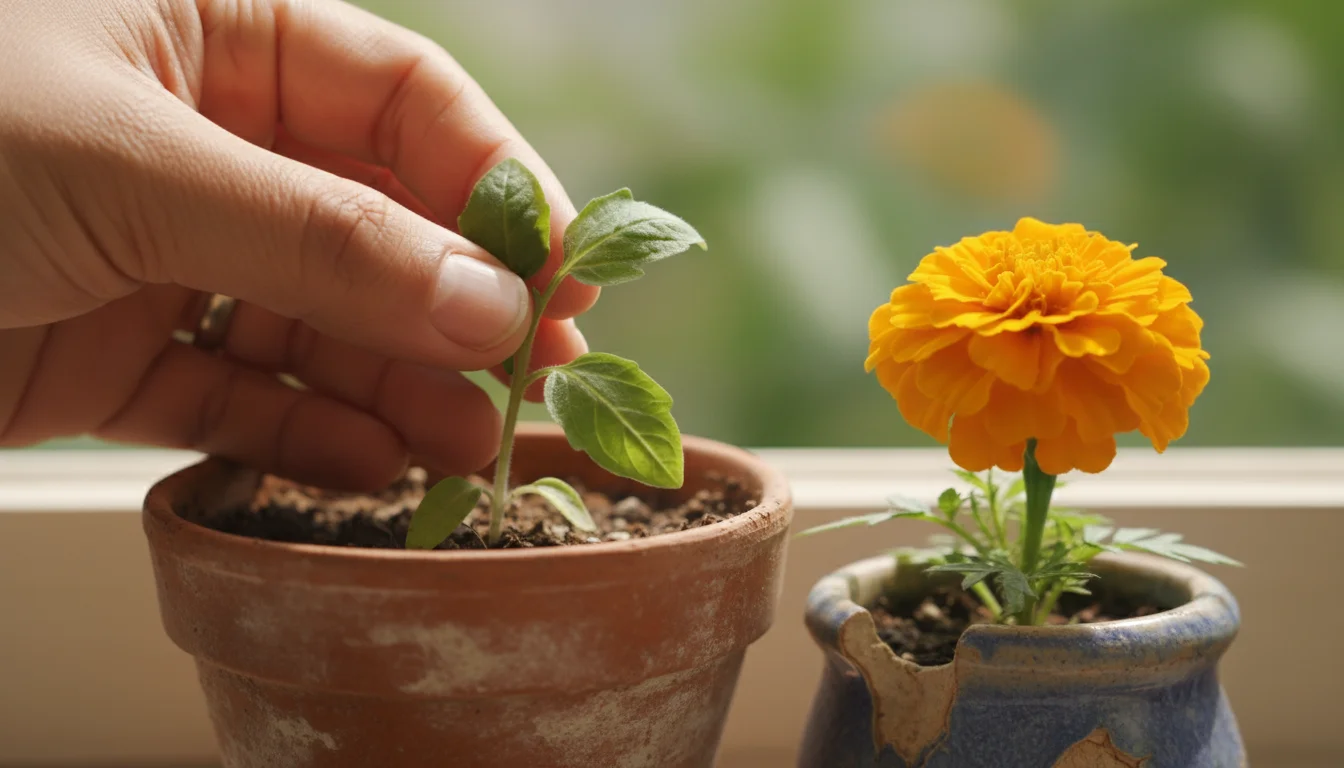
- Attract Beneficial Insects: While space is limited, companion planting even a single marigold or basil plant near your tomatoes can help deter some pests and attract beneficial insects that prey on harmful ones.
- Homemade Sprays: Use insecticidal soap or neem oil for pest control, which are safer alternatives to synthetic pesticides. You can also make a simple garlic or chili spray for deterring some pests.
- Manual Removal: Regularly inspect your plants and manually remove any visible pests. A quick wipe with a damp cloth effectively removes aphids or spider mites.
4. Soil Health and Enrichment
- Compost Integration: Regularly amend your potting mix with compost. This improves soil structure, provides a slow release of nutrients, and increases beneficial microbial activity.
- Rotate Crops (if applicable): If you grow different types of plants in the same pots over seasons, rotate what you plant. While less critical in a single pot scenario, it prevents nutrient depletion and pest buildup specific to one plant type.
Implementing these eco-friendly practices not only makes your micro-tomato challenge more sustainable but also fosters a healthier growing environment for your plants. You contribute to a greener planet while enjoying your delicious, homegrown produce.
Frequently Asked Questions
How much sunlight do micro tomatoes truly need?
Micro tomatoes require at least 6-8 hours of direct sunlight daily to thrive and produce a good harvest. Less light results in leggy plants, fewer flowers, and significantly reduced fruit production. Place your pot in the sunniest spot on your balcony, patio, or windowsill.
Can I grow more than one micro tomato plant in a one-gallon pot?
For optimal health and yield, plant only one micro tomato plant per one-gallon pot. While it might seem like you could squeeze two in, they compete for nutrients, water, and root space, leading to stunted growth and lower production for both plants. Giving each plant its own container ensures it has ample resources to flourish.
How often should I fertilize my micro-tomato plant?
The frequency depends on your potting mix and fertilizer type. If you use a slow-release granular fertilizer, you might not need to fertilize for several weeks or months. For liquid fertilizers, a general rule is every 2-4 weeks, using a balanced formula during vegetative growth and a slightly higher potassium formula once fruiting begins. Always follow the specific instructions on your chosen fertilizer product.
What if my micro tomatoes are not turning red?
Lack of ripening often stems from insufficient sunlight, cool temperatures, or too much nitrogen. Ensure your plant receives adequate sun. Tomatoes ripen best when daytime temperatures are between 65-85°F (18-29°C). If temperatures are consistently cool, ripening slows. Excess nitrogen encourages leafy growth at the expense of fruit production; ensure your fertilizer is balanced or higher in potassium during fruiting. You can try moving the pot to a warmer, sunnier spot or picking nearly ripe tomatoes and allowing them to finish ripening indoors.
Are micro tomatoes suitable for indoor growing?
Yes, many micro tomato varieties, such as ‘Micro Tom’ and ‘Tiny Tim,’ are excellent candidates for indoor growing, especially during colder months. They still require ample light, so placing them in a south-facing window or supplementing with a grow light is crucial. You might also need to hand-pollinate the flowers gently with a small brush or by shaking the plant to ensure fruit set, as indoor environments lack natural pollinators.
Embracing the one-gallon challenge opens up a world of small-space gardening possibilities. You gain the satisfaction of harvesting your own delicious micro-tomatoes and refine your gardening skills along the way. Your tiny pot becomes a powerhouse of production, proving that a small space never limits a gardener’s potential for abundance. Enjoy your bounty!
For trustworthy gardening information, visit: Chicago Botanic Garden, New York Botanical Garden, ASPCA Animal Poison Control and Michigan State University Extension — Gardening. These organizations provide expert, research-based advice for gardeners at all levels.
Disclaimer: This article is for informational purposes only and is not a substitute for professional gardening advice. Always consult local extension services or horticulture experts for region-specific guidance.

Leave a Reply