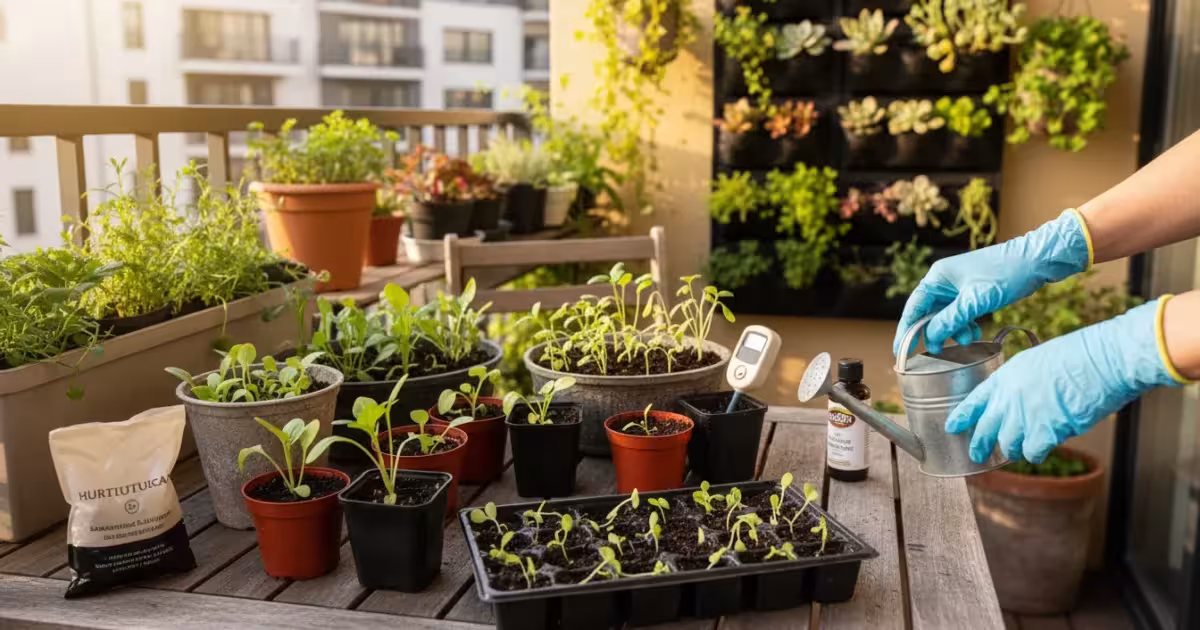
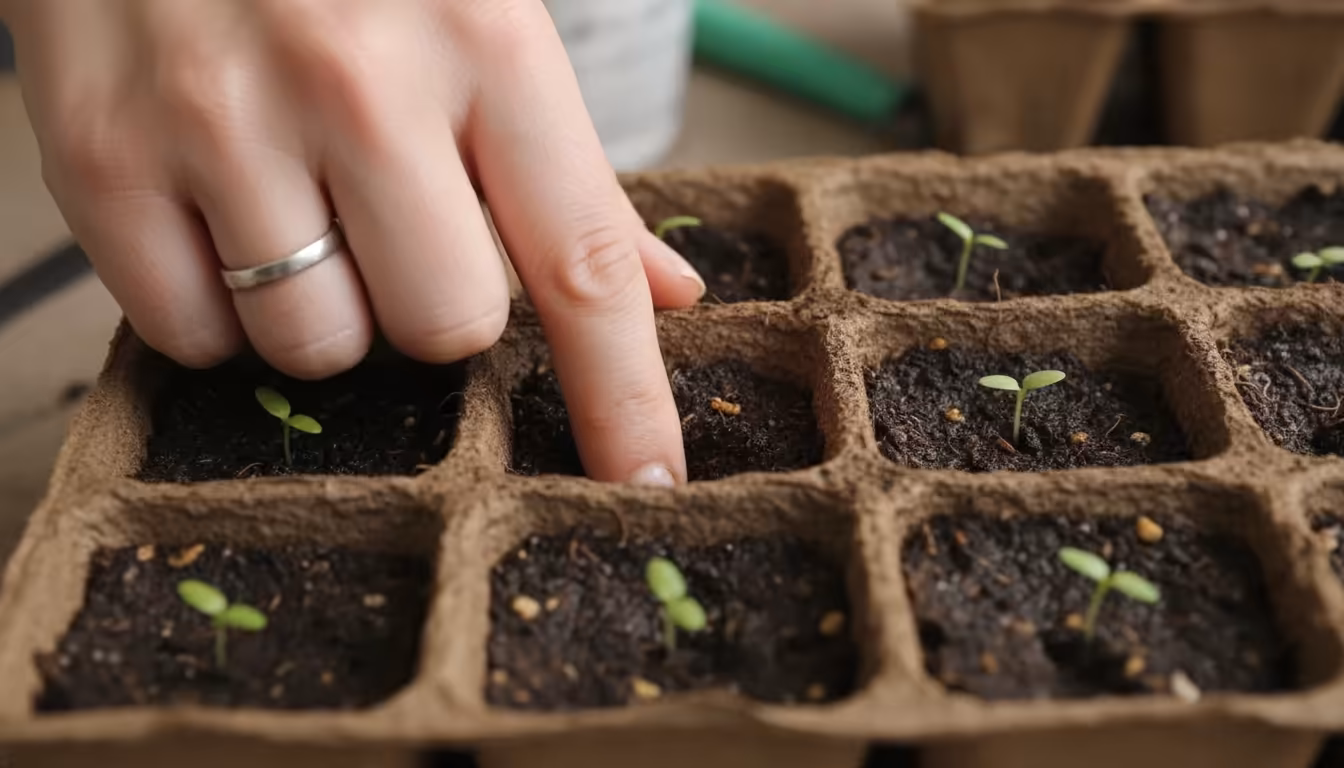
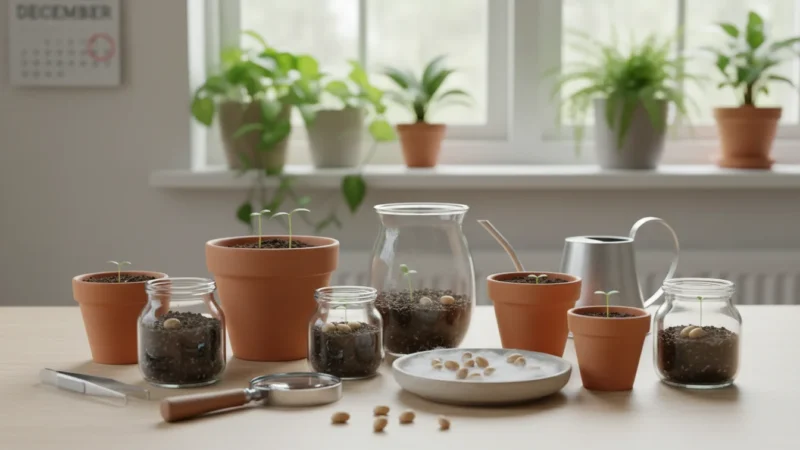
Starting seeds indoors offers immense satisfaction, transforming your small apartment space into a vibrant nursery. You nurture tiny seeds, watch them sprout, and envision a future full of fresh herbs, vegetables, or beautiful flowers. However, a common adversary, often unseen until it strikes, can devastate your young seedlings: damping off. This guide equips you with practical, actionable strategies to prevent this silent killer, ensuring your indoor seed starting efforts succeed.
To stay organized and avoid starting too early, be sure to consult a comprehensive apartment seed-starting calendar before planting.
Damping off primarily affects young seedlings, causing them to wilt, rot, and collapse at the soil line. It represents one of the most disheartening seed starting problems, but you possess the power to combat it effectively. Understanding its causes and implementing simple preventative measures will safeguard your future harvests, giving your garden the strong start it deserves.
Understanding Damping Off: The Silent Seedling Killer
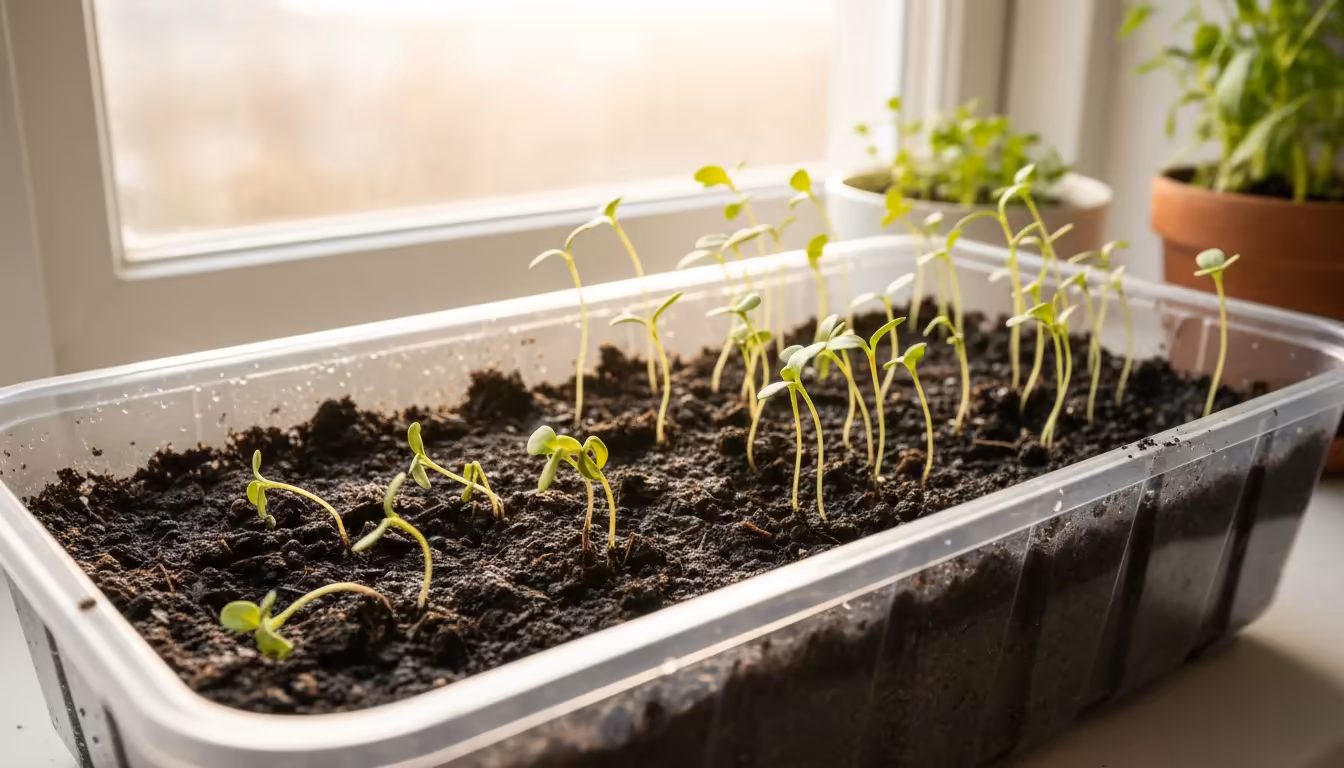
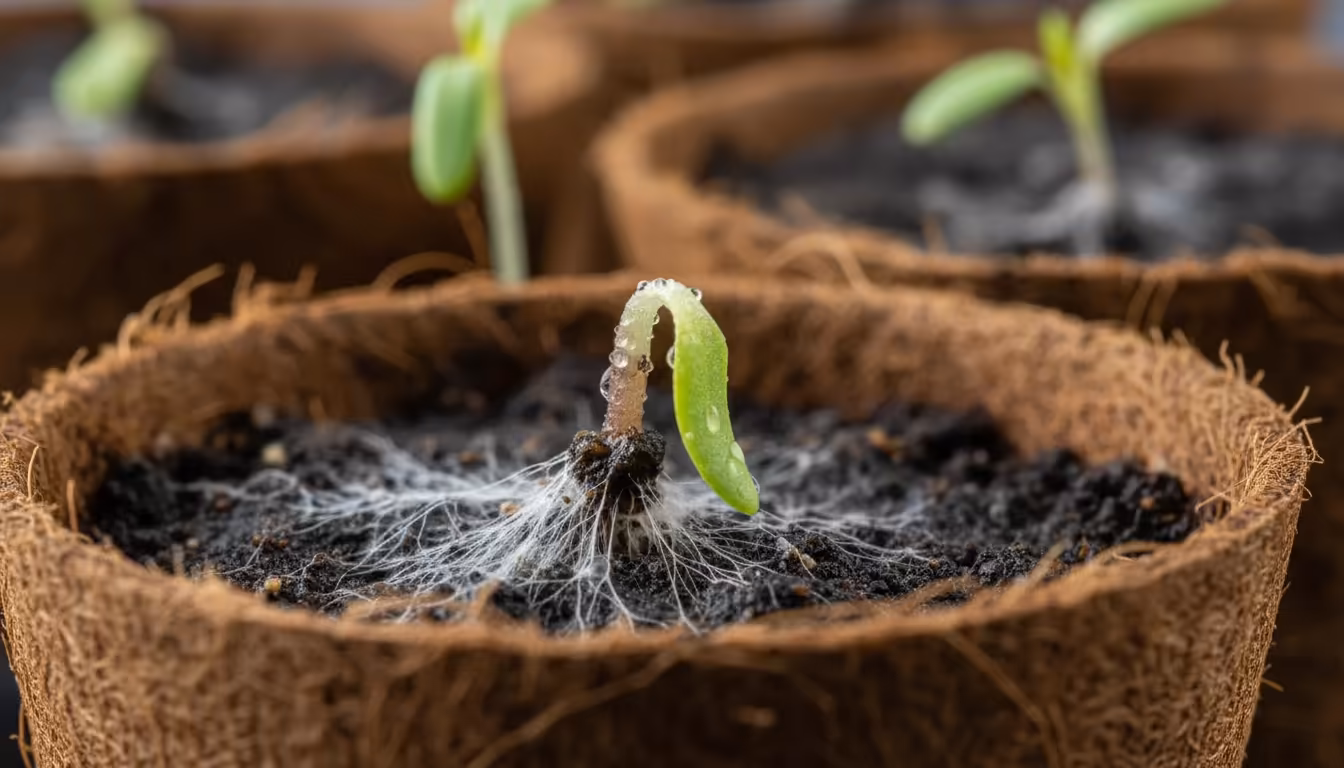
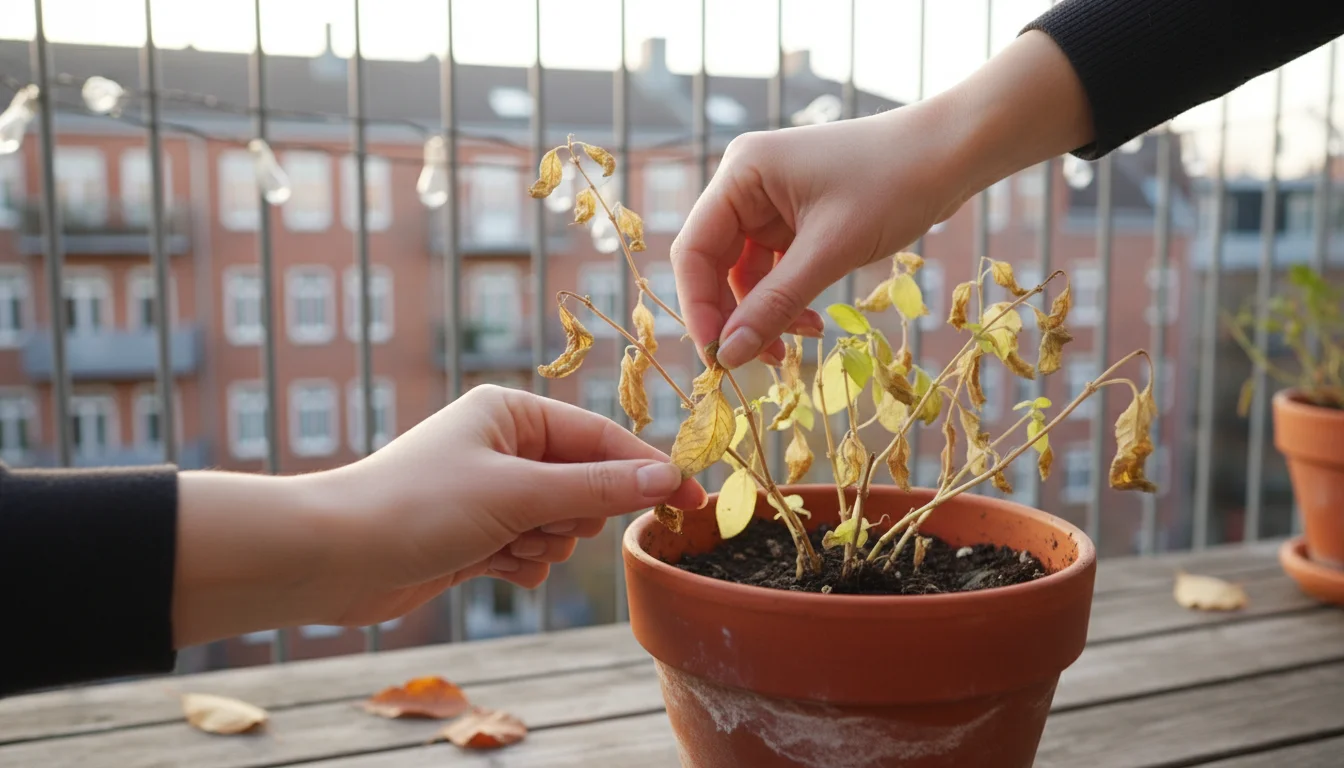
You work hard to prepare your seed trays, carefully planting each tiny seed, providing the right warmth, and maintaining consistent moisture. Then, one morning, you notice a healthy-looking seedling suddenly topples over, its stem appearing pinched and watery at the soil line. This is damping off, a common and frustrating seed starting problem for many gardeners, especially those new to indoor seed starting. It occurs rapidly, often claiming entire trays of seedlings within a day or two.
To keep your trays secure and organized, consider building a space-saving seed starting shelf for your apartment to elevate your setup.
Damping off refers to a group of fungal diseases that attack germinating seeds and young seedlings. These opportunistic pathogens thrive in specific conditions, quickly turning your hopeful starts into a disheartening loss. The disease targets the most vulnerable parts of your seedlings: their tender roots and fragile stems at the soil surface. This attack prevents water and nutrients from moving up the plant, leading to its collapse.
The impact extends beyond the immediate loss of individual plants. Damping off can set back your entire gardening schedule, requiring replanting and delaying your harvest. For apartment gardeners, where space is often at a premium, losing even a few seedlings feels like a significant setback. Preventing damping off ensures you maximize your limited space and resources, fostering a more productive and enjoyable indoor garden.
The Culprits: What Causes Damping Off?
Damping off does not stem from a single pathogen, but rather from several soil-borne fungi. The most common culprits include species from the genera Pythium, Phytophthora, Rhizoctonia, and Fusarium. These fungi exist naturally in many environments, often lying dormant until conditions become favorable for their growth. They are present in unsterilized soil, on dirty tools, and even on uncleaned reused pots.
In addition to soil pathogens, damp environments often attract unwanted pests; having a robust fungus gnat elimination plan is essential for keeping your indoor grow space clean.
While the fungi are the direct cause, environmental factors act as major enablers. You create the perfect storm for damping off when you provide the fungi with an ideal habitat. Here are the primary conditions that contribute to this seedling killer:
- Excessive Moisture: Overwatering stands as the leading cause of damping off. Constantly soggy soil deprives roots of oxygen, making them more susceptible to fungal attack. The fungi themselves thrive in wet conditions, multiplying rapidly and spreading through the saturated growing medium. For instance, studies show that Pythium species proliferate in anaerobic, waterlogged environments, quickly colonizing root tissues.
- Poor Air Circulation: Stagnant, humid air creates a microscopic sauna, an ideal environment for fungal spores to germinate and spread. Without proper air movement, moisture lingers on the soil surface and around seedling stems, inviting fungal growth. This is particularly relevant for indoor setups, where natural breezes do not reach your plants.
- Cool Temperatures: While some fungi prefer warmth, many damping off pathogens flourish in cooler soil temperatures. If your growing area is consistently chilly, especially at night, it slows seedling growth while simultaneously benefiting certain fungi.
- Contaminated Soil: Using garden soil, potting mixes not specifically labeled for seed starting, or unsterilized homemade compost introduces a high risk. These materials often contain fungal spores, nematodes, and other pathogens that overwhelm delicate seedlings. A 2018 study on horticultural practices confirmed that disease-free growing media significantly reduces instances of early seedling death.
- Unsanitized Equipment: Reusing old seed trays, pots, or tools without proper cleaning and sanitization transmits fungal spores from previous crops to your new seedlings. Microscopic pathogens cling to plastic and terracotta, waiting for their next host.
- Overcrowding: Planting seeds too closely together reduces air circulation between seedlings. This creates a dense, humid canopy where disease spreads rapidly from one plant to the next. Individual plants also compete for resources, leading to weaker, more susceptible seedlings.
Understanding these contributing factors empowers you to implement targeted preventative measures. You can control these conditions in your apartment seed starting setup, significantly reducing the risk of damping off.
Your First Line of Defense: Sterilizing Soil and Equipment
Preventing damping off begins with creating a sterile environment for your delicate seedlings. This foundational step eliminates the fungal spores before they even have a chance to attack. You control this crucial aspect, setting your seeds up for success.
Choosing and Preparing Your Growing Medium
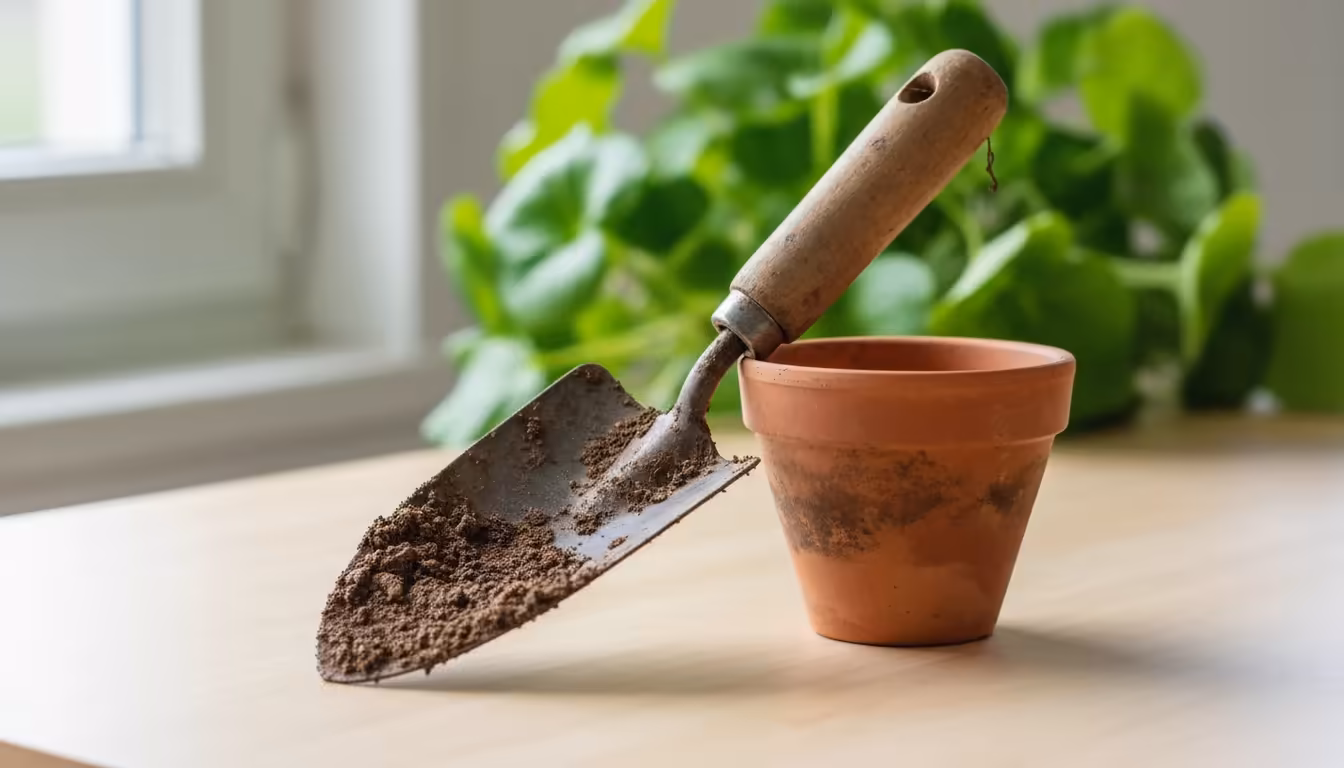
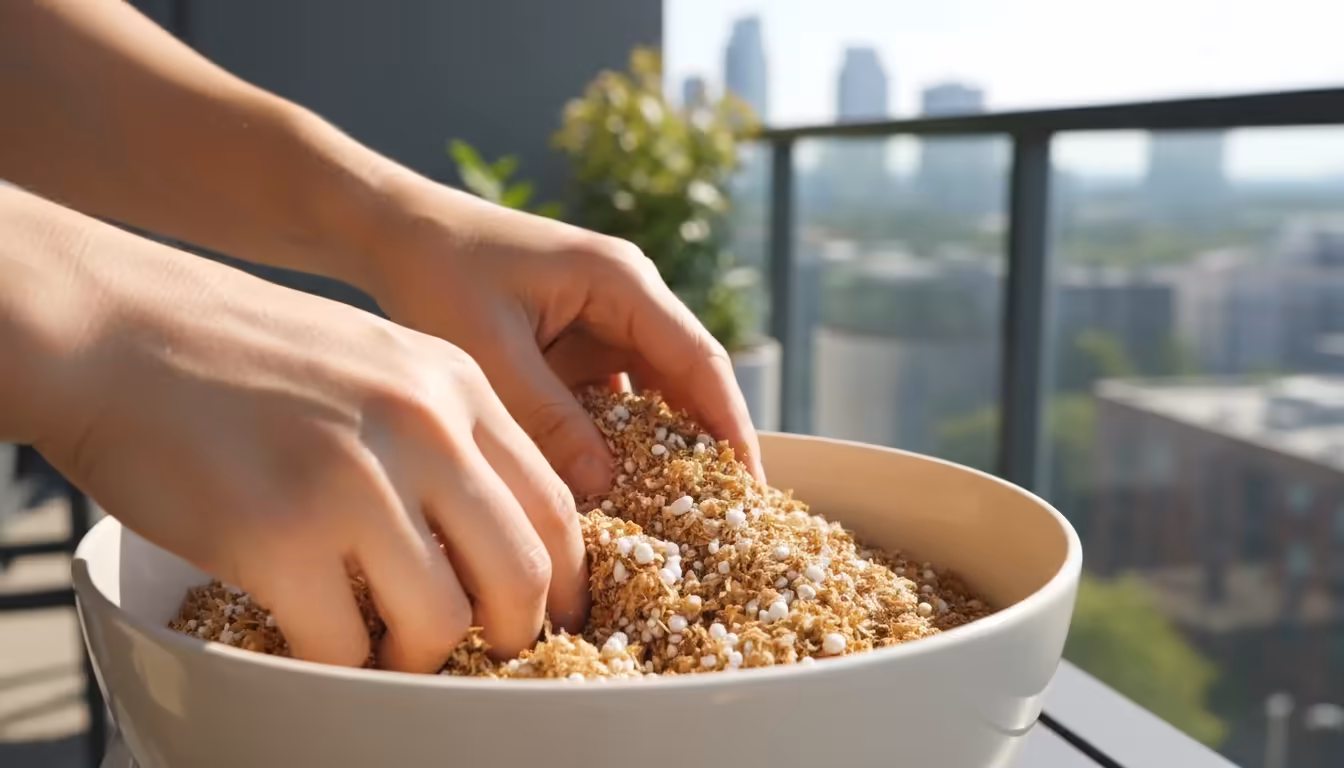
- Select a Sterile Seed Starting Mix: Always use a high-quality, sterile seed starting mix. These specialized mixes contain fine particles, offer excellent drainage, and are typically sterilized to kill pathogens. Avoid using garden soil or general-purpose potting mix, which are too heavy for seedlings and often harbor disease. Look for mixes containing ingredients like peat moss (or coir for an eco-friendlier alternative), vermiculite, and perlite. These components provide the light, airy structure seedlings need.
- Consider DIY Sterilization (for bulk soil or compost): If you create your own soil mix from compost or want to sterilize a larger quantity of soil, you can do so at home. Spread a thin layer (no more than 4 inches deep) on a baking sheet. Bake it at 180–200°F (82–93°C) for at least 30 minutes, or until the internal temperature reaches 180°F and holds for 30 minutes. The soil will smell earthy; a strong foul odor indicates overheating. Allow it to cool completely before use. This method effectively kills fungal spores without destroying beneficial microorganisms.
For a space-saving and budget-friendly alternative to commercial trays, consider trying the shoebox method for seed starting in your apartment.
Sanitizing Your Seed Starting Equipment
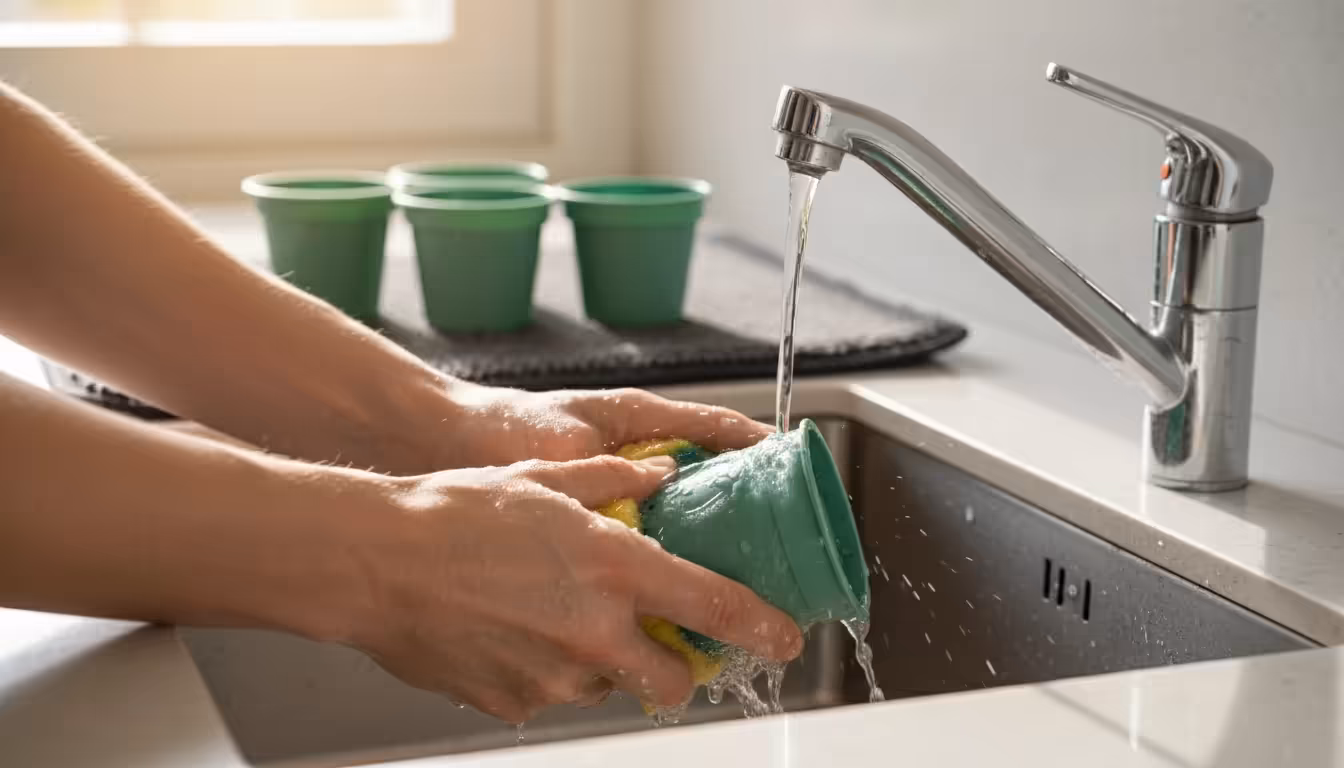
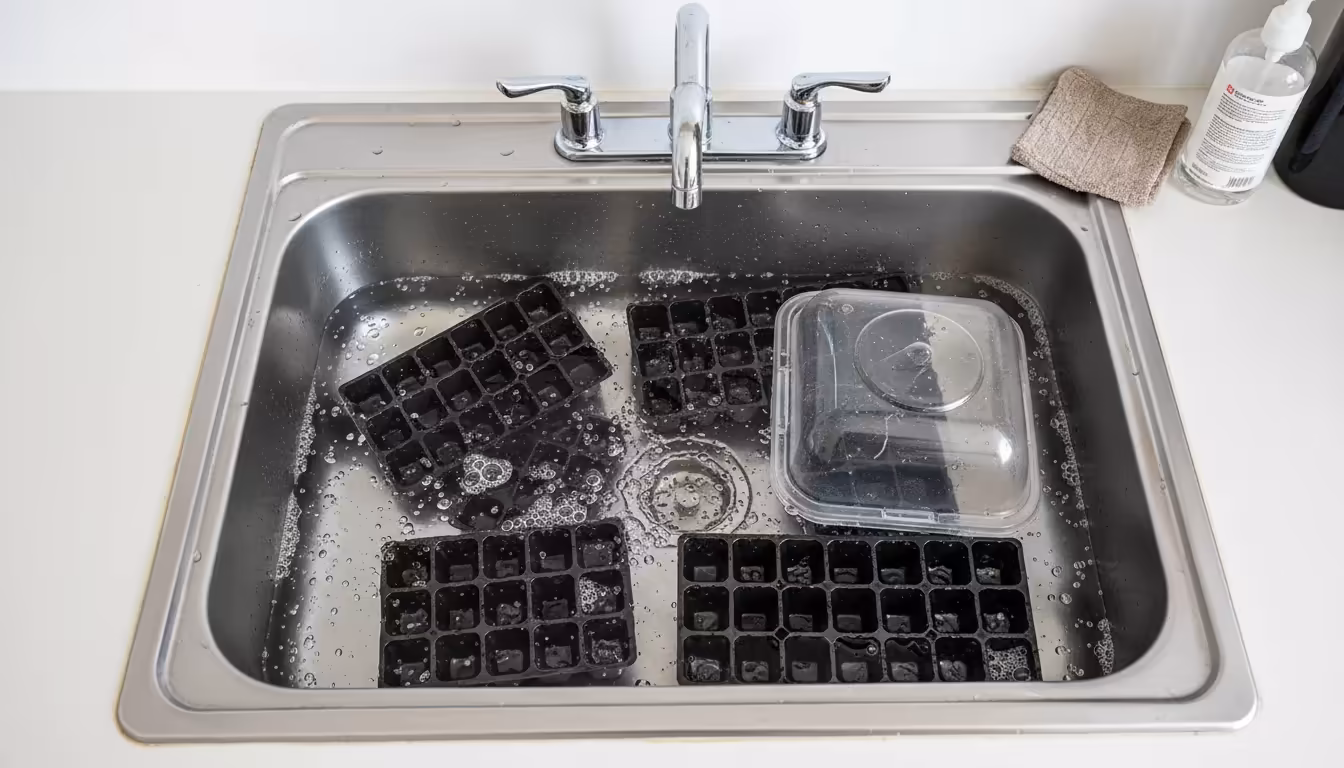
Every item that touches your seeds and soil can harbor pathogens. You must sanitize all pots, trays, domes, and tools. This simple yet critical step breaks the disease cycle.
- Clean Thoroughly: Begin by scrubbing all containers, trays, and tools with hot, soapy water to remove all visible dirt, debris, and plant residue. Use a stiff brush to reach corners and crevices. Old soil particles often contain dormant spores.
- Disinfect: After cleaning, rinse everything well. Prepare a sanitizing solution. A common and effective solution is a 10% bleach solution (1 part bleach to 9 parts water). For a less harsh alternative, use a hydrogen peroxide solution (3% solution, full strength, or diluted 1:1 with water). Submerge your cleaned pots, trays, and tools in the solution for at least 30 minutes. Ensure all surfaces come into contact with the disinfectant.
- Rinse and Dry: Rinse all items thoroughly with clean water to remove any residual bleach or hydrogen peroxide. Allow them to air dry completely before storing or using them. Ensure they are dry before adding soil, as excess moisture can reintroduce problems.
You can also use a solution of distilled white vinegar (1 part vinegar to 4 parts water) as a disinfectant, though it may require longer soaking times (up to an hour) for optimal effectiveness against certain pathogens. Regardless of the method, consistency in sanitization provides your seedlings with the cleanest start possible.
Mastering Moisture: The Key to Preventing Fungal Growth
Proper watering is paramount in preventing damping off. You must strike a delicate balance: providing enough moisture for germination and growth without creating a soggy environment where fungi thrive. This requires careful observation and understanding of your seedlings’ needs.
Watering Techniques for Healthy Seedlings
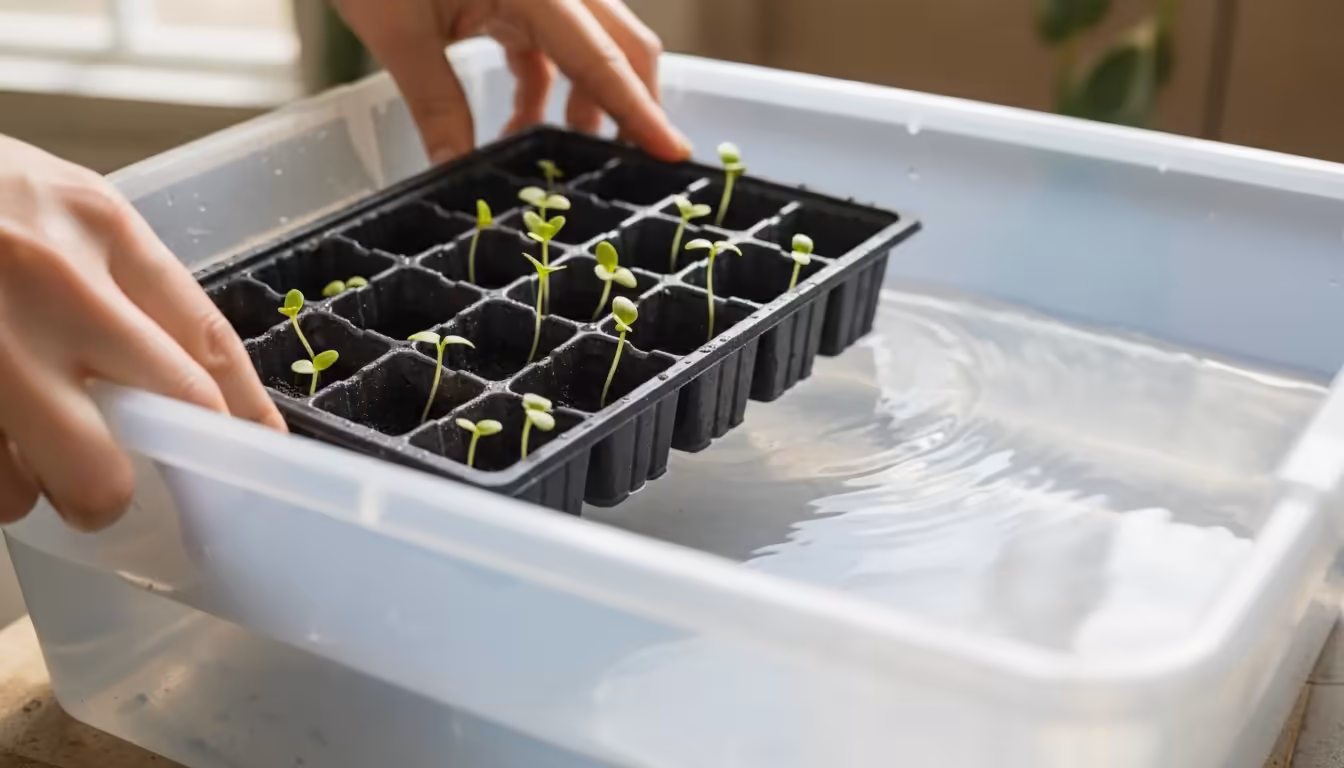
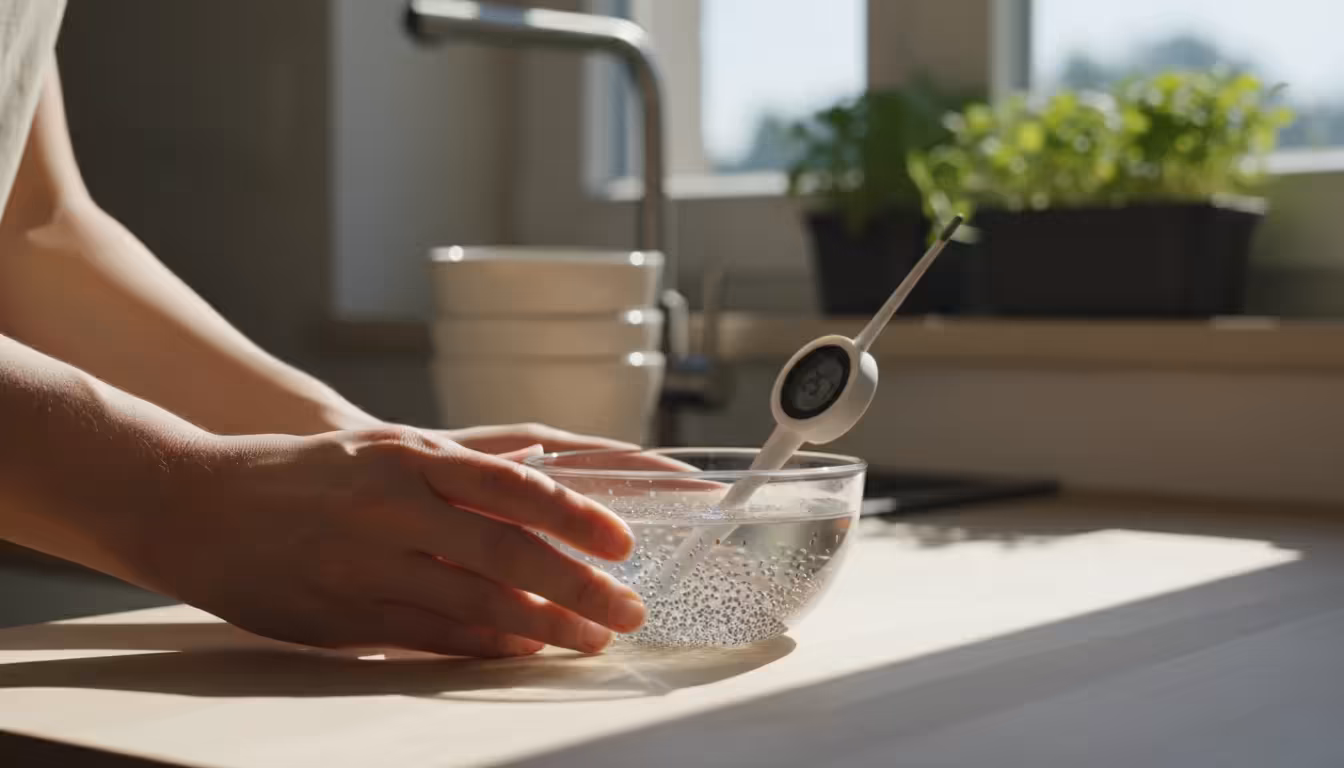
- Bottom Watering: This method stands as the most effective for preventing damping off. Place your seed trays or pots in a larger tray filled with about an inch of water. The soil wicks up the moisture from the bottom, hydrating the roots without saturating the soil surface. This keeps the top layer drier, inhibiting fungal growth. Remove the trays once the top of the soil feels moist. This usually takes 10-30 minutes, depending on the dryness of your soil.
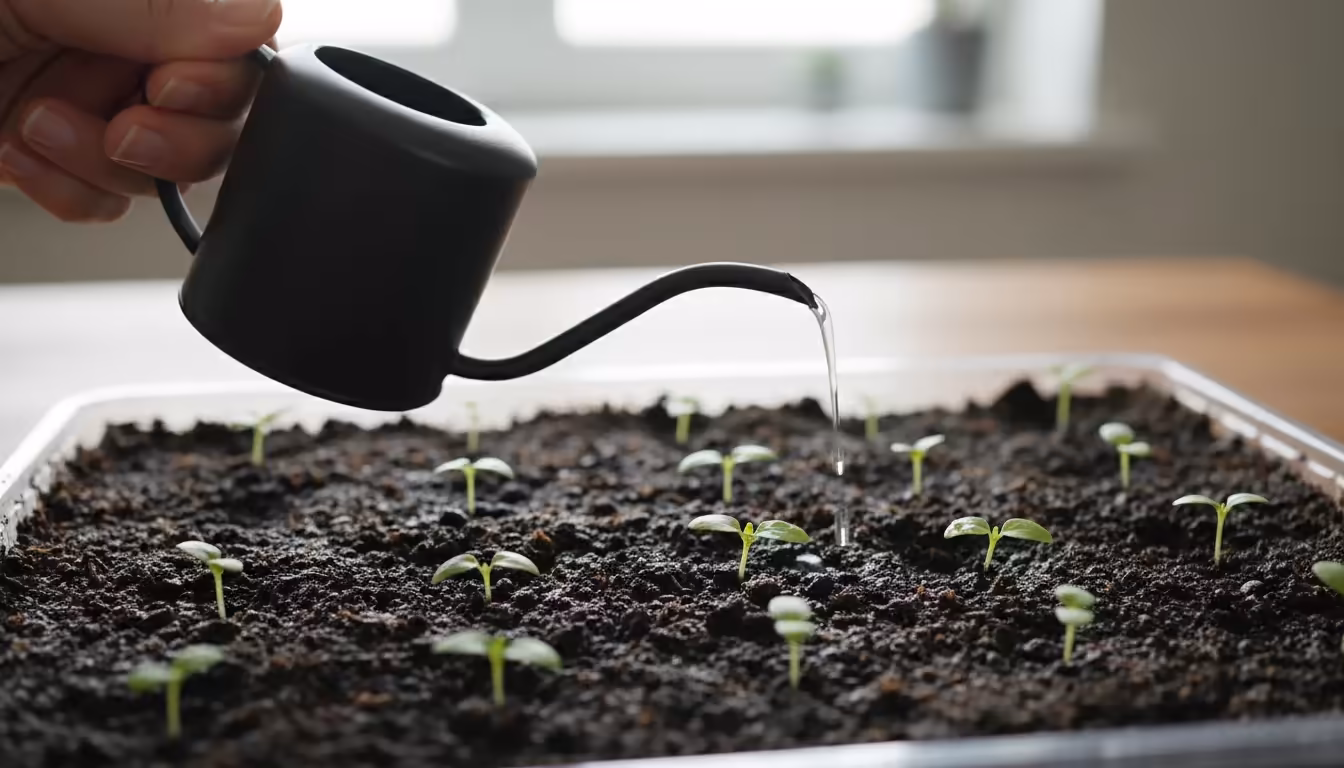
- Use a Gentle Sprayer or Watering Can: If you must water from the top, use a fine mist sprayer or a watering can with a very fine rose attachment. This prevents displacing seeds or delicate seedlings and reduces soil compaction. Water gently around the base of the plants, avoiding direct saturation of the stems.
- Water in the Morning: Watering early in the day allows excess surface moisture to evaporate throughout the day. This prevents water from sitting on the soil surface overnight, reducing the conditions favorable for fungal growth.
Once your plants are strong enough to transition outdoors, prepare them for the elements using a balcony hardening off guide.
Monitoring Soil Moisture Levels
You need to develop a feel for when your seedlings require water. Do not water on a strict schedule. Instead, check the soil moisture daily:
Overwatering is a hazard at any growth stage; if your mature houseplants show signs of distress, follow a root rot rescue plan to save them.
- The Finger Test: Insert your finger about an inch into the soil. If it feels dry, it is time to water. If it still feels moist, wait. This simple test gives you an accurate assessment of moisture levels where roots grow.
- Lift the Tray: Learn to gauge the weight of a dry vs. a watered tray. A dry tray feels significantly lighter. This method provides a quick check, especially useful for larger batches of seedlings.
- Observe Your Seedlings: Healthy seedlings stand upright and look vibrant. Wilting can indicate either too little water or, ironically, too much water (due to root rot). Combine this observation with the finger test for accurate diagnosis.
Ensuring Excellent Drainage
Drainage refers to how water moves through your soil and exits the container. Good drainage is non-negotiable for preventing damping off.
- Use Containers with Drainage Holes: Every seed starting cell or pot you use must have adequate drainage holes at the bottom. Without these, water collects at the base, creating a waterlogged environment that suffocates roots and encourages fungal pathogens.
- Elevate Trays: Place your seed trays on a propagation mat or a wire rack within a larger bottom tray. This allows air to circulate underneath the trays, preventing water from pooling and promoting better drainage.
- Avoid Saucers (Initially): While saucers are useful for mature plants, avoid them for germinating seeds and young seedlings unless you are actively bottom watering and removing excess water immediately. Leaving trays sitting in standing water negates the purpose of drainage holes.
By carefully managing moisture, you actively create an inhospitable environment for damping off fungi. This proactive approach significantly improves your seedlings’ chances of survival and growth.
Let There Be Light: Providing Optimal Growing Conditions
Beyond soil and water, light and air circulation play pivotal roles in preventing damping off. Weak, spindly seedlings are more susceptible to disease, and you strengthen them with proper environmental controls. For apartment gardeners, this often means creating an artificial optimal environment.
The Importance of Adequate Light
Light does more than just power photosynthesis; it encourages strong, stocky growth, making seedlings resilient to disease. When seedlings do not receive enough light, they become “leggy,” stretching towards the light source. These elongated, weak stems are highly vulnerable to collapse from damping off.
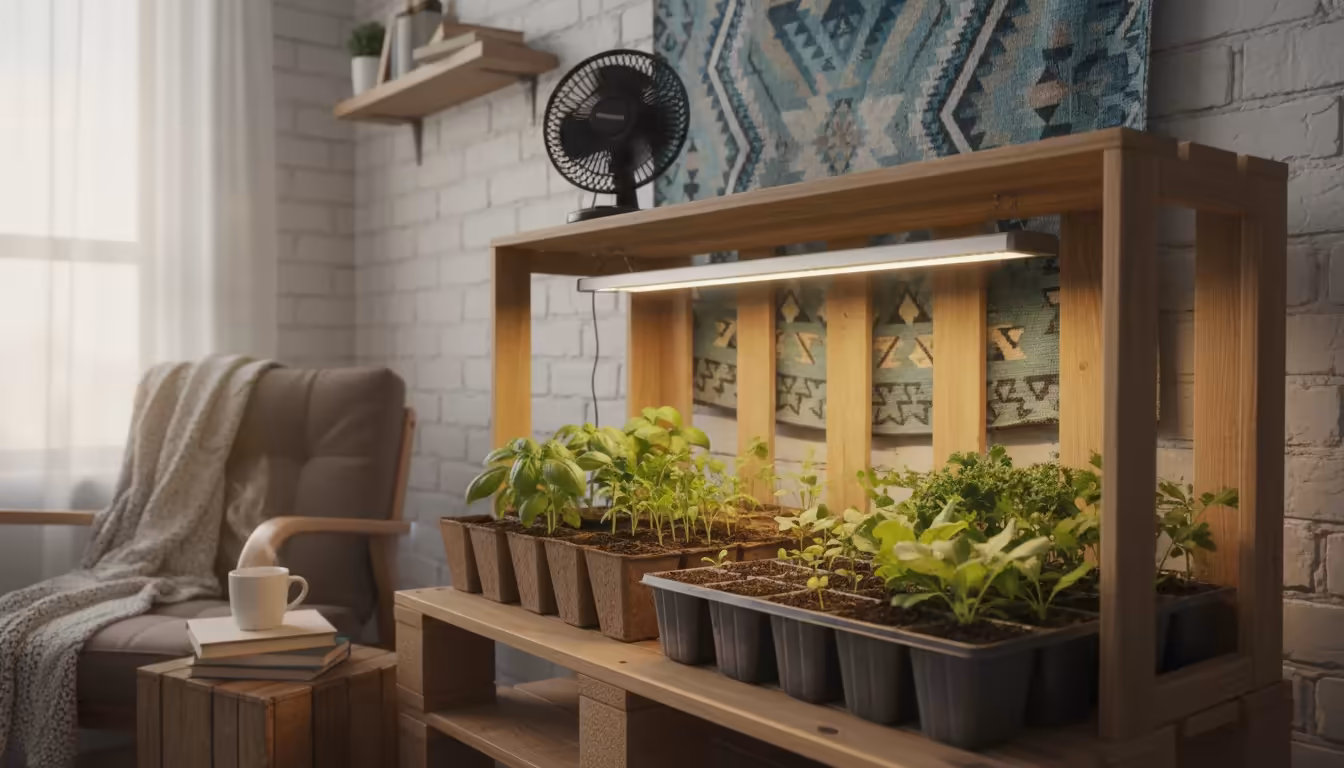
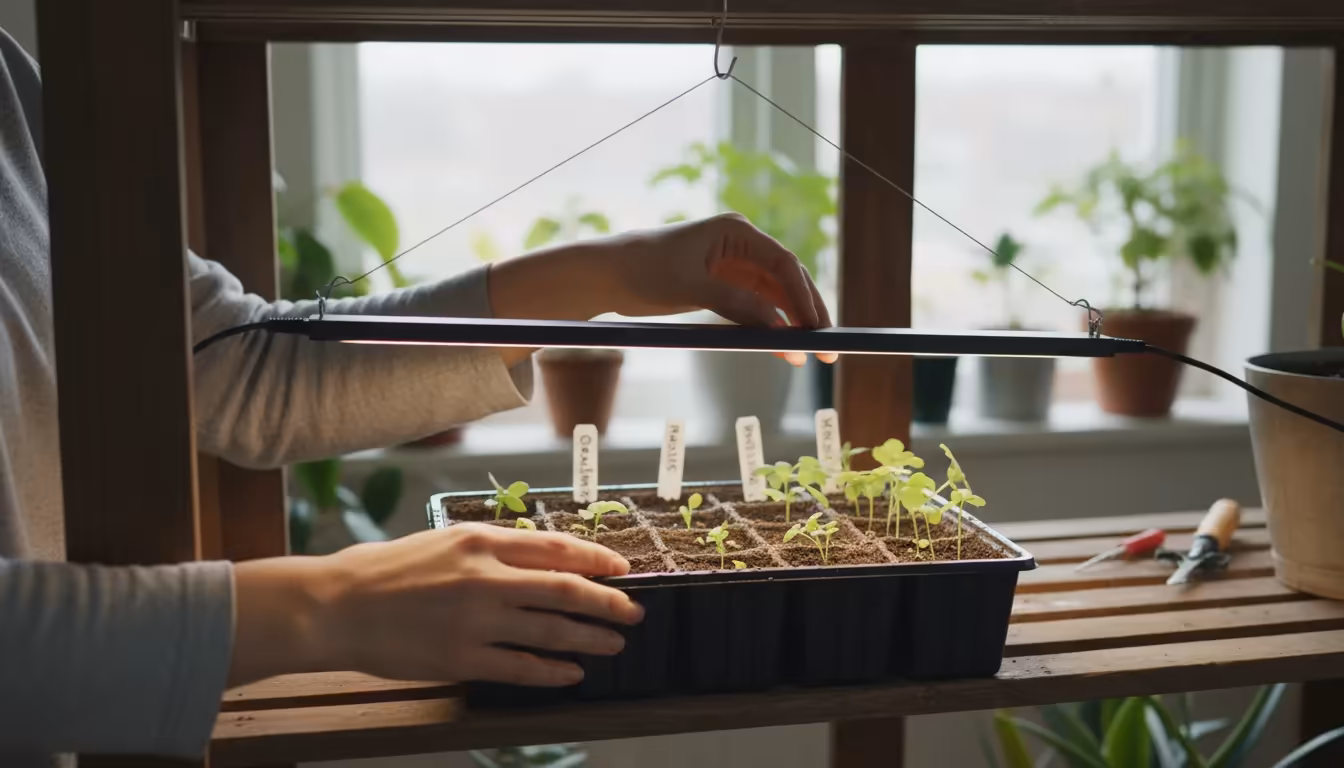
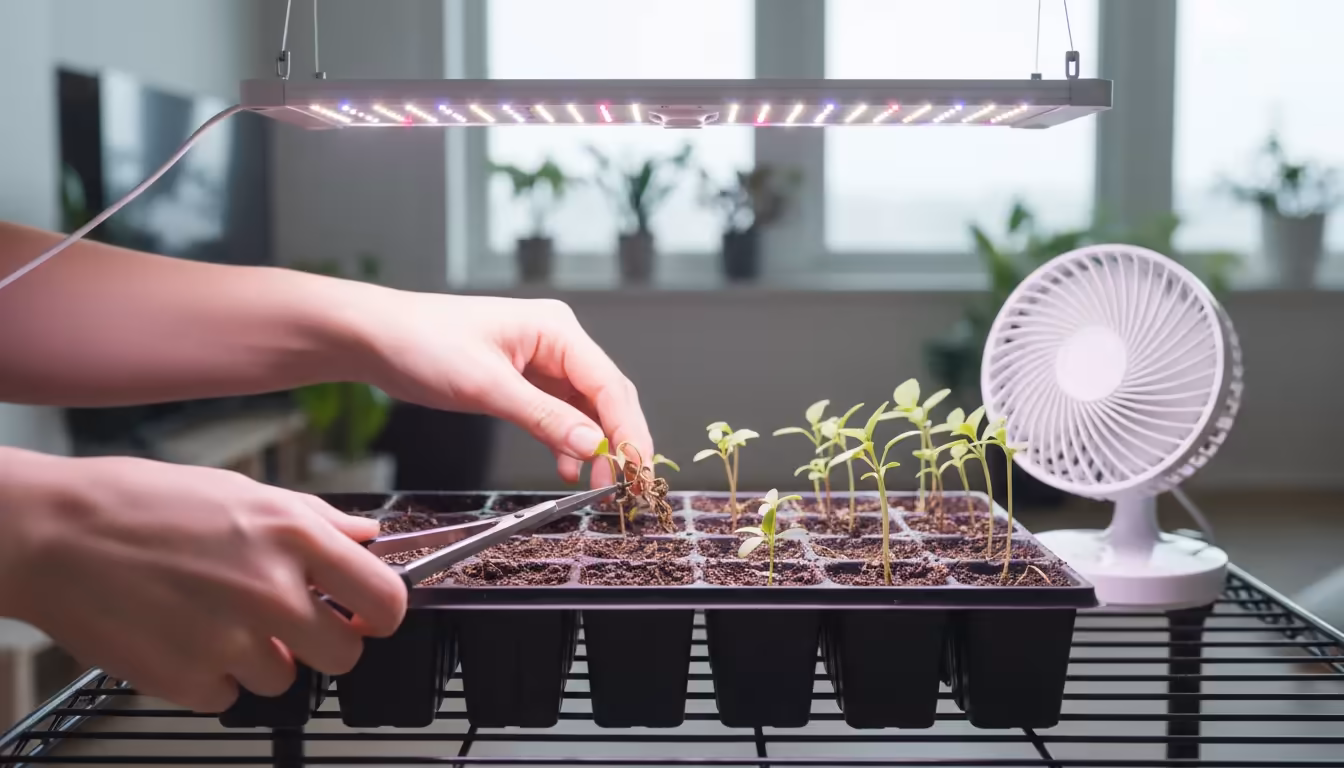
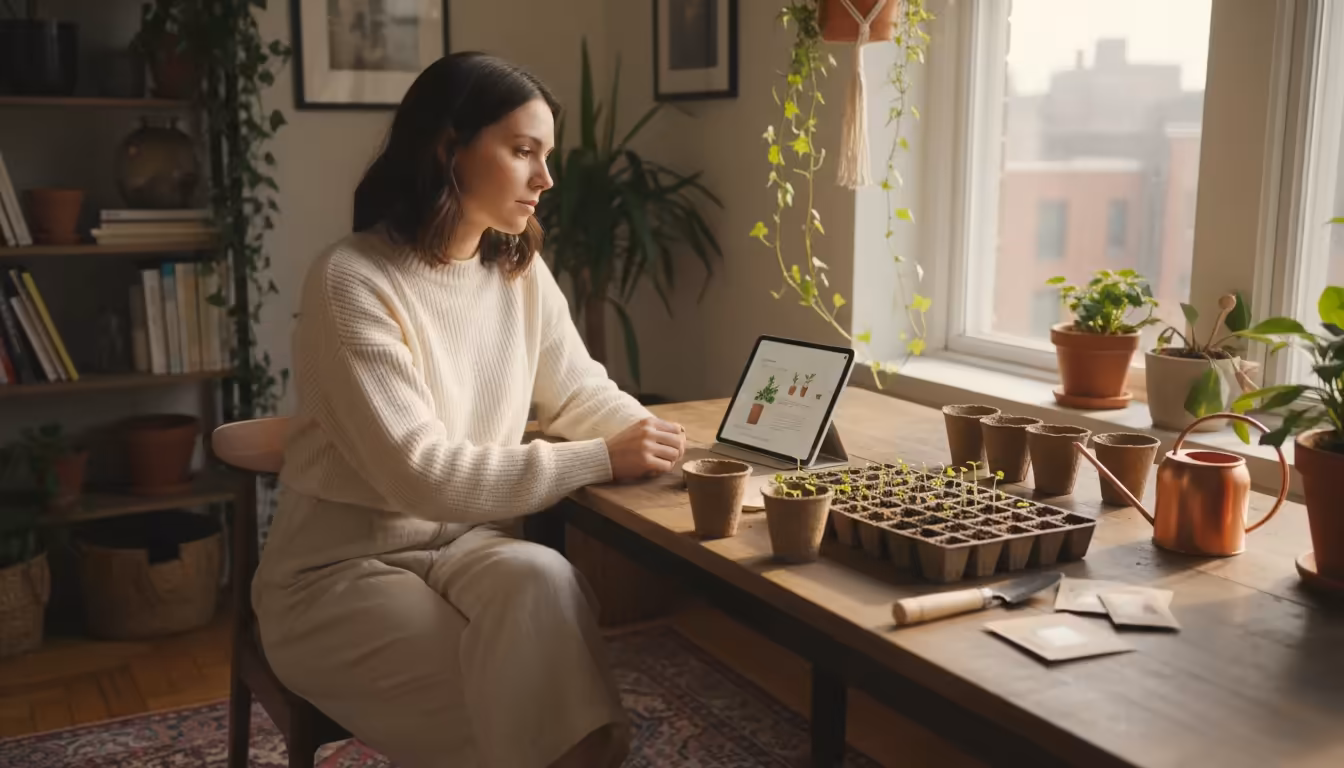
- Use Grow Lights: Natural light through an apartment window is rarely sufficient for robust seedling growth, especially during winter months. Invest in good quality grow lights. LED grow lights are energy-efficient and emit a broad spectrum of light ideal for plants.
- Proper Light Placement: Position grow lights close to your seedlings, typically 2-4 inches above the tops of the plants. Adjust the height as your seedlings grow to maintain this distance. This intense light prevents stretching and promotes compact, strong growth.
- Consistent Light Schedule: Provide 14-16 hours of light per day, followed by 8-10 hours of darkness. A timer simplifies this process, ensuring consistency and mimicking natural day-night cycles essential for plant metabolism.
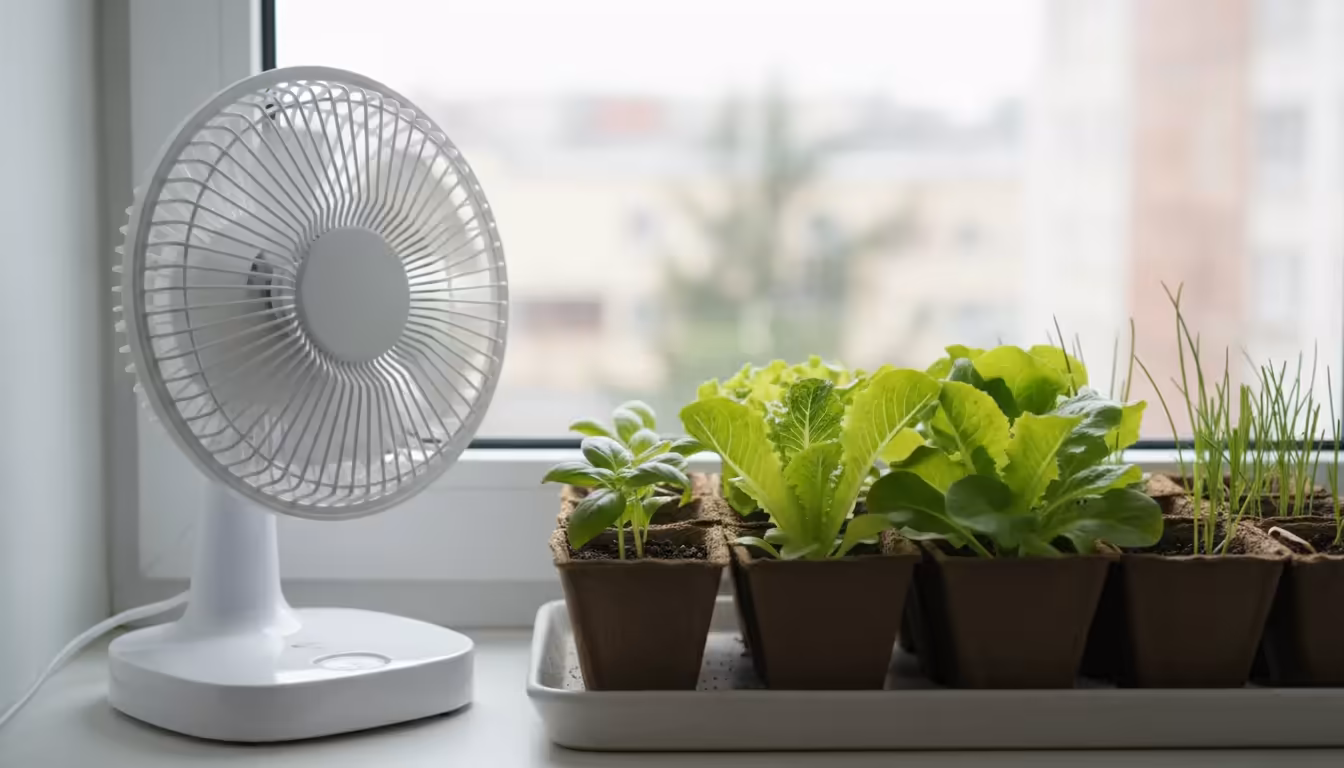
Ensuring Excellent Air Circulation
Stagnant, humid air around your seedlings creates the perfect breeding ground for fungal spores. You need to introduce gentle air movement to disrupt this microclimate.
- Use a Small Fan: A small oscillating fan placed near your seed starting setup provides crucial air circulation. Do not aim the fan directly at the seedlings with strong force; a gentle breeze is sufficient. Run the fan for several hours each day, perhaps 2-4 times a day for 15-30 minutes, or on a low setting for longer periods. This movement strengthens seedling stems, helps evaporate excess moisture from the soil surface, and reduces humidity around the plants.
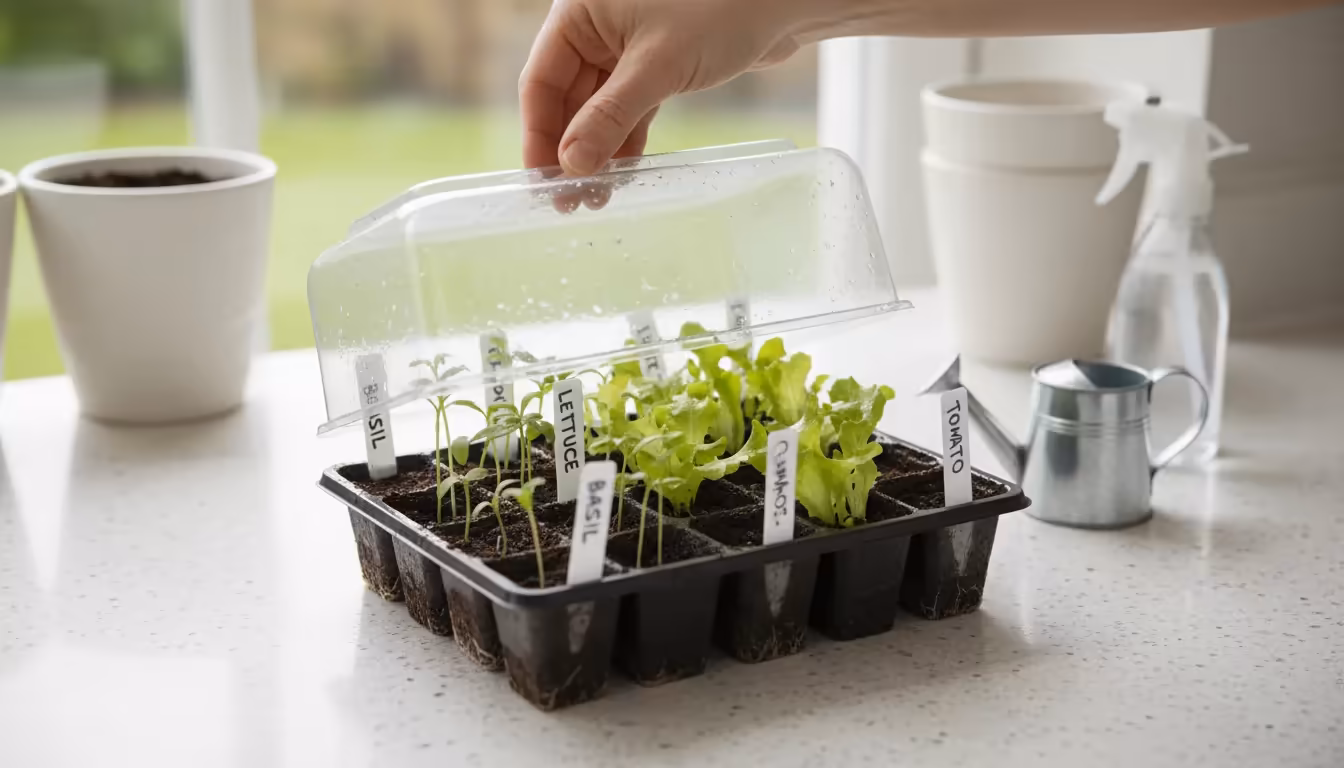
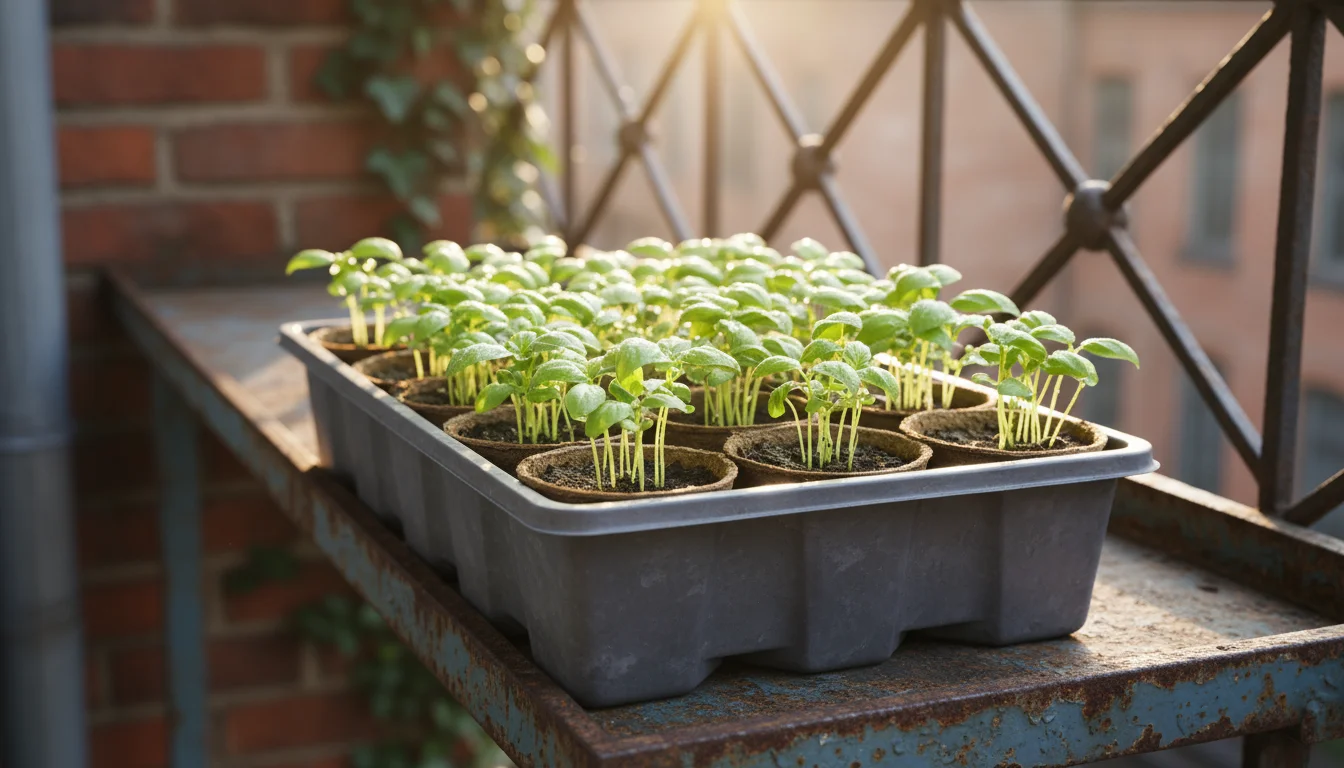
- Space Your Seedlings: Avoid overcrowding. When seedlings germinate too closely, they block air movement around each other. Thin your seedlings as soon as they develop their first set of true leaves, leaving adequate space between remaining plants. This not only improves air circulation but also reduces competition for light and nutrients.
- Remove Humidity Domes (Post-Germination): Humidity domes are excellent for germination as they create a warm, moist environment. However, remove them as soon as the first seedlings emerge. Trapping humidity around young, delicate seedlings encourages damping off. Once germinated, seedlings require good airflow more than high humidity.
By providing ample light and consistent air circulation, you foster a robust growing environment that minimizes the conditions favorable for damping off. These practices ensure your seedlings develop strong stems and healthy root systems, better equipped to resist disease.
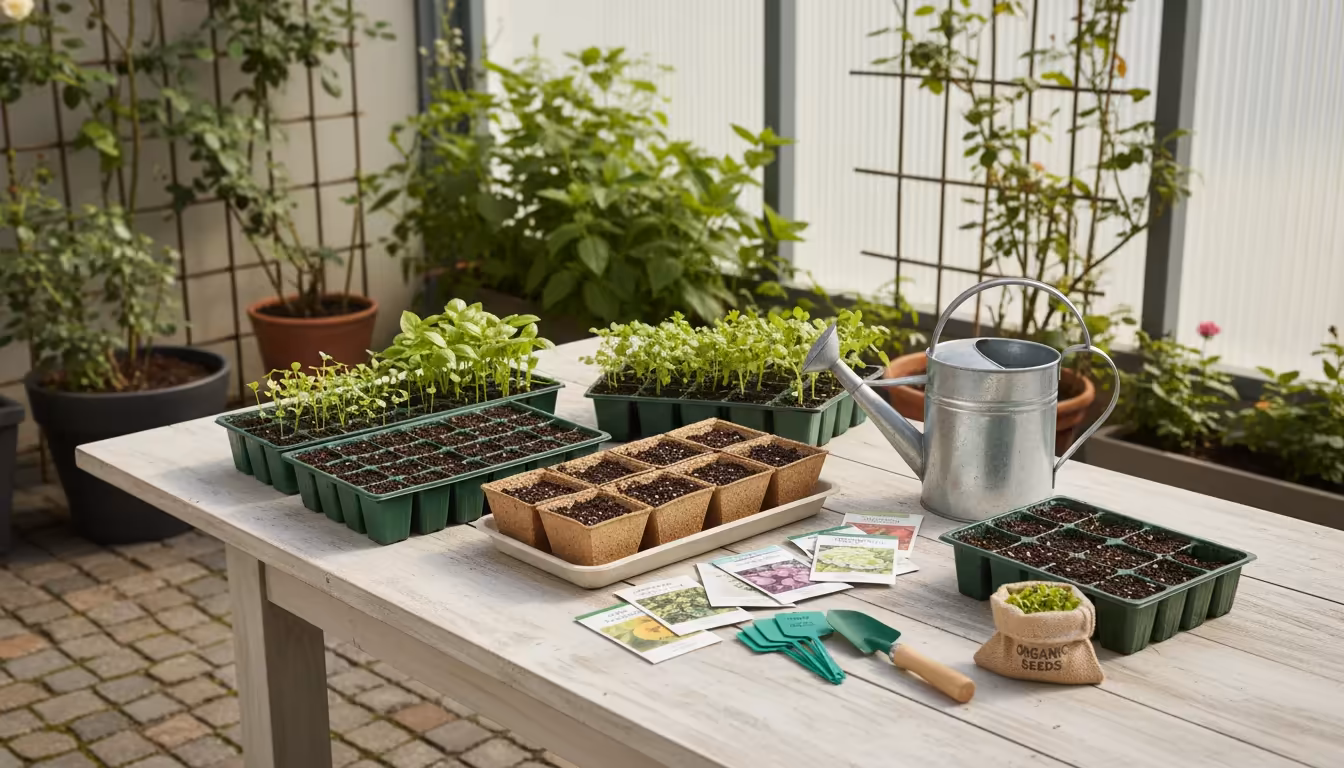
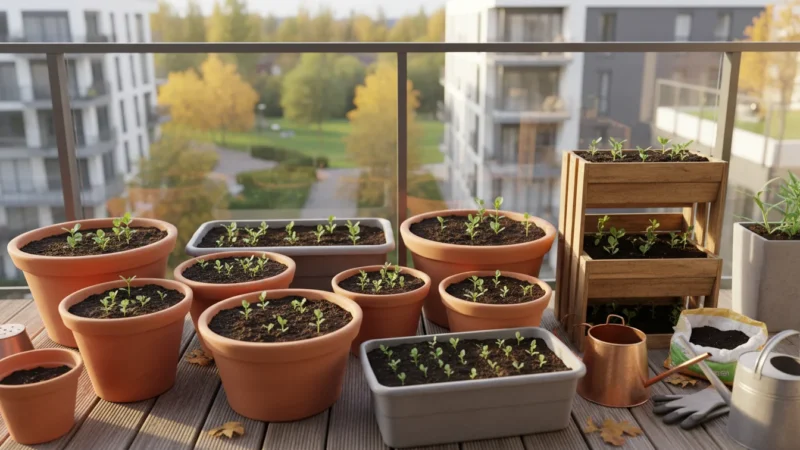
Choosing Your Containers: Small Space Solutions for Healthy Seedlings
Your choice of containers plays a significant role in successful seed starting, particularly when addressing the challenges of limited space and preventing damping off. You possess many options suitable for small-space gardening, each with considerations for health and sustainability.
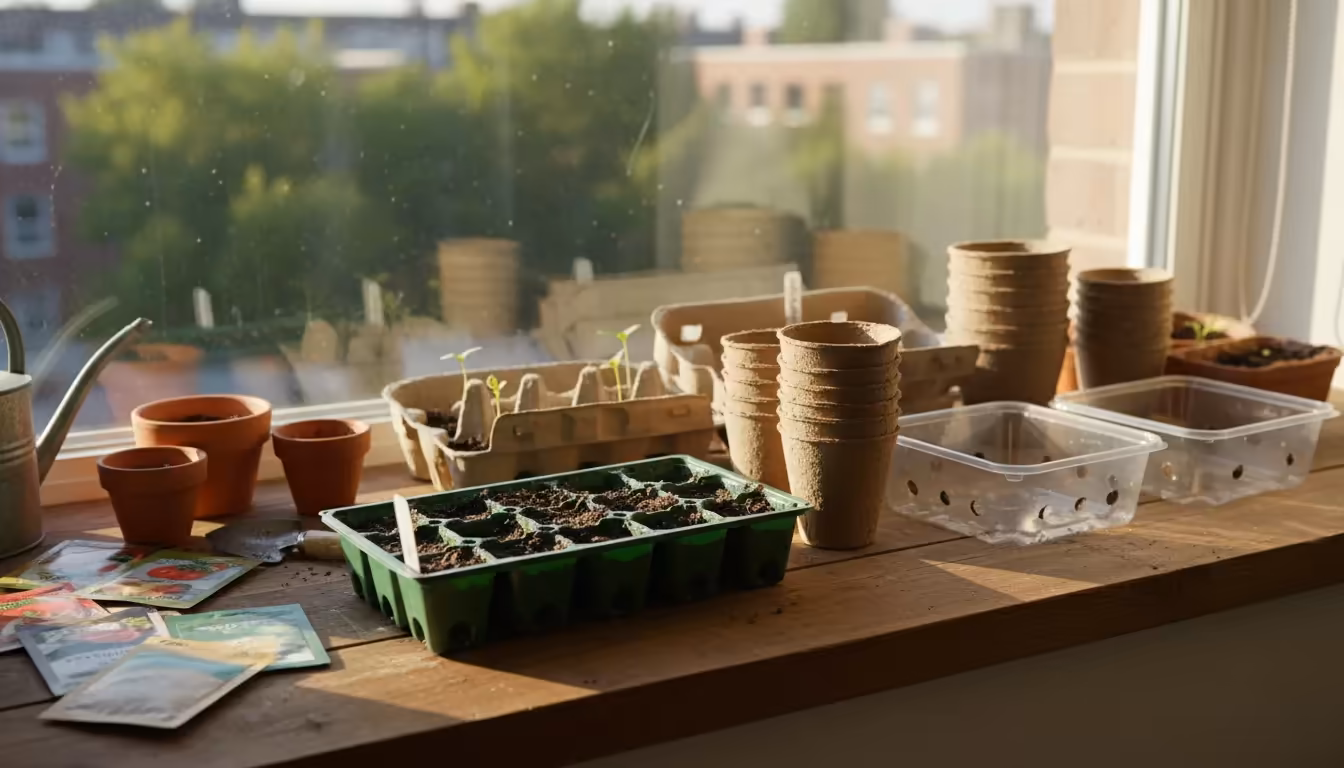
Types of Seed Starting Containers
- Plastic Cell Trays: These are a popular choice due to their reusability and various cell sizes. Opt for trays with individual cells, which allow you to separate seedlings easily and minimize root disturbance during transplanting. Ensure they have clear drainage holes. Clean and sanitize these thoroughly between uses to prevent disease transmission.
- Peat Pots/Pellets and Coir Pots/Pellets: These biodegradable options simplify transplanting, as you plant the entire pot directly into the garden, reducing transplant shock. They also offer a more eco-friendly choice. However, they can sometimes wick moisture away from the soil, potentially leading to faster drying, or conversely, stay too wet if not managed correctly. Ensure good air circulation around them to prevent mold on the pot itself.
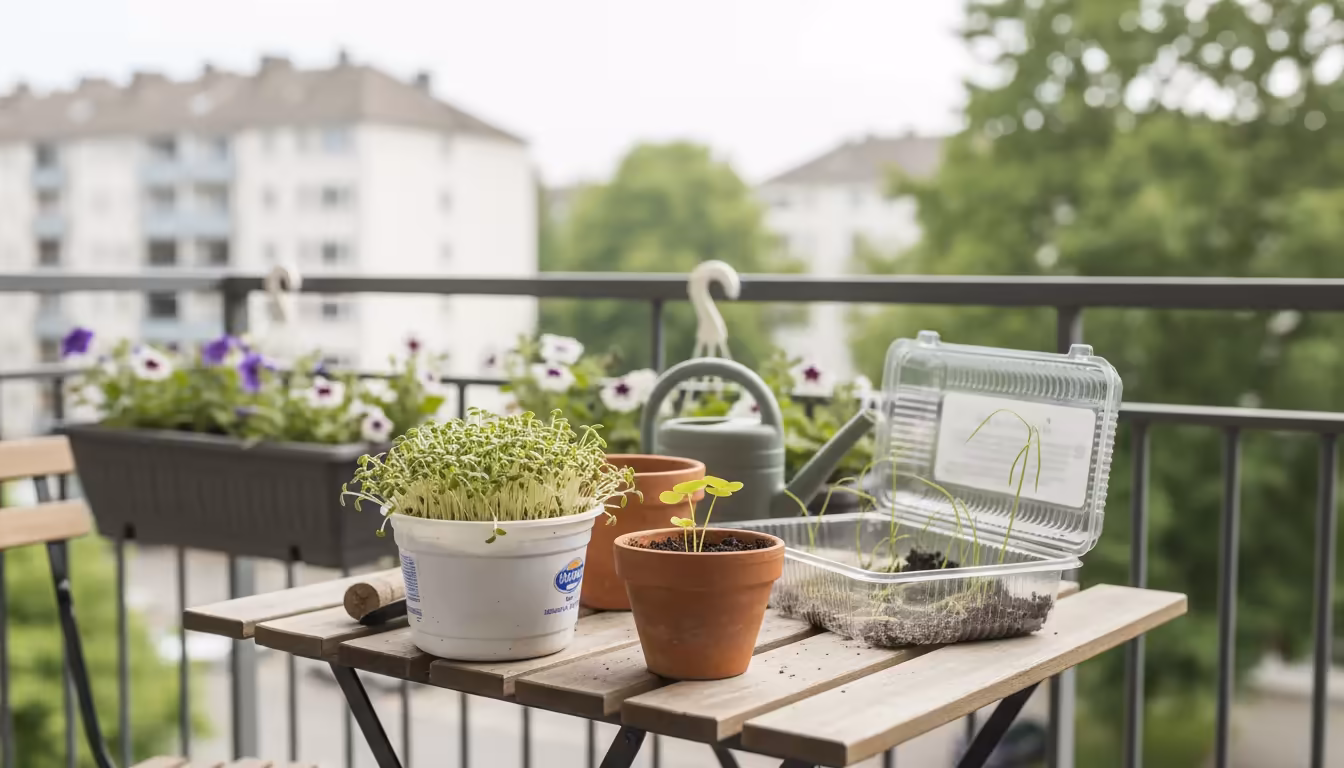
- DIY Containers: For an environmentally conscious approach, you can repurpose household items. Clean yogurt cups, milk cartons (cut in half), or even toilet paper rolls serve as excellent biodegradable options. Remember to poke drainage holes in the bottom of any repurposed container. Just like other equipment, sterilize them if they previously held organic material.
- Soil Blocks: This advanced method eliminates the need for plastic pots entirely. A soil blocker tool compresses seed starting mix into self-contained blocks. This promotes strong root development and excellent air circulation around each block, making them highly effective against damping off. They represent an excellent sustainable option for the committed apartment gardener.
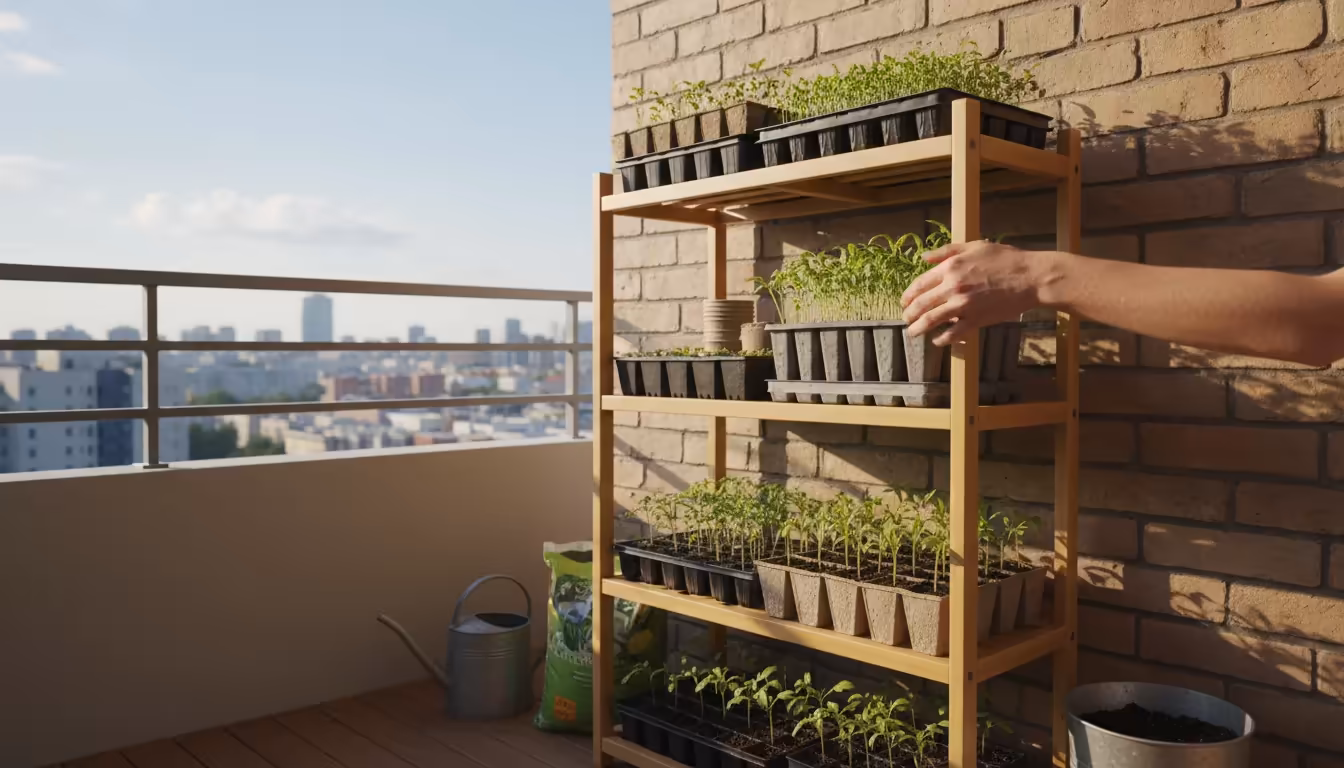
Considerations for Small Spaces
When selecting containers for an apartment, you balance size, number of plants, and ease of management:
- Maximize Vertical Space: Look for multi-tiered seed starting racks or shelving units to grow more seedlings without taking up excessive floor space. Position your grow lights to cover multiple tiers effectively.
- Modular Systems: Many seed starting kits feature modular trays, allowing you to move or rotate sections independently. This proves useful for tailoring light exposure or quarantining any potentially infected seedlings.
- Efficient Watering Systems: Consider self-watering seed starting trays that incorporate a reservoir. These systems often utilize wicking mats to provide consistent moisture from below, simplifying watering and promoting even hydration without surface saturation. This is a practical solution for busy gardeners.
Regardless of your container choice, the principles of proper drainage, hygiene, and appropriate soil remain paramount. By selecting and managing your containers thoughtfully, you create a robust foundation for preventing damping off and fostering thriving seedlings in your limited space.
Troubleshooting and Swift Action: What to Do When Damping Off Strikes
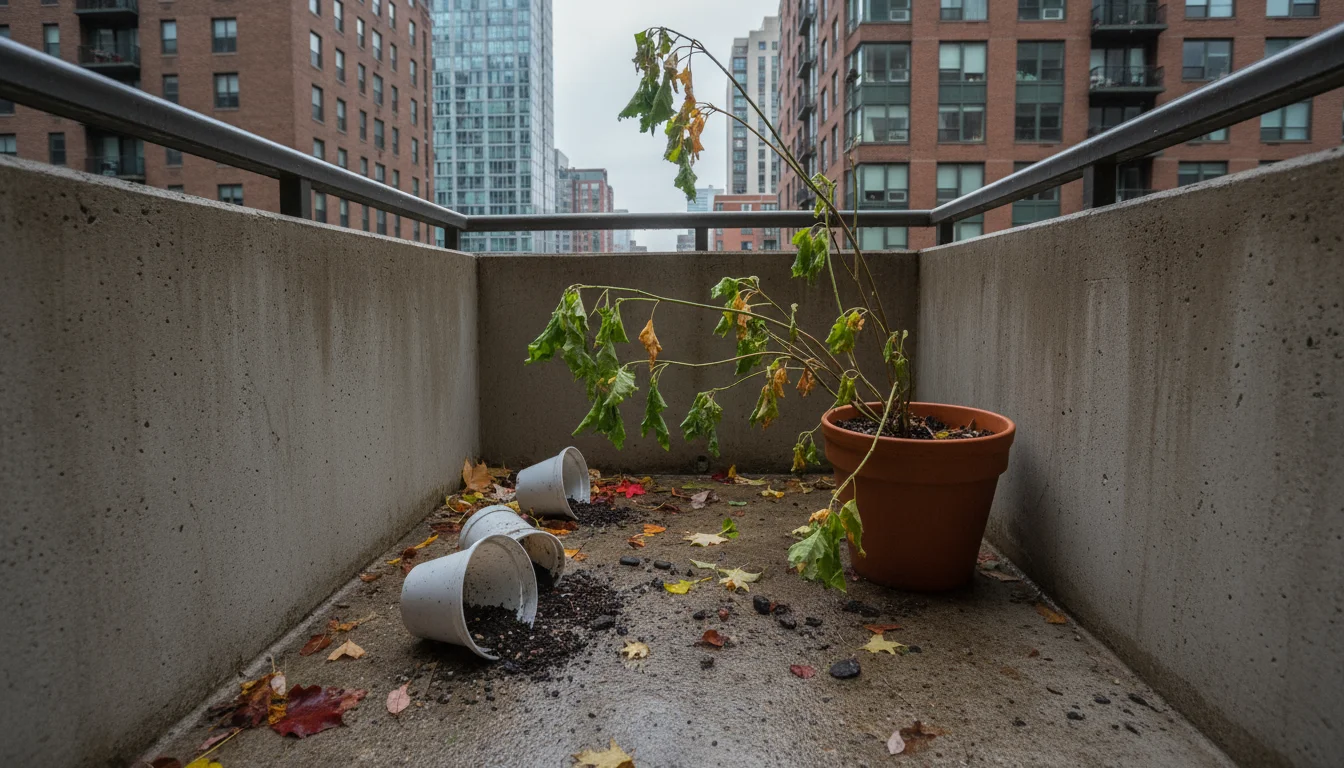
Despite your best preventative efforts, damping off can occasionally appear. When you spot the characteristic wilting and collapse of seedlings at the soil line, swift action becomes crucial. You can often save surrounding seedlings and prevent the disease from spreading throughout your entire tray.
Identifying the Symptoms
Early detection gives you the best chance of intervention. Look for these tell-tale signs:
- Stem Lesions: The most distinctive symptom is a water-soaked, pinched, or discolored area at the soil line on the seedling’s stem.
- Sudden Collapse: Healthy-looking seedlings abruptly fall over, even if their leaves still appear green. This is a rapid process.
- Fuzzy Growth: In severe cases, you might observe a white, cottony, or grayish fungal growth on the soil surface or around the base of the stems. This indicates a widespread fungal presence.
- Failure to Germinate: Sometimes, damping off attacks seeds before they even emerge, causing them to rot in the soil. If many seeds fail to sprout, despite ideal conditions, damping off might be the culprit.
Immediate Steps to Take
When you confirm damping off, act quickly to contain the problem:
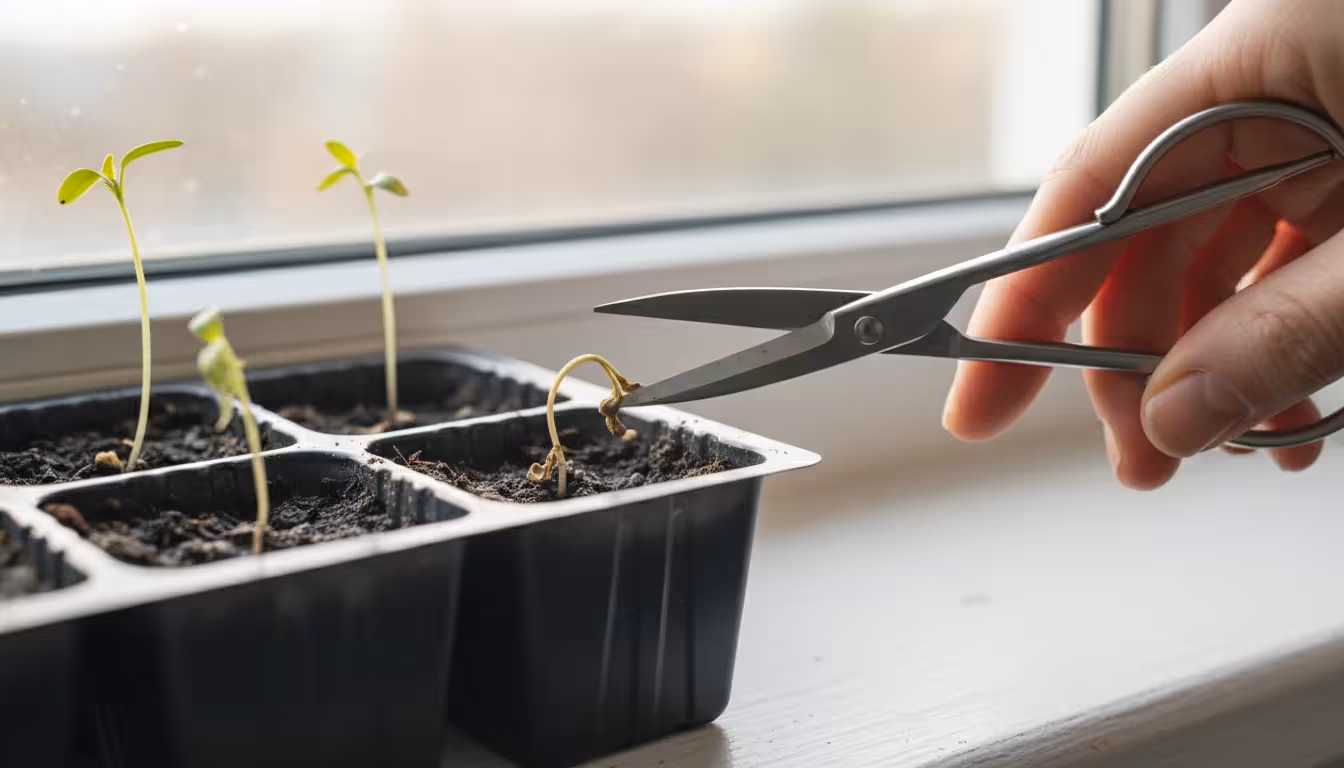
- Remove Infected Seedlings: Immediately and carefully remove any affected seedlings, along with the surrounding soil. Use clean scissors or tweezers to avoid disturbing healthy plants. Dispose of these infected plants in the trash, not your compost, to prevent spreading the pathogens.
- Improve Air Circulation: Increase the airflow around your remaining seedlings. Turn on a small fan if you haven’t already, or increase its duration. Ensure adequate spacing between plants.
- Reduce Watering: Allow the soil surface to dry out between waterings. Ensure you are bottom watering, and remove excess water from trays promptly. Avoid letting your seedlings sit in standing water.
- Increase Light: Ensure your seedlings receive adequate light from grow lights. Stronger light promotes vigorous growth, making plants more resilient.
- Consider a Fungicide (Last Resort): For persistent or widespread issues, you might consider an organic fungicide specifically labeled for seedlings and damping off prevention. Options include products containing Bacillus subtilis or specific copper-based solutions. Always read and follow product instructions carefully. For apartment gardeners, chemical interventions are often less desirable and less practical than environmental controls.
Common Mistakes to Avoid
Reviewing these common pitfalls helps reinforce preventative measures:
- Overwatering: This remains the number one mistake. Err on the side of slightly dry rather than consistently wet soil.
- Lack of Sterilization: Reusing old pots without cleaning or using unsterile soil invites trouble.
- Poor Airflow: A stuffy, humid environment sets the stage for fungal outbreaks.
- Overcrowding: Planting too many seeds too close together fosters ideal disease conditions and creates weak plants.
- Using Garden Soil: Garden soil contains far too many pathogens and is too heavy for delicate seedlings, leading to compaction and poor drainage.
By understanding the signs of damping off and knowing how to respond, you empower yourself to protect your investment in time and effort. You can quickly minimize losses and preserve the health of your remaining seedlings, ensuring your small garden thrives.

Advanced Prevention: Smart Strategies for Apartment Gardeners
Once you master the basics of preventing damping off, you can incorporate additional strategies that further fortify your apartment seed starting setup. These methods offer an extra layer of protection, particularly beneficial for those growing more delicate or valuable plants.
Seed Treatment Options
You can give your seeds a head start by treating them before planting, reducing the risk of fungi already present on the seed coat:
- Hot Water Treatment: For certain seeds, a quick dip in hot water (around 120-125°F or 49-52°C) for a few minutes can kill surface pathogens without harming the seed. Research specific temperature and duration for the type of seed you are treating, as some are more sensitive than others. This method often applies to vegetable seeds.
- Seed Scarification and Stratification: While not directly related to damping off prevention, these processes, by encouraging faster and more uniform germination, reduce the time seeds spend in vulnerable stages. For example, scarifying hard-coated seeds to allow water penetration and stratifying seeds that require a cold period for germination means healthier, more synchronous sprouts.
- Biofungicides/Beneficial Microbes: Some seed starting mixes come pre-inoculated with beneficial fungi or bacteria, such as Trichoderma species or Bacillus subtilis. These microorganisms compete with pathogenic fungi for resources and space, and some even actively suppress disease-causing organisms. You can also purchase these as seed treatments or soil drenches. Scientific studies have shown significant reduction in damping off incidence when using these biological controls.
Maintaining Optimal Environmental Control
Fine-tuning your environment provides ongoing defense:
- Consistent Temperature: Maintain consistent temperatures appropriate for your specific seeds. Most vegetable seeds germinate best between 70-80°F (21-27°C) and then grow well at slightly cooler temperatures, around 65-70°F (18-21°C). Use a seedling heat mat with a thermostat to precisely control soil temperature during germination. Remove the mat once seeds have sprouted to prevent excessive warmth that can encourage some fungal growth and make plants leggy.
- Humidity Management: While high humidity aids germination, it becomes detrimental for young seedlings. As mentioned, remove humidity domes promptly after sprouting. If your apartment naturally experiences very high humidity, consider running a dehumidifier near your grow area, especially if you lack strong air circulation. Aim for ambient humidity levels below 60% for optimal seedling health.
Strategic Placement and Observation
- Isolate New Batches: When starting new batches of seeds, especially if using new soil or repurposed containers, consider isolating them from your established seedlings for a week or two. This prevents any unforeseen contamination from spreading quickly.
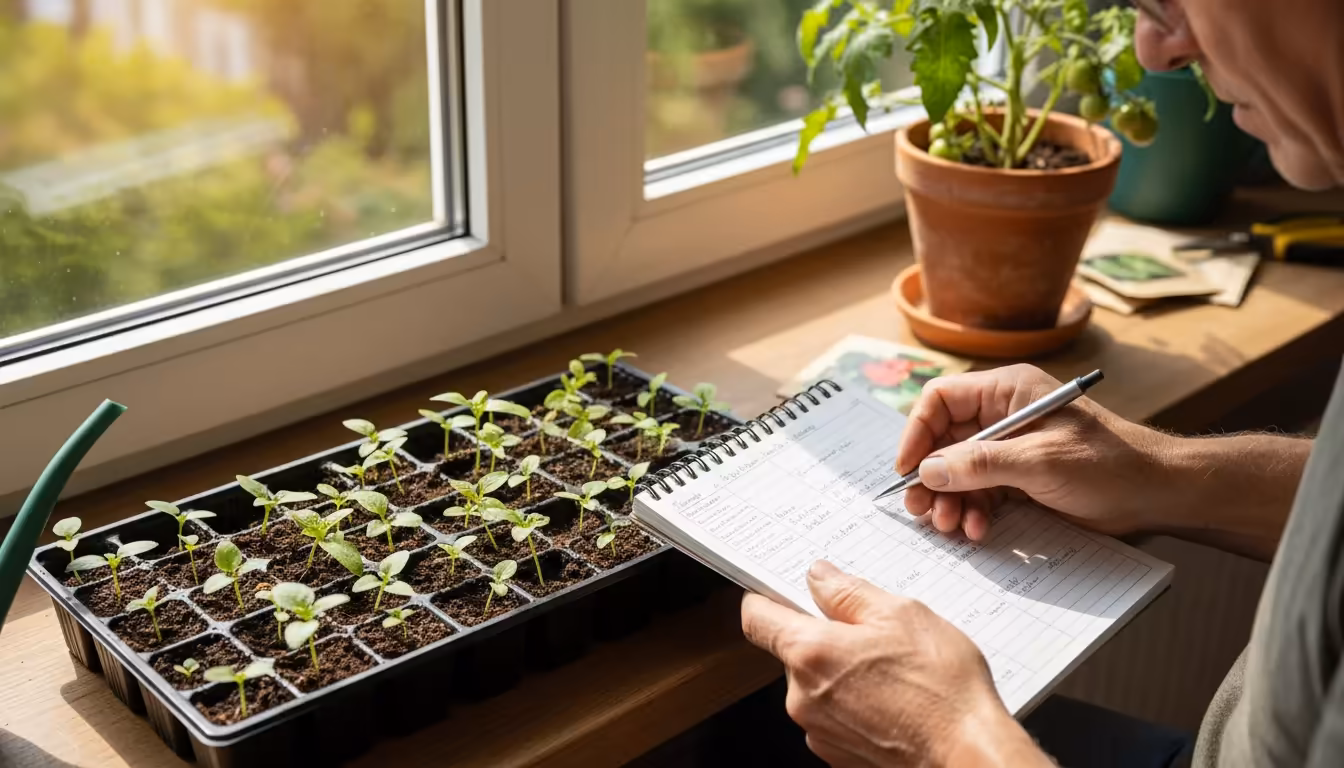
- Regular Inspection: Make daily inspections a habit. Check the undersides of leaves, the soil surface, and the base of stems. Early detection allows you to address issues before they become widespread.
- Record Keeping: Keep a small logbook. Note when you planted seeds, when they germinated, your watering schedule, and any issues encountered. This data helps you identify patterns and refine your practices over time, making you a more effective and proactive gardener. For instance, if you consistently observe damping off in one particular tray, you might identify a microclimate issue in that spot.
Implementing these advanced strategies provides a comprehensive defense against damping off. You actively create an environment where your seedlings not only survive but truly thrive, even within the confines of an apartment. Your diligent efforts pay off with a bountiful and healthy harvest.
Frequently Asked Questions
Can I reuse soil from previous seed starting attempts?
No, avoid reusing soil from previous seed starting attempts. Even if the previous seedlings appeared healthy, the soil can harbor dormant fungal spores and depleted nutrients. Reusing it significantly increases the risk of damping off and other seed starting problems. Always start with fresh, sterile seed starting mix for each new batch of seeds to give them the best possible chance.
Do all seeds get damping off?
While all germinating seeds and young seedlings are susceptible to damping off, some plant species are more vulnerable than others. Plants with very delicate stems, slow germination rates, or those requiring warm, moist conditions for extended periods (like peppers and tomatoes) often show higher susceptibility. However, the environmental conditions you provide play a much larger role than the specific seed type in determining if damping off will occur.
Does sterilizing soil in the microwave work?
Yes, you can sterilize small batches of soil in a microwave. Place moist soil in a microwave-safe container, leaving the lid slightly ajar for steam to escape. Microwave on high for 2-3 minutes per pound of soil, ensuring the internal temperature reaches at least 180°F (82°C). Allow it to cool completely before use. This method kills pathogens, but be aware it can create a strong, unpleasant odor in your kitchen. It is an effective method for small-scale sterilization.
How do I know if my seedlings have enough air circulation?
You can tell your seedlings have enough air circulation if the soil surface appears to dry out within a reasonable timeframe after watering (usually within a day or two), and you do not see any fuzzy mold growth on the soil or leaves. You should also observe a gentle sway in the seedlings if a fan is running nearby, indicating active air movement. Stagnant air often feels heavy and moist, a sign that more circulation is needed.
Are there any natural remedies for damping off once it appears?
Once damping off appears, immediate removal of infected plants and environmental correction (reducing moisture, increasing air circulation) are the most effective actions. For a natural approach, you can try a very diluted chamomile tea solution (cooled) as a gentle soil drench, as chamomile possesses mild antifungal properties. However, prevention remains far more effective than trying to cure an active damping off outbreak. Focus your efforts on creating ideal conditions from the start.
For trustworthy gardening information, visit:
Pollinator Partnership, International Society for Horticultural Science (ISHS), Plantlife (UK) and Botanical Society of America. These organizations provide expert, research-based advice for gardeners at all levels.
Disclaimer: This article is for informational purposes only and is not a substitute for professional gardening advice. Always consult local extension services or horticulture experts for region-specific guidance.

Leave a Reply