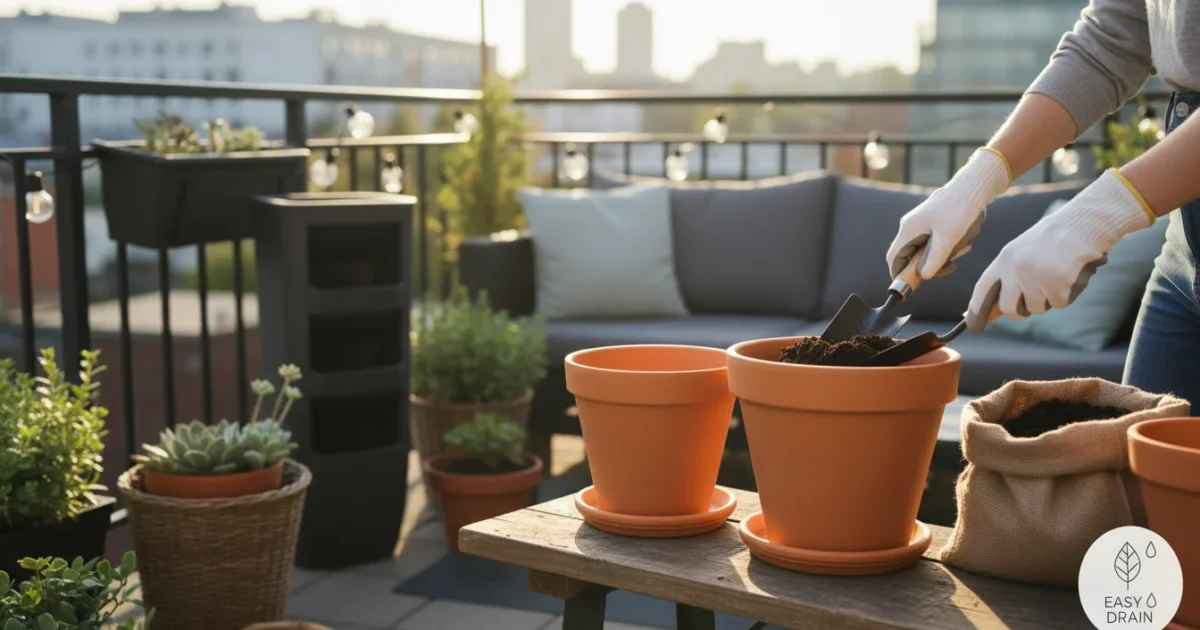
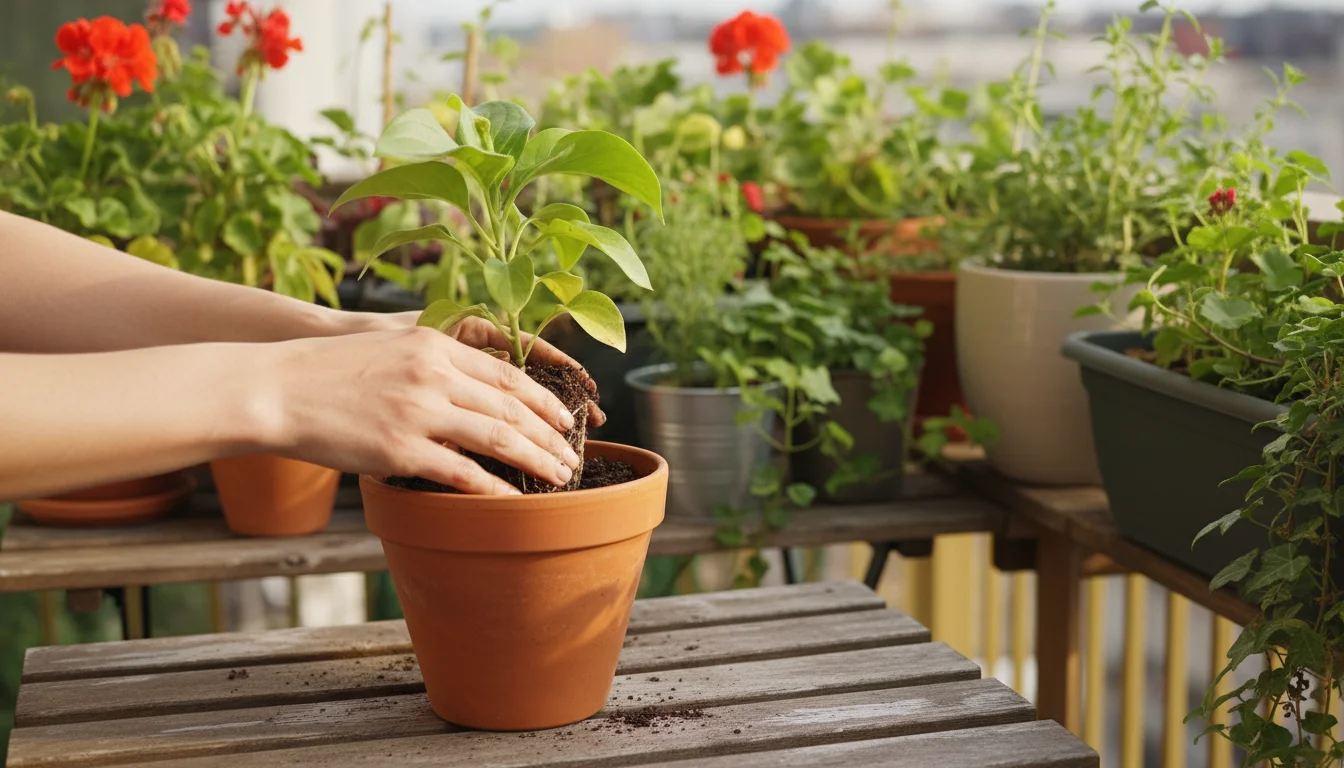
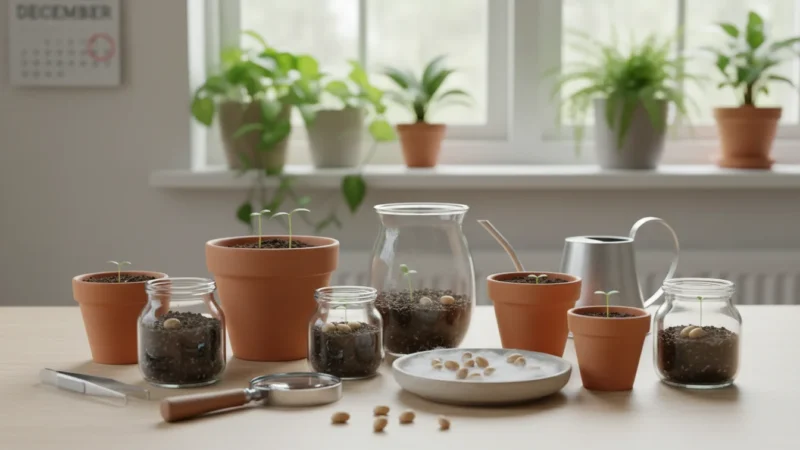
Embarking on your gardening journey, especially in a small space, often begins with a single, crucial decision: selecting your first plant pot. This choice sets the stage for your plant’s health and your gardening success. A well-chosen container provides the right home for roots, manages water effectively, and contributes to the aesthetic of your balcony, patio, or windowsill. Conversely, a poor choice can lead to plant stress, disease, and frustration, even before your seeds sprout or your seedlings take root. Avoid these common missteps by understanding the fundamentals of choosing containers for plants. This guide equips you with practical, actionable insights to make confident decisions this spring, ensuring your plants thrive from day one.
If you are preparing older containers for the new season, check out our guide on waking up your balcony pots after winter to ensure a clean start.
For a complete seasonal roadmap, refer to our spring planting guide for container gardeners to keep your project on track.
The Critical Role of Your Container
Your plant container is more than a decorative holder; it creates a micro-environment for your plant’s roots. Roots perform vital functions, absorbing water and nutrients while anchoring the plant. The right pot supports these functions by providing adequate space, proper aeration, and efficient water management. Beginners often overlook these critical aspects, focusing solely on aesthetics or price. However, understanding the science behind pot selection significantly improves your chances of growing healthy, productive plants. Choosing a container with suitable material and size directly impacts soil temperature, moisture retention, and nutrient availability, all of which are paramount for plant vitality. This foundational decision truly impacts your gardening journey.
Once your plants are settled in their new homes, timing your first fertilizing of spring correctly will ensure they receive a vital nutrient boost.
Along with choosing the right pot, mastering soil basics for containers is essential for establishing a healthy, thriving root environment.
Understanding Drainage: The Lifeline of Container Gardening
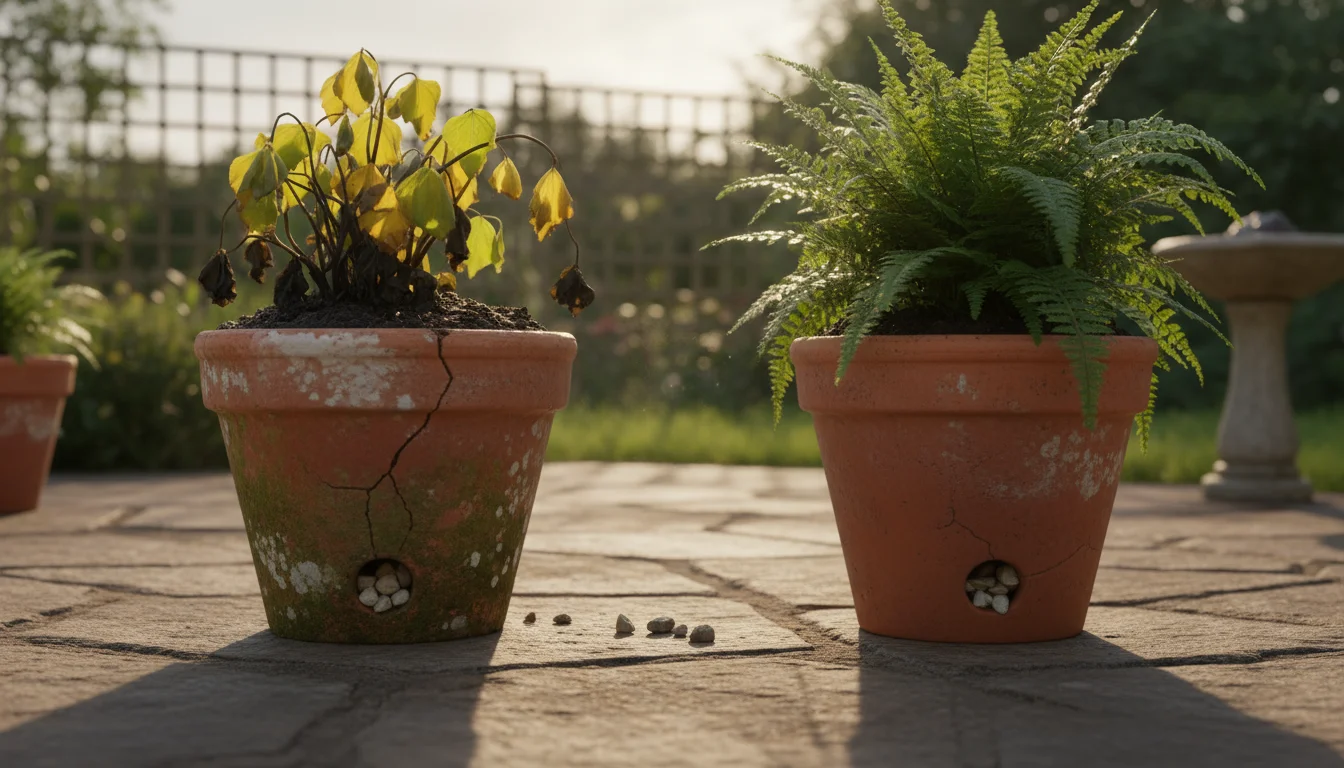
Drainage stands as the single most important factor when choosing pots for container gardening. It refers to how efficiently excess water moves out of the soil and away from your plant’s roots. Without adequate drainage, water accumulates at the bottom of the pot, creating a soggy, oxygen-deprived environment. This leads to root rot, a common and often fatal issue for container plants. Plant roots need oxygen to respire and absorb water effectively. Waterlogged soil suffocates roots, making them unable to function, resulting in wilting, yellowing leaves, and ultimately, plant death.
Proper drainage is also your first line of defense against pests; establishing proactive spring habits to prevent pests will keep your new plantings safe from infestation.
The Essential Drainage Hole
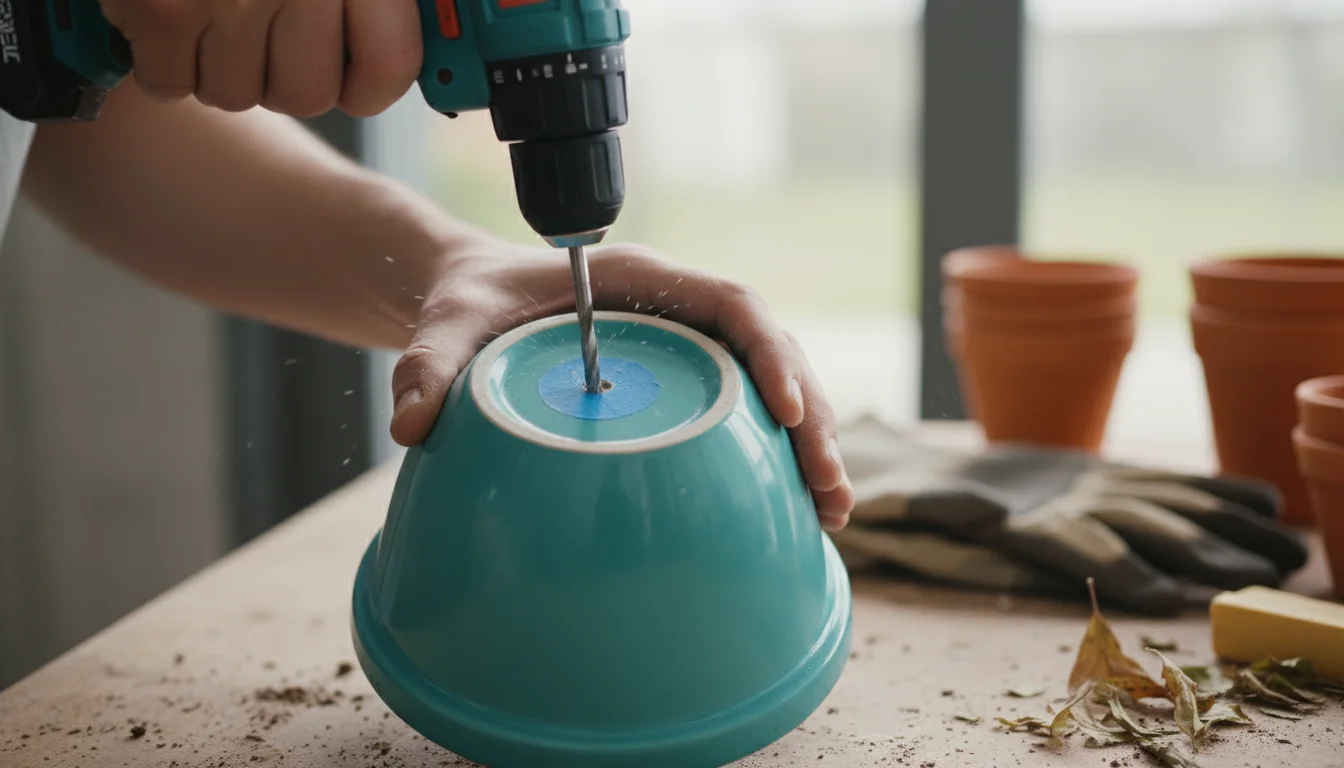
Every pot you select for planting must have drainage holes. This is non-negotiable. Manufacturers design most garden pots with one or more holes at the bottom, allowing water to escape freely. If a decorative pot lacks holes, you have two options: either drill your own using an appropriate drill bit for the material, or use it as a cachepot, placing a plant in a separate, smaller pot with drainage inside. Never plant directly into a pot without drainage holes, expecting your plant to survive.
If you need to make physical modifications like drilling, having a few essential gardening tools for beginners will make the task safe and easy.
Improving Drainage: The Myths and Facts
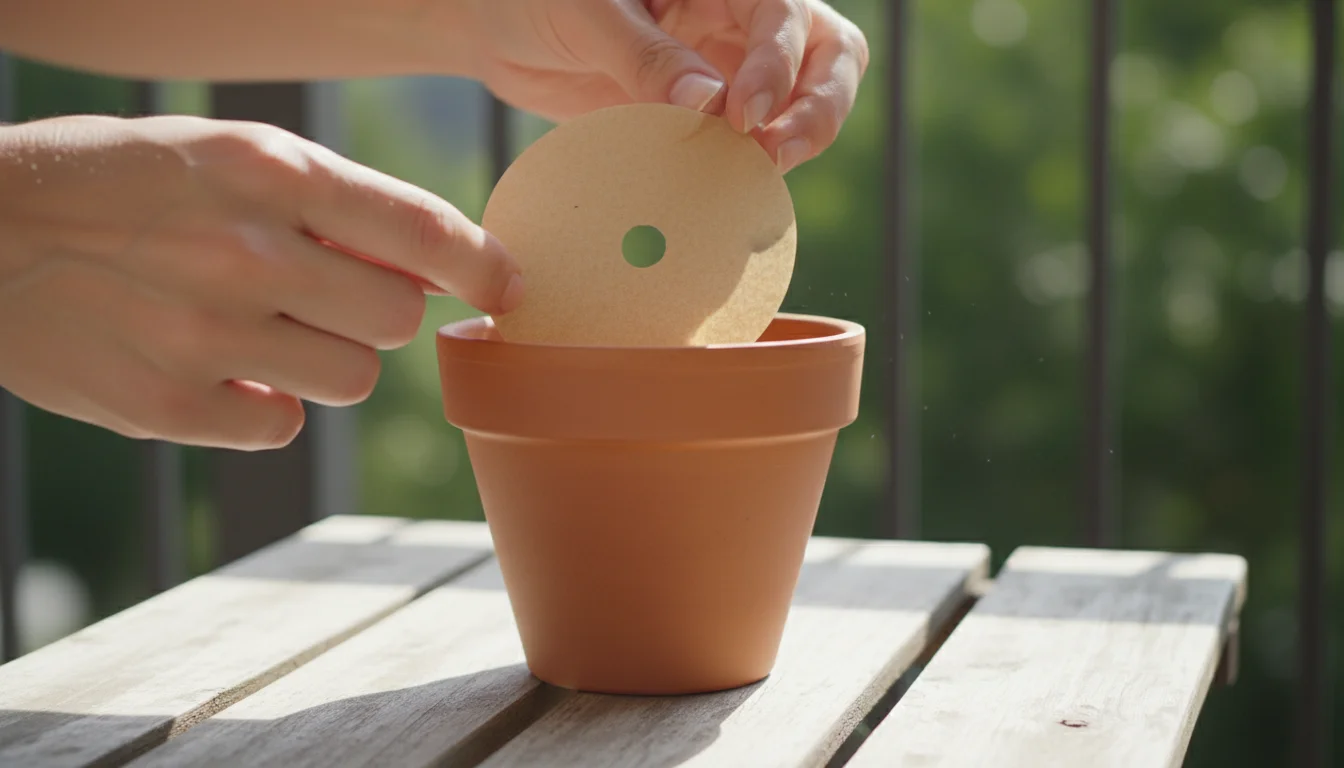
For decades, gardeners believed placing a layer of gravel, broken pottery, or packing peanuts at the bottom of a pot improved drainage. Research now refutes this common practice. A layer of coarse material at the bottom creates a “perched water table” effect. Water drains until it reaches the transition zone between the fine potting mix and the coarser material. It then accumulates there before gravity can pull it through the larger gaps. This effectively reduces the usable soil volume for roots and keeps the lowest part of the soil saturated, exacerbating root rot instead of preventing it. Therefore, simply add a good quality potting mix directly over the drainage holes. A small piece of screening or a coffee filter placed over the holes prevents soil from washing out while allowing water to pass through freely.
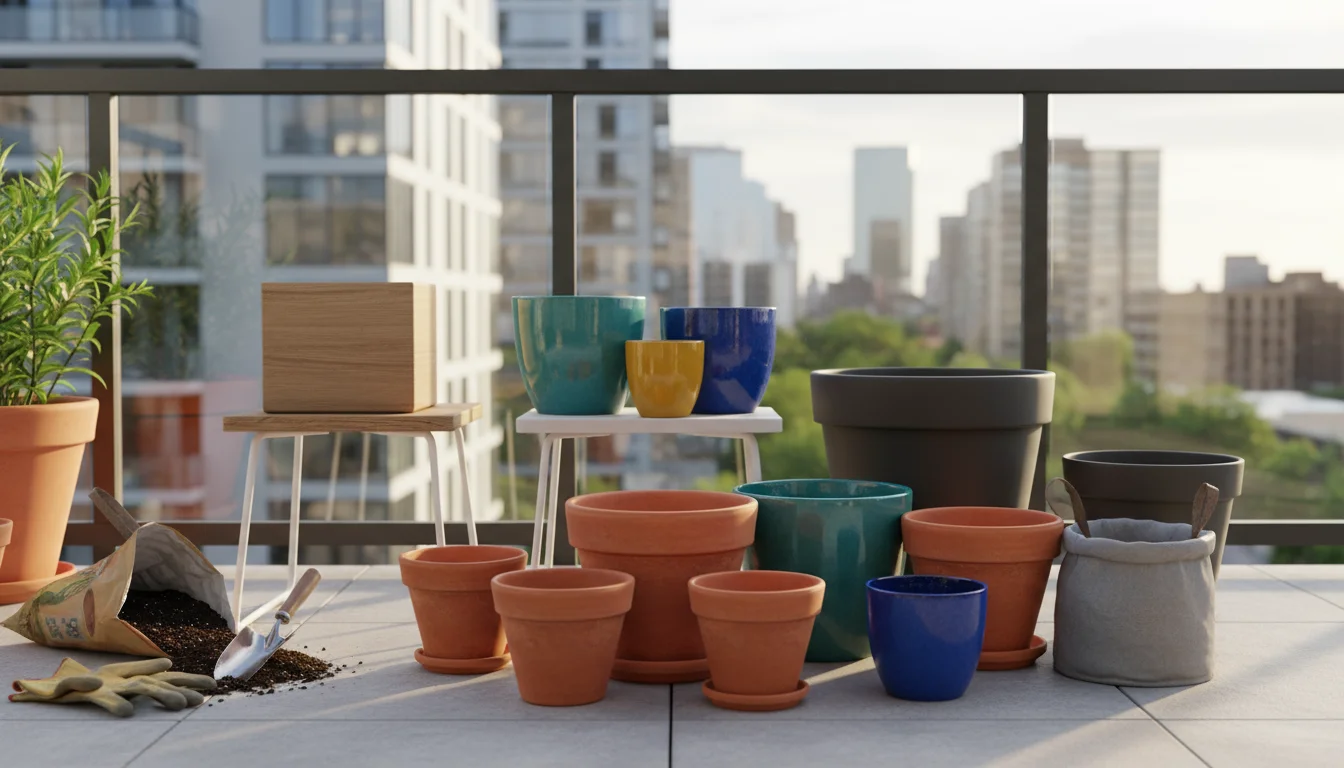
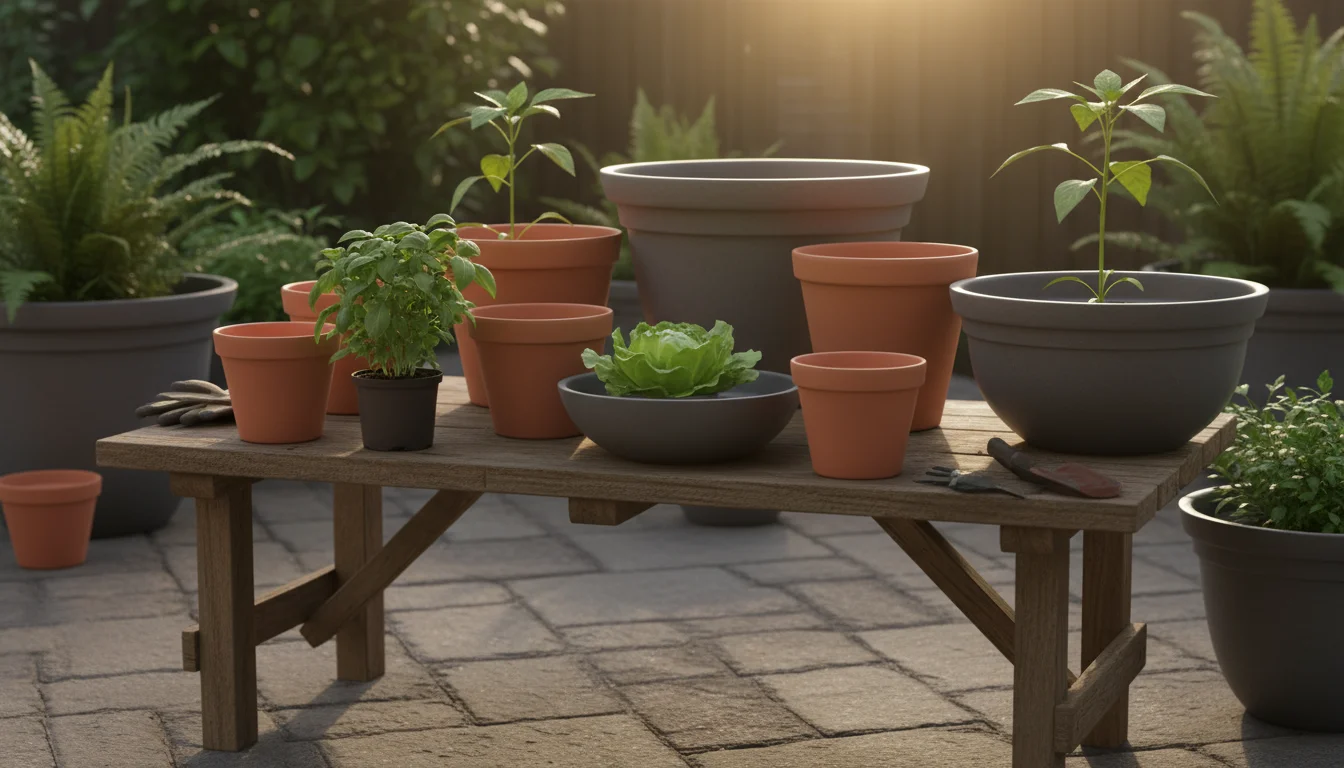
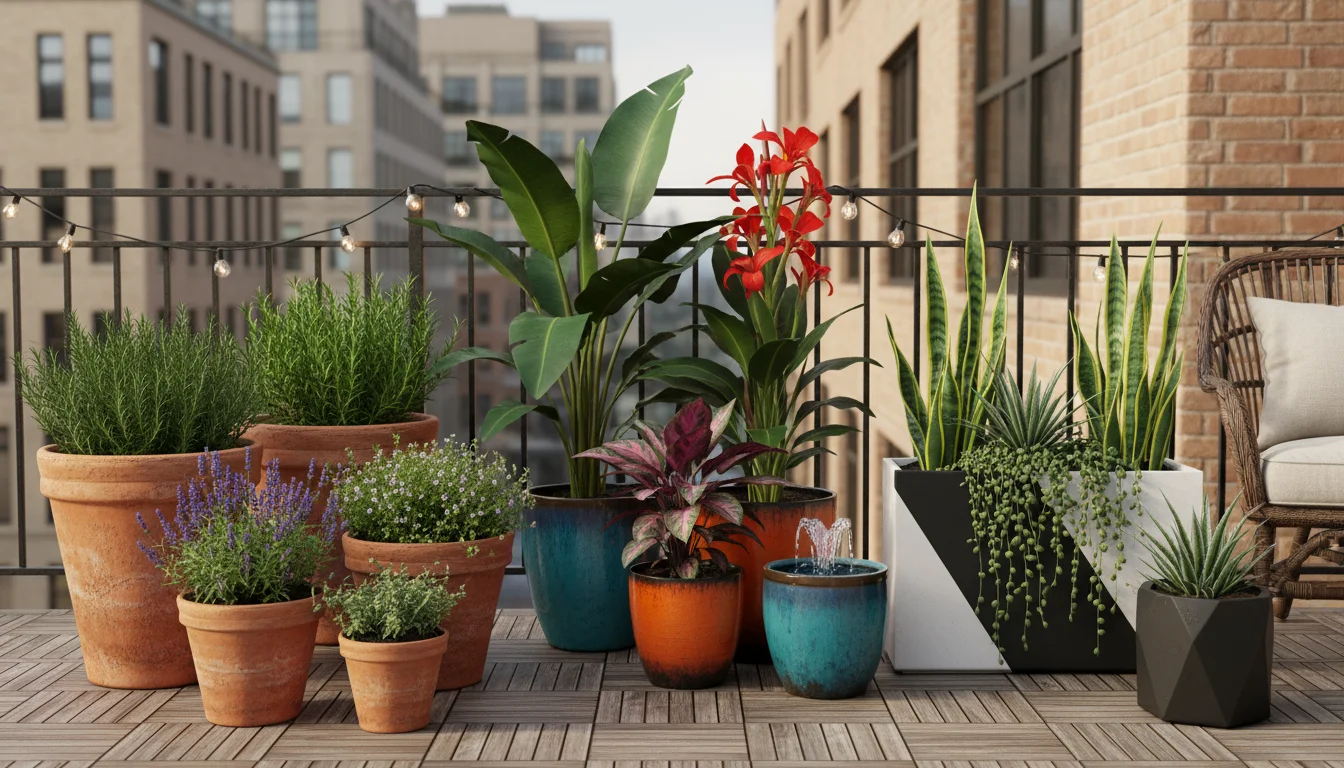
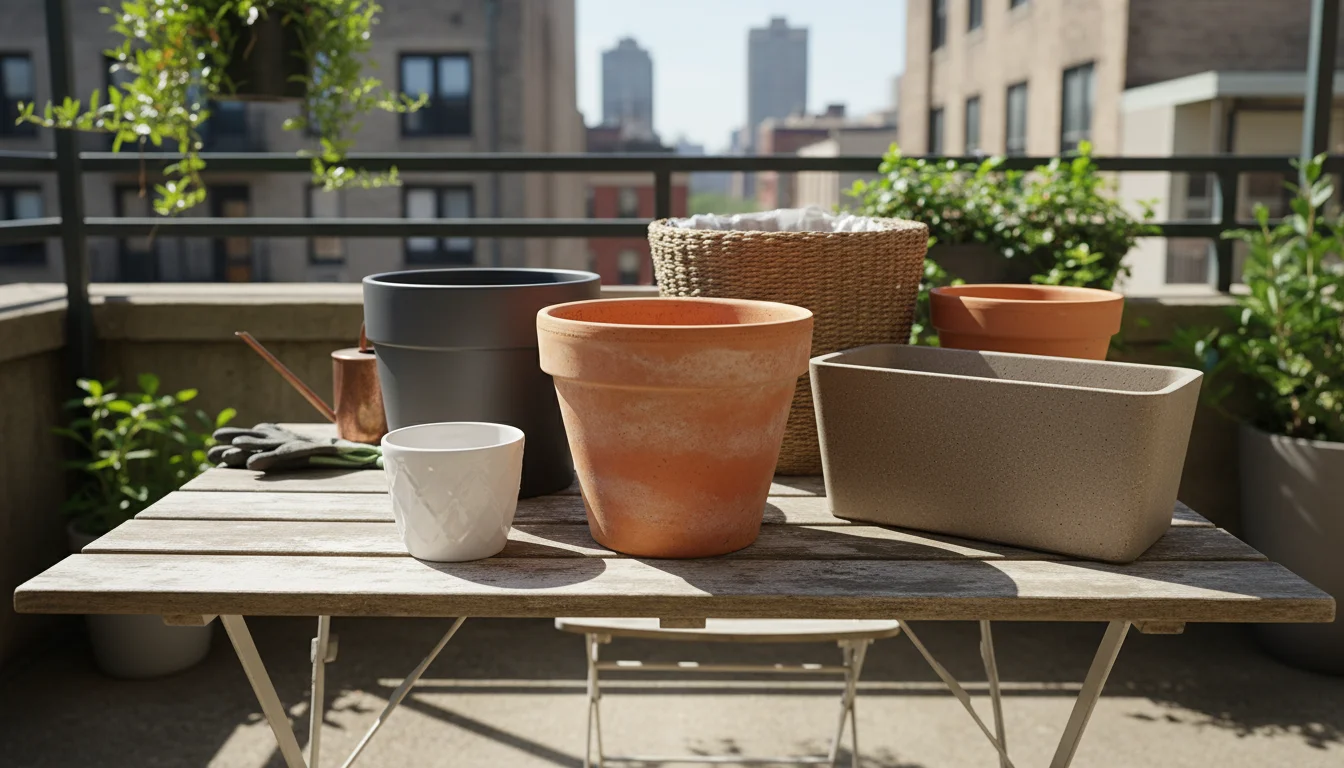
Matching Pot Material to Your Gardening Style
The material of your pot plays a significant role in its weight, durability, aesthetic appeal, and, crucially, how it manages moisture and temperature. Each material offers distinct advantages and disadvantages, guiding your choice based on your plant’s needs and your local climate.
Before diving into individual materials, you might also want to learn how to mix and match pots to create a visually beautiful and cohesive container garden.
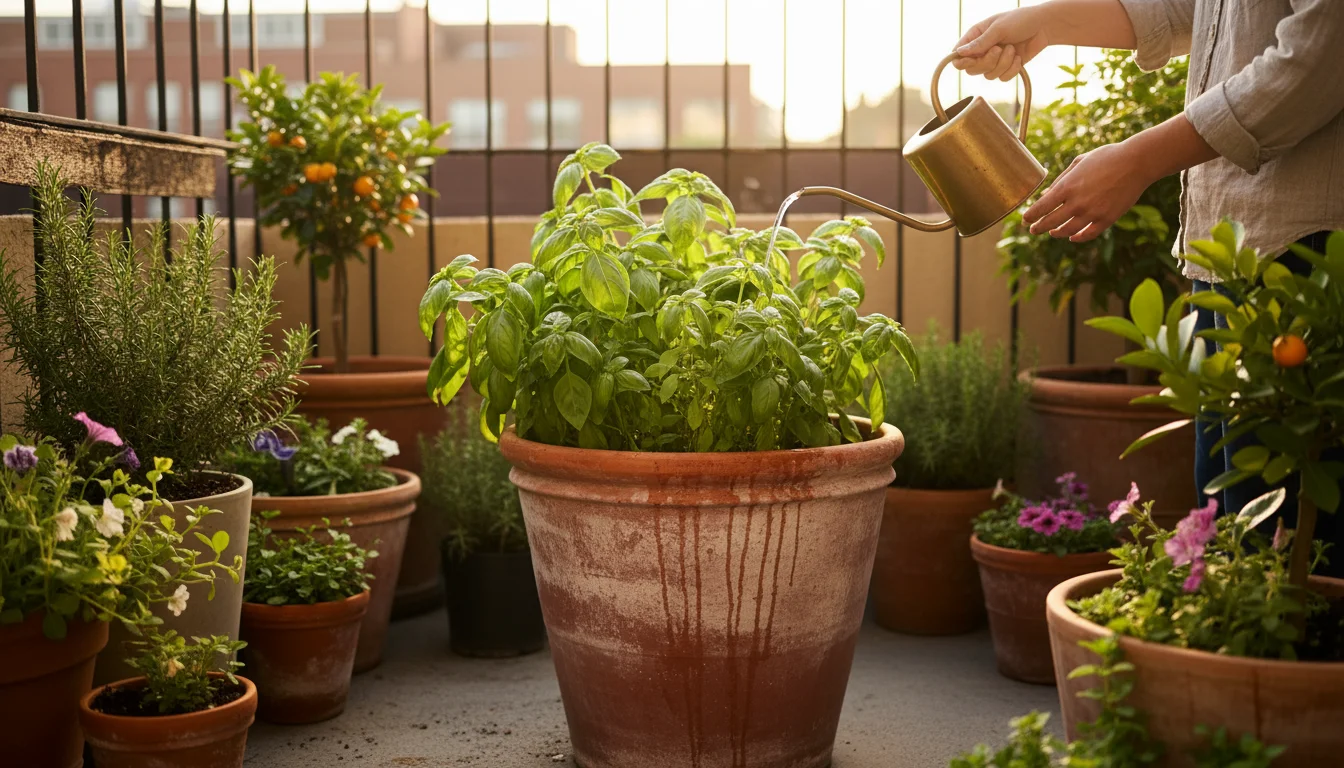
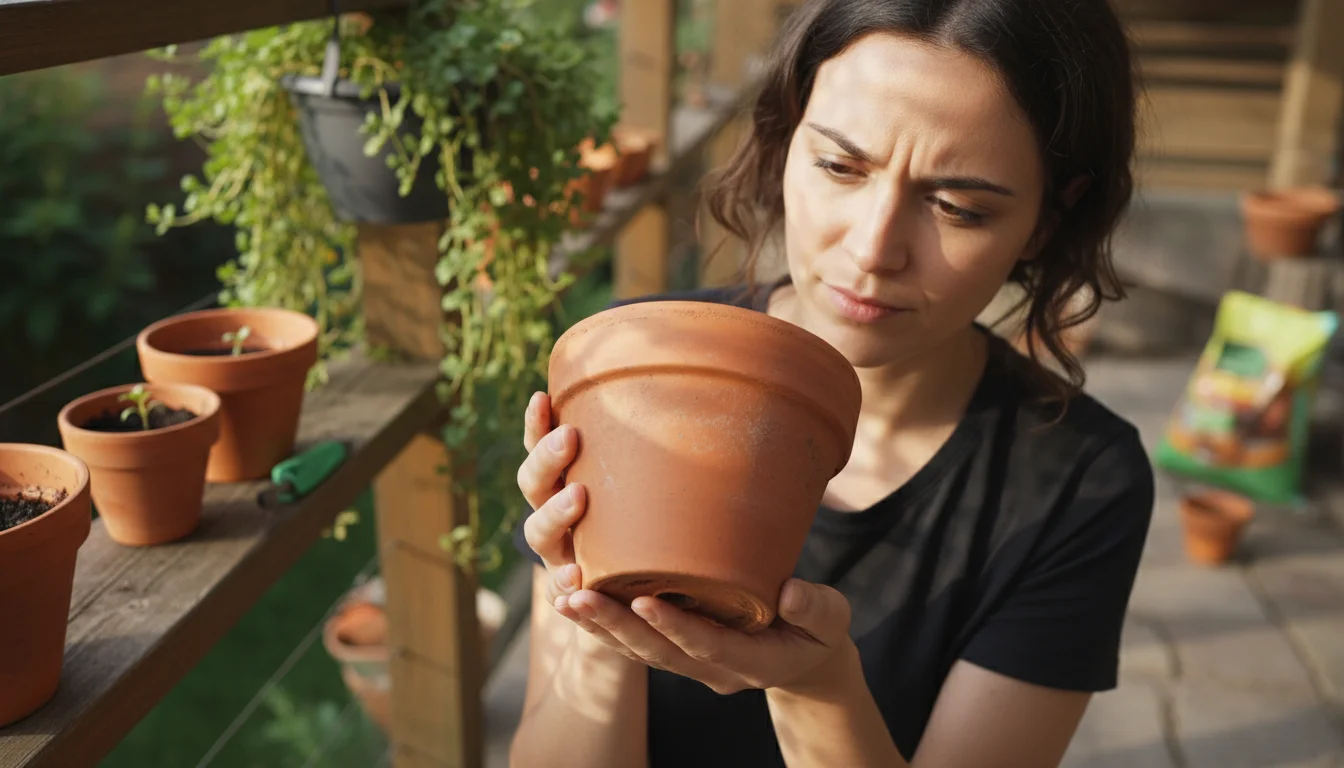
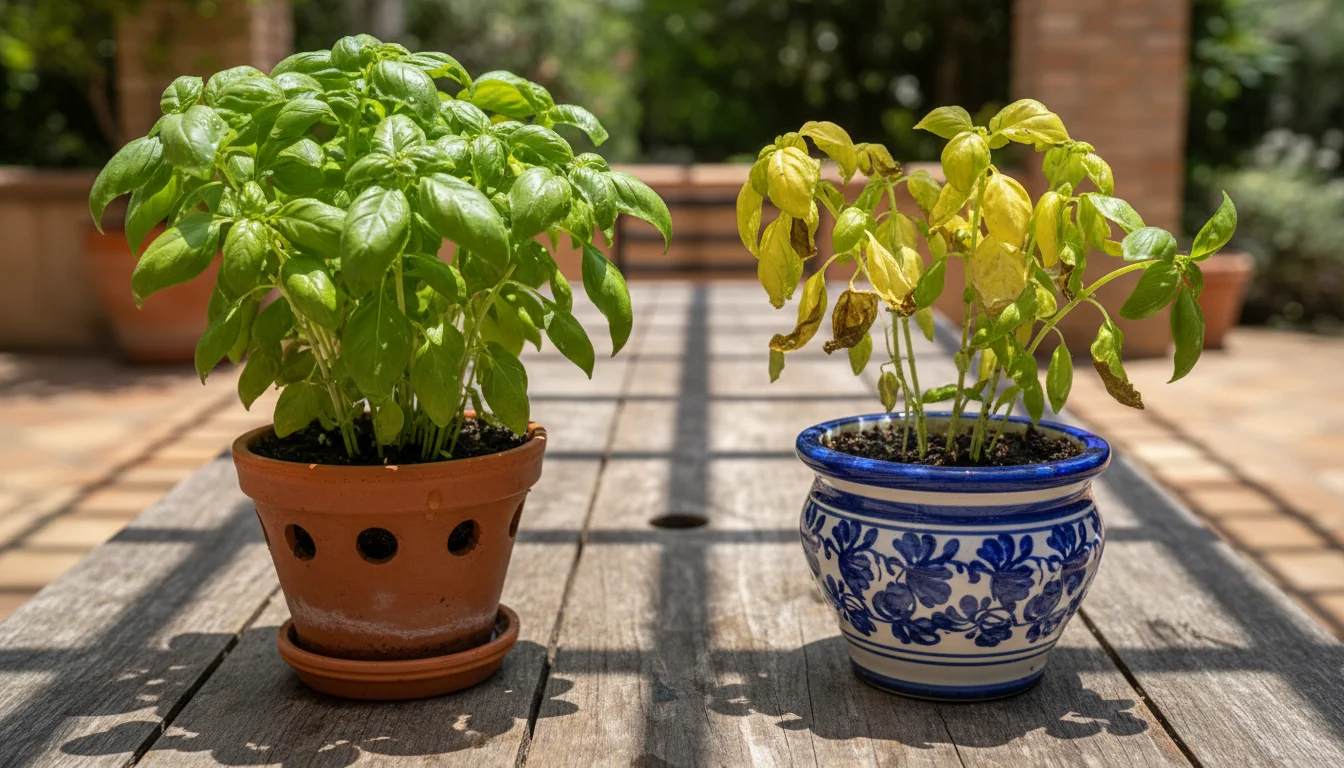
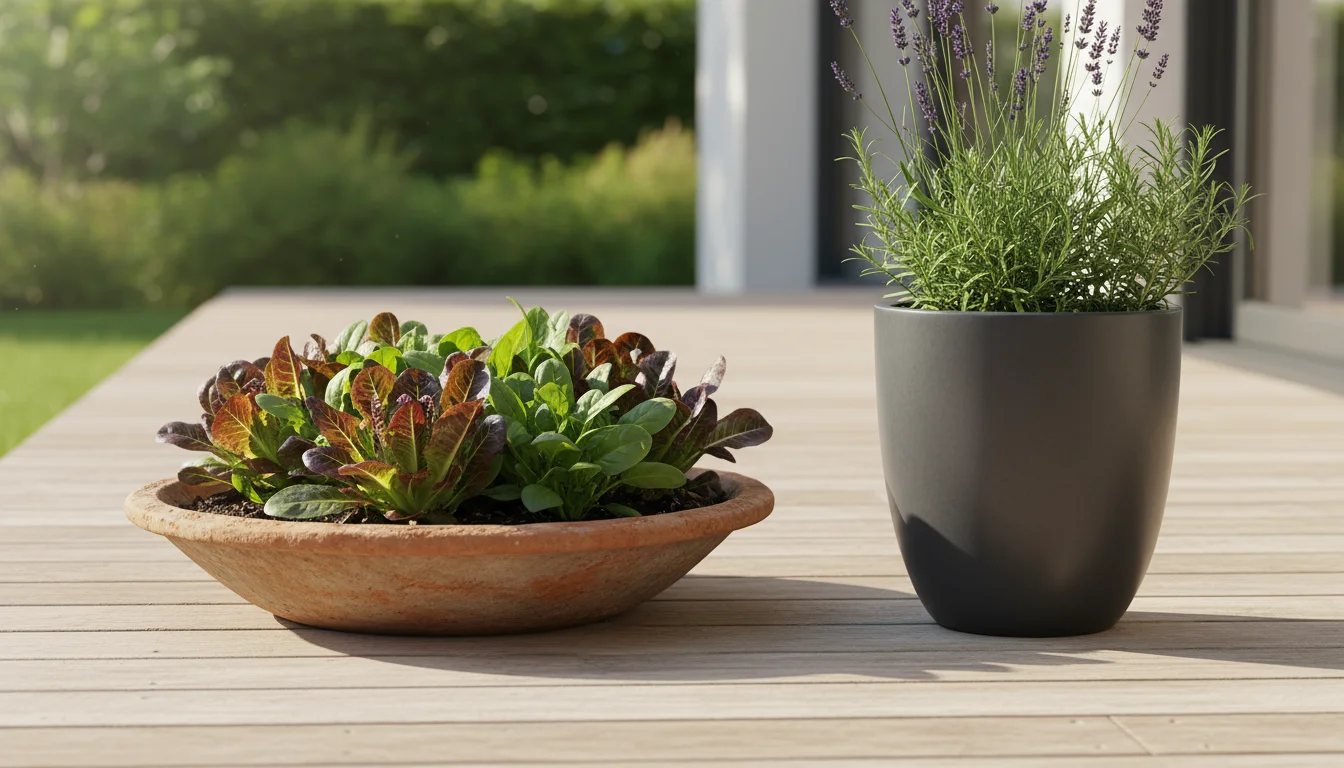
Terracotta Pots
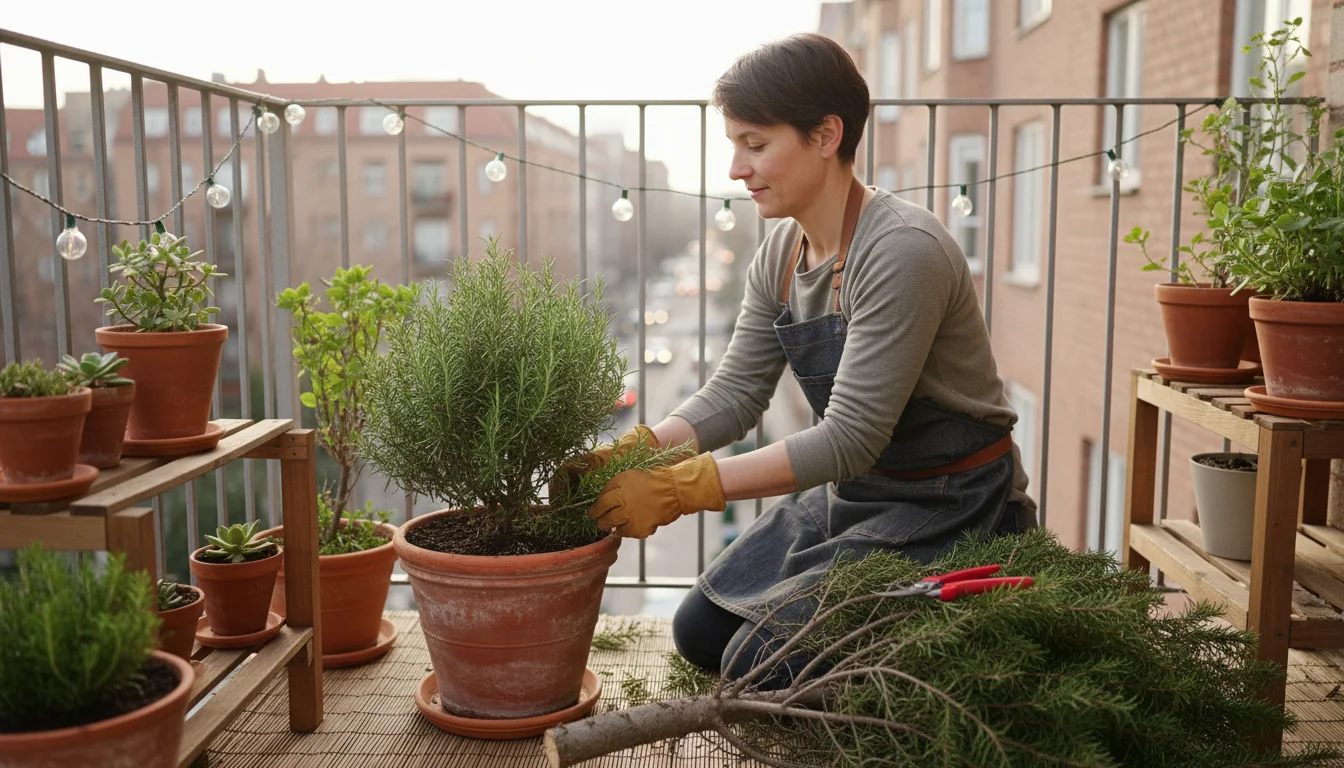
- Pros: Terracotta pots are classic, breathable, and porous. Their porosity allows air and moisture to pass through the clay, facilitating evaporation from the sides of the pot. This keeps the soil cooler, a significant advantage for plants that dislike overly warm roots, and helps prevent overwatering. The earthy, natural look complements almost any plant and garden design.
- Cons: Their porosity means soil dries out quickly, necessitating more frequent watering, especially in hot or windy climates. This can be a challenge for busy gardeners or those with thirsty plants. Terracotta is also heavy and fragile, prone to cracking in freezing temperatures or if dropped. It can also develop a white mineral crust over time due to mineral salts leaching from hard water or fertilizers.
- Best For: Plants that prefer drier conditions, like succulents, cacti, rosemary, and many Mediterranean herbs. Good for plants prone to root rot.
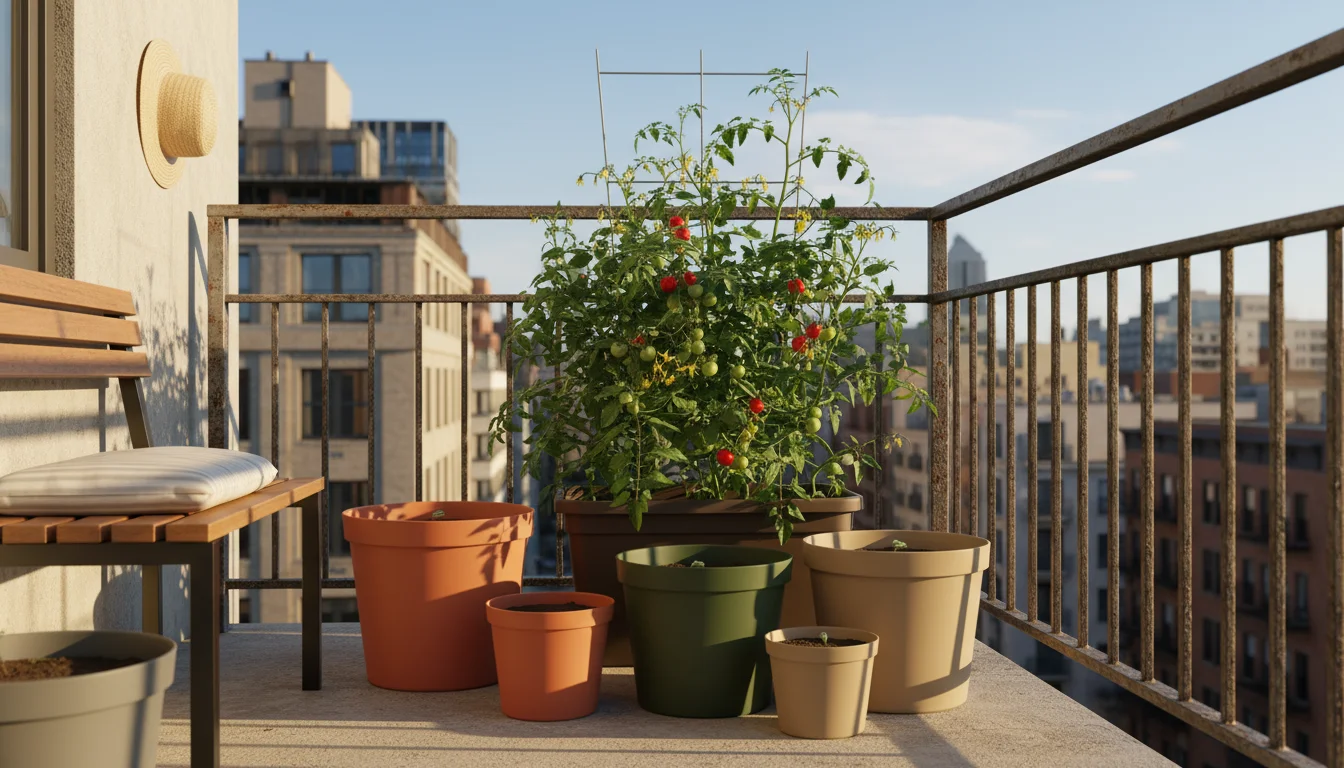
Plastic Pots
- Pros: Plastic pots are lightweight, inexpensive, and durable. They retain moisture well because they are non-porous, reducing watering frequency. This makes them ideal for plants that prefer consistently moist soil and for gardeners who cannot water daily. Their light weight makes them easy to move, a distinct advantage for balcony gardens or when rearranging plants. They come in a vast array of colors and styles.
- Cons: Plastic does not breathe, which can lead to hotter soil temperatures in direct sun and potentially insufficient aeration if drainage is poor. Overwatering is a greater risk in plastic pots. Some cheaper plastics can degrade over time from UV exposure, becoming brittle and cracking.
- Best For: Thirsty plants like tomatoes, peppers, impatiens, and many leafy greens. Excellent for beginners due to their affordability and lower maintenance watering schedule. Ideal for portable container arrangements.
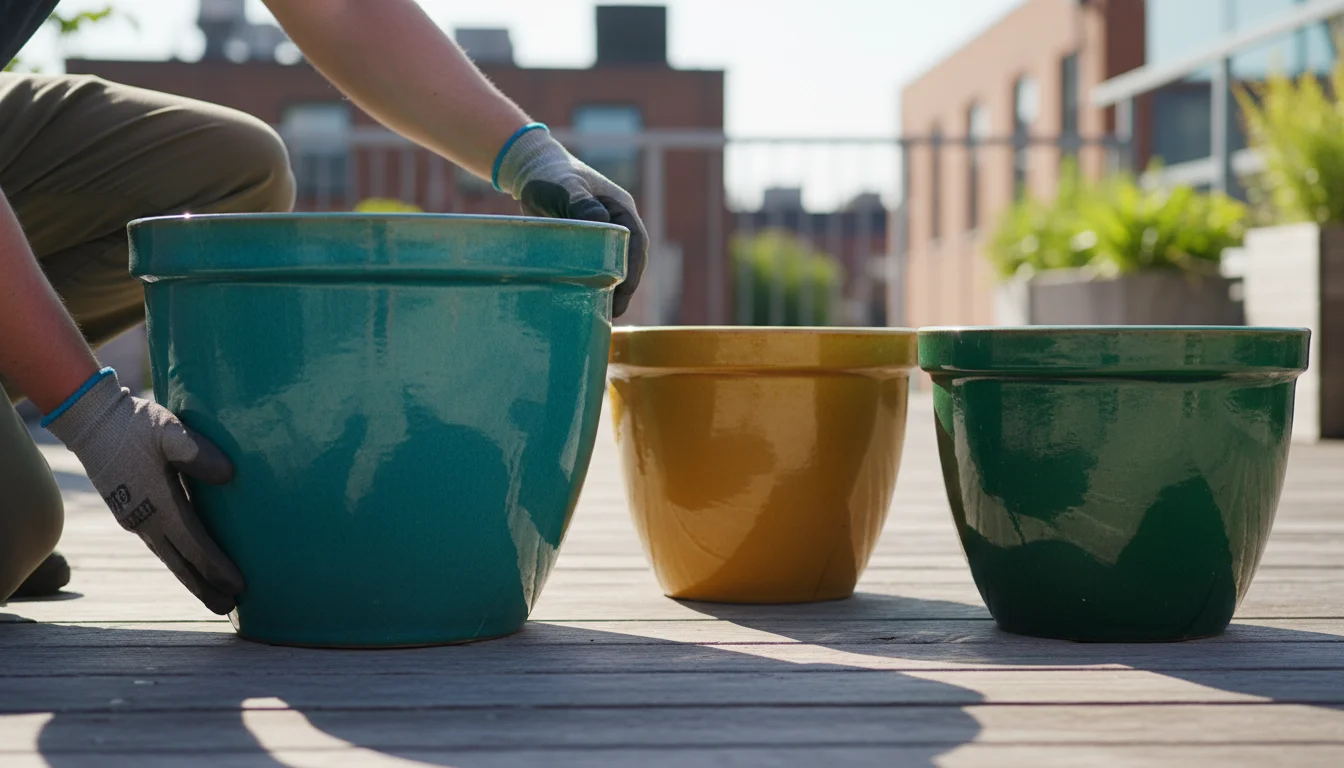
Ceramic and Glazed Pots
- Pros: Similar to plastic in moisture retention, glazed ceramic pots are non-porous and hold moisture well. They offer superior aesthetic appeal, coming in countless colors, patterns, and finishes, making them excellent decorative elements. They are heavy and stable, less likely to tip over in windy conditions.
- Cons: Ceramic pots are typically expensive and very heavy, making them difficult to move once filled. Like terracotta, they are fragile and susceptible to cracking in freezing temperatures.
- Best For: Plants needing consistent moisture and where aesthetics are a high priority. Good for permanent installations or heavy, top-heavy plants that require a stable base.
If you are on a tight budget, you can also explore creative upcycling container ideas to turn everyday items into beautiful planters.
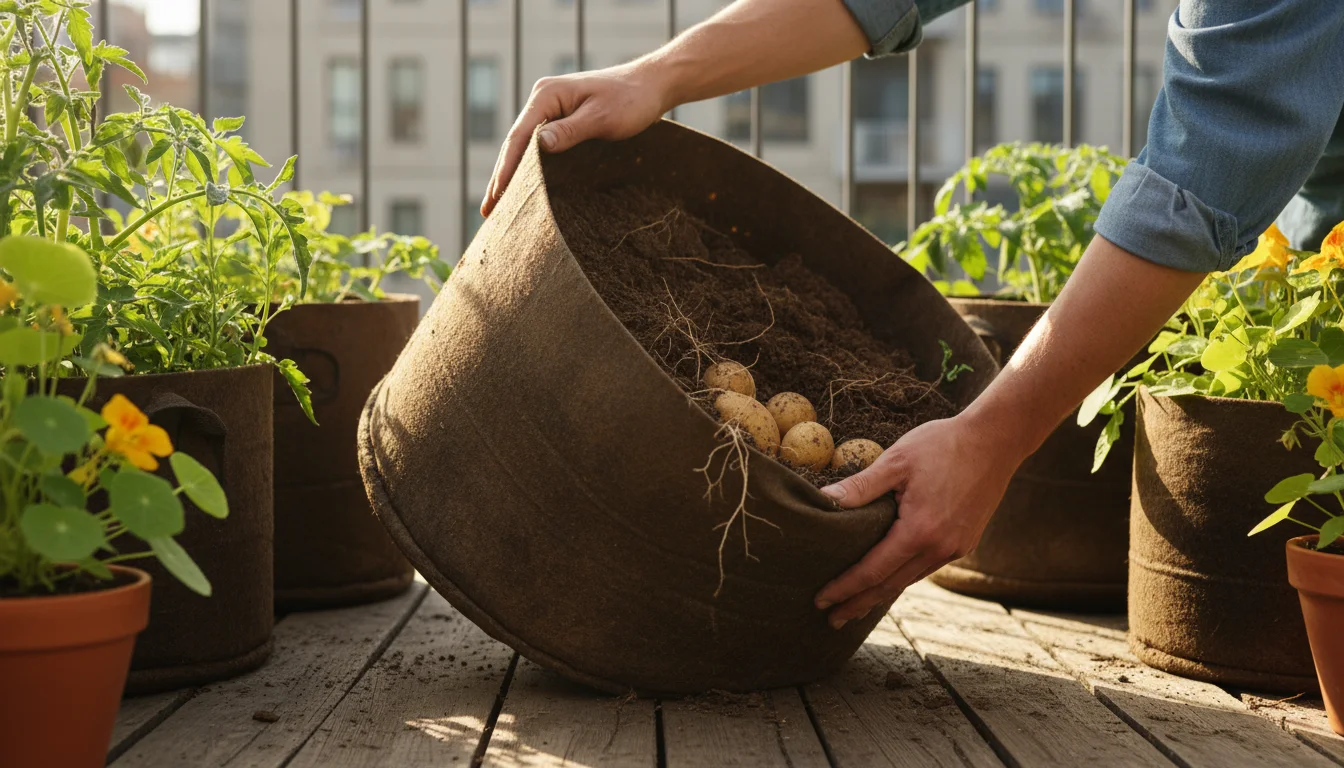
Fabric Pots (Grow Bags)
- Pros: Fabric pots are made from breathable, felt-like material. They offer excellent aeration to the root zone, preventing root circling (where roots grow in a restrictive spiral) and encouraging “air pruning” where roots stop growing once they reach the fabric edge and are exposed to air. This promotes a healthier, more fibrous root system. They are lightweight, affordable, foldable for storage, and prevent heat buildup in hot climates.
- Cons: They dry out very quickly, often requiring daily watering, sometimes even twice a day in peak summer. The material can become stained over time.
- Best For: Vegetables that grow quickly and benefit from excellent root aeration, such as potatoes, sweet potatoes, carrots, and leafy greens. Also great for plants that dislike wet feet.
Fabric pots are also highly recommended for raising many of the best vegetables to grow in pots due to their superior aeration.
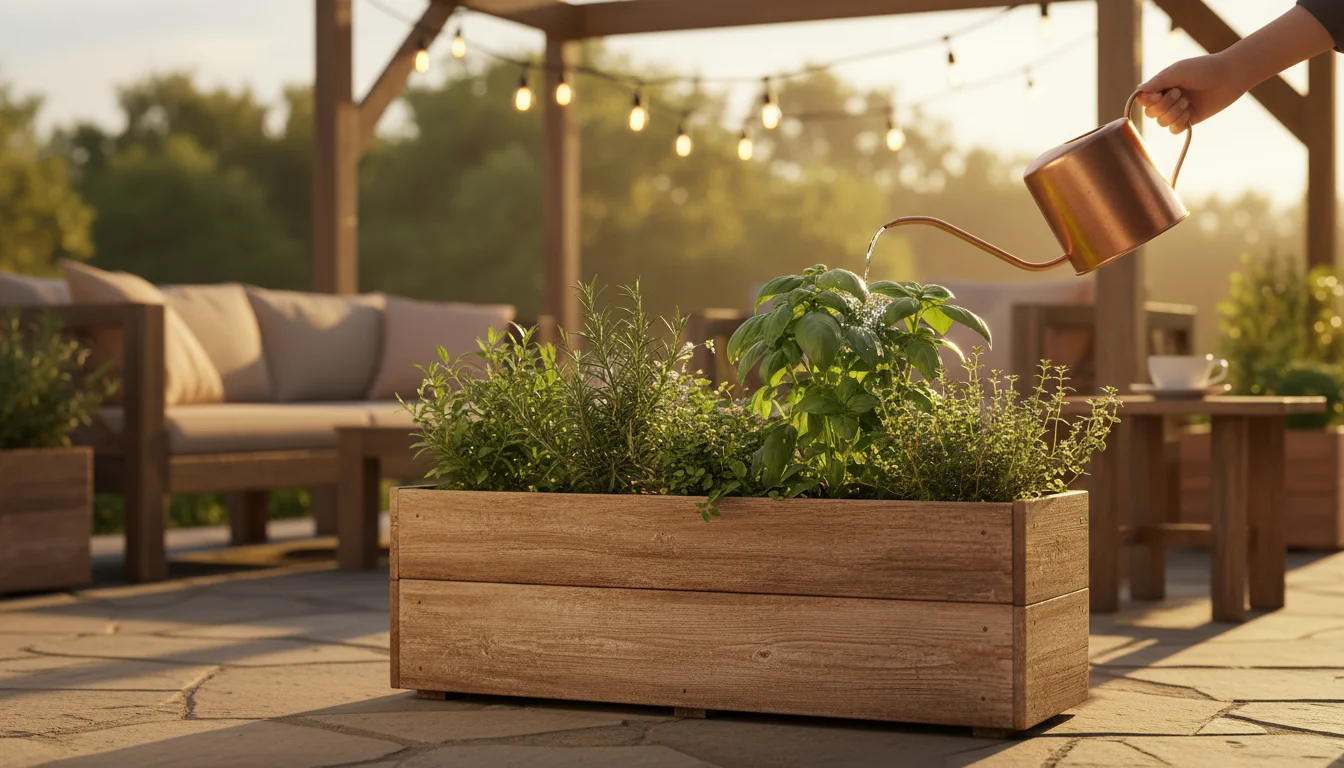
Wooden Planters
- Pros: Wood offers a natural, rustic aesthetic and provides good insulation against temperature fluctuations, keeping roots cooler in summer and warmer in winter. Larger wooden planters can be very sturdy.
- Cons: Wood eventually rots, especially if untreated. Some woods contain natural toxins that can harm plants. Treated wood can leach chemicals into the soil; always ensure you use food-safe, untreated wood or line the planter with a non-toxic liner if growing edibles. They are heavy and can be expensive.
- Best For: Herb gardens, raised beds, or larger ornamental plants where a natural look is desired. Choose rot-resistant woods like cedar or redwood.
Consider your climate, your watering habits, and the specific needs of the plants you plan to grow when making your selection. For a beginner, a mix of plastic pots for moisture-loving plants and terracotta for those preferring drier conditions offers a practical starting point.
Once you have selected a material, remember to consult our visual guide on matching veggies and flowers to the perfect pot size to avoid crowding your roots.
Size Matters: Choosing the Right Dimensions for Plant Success
Beyond material, the physical dimensions of your pot profoundly impact plant growth and health. Many beginners make the mistake of choosing a pot that is too small, leading to stunted growth, nutrient deficiencies, and constant watering demands. Conversely, a pot that is too large can hold excessive moisture, increasing the risk of root rot, and means you waste potting mix.
Understanding Root Systems
Different plants have different root system requirements. Shallow-rooted plants like lettuce, spinach, and many herbs thrive in shallower, wider containers. Deep-rooted plants such as tomatoes, peppers, carrots, and most shrubs need deeper pots to accommodate their extensive root systems. Research your chosen plant’s root habits before selecting a pot.
General Pot Size Guidelines
Here are some practical guidelines for choosing the right size for common small-space plants:
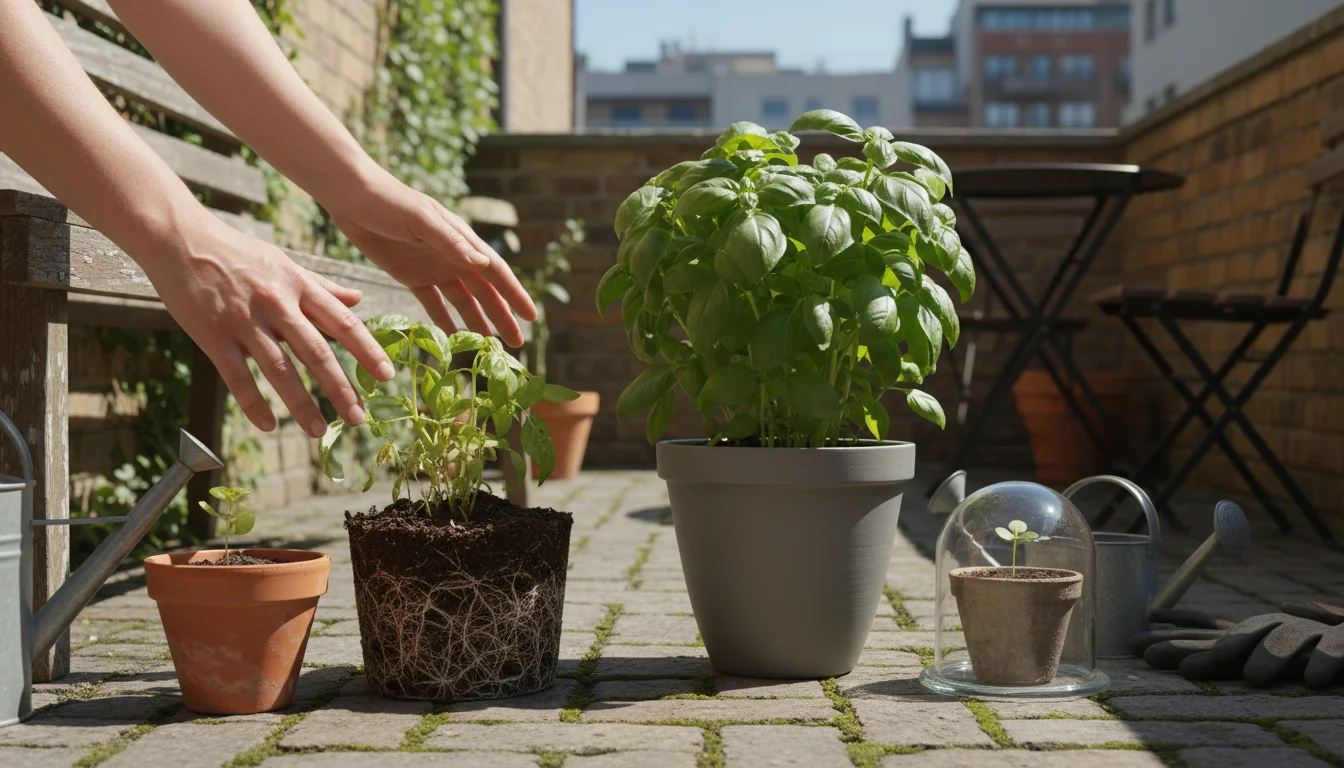
- Herbs (single plant): A 6-inch diameter pot provides ample space for most single herbs like basil, mint, or thyme. For multiple herbs or larger plants like rosemary, opt for an 8-10 inch pot.
- Leafy Greens (lettuce, spinach, kale): These prefer wider, shallower containers. A 10-12 inch wide pot accommodates 3-4 plants, while a 15-inch wide container can hold a small “salad bowl” garden.
- Bush Beans, Peas: A 10-12 inch deep pot with the same diameter can support 2-3 plants.
- Peppers, Eggplants, Bush Cucumbers: These require more root space. A 12-14 inch diameter pot, at least 12 inches deep, suits one plant. For larger varieties, consider a 16-inch pot.
- Tomatoes: Tomatoes are heavy feeders and demand significant root space. A single determinate (bush) tomato plant needs at least a 5-gallon container (approximately 10-12 inches in diameter and depth). Indeterminate (vining) varieties require a 15-20 gallon container (18-24 inches in diameter and depth) for optimal production.
- Root Vegetables (carrots, radishes): Depth is key. Choose a pot at least 10-12 inches deep for carrots and parsnips, and 6-8 inches deep for radishes. Ensure the pot is wide enough for multiple plants, maintaining proper spacing.
- Strawberries: These do well in 6-8 inch pots per plant, or specialized strawberry planters.
When in doubt, choose a slightly larger pot. You can always start a small plant in a larger pot, ensuring it has room to grow into its new home. However, remember that a very large pot for a tiny plant means more soil, which stays wet longer, increasing root rot risk. A general rule for transplanting: move a plant to a pot that is only 1-2 inches larger in diameter than its current container to avoid over-potting shock.
Beyond the Basic Pot: Accessories and Considerations
While the pot itself is paramount, some accessories and design elements improve functionality and aesthetics in your container garden.
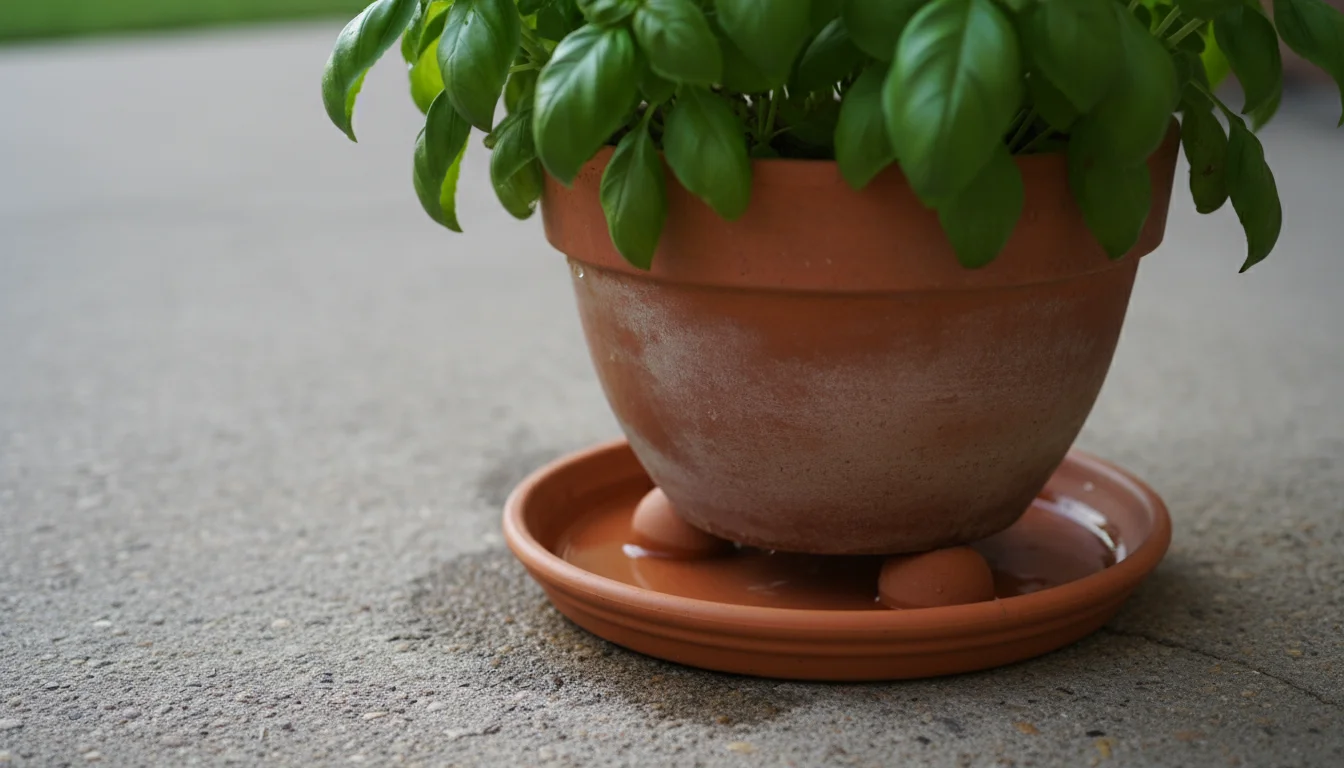
Saucers and Drip Trays
A saucer placed underneath your pot catches excess water that drains through the drainage holes. This is essential for protecting surfaces like balconies, patios, and indoor flooring from water damage and staining. Ensure the saucer is large enough to collect all runoff without overflowing. For optimal air circulation and to prevent roots from sitting in stagnant water, elevate the pot slightly within the saucer using small pot feet or bricks. This allows air to flow underneath the pot, preventing moisture buildup against the pot bottom which can encourage pests and disease.
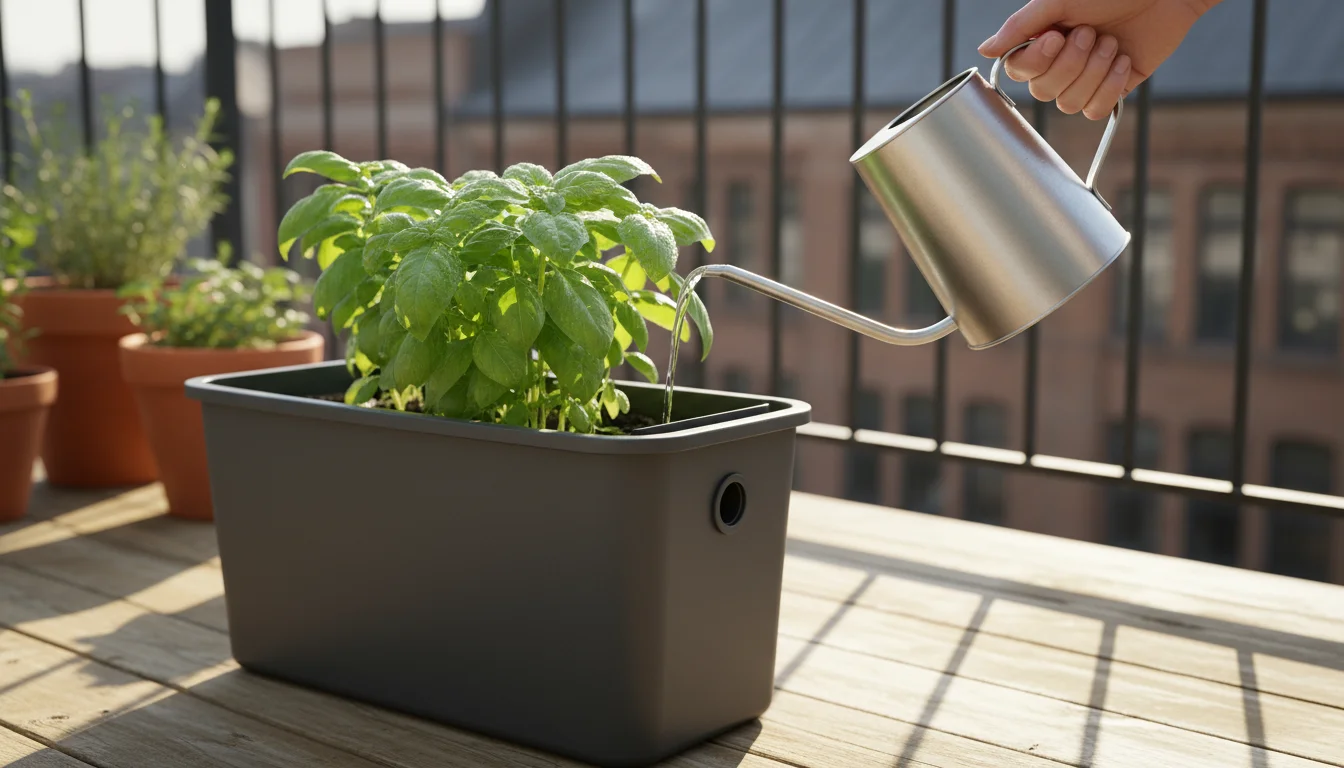
Self-Watering Containers
Self-watering pots feature a reservoir at the bottom that holds water, which the plant absorbs through a wicking system. These are fantastic for busy gardeners, those who travel frequently, or anyone struggling with consistent watering. They reduce watering frequency significantly, often only requiring refills every few days or even once a week. They also prevent overwatering from the top, as the plant only draws what it needs. Many varieties exist, from simple inserts to sophisticated systems, providing excellent beginner gardening tips for moisture management.
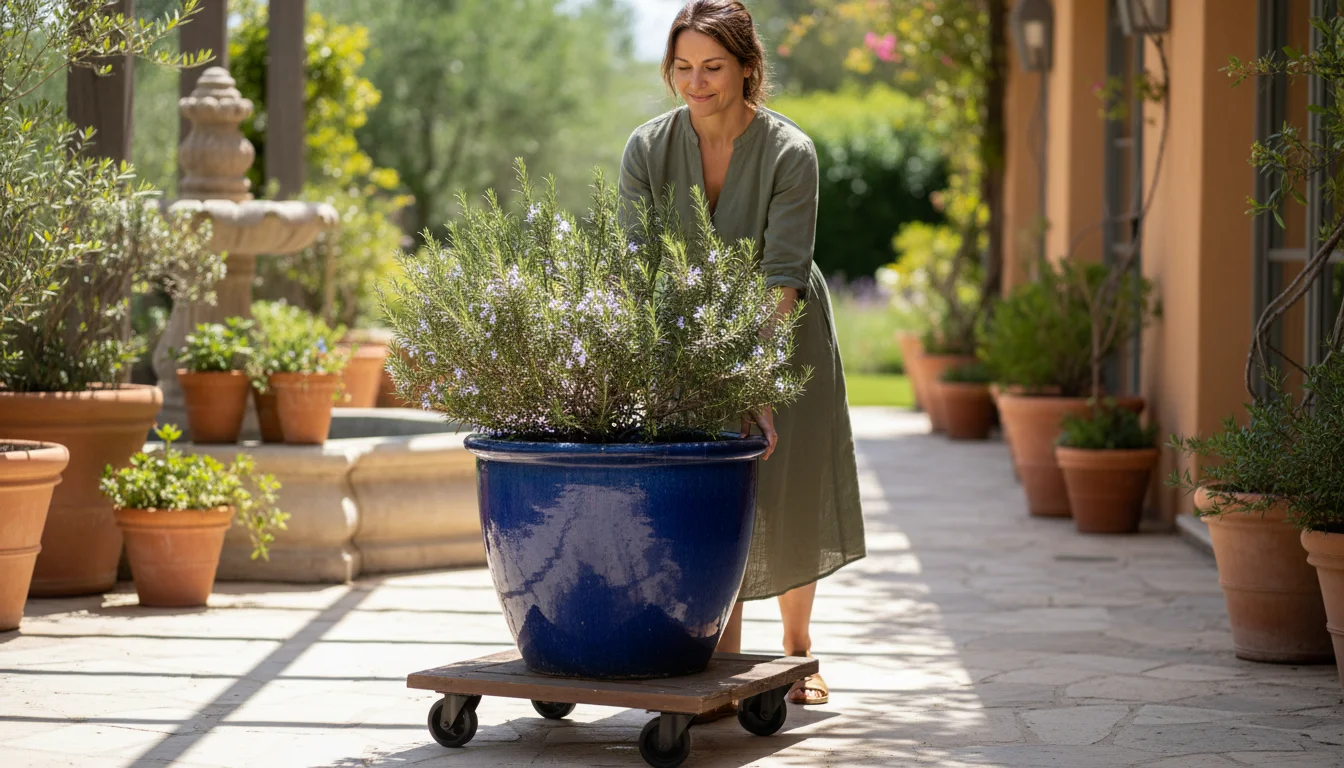
Casters and Dollies
For large, heavy pots, especially those in ceramic or filled with mature plants, casters (wheels) or plant dollies are invaluable. They allow you to easily move plants for cleaning, rearranging, or protecting them from extreme weather. Choose dollies with sturdy wheels and a weight capacity that exceeds your filled pot’s estimated weight.
Raised Feet and Pot Stands
Elevating your pots, even slightly, improves air circulation around the pot, preventing water from pooling directly under the drainage holes. This further reduces the risk of root rot and discourages pests like slugs and snails. Pot stands also contribute to visual interest, adding varying heights to your container arrangements.
How to Prepare New Pots for Planting: A Step-by-Step Guide
Once you have chosen your perfect pots for container gardening, a crucial step remains: preparing them for planting. Proper preparation ensures plant health, longevity, and prevents future issues. This applies to brand new pots and those you plan to reuse.
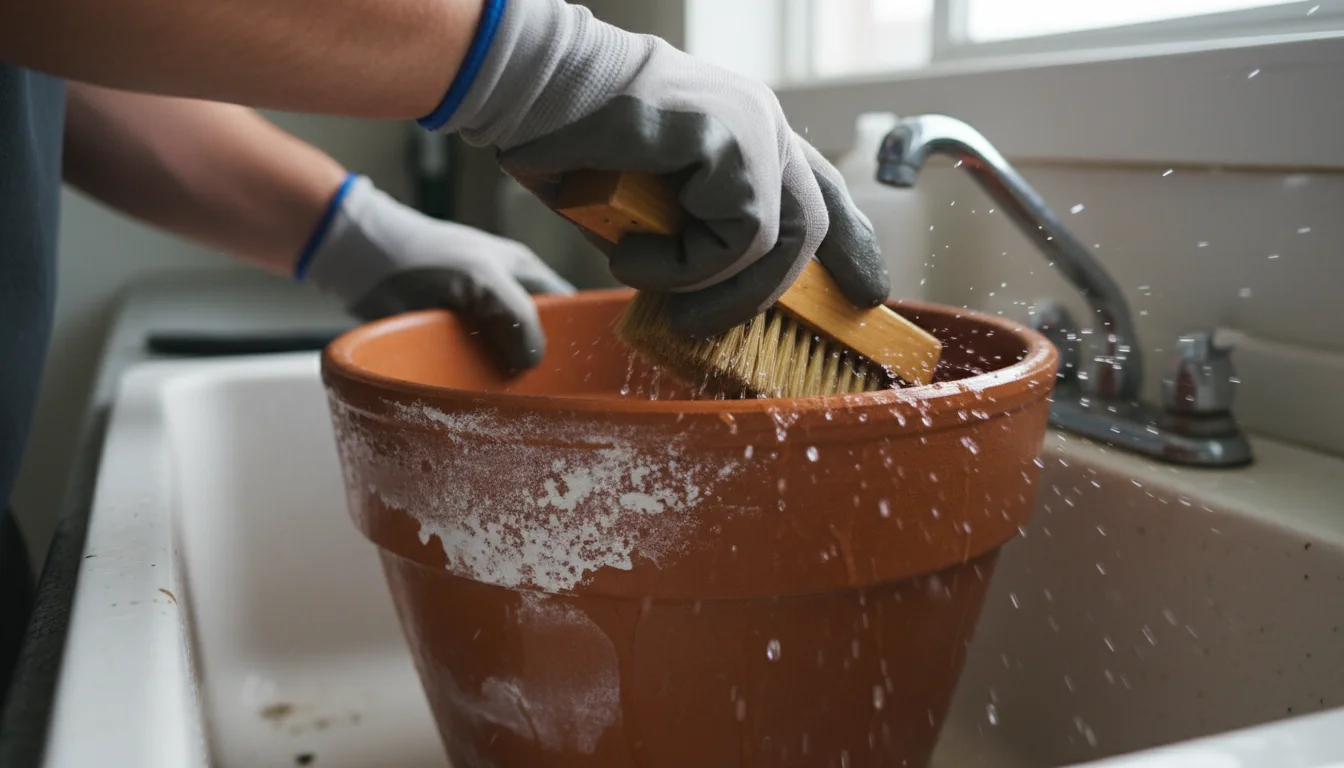
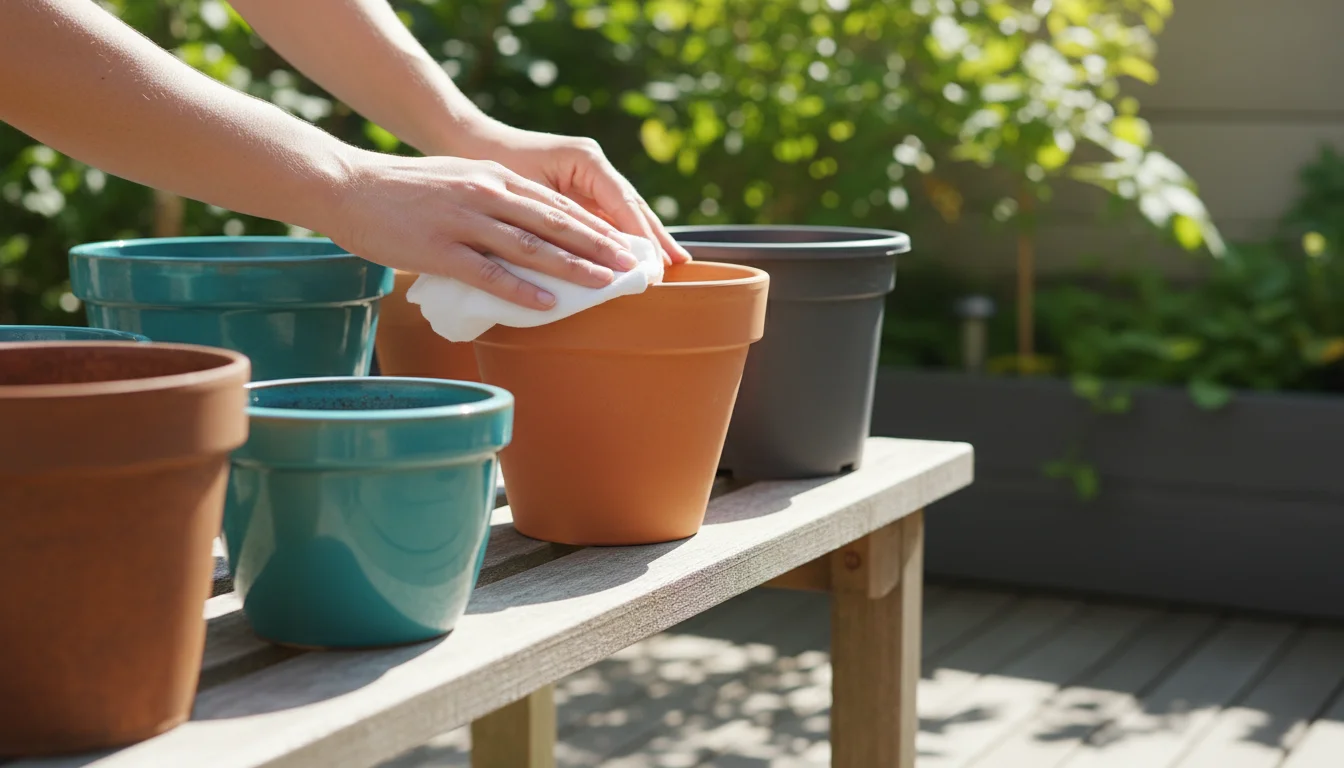
Step 1: Clean Your Pots Thoroughly
Even new pots can have manufacturing residues or dust. Used pots carry the risk of disease pathogens, insect eggs, or mineral salt buildup from previous plants. Always clean pots before planting.
- New Pots: Rinse thoroughly with water. For terracotta, a quick scrub with a brush removes any clay dust.
- Used Pots: Remove all old soil and debris. Scrub the pot thoroughly with a stiff brush and warm, soapy water. For stubborn mineral buildup, use a solution of one part white vinegar to four parts water, or a dilute bleach solution (one part bleach to nine parts water) for sterilization. Allow the pot to soak for at least 30 minutes. Rinse thoroughly multiple times to remove all soap or chemical residues. Bleach, in particular, must be completely rinsed off, as it can harm plants.
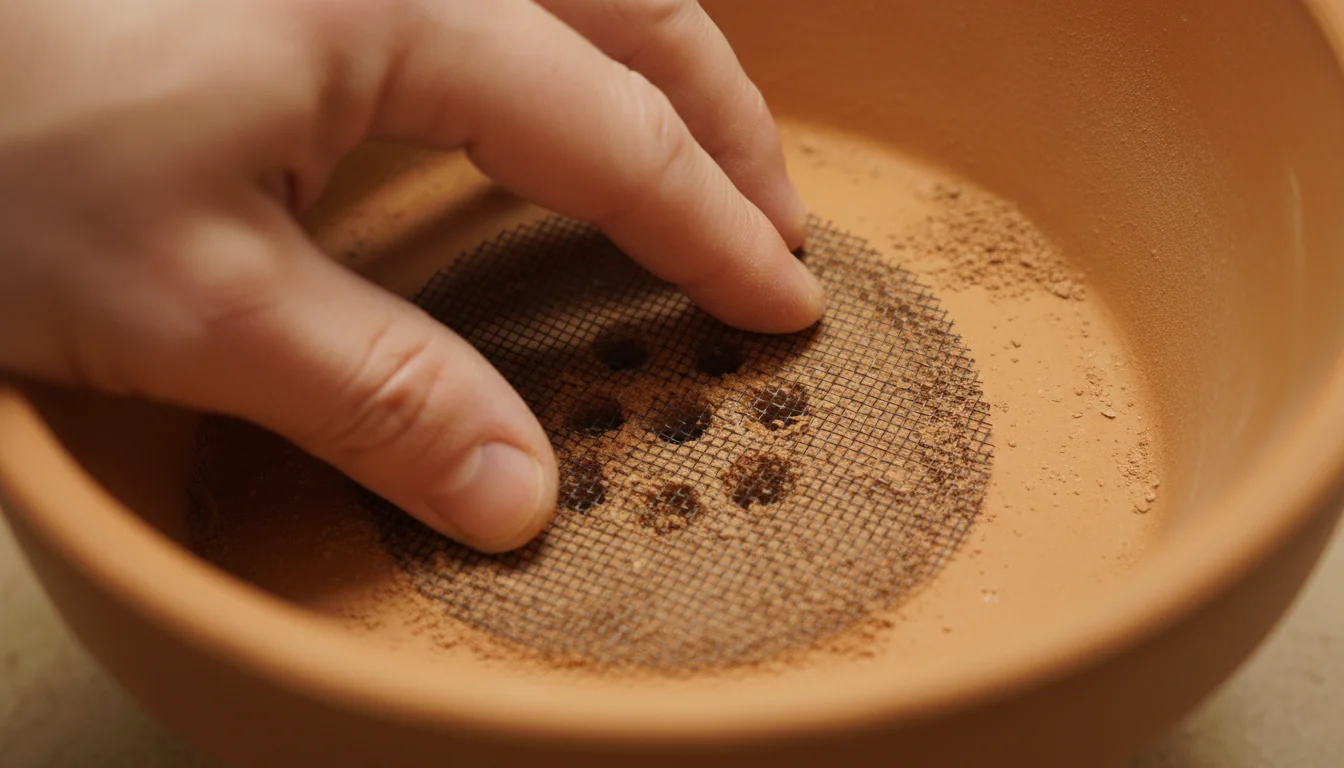
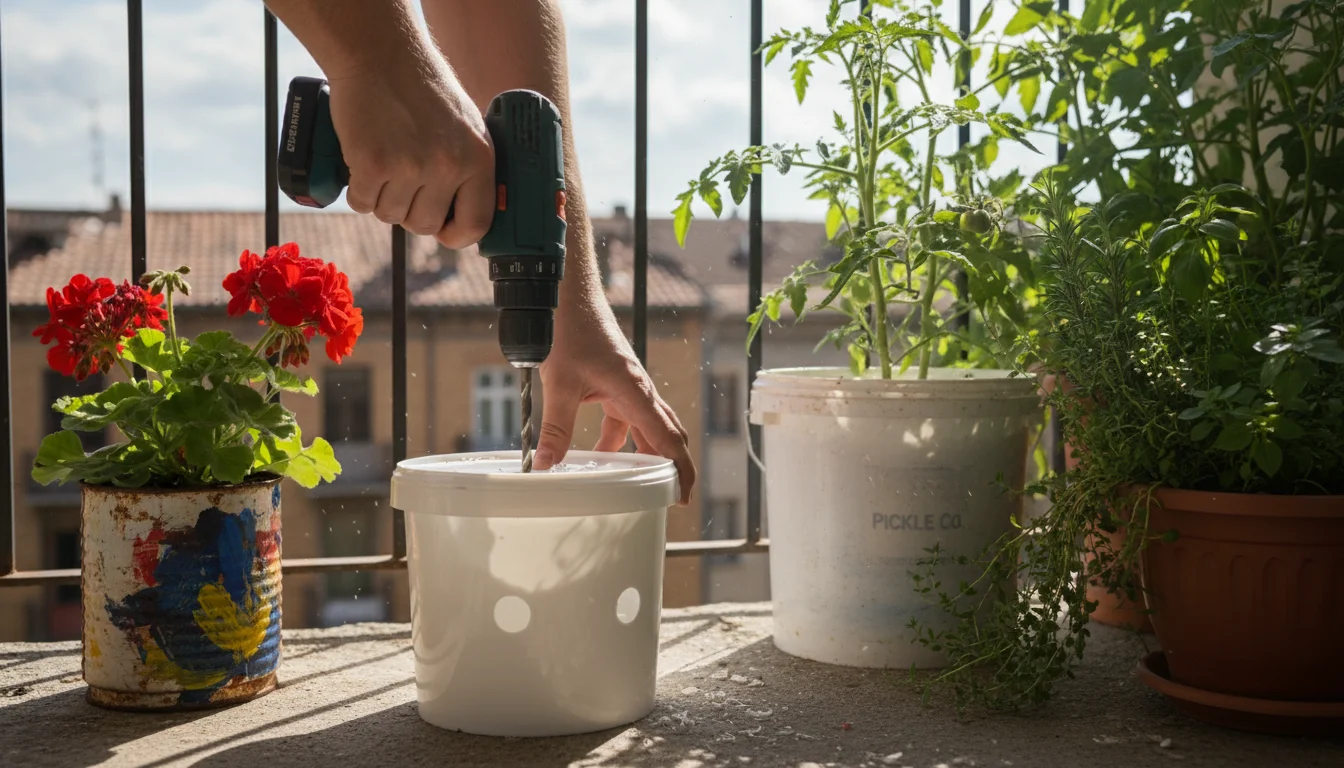
Step 2: Address Drainage Holes
Confirm the pot has adequate drainage holes. If not, drill them using a drill bit appropriate for the material (e.g., masonry bit for ceramic/terracotta, standard bit for plastic). For plastic pots, a hot nail or soldering iron can also create holes. Aim for multiple small holes rather than one large one for better drainage distribution. Typically, a 1-inch hole for every 10-12 inches of pot diameter provides sufficient drainage.
To prevent soil from washing out while maintaining drainage, place a piece of fine mesh screen, a coffee filter, or even a piece of landscape fabric over the drainage holes. Avoid broken pottery shards, as they can block drainage and create a perched water table, as discussed earlier.
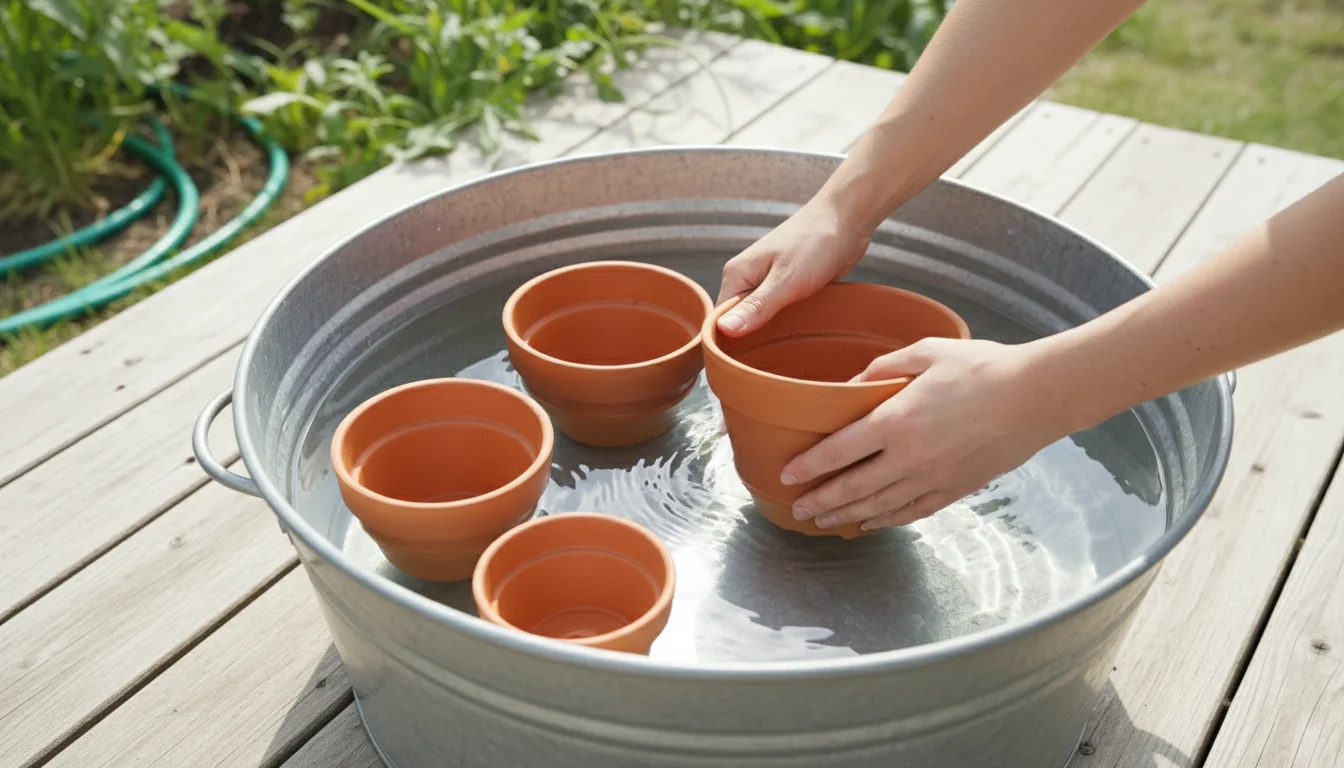
Step 3: Consider Pre-Soaking Terracotta
Terracotta is highly porous. If you plant directly into a dry terracotta pot, the clay will immediately wick moisture from your fresh potting mix, potentially dehydrating your plant before it even settles. To prevent this, soak new terracotta pots in water for at least 30-60 minutes before planting. This saturates the clay, allowing it to release moisture more gradually to the soil and plant roots. It also helps prevent rapid drying after your first watering.
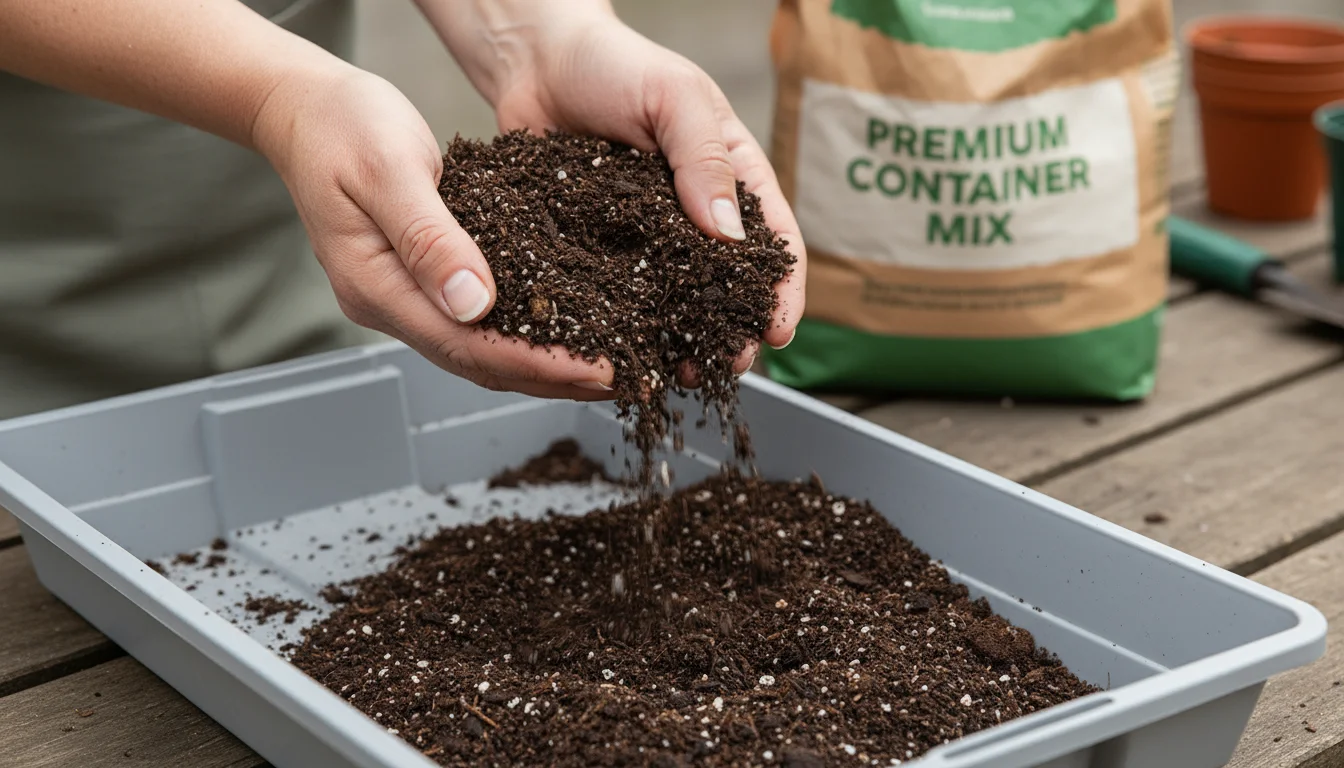
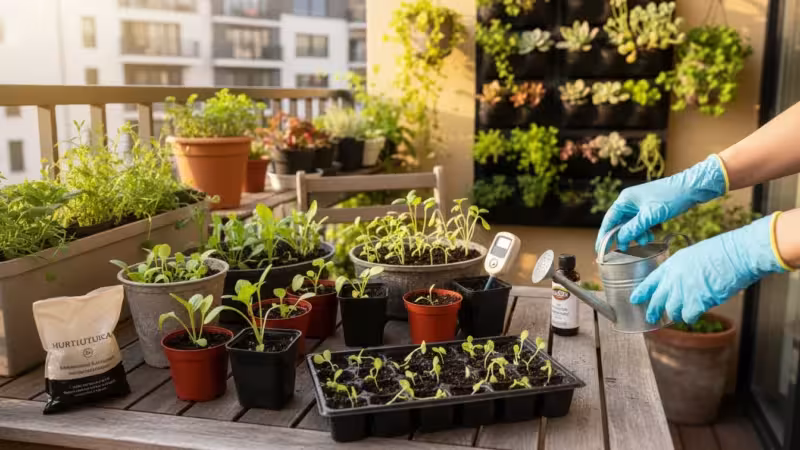
Step 4: Gather Your Potting Mix
Never use garden soil in containers. Garden soil compacts too easily, lacks aeration, and may contain weed seeds, pests, and diseases. Invest in a high-quality potting mix specifically formulated for containers. These mixes are lightweight, sterile, and designed for excellent drainage and aeration. Many brands offer specialized mixes for specific plant types, such as succulent and cactus mix or organic vegetable mixes. For prolonged nutrient release, consider potting mixes that include a slow-release fertilizer or add your own granular slow-release fertilizer at planting time, following package directions.
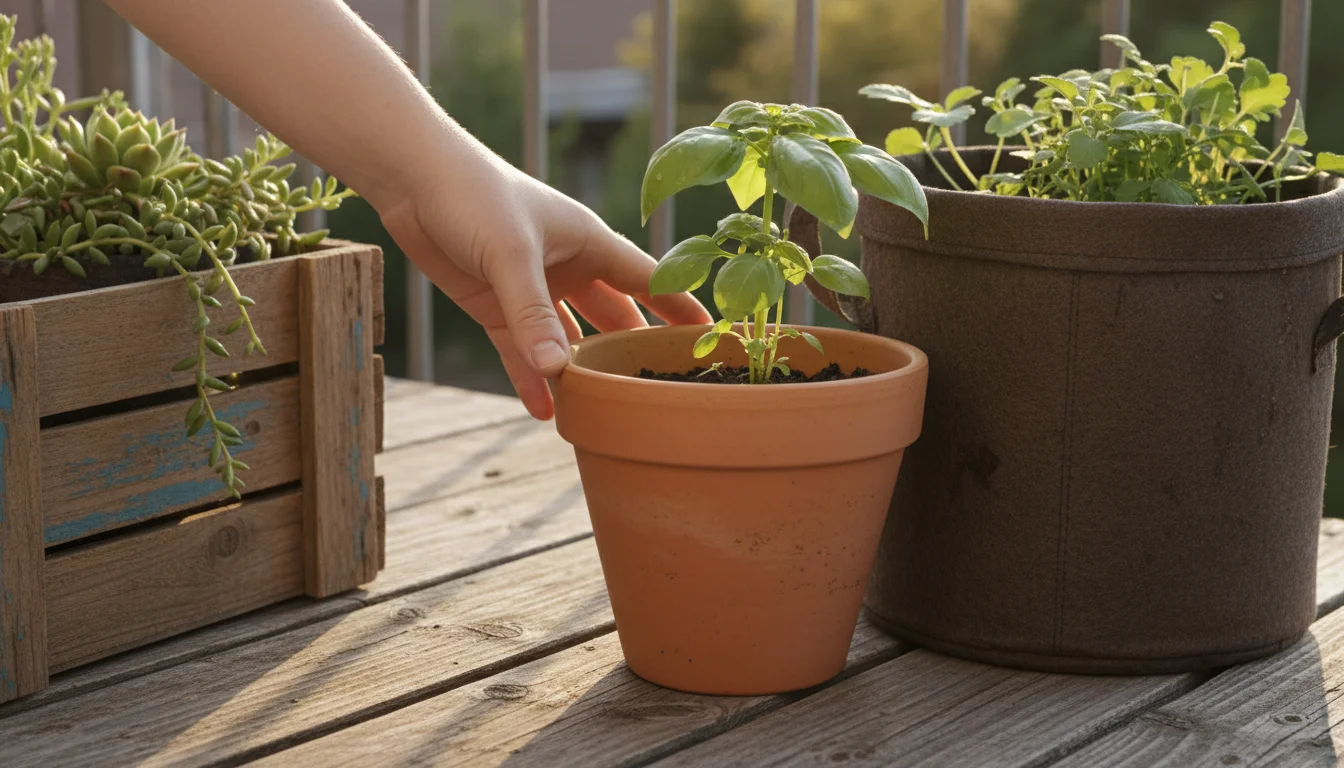
Step 5: Fill and Plant
Fill your prepared pot with potting mix, leaving 1-2 inches of space from the rim. This prevents soil and water from spilling over when you water. Gently loosen the roots of your plant, place it in the center, and backfill with more potting mix, firming gently around the base. Water thoroughly until water drains from the bottom. Your pot is now ready for its new inhabitant!
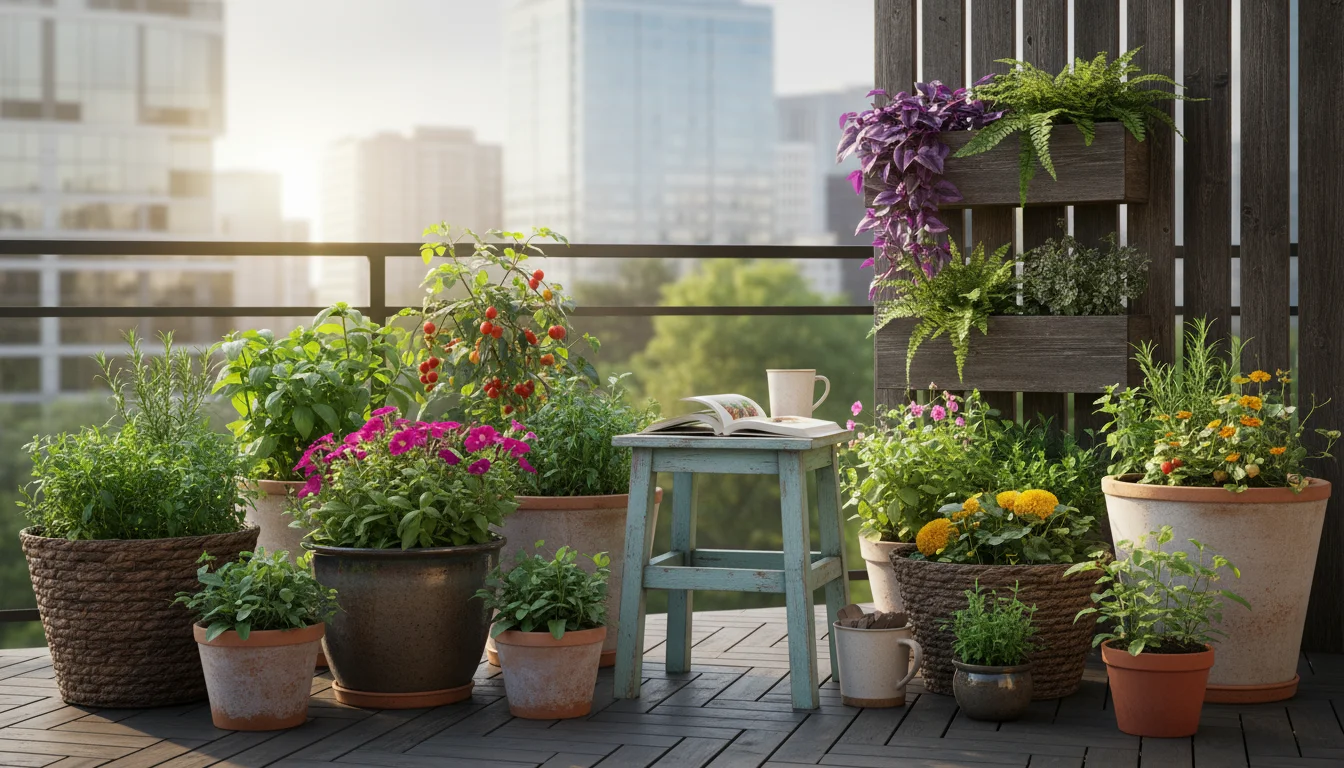
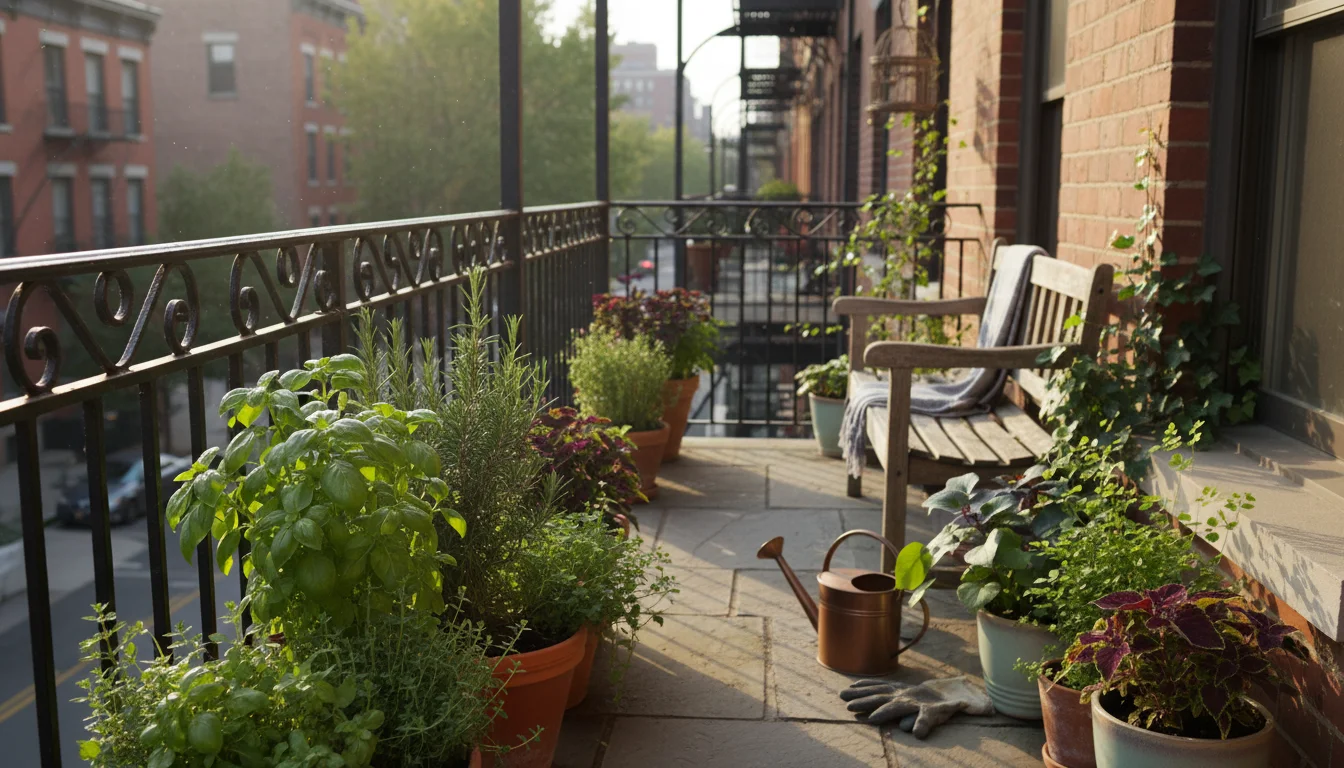
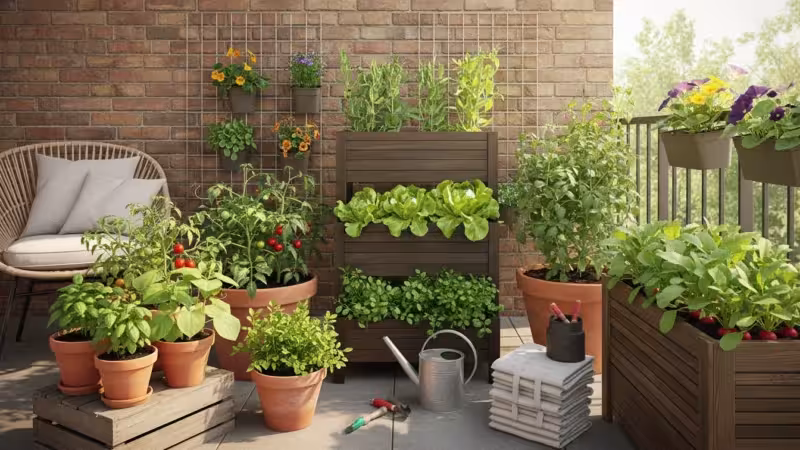
Designing Your Small-Space Garden with Pots
Container gardening offers incredible flexibility to create beautiful, productive green spaces, even in the smallest areas. Thoughtful design elevates your balcony, patio, or windowsill from a collection of pots to a cohesive, inviting garden retreat.
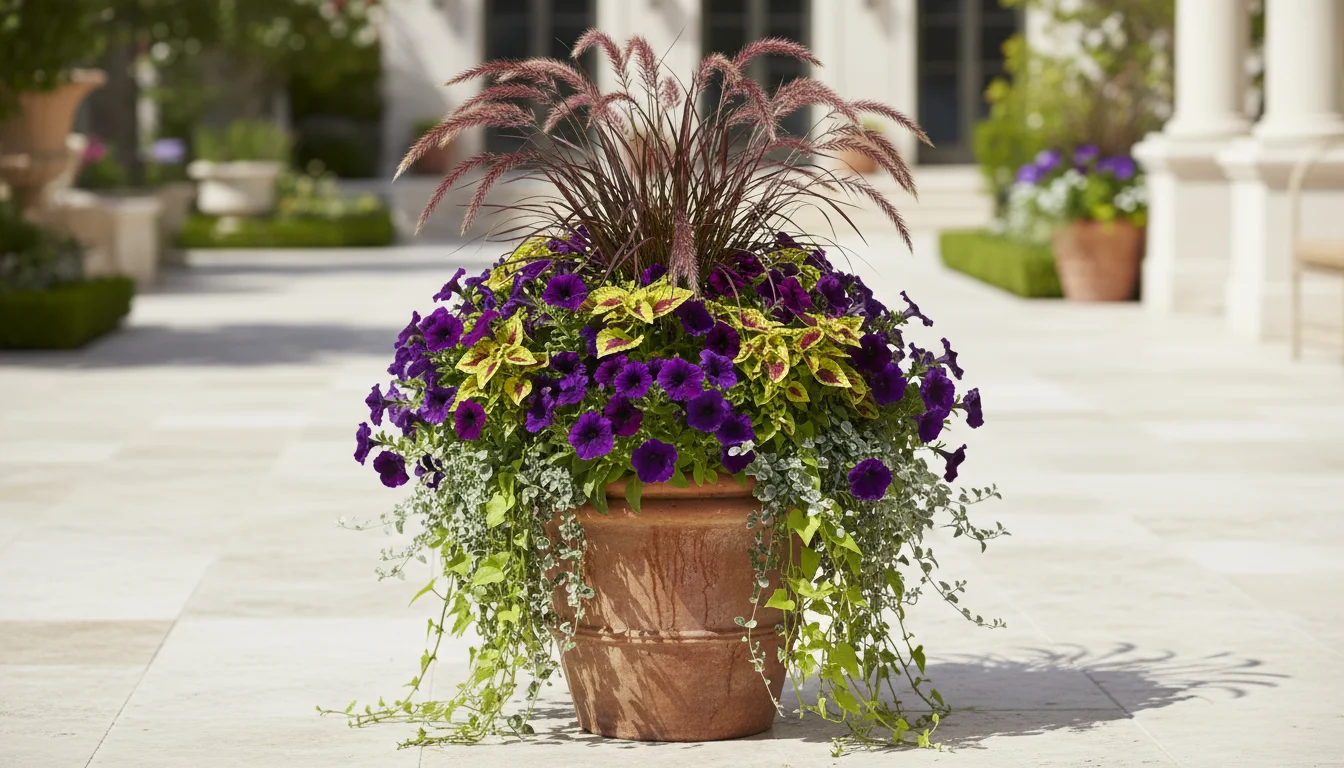
The “Thriller, Filler, Spiller” Principle
This popular design method helps you create dynamic and balanced container arrangements:
- Thriller: A tall, dramatic plant placed in the center or back of the pot. It provides height and a focal point. Examples include ornamental grasses, upright fuchsias, canna lilies, or a small dwarf fruit tree.
- Filler: Medium-height, mounding plants that fill the space around the thriller. They add volume and complement the main plant. Petunias, coleus, impatiens, and many herbs work well as fillers.
- Spiller: Trailing plants that spill over the edge of the pot, softening the container’s hard lines and adding movement. Sweet potato vine, creeping jenny, nasturtiums, and cascading petunias are excellent spillers.
This principle applies to single large containers or clusters of smaller pots, creating layers of visual interest.
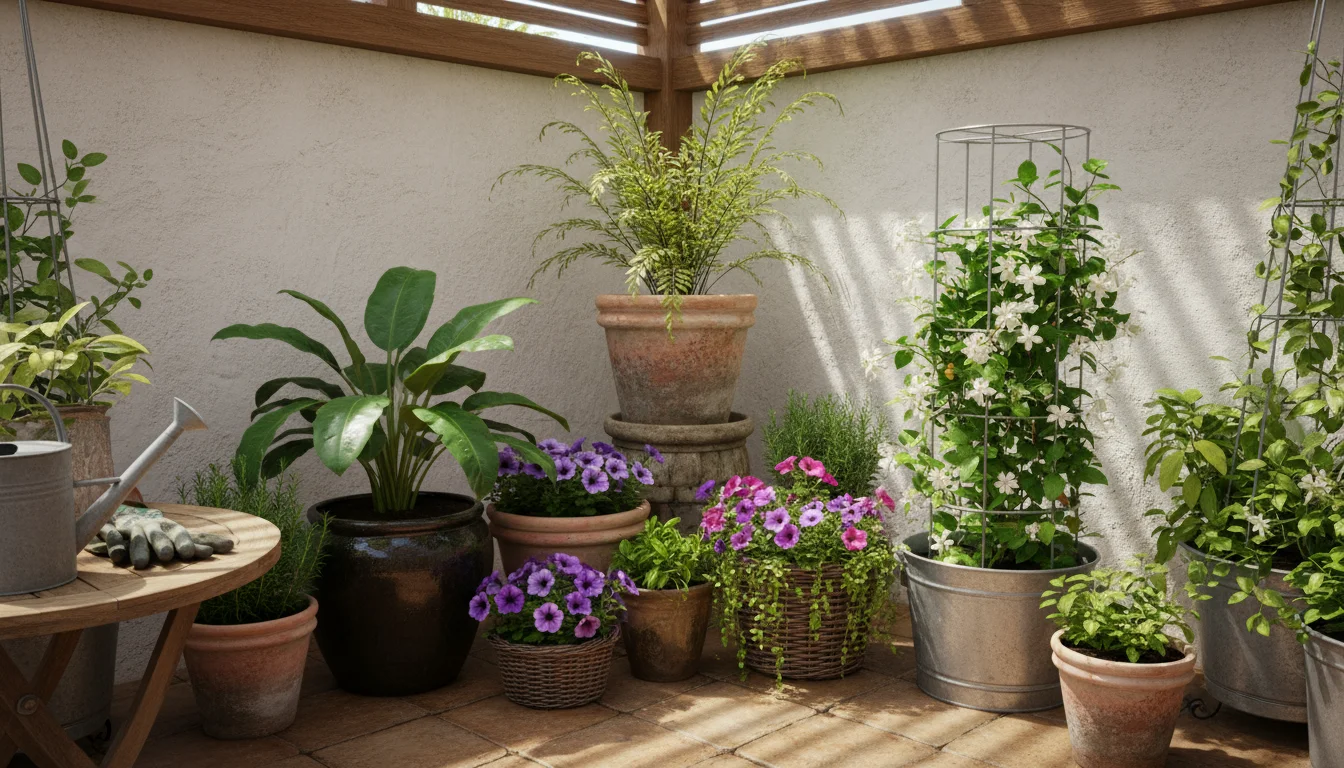
Varying Heights and Textures
To create visual depth and prevent your garden from looking flat, use pots of varying heights and sizes. Place taller plants in the back or center, and progressively shorter ones towards the front. Use pot stands or risers to elevate some containers. Mix different plant textures, pairing fine-textured foliage with broad leaves, or spiky plants with soft, flowing ones. This creates a rich, engaging tapestry.
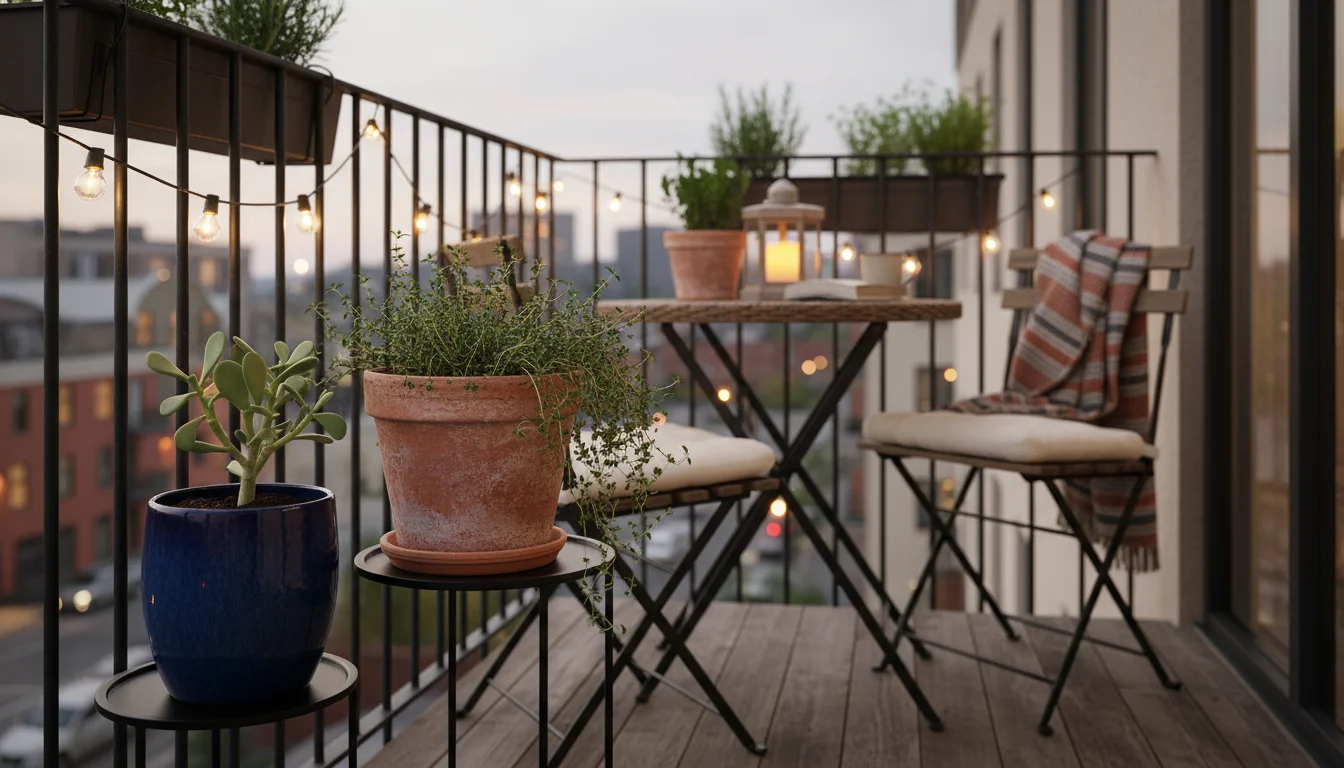
Color and Theme
Consider a color palette for your plants and pots. A monochromatic scheme (shades of one color) can be sophisticated, while complementary colors add vibrancy. Similarly, choose a theme. Perhaps a Mediterranean herb garden with terracotta pots, a vibrant tropical display with bold glazed ceramics, or a minimalist succulent collection in sleek, modern containers. Consistent pot styles or colors create a unified look, even with diverse plants.
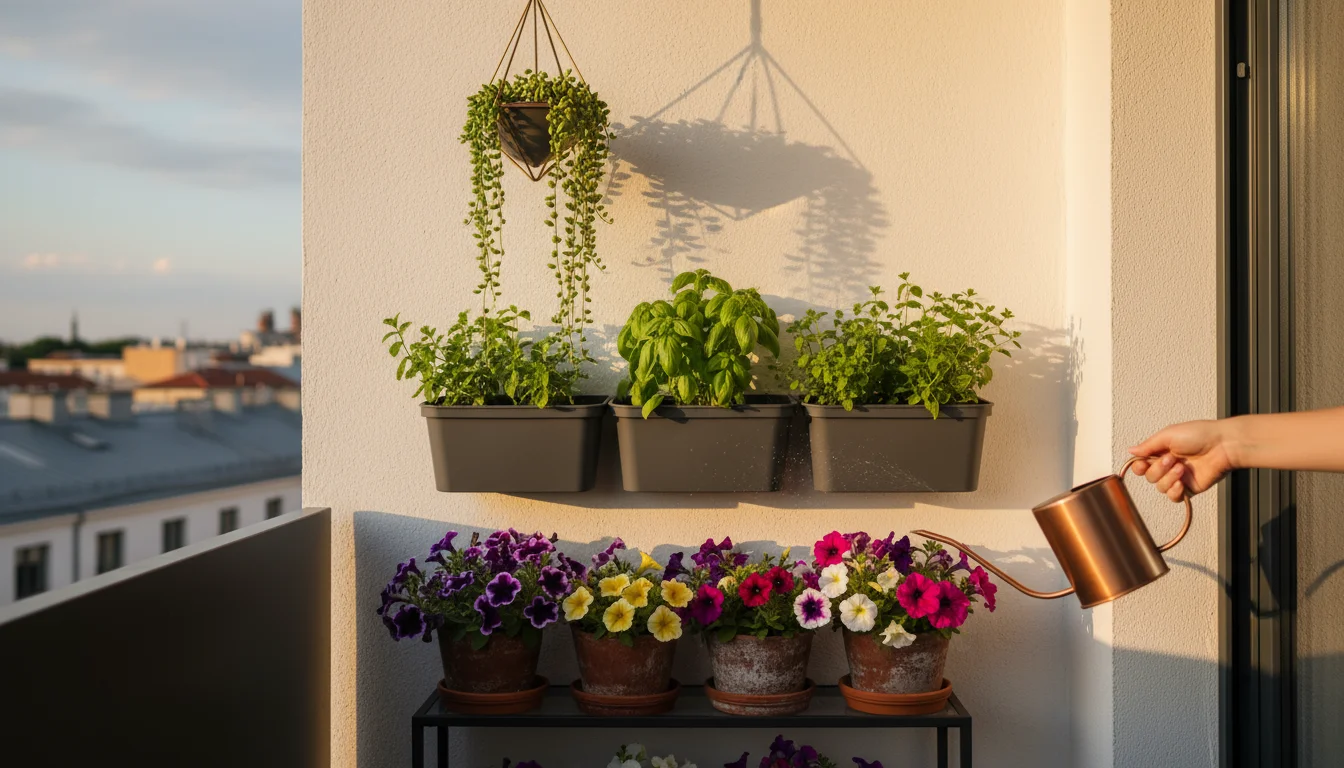
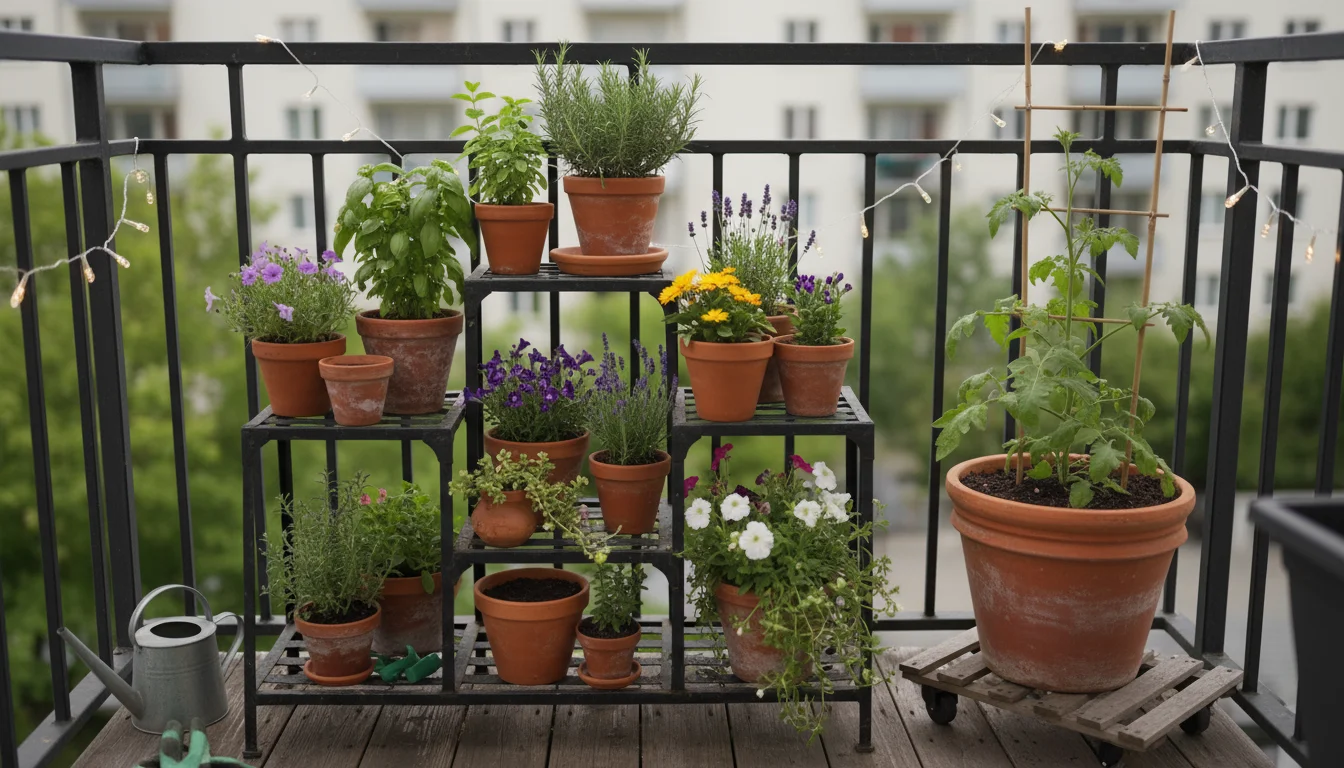
Maximizing Vertical Space
For balcony garden enthusiasts, vertical gardening solutions are indispensable. Consider wall-mounted planters, tiered plant stands, hanging baskets, or vertical garden structures. These options allow you to grow more plants without occupying precious floor space, transforming blank walls into living green displays. Ensure any wall-mounted options are securely fastened and can support the weight of wet soil and plants.
Placement for Light and Access
Strategically place your pots based on your plants’ light requirements. Sun-loving vegetables need the brightest spots, while shade-tolerant herbs or ornamentals thrive in more protected areas. Arrange pots to allow easy access for watering, harvesting, and general plant care. Leave pathways clear for movement around your small space. Consider the prevailing winds on your balcony; heavier pots or clustered arrangements provide more stability.
Eco-Friendly Container Choices for a Greener Garden
As conscious gardeners, we look for ways to minimize our environmental footprint. Choosing sustainable containers supports this goal, reducing waste and conserving resources. Embrace eco-friendly practices from the ground up.
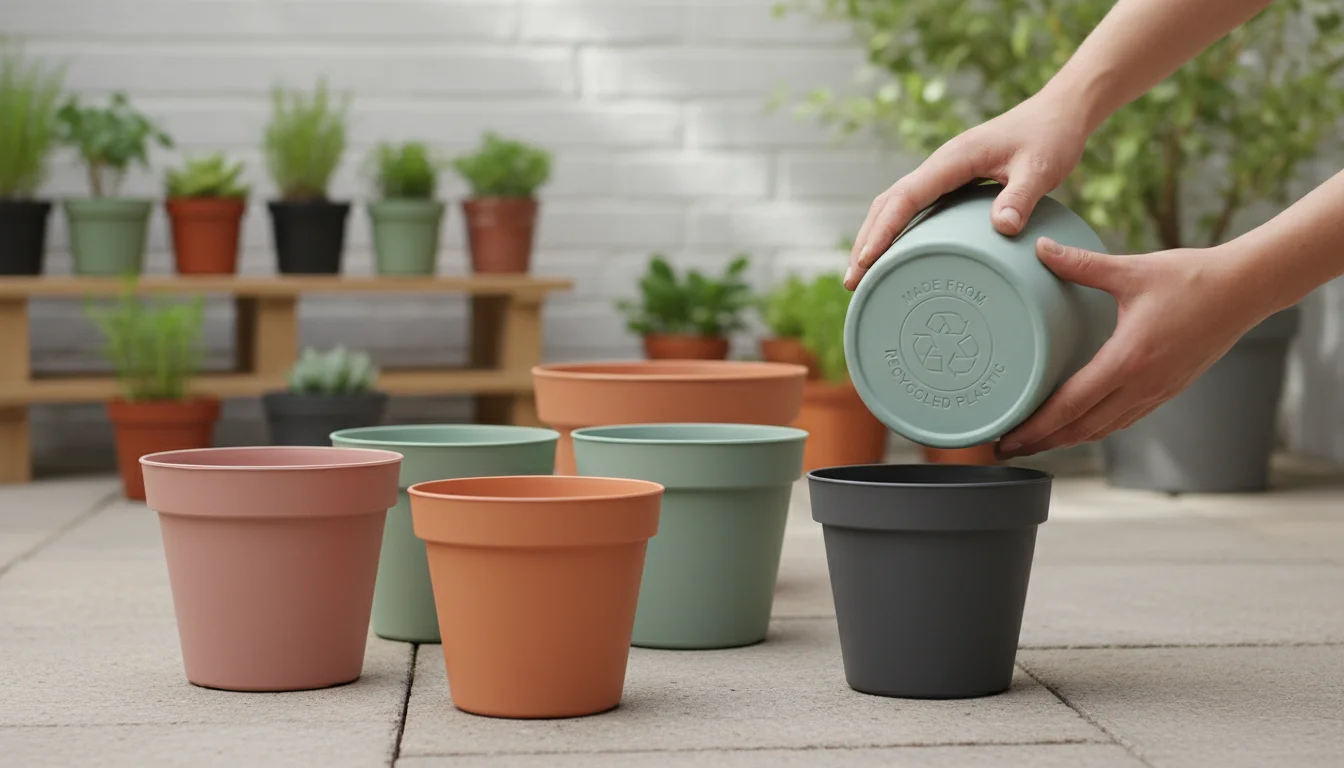
Recycled Plastic Pots
Many plastic pots today incorporate recycled content, often made from post-consumer plastics. While plastic has its drawbacks, opting for recycled plastic reduces demand for virgin materials and helps repurpose existing waste. Look for labels indicating recycled content. These pots offer the same benefits of lightweight durability and moisture retention as new plastic.
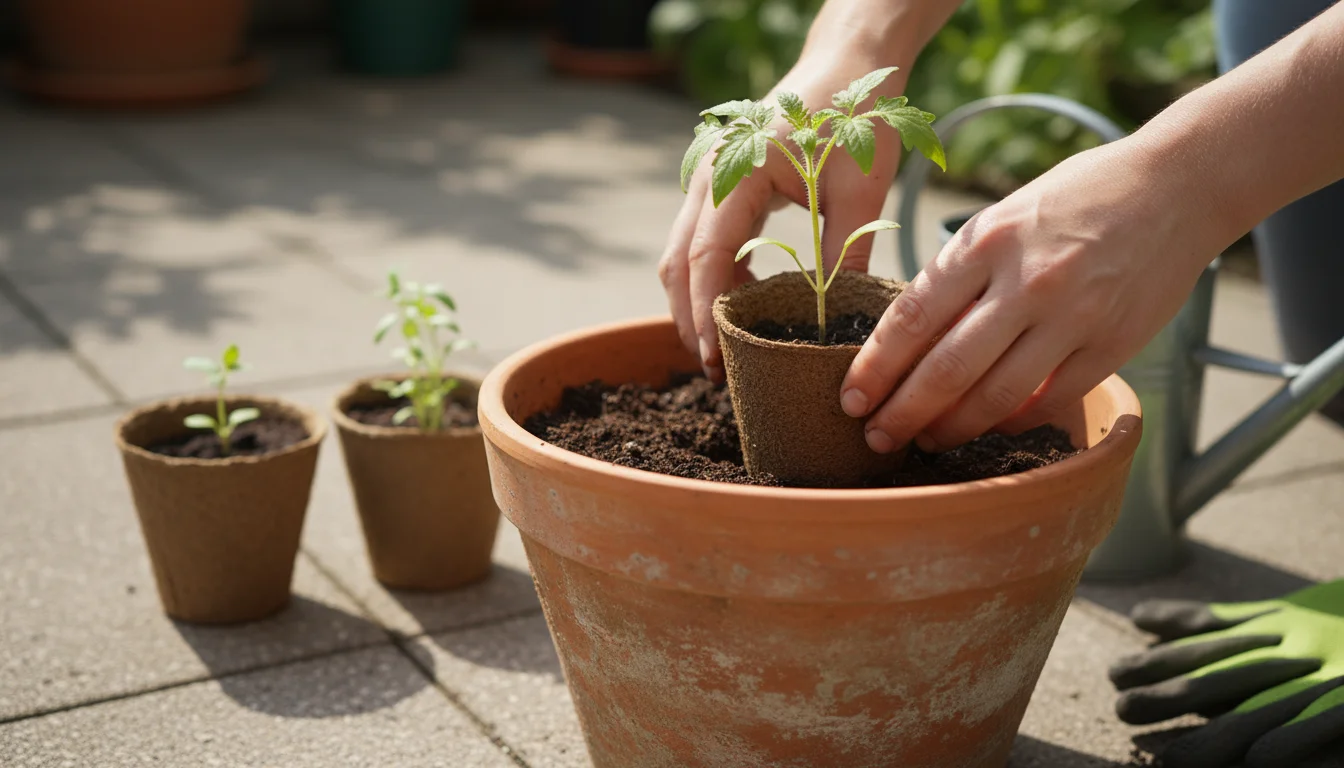
Biodegradable Pots
Pots made from coir (coconut fiber), peat, wood pulp, or even manure are designed to break down and can be planted directly into the ground or a larger container. This minimizes transplant shock, as you do not disturb the plant’s roots. They are excellent for starting seeds or seedlings. However, some biodegradable pots dry out quickly and may mold if kept too wet.
Upcycled Containers
The most sustainable pot is often one you already own or can rescue from the waste stream. Get creative with what you have! Ideas for upcycled containers include:
- Food-grade containers: Large yogurt tubs, milk jugs, 5-gallon buckets (for tomatoes, peppers, potatoes) are perfect. Always ensure they are thoroughly cleaned and drill drainage holes if needed.
- Metal tins: Old cookie tins or coffee cans can become charming herb planters. Line them with plastic to prevent rust if direct planting.
- Wooden crates or pallets: Repurpose these into rustic planters. Line with landscape fabric to extend their life and prevent soil from escaping.
- Old tires: While controversial due to potential chemical leaching, some gardeners use old tires for planting non-edibles or larger ornamentals.
Always ensure any upcycled container is clean, food-safe if you are growing edibles, and has adequate drainage. Avoid containers that once held toxic chemicals.
Longevity and Reusability
Ultimately, a truly sustainable choice is a durable pot you can reuse for many years. High-quality plastic, ceramic, or metal containers, properly cleaned and stored, reduce the need for constant replacement. Investing in well-made pots initially can be more eco-friendly than continually buying cheap, disposable options. When a pot reaches the end of its life, explore local recycling options for plastics, or repurpose ceramic and terracotta shards as drainage material in larger outdoor beds, not inside pots.
Frequently Asked Questions
Can I use garden soil in my pots?
No, you should never use garden soil in containers. Garden soil is too dense, compacts easily, and does not provide the aeration or drainage that container plants require. It can also harbor pests, diseases, and weed seeds. Always use a high-quality, lightweight potting mix specifically formulated for container gardening, as it offers the ideal balance of drainage, aeration, and moisture retention.
Do I really need drainage holes? Can’t I just be careful with watering?
Yes, you absolutely need drainage holes. While careful watering helps, even the most experienced gardener can misjudge moisture levels. Without drainage holes, excess water has nowhere to go. It accumulates at the bottom, creating a waterlogged environment that suffocates roots and leads to root rot. Root rot is a common cause of plant death in containers. It is far safer and easier to ensure proper drainage and let excess water escape.
My terracotta pots always get white crusty stuff on them. What is it, and how do I clean it?
The white crusty buildup on terracotta pots is mineral salt residue, often from hard water or fertilizers, that leaches out through the porous clay as water evaporates. It is generally harmless to plants. To clean it, scrub the pot with a stiff brush and a solution of one part white vinegar to four parts water. For stubborn buildup, soak the pot in this solution for a few hours before scrubbing. Rinse thoroughly afterward to remove all vinegar residue.
How do I know what size pot my plant needs?
Research your specific plant’s mature size and root system requirements. As a general rule, small herbs and annuals thrive in 6-10 inch pots, while larger vegetables like peppers and eggplants need 12-16 inch pots. Tomatoes, especially vining types, require substantial containers, often 15-20 gallons or larger, due to their extensive root systems and high water demands. A good starting point is a pot slightly larger than the plant’s current root ball, ensuring it has room to grow but not so much that the soil stays soggy.
Can I reuse potting soil from last year?
It is generally not recommended to reuse potting soil year after year, especially for edibles. Old potting mix loses its structure, nutrients deplete, and it can harbor disease pathogens or insect eggs. For annuals or vegetables, always start with fresh, sterile potting mix. For long-lived perennials, you can refresh the top few inches of soil with new mix and add compost or slow-release fertilizer.
For trustworthy gardening information, visit:
Oklahoma State University Extension — Lawn & Garden, Tennessee Extension — Gardening, University of Delaware Extension — Gardening, University of Vermont Extension — Gardening and University of New Hampshire Extension — Yard & Garden. These organizations provide expert, research-based advice for gardeners at all levels.
Disclaimer: This article is for informational purposes only and is not a substitute for professional gardening advice. Always consult local extension services or horticulture experts for region-specific guidance.


Leave a Reply