
Summer brings an abundance of lush, fragrant herbs, overflowing with vibrant essential oils and robust flavors. Capturing this peak potency for later enjoyment is one of the most rewarding parts of gardening. You can preserve the essence of your garden by properly harvesting and drying herbs, locking in that fresh taste long after the summer sun fades. This guide shows you how to transform your summer bounty into a pantry full of flavorful staples, all without requiring extensive space or complicated equipment.
Unlocking Summer’s Full Herb Flavor Potential
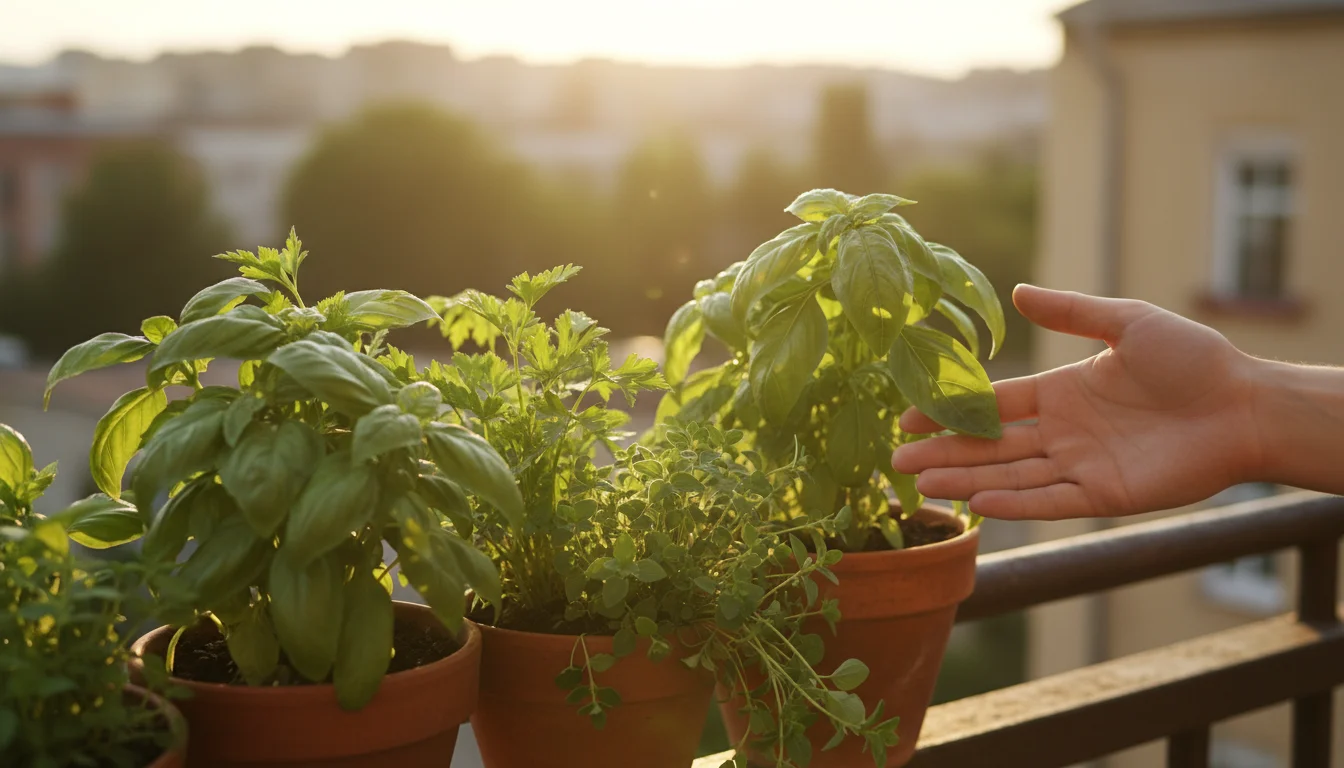
Imagine sprinkling fresh garden basil on your winter pasta or steeping fragrant chamomile for a calming tea, even when snow blankets your balcony. This is not just a dream, it is a practical reality when you understand how to harness the peak flavor of your summer herbs. Many gardeners think about preserving herbs at the end of the season, but the true secret to intense flavor lies in harvesting at the height of summer. This is when the plant’s essential oil production, responsible for those wonderful aromas and tastes, reaches its maximum.
Your small-space garden, whether it is a few pots on a windowsill or a collection of containers on a patio, offers a treasure trove of potential. Learning to dry herbs efficiently preserves this natural bounty and helps you enjoy your gardening efforts all year. Dried herbs also offer a convenient, healthy, and cost-effective alternative to store-bought varieties. You control the quality, ensuring your dried herbs are free from unwanted chemicals and additives. This guide will walk you through the entire process, emphasizing simple, low-maintenance techniques perfect for your small-scale operations. We will focus on methods that maximize flavor and potency, giving you practical steps to achieve delicious results every time.
The Science of Peak Potency: Why Timing Your Harvest Matters
The timing of your herb harvest significantly impacts the final quality and flavor of your dried herbs. Plants produce aromatic compounds, known as essential oils, as part of their natural defense mechanisms and to attract pollinators. These essential oils contain the concentrated flavor and aroma you seek in culinary and medicinal herbs. Environmental factors, light exposure, and the plant’s growth stage directly influence the concentration of these oils.
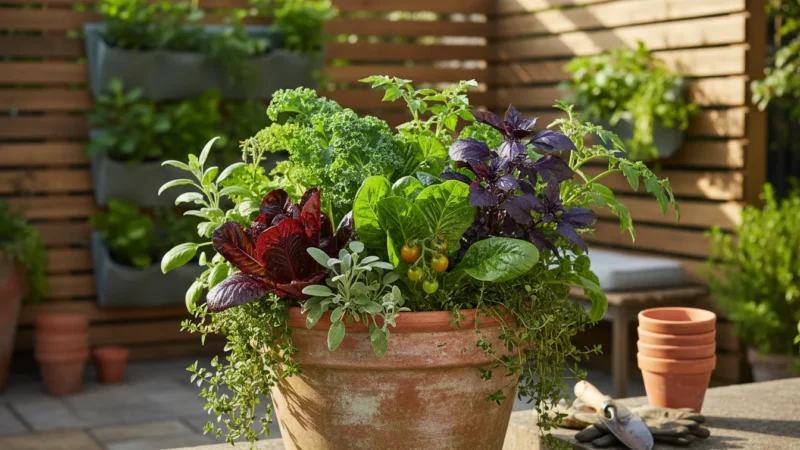
If you are growing a companion herb container with basil, oregano, and thyme, tracking the flowering stage of each herb will help you harvest each at its absolute best.
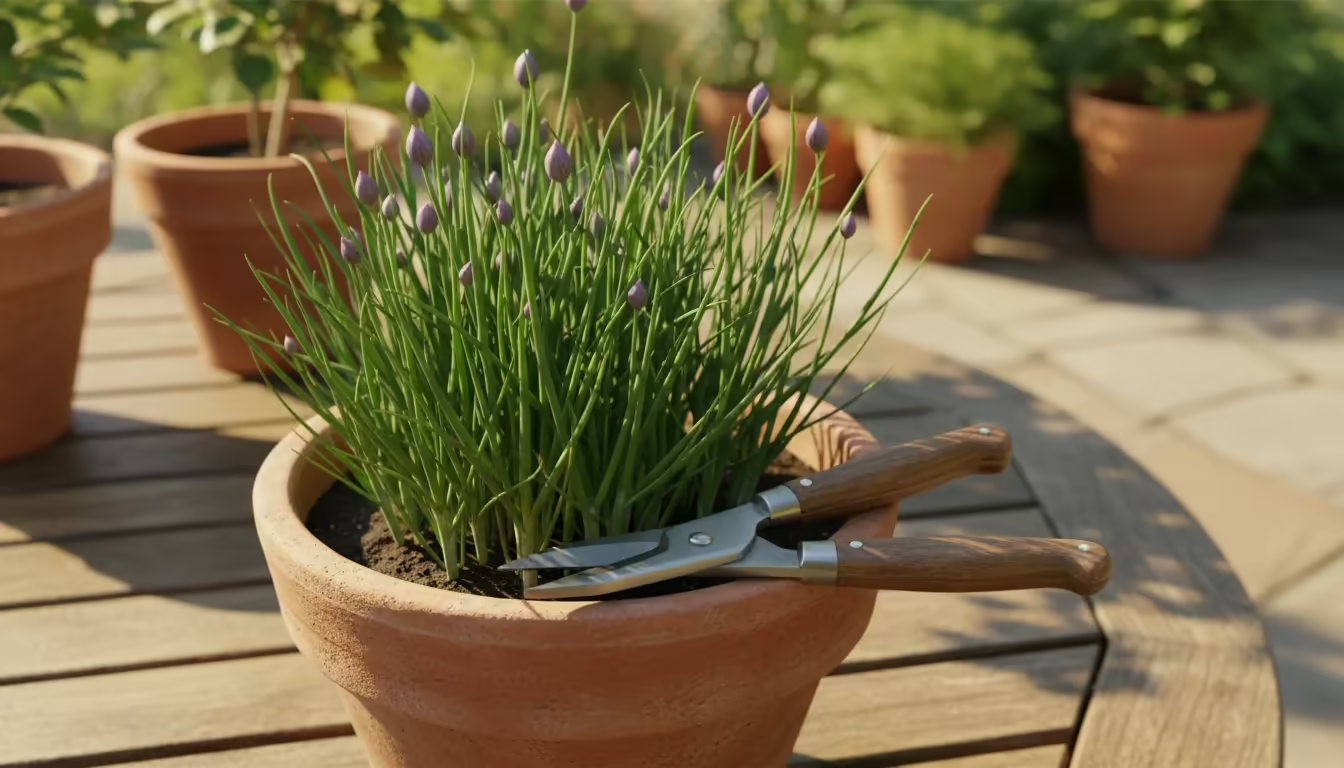
During the summer, with longer daylight hours and consistent warmth, most herbs experience their most vigorous growth and highest essential oil production. However, within this summer window, there is a specific sweet spot: just before the plant flowers. Once an herb plant begins to flower, its energy shifts from producing foliage and essential oils in the leaves to producing seeds. This energy redirection often leads to a decrease in the concentration of oils in the leaves, which can result in a less potent and sometimes slightly bitter flavor in the dried product.
For example, basil (a prime candidate for preserving summer herbs) reaches its peak flavor when its leaves are fully developed but before the small flower buds emerge. The same applies to oregano, thyme, rosemary, and sage. These herbs are at their most flavorful and aromatic when their leaves are plump and vibrant. Harvesting at this stage ensures you capture the maximum possible flavor and preserve it for future use. This strategic approach to harvesting herbs maximizes your efforts and yields a superior dried product, truly preserving herb flavor.
Gathering Your Green Gold: Step-by-Step Harvesting Techniques
Successful herb drying begins with a proper harvest. Follow these guidelines to ensure you collect your herbs at their prime, setting the stage for the best possible flavor preservation.
- Choose the Right Time of Day: The ideal time to harvest herbs is in the late morning, after the dew has evaporated but before the sun reaches its peak intensity. The morning sun helps evaporate surface moisture, but the heat of midday can cause essential oils to dissipate, reducing potency. Aim for a dry, sunny day.
- Inspect Your Plants: Before you cut, carefully examine your herb plants. Look for healthy, vibrant leaves free from pests or disease. Avoid any leaves that show signs of yellowing, wilting, or damage. These will not dry well and can compromise the quality of your batch.
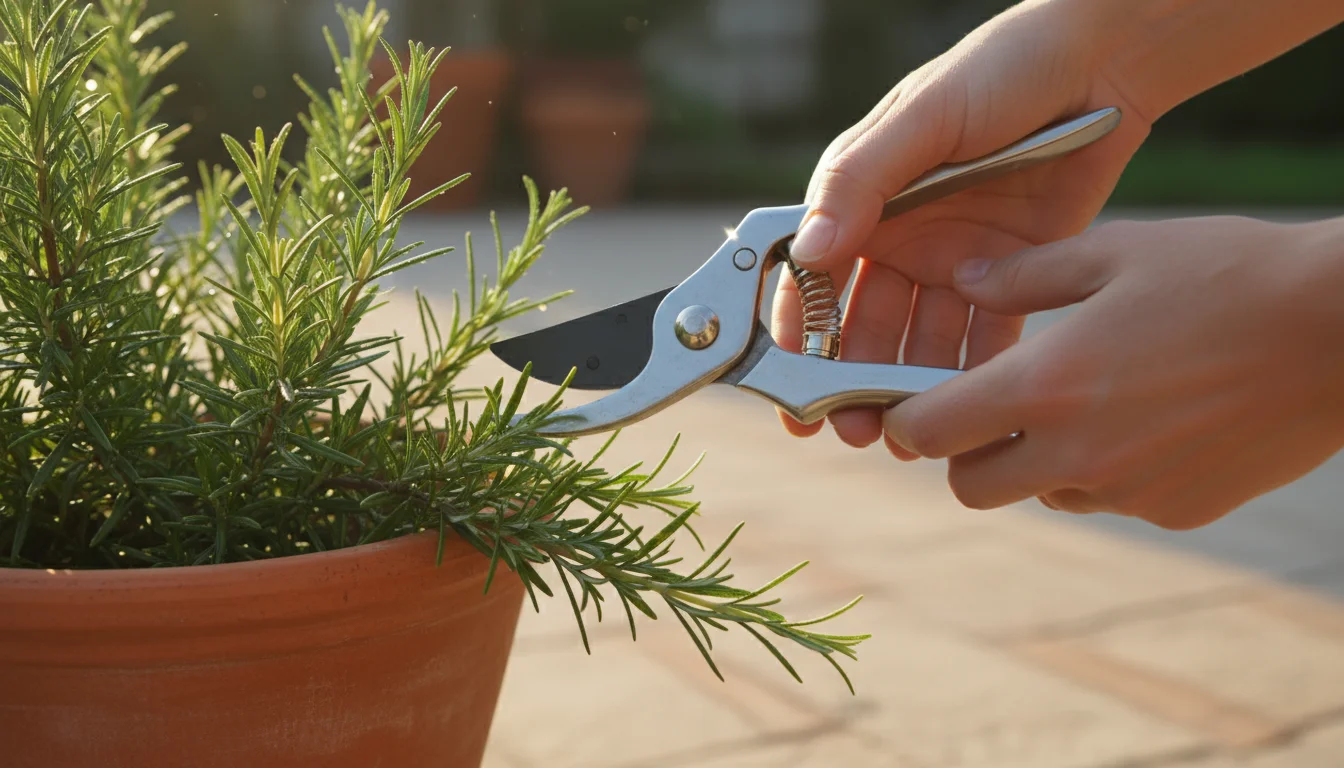
- Use Clean, Sharp Tools: Always use clean, sharp scissors, pruners, or a knife. Dull tools can crush stems, causing damage to the plant and making it more susceptible to disease. Sterilize your tools with rubbing alcohol between plants to prevent the spread of potential pathogens.
- Harvesting Technique:
- Leafy Herbs (Basil, Oregano, Mint, Lemon Balm): For bushier herbs, cut stems about 4 to 6 inches from the top, just above a leaf node (the point where leaves or branches emerge). This encourages the plant to branch out, producing more foliage for future harvests. Do not remove more than one-third of the plant at a time to ensure its continued health and productivity.
- Woody Herbs (Rosemary, Thyme, Sage, Lavender): For woody herbs, you can harvest longer stems. Cut branches up to 6 to 8 inches long, again, just above a leaf node. Avoid cutting into the old, woody growth, as this can be harder for the plant to recover from.
- Parsley and Cilantro: Harvest outer leaves from the base of the plant, leaving the inner ones to continue growing.
- Gentle Handling: Once cut, handle your herbs gently. Bruising the leaves can release essential oils prematurely and compromise their quality. Place them loosely in a basket or on a tray rather than crushing them together.
By following these careful steps for harvesting herbs, you ensure you collect the highest quality plant material, ready for the next crucial step: drying. This attention to detail is a fundamental aspect of preserving summer herbs effectively.
Preparing Your Herbs for Optimal Drying Success
Once you have harvested your herbs, a few simple preparatory steps are essential to ensure successful drying and maximum flavor retention. Proper preparation prevents mold, removes any unwanted debris, and sets your herbs up for an efficient drying process.
First, gently clean your herbs. If your herbs are noticeably dusty or have visible soil splashes, a quick rinse under cool, running water is acceptable. Do this very carefully and as lightly as possible. Excess moisture is the enemy of drying herbs, as it can lead to mold and mildew. After rinsing, shake off as much water as you can.
Next, spread your herbs in a single layer on a clean cloth or paper towels. Allow them to air dry completely for a few hours. This step is crucial. You want the surface of the leaves and stems to be thoroughly dry before you begin the actual drying process. Any lingering moisture significantly increases the risk of spoilage during drying.
Inspect your herbs one last time. Remove any discolored, damaged, or insect-chewed leaves. Discard any small insects you might find. You want only the freshest, healthiest plant material going into your drying setup. This meticulous sorting ensures a high-quality final product, free from any contaminants.
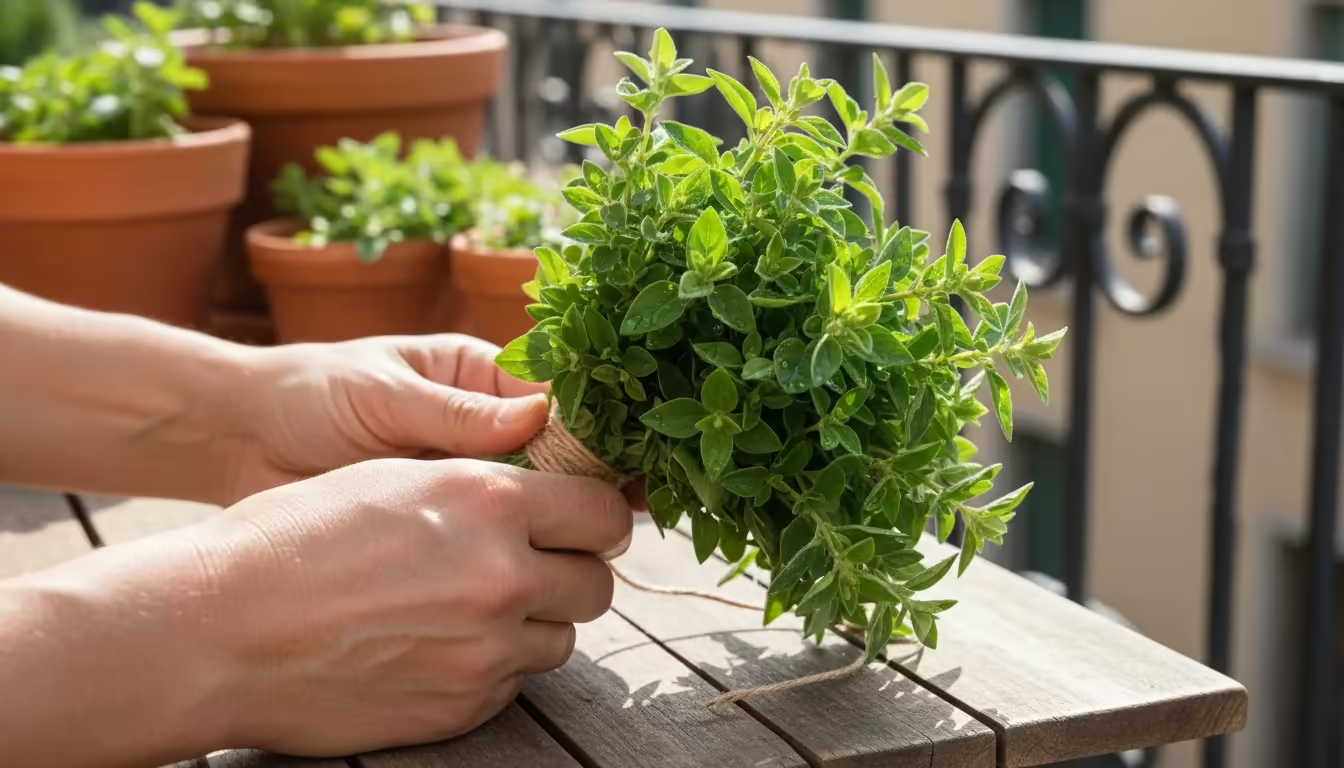
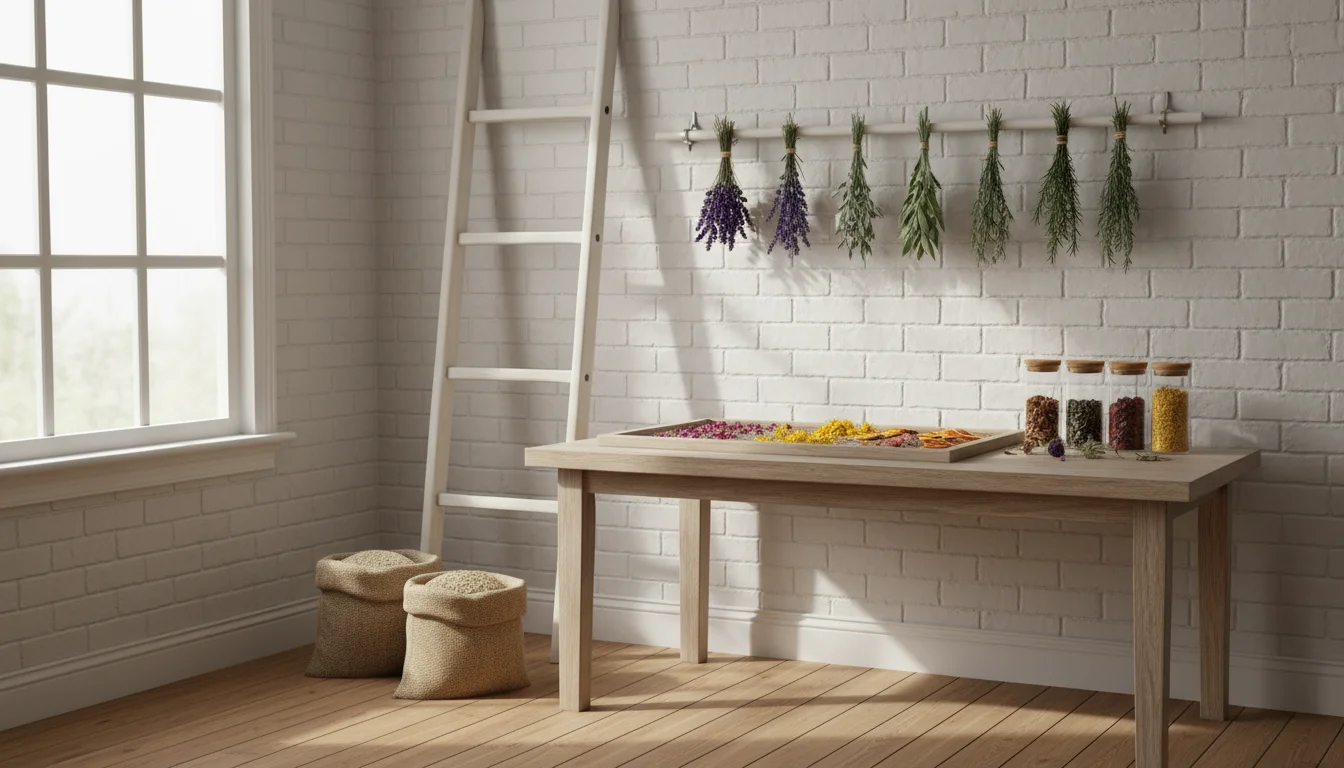
Finally, consider bundling your herbs if you plan to air dry them. For many herbs, especially those with slender stems like oregano, thyme, or mint, gathering small bunches is ideal. Aim for bundles of about 4 to 6 stems, depending on their thickness. Too large a bundle can trap moisture in the center, leading to uneven drying and potential mold. Secure the bundles with twine or rubber bands. Ensure the tie is not too tight, which can also hinder airflow. These carefully prepared bundles are then ready for the air-drying process, which is one of the best ways for how to air dry basil and oregano from the garden.
Mastering the Art of Air Drying: A Small-Space Method
Air drying stands as one of the most effective and eco-friendly methods for preserving summer herbs. It requires minimal equipment, consumes no energy, and retains much of the herbs’ natural flavor and aroma. This technique is particularly well-suited for small-space gardeners, as it can be done indoors, away from direct sunlight and humidity.
Once your harvest is ready, you can explore many creative ways to use dried herbs throughout the colder months.
The key to successful air drying involves creating the right environment: good air circulation, warmth, and darkness. Too much light can degrade essential oils and cause your herbs to lose color and flavor. High humidity encourages mold growth, while insufficient airflow prevents proper drying.
Here is a step-by-step guide to how to air dry basil and oregano from the garden, along with many other herbs:
- Select Your Drying Location: Choose a warm, dry, and well-ventilated area that is out of direct sunlight. A pantry, a corner of a spare room, or an attic are excellent choices. Avoid kitchens or bathrooms where humidity levels fluctuate significantly.
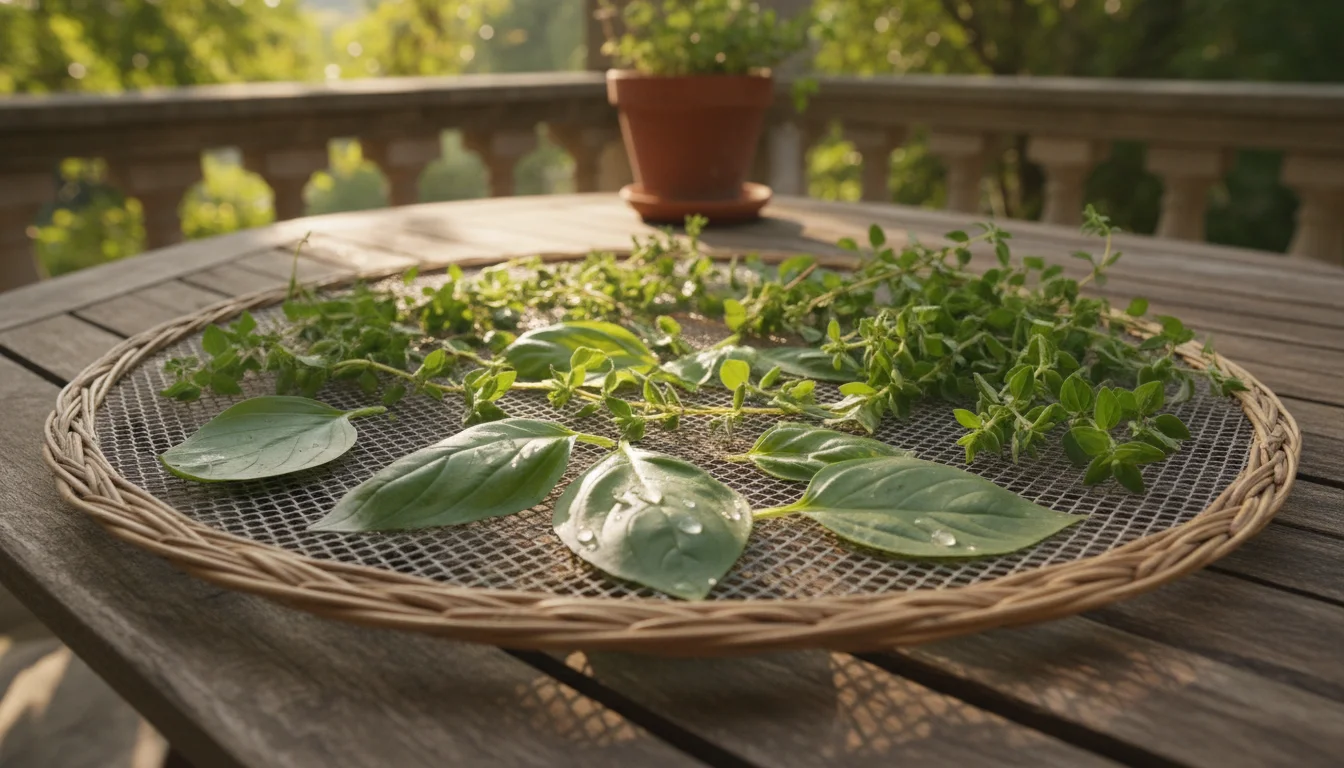
- Prepare for Hanging: If you are using pre-bundled herbs, you will simply hang them. For individual stems or larger leaves that do not bundle well, you can use a drying screen or rack. These often consist of a mesh material stretched over a frame, allowing air to circulate around the herbs. You can purchase these or easily create your own with window screening and a simple wooden frame.
- Hang Your Herb Bundles:
- Tie the twine or rubber band of your herb bundles to a clothesline, a drying rack, or even a simple coat hanger. Ensure there is enough space between each bundle for adequate airflow.
- For herbs with delicate leaves like basil, you might want to consider removing the leaves from the stem and laying them flat on a drying screen to prevent them from becoming brittle and falling off during the hanging process.
- Monitor the Drying Process: Drying times vary depending on the herb type, humidity, and temperature. Most herbs will dry completely within one to three weeks. You know your herbs are fully dry when the leaves are brittle and easily crumble between your fingers. Stems should snap cleanly, not bend.
- Avoid Over-Drying: While you want them completely dry, do not leave them hanging for too long after they are ready. Prolonged exposure to air and light, even indirect, can diminish their potency.
This method of drying herbs, especially basil and oregano, effectively preserves their flavor and ensures you have a supply of your garden’s goodness ready for use. It is a fundamental technique for preserving summer herbs, ensuring you capture that peak potency.
Beyond Air Drying: Quick Notes on Other Preservation Methods
While air drying is our focus for its simplicity, sustainability, and suitability for small spaces, other methods exist for preserving your herb harvest. These options might be useful depending on the herb, your available equipment, and your desired outcome. They offer alternatives for preserving summer herbs beyond just air drying.
Dehydrator Drying: An electric dehydrator offers a more controlled and often faster drying process than air drying. You set the temperature and fan speed, ensuring consistent conditions. This method works well for most herbs, especially those with higher moisture content that might be prone to mold when air-dried. You simply spread your cleaned herbs in a single layer on the dehydrator trays. Follow your dehydrator’s instructions for temperature and time, typically around 95-105°F (35-40°C) for several hours until brittle.
Oven Drying (Low Heat): Oven drying is another option, though it requires more attention and can use more energy. You must use the absolute lowest temperature setting on your oven, often just the pilot light or “warm” setting. Spread herbs on baking sheets in a single layer. Leave the oven door slightly ajar to allow moisture to escape and prevent overheating. Check frequently, turning the herbs occasionally, until they are crisp. Be very careful with this method, as too much heat can “cook” the herbs, destroying their essential oils and flavor.
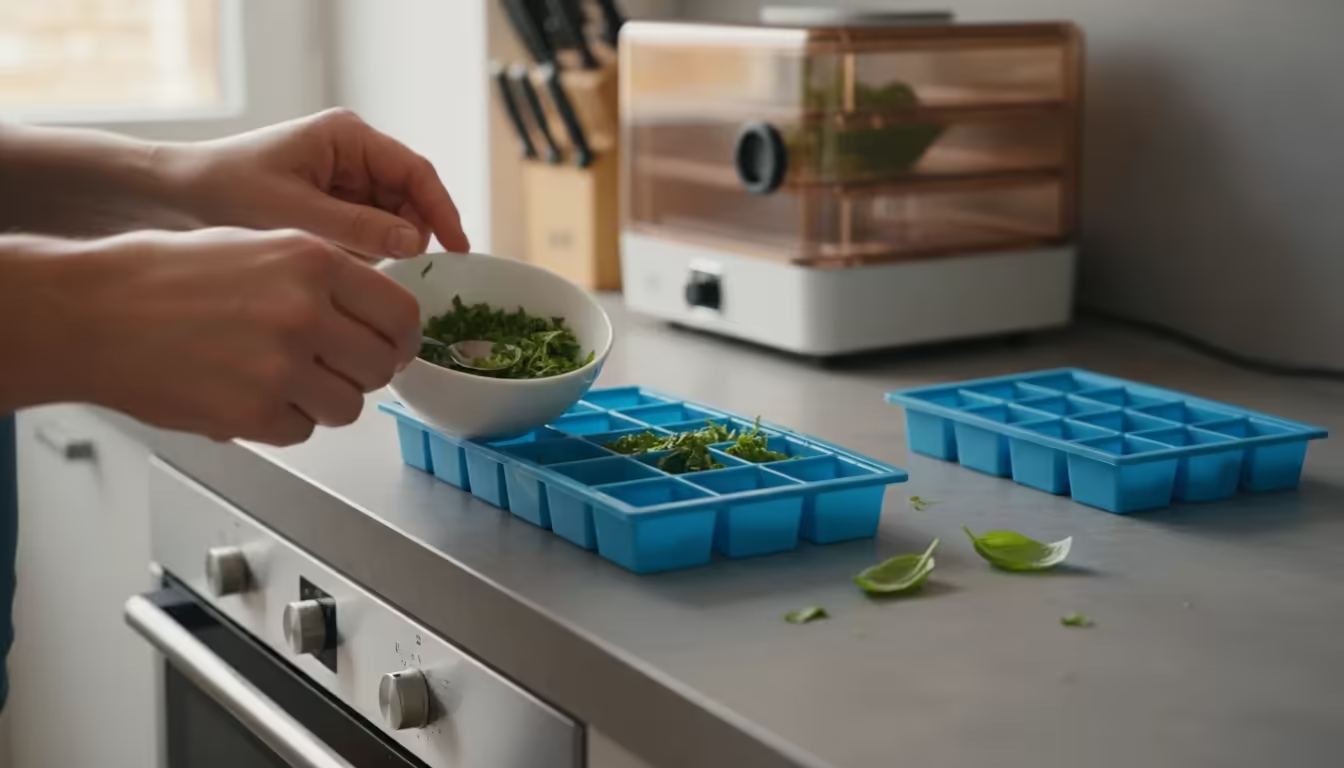
Freezing Herbs: Freezing is an excellent way to preserve herbs that do not dry well, such as cilantro, parsley, chives, or basil if you want to retain more of its fresh texture. You can chop them finely and freeze them in ice cube trays with a little water or oil, then transfer the frozen cubes to a freezer bag. Alternatively, lay whole sprigs on a baking sheet, freeze until solid, and then transfer to freezer bags. Freezing retains color and a more “fresh” flavor profile, making it a great way of preserving herb flavor for specific culinary uses.
Each method has its advantages, but for the typical small-space gardener looking for low-maintenance and energy-efficient ways to dry herbs, air drying remains the champion. When you focus on drying herbs, especially basil and oregano, air drying is often the simplest and most effective.
Storing Your Summer Harvest: Keeping Flavor Fresh Year-Round
Proper storage is just as critical as proper drying for preserving herb flavor. Once your herbs are completely dry, they must be stored correctly to maintain their potency, aroma, and color. Improper storage can quickly lead to a loss of quality, rendering all your harvesting and drying efforts moot.
Your dried herbs are susceptible to light, air, and moisture. Exposure to these elements causes degradation of essential oils, leading to faded color and diminished flavor. Therefore, you need to store your herbs in an environment that protects them from these factors.
Here is how to store your dried herb treasure effectively:
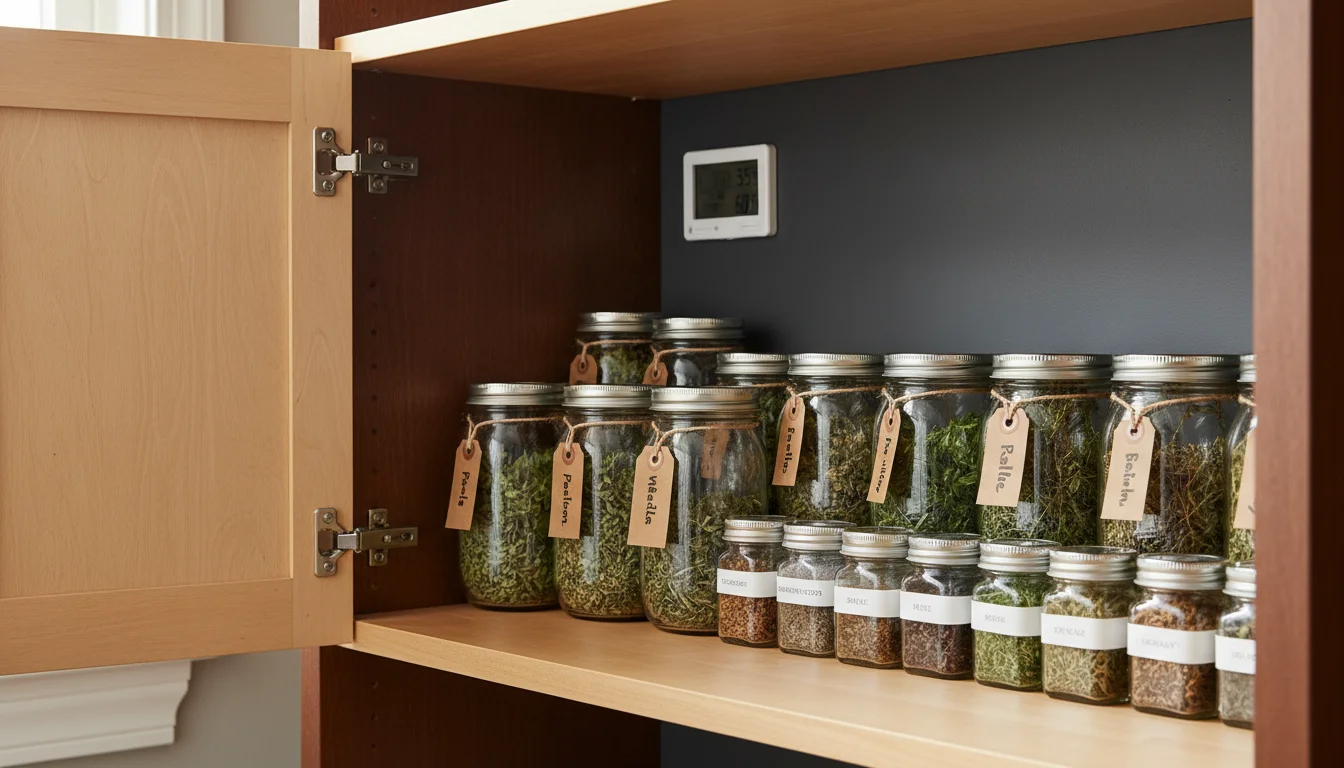
- Cool, Dark, Dry Place: The ideal storage location is a cool, dark, and dry spot. A pantry, a cabinet away from the stove, or a dedicated spice drawer works perfectly. Avoid placing them near windows, direct sunlight, or heat-producing appliances, which can accelerate degradation.
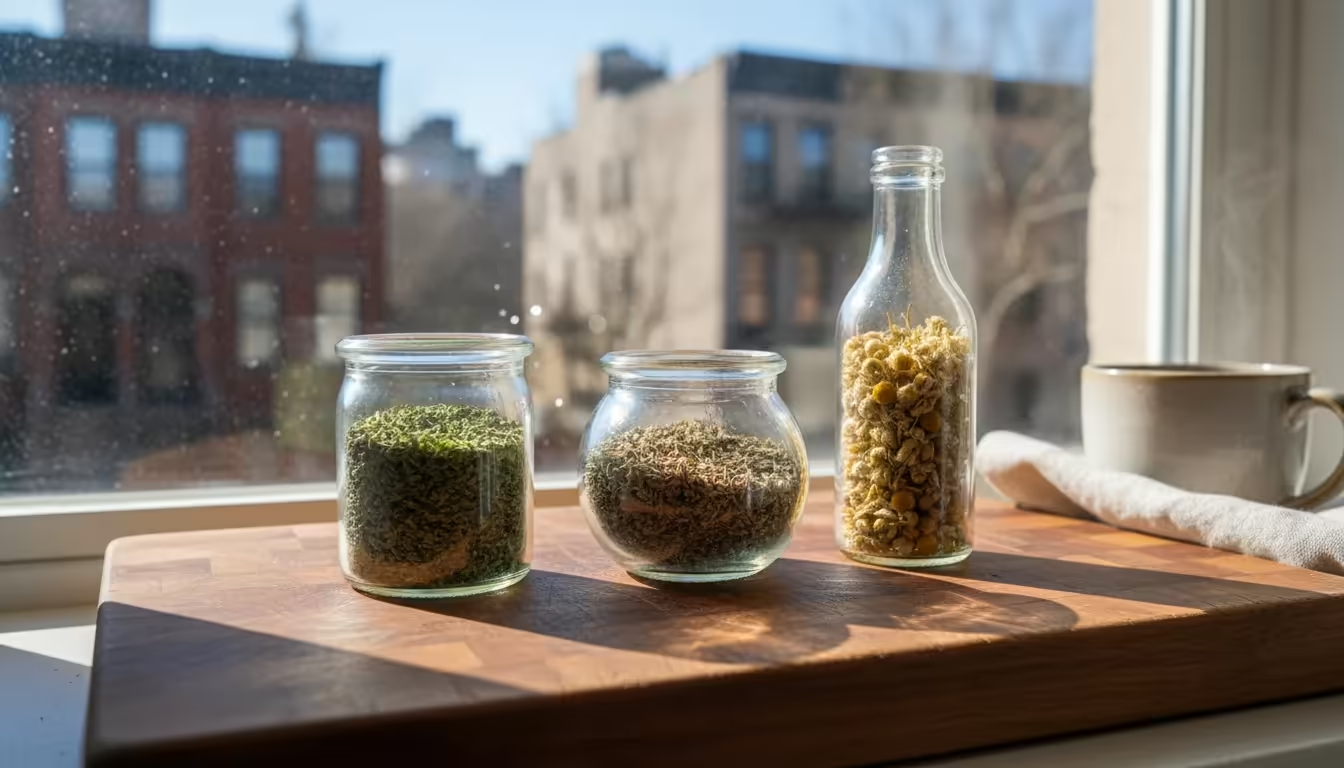
- Airtight Containers: This is perhaps the most crucial rule. Once dried, place your herbs in airtight containers. Glass jars with tight-fitting lids (like canning jars or repurposed spice jars) are excellent choices. You can also use opaque plastic containers designed for food storage. Avoid plastic bags, which often do not provide a truly airtight seal and can leach odors or flavors over time.
- Store Whole or Crumbled: For many herbs, it is beneficial to store them whole or in large pieces rather than crumbled or ground. Crushing or grinding herbs increases their surface area, exposing more essential oils to the air and causing them to degrade faster. You can crumble or grind them just before use to release their freshest flavor. This is particularly effective for preserving herb flavor in basil and oregano.
- Label and Date: Always label your containers with the herb name and the date it was dried. This simple practice helps you keep track of your inventory and ensures you use the oldest herbs first. While dried herbs do not “go bad” in a harmful way, they do lose potency over time.
- Check for Moisture: A few days after storing, check your containers for any signs of moisture condensation. If you see droplets inside the jar, it means your herbs were not completely dry before storage. You will need to remove them from the container and dry them further to prevent mold growth.
With proper storage, your dried herbs can retain good quality for 6 to 12 months, and sometimes even longer for hardier herbs like rosemary or sage. By following these steps for drying herbs and storing them correctly, you ensure your efforts in preserving summer herbs provide delicious results for many months to come.
Common Mistakes to Avoid for Perfect Dried Herbs
Even with the best intentions, it is easy to make a few common errors when drying herbs. Understanding these pitfalls helps you steer clear of them, ensuring your dried herb yield is of the highest quality and flavor. Avoiding these mistakes is key to successfully preserving summer herbs and maintaining their potency.
- Harvesting at the Wrong Time: As discussed, harvesting too early (before full flavor development) or too late (after flowering) leads to diminished potency. Always aim for that pre-flower peak during the summer months.
- Not Washing or Washing Too Much: Some gardeners skip washing entirely, leaving dust or small insects on their herbs. Conversely, over-washing or not thoroughly drying herbs after rinsing introduces excess moisture, which is the primary cause of mold during the drying process. A light rinse and complete air drying before hanging are essential.
- Bundling Too Tightly or Too Large: Overly tight or large bundles restrict airflow to the inner stems and leaves. This creates pockets of humidity, leading to uneven drying and mold growth. Keep bundles small and ensure good air circulation between them.
- Drying in Direct Sunlight or High Humidity: Direct sunlight causes dried herbs to bleach, lose their vibrant color, and degrade essential oils, resulting in a flavorless product. High humidity environments, such as a kitchen or bathroom, provide the perfect conditions for mold and mildew. Always choose a dark, dry, and well-ventilated spot.
- Not Drying Completely: If herbs feel pliable or soft when you test them, they are not fully dry. Storing partially dried herbs guarantees mold growth. Ensure they are brittle and crumbly before sealing them in containers.
- Storing in Improper Containers: Storing dried herbs in open containers, plastic bags that are not airtight, or clear jars exposed to light will quickly degrade their flavor and aroma. Always use airtight, opaque containers (or store clear jars in a dark cabinet).
- Forgetting to Label and Date: Without labels and dates, you lose track of what is what and how old your herbs are. This leads to using older, less potent herbs when fresher ones might be available, or not knowing when it is time to refresh your supply.
By consciously avoiding these common errors, you significantly increase your success rate for drying herbs and ensure you get the most out of your small garden’s summer bounty. Your efforts in preserving herb flavor will truly pay off.
Sustainable Herb Practices for a Greener Garden
Embracing sustainable practices in your herb garden benefits the environment and enhances the health and productivity of your plants. As a supportive gardening coach, I encourage you to integrate these eco-friendly habits into your routine for growing and preserving summer herbs.
Water Conservation: Small-space gardeners often use containers, which can dry out quickly. Implement smart watering strategies. Water in the early morning or late evening to minimize evaporation. Consider using self-watering pots or adding a layer of mulch (like straw or small pebbles) to the soil surface to help retain moisture. Proper drainage in your pots (how water moves through the soil) is important, but preventing excessive evaporation is equally key.
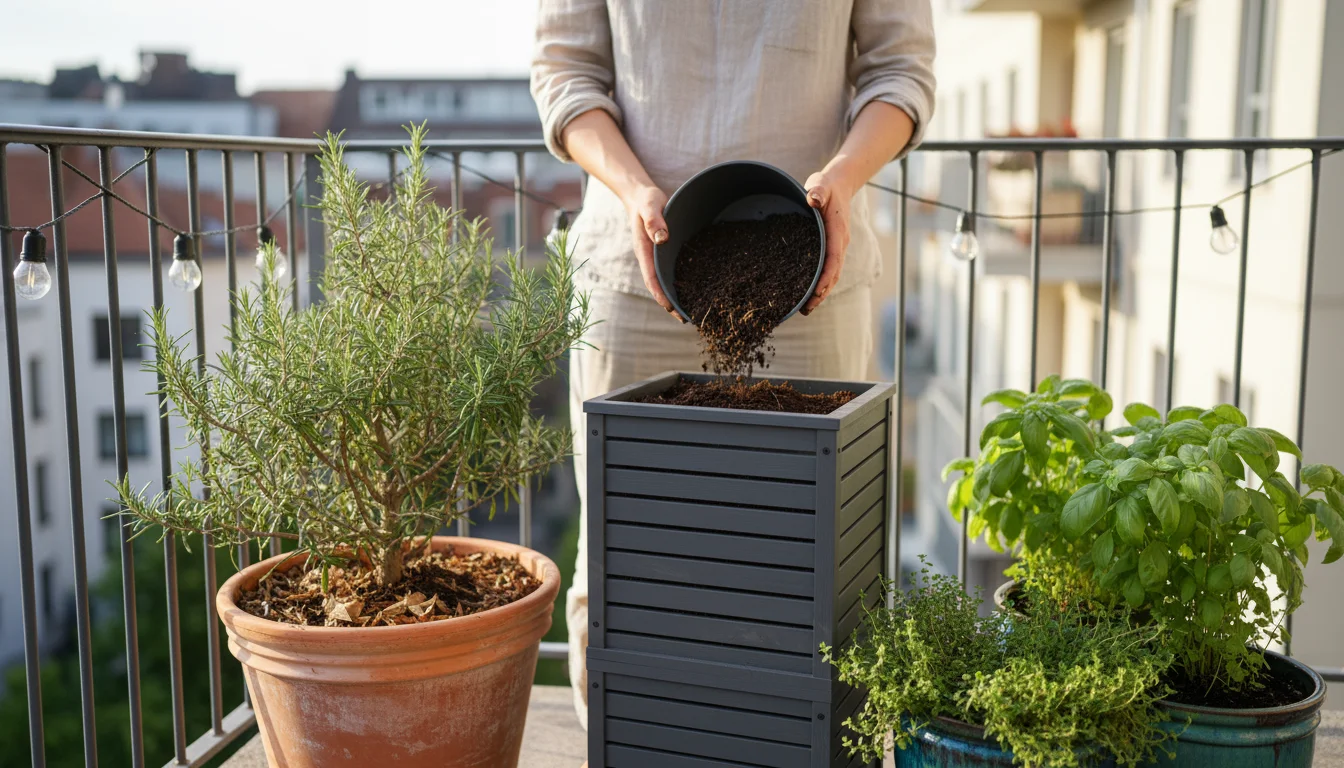
Composting and Soil Health: Instead of discarding plant trimmings or spent leaves, consider composting them. A small compost bin or worm farm can easily fit in a small garden space. Composting enriches your soil with organic matter, reducing the need for chemical fertilizers. Healthy soil, full of beneficial microorganisms, leads to stronger, more flavorful herbs, which are excellent for drying herbs.
Pest Management: Practice integrated pest management. Instead of immediately reaching for pesticides, first try physical removal (hand-picking pests), introducing beneficial insects (like ladybugs), or using organic pest deterrents such as neem oil or insecticidal soap. Healthy plants are naturally more resilient to pests, reducing your need for intervention.
Seed Saving: For some herbs, like cilantro or dill, you can allow a few plants to go to seed. Collect these seeds for planting next season, reducing your reliance on purchasing new seeds. This closes the loop of your gardening cycle and builds self-sufficiency.
Minimal Waste Preservation: Air drying is inherently sustainable as it uses no energy. By harvesting only what you need and drying it efficiently, you reduce food waste. Any dried herb scraps can be added to your compost pile, ensuring nothing goes to waste. When you focus on preserving summer herbs with these methods, you align with a greener lifestyle.
By integrating these sustainable practices, you not only ensure a thriving herb garden but also contribute positively to the environment. Your efforts in growing and drying herbs become a part of a larger, responsible gardening ethos.
Frequently Asked Questions
Can I dry all types of herbs using the air-drying method?
Most herbs with low to moderate moisture content, like basil, oregano, thyme, rosemary, sage, mint, and marjoram, air dry very well. Herbs with higher moisture content or very delicate leaves, such as cilantro, parsley, chives, or chervil, often benefit more from freezing to preserve their flavor and texture.
How do I know if my herbs are completely dry?
Your herbs are fully dry when they are brittle and crisp. They should crumble easily between your fingers. Stems should snap rather than bend. If you feel any pliability or moisture, they need more drying time. This is a crucial step for successfully drying herbs.
Why do my dried herbs lack flavor compared to fresh ones?
Several factors can cause a loss of flavor. You might have harvested at the wrong time (after flowering), dried them in direct sunlight which degrades essential oils, or stored them improperly (exposure to air, light, or humidity). Ensure you follow the “when is the best time to harvest herbs for drying” guidelines and proper storage for maximum flavor.
Can I dry herbs if I live in a humid climate?
Drying herbs in a humid climate can be challenging but not impossible. You will need to ensure excellent air circulation. Using a dehydrator might be a more reliable option, or you can use a fan in your air-drying space to actively move air. Ensure your chosen space is as dry as possible, perhaps an air-conditioned room.
How long do dried herbs typically last?
When stored correctly in airtight containers in a cool, dark, dry place, most dried herbs retain good potency for 6 to 12 months. After this, they will not “go bad” in a harmful sense, but their flavor and aroma will gradually diminish. Regularly check for signs of freshness and refresh your supply annually. This is vital for preserving herb flavor.
For trustworthy gardening information, visit: Washington State University Hortsense, University of Minnesota Extension and Penn State Extension — Trees, Lawns and Landscapes. These organizations provide expert, research-based advice for gardeners at all levels.
Disclaimer: This article is for informational purposes only and is not a substitute for professional gardening advice. Always consult local extension services or horticulture experts for region-specific guidance.

Leave a Reply