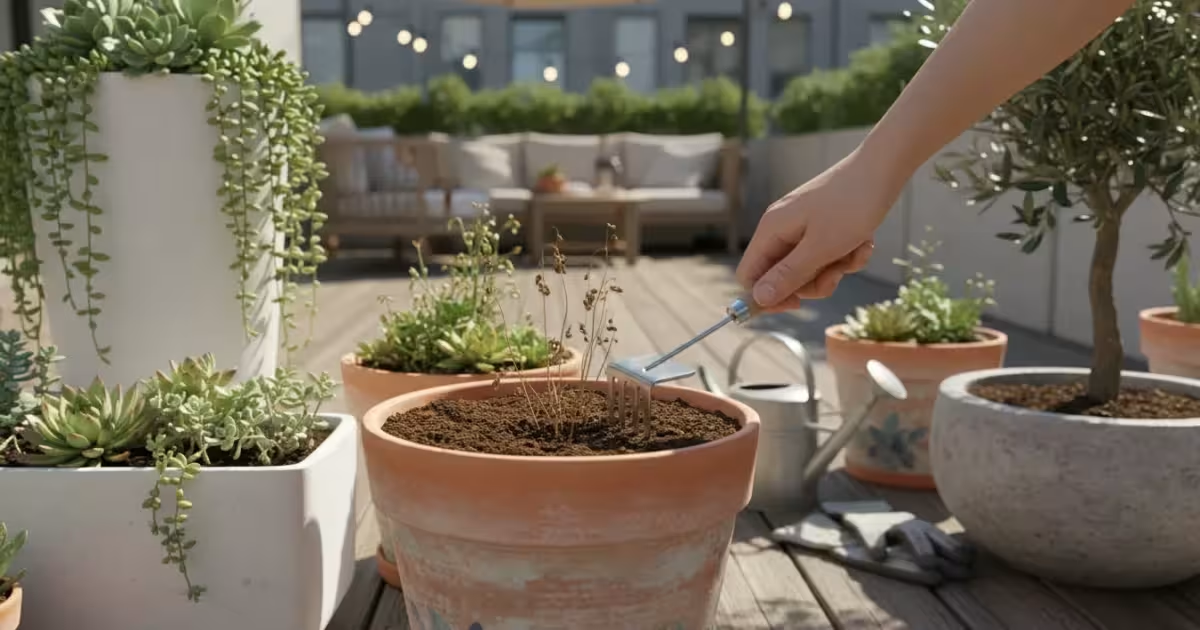
You step out to water your patio plants, eager to see them thrive, but then you notice it: the soil in your containers looks like a barren wasteland. Water pools on top, refuses to soak in, and eventually runs out the bottom of the pot without ever truly hydrating your plant’s roots. This frustrating phenomenon is a common problem for container gardeners, especially during the hot summer months. It is known as hydrophobic soil, and it can quickly turn your vibrant plants into stressed, struggling specimens.
As your gardening coach, I understand this challenge deeply. Many new and even experienced gardeners encounter this issue, particularly those working with limited space like balconies, patios, or small yards where containers are essential. This guide empowers you to understand why your potting mix repels water, effectively diagnose the problem, implement immediate fixes, and adopt long-term strategies to keep your container soil happy and hydrated. We will ensure your small-space garden remains a joy, not a source of frustration.
Understanding Hydrophobic Soil: What It Is and Why It Happens
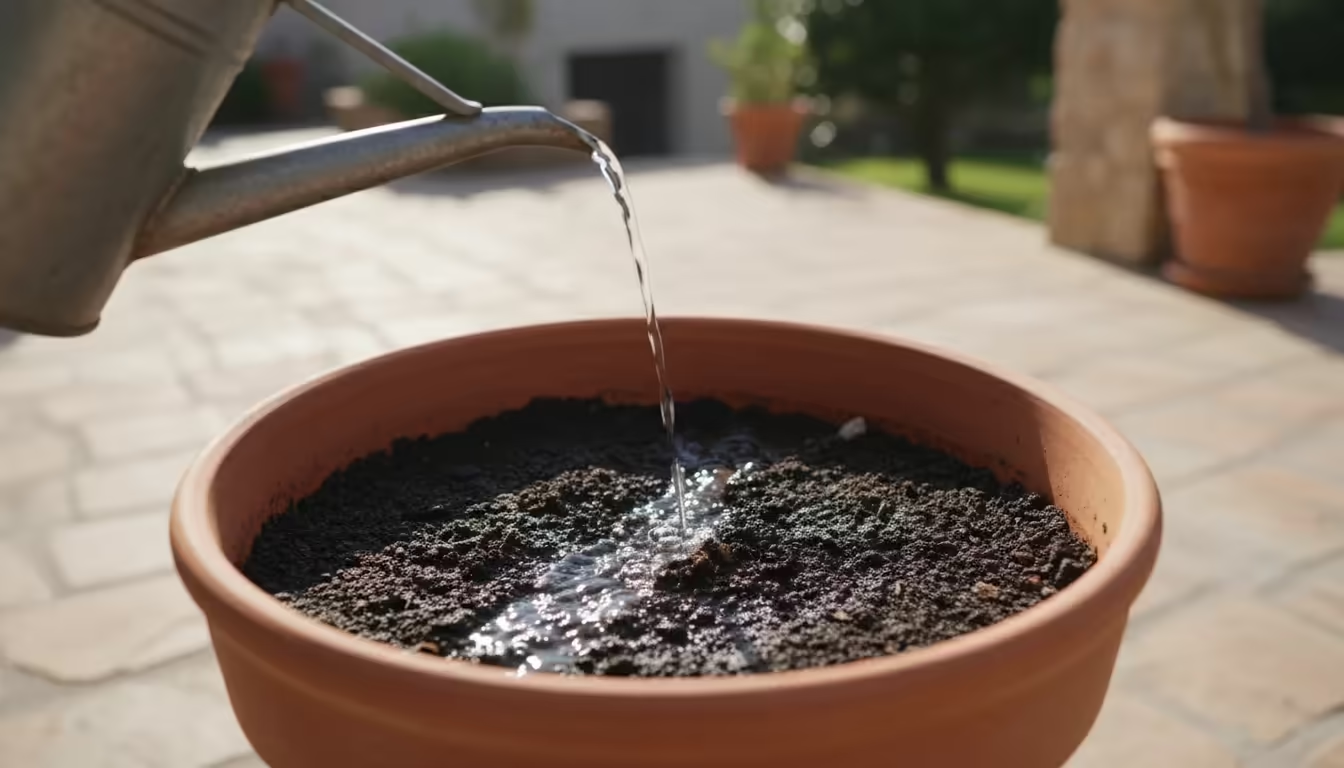
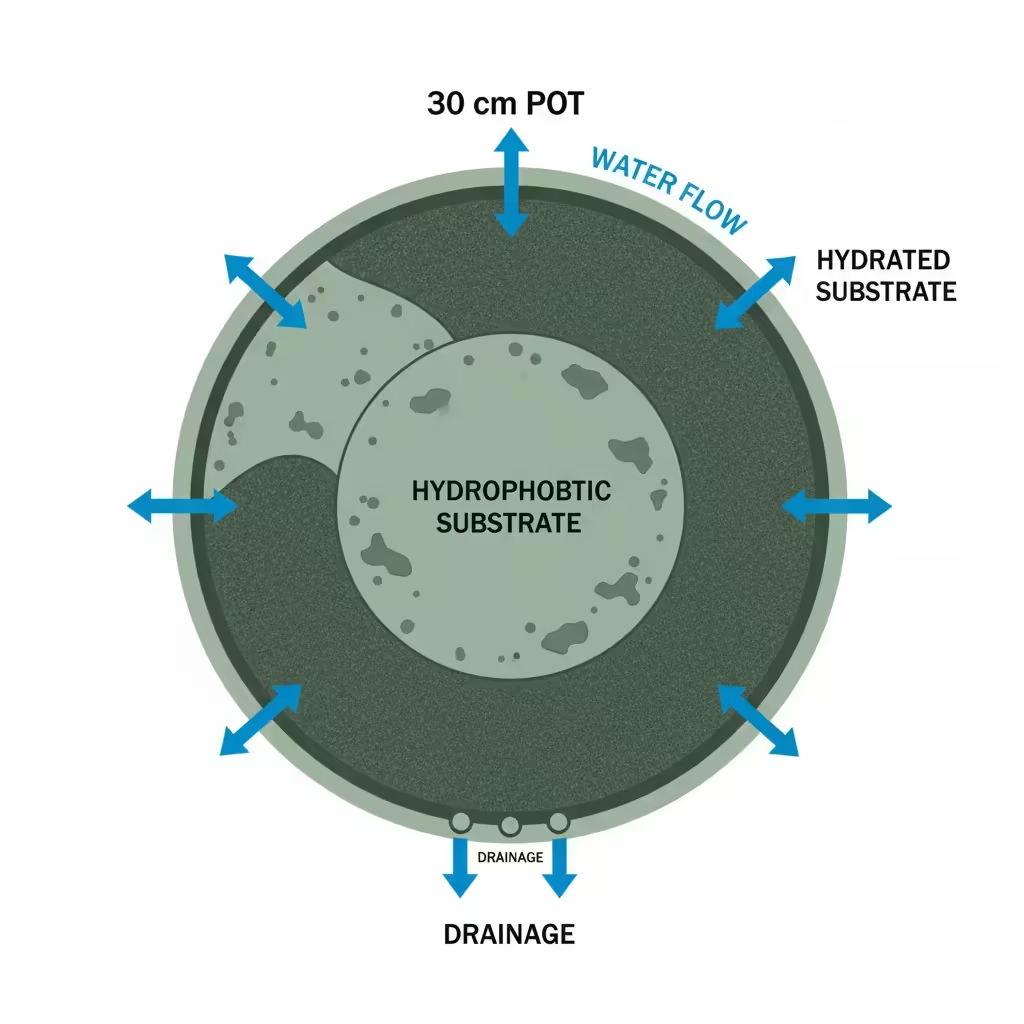
The term “hydrophobic” literally means “water-fearing.” When you encounter hydrophobic soil, it means your potting mix won’t absorb water effectively. Instead of soaking in, water beads up, sits on the surface, and ultimately runs down the sides of the root ball, escaping through the drainage holes without reaching the plant’s essential roots. This leaves your plant perpetually thirsty, even after you “water” it.
If extreme sun is drying out your planters, follow these tips for protecting potted plants from summer heat.
Note that while this guide focuses on outdoor planters, you can also encounter hard and water-repellent indoor potting soil during the dry winter months.
Several factors contribute to this frustrating condition, particularly in container gardens:
- Organic Matter Breakdown: Most potting mixes contain a significant amount of organic materials like peat moss, coir, or wood fines. Over time, as these materials dry out repeatedly, their structure changes. They can become coated with waxy substances that naturally repel water. This is a primary reason your dry container soil feels so hard and refuses to rehydrate.
- Extreme Dryness: Allowing potting mix to dry out completely and repeatedly significantly increases its chances of becoming hydrophobic. Small containers, exposed to sun and wind, dry out much faster than garden beds, making this a common scenario for balcony and patio gardeners. The finer particles in the mix can clump together, creating an impenetrable barrier.
- Lack of Soil Life: Unlike garden soil, container mixes have limited microbial activity. These beneficial microorganisms help break down organic matter and maintain a healthy, porous structure. Without them, the soil’s ability to absorb and retain water diminishes.
- Compaction: As potting mix ages, it can become compacted, especially if you have dense roots or if you press the soil down too firmly during planting. Compaction reduces the air pockets in the soil, which are vital for both aeration and water penetration.
Understanding these underlying causes helps you not only fix the immediate problem but also implement preventative measures to maintain healthier, more absorbent soil in your small-space garden. This is not just a cosmetic issue; it directly impacts your plants’ health and survival.
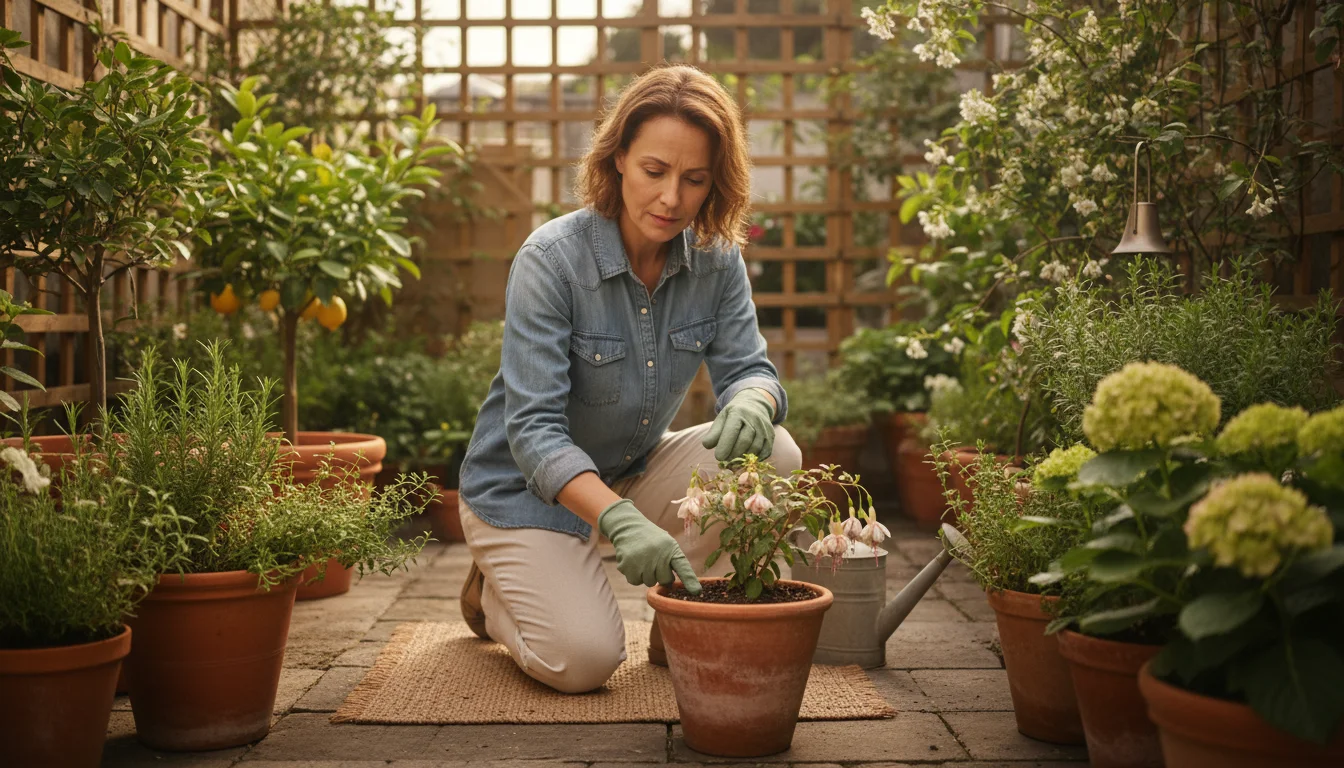
Diagnosing Your Dry Container Soil: Are Your Plants Thirsty or Drowning?
Identifying hydrophobic soil is the first critical step toward fixing it. Sometimes, wilting leaves lead us to believe a plant needs more water, when in fact, the water you are providing simply isn’t reaching the roots. Distinguishing between truly dry soil, waterlogged soil, and hydrophobic soil saves your plants from further stress.
If heat and dry soil have left your setup looking exhausted, a simple plan to recharge tired balcony planters can revive your display.
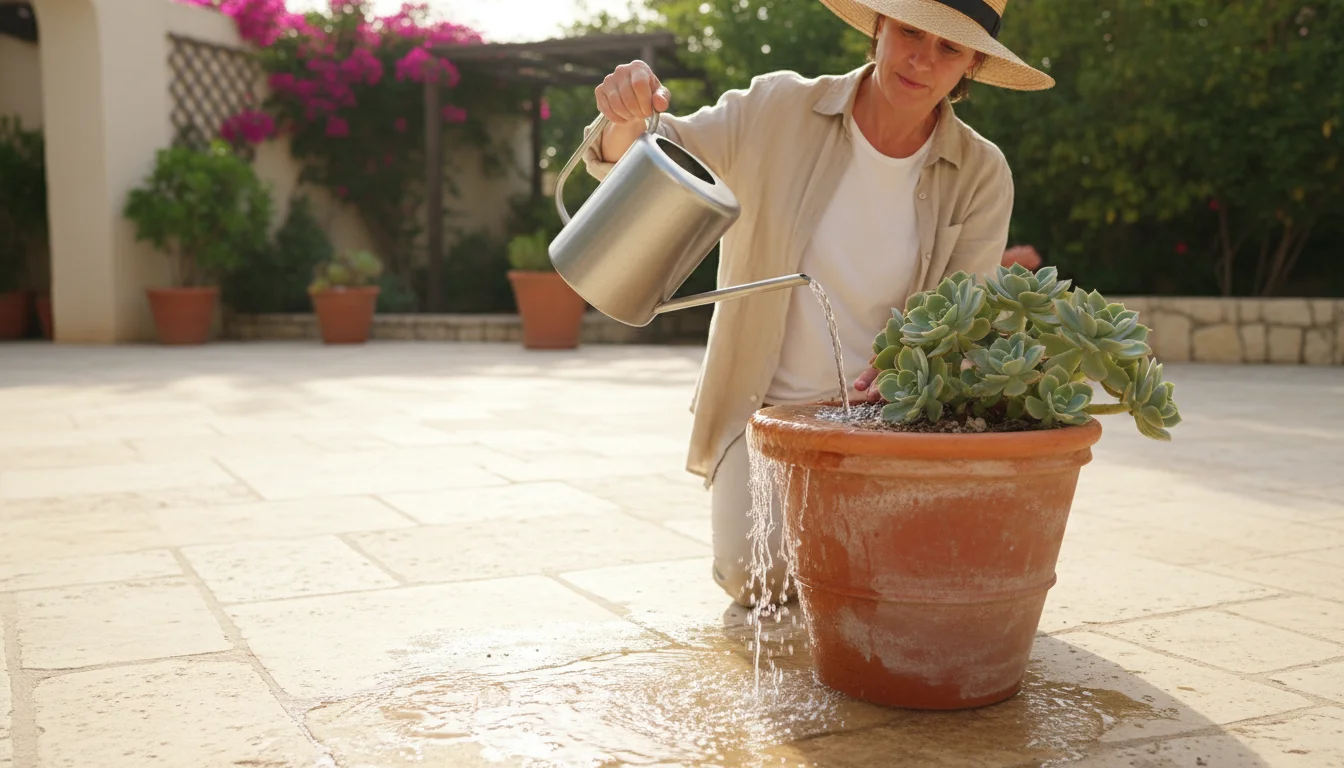
Key Indicators of Hydrophobic Soil:
- Water Pools and Runs Off: This is the most obvious sign. You pour water, and it sits on the surface for a moment, then quickly runs out the bottom drainage holes without visibly soaking into the soil. The top layer might look wet, but just beneath, the soil remains bone dry.
- Rock-Hard Soil Surface: The top inch or two of the potting mix feels like a brick. You cannot easily push your finger into it.
- Lightweight Pot: A dry pot of soil feels much lighter than a well-hydrated one. Lift your containers regularly to gauge their weight; this provides an excellent indicator of moisture levels.
- Stunted or Wilting Plants: Despite your watering efforts, your plants show signs of drought stress: wilting, yellowing or browning leaves, and slow or no growth. This occurs because the roots are not accessing the water you supply.
- Gap Between Soil and Pot: In severely dry cases, the soil can shrink away from the sides of the pot, creating a visible gap. Water poured in will simply flow down this gap and out the drainage holes.
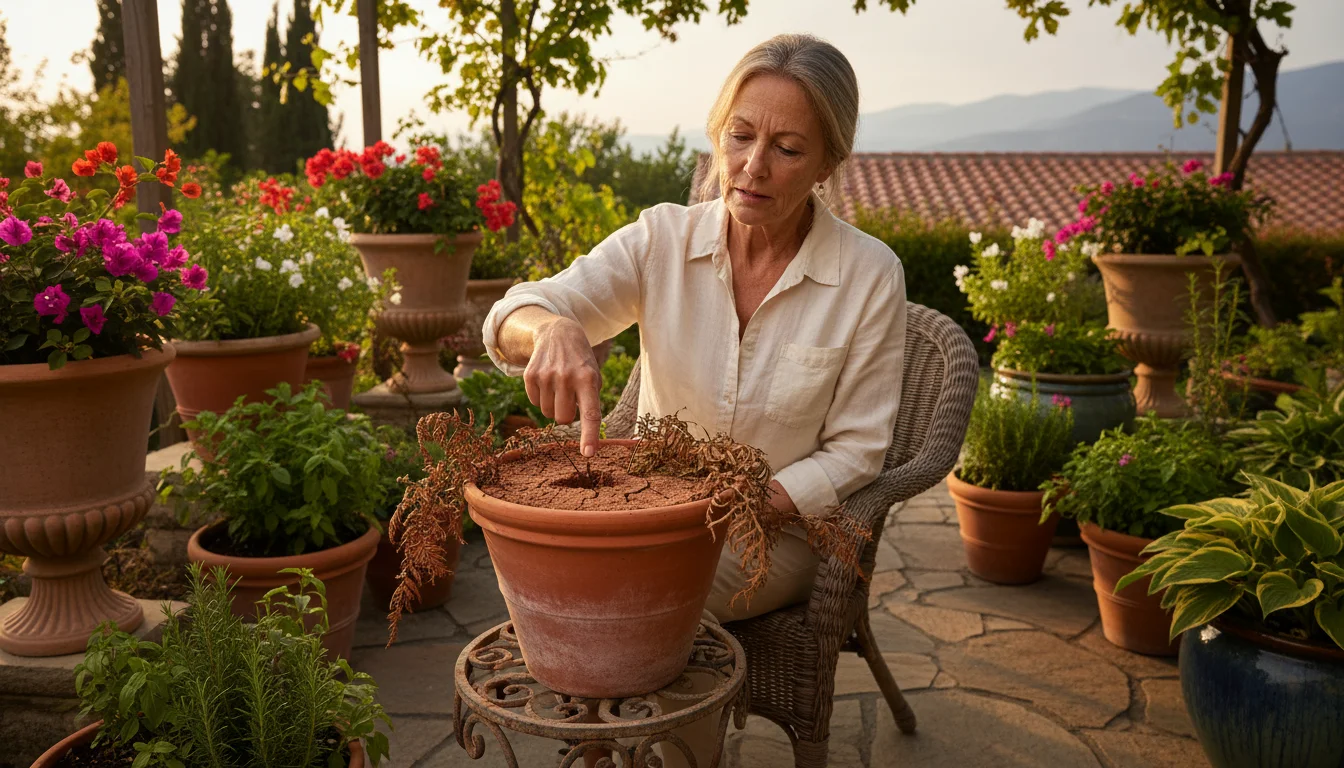
How to Test Your Soil’s Hydration:
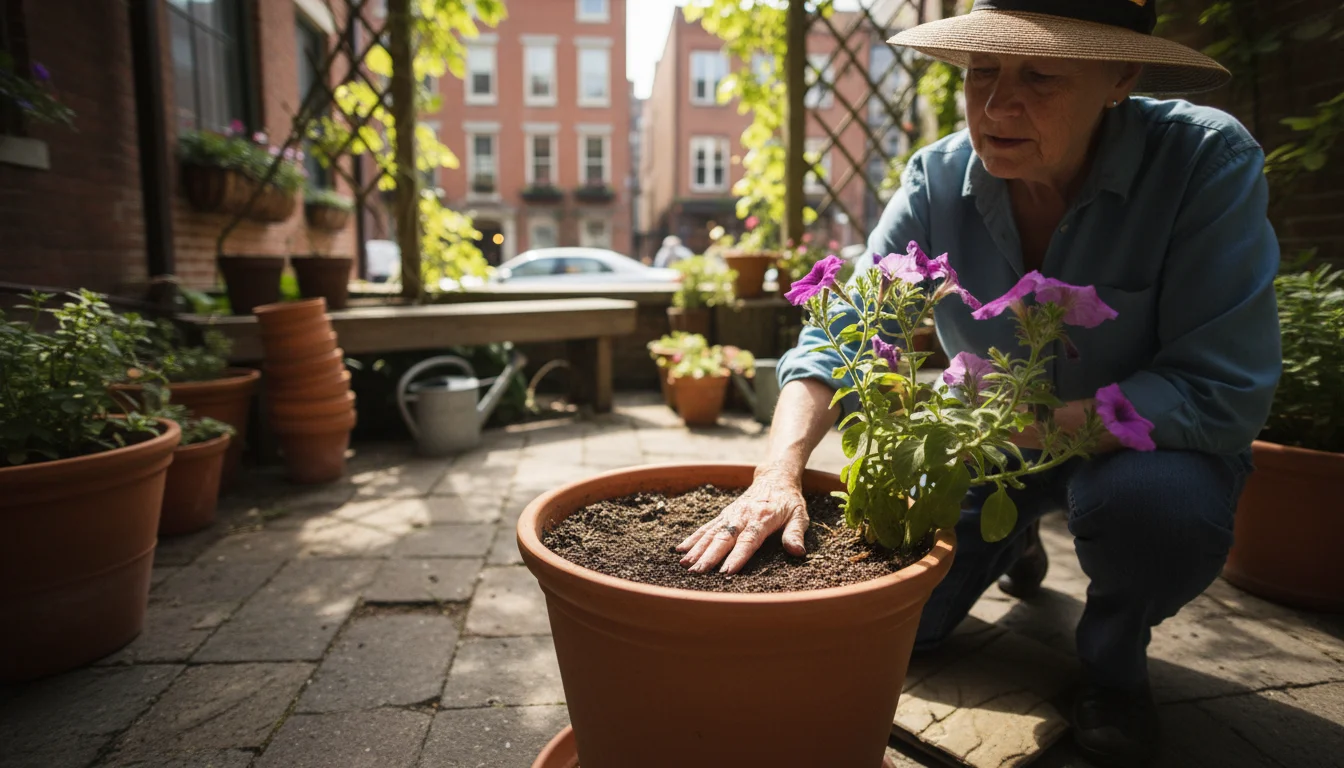
A simple finger test offers the most reliable diagnosis. Insert your finger about two inches deep into the soil. If it feels completely dry and hard, your soil likely suffers from hydrophobia. If it feels wet and squishy, your plant might be overwatered or sitting in waterlogged soil, which presents a different set of problems. You need to distinguish these conditions to apply the correct solution.
To prevent soil health issues before next season begins, consider trying a fall potting soil refresh once summer winds down.
Early diagnosis prevents prolonged plant stress. Regularly check your containers, especially during hot, sunny weather or periods of high wind, which accelerate soil drying. Prompt action ensures your plants receive the moisture they need to thrive.
Immediate Rescue: Simple Steps to Rehydrating Potting Mix
Once you identify hydrophobic soil, act quickly. These steps help rehydrate potting mix and bring your plants back from the brink of drought stress. Many of these methods are simple and use items you already have around your home.
When dry potting mix is stripped of all nutrients, giving it an emergency spring soil refresh helps rebuild its structure.
Step-by-Step Guide to Fixing Hard Dry Soil in Pots:
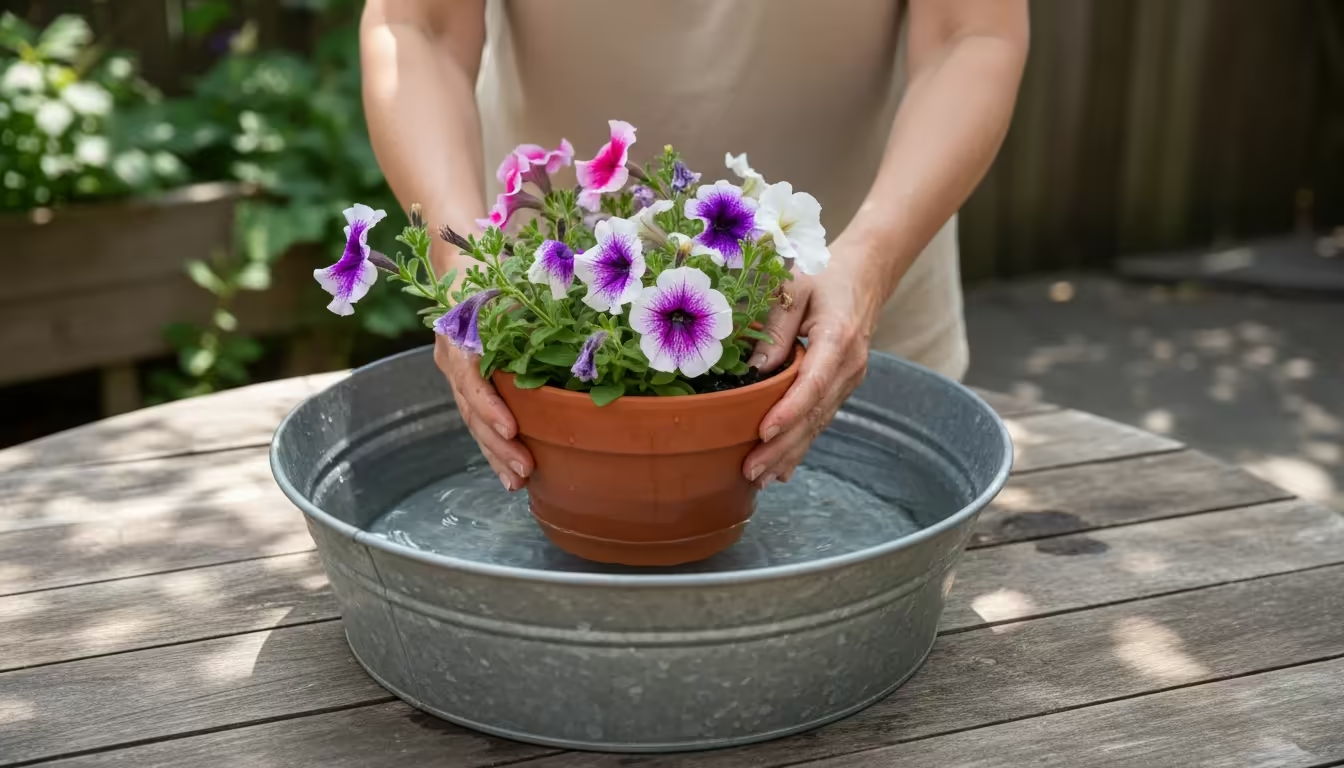
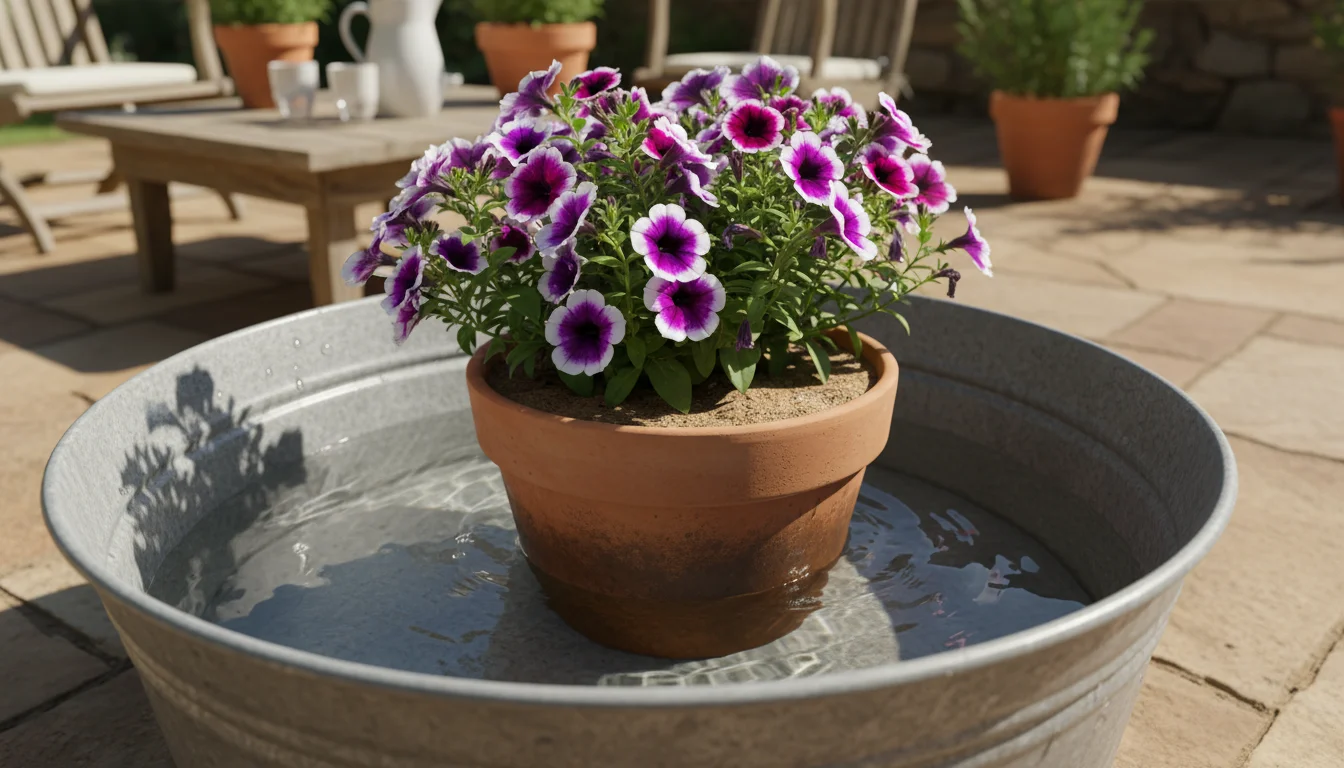
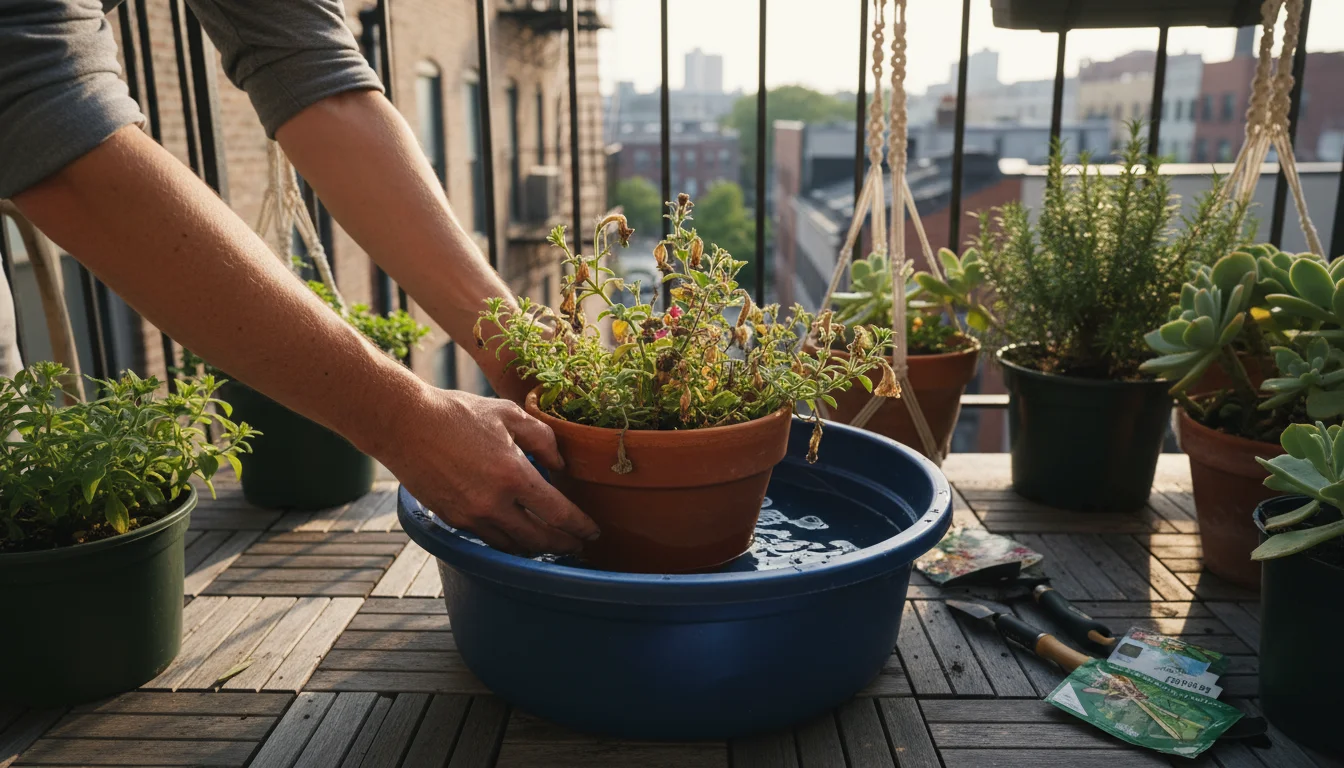
- Bottom Watering (Soaking): This is often the most effective method for severely hydrophobic soil.
- Find a basin, bucket, or tub larger than your plant pot.
- Fill the container with a few inches of water. Lukewarm water can sometimes help dissolve waxy coatings more effectively than cold water.
- Place your plant pot directly into the water, ensuring the water level comes up at least one-third to half the height of the pot.
- Allow the pot to sit and soak. The soil will slowly absorb water from the bottom up through capillary action. This can take anywhere from 30 minutes to several hours, depending on how dry and hydrophobic your soil is. You will see the top layer of soil begin to darken and moisten.
- Once the top surface of the soil feels damp, remove the pot from the water and let it drain completely before returning it to its spot.
- Gentle Aeration and Surface Scarification: For less severe cases, or as a preliminary step, you can gently break up the hardened surface.
- Use a fork, chopstick, or a thin stick to carefully poke small holes into the top few inches of the soil. Avoid disturbing major roots.
- This action breaks the surface tension and allows water to penetrate more easily.
- After aerating, water slowly and consistently, giving the water time to soak into these new pathways.
- Employing a Wetting Agent: Wetting agents reduce the surface tension of water, allowing it to penetrate hydrophobic soil more effectively.
- Commercial Wetting Agents: Garden centers sell products specifically designed to break down waxy coatings and improve water absorption. Follow the product instructions carefully for dilution and application.
- Mild Soap Solution: As a temporary, emergency fix, you can use a very dilute solution of plain, biodegradable dish soap (without degreasers, bleach, or perfumes). Mix 1-2 drops of soap into a gallon of water. Water your plant with this solution. The soap acts as a surfactant, helping the water penetrate. Use sparingly and only when necessary, as excessive soap can harm beneficial soil microbes over time.
- Slow, Consistent Watering: Once the soil shows signs of rehydration, change your watering approach.
- Instead of a quick deluge, water slowly and deeply. Apply a small amount of water, let it soak in, then apply more. Repeat this several times until water begins to drain from the bottom.
- Consider using a watering can with a fine rose attachment to distribute water evenly and gently, preventing further surface compaction.
These immediate interventions provide crucial relief for your struggling plants. Combine these methods for the best results, ensuring your potting mix starts absorbing water again. This allows your plants to recover and thrive in your small garden space.
Prevention is Key: Best Practices for Healthy Container Soil
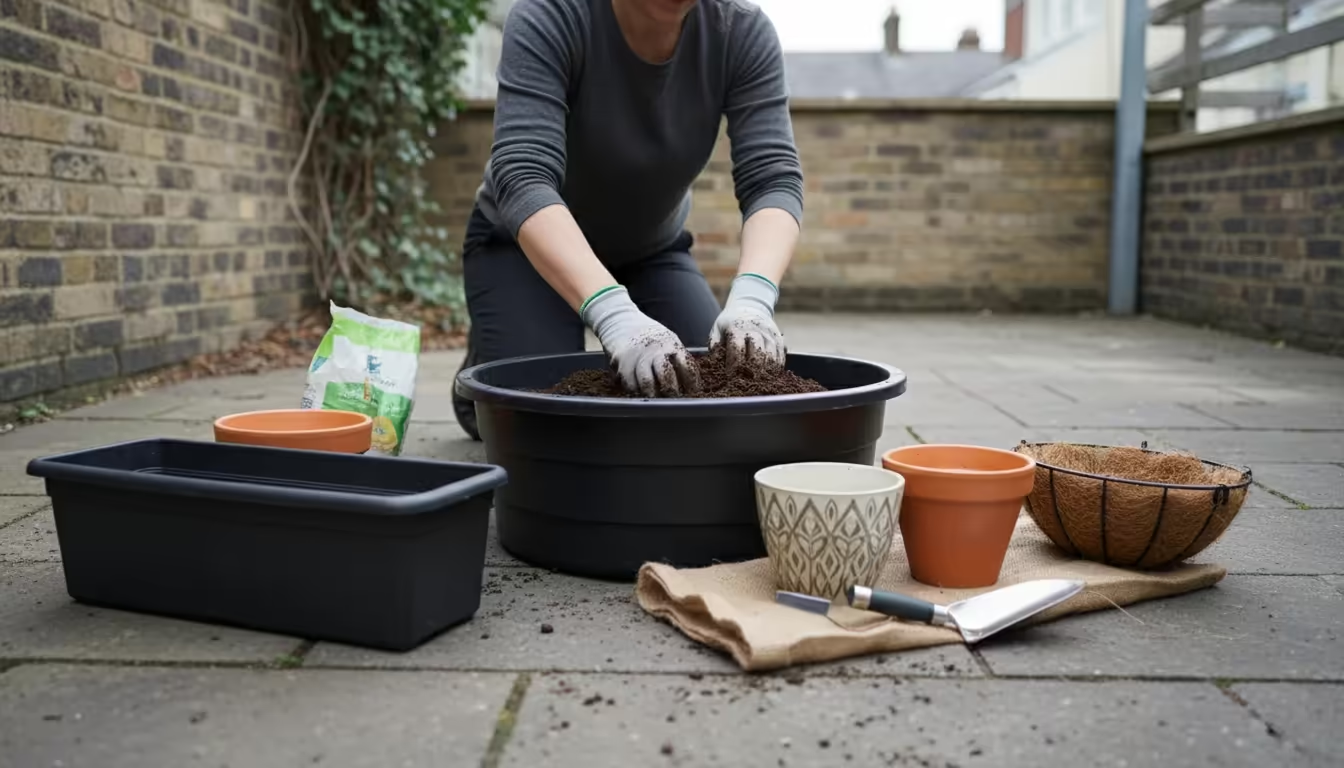
While rescuing hydrophobic soil is possible, preventing the condition saves you effort and keeps your plants consistently healthy. Implementing good soil management practices ensures your container garden flourishes throughout the seasons.
At the end of the season, performing a quick fall soil assessment helps you evaluate your potting mix quality before winter.
Choosing the right planter material also plays a key role in regulating moisture, as detailed in our guide comparing terracotta, plastic, and fabric pots.
Strategies to Keep Your Potting Mix Absorbent:
- Choose High-Quality Potting Mix: Start with a premium, well-draining potting mix. Look for mixes that contain ingredients like perlite, vermiculite, and composted materials, which maintain good structure and aeration. Avoid using garden soil in containers, as it compacts easily and can introduce pests and diseases. A quality mix provides a solid foundation for water absorption and root health.
- Water Smart, Not Just Often: Develop a consistent watering routine tailored to your plants’ needs and environmental conditions.
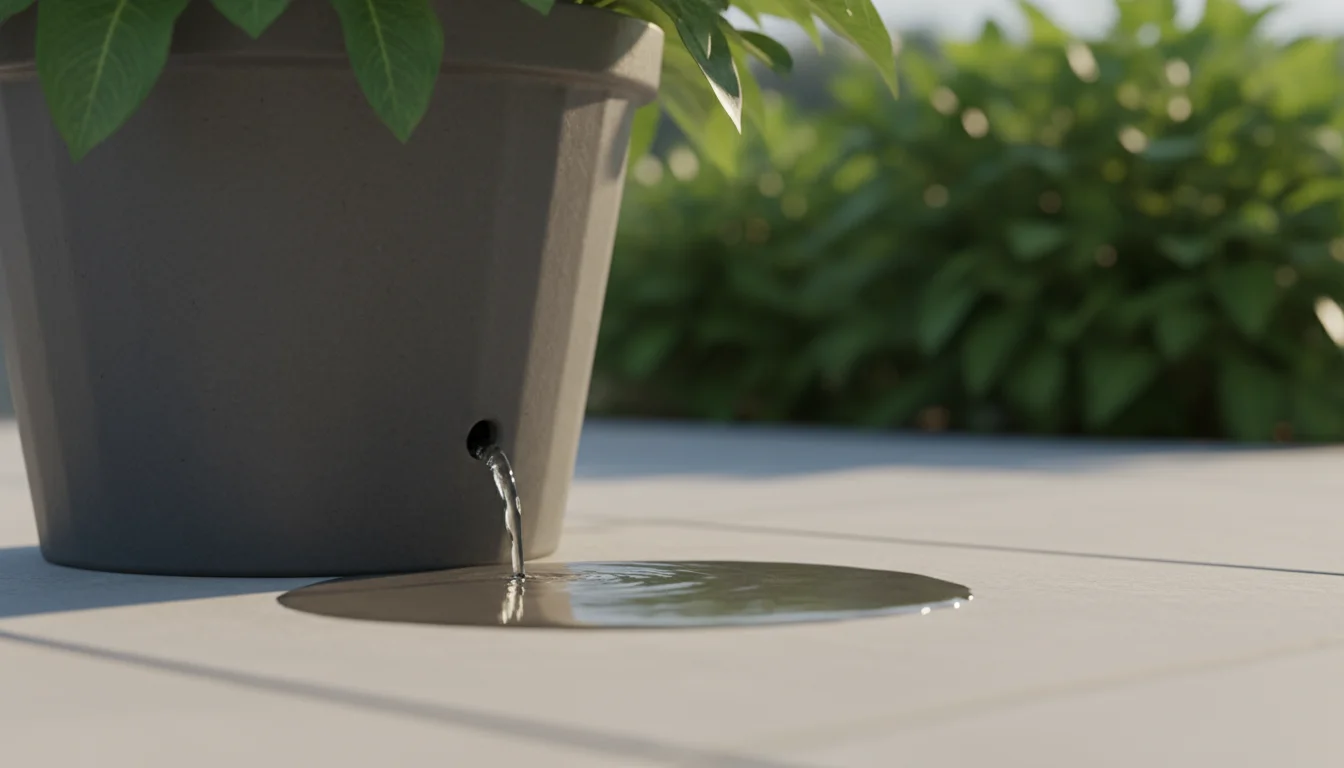
- Water Deeply and Infrequently: Instead of frequent shallow watering, water thoroughly until you see water drain from the bottom of the pot. This encourages roots to grow deeper, making the plant more resilient to dry spells. Allow the top inch or two of soil to dry out between waterings, but avoid letting the entire pot dry to a bone-hard state.
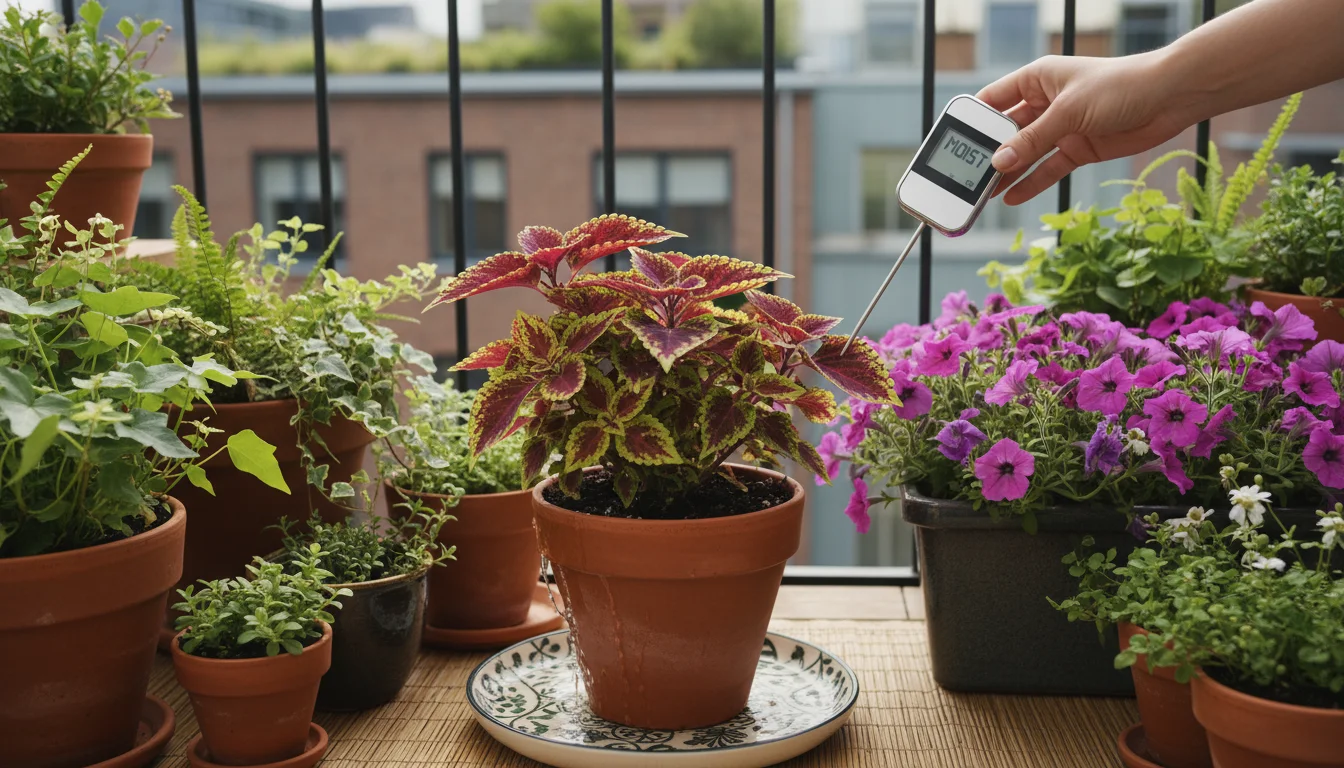
- Check Soil Moisture: Do not water on a strict schedule. Instead, check the soil moisture with your finger or a moisture meter before watering. This prevents both overwatering and extreme dryness.
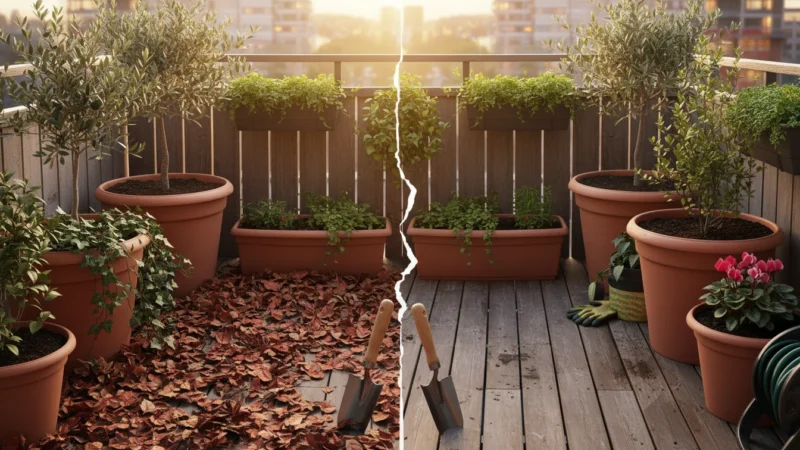
- Mulch Your Containers: Applying a layer of mulch (like shredded bark, pine needles, or even decorative pebbles) on top of the soil offers multiple benefits. Mulch reduces water evaporation from the soil surface, helps regulate soil temperature, and suppresses weeds. This significantly reduces the chances of the top layer of potting mix drying out and becoming hydrophobic. For small containers, even a thin layer makes a difference.
- Avoid Compacting Soil: When potting or repotting, fill containers loosely with potting mix. Do not press the soil down firmly, as this removes crucial air pockets. A gentle tap on the side of the pot settles the soil sufficiently. Compaction impedes water penetration and root growth.
- Consider Self-Watering Planters: For busy gardeners or those with plants that require consistent moisture, self-watering planters are an excellent small-space solution. These planters have a reservoir that supplies water to the soil as needed, greatly reducing the risk of soil drying out excessively.
- Repot Regularly: Over time, potting mix degrades, losing its structure and nutrient content. Roots also fill the pot, leading to a root-bound condition where little soil remains to hold water. Repotting plants into fresh potting mix every 1-2 years revitalizes their environment and prevents soil hydrophobia. This step ensures your plants always have access to a healthy, absorbent medium.
By integrating these preventative measures into your routine, you can largely avoid the frustration of hydrophobic soil and enjoy a thriving container garden with minimal fuss. Good soil management is foundational to low-maintenance gardening.
For container gardeners living in dry climates, adopting low-water gardening practices helps reduce overall moisture loss.
The Science Behind Your Soil: Potting Mix Components and Hydration
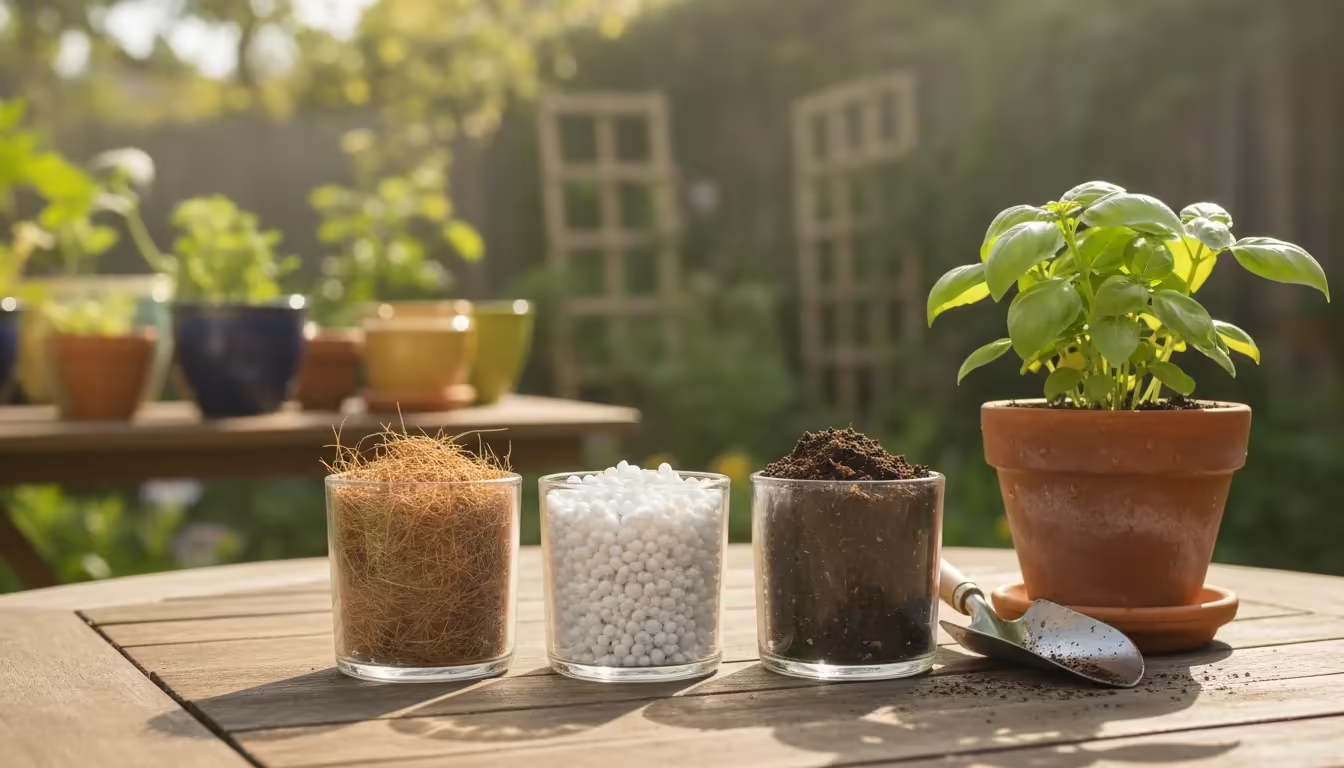
Understanding the components of your potting mix helps you make informed choices, ensuring your small-space containers retain moisture effectively while still providing good drainage. Drainage refers to how easily water moves through the soil and how quickly excess water exits the pot, preventing waterlogging.
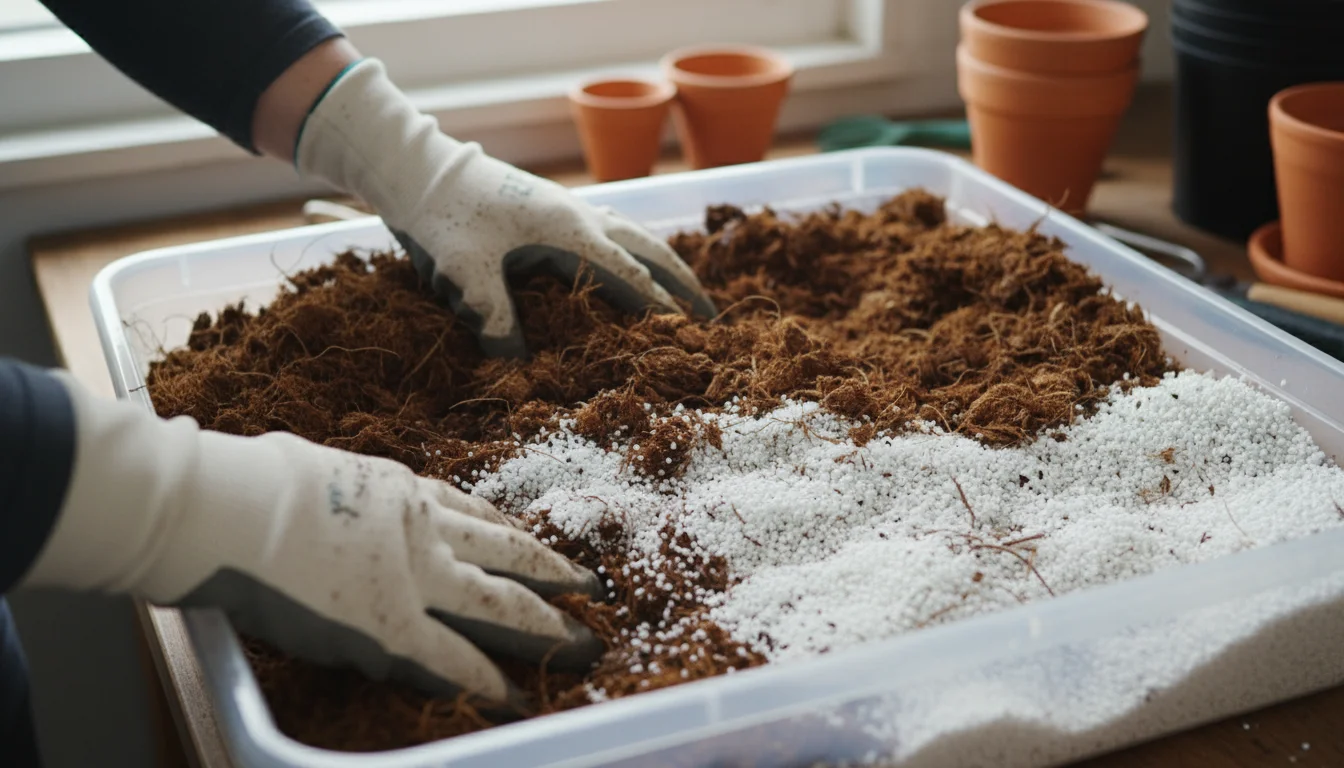
Key Potting Mix Components and Their Role in Hydration:
- Peat Moss: A traditional base for many potting mixes, peat moss has excellent water retention capabilities. However, when it dries out completely, it becomes extremely difficult to rewet, contributing to hydrophobic conditions. Some gardeners opt for alternatives due to environmental concerns about peat harvesting.
- Coir (Coconut Fiber): Coir is a sustainable alternative to peat moss. It boasts superb water retention, can hold up to 8-9 times its weight in water, and readily rehydrates even after drying out. It also offers good aeration, which is crucial for root health.
- Perlite: These small, white volcanic rock pieces lighten the potting mix and significantly improve drainage and aeration. Perlite creates tiny air pockets, preventing compaction and ensuring roots receive oxygen. It does not retain much water itself, but its presence allows water to move through the soil more freely.
- Vermiculite: Another lightweight mineral, vermiculite looks like small, shiny flakes. It excels at retaining both water and nutrients, slowly releasing them to the plant. It also helps to aerate the soil, preventing compaction. Vermiculite holds more moisture than perlite.
- Composted Bark or Wood Fines: These organic materials add structure, improve drainage, and provide some nutrients as they break down. They also help to prevent compaction over time. Ensure they are fully composted to avoid nutrient lock-up.
- Compost: Adding a small amount of well-rotted compost to your potting mix enriches it with nutrients and beneficial microorganisms. Compost improves soil structure, enhances water retention, and helps the soil resist becoming hydrophobic. It also slowly releases nutrients, feeding your plants naturally.
- Wetting Agents/Surfactants: Some premium potting mixes come pre-mixed with wetting agents. These substances reduce the surface tension of water, allowing it to penetrate soil particles more easily and absorb uniformly. They are particularly beneficial for mixes containing a high percentage of peat.
When selecting a potting mix for your small-space containers, look for a balanced blend of these components. A good mix offers a combination of water retention, excellent drainage, and resistance to compaction. This balanced approach supports strong root systems and healthy plant growth, even in the limited confines of a pot.
Watering Wisdom: Strategies for Small-Space Gardeners
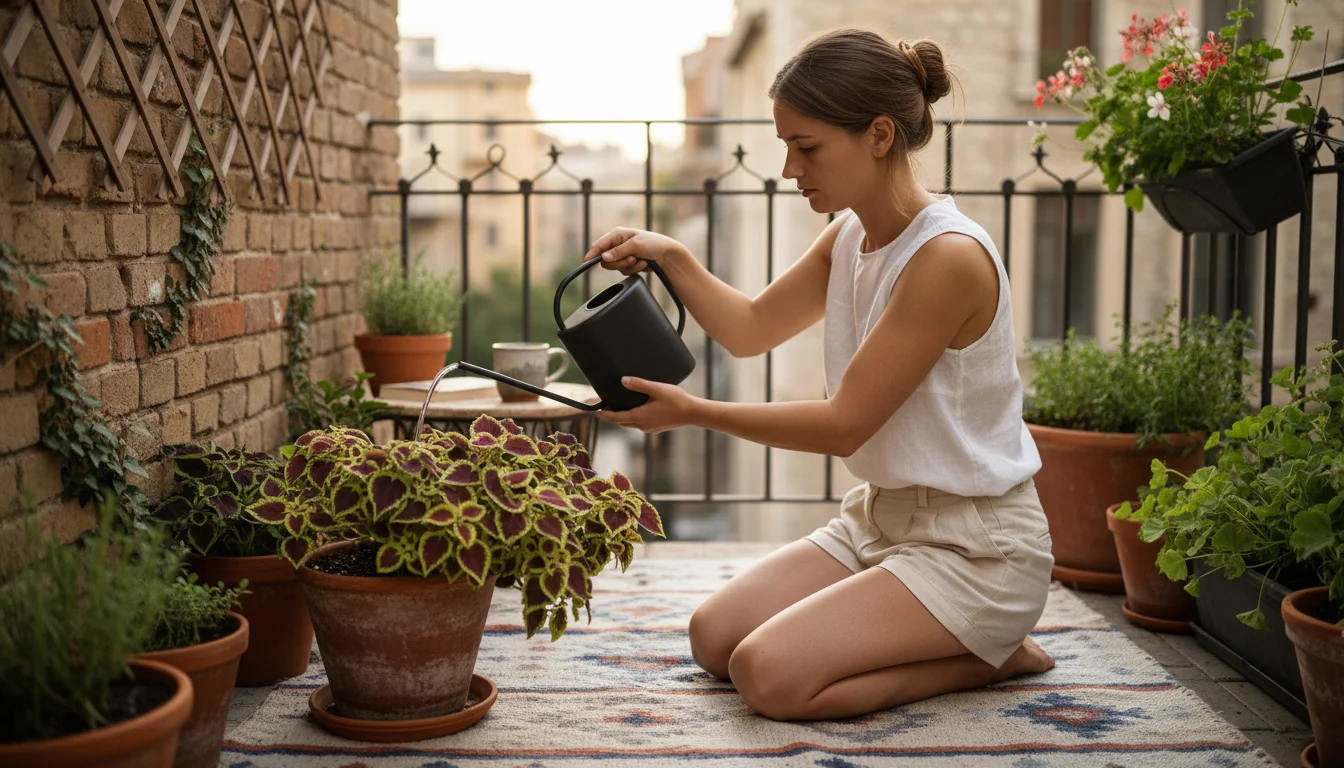
Effective watering is the cornerstone of preventing hydrophobic soil and ensuring your container plants thrive. For small-space gardeners, every drop counts, and understanding how to water wisely makes a significant difference in plant health and water conservation.
Optimizing Your Watering Routine:
- Embrace Bottom Watering: As mentioned for immediate rescue, bottom watering is also an excellent regular practice, especially for plants prone to drying out or those in smaller pots. This method encourages the soil to absorb water thoroughly and evenly, promoting deeper root growth and reducing the risk of surface hydrophobia. It also prevents foliage diseases by keeping leaves dry.
- Use Moisture Meters: For those who struggle to gauge soil moisture by finger, an inexpensive moisture meter provides an objective reading. Simply insert the probe into the soil, and it indicates the moisture level, helping you decide exactly when to water. This tool minimizes guesswork and prevents both underwatering and overwatering.
- Group Plants by Water Needs: Arrange your containers so plants with similar water requirements are together. Sun-loving annuals often need more frequent watering than drought-tolerant succulents. Grouping them makes your watering routine more efficient and prevents overwatering some plants while underwatering others. This is particularly helpful for maximizing space and resources in a small garden.
- Water in the Morning: Watering early in the day allows plants to absorb moisture before the midday sun intensifies, minimizing water loss through evaporation. It also gives any wet foliage time to dry before nightfall, reducing the risk of fungal diseases.
- Consider Self-Watering Systems: For gardeners with busy schedules or those who travel, self-watering planters or small-scale drip irrigation systems offer continuous moisture delivery. These systems are invaluable for maintaining consistent soil moisture, which is critical in preventing potting mix from drying out and becoming hydrophobic. Many compact, attractive options exist for balconies and patios.
By implementing these watering strategies, you can ensure your plants receive optimal hydration, keeping your soil healthy and absorbent. This thoughtful approach saves water and promotes vigorous growth in your small container garden.
Year-Round Care: Maintaining Container Soil Health Across Seasons
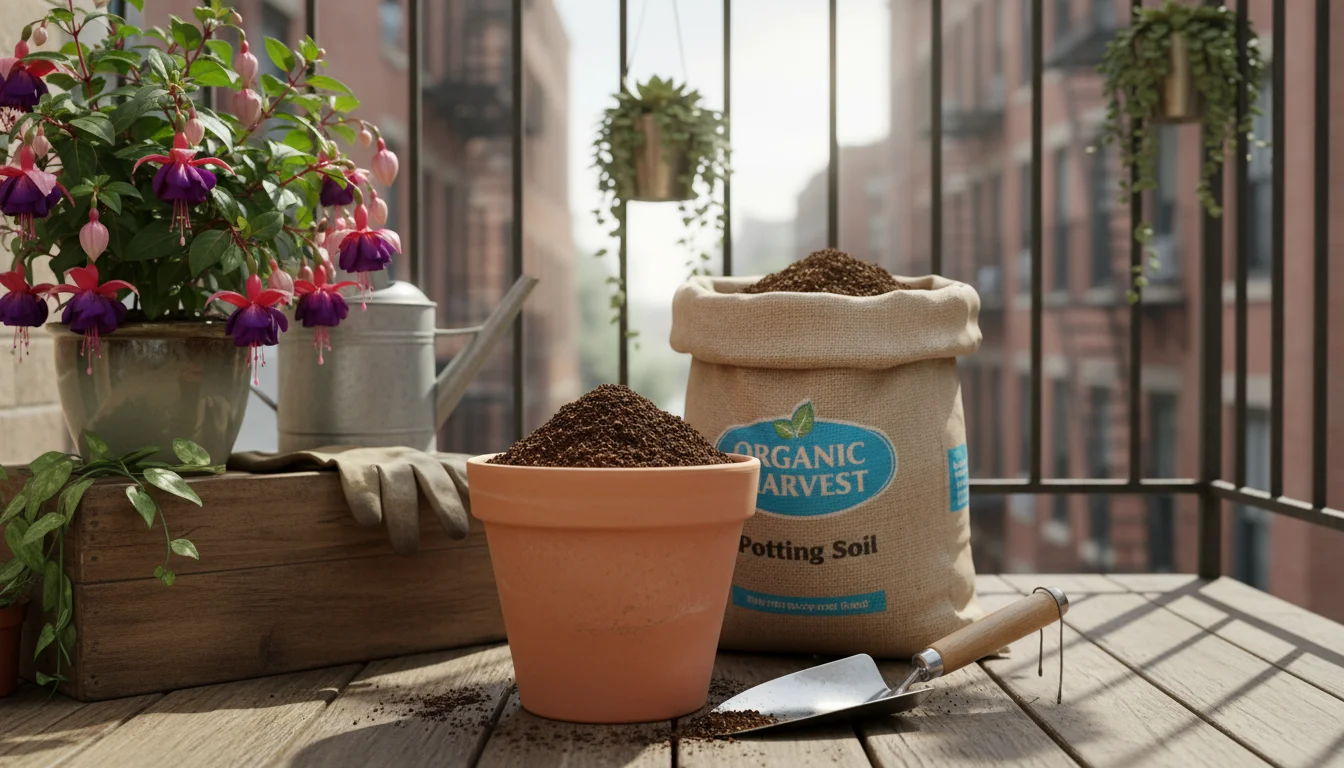
Container gardening is not a set-it-and-forget-it endeavor. The health of your potting mix changes with the seasons and the lifespan of your plants. Adapting your care routines throughout the year helps prevent hydrophobic soil and keeps your plants robust.
Seasonal Adjustments for Soil Health:
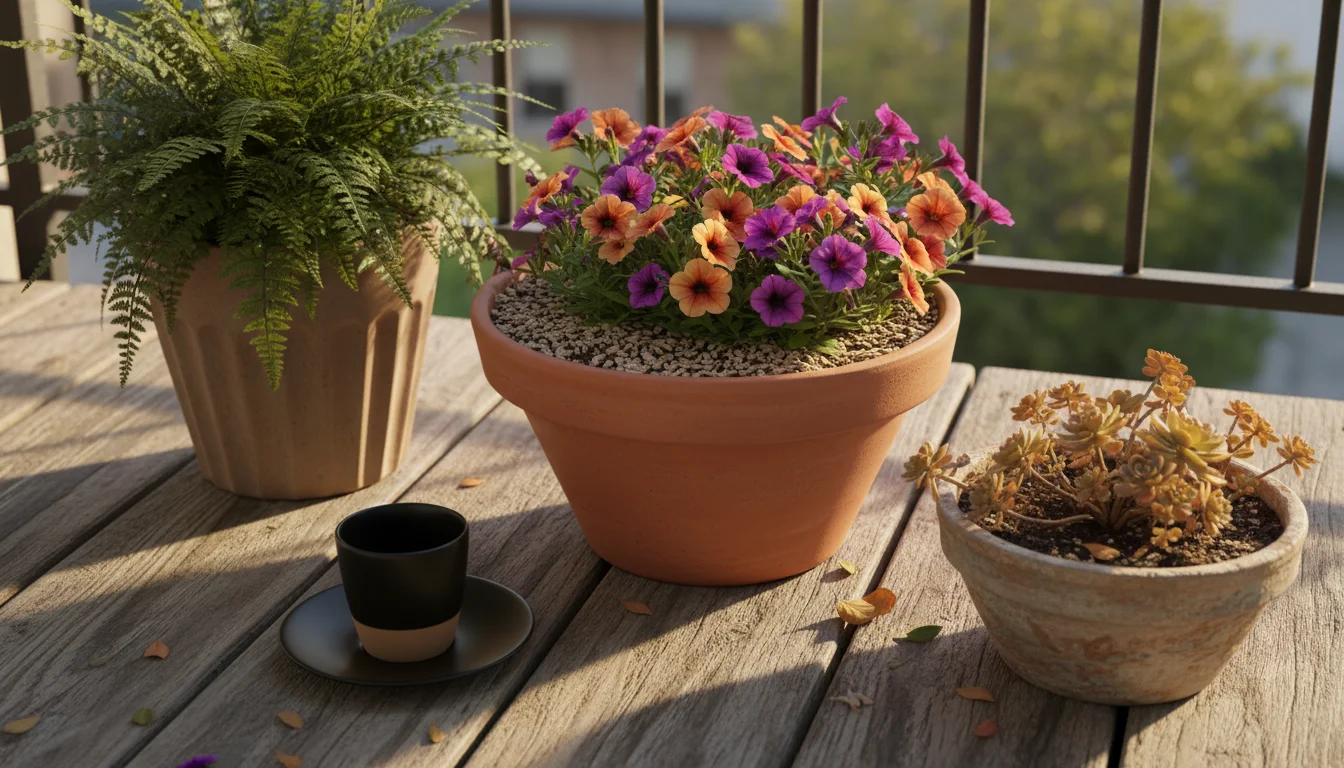
- Summer Heat: During peak summer, containers dry out rapidly. Monitor soil moisture daily. Increase watering frequency and consider relocating pots to shadier spots during the hottest part of the day if possible. Mulching becomes even more critical now to conserve moisture.
- Autumn Transition: As temperatures drop, plants’ water needs decrease. Reduce watering frequency to prevent waterlogged soil, which can lead to root rot. If you plan to overwinter plants, ensure their soil is healthy and well-drained before bringing them indoors.
- Winter Dormancy: For dormant outdoor plants, watering is minimal, just enough to prevent the soil from drying out completely. Indoor plants still need regular watering, but less frequently than in summer. Avoid letting indoor container soil dry to the point of hydrophobia, which can be a problem in heated indoor environments.
- Spring Renewal: This is an excellent time to rejuvenate your containers.
- Repotting: Most annuals and many perennials benefit from fresh potting mix annually or bi-annually. Roots fill the pot, and the existing soil degrades, losing its structure and ability to retain water and nutrients. Repotting into a slightly larger container with new, high-quality potting mix prevents soil compaction and hydrophobia.
- Soil Amendments: If repotting is not feasible for a larger perennial, you can “top-dress” the container. Gently scrape off the top inch or two of old soil and replace it with fresh potting mix or a layer of compost. This adds nutrients and improves the soil’s surface structure.
Long-Term Soil Enrichment:
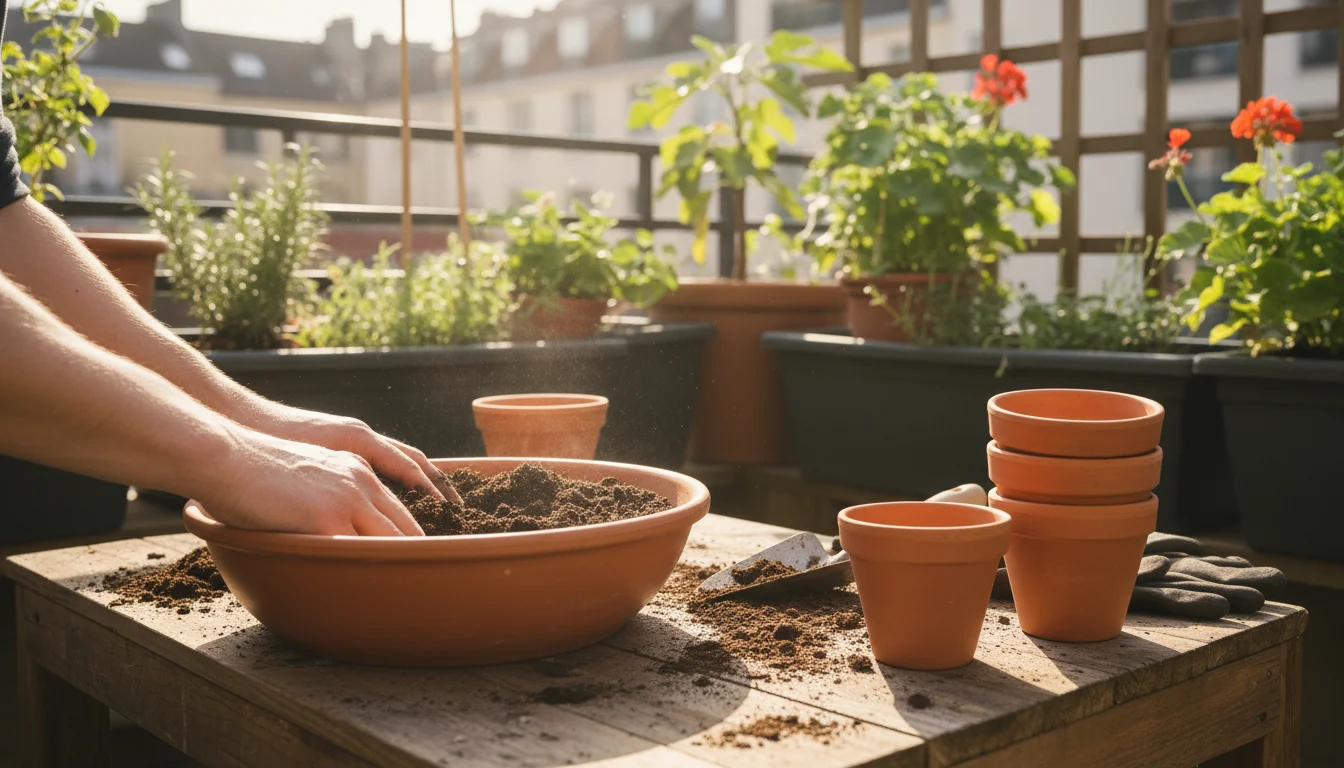
- Add Organic Matter: Regularly incorporating a small amount of well-rotted compost or worm castings into your potting mix (when repotting or as a top-dressing) enriches the soil. These additions improve soil structure, enhance water retention, and foster beneficial microbial activity, making the soil more resilient to drying out.
- Avoid Chemical Overuse: While fertilizers are essential, excessive use of synthetic fertilizers can sometimes contribute to salt buildup in the soil, which can further impede water absorption. Opt for slow-release granular fertilizers or organic liquid feeds that nourish plants without harming soil structure.
- Rotate Crops: If you grow vegetables in containers, rotating crops helps prevent the depletion of specific nutrients and reduces the buildup of soil-borne pests and diseases, indirectly contributing to healthier soil over the long term.
By treating your container soil as a living medium that requires ongoing care and seasonal adjustments, you ensure its ability to support vibrant, productive plants year after year. This proactive approach saves you from constantly battling hydrophobic soil.
Troubleshooting Persistent Problems: When to Take Further Action
Despite your best efforts, sometimes hydrophobic soil proves stubbornly resistant to basic rehydration methods. If your initial fixes do not fully resolve the problem, it is time to consider more drastic, yet often necessary, steps to save your plants.
When Basic Solutions Fall Short:
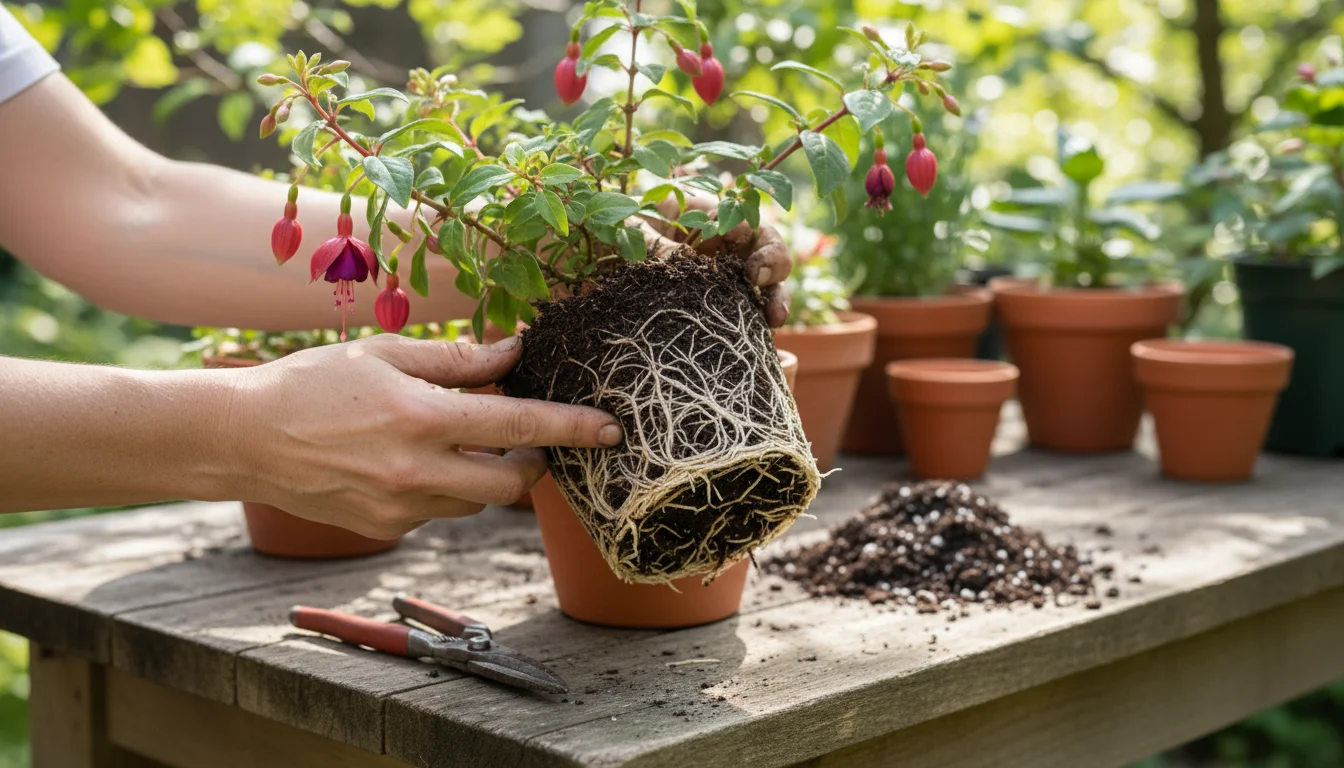
- Severe Root-Bound Conditions: A plant becomes root-bound when its roots have completely filled the container, forming a dense, tangled mass. This leaves very little potting mix to hold moisture, and the roots themselves can become hydrophobic.
- Solution: Repotting is the definitive answer here. Carefully remove the plant from its container. Gently tease apart the outer roots, and if they are a solid mat, use clean pruning shears to make a few vertical cuts (about an inch deep) around the root ball. This encourages new root growth. Replant into a larger container with fresh, high-quality potting mix.
- Aged, Degraded Potting Mix: Potting mix does not last forever. After a year or two, its organic components break down, and its structure degrades, making it dense, compacted, and prone to hydrophobia. It also loses its ability to hold nutrients effectively.
- Solution: Complete soil replacement. Remove the plant from its container, shake off as much of the old soil as possible, and repot with entirely new, fresh potting mix. This revitalizes the plant’s environment completely.
- Clogged Drainage Holes: Sometimes, the problem is not the soil’s ability to absorb water, but the pot’s ability to drain it. If drainage holes become blocked by roots, soil particles, or debris, water can sit in the bottom of the pot, creating anaerobic conditions that harm roots. Ironically, this can lead to hydrophobic soil on the surface as the plant struggles and the top soil dries out rapidly.
- Solution: Check drainage holes. If clogged, gently clear them with a stick or wire. Ensure the pot has adequate drainage holes from the start. You can place a piece of screening or a coffee filter over the holes when potting to prevent soil loss while maintaining drainage.
- Inappropriate Potting Material: Some container materials can exacerbate drying. Terracotta pots, for example, are porous and allow water to evaporate from their sides, leading to faster drying than plastic or glazed ceramic pots.
- Solution: Adjust watering frequency for porous pots, or consider moving plants to less porous containers if consistent dryness is a problem. Ensure any pot you choose has at least one drainage hole.
Do not be afraid to take decisive action when your plants show prolonged signs of distress. A healthy root system in fresh, absorbent soil is fundamental to plant vitality. Addressing these persistent issues ensures your container garden remains a successful and rewarding endeavor.
Frequently Asked Questions
What is the best way to rewet extremely dry peat moss in a potting mix?
The most effective method for rewetting extremely dry peat moss is bottom watering. Place the pot in a basin of water and allow it to soak for several hours or until the top of the soil becomes moist. This slow, upward absorption helps the peat moss gradually rehydrate without the water immediately running off the surface.
Can I prevent hydrophobic soil by always keeping my containers wet?
No, consistently keeping your containers soaking wet can lead to overwatering, which starves roots of oxygen and causes root rot. The key is balance: allow the top inch or two of soil to dry out between waterings, but avoid letting the entire pot dry to a rock-hard state. Consistent moisture, not constant saturation, is crucial.
Are there any plants that are more prone to hydrophobic soil issues?
Plants in small containers, especially those exposed to full sun and wind, are generally more susceptible because their soil dries out faster. Plants with dense, fibrous root systems that quickly fill their pots can also make the soil more prone to becoming root-bound and hydrophobic if not repotted regularly.
How often should I repot my container plants to prevent hydrophobic soil?
Most annuals and vigorous perennials benefit from repotting into fresh soil every year. Slower-growing perennials and shrubs may only need repotting every 2-3 years. Look for signs of root-bound conditions, like roots growing out of drainage holes or stunted growth, as indicators that it is time for fresh potting mix.
Is it possible to use homemade solutions as wetting agents?
A very dilute solution of plain, biodegradable dish soap (one to two drops per gallon of water) can act as a temporary wetting agent. However, use this sparingly and only as an emergency measure. Commercial wetting agents are formulated to be plant-safe and more effective for long-term use. Avoid harsh detergents or soaps with additives, as these can harm your plants and soil microorganisms.
For trustworthy gardening information, visit:
International Society for Horticultural Science (ISHS), Plantlife (UK) and Botanical Society of America. These organizations provide expert, research-based advice for gardeners at all levels.
Disclaimer: This article is for informational purposes only and is not a substitute for professional gardening advice. Always consult local extension services or horticulture experts for region-specific guidance.
Leave a Reply