
The ‘Plant Now, Eat Later’ Guide: How to Grow a Year’s Worth of Garlic in a Single Balcony Pot This Fall
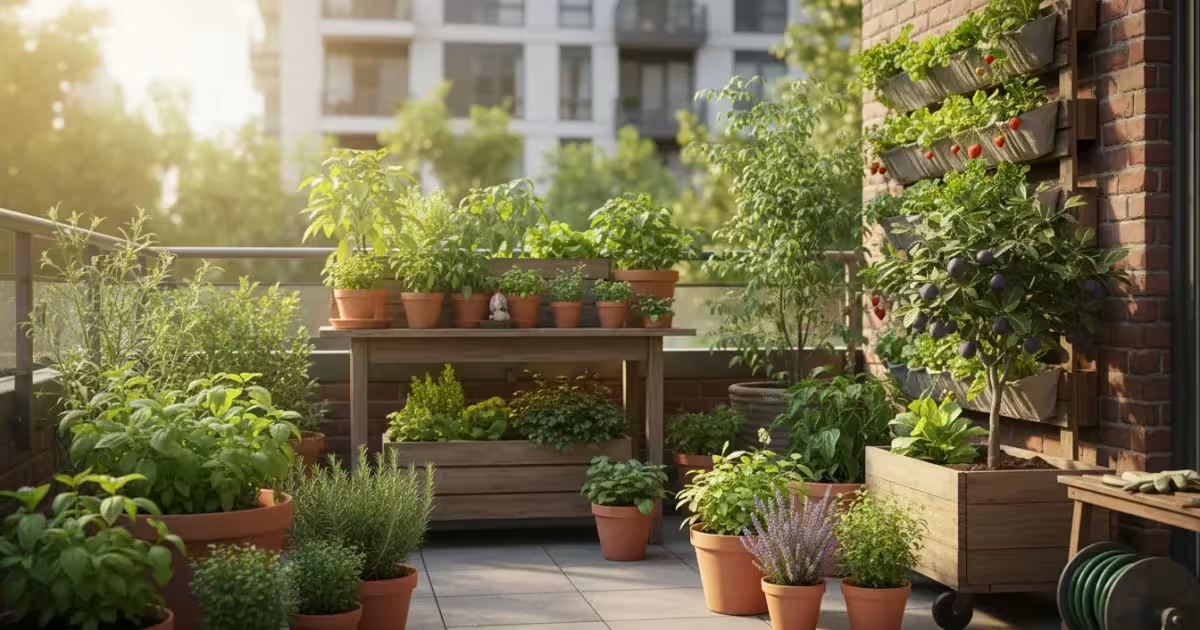
Imagine harvesting pungent, homegrown garlic, enough to last you an entire year, all from a single container on your balcony or patio. This might sound like a dream for small-space gardeners, but it is entirely achievable. Garlic, a resilient and rewarding crop, thrives in containers when you provide the right conditions. Fall offers the perfect window for planting, allowing the cloves to establish roots over winter and burst into growth come spring.
If you love growing your own kitchen flavorings, you can also plant saffron crocus bulbs in containers this autumn for an equally rewarding patio harvest.
This guide empowers you to transform a simple pot into a powerhouse of flavor. We cover everything you need to know, from selecting the best garlic varieties for your limited space to the crucial steps of planting, overwintering, and harvesting your homegrown bounty. Prepare to unlock the secret to a continuous supply of aromatic garlic, bringing a fresh, robust flavor to your kitchen without needing a large garden plot. Growing garlic in pots becomes a straightforward, satisfying endeavor, even if you are new to gardening.
Why Grow Garlic in Pots? The Small-Space Advantage
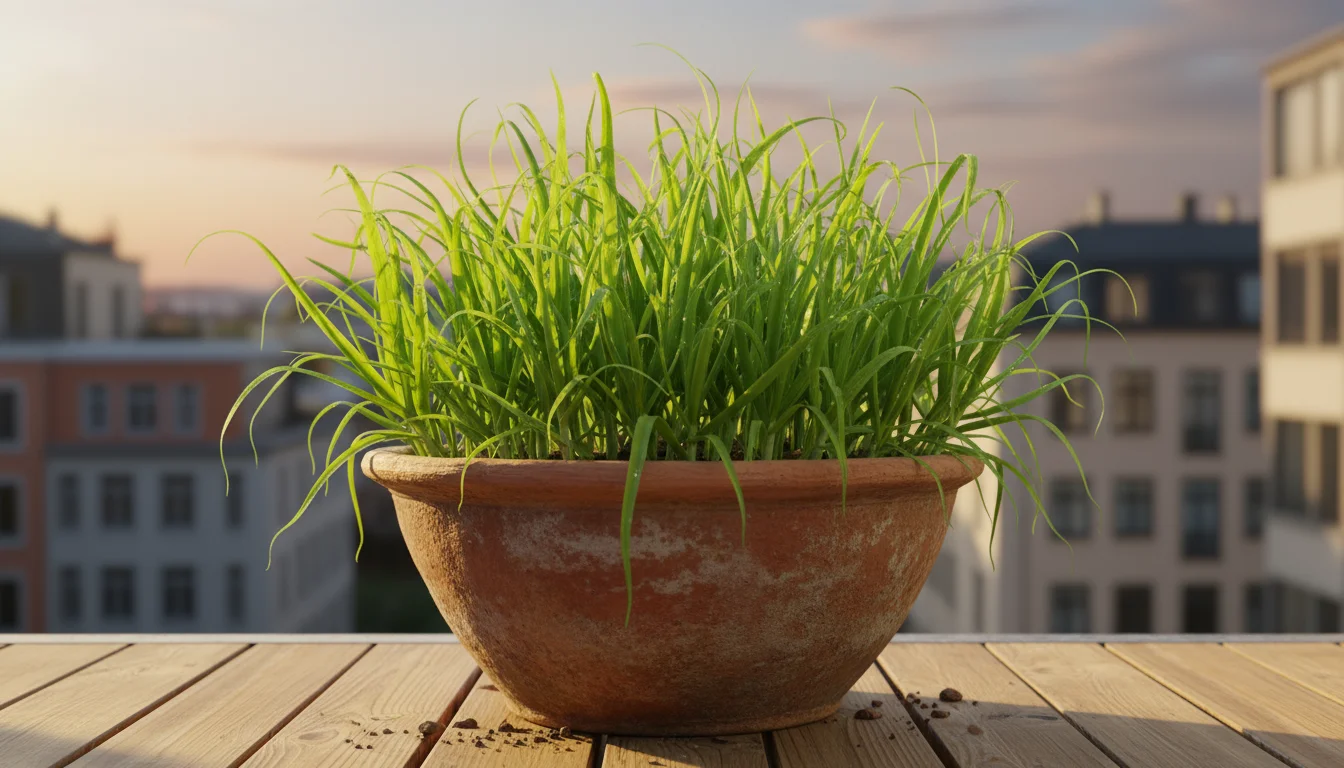
Growing garlic in pots offers numerous benefits, making it an ideal choice for gardeners with limited space, such as those with balconies, patios, or small urban yards. You gain control over growing conditions, protecting your crop from many common garden challenges. This method allows you to cultivate a valuable kitchen staple, providing fresh, organic garlic that far surpasses store-bought alternatives in flavor.
To shield vulnerable potted roots during sudden freezes, setting up a simple balcony cold frame provides reliable temperature buffering without cluttering your outdoor space.
One primary advantage is space efficiency. A single large container can host enough garlic cloves to provide a substantial harvest. This means you do not need a dedicated garden bed. Container gardening also provides flexibility. You can move your pots to optimize sun exposure or protect them from harsh weather conditions. For example, if a severe cold snap hits, you can easily shift your garlic containers indoors or to a more sheltered location.
Garlic grown in containers also tends to suffer less from soil-borne diseases and pests prevalent in larger garden plots. You start with fresh, sterile potting mix, reducing the risk of introducing pathogens or nematodes. This controlled environment simplifies pest management, as you can more easily monitor and address any issues that arise. For instance, common garden pests like onion maggot often bypass container plants because the larvae struggle to find suitable entry points or food sources.
Furthermore, container gardening promotes excellent drainage, a critical factor for garlic. Garlic dislikes “wet feet,” meaning its roots rot in waterlogged soil. A well-draining pot and potting mix prevent this issue, ensuring healthy root development. This precise control over soil conditions allows you to tailor the environment to garlic’s specific needs, leading to more robust plants and larger bulbs.
Finally, homegrown garlic often boasts superior flavor and aroma. When you grow your own, you choose varieties not typically found in grocery stores, experiencing a wider spectrum of tastes. You also ensure your garlic grows without synthetic pesticides or herbicides, aligning with environmentally conscious gardening practices. This fall planting strategy lets you harness the natural dormant period, giving your garlic a head start for vigorous growth next spring. You will find the satisfaction of digging up your own year’s supply of garlic incredibly rewarding, making growing garlic in pots a worthwhile endeavor for any small-space gardener.
Choosing Your Garlic Variety: Hardneck, Softneck, and the Best for Containers
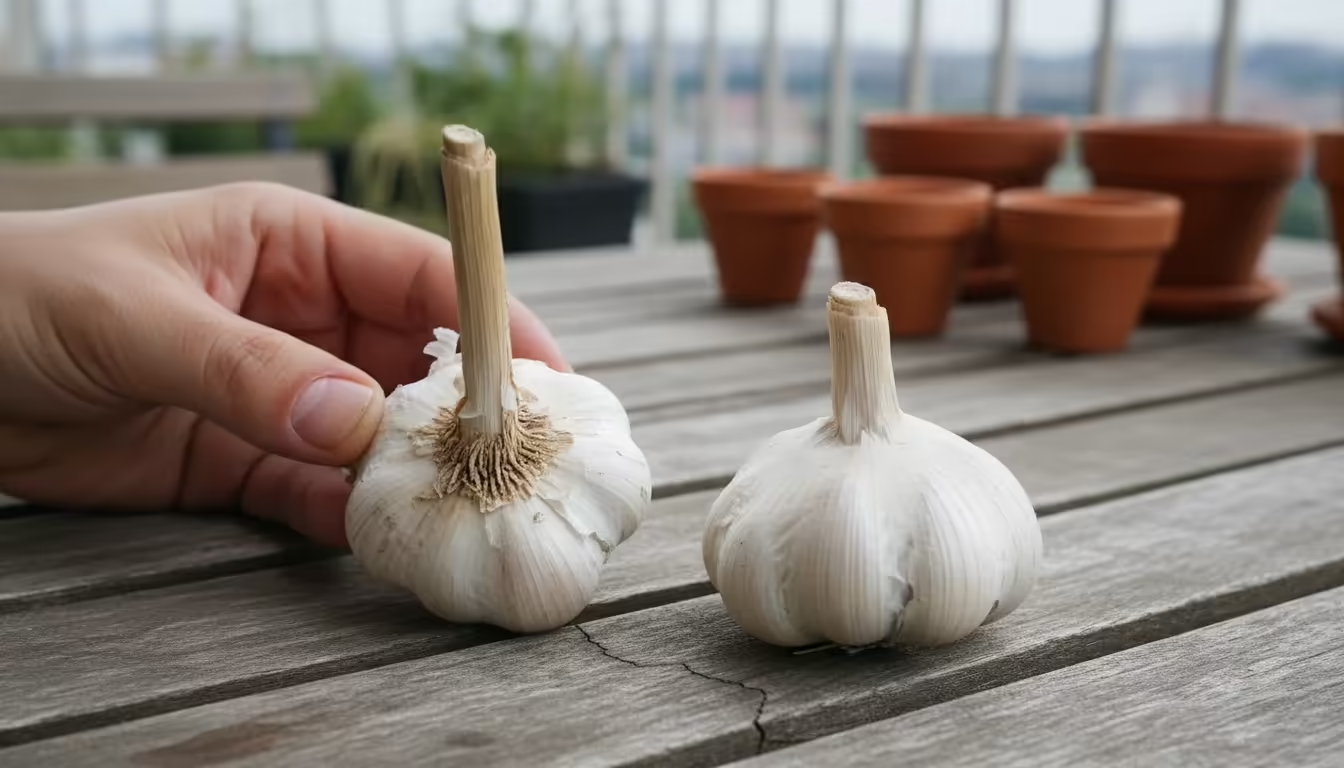
Selecting the right garlic variety is crucial for success, especially when you are growing garlic in pots. Garlic typically falls into two main categories: hardneck and softneck. Each type has distinct characteristics that influence its suitability for container gardening, your climate, and your culinary preferences.
Alongside your garlic, you can also grow fava beans in containers over winter to double your balcony’s fresh harvest potential come spring.
Hardneck Garlic
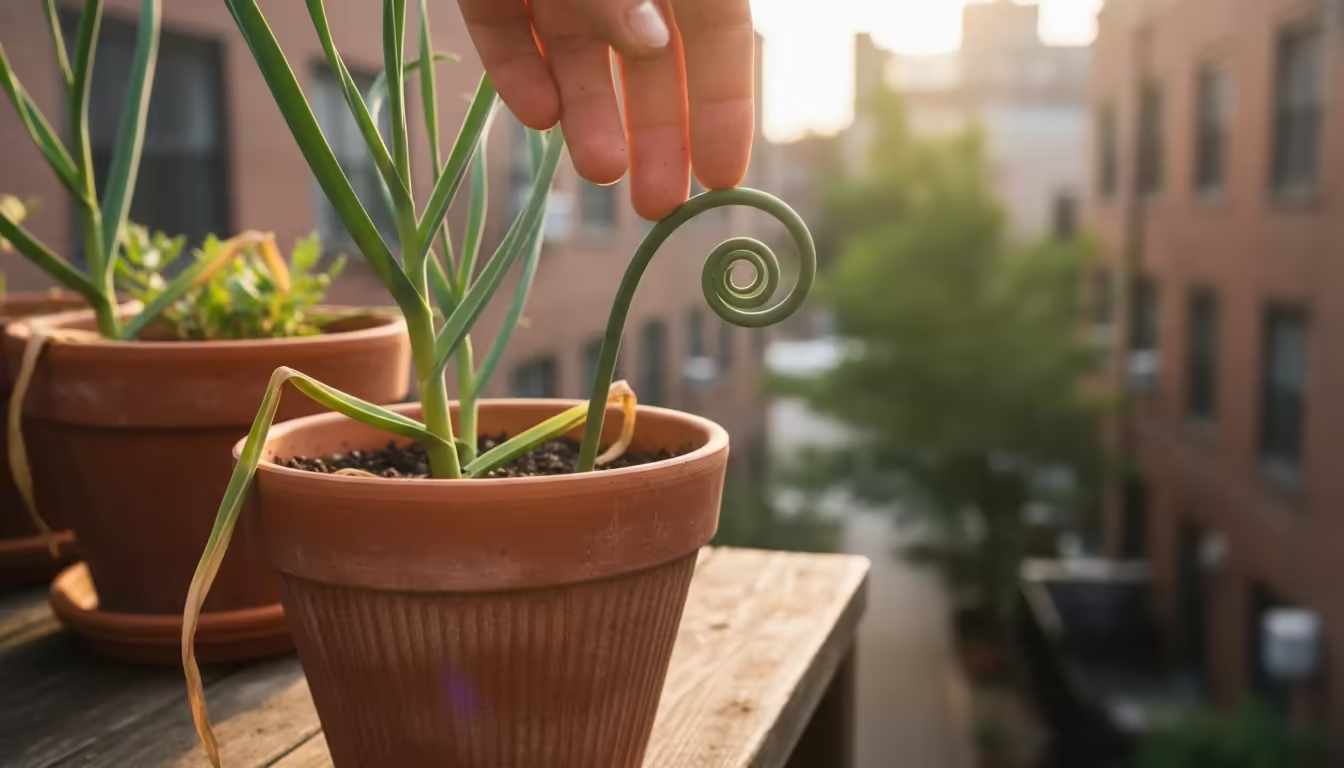
Hardneck garlic varieties are known for their distinct woody central stem, which extends up through the bulb and then forms a flower stalk, called a “scape.” These scapes are edible and delicious, offering a bonus harvest in late spring. Hardneck garlic generally has a more complex, nuanced flavor profile, often described as spicier or more robust than softneck varieties. They typically produce fewer, larger cloves per bulb, making them easier to peel.
Hardnecks are ideal for colder climates because they require a period of cold stratification, known as vernalization, to form bulbs. This means fall planting is essential in most regions. Popular hardneck varieties include ‘Rocambole,’ ‘Porcelain,’ and ‘Purple Stripe.’ For container gardening, hardnecks can work well, but their larger bulbs might mean you plant fewer cloves per pot. ‘Music’ is a popular and reliable hardneck known for its large cloves and vigorous growth, making it a good choice for those new to container garlic.
Softneck Garlic
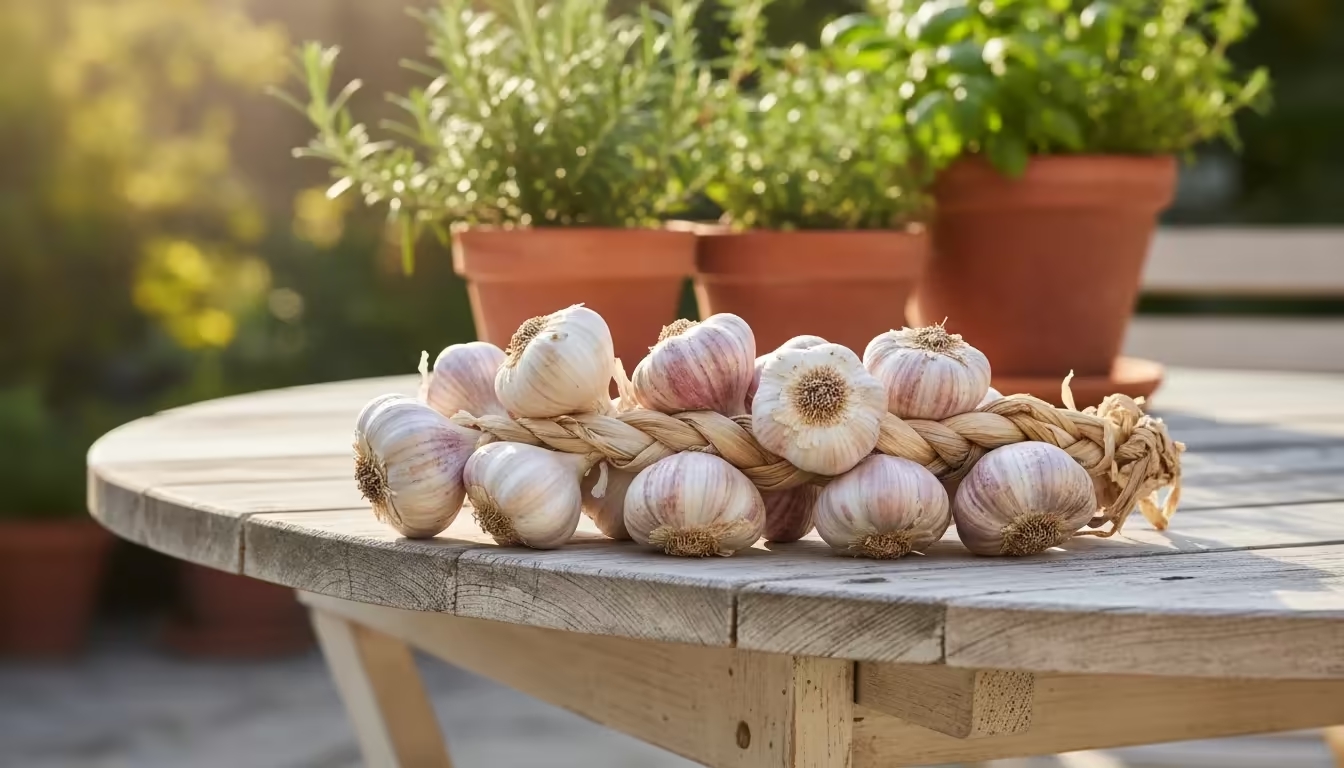
Softneck garlic varieties lack the rigid central stem of hardnecks. Instead, their necks remain soft, allowing them to be braided after harvesting, a traditional method for storage. Softnecks typically produce more cloves per bulb, which are generally smaller and more numerous. Their flavor is often milder than hardnecks, making them versatile for many dishes. They also tend to store longer than hardneck varieties.
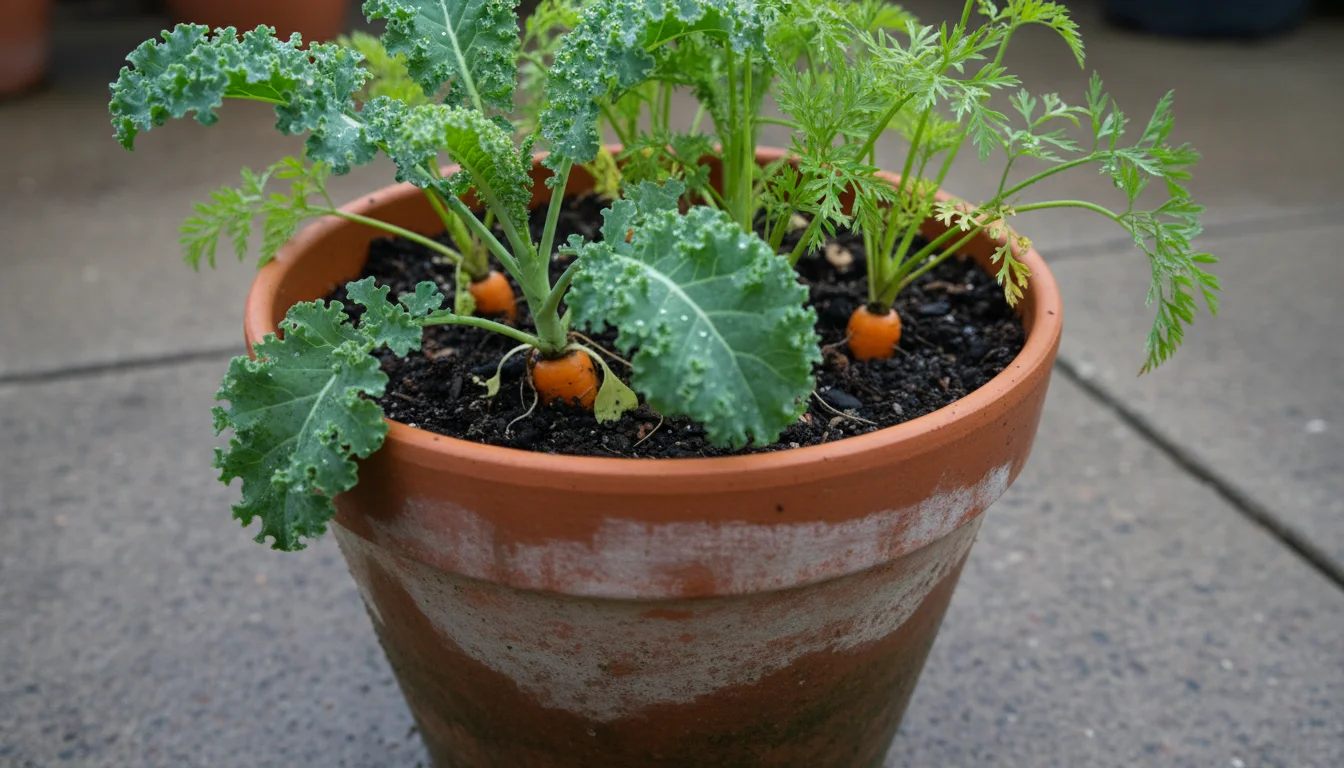
For cold-hardy greens to pick while waiting for your bulbs to mature, consider growing kale in a container right beside your garlic pots.
Softnecks do not strictly require cold stratification to bulb, although a chill period improves bulb size. This makes them suitable for milder climates where hardnecks might struggle. Popular softneck varieties include ‘Artichoke’ and ‘Silverskin.’ ‘Inchelium Red’ and ‘California Early’ are excellent softneck choices that perform reliably in containers and offer good storage potential. Their adaptability and prolific nature make them a strong contender for your balcony garlic project.
Best Garlic Variety for Pots
When you are choosing the best garlic variety for pots, consider a few factors:
If you want to complement your edible crops with colorful spring blooms, try planting a layered lasagna bulb pot alongside your garlic containers.
- Climate compatibility: If you live in a region with cold winters, hardnecks are a natural fit for fall planting. If your winters are mild, softnecks will thrive, and some hardnecks may still perform well with sufficient chill hours.
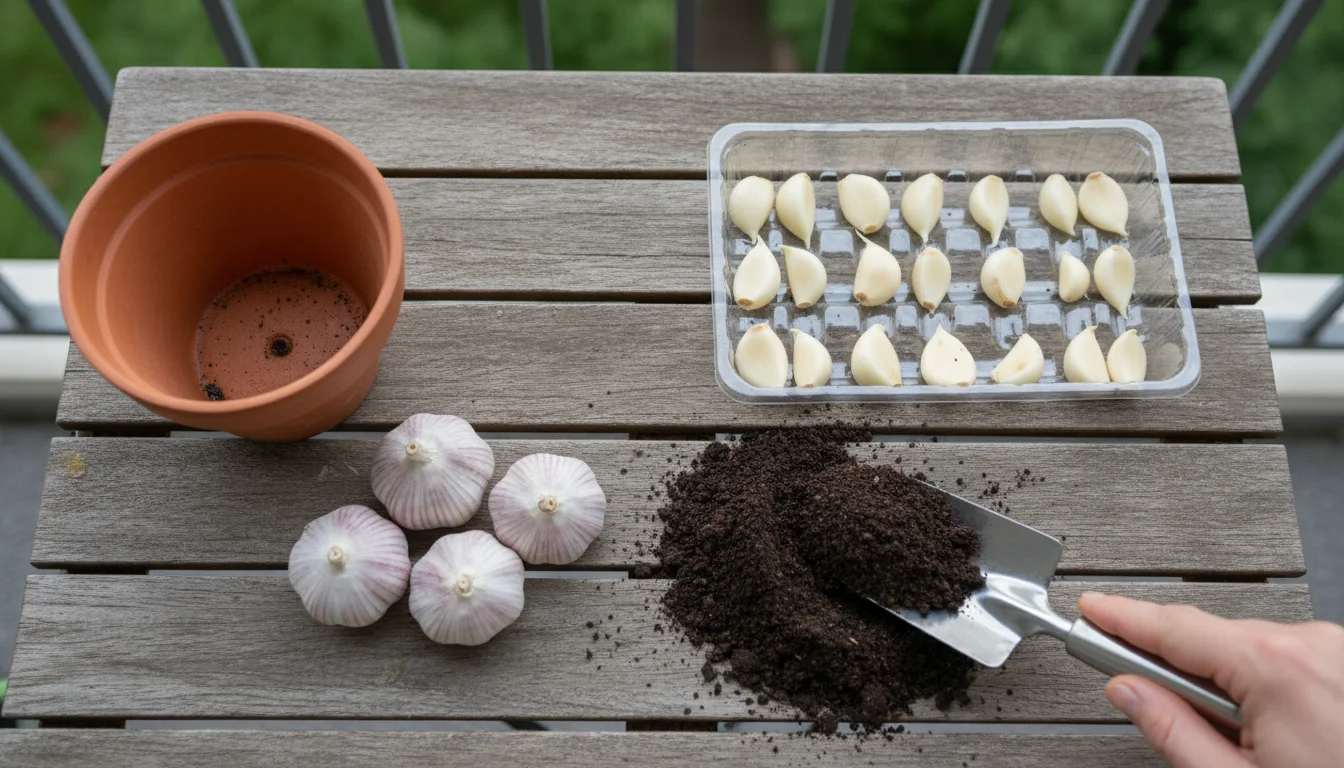
- Pot size: Hardnecks often have larger bulbs and cloves, so you might plant fewer in a given pot. Softnecks, with their smaller, more numerous cloves, allow for higher density planting in the same container.
- Flavor preference: Do you prefer a strong, spicy garlic or a milder, more versatile one? This personal preference guides your choice.
- Storage needs: Softnecks generally store longer, which is beneficial if you aim for a year’s supply.
For beginners focused on growing garlic in pots, both types can succeed. Many experienced container gardeners find success with hardy hardneck varieties like ‘Music’ for their reliable performance and flavorful scapes. However, if you prioritize maximizing your yield in a single pot and extended storage, robust softneck types like ‘Inchelium Red’ provide an excellent solution. Ultimately, experimenting with a few different varieties helps you discover what performs best in your specific conditions and aligns with your taste. Regardless of your choice, fall planting remains the optimal strategy for robust growth.
Essential Supplies for Container Garlic: What You Need to Get Started
Cultivating a year’s worth of garlic in a pot requires specific tools and materials. Gathering these essentials before you begin ensures a smooth planting process and sets your garlic up for success. You will find most of these items readily available at your local garden center or online.
The same deep pots that support healthy garlic cloves can easily accommodate overlooked fall root crops if you have extra planters on hand.
1. The Right Container:
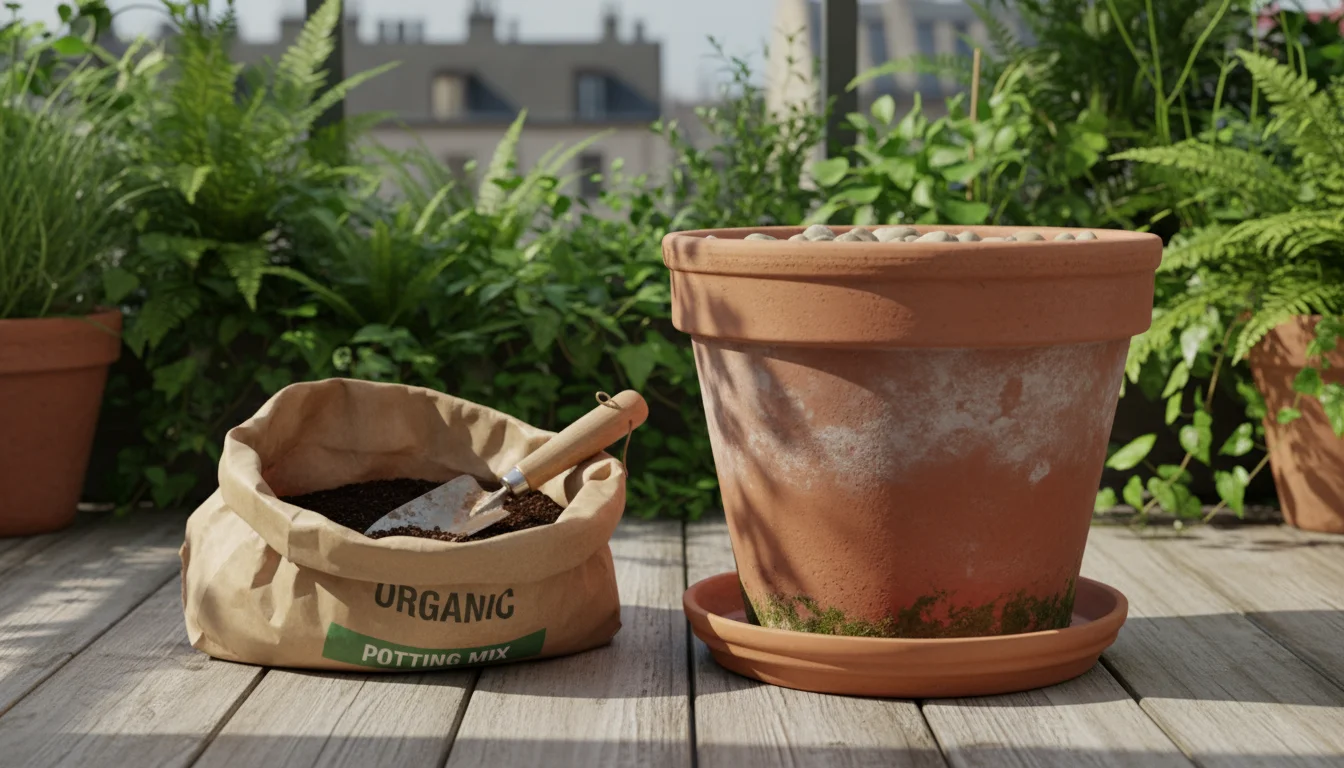
Your choice of pot is paramount for successful container gardening, especially for growing garlic in pots. Garlic needs depth for root development and good drainage. Select a container that is at least 10-12 inches deep and 12-18 inches in diameter. Larger pots accommodate more cloves and provide a more stable environment for overwintering garlic in pots on balcony. Materials like terracotta, plastic, or wood work well, but ensure any pot has ample drainage holes at the bottom. Terracotta pots offer good aeration but dry out faster, requiring more frequent watering. Plastic pots retain moisture better. A fabric grow bag also makes an excellent choice, as it provides superior aeration and drainage, preventing root rot. Remember, a single large pot is more effective than several small ones for this project.
2. High-Quality Potting Mix:
Do not use garden soil in containers; it compacts easily and lacks adequate drainage and aeration for potted plants. Instead, choose a premium, well-draining potting mix. Look for a mix formulated for vegetables or containers that contains ingredients like perlite or vermiculite. These amendments improve drainage and aeration, which are crucial for garlic. A good potting mix also retains some moisture without becoming waterlogged. You can enhance the drainage further by adding a handful of compost or aged manure, which also provides a slow release of nutrients.
3. Healthy Seed Garlic:
Avoid using garlic from the grocery store. It might be treated with sprout inhibitors or be a variety not suited for your climate. Purchase “seed garlic” from a reputable nursery, garden center, or online supplier. This ensures you receive disease-free, viable cloves specific to your needs. As discussed, choose hardneck or softneck varieties based on your climate and preferences. Plan to plant individual cloves; one clove grows into one bulb.
4. Organic Fertilizer or Compost:
Garlic is a hungry feeder. Incorporate a balanced organic fertilizer or well-rotted compost into your potting mix before planting. A slow-release granular fertilizer with a balanced NPK ratio (e.g., 5-5-5 or 10-10-10) works well. Alternatively, a good layer of compost provides essential nutrients and improves soil structure. This initial feeding provides a strong start for the cloves as they establish roots for fall planting.
5. Mulch Material:
Mulching is essential, particularly for overwintering garlic in pots on balcony. A 2-4 inch layer of straw, shredded leaves, or wood chips protects the soil from extreme temperature fluctuations, conserves moisture, and suppresses weeds. Mulch also helps regulate soil temperature, preventing the soil from freezing and thawing repeatedly, which can heave young garlic plants out of the ground.
6. Basic Gardening Tools:
You will need a small trowel for digging, gardening gloves to protect your hands, and a watering can or hose with a gentle spray nozzle. A hand pruner might be useful later for snipping scapes if you choose a hardneck variety.
Having all these items ready before you start planting streamlines the entire process of how to plant garlic in a container in the fall. You ensure your garlic has the best possible start, increasing your chances of a successful and abundant harvest next summer. Remember, quality supplies make a significant difference in the health and productivity of your container garlic.
Step-by-Step: Planting Your Garlic for a Bountiful Harvest This Fall
Fall planting is the secret to a successful garlic harvest. This season allows the cloves to establish a robust root system before winter dormancy, setting them up for vigorous growth when spring arrives. Follow these clear, actionable steps to plant your garlic for a year’s worth of supply.
Step 1: Determine Your Planting Time
The ideal time for fall planting garlic depends on your local climate. Plant garlic approximately 4-6 weeks before your first hard frost. This timing gives the cloves enough time to develop roots but not so much time that they produce significant green top growth before freezing temperatures set in. If you live in a mild climate, planting around late October to November usually works best. In colder regions, aim for late September to mid-October. Consult your local extension office for specific recommendations for your zone, ensuring optimal conditions for overwintering garlic in pots on balcony.
Step 2: Prepare Your Container and Potting Mix
Ensure your chosen container has excellent drainage holes. If not, drill several 1/2-inch holes in the bottom. Place a layer of landscape fabric or a coffee filter over the drainage holes to prevent soil loss while allowing water to escape. Fill your container with a high-quality, well-draining potting mix, leaving about 2-3 inches of space from the rim. Incorporate a generous amount of compost or a balanced organic granular fertilizer into the top 6-8 inches of the potting mix. This provides essential nutrients for strong initial growth and sustained development.
Step 3: Separate Your Seed Garlic Cloves
Just before planting, gently separate your seed garlic bulb into individual cloves. Leave the papery skin intact on each clove. Select only the largest, healthiest cloves for planting, as these produce the largest bulbs. Smaller cloves might still grow, but they generally yield smaller, less robust bulbs. Discard any soft, damaged, or diseased cloves. This careful selection ensures you plant only the strongest starts.
Step 4: Plant the Cloves Correctly
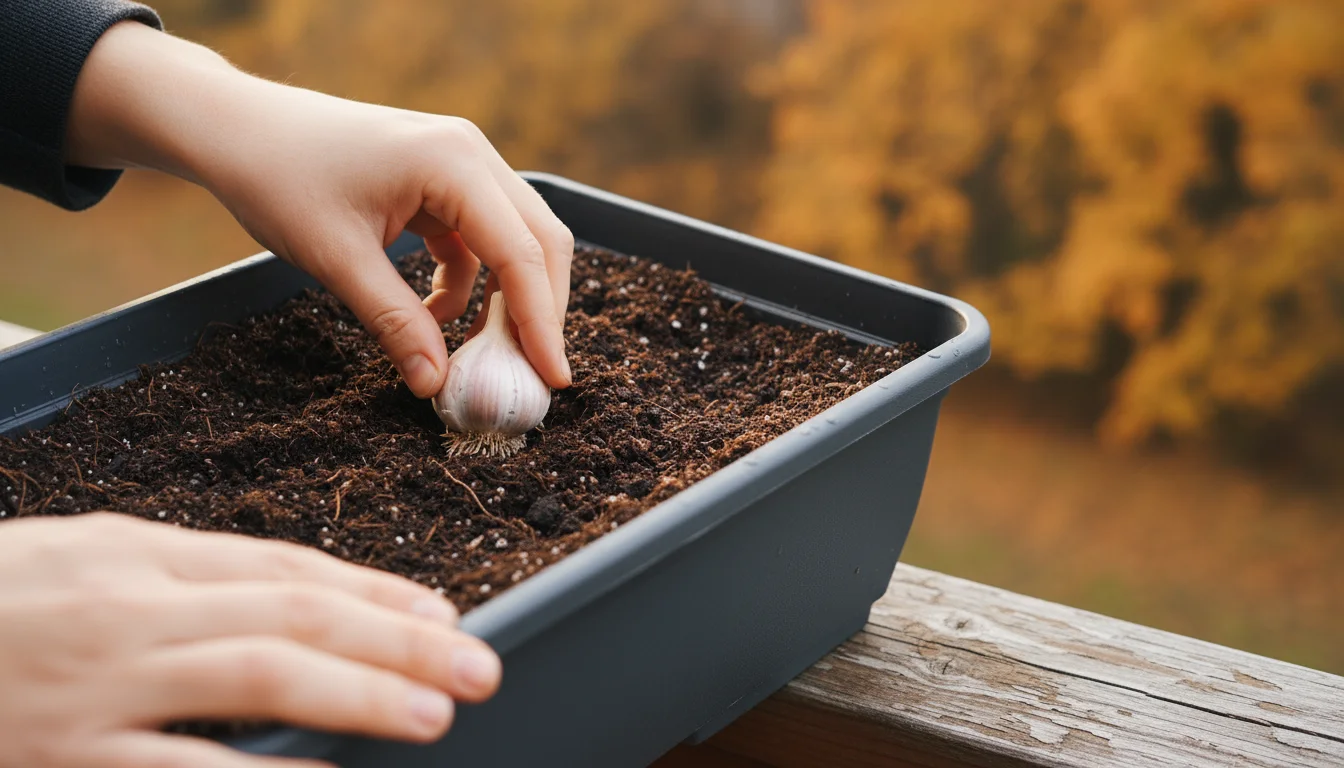
Plant each garlic clove pointed-end up and flat-end down. This ensures the shoot emerges correctly and roots develop efficiently. For container gardening, space your cloves about 4-6 inches apart in a grid pattern. Plant them 2-3 inches deep, ensuring the top of the clove is covered by at least 2 inches of soil. This depth provides stability and protection for the developing bulb. A 12-18 inch diameter pot can typically hold 6-9 cloves, offering a good yield from a single container.
Step 5: Water Thoroughly After Planting
After planting all your cloves, water the container thoroughly. This settles the soil around the cloves and initiates root growth. The soil should be consistently moist, but never waterlogged. Good drainage is key here. Ensure excess water flows freely from the drainage holes at the bottom of the pot. Consistent moisture helps the cloves establish their root systems before the cold weather arrives.
Step 6: Apply a Layer of Mulch
Once you have watered, apply a 2-4 inch layer of organic mulch over the soil surface. Straw, shredded leaves, or untreated wood chips work perfectly. Mulch is crucial for overwintering garlic in pots on balcony. It insulates the soil, protecting the cloves from extreme temperature fluctuations and preventing the soil from freezing solid. It also conserves moisture and suppresses weeds. This protective layer is vital for successful fall planting, allowing your garlic to rest safely through winter.
By following these steps, you lay a solid foundation for a successful garlic harvest. The fall planting of garlic is a patient gardener’s reward, offering a robust crop next summer with minimal effort during its dormant period.
Caring for Your Container Garlic: Winter Dormancy to Spring Growth
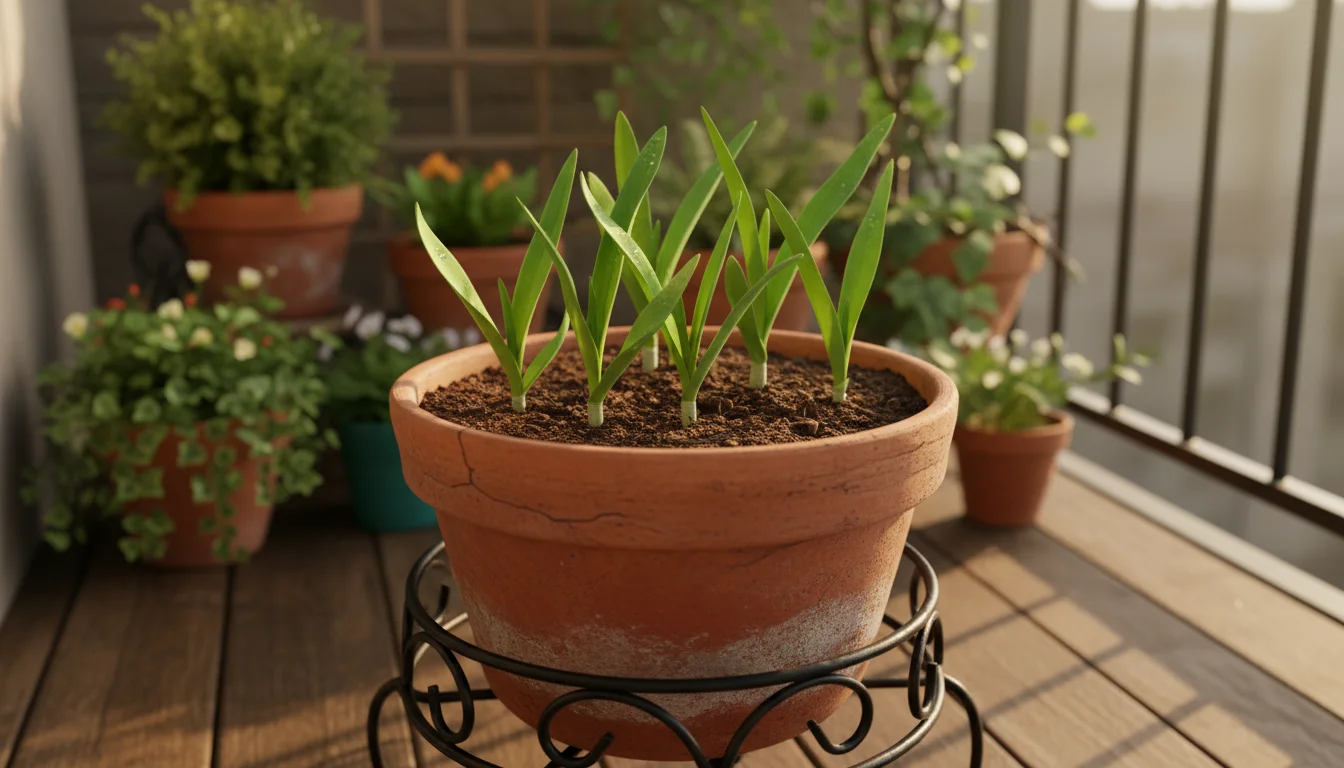
Once you have planted your garlic cloves in the fall, the care routine shifts from active cultivation to watchful waiting. Understanding how to manage your container garlic through winter dormancy and into the vibrant growth of spring is crucial for a bountiful harvest. This section guides you through the seasonal care your potted garlic needs.
Winter Care: Overwintering Garlic in Pots on Balcony
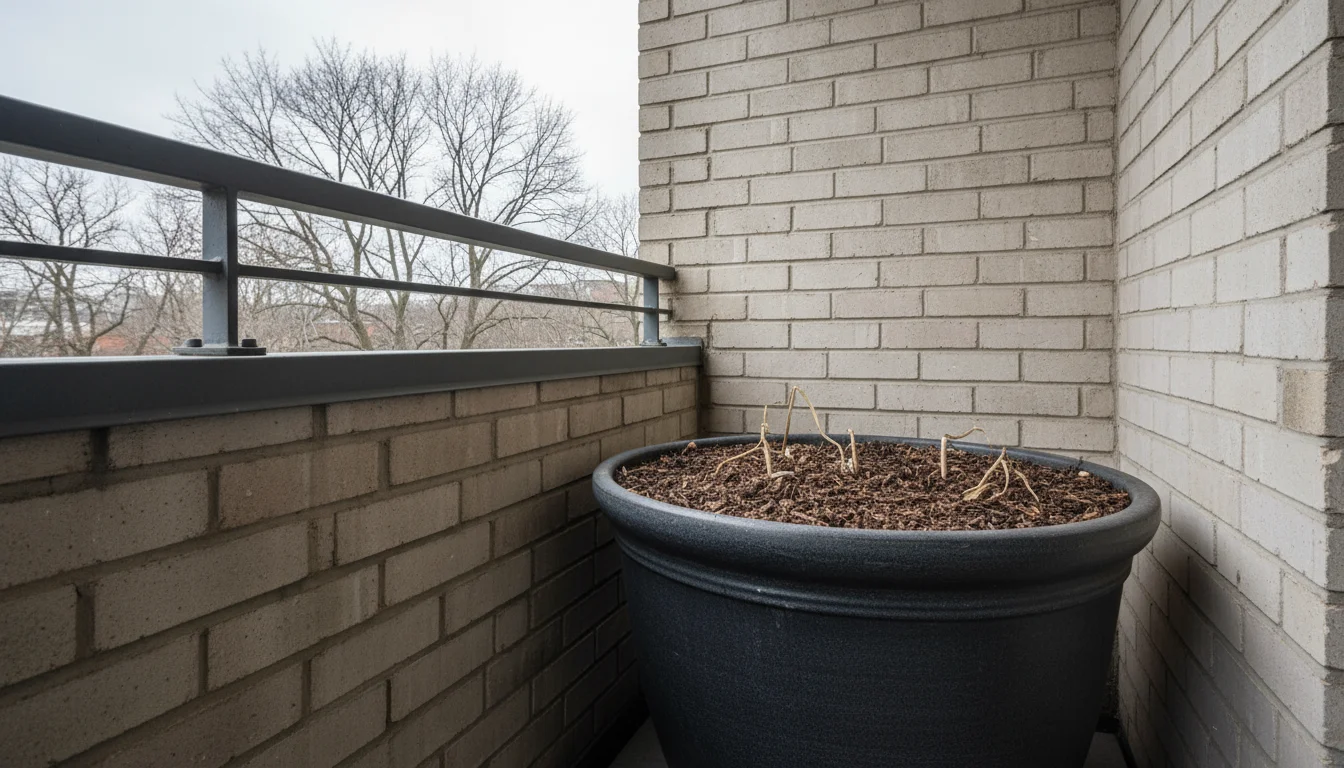
The primary goal during winter is to protect your garlic from extreme cold while allowing it to undergo the necessary vernalization, the cold period required for bulb formation. Your mulch layer, applied during fall planting, plays a critical role here.
- Location, Location, Location: For balconies or patios, position your container in a sheltered spot. Against a south-facing wall can provide some warmth, or tuck it into a corner protected from biting winds. In very harsh climates, you might move the pot into an unheated garage, shed, or cold frame for the coldest weeks. Avoid bringing it indoors to a heated space, as this disrupts its natural dormancy cycle.
- Watering During Dormancy: Your garlic will require very little water during winter. The soil should remain slightly moist, but never wet or frozen solid. Check the soil moisture every few weeks by sticking your finger about an inch deep. If it feels dry, water lightly, ensuring drainage. Avoid watering if the soil is frozen. Excessive winter watering leads to rot.
- Monitoring for Heaving: In areas with fluctuating winter temperatures, repeated freezing and thawing can push the cloves out of the soil, a phenomenon called “heaving.” The mulch layer helps prevent this. If you notice any cloves poking out, gently push them back down and add more mulch if necessary.
Your garlic will largely remain dormant or show minimal growth during winter, appearing as a few green shoots above the mulch. This is normal and indicates the roots are establishing underground, preparing for spring.
Spring Care: Waking Up and Growing Strong
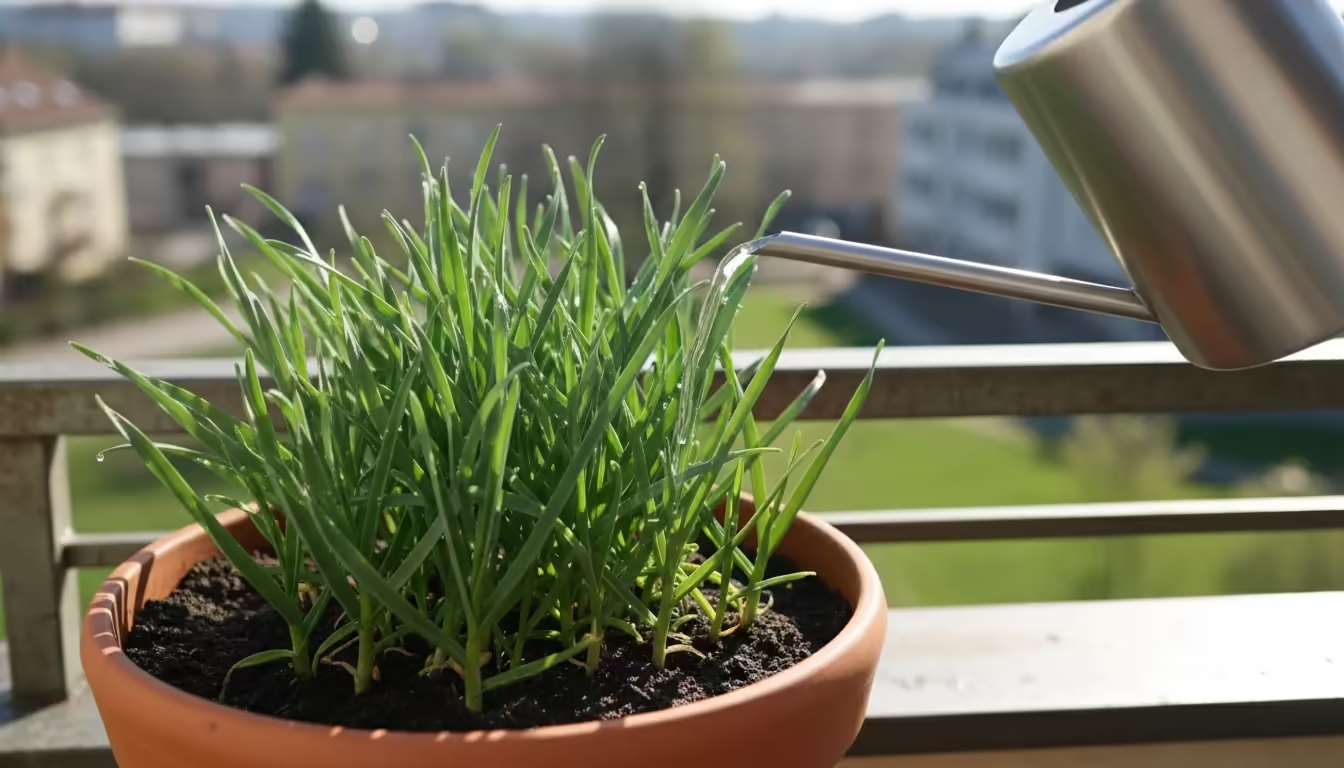
As temperatures rise in early spring, your garlic will emerge from dormancy and begin vigorous growth. This is when it requires more attention regarding water and nutrients.
- Increased Watering: Once consistent spring growth appears, increase your watering frequency. The goal is to keep the soil consistently moist, mimicking spring rains, but still ensure excellent drainage. Water deeply when the top inch of soil feels dry. Proper hydration supports the rapid development of leaves and the eventual formation of large bulbs.
- Fertilizing for Growth: Garlic is a heavy feeder, particularly during its active growth phase in spring. Apply a balanced organic liquid fertilizer every 2-4 weeks, or side-dress with an organic granular fertilizer or compost. Focus on a fertilizer with a slightly higher nitrogen content early in spring to promote leafy growth. However, avoid excessive nitrogen as the bulbing stage approaches, as this can prioritize leaf production over bulb development. Stop fertilizing about a month before your anticipated harvest.
- Weed Control: Although mulching helps suppress weeds, some persistent ones might appear. Hand-pull any weeds carefully to avoid disturbing the shallow garlic roots. Weeds compete for water and nutrients, so keeping your container free of them ensures your garlic receives all available resources.
- Scape Management (for Hardneck Varieties): If you planted hardneck garlic, it will produce a flower stalk, or “scape,” in late spring or early summer. These scapes look like curly, often purplish, stems emerging from the center of the plant. Snip off the scape when it forms a full curl, usually about 8-10 inches above the leaves. Removing the scape redirects the plant’s energy into bulb development, resulting in larger garlic bulbs. Do not discard the scapes; they are delicious and can be used in pestos, stir-fries, or grilled.
Consistent care during spring, including diligent watering, timely fertilization, and scape removal for hardnecks, directly impacts the size and quality of your garlic harvest. You will witness your small fall planting transform into robust, healthy plants, promising a delicious yield from your container gardening efforts.
Harvesting and Curing Your Garlic: Maximizing Your Pungent Yield
After months of patient care, the moment arrives to reap your garlic harvest. Knowing when and how to harvest, followed by proper curing, ensures you maximize your pungent yield and enjoy your homegrown garlic throughout the year. These steps are crucial for long-term storage and flavor development.
When to Harvest Your Container Garlic
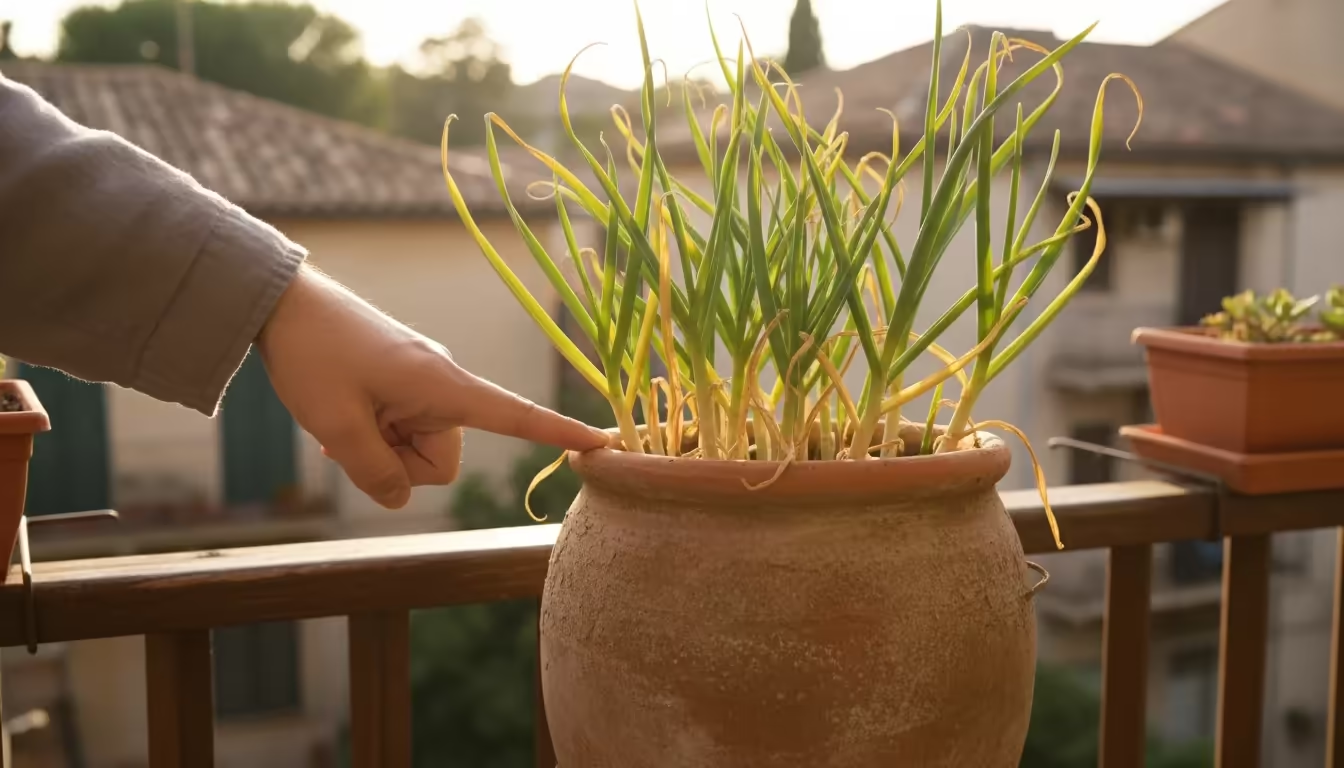
Timing your harvest correctly is critical. Harvesting too early results in smaller, underdeveloped bulbs that do not store well. Harvesting too late causes the bulbs to split apart, compromising their papery wrappers and reducing their storage potential. You know your garlic is ready for harvest when the bottom third to half of the leaves have turned yellow or brown, but the top leaves remain green. This typically occurs in early to mid-summer, usually around June or July, depending on your climate and planting time.
- Monitor the Leaves: Begin observing your garlic plants closely in late spring or early summer. The green leaves indicate the plant is still photosynthesizing and directing energy to the bulb. As the plant matures, it naturally begins to senesce, and the lower leaves yellow.
- Avoid Full Browning: Do not wait until all the leaves are brown. If you do, the papery wrappers around the bulb might deteriorate or split, exposing the cloves and making them susceptible to disease and shorter storage life.
- Consider a Test Dig: If you are unsure, gently excavate around one bulb to check its development. You can usually see if the cloves are plump and well-formed. If they look good, proceed with harvesting. If not, give them another week or two.
How to Harvest Your Container Garlic
Harvesting container garlic is straightforward but requires care to avoid damaging the bulbs.
- Stop Watering: About two weeks before your anticipated harvest date, stop watering your garlic. This helps the outer papery wrappers of the bulbs dry down and toughen, which is beneficial for curing and storage.
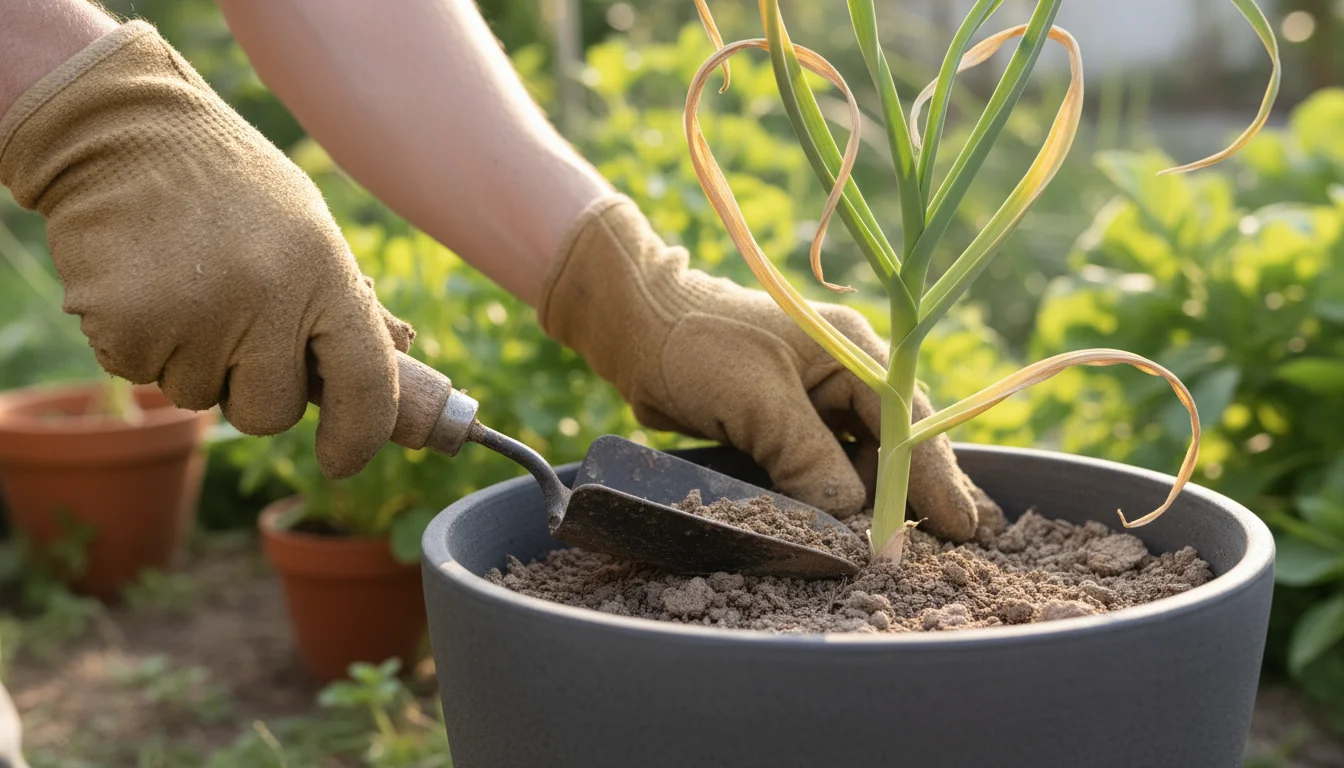
- Loosen the Soil: Do not pull the garlic straight out of the pot. The bulbs are delicate and can break or bruise. Instead, use a hand trowel or a small garden fork to gently loosen the soil around the bulbs. Work carefully, pushing the tool into the soil a few inches away from the plant stem to avoid piercing the bulb.
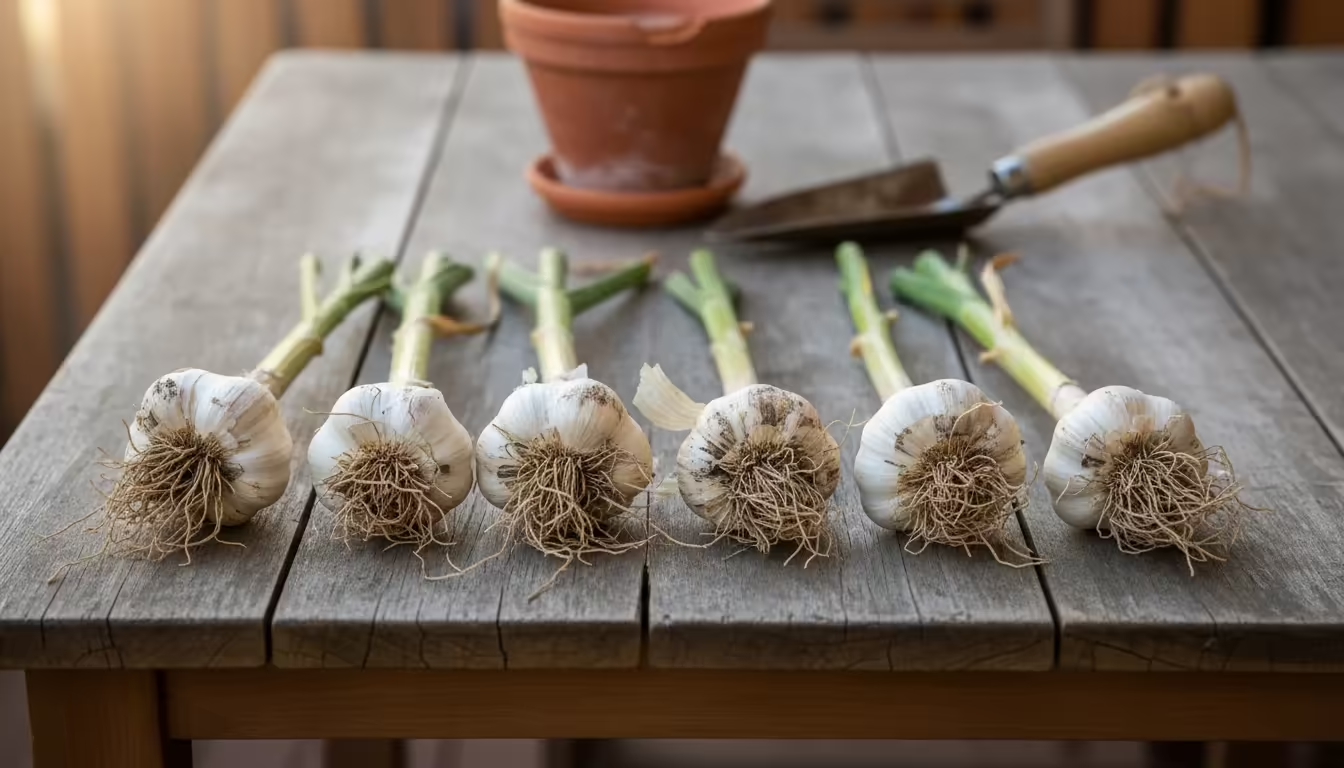
- Lift Gently: Once the soil is loose, grasp the base of the garlic stem and gently lift the entire plant from the container. Shake off any excess soil, but do not wash the bulbs. Cleaning them with water can introduce moisture, promoting rot during curing.
- Keep the Leaves Intact: Leave the stems and roots attached to the bulbs after harvest. These green parts contain nutrients that will continue to nourish and harden the bulbs during the curing process.
Curing Your Garlic for Long-Term Storage
Curing is a critical step that dries the outer wrappers of the garlic bulb, seals its flavor, and prepares it for long-term storage. Skip this step, and your garlic will spoil quickly.
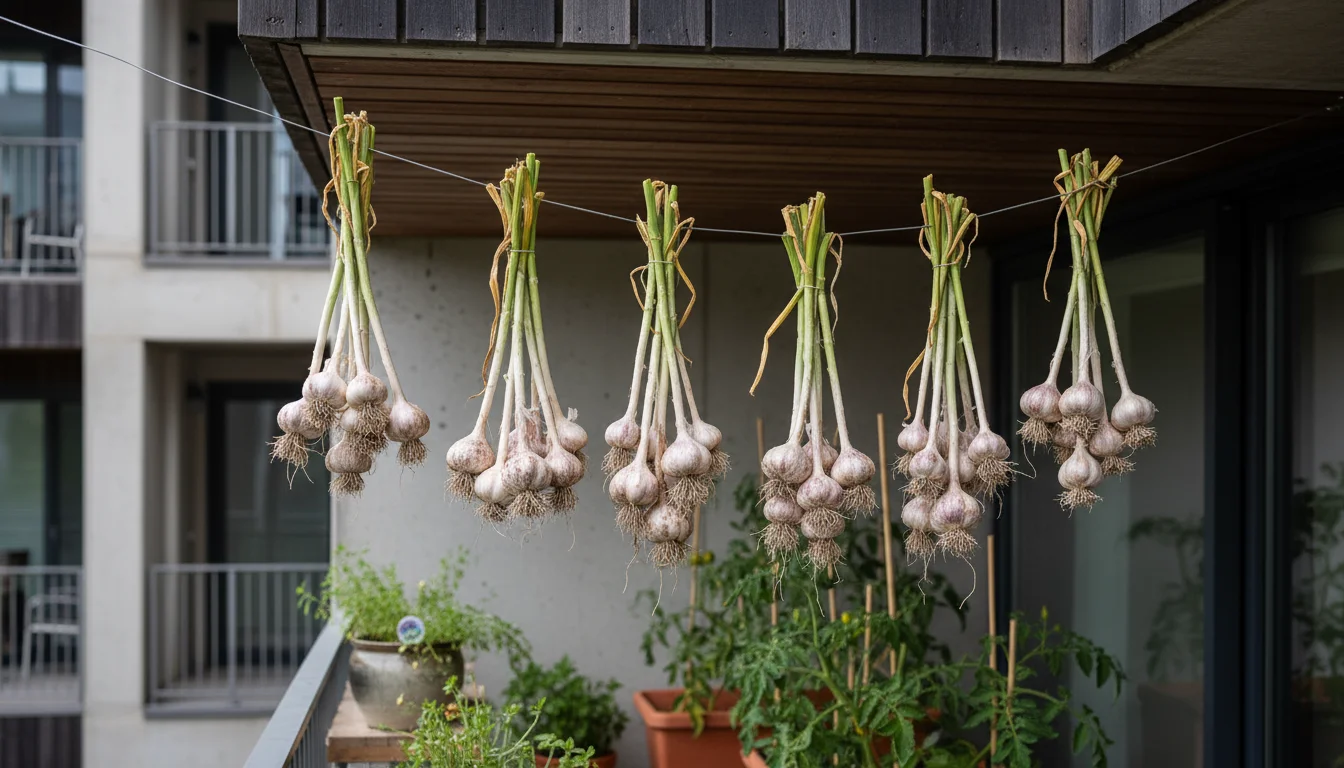
- Find the Right Location: Hang your freshly harvested garlic in a warm (70-80°F), dry, well-ventilated area for 2-4 weeks. An attic, garage, porch, or covered patio works well. Ensure the area is protected from direct sunlight, which can cook the bulbs, and rain or excessive humidity, which can lead to mold.
- Arrange for Airflow: You can tie several plants together by their stems and hang them in bunches, or lay them out on a screen or rack to ensure good air circulation around each bulb. Ensure no bulbs are touching too closely.
- Monitor Progress: During curing, the outer wrappers will become papery and dry, the roots will shrivel, and the neck will dry and tighten. The remaining green leaves will yellow and dry completely, transferring their last nutrients to the bulbs.
- Clean and Store: Once fully cured, usually after 2-4 weeks, trim the roots close to the bulb. Brush off any loose soil. For hardneck varieties, cut the stem about an inch above the bulb. For softneck varieties, you can trim the stems or braid them together. Store your cured garlic in a cool (50-60°F), dark, and dry place with good air circulation. Mesh bags, open baskets, or hanging braids are excellent storage methods. Properly cured and stored garlic can last for 6-12 months, providing you with that year’s worth of homegrown flavor.
By carefully timing your harvest and executing the curing process, you ensure your efforts in growing garlic in pots pay off with a flavorful, long-lasting supply from your very own balcony.
Troubleshooting Common Garlic Issues and Ensuring Success
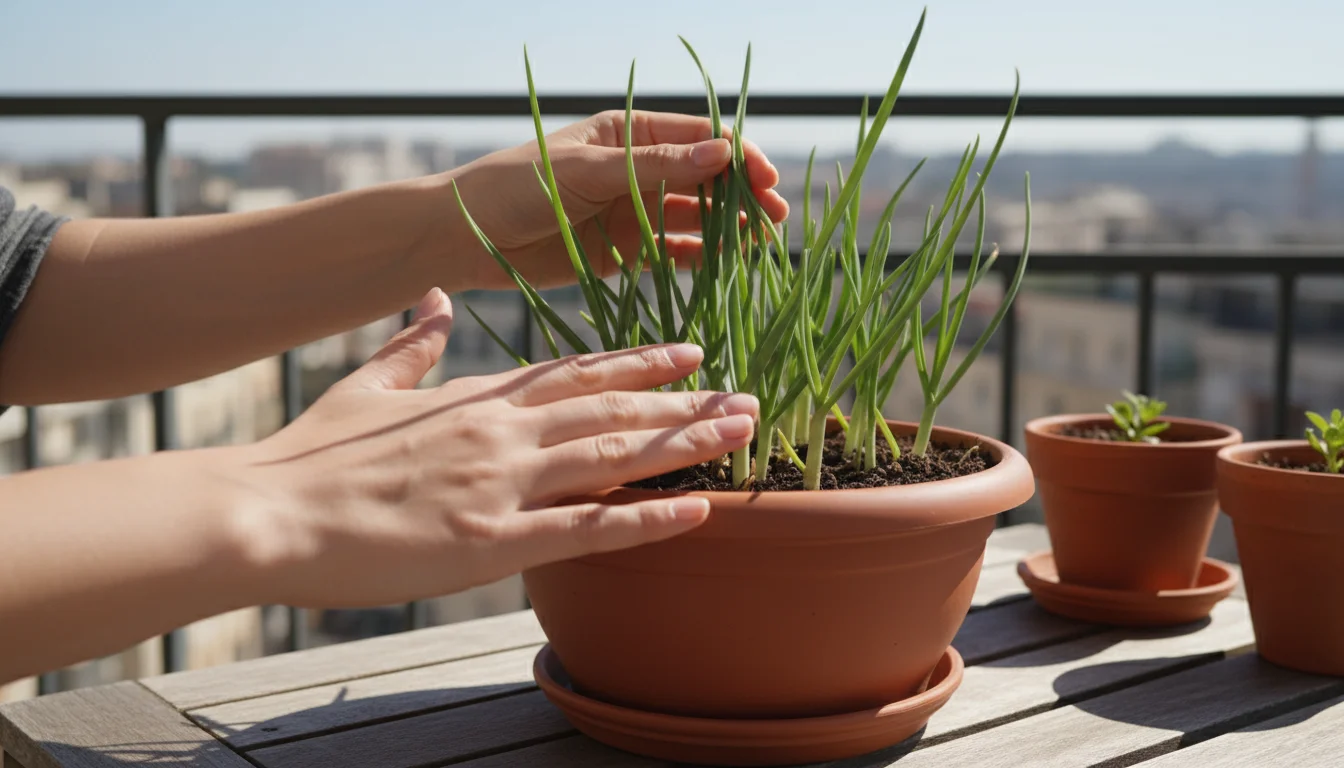
Even with careful planning and consistent care, you might encounter a few challenges when growing garlic in pots. Understanding these common issues and how to address them helps you ensure a healthy, productive harvest. Most problems are easily preventable with good practices.
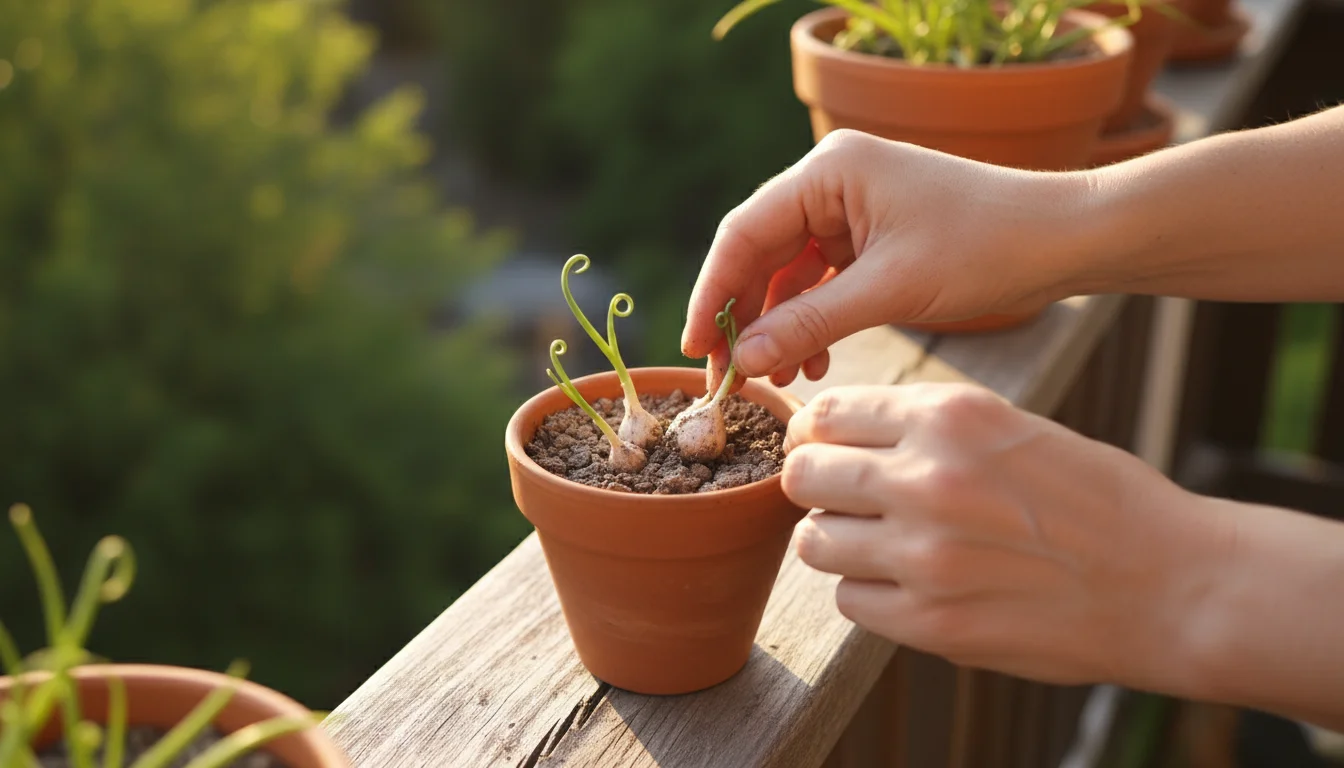
Small Bulbs
One of the most common disappointments is harvesting small bulbs. Several factors contribute to this:
- Late planting: If you plant too late in the fall, the cloves may not establish sufficient roots before winter, impacting their spring growth. Aim for 4-6 weeks before your first hard frost for fall planting.
- Insufficient nutrients: Garlic is a heavy feeder. If your potting mix lacks nutrients or you do not fertilize during spring growth, bulbs will remain small. Ensure you amend the soil at planting and fertilize regularly in spring.
- Lack of water: Garlic needs consistent moisture during its active growth period in spring and early summer. Inconsistent watering, especially during dry spells, stresses the plant and limits bulb size.
- Crowding: Planting cloves too close together causes competition for resources, resulting in smaller bulbs. Maintain the recommended 4-6 inches between cloves in your container.
- Removing scapes (Hardnecks): If you grow hardneck garlic and do not remove the scapes, the plant diverts energy into flower and seed production instead of bulb development. Always snap or cut scapes when they curl.
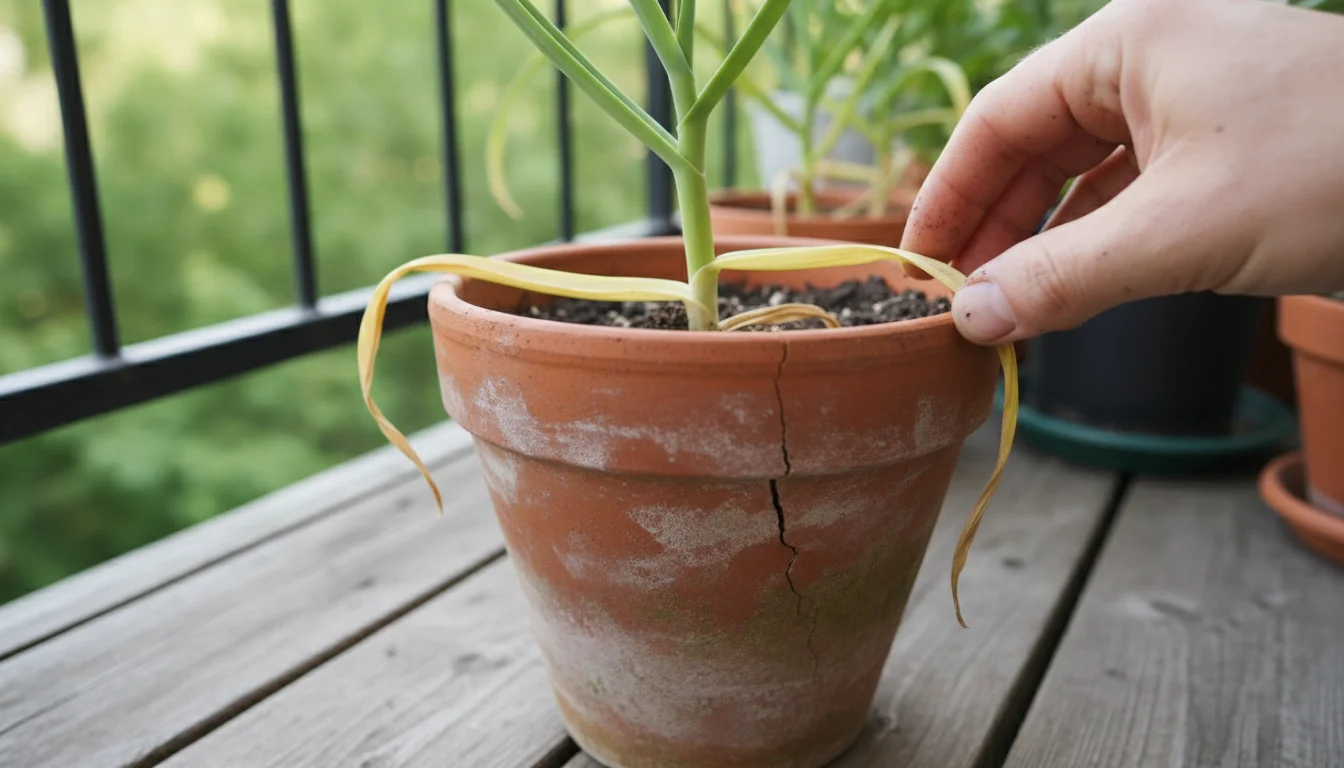
Yellowing Leaves
While some yellowing of lower leaves is natural as garlic matures, widespread or early yellowing can signal a problem.
- Nutrient deficiency: Yellowing, especially of older leaves, often indicates a nitrogen deficiency. Apply a balanced organic fertilizer or a nitrogen-rich compost tea to address this.
- Overwatering/Underwatering: Both extremes can cause yellowing. Overwatering leads to root rot and yellow leaves, while severe underwatering stresses the plant. Check soil moisture before watering.
- Disease: Fungal diseases like rust can cause orange or yellow spots on leaves, which can then spread and cause yellowing. Ensure good air circulation and avoid overhead watering. Remove and dispose of heavily infected leaves.
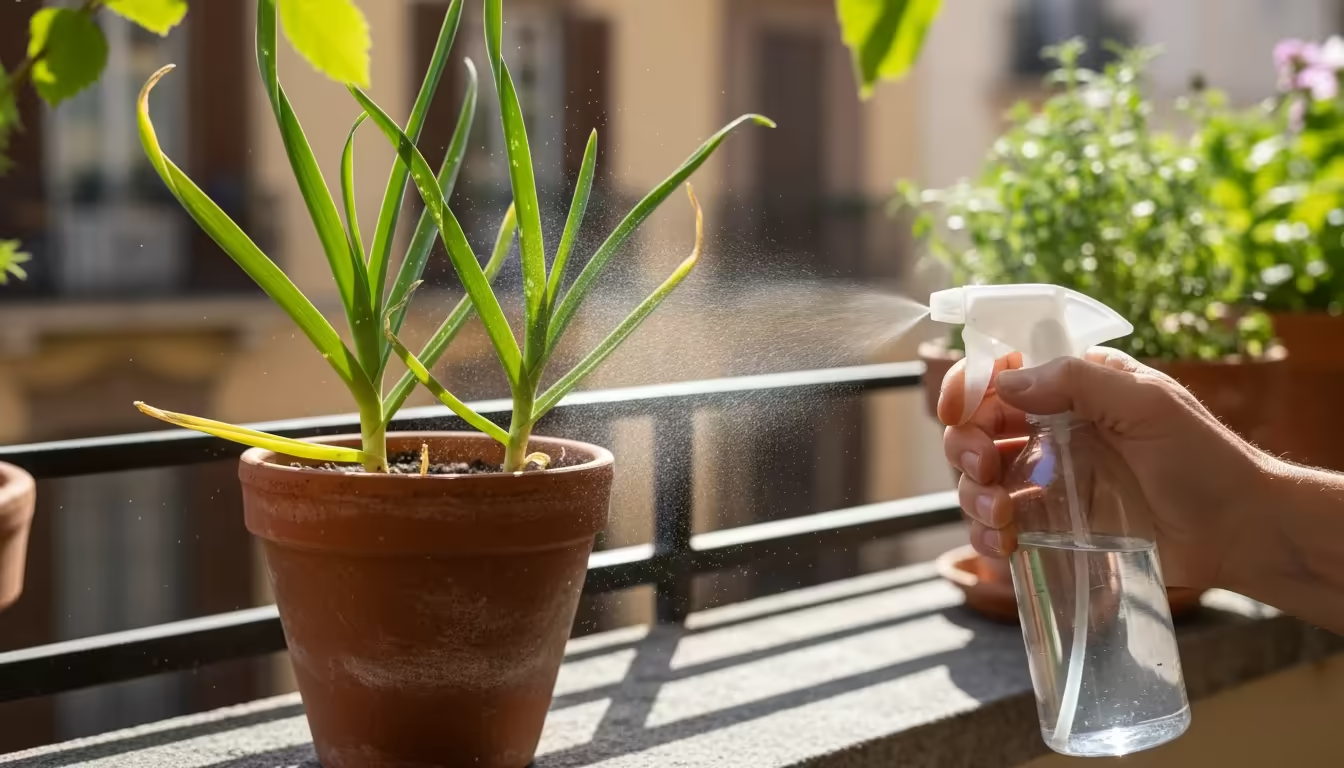
Pests and Diseases
Container garlic generally faces fewer pest and disease issues than in-ground garlic, but problems can still arise.
- Onion thrips: Tiny, slender insects that feed on leaves, causing silvery streaks and stunted growth. They often thrive in dry, dusty conditions. A strong spray of water or an application of insecticidal soap can manage them.
- Nematodes: Microscopic roundworms that attack roots, leading to stunted, unhealthy plants. Using certified disease-free seed garlic and fresh, sterile potting mix is your best defense against these. Do not reuse potting mix that has housed infected plants.
- Fungal issues: Problems like white rot or Fusarium basal rot are soil-borne. Starting with clean seed garlic and fresh, sterile potting mix is crucial. Ensure excellent drainage and avoid overwatering to prevent conditions favorable for fungal growth.
- Botrytis leaf blight: Appears as small, white spots that enlarge to gray, watery lesions. Good air circulation and proper spacing help prevent this. Remove infected leaves.
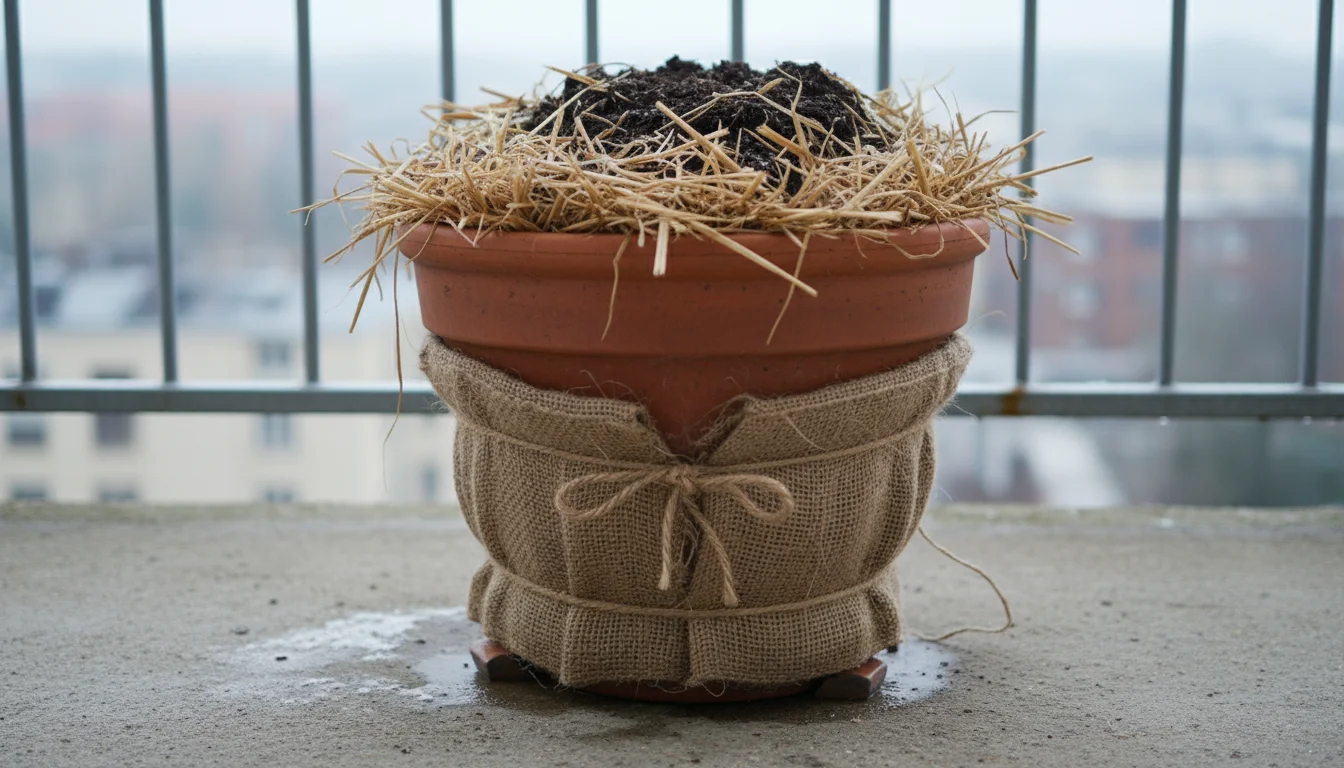
Overwintering Challenges for Garlic in Pots
Overwintering garlic in pots on balcony presents specific considerations.
- Extreme cold: If temperatures consistently drop far below freezing, your pots might not provide enough insulation. Move pots to a sheltered, unheated location (like a garage) during the coldest snaps, or insulate pots with burlap or bubble wrap.
- Freezing/Thawing cycles: Repeated freezing and thawing can cause soil heaving, pushing cloves out of the soil. A thick layer of mulch is your primary defense against this. If it happens, gently push cloves back down.
- Waterlogging: While dormant, garlic still requires good drainage. Ensure melted snow or rain does not leave your pot waterlogged. Raise the pot on “pot feet” to improve drainage and prevent it from sitting in standing water.
Adopting proactive measures, such as selecting quality seed garlic, providing well-draining soil, consistent watering, and adequate fertilization, minimizes these problems. Regularly inspect your plants for any signs of distress. Early detection and intervention are key to successfully growing garlic in pots and ensuring a thriving harvest. You gain confidence and skill with each successful growing cycle, making gardening a more rewarding experience.
For trustworthy gardening information, visit: University of Maryland Extension — Home & Garden, Rutgers New Jersey Agricultural Experiment Station, University of Arizona Cooperative Extension — Gardening, University of Alaska Fairbanks Extension — Gardening and University of Georgia Extension — Gardening. These organizations provide expert, research-based advice for gardeners at all levels.

Frequently Asked Questions
Can I reuse potting soil for garlic?
You should avoid reusing potting soil, especially for crops like garlic. Used potting soil can harbor diseases, pests, and spent nutrients. Starting with fresh, sterile potting mix for each planting cycle minimizes disease risk, ensures proper drainage, and provides a clean slate for nutrient delivery. This practice is crucial for healthy bulbs and preventing potential issues.
How many garlic cloves can I plant in one large pot?
The number of cloves you can plant depends on your pot’s size. For a container that is 10-12 inches deep and 12-18 inches in diameter, you can typically plant 6-9 cloves. Ensure you space them 4-6 inches apart to allow sufficient room for bulb development and nutrient uptake. Overcrowding leads to smaller bulbs due to competition for resources.
What if my garlic sprouts green shoots in fall? Is that bad?
It is perfectly normal for garlic planted in fall to produce a few green shoots before winter sets in. This indicates the clove has successfully rooted. As long as these shoots do not grow excessively tall (more than 4-6 inches) before the ground freezes, they will typically die back or stop growing during the coldest months. The crucial root development occurs underground, and a little top growth is usually harmless for overwintering garlic in pots on balcony.
Do I need to fertilize garlic in winter?
No, you do not need to fertilize garlic in winter. Garlic enters a period of dormancy during the cold months, and its growth slows significantly. Any fertilizer applied during this time would likely go unused or leach away. Focus on providing initial nutrients at planting and resume fertilization only when vigorous green growth resumes in early spring, when the plant actively requires nutrients for bulb development.
How long does it take for garlic to grow from planting to harvest?
Garlic is a long-season crop. From fall planting to summer harvest, it typically takes 8-9 months. You plant in fall, it establishes roots and overwinters, grows vigorously in spring, and is ready for harvest in early to mid-summer. This extended growing period allows for the development of large, flavorful bulbs, making fall planting essential for the best results.
Disclaimer: This article is for informational purposes only and is not a substitute for professional gardening advice. Always consult local extension services or horticulture experts for region-specific guidance.
Leave a Reply