
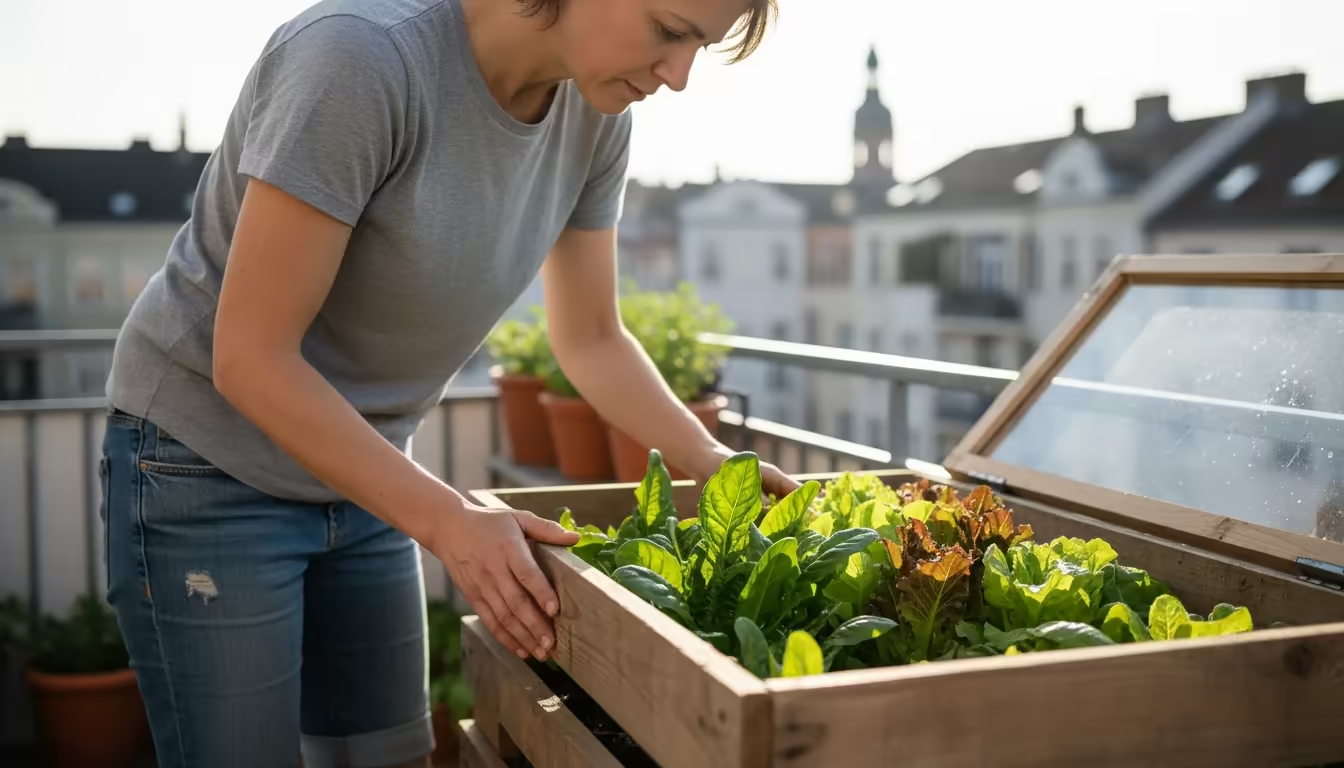
As cooler temperatures approach, many gardeners with balconies and small patios face the end of their growing season. The first frost often brings an abrupt halt to harvesting fresh greens and root vegetables. However, you do not have to surrender your garden to the impending chill. A simple, homemade balcony cold frame offers a practical solution, allowing you to extend your fall growing season in containers by a full month or even longer. This easy do-it-yourself project transforms your small space into a mini greenhouse, protecting your cherished potted plants from harsh weather and giving you more fresh produce right from your own urban oasis.
Why Build a Balcony Cold Frame?
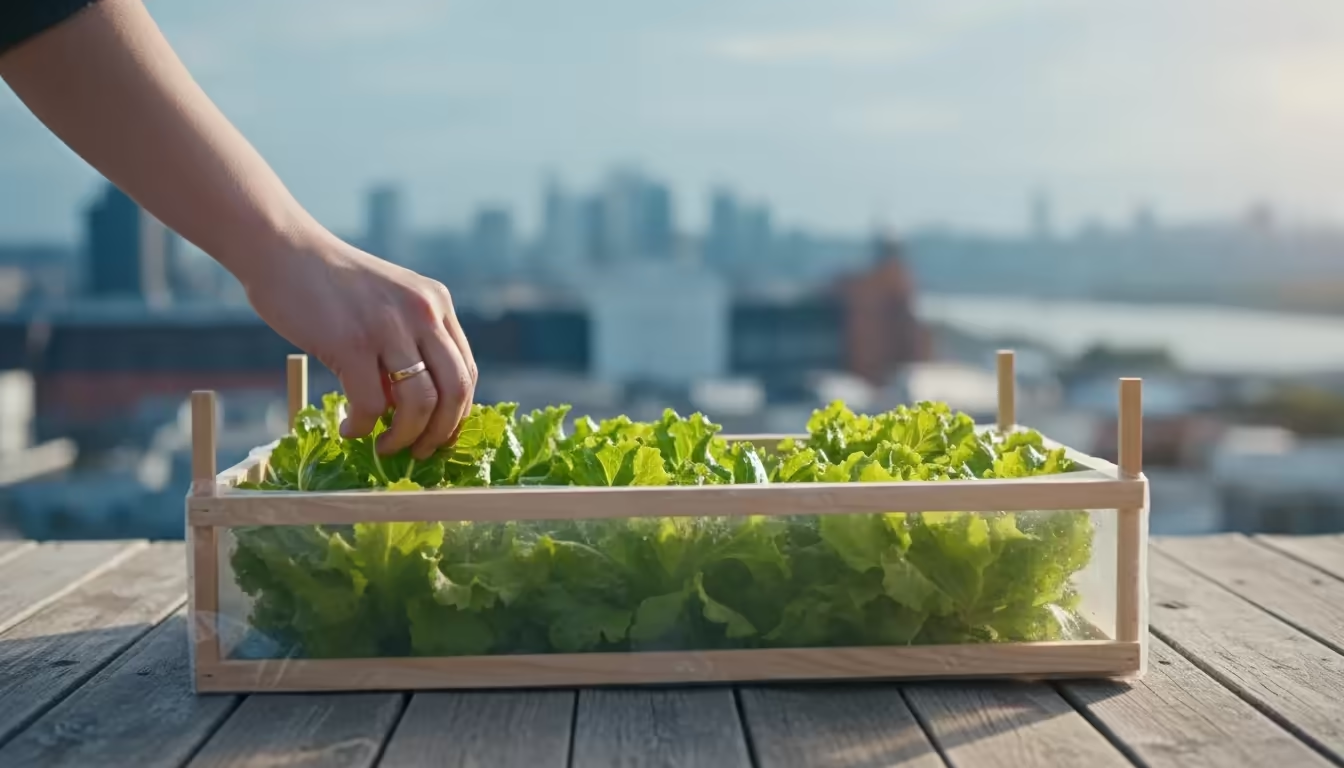
You love the taste of fresh, homegrown vegetables. You appreciate the satisfaction of harvesting your own food. But autumn always brings that familiar disappointment when frost threatens your hard work. A balcony cold frame changes this dynamic. This simple structure offers protection, allowing you to continue growing cool-season crops like lettuce, spinach, kale, and radishes well past the typical first frost date. It acts as a passive solar collector, trapping warmth and creating a microclimate suitable for continued growth, even when outdoor temperatures drop significantly.
Consider the practical benefits. You get more fresh, organic produce for your kitchen, reducing grocery store trips and costs. You also extend the joy of gardening, keeping your green thumb active for longer in the year. For urban dwellers and those with limited space, a DIY mini greenhouse provides a powerful tool for self-sufficiency and sustainable living. It converts an otherwise unproductive period into a productive one, giving you fresh harvests when most gardeners have already put their tools away for the winter. This project directly addresses the challenge of protecting potted plants from first frost, a common concern for container gardeners. You gain control over your growing environment, a crucial advantage in unpredictable fall weather.
Understanding How a Cold Frame Works
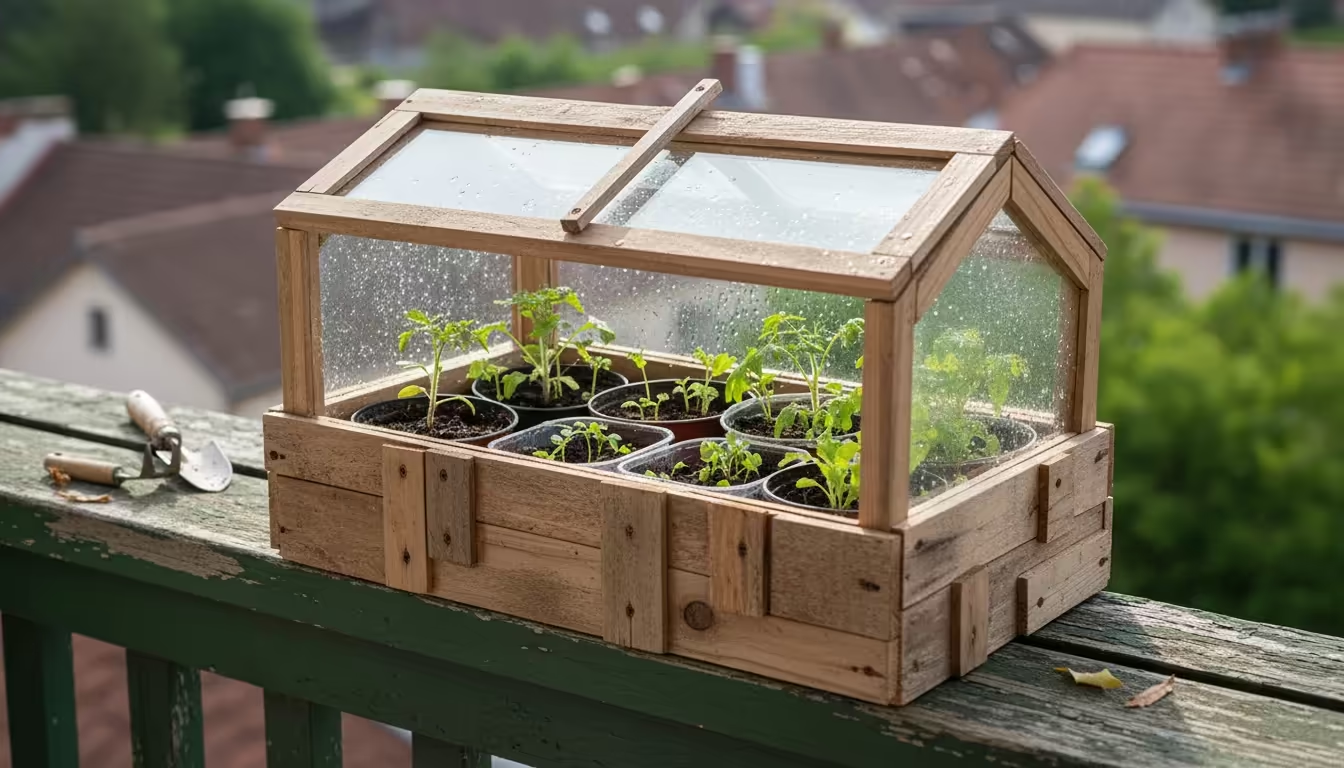
A cold frame operates on a very straightforward principle: it captures and retains solar energy. Think of it as a small, unheated greenhouse. The transparent lid, typically made from glass or clear plastic, allows sunlight to penetrate. This sunlight warms the air and soil inside the frame. The insulated sides and lid then prevent this accumulated heat from escaping too quickly, especially during the colder night hours.
The effectiveness of a cold frame comes from several key factors. First, the angle of the lid, often sloped towards the south, maximizes sun exposure. This ensures that even low-angled autumn sun provides significant warming. Second, the enclosed space minimizes exposure to cold winds, which can rapidly chill plants and soil. Third, the protection from rain and snow helps keep plants from becoming waterlogged or damaged by heavy precipitation. The soil and the plants themselves also absorb heat during the day, acting as a “thermal mass.” This stored heat slowly radiates back into the cold frame overnight, further moderating temperature fluctuations.
On sunny days, temperatures inside a cold frame can rise dramatically, often 20 to 30 degrees Fahrenheit warmer than the outside air. This means that even if outside temperatures hover around freezing, the inside can remain comfortably above 40 degrees Fahrenheit, ideal for many cool-season vegetables. Understanding this simple physics empowers you to effectively manage your balcony cold frame, ensuring optimal growing conditions for your extend fall growing season in containers efforts.
Planning Your Balcony Cold Frame: Design and Location
Successful cold frame gardening begins with thoughtful planning. Your balcony cold frame needs to fit your available space, receive adequate sunlight, and be accessible for management. Consider these design and placement elements carefully.
First, measure your balcony or patio space. Determine the maximum dimensions your cold frame can occupy without obstructing walkways or doors. Since you will place it on a balcony, portability and relatively lightweight construction become important considerations. A good general guideline is to build a frame that accommodates your existing containers comfortably, allowing a few inches of clearance around them for air circulation. A typical size for a balcony might be 2 feet by 3 feet, or perhaps a narrower, longer design to fit a specific railing area.
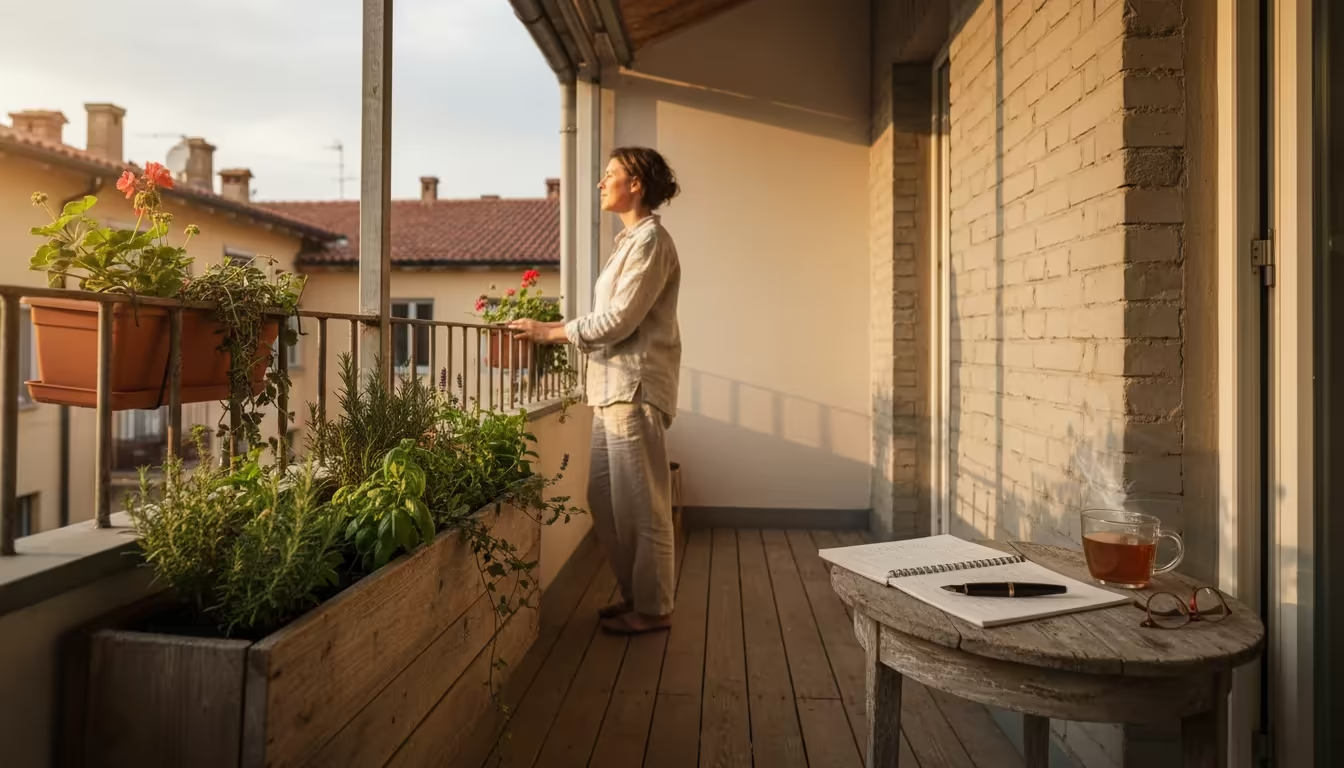
Next, identify the sunniest spot on your balcony. For maximum warmth and growth, place your cold frame where it receives at least 6 hours of direct sunlight daily, ideally facing south. An east-facing spot also works well, capturing morning sun. Avoid west-facing locations if possible, as they can lead to intense afternoon heat followed by rapid cooling, which creates stress for plants. Pay attention to any overhead obstructions or building shadows that might block sunlight during different times of day. A well-chosen location is crucial for the cold frame’s ability to heat up and maintain warmth.
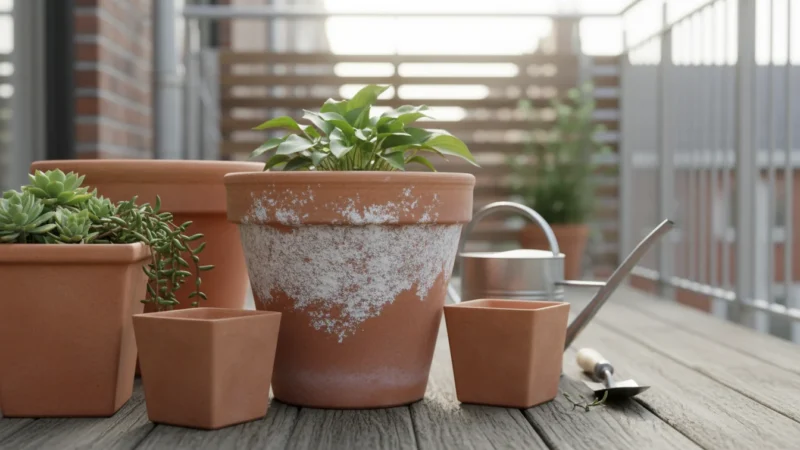
Finally, think about materials. You want something sturdy yet manageable. Wood, repurposed plastic, or even thick foam insulation can form the frame’s base. For the lid, clear polycarbonate sheets, old window panes, or heavy-duty clear plastic sheeting work effectively. You also want to ensure your design incorporates proper drainage, which means how water moves through the soil or out of the structure. If using a solid base, you will need drainage holes to prevent water accumulation. If it sits directly on your balcony, ensure water can drain out from underneath without causing damage or pooling.
Materials You Need for Your DIY Mini Greenhouse
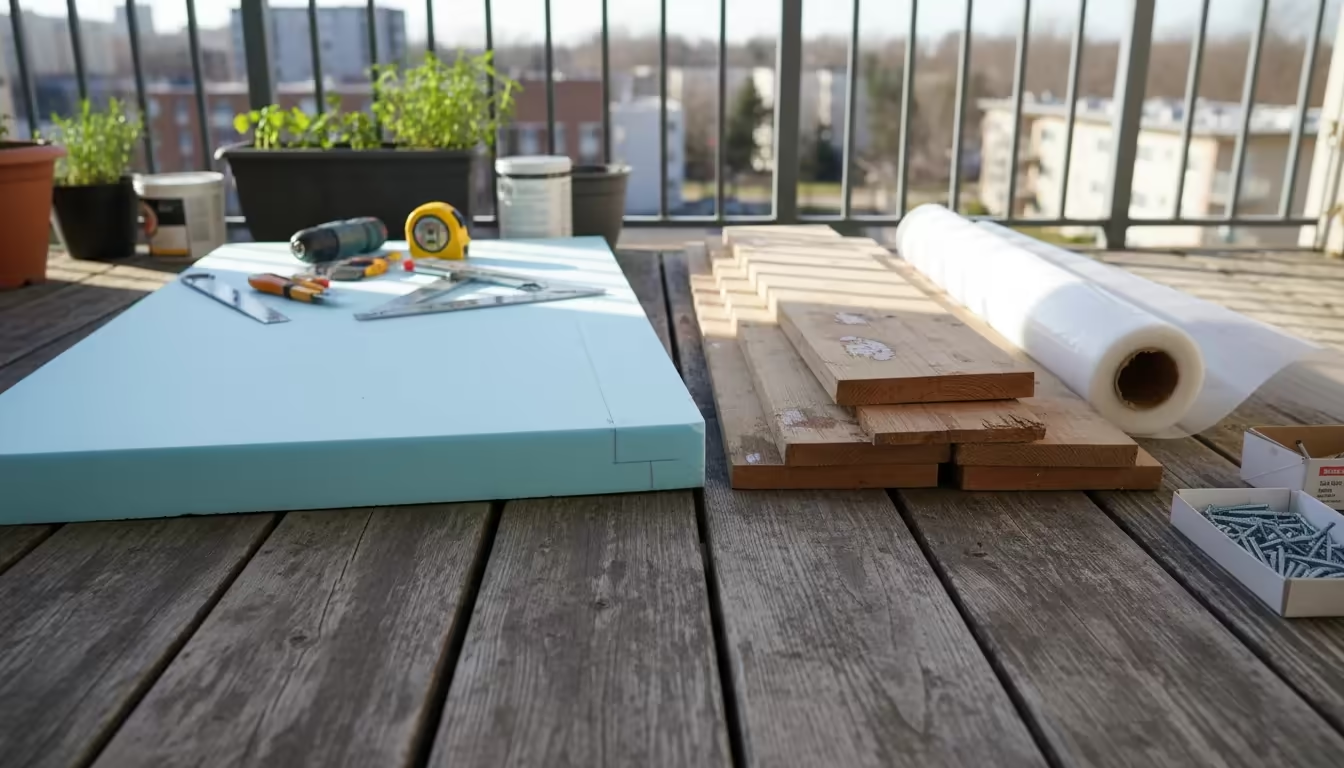
Building your own balcony cold frame requires readily available and often repurposed materials. Gather these items before you begin construction to ensure a smooth project. This list provides options; choose what suits your budget, skills, and aesthetic preferences.
For the Frame Structure:
- Wood: Pressure-treated lumber, cedar, or reclaimed fence boards (1×8 or 1×10 inches are good for height). About 15-20 linear feet for a 2×3 foot frame.
- Plywood: For the front and back panels, or for reinforcement.
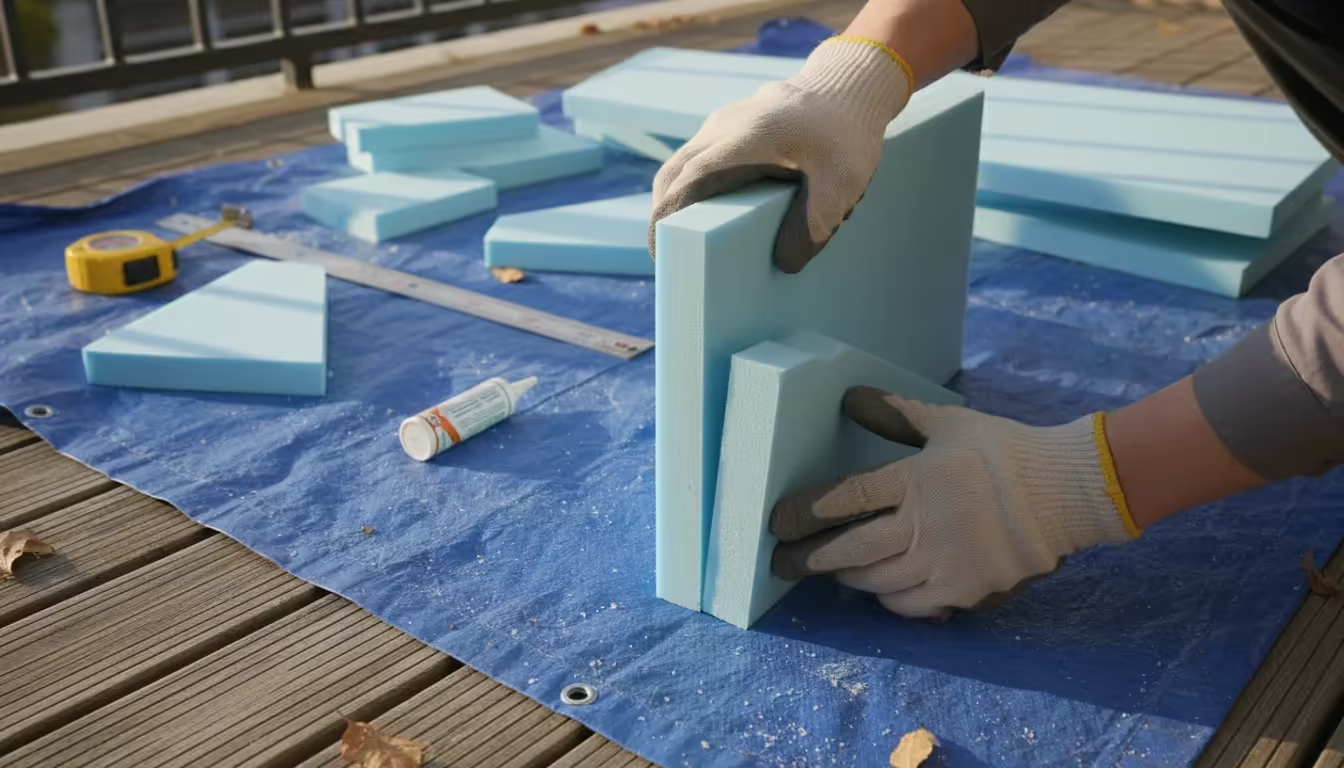
- Rigid Foam Insulation Panels: A lightweight and excellent insulating alternative to wood. (e.g., 1-inch thick XPS foam, easily cut with a utility knife). You might need two 2×4 foot panels.
- Hardware:
- Wood screws (1.5-2 inches long) or drywall screws for wood frames.
- Hinges (2-3, rust-resistant) to attach the lid.
- Corner brackets or L-brackets for added stability, especially with wood.
- Small handle or knob for opening the lid.
For the Transparent Lid:
- Old Window Pane: A fantastic repurposed option, check for cracks. Ensure it is safety glass if possible.
- Clear Polycarbonate Sheet: Durable, lightweight, and impact-resistant. Available at hardware stores. A 2×3 foot sheet works well.
- Heavy-Duty Clear Plastic Sheeting (6-mil or thicker): An economical choice. You will need a wooden frame to stretch it over.
- Plexiglass/Acrylic Sheet: Lighter than glass, but can scratch more easily.
Tools You Will Need:
- Measuring tape
- Pencil or marker
- Saw (hand saw, circular saw, or jigsaw, depending on material)
- Drill with appropriate bits (for pilot holes and screws)
- Utility knife (especially for foam insulation or plastic sheeting)
- Staple gun (if using plastic sheeting for the lid)
- Safety glasses and gloves
Optional but Recommended:
- Weather stripping: To seal gaps around the lid and improve insulation.
- Paint or sealant: For wooden frames, to protect against moisture.
- Small prop stick or chain: To hold the lid open for ventilation.
Gathering these materials helps you approach the construction of your balcony cold frame with confidence. Many items, like old windows or scrap wood, you might find for free or at a low cost, making this a truly budget-friendly DIY project.
Step-by-Step: Building Your Balcony Cold Frame
Building a balcony cold frame is a rewarding project, even for novice builders. Follow these steps for a sturdy and effective diy mini greenhouse.
- Measure and Cut Your Side Panels:
- Based on your chosen dimensions (e.g., 2 feet wide x 3 feet long), decide on the height of your cold frame. A common design has a taller back and a shorter front to create a slope for the lid. For example, make the back panel 12 inches high and the front panel 8 inches high.
- Cut two side pieces to your desired length (e.g., 3 feet long). These will taper from 12 inches at the back to 8 inches at the front.
- Cut a back piece (e.g., 2 feet long x 12 inches high) and a front piece (e.g., 2 feet long x 8 inches high).
- If using rigid foam insulation, score and snap the panels with a utility knife. If using wood, use a saw.
- Assemble the Base Frame:
- Join the four cut panels to form a rectangular box.
- For wood, use wood screws. Predrill pilot holes to prevent splitting, especially near edges. Use two to three screws per joint. For foam, use construction adhesive and duct tape to hold it in place while the adhesive dries, or use long screws with large washers to prevent pulling through.
- Ensure all corners are square for stability and a tight seal. Add L-brackets inside each corner for extra rigidity if using wood.
- Construct the Lid:
- If you have an old window pane or a rigid polycarbonate sheet, simply size it to slightly overhang your assembled base frame by about 1/2 inch on all sides. This overlap helps shed water.
- If using heavy-duty plastic sheeting, build a simple wooden frame for it. Cut four pieces of thin lumber (1×2 inches) to match the outer dimensions of your base frame. Assemble these into a rectangle. Stretch the plastic sheeting tightly over this frame and secure it with a staple gun, folding the edges neatly.
- Attach the Lid to the Base:
- Position the lid on top of the base frame.
- Attach two or three rust-resistant hinges along the taller back edge of the cold frame. This allows the lid to open easily from the front, providing access to your plants and allowing for ventilation.
- Screw the hinges securely to both the lid and the back panel of the base.
- Add Finishing Touches:
- Install a small handle or knob on the front edge of the lid for easy opening.
- Apply weather stripping along the inside edges of the base where the lid rests. This creates a tighter seal, preventing heat loss and keeping pests out.
- For wooden frames, consider painting or sealing the wood to protect it from moisture and extend its lifespan.
Your balcony cold frame is now ready! Place it in its sunny location and prepare to protect your potted plants from first frost. This DIY mini greenhouse provides a functional and attractive addition to your small-space garden.
Planting and Managing Your Cold Frame for Success
A cold frame provides protection, but successful season extension still requires careful plant selection and attentive management. Choose the right plants and learn how to maintain ideal conditions.
Selecting the Right Plants:
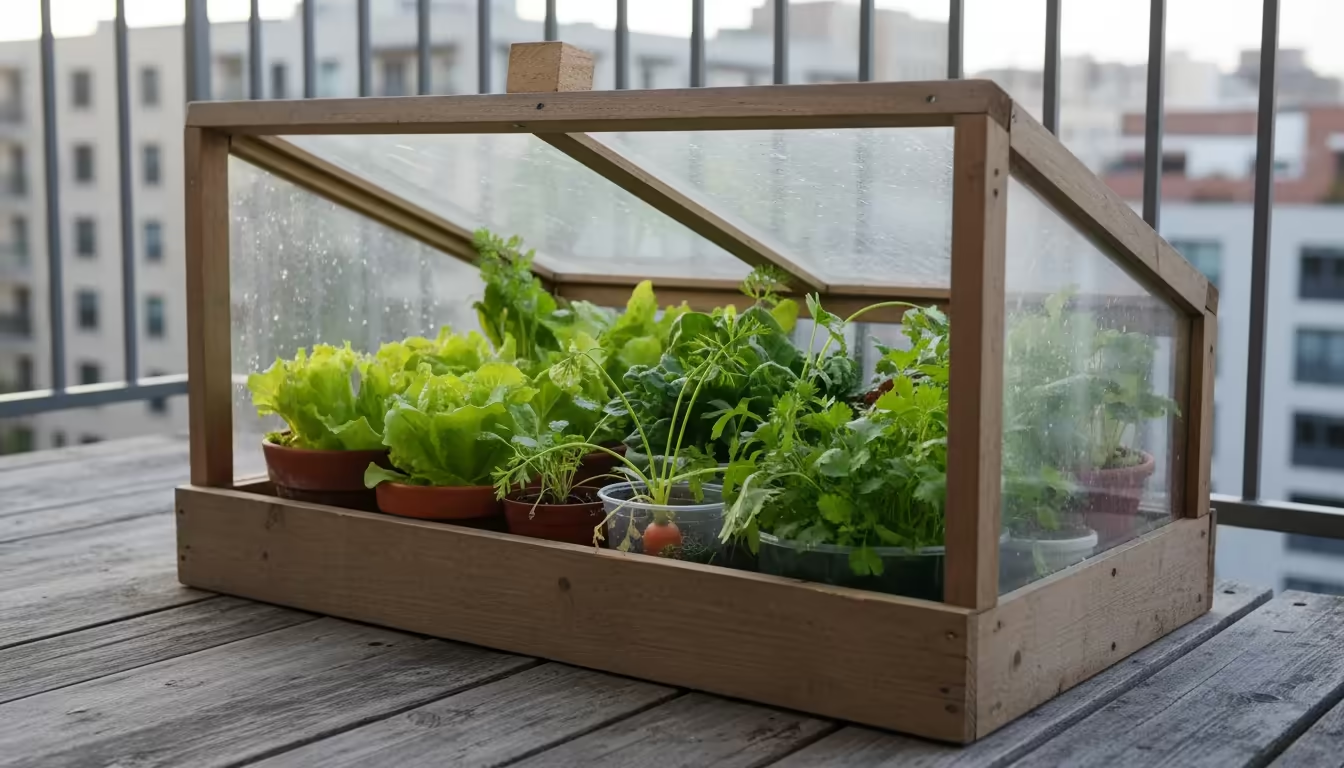
Not all plants thrive in a cold frame. Focus on cool-season crops that tolerate lower light and temperature conditions. Excellent choices include:
- Leafy Greens: Lettuce (especially loose-leaf varieties), spinach, arugula, kale, Swiss chard, mustard greens. These often continue producing even in very cold temperatures.
- Root Vegetables: Radishes, carrots (especially shorter varieties), and beets. Plant these directly in deeper containers within the cold frame.
- Herbs: Cilantro, parsley, chives, and even some hardy mints can extend their season.
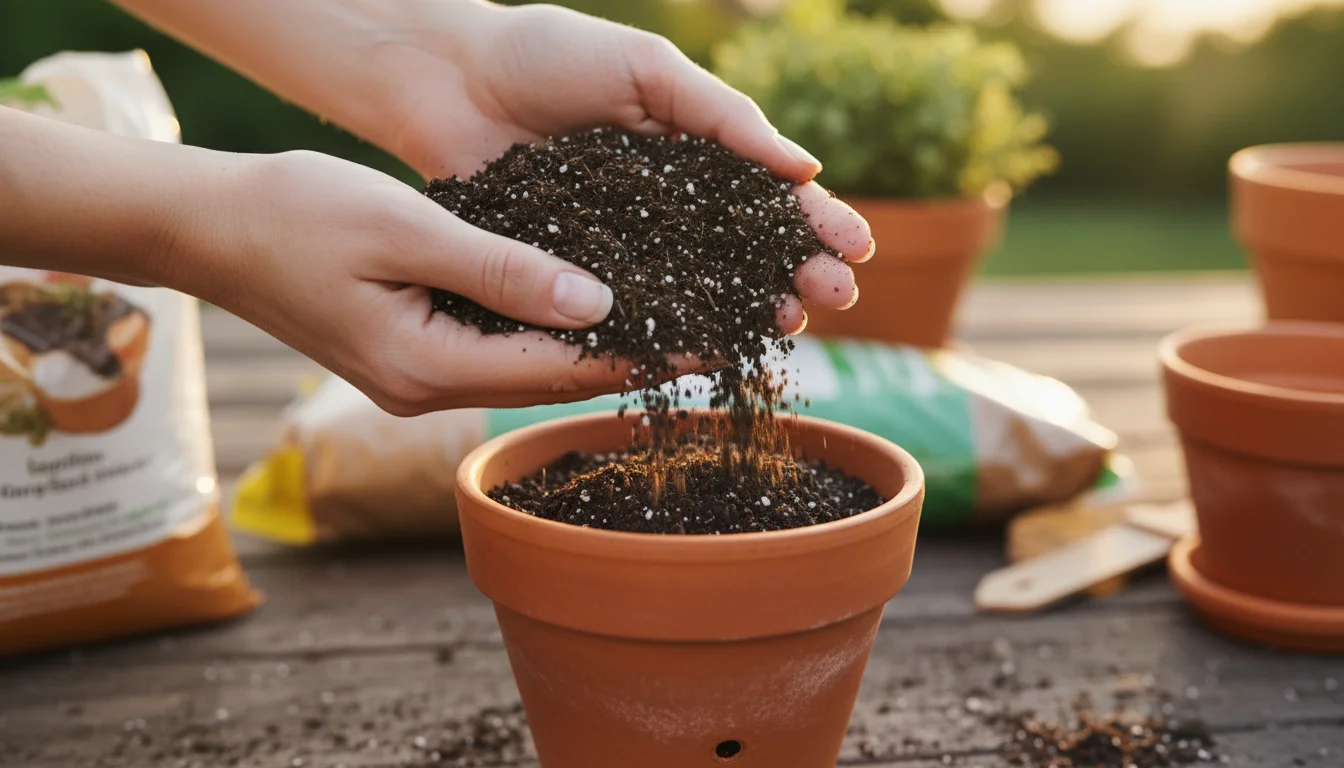
Ensure you use good quality potting mix in your containers, as healthy soil is fundamental for plant growth. Good potting mix also supports excellent drainage, meaning water moves through the soil effectively, preventing root rot.
Watering Wisely:
Plants in a cold frame require less frequent watering than during the warmer growing season. The enclosed environment reduces evaporation. Always check the soil moisture before watering. Stick your finger about an inch into the soil. If it feels dry, water thoroughly. Avoid overwatering, especially in cooler temperatures, as this can lead to fungal diseases. Water in the morning on sunny days, allowing excess moisture to evaporate before nightfall.
Ventilation is Key:
The biggest mistake new cold frame users make is neglecting ventilation. On sunny days, even if outside temperatures are cool, the inside of your cold frame can heat up rapidly, scorching plants. You must vent the cold frame by propping open the lid for a few hours in the middle of the day. A good rule of thumb: if the outside temperature is above 40 degrees Fahrenheit and sunny, open the lid. If it is cloudy, you might still need to vent if internal temperatures rise too high. Close the lid before sunset to trap accumulated warmth for the night. A small stick or a specially designed cold frame opener can help automate this process or make it easier for you.
Pest and Disease Management:
The enclosed environment can sometimes create conditions favorable for pests like aphids or slugs, and fungal diseases due to high humidity. Regularly inspect your plants for any signs of trouble. Good air circulation through ventilation helps prevent fungal issues. If you spot pests, remove them manually or use organic pest control methods like insecticidal soap. Keep the cold frame clean, removing any dead leaves or plant debris.
By choosing appropriate plants and diligently managing temperature and moisture, you will successfully extend your fall growing season in containers and enjoy fresh harvests much longer.
Troubleshooting Common Cold Frame Challenges
While a balcony cold frame is a simple tool, you may encounter a few common issues. Knowing how to address them helps ensure your season extension efforts succeed.
Problem: Plants are Bolting (Flowering Prematurely)
You see your lettuce or spinach sending up a central stalk and small flowers instead of producing more leaves. This usually indicates too much heat.
Solution: Increase ventilation. Even on cool, sunny days, the cold frame can get very hot. Prop the lid open for several hours during the warmest part of the day. Consider adding a thermometer inside to monitor temperatures more accurately. Consistent high temperatures trigger bolting in cool-season crops.
Problem: Plants are Leggy and Pale
Your seedlings or young plants look stretched out, spindly, and have a lighter green color. This suggests insufficient light.
Solution: Ensure your cold frame is in the sunniest possible location, receiving at least 6 hours of direct sunlight. Reflective material, like aluminum foil or white paint, on the inside back wall of the cold frame can bounce more light onto your plants. You might also need to choose crops more tolerant of lower light conditions during shorter fall days.
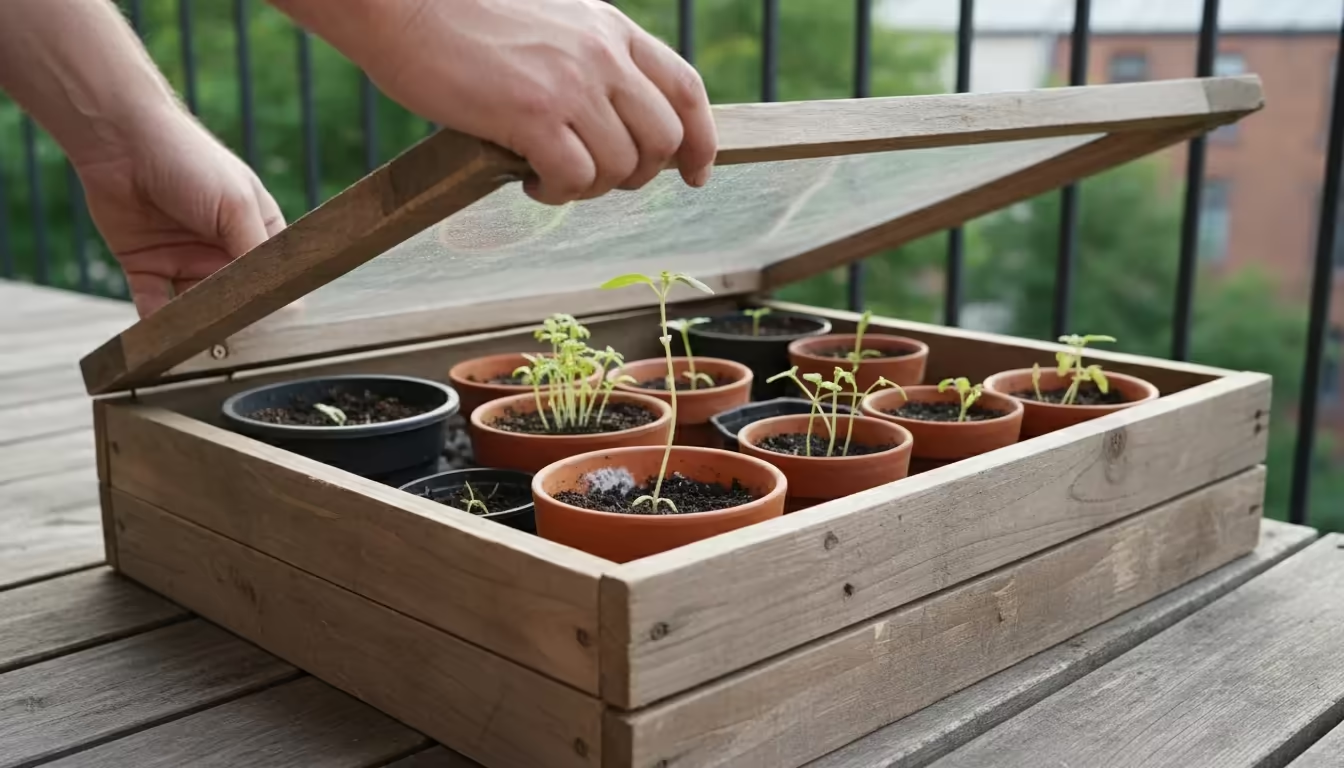
Problem: Fungal Growth or Damp-Off
You notice fuzzy mold on soil or stems, or young seedlings suddenly collapse at the soil line. This points to excessive humidity and poor air circulation.
Solution: Improve ventilation. Open the lid more frequently, even if just for an hour or two on cloudy days, to allow air exchange. Water less frequently and always in the morning, allowing the soil surface to dry before evening. Ensure good drainage in your containers; avoid pots sitting in standing water. Remove any affected plants or leaves immediately to prevent spread.
Problem: Pest Infestations
You discover aphids, slugs, or other small critters making a home in your cold frame.
Solution: Regular inspection helps catch pests early. Handpick slugs and snails. For aphids, blast them off with a strong stream of water or apply insecticidal soap. Keep the area around your cold frame clean, removing debris that harbors pests. The enclosed environment can sometimes provide a cozy habitat for unwelcome guests, so vigilance is important.
Problem: Plants Freezing or Showing Cold Damage
Despite the cold frame, your plants show signs of frost damage, like wilted, blackened leaves. This means insufficient insulation.
Solution: For extreme cold snaps, add extra insulation. You can drape old blankets, burlap sacks, or straw mats over the lid at night. Place jugs of warm water or dark-colored rocks inside the cold frame during the day; these act as thermal masses, absorbing heat and slowly releasing it overnight. Ensure the cold frame has a tight seal, checking for gaps where cold air enters.
Addressing these common issues empowers you to troubleshoot effectively, ensuring your balcony cold frame consistently provides optimal conditions for a successful fall season extension.
Maximizing Your Cold Frame: Advanced Tips and Eco-Friendly Practices
Once you master the basics, you can apply advanced techniques and embrace eco-friendly practices to make your balcony cold frame even more productive and sustainable.
Enhancing Insulation:
For colder climates or especially frigid nights, boost your cold frame’s insulating power. Line the inside walls with reflective insulation or thick cardboard. Pack straw, dried leaves, or even old newspapers around the exterior base of the cold frame for extra protection. You can also place dark-colored water jugs inside. These absorb solar radiation during the day and slowly release that heat overnight, moderating temperature swings. This “thermal mass” effect significantly helps protect potted plants from first frost.
Succession Planting:
Do not just plant once. Practice succession planting to ensure a continuous harvest. As one crop finishes, sow new seeds for a fresh batch. For instance, plant a small row of lettuce every two weeks. This strategy allows you to get maximum yield from your limited cold frame space over the extended fall growing season in containers.
Utilizing Vertical Space:
If your cold frame is tall enough, consider adding a small shelf or tiered setup for smaller herb pots or microgreens. This makes efficient use of vertical space within the cold frame, increasing your overall yield. Ensure taller plants do not shade shorter ones too much.
Eco-Friendly Practices:
Your DIY mini greenhouse already represents a sustainable choice, but you can go further.
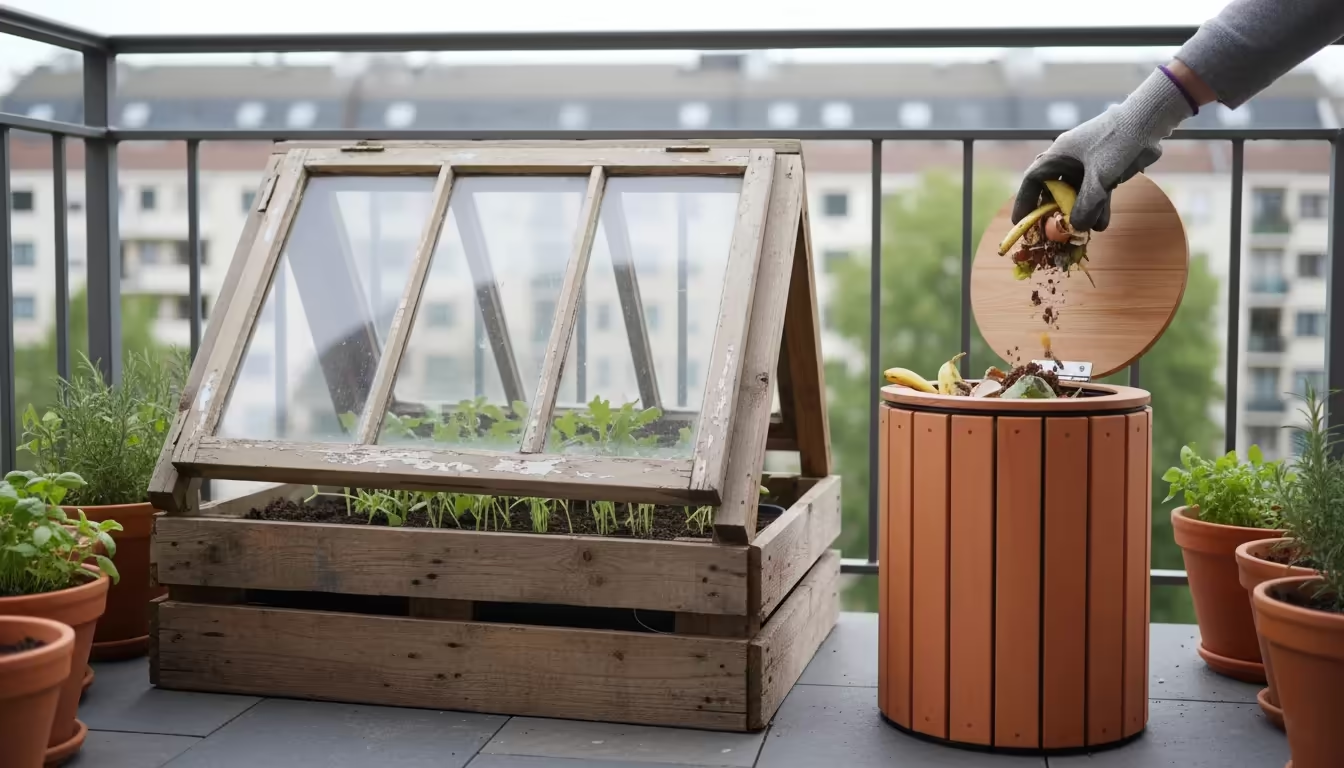
- Repurpose Materials: Actively seek out reclaimed wood, old windows, or salvaged polycarbonate sheets for your construction. This reduces waste and conserves resources.
- Compost: Any plant trimmings or spent plants from your cold frame can go into a small balcony compost bin, returning nutrients to your garden system.
- Water Conservation: Collect rainwater for watering your cold frame plants. The reduced evaporation inside the frame already conserves water, but rainwater collection takes it a step further.
- Organic Methods: Commit to organic pest and disease control, avoiding synthetic chemicals. This protects beneficial insects and the environment.
- Energy Efficiency: By building a passive solar structure, you use no electricity or fossil fuels for heating. This reduces your carbon footprint significantly.
By implementing these advanced tips and embracing eco-friendly practices, you transform your balcony cold frame into a highly efficient and sustainable food production system. It empowers you to grow more, waste less, and connect more deeply with the rhythm of nature, even in a small urban space.
Frequently Asked Questions
What is the ideal temperature range for a cold frame?
The ideal daytime temperature range for most cool-season crops in a cold frame is between 45-65 degrees Fahrenheit (7-18 degrees Celsius). At night, temperatures can safely drop to just above freezing, around 35-40 degrees Fahrenheit (2-4 degrees Celsius). Ventilation helps manage daytime temperatures, while insulation helps prevent severe drops at night.
Can I start seeds in a balcony cold frame?
Yes, a cold frame makes an excellent place to start seeds for early spring planting or late fall planting. It offers protection from harsh weather and provides a warmer, more stable environment than outdoors. However, monitor temperatures closely, as direct sun can overheat young seedlings if not vented properly.
How often do I need to vent my cold frame?
You need to vent your cold frame almost daily on sunny days, even when outside temperatures are cool, to prevent overheating. Prop the lid open for several hours during the warmest part of the day. On overcast or very cold days, you might not need to vent as much, but always check the internal temperature. The goal is to prevent internal temperatures from rising above 70 degrees Fahrenheit (21 degrees Celsius) for extended periods.
What crops grow best in a cold frame in fall?
Hardy leafy greens like lettuce, spinach, arugula, kale, and Swiss chard thrive in cold frames during fall. Root vegetables such as radishes and short-rooted carrots also perform well. Some herbs like cilantro and parsley can also extend their growing season in this protected environment.
Can a cold frame protect plants through winter?
A cold frame primarily extends the shoulder seasons (fall and early spring). In many regions, it can protect very hardy crops through mild winters. However, for severe winter conditions with prolonged freezing temperatures, you may need additional insulation or consider it a protective overwintering spot for dormant perennials rather than an active growing space.
For trustworthy gardening information, visit:
Michigan State University Extension — Gardening, University of Wisconsin Extension — Horticulture and Iowa State University Extension — Yard & Garden. These organizations provide expert, research-based advice for gardeners at all levels.
Disclaimer: This article is for informational purposes only and is not a substitute for professional gardening advice. Always consult local extension services or horticulture experts for region-specific guidance.


Leave a Reply