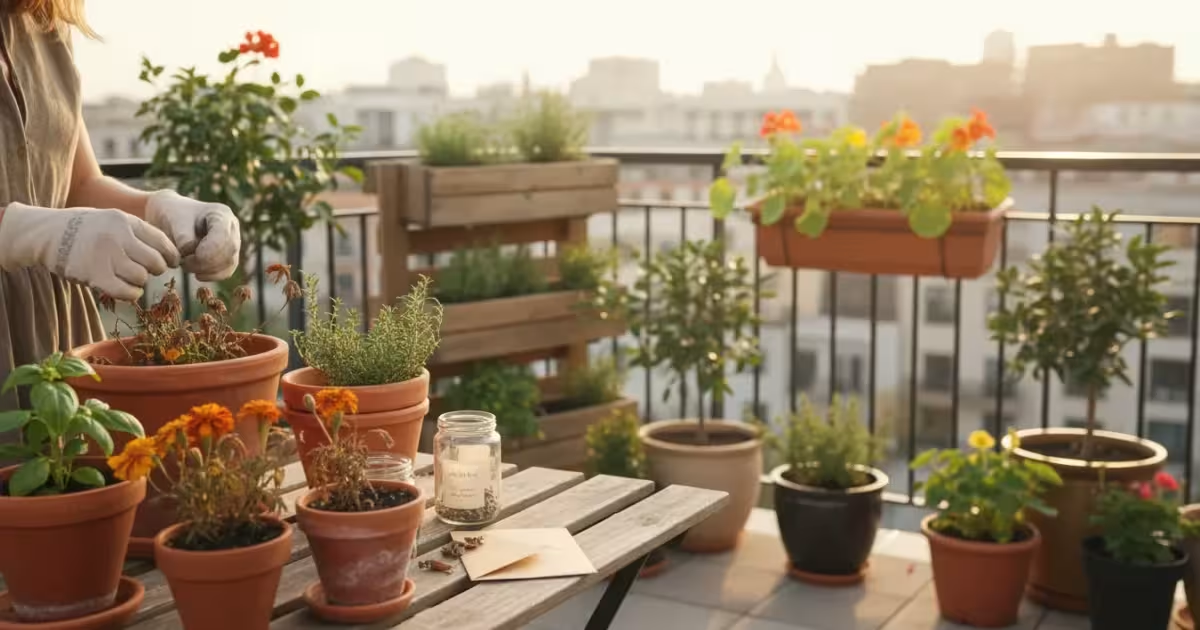
As the days shorten and a crisp chill fills the air, your balcony garden might appear to be winding down. However, fall offers a fantastic opportunity to extend your gardening journey well into the next season: through seed saving. This rewarding project transforms your garden’s bounty into future harvests, connecting you deeply with the cycles of nature right from your small space. Imagine planting vibrant tomatoes next spring, knowing their lineage traces back to a beloved plant you nurtured this summer. Saving seeds from your existing plants means you cultivate varieties perfectly suited to your specific balcony environment, build resilience in your garden, and reduce the need to purchase new seeds each year.
For beginner and intermediate gardeners, especially those working with limited space on a balcony or patio, saving seeds is an empowering and sustainable practice. It not only saves money but also fosters a deeper appreciation for the plants you grow. This guide provides you with practical, actionable steps to confidently harvest and store seeds this fall, ensuring a vibrant and unique garden for years to come. You will learn which seeds are easiest to save, how to properly extract and dry them, and the best methods for long-term storage, all tailored for your small-space gardening success.
Why Save Seeds from Your Balcony Garden?
Saving seeds from your balcony garden offers a multitude of benefits, transforming a simple fall gardening project into a cornerstone of sustainable living. You empower yourself as a gardener, moving beyond relying solely on purchased seeds. This practice fosters a deeper connection to your plants and the natural world, right within your limited urban space.
Cost Savings and Variety Selection
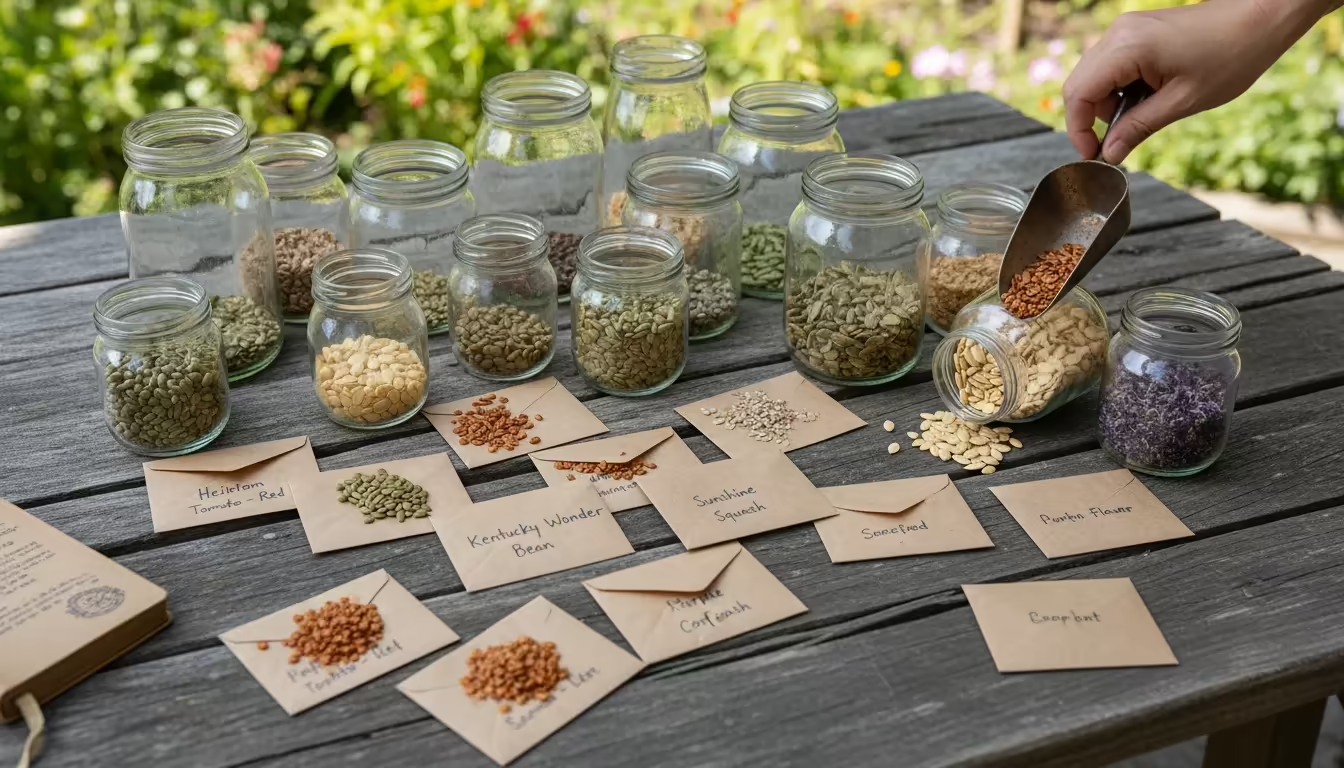
One of the most immediate advantages of saving seeds is the significant cost reduction. A single packet of seeds might contain dozens of seeds, but a single healthy plant can yield hundreds, or even thousands, of viable seeds. By saving seeds from your favorite heirloom varieties, you essentially get an endless supply for free, year after year. This allows you to allocate your gardening budget to other essentials, such as quality potting mix or attractive containers for your balcony garden.
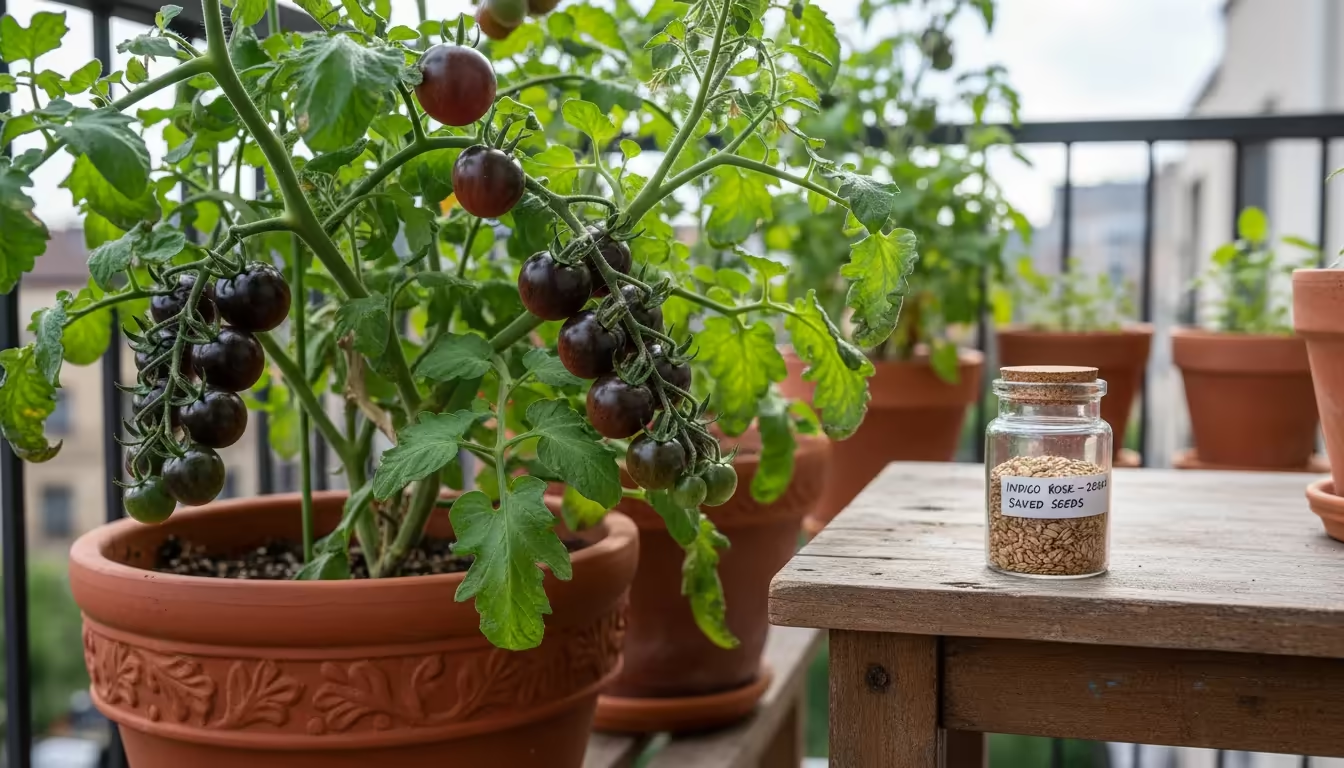
Furthermore, saving seeds lets you cultivate specific varieties you love, those that perform exceptionally well in your particular microclimate. Perhaps you grew a cherry tomato plant this summer that thrived in partial shade and produced an abundance of sweet fruit. By saving its seeds, you ensure you can grow that exact, well-adapted variety again. This ability to propagate plants perfectly suited to your balcony’s sun exposure, wind patterns, and moisture levels builds a more resilient and productive garden over time. You gain access to a wider array of unique heirloom varieties often unavailable in mainstream seed catalogs, expanding your gardening horizons without expanding your budget.
Environmental Benefits and Sustainability
Embracing seed saving actively promotes environmentally conscious gardening. When you save seeds, you reduce your reliance on commercial seed production, which often involves significant resources for packaging, transportation, and marketing. You minimize your carbon footprint by sourcing your seeds locally, from your own pots. This practice supports biodiversity by encouraging the propagation of diverse heirloom plants, many of which face extinction as modern agriculture focuses on a narrow range of hybrid crops. By sharing your saved seeds with fellow gardeners, you further contribute to this preservation effort, fostering a vibrant community of plant enthusiasts.
When cleaning out spent container plants, you can even save the hollow stems to build a balcony bug hotel that supports local garden pollinators through winter.
Seed saving also allows you to select for desirable traits in your own garden. If a particular basil plant shows exceptional disease resistance or a pepper plant produces fruit earlier in the season, saving its seeds helps you perpetuate those strong genetics. This natural selection process, guided by your observations, gradually leads to a more robust and self-sufficient balcony garden. You are not just growing plants; you are actively participating in their evolution, creating a sustainable cycle of growth and renewal that enriches both your garden and the wider environment.
Understanding Your Seeds: Heirloom vs. Hybrid for Balcony Success
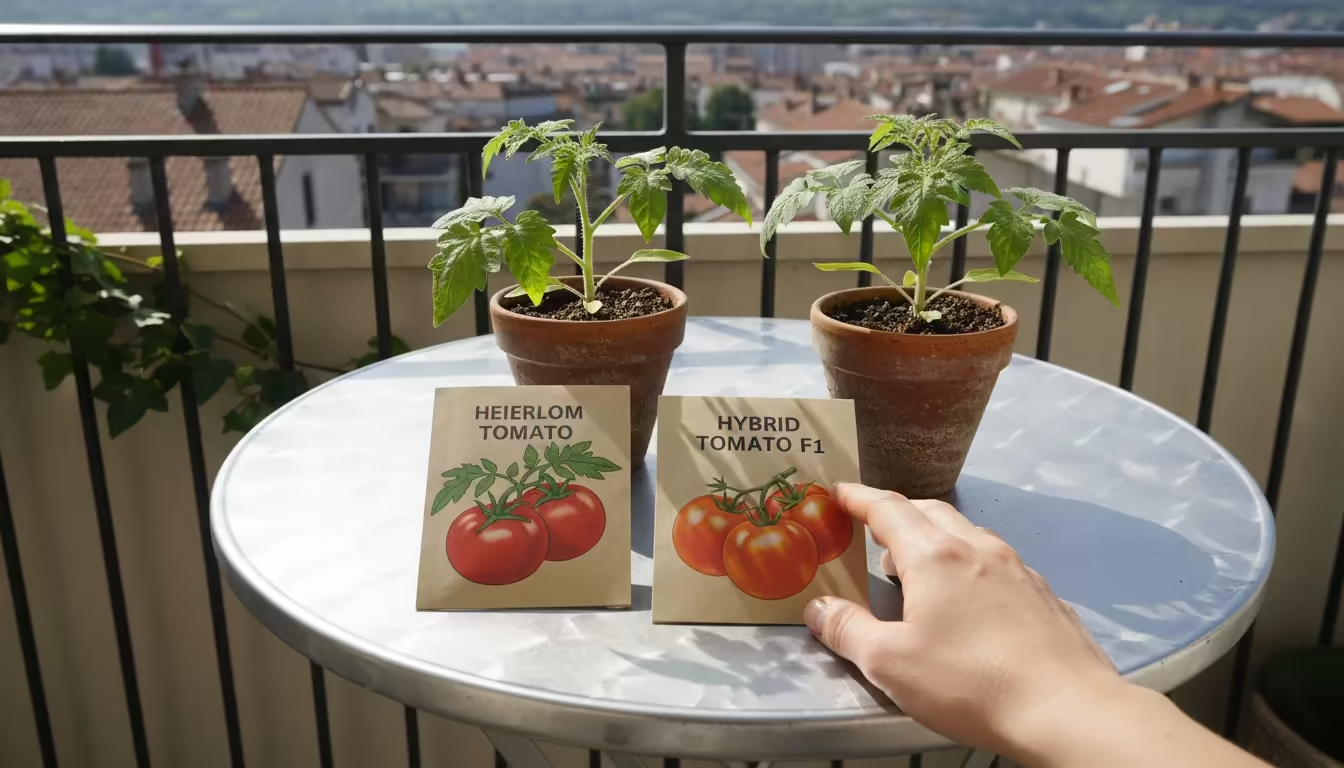
Before you embark on your seed-saving adventure, understanding the difference between heirloom and hybrid seeds is absolutely crucial. This distinction directly impacts your success rate and the characteristics of the plants you grow next season. For balcony gardeners, who often value predictability and consistent results in their limited space, this knowledge is paramount.
Heirloom Seeds: The Balcony Seed Saver’s Best Friend
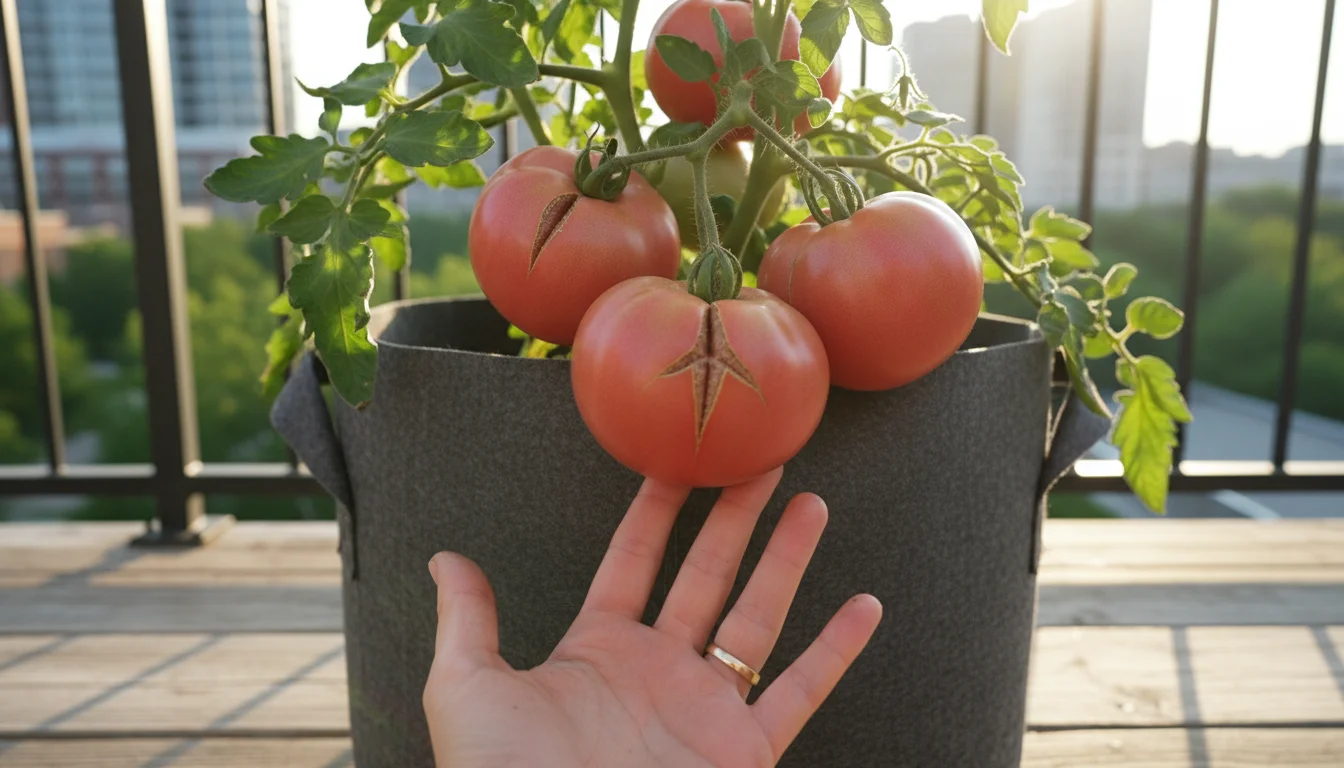
Heirloom seeds come from open-pollinated plants that have been passed down through generations. “Open-pollinated” means they pollinate naturally, either through wind, insects, or self-pollination. The key characteristic of heirloom seeds is that they “breed true,” meaning the plants grown from saved seeds will be genetically identical, or very similar, to the parent plant. If you save seeds from a ‘Brandywine’ tomato, your next ‘Brandywine’ plant will produce similar large, flavorful fruit.
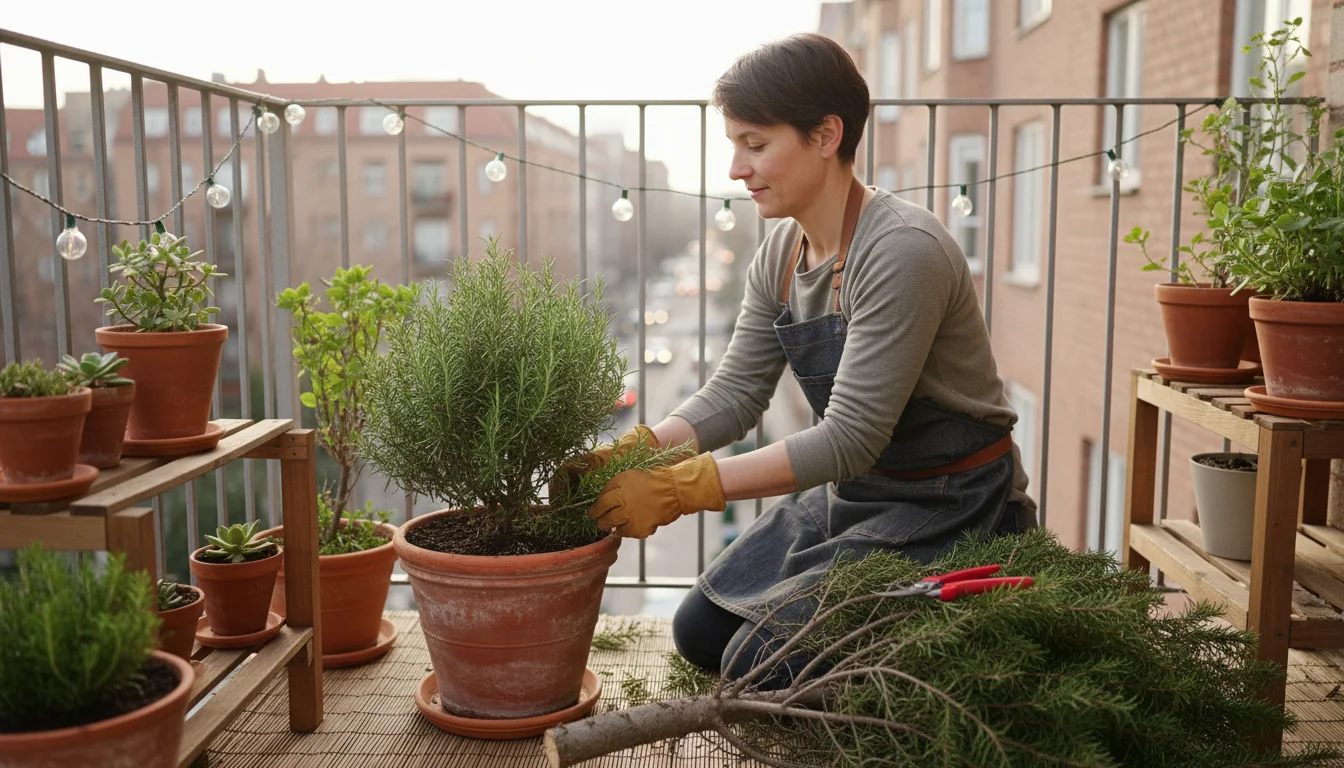
Alongside seed saving, you can also propagate fall cuttings from tender perennial herbs to preserve your favorite patio varieties through the cold months.
For your balcony garden, heirloom varieties are your go-to choice for seed saving because they offer reliability. You can confidently save seeds from your favorite heirloom tomatoes, peppers, beans, or herbs, knowing that the next generation will produce plants with predictable characteristics. This predictability is vital when space is at a premium, as you want to ensure every plant you grow contributes meaningfully to your harvest. Heirlooms often boast unique flavors, colors, and growth habits that are simply unmatched by their conventional counterparts, making your balcony garden a true culinary and aesthetic delight.
Hybrid Seeds: A Word of Caution
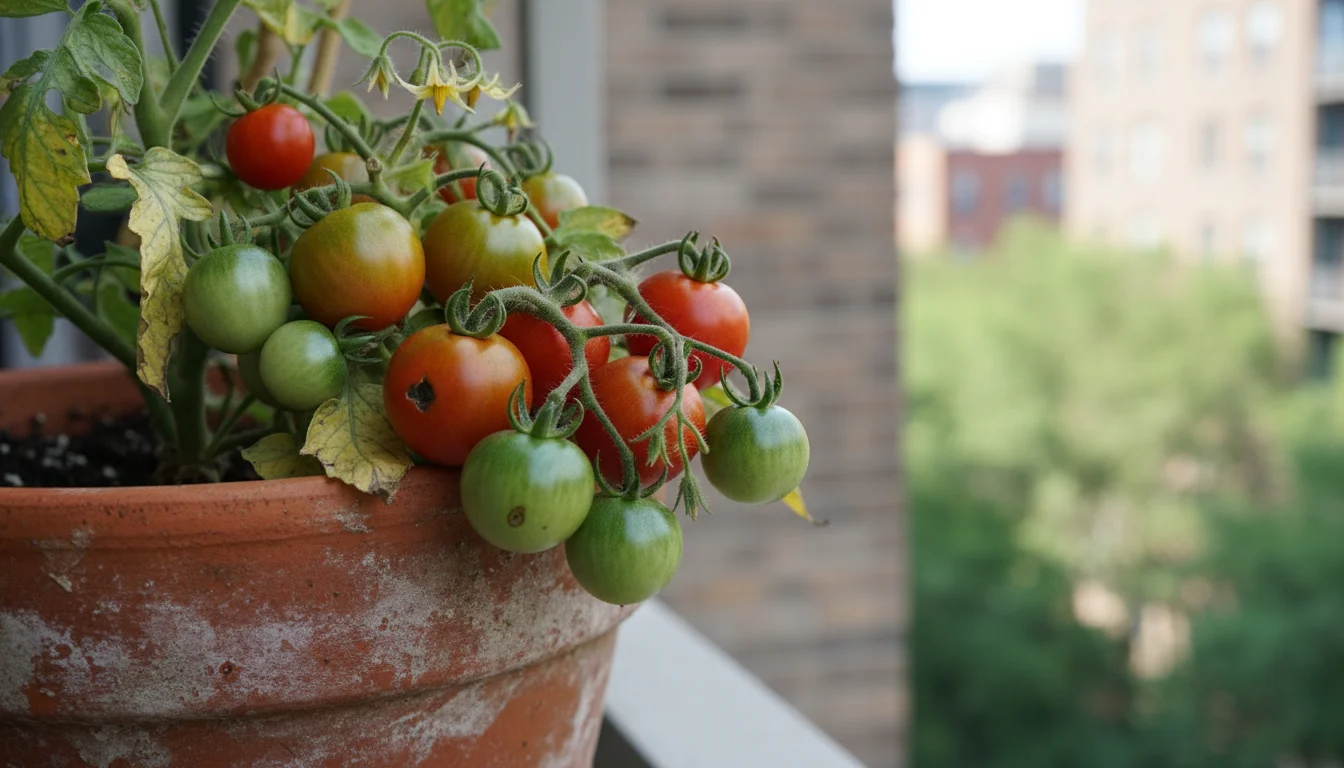
Hybrid seeds, often labeled with an “F1” designation, result from a deliberate cross-pollination between two different parent varieties. Plant breeders create hybrids to combine desirable traits, such as increased yield, disease resistance, or uniform growth. While hybrids often perform exceptionally well in their first generation, they do not breed true. If you save seeds from a hybrid plant, the resulting offspring will likely exhibit a mix of traits from its grandparents, often reverting to less desirable characteristics or producing unpredictable results.
For instance, if you save seeds from a hybrid ‘Celebrity’ tomato, the plants grown from those seeds might produce small, misshapen fruit, or no fruit at all. This genetic variability makes saving seeds from hybrids a gamble, particularly when you have limited space and want to maximize your harvest. While hybrids have their place in gardening, especially for commercial growers, they are generally not suitable for beginner seed savers. Stick to clearly identified heirloom or open-pollinated varieties to ensure your fall seed-saving efforts translate into future balcony garden success.
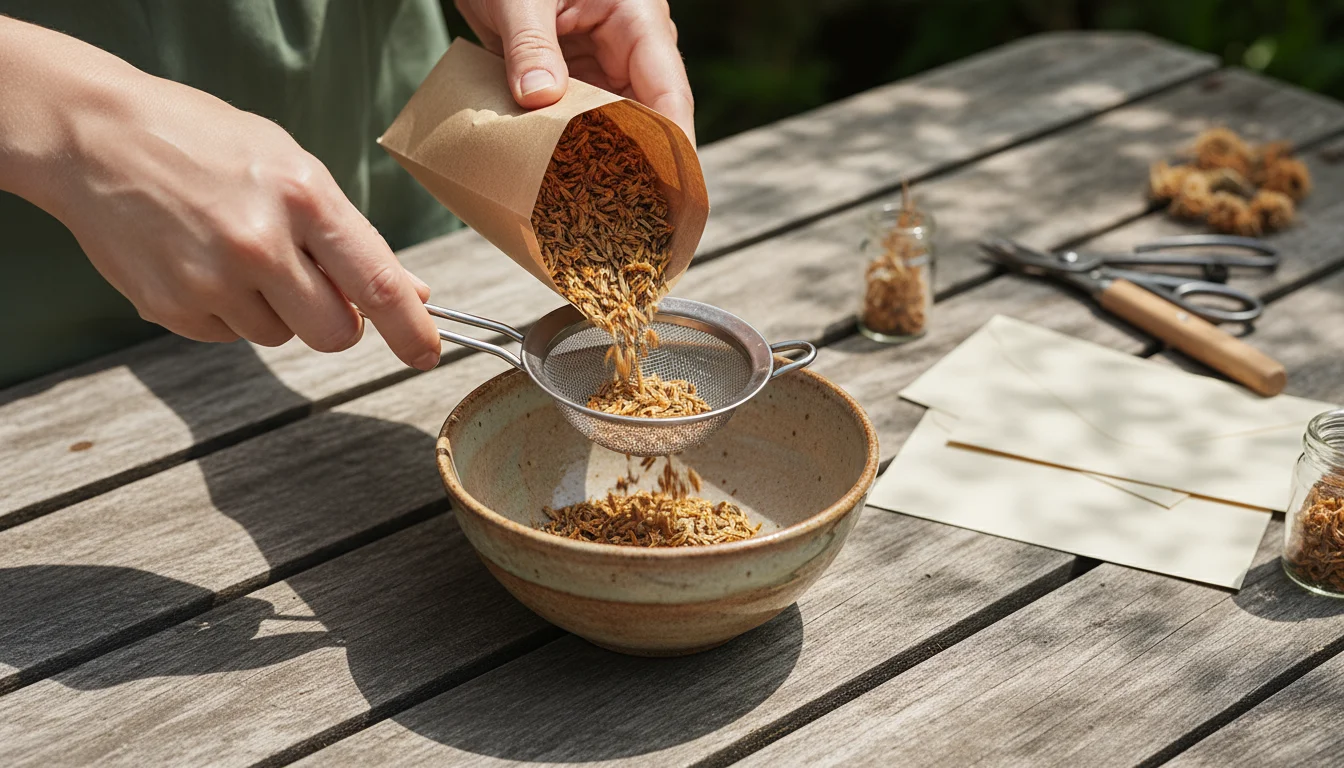
Essential Tools for the Balcony Seed Saver
You might think seed saving requires specialized, expensive equipment, but the beauty of this project, especially for small-space gardeners, lies in its simplicity. Many of the essential tools are likely already in your kitchen or craft drawer. The goal is to make the process efficient and accessible, ensuring you can preserve your seeds without any complex setups.
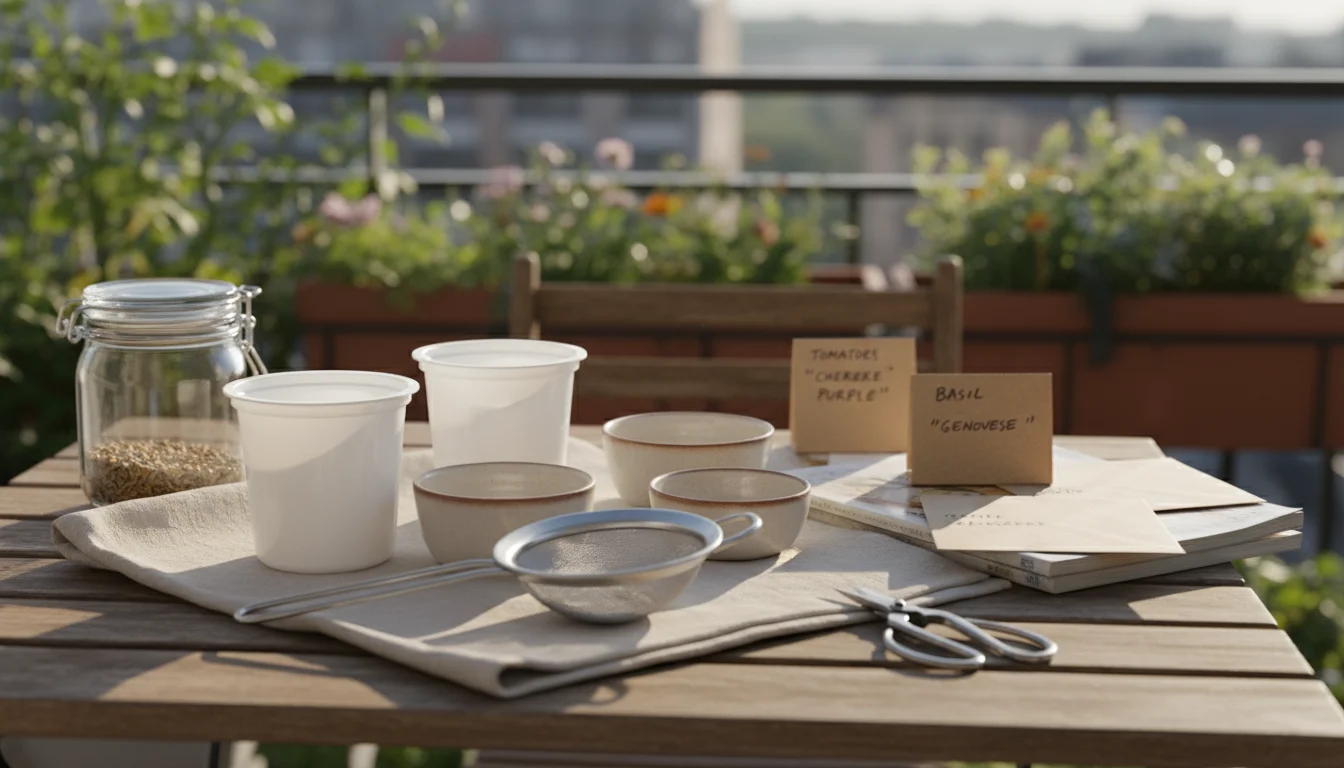
Gathering and Cleaning Supplies
To collect seeds effectively, you will need a few basic items. Small bowls or containers work perfectly for collecting seeds as you extract them from fruits or pods. You can reuse plastic yogurt containers, sturdy paper cups, or even small ceramic dishes. For separating seeds from pulp or chaff (the dry, scaly protective casings of seeds), a fine-mesh sieve is indispensable. A standard kitchen sieve or a tea strainer works well for smaller seeds. For larger seeds, you might not even need a sieve; your fingers can easily do the job.
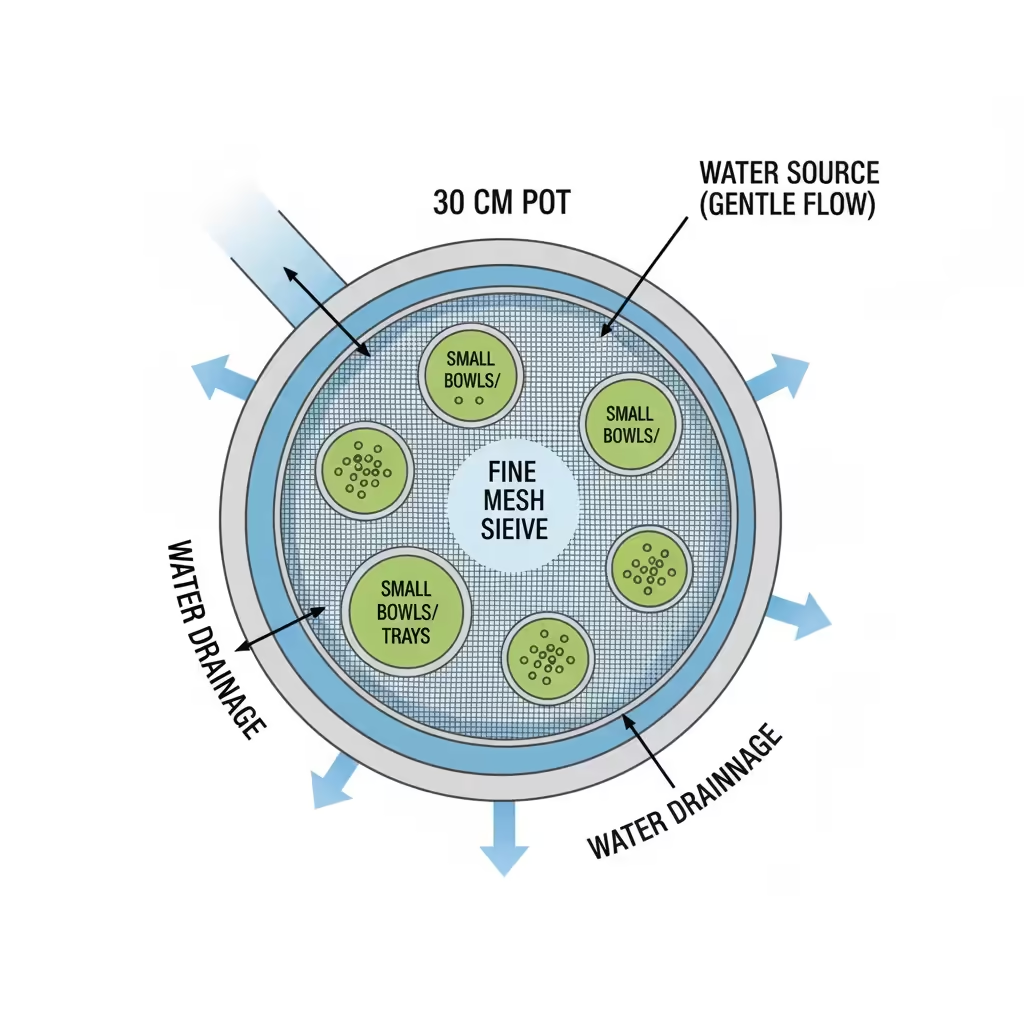
When dealing with wet seeds, particularly tomatoes, you will need glass jars or small non-metallic containers for the fermentation process. Make sure these are clean and have lids, though you will keep the lids loose during fermentation. Paper towels or coffee filters are crucial for drying seeds. They absorb moisture and prevent seeds from sticking together or developing mold. You will also want a permanent marker and labels, or simply small slips of paper, to immediately mark your collected seeds. Accurate labeling is one of the most important steps in seed saving.
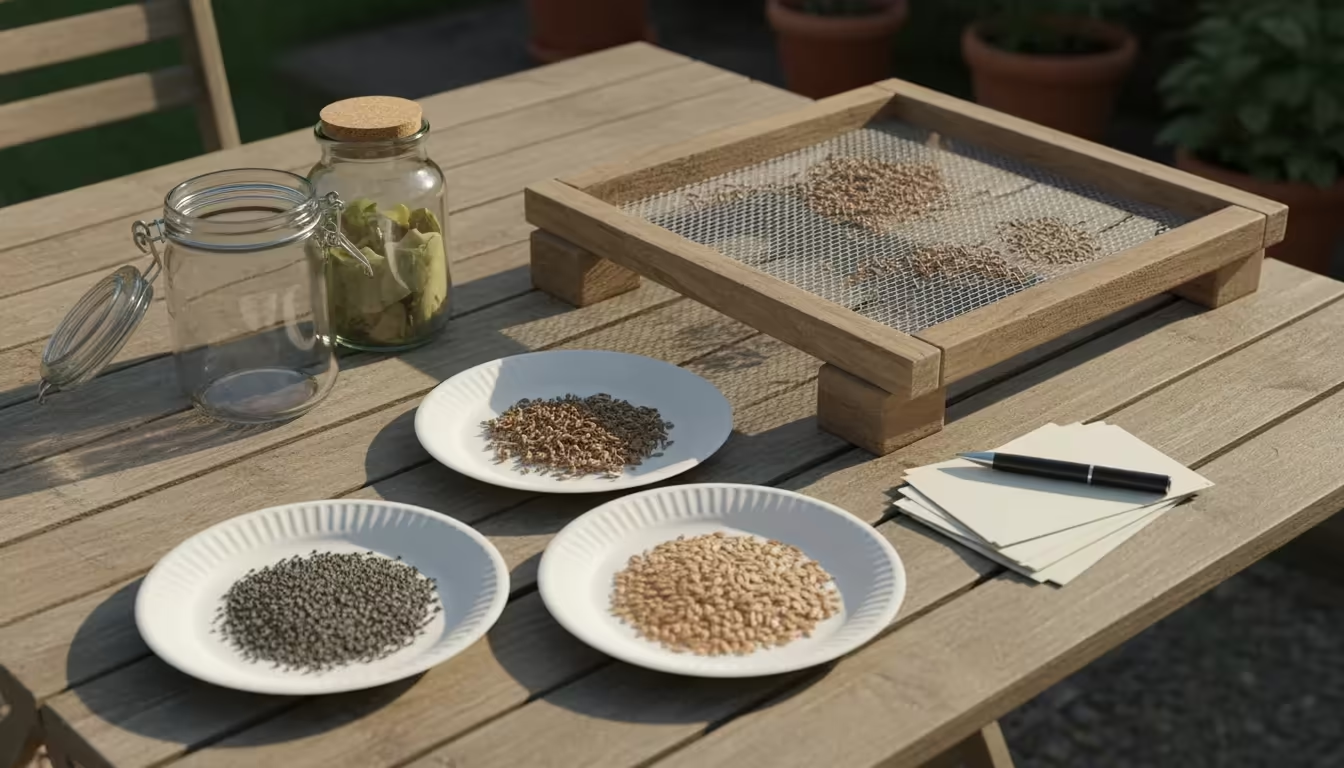
Drying and Storage Essentials
The drying phase is critical for seed viability and preventing mold. You do not need fancy dehydrators. Simple screens or trays provide excellent air circulation. You can improvise drying screens by stretching old window screen material over a small wooden frame, or simply lay seeds on clean paper plates or baking sheets lined with paper towels. Just ensure they are in a location with good air circulation, away from direct sunlight.
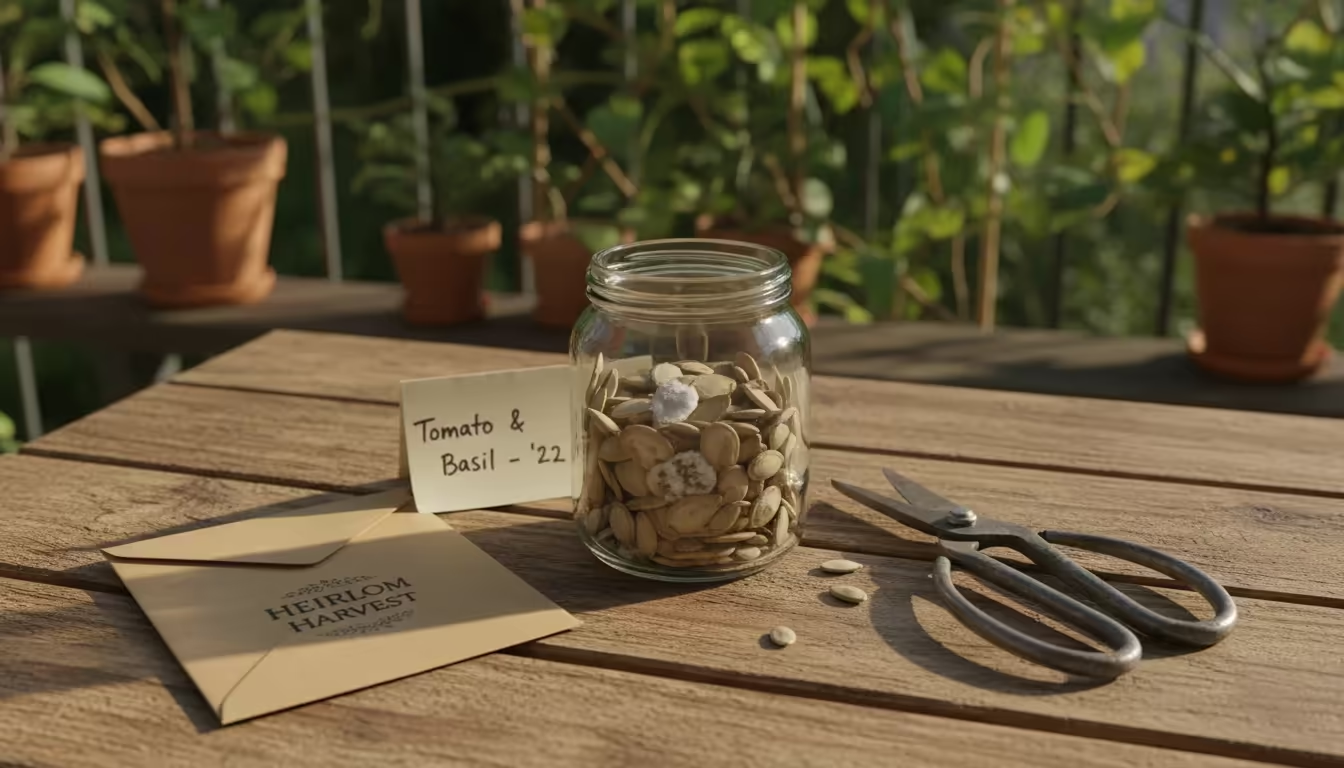
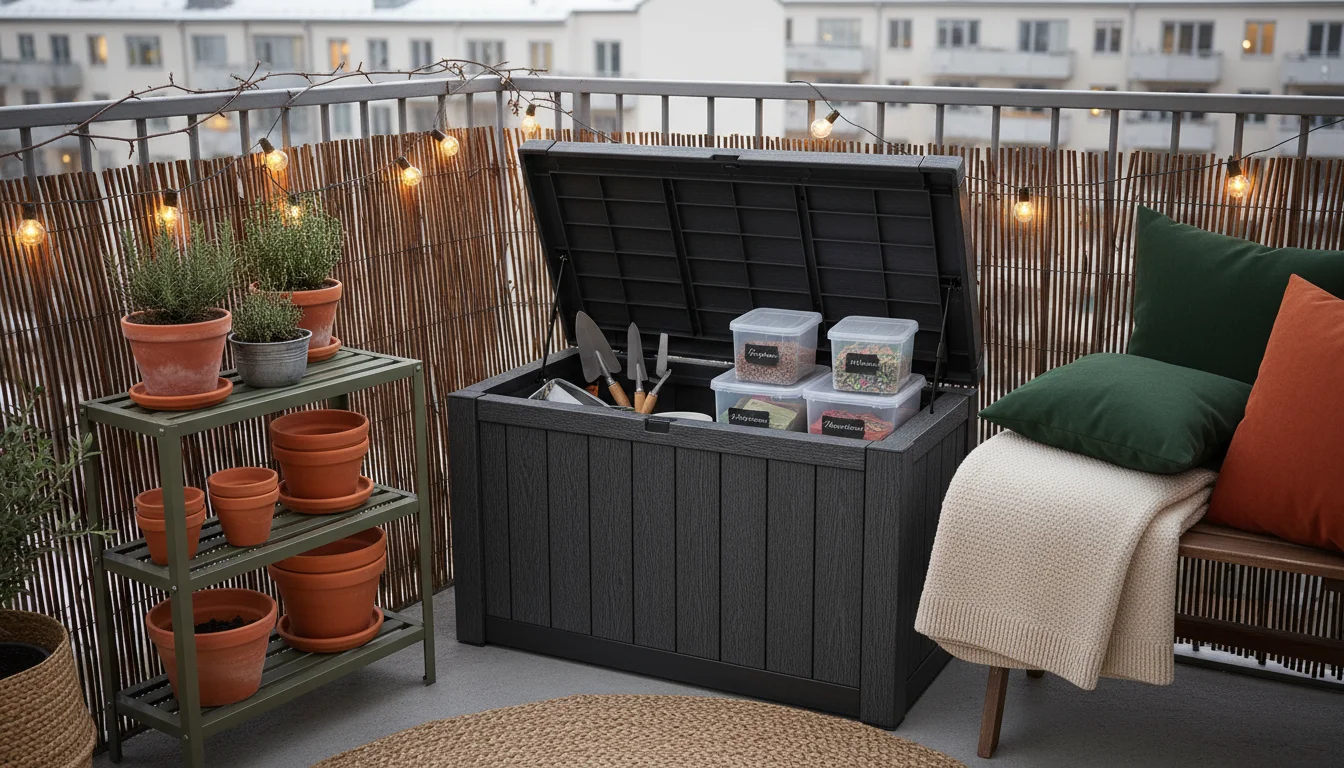
For long-term storage, airtight containers protect your seeds from moisture and pests. Glass jars with tight-fitting lids, such as canning jars or repurposed food jars, are ideal. Small paper envelopes, often called seed envelopes, are also excellent because they allow a tiny bit of air exchange while keeping seeds organized. Alternatively, small sealable plastic bags can work, especially if you place them inside a larger airtight container with a desiccant, which is a substance that absorbs moisture. Remember, clear labeling with the plant name, variety, and harvest date is non-negotiable for every single batch of seeds you save.
Harvesting Time: When and How to Collect Seeds
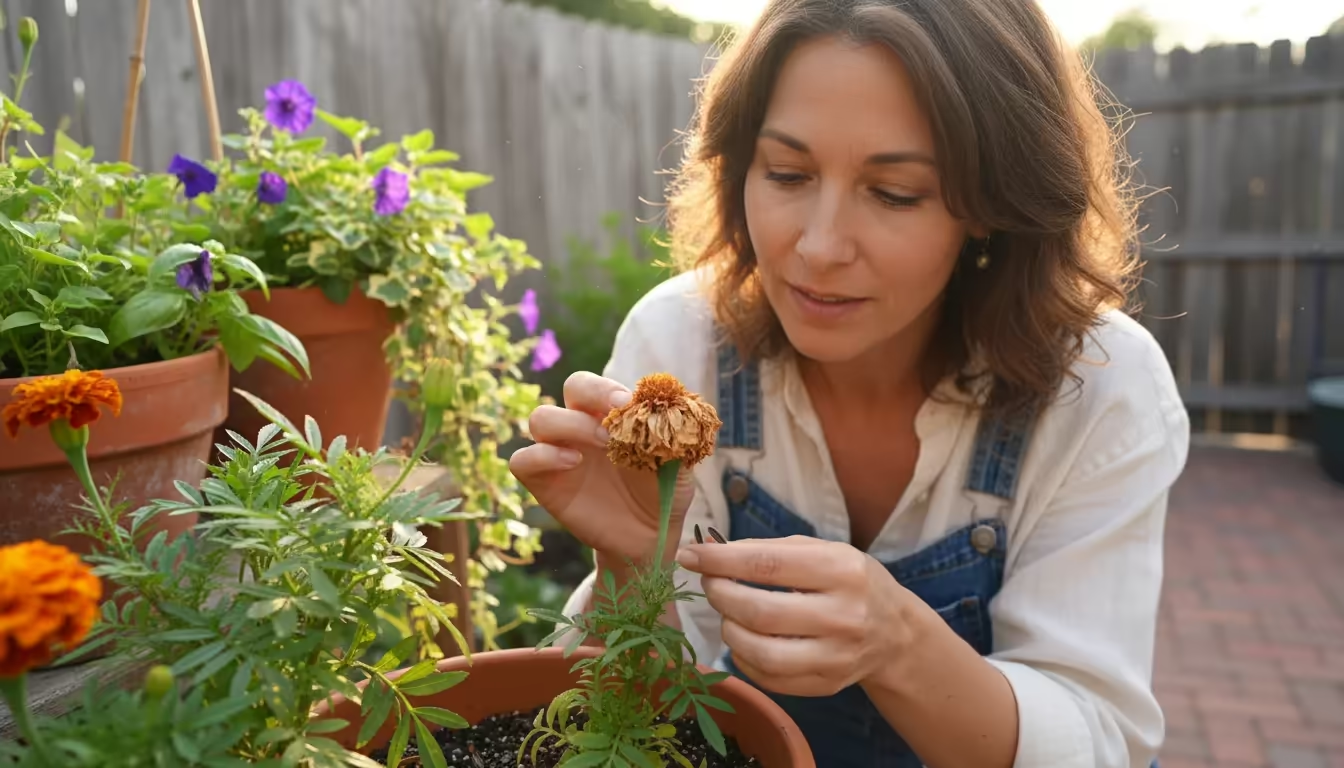
Timing your seed harvest correctly is perhaps the most crucial step in ensuring viable seeds for next year’s garden. You cannot simply collect seeds from any fruit or vegetable; the seeds must be fully mature. This often means leaving the fruit or pod on the plant longer than you would if you were harvesting for eating. For your balcony garden, careful observation is key. You are looking for specific visual cues that indicate the seeds are ready to embark on their next life cycle.
Keep an eye on nighttime temperatures as well, consulting a balcony fall frost checklist so you can gather remaining seed heads before severe cold sets in.
Knowing When Seeds are Ripe for Collection
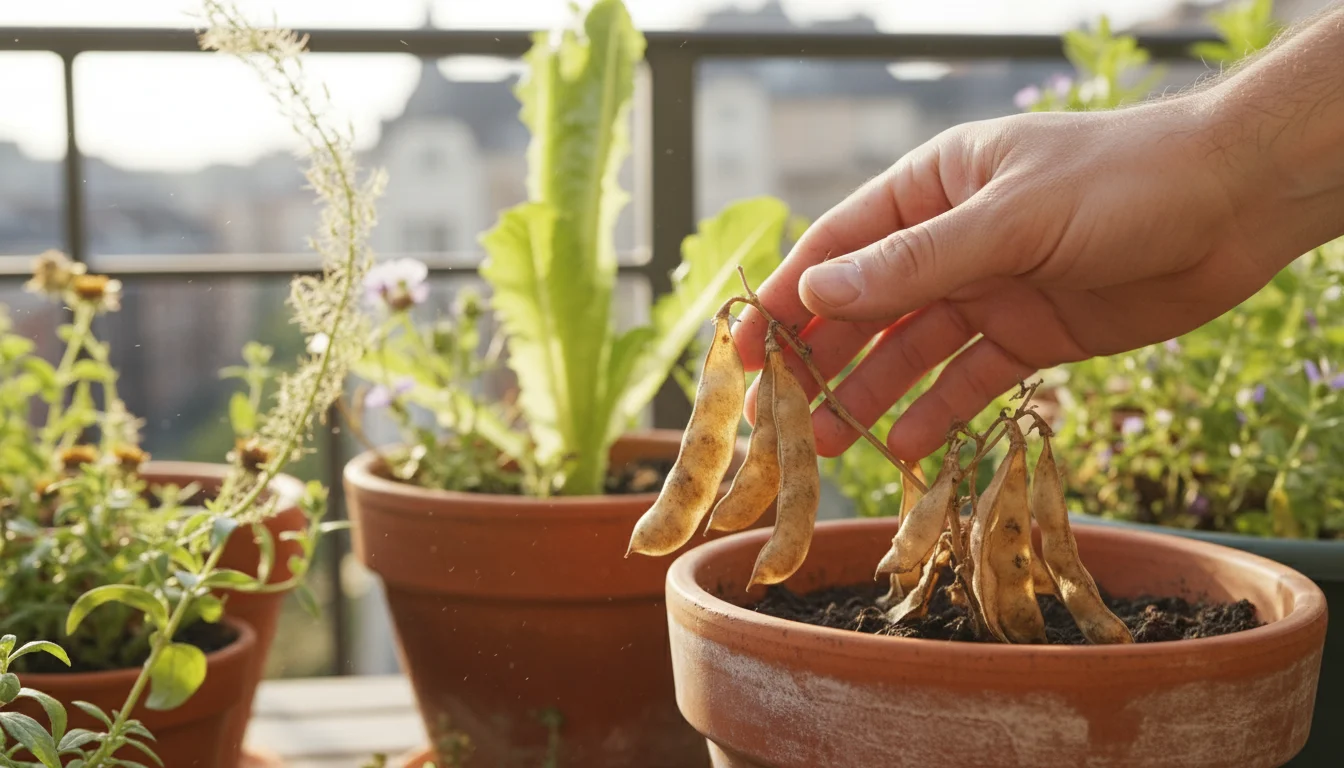
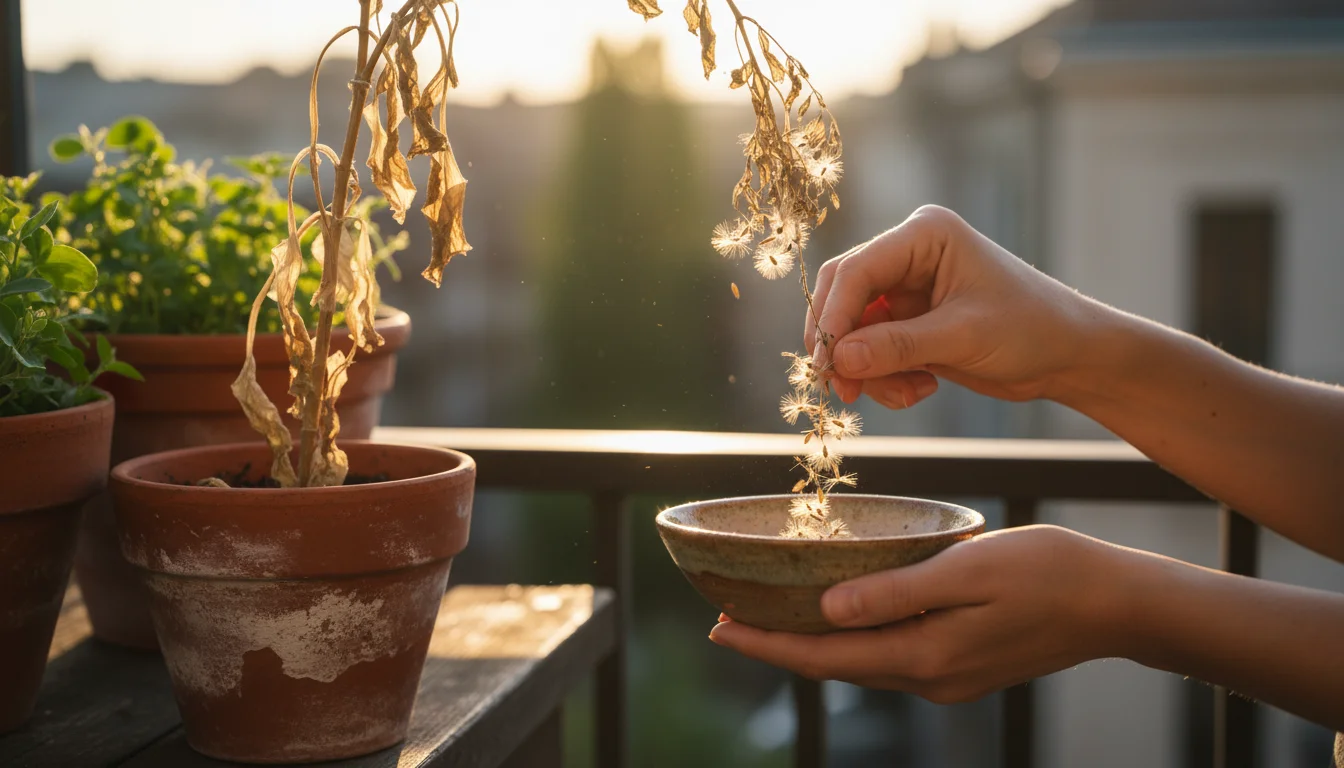
The general rule for all seeds is that they must be fully mature and dry, or fully mature within a ripe fruit. For many plants, especially those that produce dry seeds like beans, peas, lettuce, dill, and cilantro, this means allowing the seed pods or flower heads to dry completely on the plant. You will see the pods turn brown or yellow, become brittle, and often rattle when shaken. For instance, bean pods will become leathery and crisp, and lettuce flower heads will puff up with feathery “parachutes.” Harvesting too early results in immature, non-viable seeds, so patience is truly a virtue here. If frost is imminent, you can carefully snip off mature but not-yet-dry pods and allow them to finish drying indoors in a well-ventilated spot.
For wet seeds, such as those found in tomatoes, peppers, and cucumbers, the fruit itself needs to be fully ripe, often beyond the stage you would typically pick for consumption. A tomato should be soft and deeply colored, perhaps even slightly overripe. Peppers should show their full mature color, whether red, yellow, or orange. Cucumbers intended for seed saving should be left on the vine until they turn yellow and soften significantly. Allowing the fruit to over-ripen ensures the seeds inside have reached their peak maturity and are ready for propagation.
Methods for Collecting Different Seed Types
Your collection method will depend on the type of seed you are harvesting. Dry seeds are generally the easiest to collect.
- Beans and Peas: Allow the pods to dry completely on the plant until they become brittle and light brown. Once dry, simply crack open the pods and collect the seeds. You might need to gently rub the seeds between your hands to remove any remaining chaff.
- Lettuce and Leafy Greens: Once lettuce plants “bolt” (send up a flower stalk), allow the flowers to mature and dry. The tiny seeds, often accompanied by a feathery parachute, will be visible. You can gently shake the dried flower heads over a bowl or rub them between your palms to release the seeds.
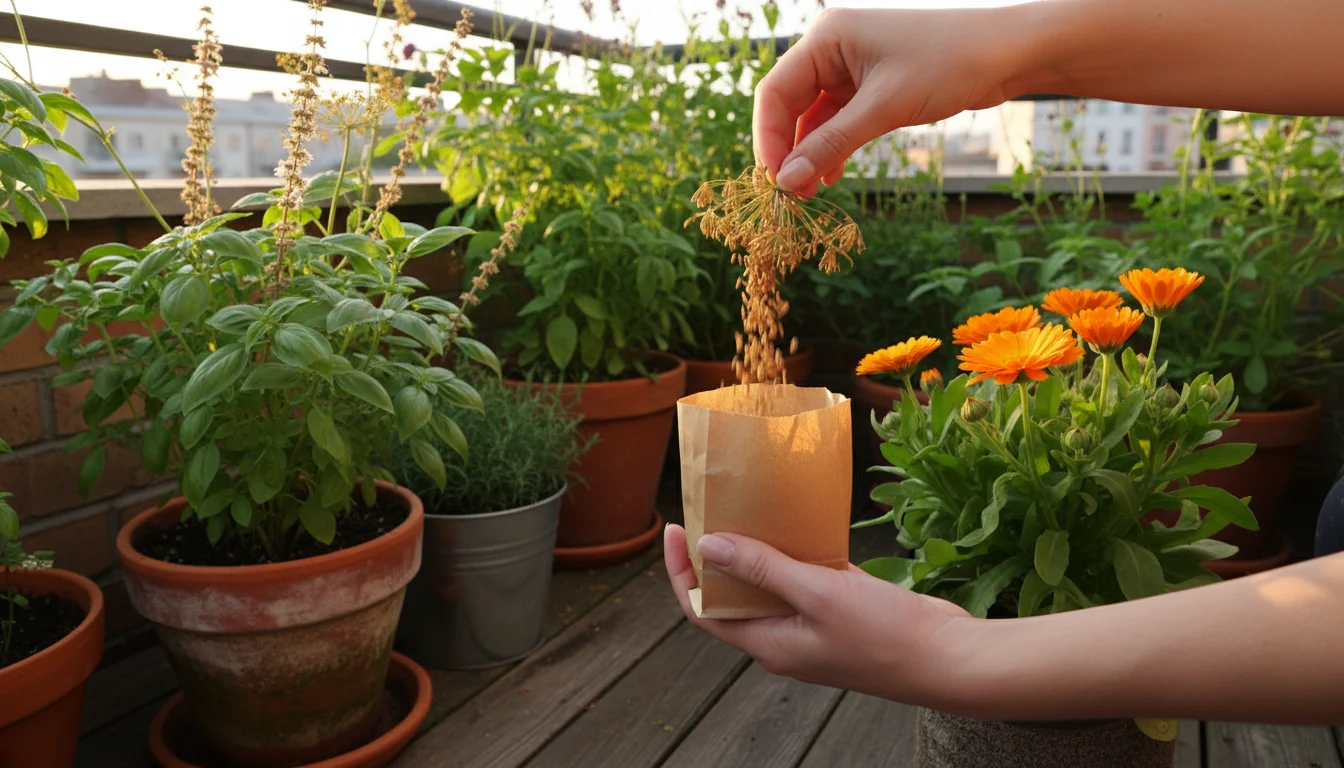
- Herbs (Dill, Cilantro, Basil): Allow the flower heads to fully dry and turn brown on the plant. Gently snip the dried heads and place them in a paper bag. Shake the bag vigorously, and the seeds will fall to the bottom.
- Peppers: Choose fully ripe, healthy peppers. Cut them open, carefully remove the central core with the seeds attached, and then scrape the seeds off into a bowl. Discard any discolored or damaged seeds.
- Tomatoes: Select fully ripe, healthy tomatoes. Slice them open and scoop out the pulp and seeds into a small container. This begins the fermentation process, which is crucial for removing germination inhibitors and combating seed-borne diseases. You will learn more about this in the next section.
Always collect seeds from your healthiest, most productive plants. For a balcony garden, where individual plant performance is highly visible, this selection process is straightforward. Choose plants that showed good disease resistance, high yield, and the best flavor, ensuring you propagate the strongest genetics for your next growing season.
Step-by-Step Seed Extraction and Cleaning Methods
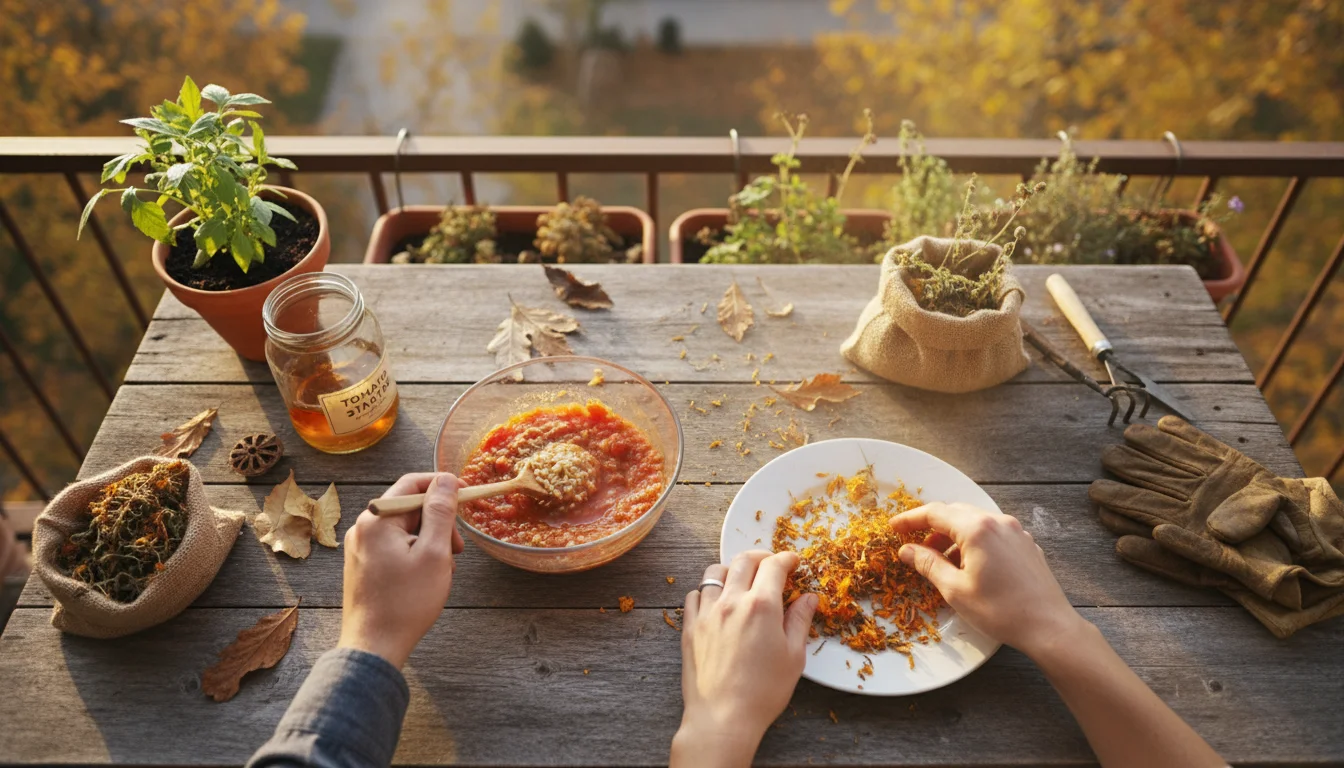
Once you have harvested your mature fruits or pods, the next critical step involves extracting and cleaning the seeds. This process differs significantly between “wet” seeds (found in fleshy fruits) and “dry” seeds (found in pods or dry flower heads). Proper extraction and cleaning directly impact how well your seeds store and their viability for germination next spring.
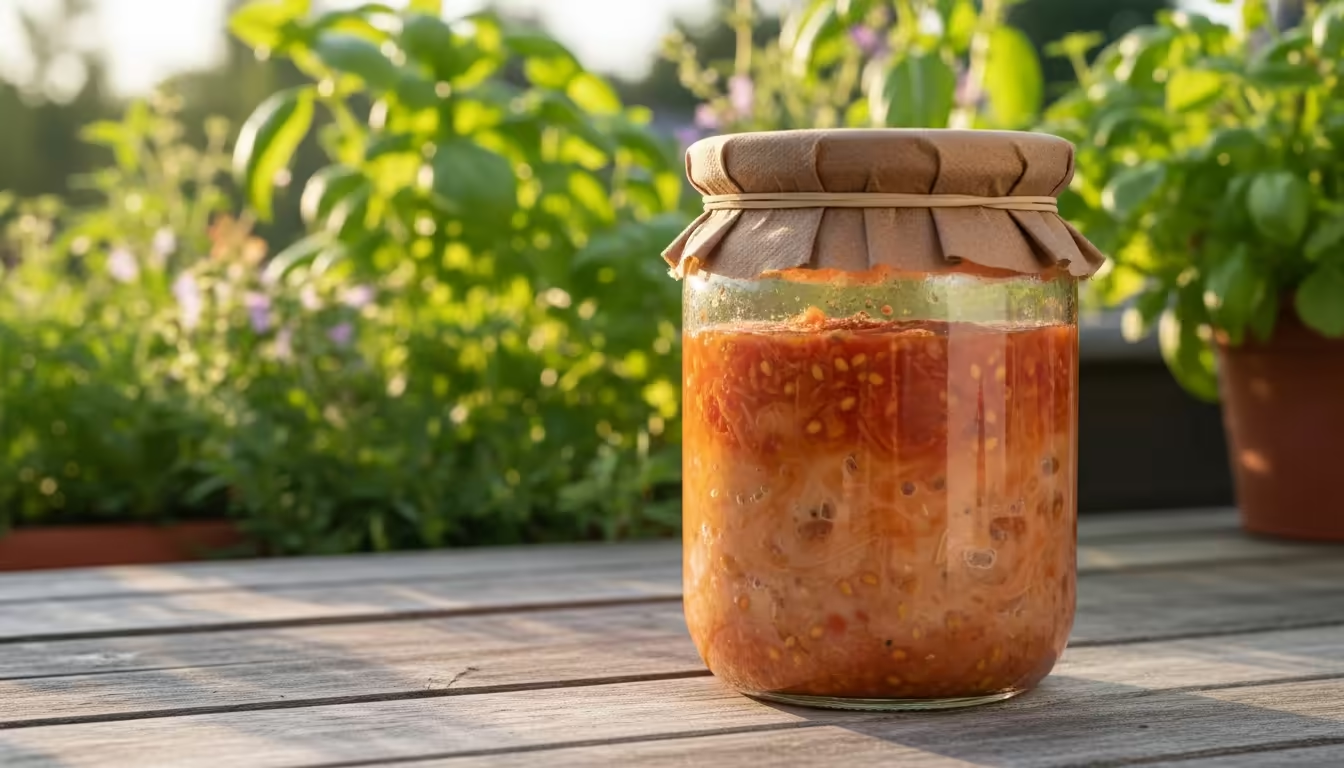
Processing Wet Seeds: The Fermentation Method for Tomatoes
Tomatoes are a prime example of wet seeds that benefit greatly from fermentation. This process removes the gelatinous coating surrounding each seed, which contains germination inhibitors. It also helps combat certain seed-borne diseases. Fermentation mimics a natural process, preparing the seeds for long-term dormancy.
- Scoop and Soak: Slice open several fully ripe, healthy tomatoes. Using a spoon, scoop out the pulp, juice, and seeds into a clean glass jar. Add a small amount of water, just enough to cover the mixture.
- Ferment: Loosely cover the jar with a lid or breathable material like a coffee filter secured with a rubber band. This allows air in while keeping pests out. Place the jar in a warm spot, around 65-75°F (18-24°C), but out of direct sunlight.
- Observe: Over the next 2-5 days, a layer of mold will form on the surface, and the viable seeds will sink to the bottom. The mixture will smell slightly yeasty or sour. If you see signs of mold, do not worry; this is part of the process. However, if black mold appears or the mixture smells putrid, discard it and start again with fresh tomatoes.
- Separate and Rinse: Once the seeds have sunk and mold forms, carefully pour off the moldy layer and any floating pulp. This requires a gentle touch to avoid disturbing the seeds at the bottom. Then, transfer the remaining seeds and liquid into a fine-mesh sieve. Rinse the seeds thoroughly under cool running water, using your fingers or a small brush to remove any lingering pulp or gelatinous coating. Continue rinsing until the seeds are completely clean.
- Prepare for Drying: After rinsing, pat the seeds dry with a paper towel to remove excess moisture before moving to the drying stage.
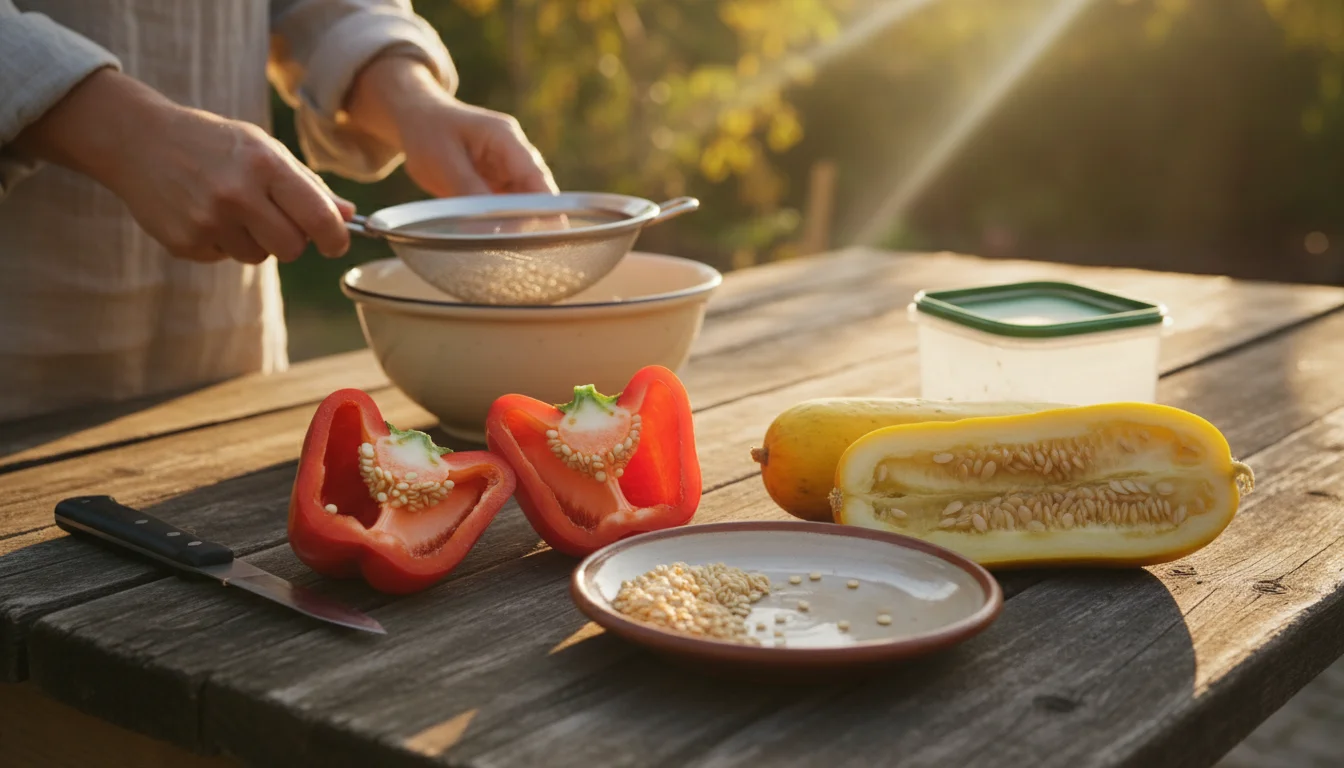
Extracting Seeds from Peppers, Cucumbers, and Squash
Other wet seeds, like those from peppers, cucumbers, and squash, do not require fermentation. Their seeds are simply scraped from the fruit and then cleaned.
- Peppers: Select a fully ripe pepper. Cut it open and carefully remove the core containing the seeds. Scrape the seeds off the core into a clean bowl. Pick out any bits of flesh or placental tissue. You can rinse these seeds lightly to remove any sticky residue, then pat them dry with a paper towel.
- Cucumbers and Squash: Allow these fruits to become overripe on the vine, much softer than you would eat them. Slice them open, scoop out the pulpy center with the seeds. For cucumbers, you can often just scrape the seeds directly into a sieve and rinse away the pulp. For squash, the seeds are usually larger and can be easily separated from the stringy pulp by hand, then rinsed.
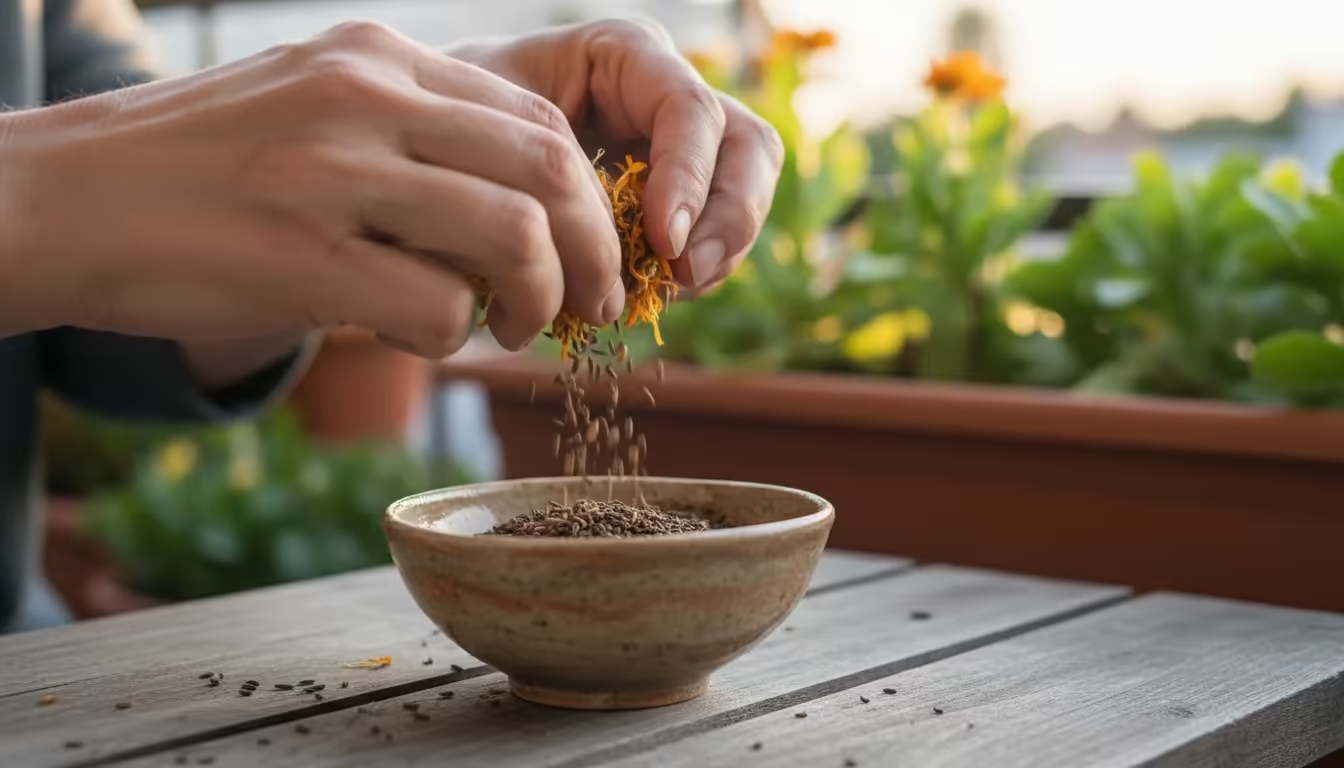
Cleaning Dry Seeds: From Pods and Flowers
Dry seeds, such as those from beans, peas, lettuce, dill, and calendula, require a different approach. The goal is to separate the seeds from the chaff, which are the dry, leafy bits of the plant material.
- Threshing: This involves separating the seeds from their pods or heads. For beans and peas, simply crack open the dried pods by hand. For lettuce, dill, or other herbs with small seeds in dried flower heads, you can rub the flower heads between your hands over a shallow bowl. The seeds will fall out.
- Winnowing: After threshing, you will likely have a mix of seeds and chaff. Winnowing uses air to separate the lighter chaff from the heavier seeds. Pour your seed-chaff mixture from one container to another in front of a gentle fan, or outdoors on a slightly breezy day. The lighter chaff will blow away, while the heavier seeds fall into the second container. Repeat this process until your seeds are relatively clean. For small batches, you can also gently blow across the mixture in a bowl.
- Sifting: For very small seeds or to remove larger pieces of debris, use a fine-mesh sieve. Sift the seeds, allowing them to fall through while retaining larger pieces of debris.
Always ensure your workspace is clean and dry throughout the extraction and cleaning process. This prevents contamination and prepares your seeds for the critical next step: drying.
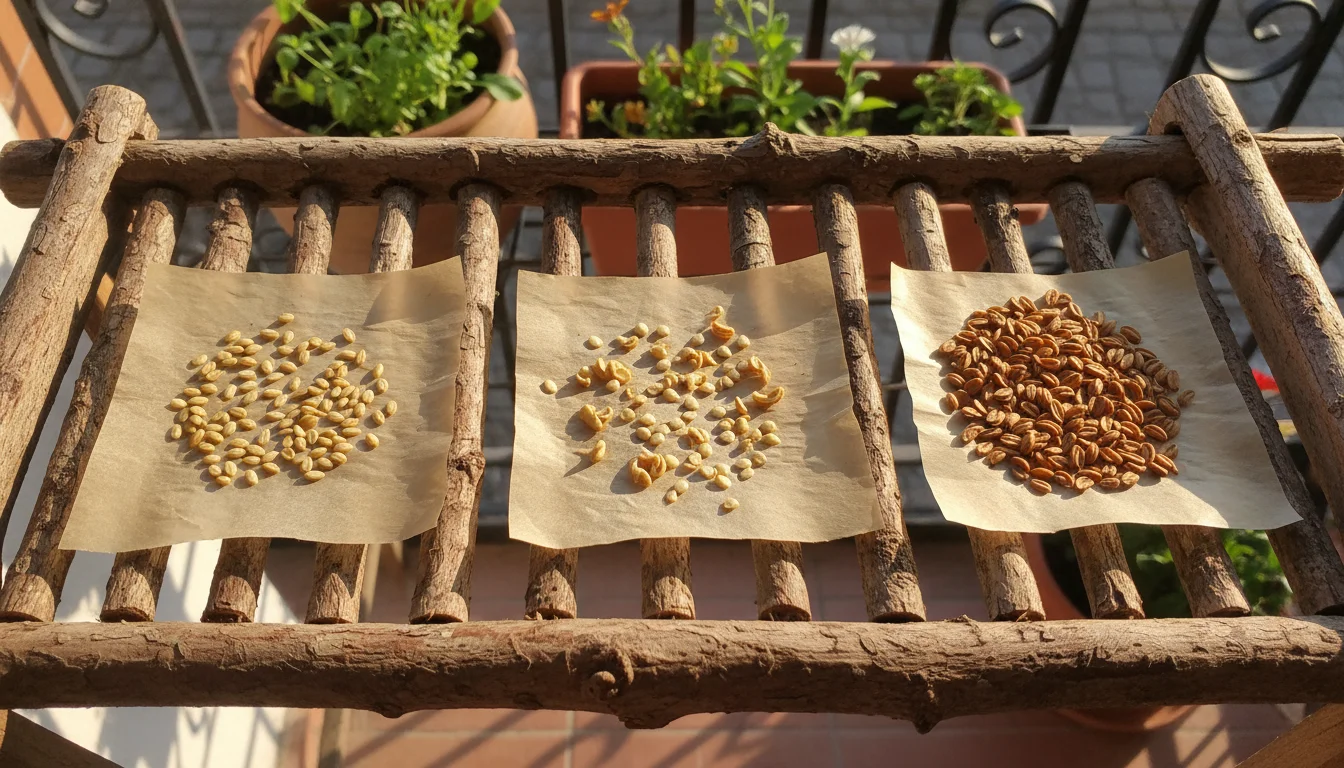
The Critical Drying Process for Long-Term Storage
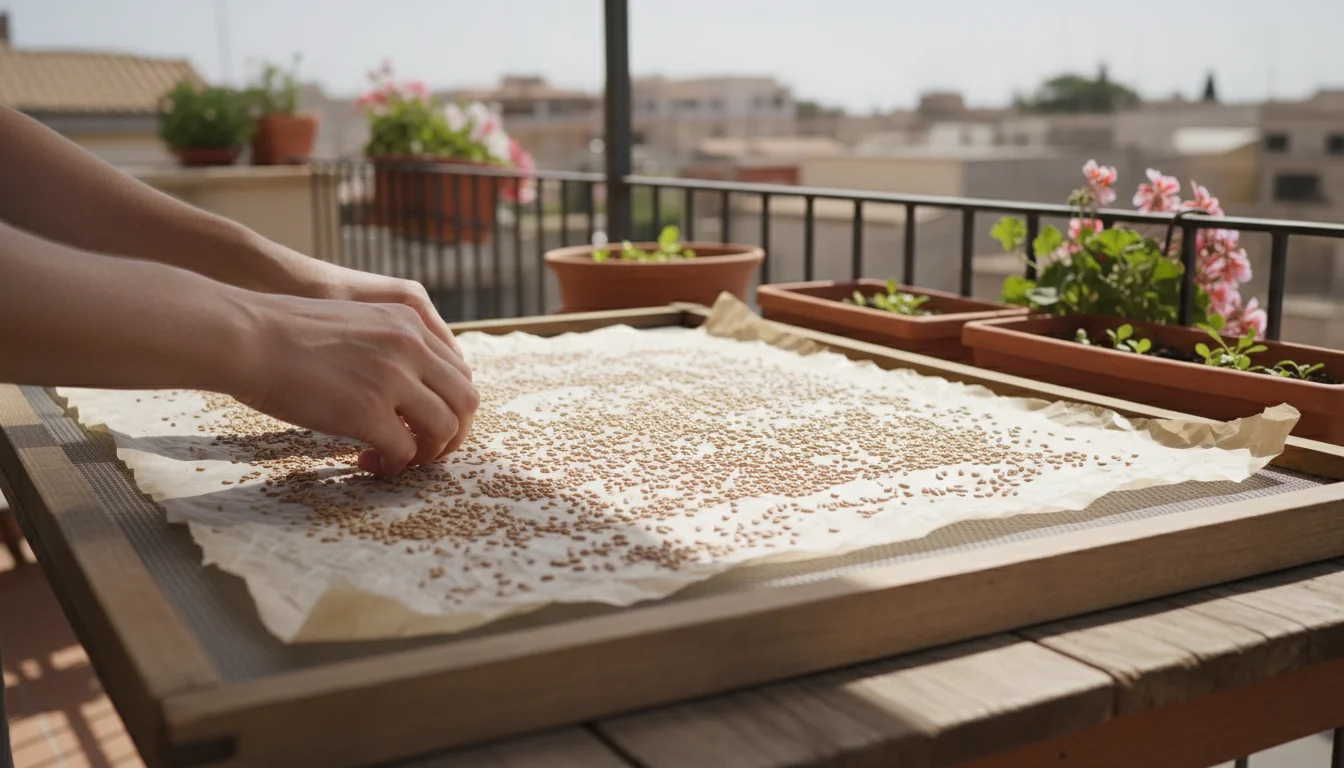
After you extract and clean your seeds, the single most critical step for successful long-term storage is thorough drying. Seeds must be completely dry before you store them. Any residual moisture, even a tiny amount, can lead to mold, fungal growth, or premature germination, rendering your valuable seeds non-viable. This is a common pitfall for beginner seed savers, so paying close attention to this stage will greatly increase your success.
Understanding Why Thorough Drying Matters
Seeds are living organisms, and while dormant, they contain metabolic processes that require moisture. When you dry seeds, you reduce their internal moisture content to a very low level, typically between 5% and 10% depending on the seed type. This low moisture content puts the seeds into a state of deep dormancy, halting their metabolic activity. Without enough moisture, mold and bacteria cannot grow, and the seeds will not sprout prematurely. Proper drying preserves the seeds’ genetic material, ensuring they retain their viability, or ability to germinate, for many months or even years.
Imagine a tiny seed as a miniature battery. If it is wet, it might start to discharge energy, trying to sprout or simply degrading. Drying it fully is like putting the battery into a deep sleep mode, conserving its energy until you are ready to wake it up in spring. For your balcony garden, where every seed counts due to limited space, maximizing viability is paramount.
Effective Drying Methods for Small Batches
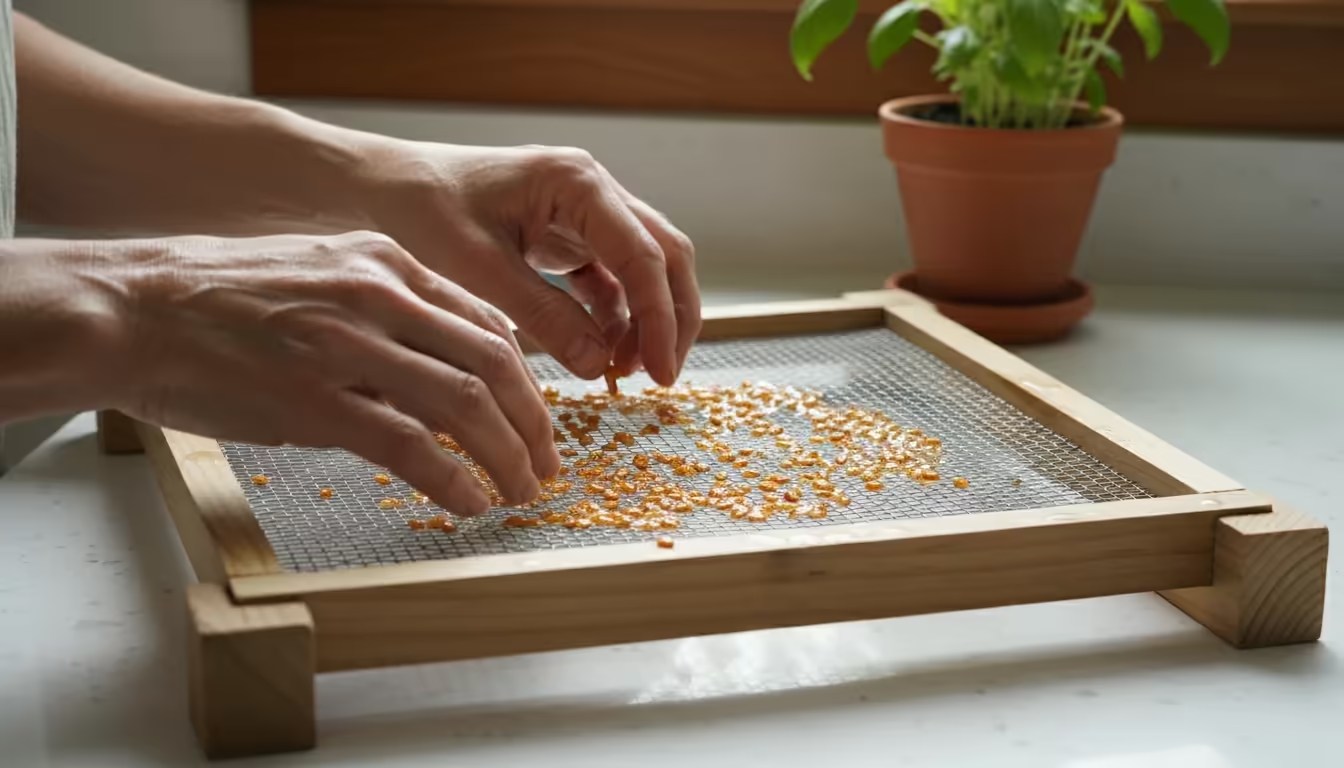
You do not need specialized equipment to dry seeds effectively. The key is good air circulation, stable temperatures, and protection from direct sunlight and excessive humidity. Direct sunlight can cook seeds, and high heat can damage them, while humidity will prevent them from drying properly.
- Air Drying on Screens or Paper: This is the simplest and most common method.
- Screens: For larger batches, or for wet seeds like tomatoes, drying screens are excellent. You can make a simple screen by stretching fine mesh (like old window screen material) over a small wooden frame. Place seeds in a single layer on the screen. The airflow from above and below ensures even drying.
- Paper Plates or Trays: For smaller quantities, spread seeds in a single layer on paper plates, ceramic plates, or baking sheets lined with paper towels or coffee filters. The paper helps absorb moisture from the seeds. Avoid plastic trays as they can trap moisture.
Place your drying seeds in a location that is warm (around 65-75°F or 18-24°C), dry, and has good air circulation. A spare room, a countertop away from the sink, or a porch out of direct sun are good options. Avoid bathrooms or kitchens, which tend to have higher humidity. Stir or turn the seeds daily to ensure even drying.
- Monitoring Dryness: How long seeds take to dry depends on their type, initial moisture content, and environmental conditions. It can range from a few days to several weeks.
- For larger, dry seeds (beans, peas): You should be able to snap them in half cleanly. If they bend, they are not dry enough.
- For smaller seeds: They should feel brittle and hard. If you press them with your fingernail and they indent or feel soft, they need more drying time.
- The “Tap Test”: Place a few seeds in a small, airtight container. After a few hours, if you see condensation on the inside of the container, the seeds are not fully dry. Continue drying.
Once you are confident your seeds are completely dry, they are ready for storage. Rushing this stage often leads to disappointment, so be patient and thorough. The effort you put into proper drying now will pay off with a successful harvest next season.
Smart Storage Solutions for Your Balcony Bounty
You have harvested, extracted, and meticulously dried your seeds. Now comes the final crucial step: proper storage. Even the most perfectly prepared seeds will lose viability quickly if stored incorrectly. The goal is to create an environment that keeps them in a deep state of dormancy, protecting them from factors that trigger germination or degradation. For balcony gardeners, space efficiency and protection from common household elements are key considerations.
The Golden Rules of Seed Storage: Cool, Dark, and Dry
Think of your seeds as tiny dormant time capsules. To keep them dormant and viable for as long as possible, you need to provide conditions that discourage growth. The three golden rules of seed storage are: cool, dark, and dry.
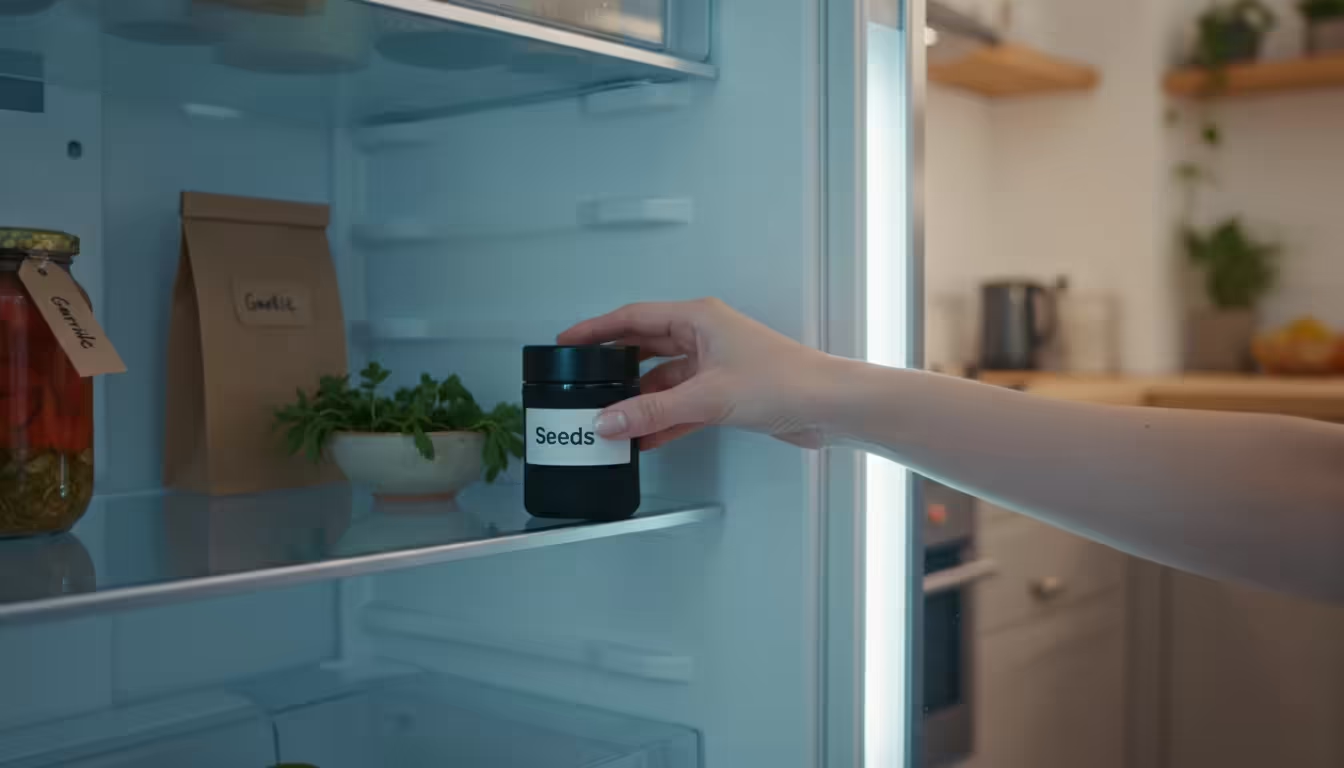
- Cool Temperatures: Cooler temperatures slow down the metabolic processes within the seed, extending its dormancy. Ideal storage temperatures range from 35-50°F (2-10°C). A refrigerator can be an excellent option for long-term storage, especially for certain seed types, as long as moisture is strictly controlled. Avoid extreme temperature fluctuations, which can stress seeds and reduce viability.
- Darkness: Light can also trigger germination in some seeds and can degrade the genetic material over time. Storing seeds in opaque containers or in a dark location, such as a closet or drawer, protects them from light exposure.
- Dryness: This is arguably the most important factor. Moisture is the enemy of stored seeds, as it encourages mold growth and premature germination. Aim for a relative humidity of around 20-40% for your storage area. This is why thorough drying before storage is so critical. If storing in a humid environment like a garage, consider adding a desiccant pack (like silica gel packets) to your airtight containers to absorb any lingering moisture.
Selecting the Right Storage Containers
The type of container you choose directly impacts your seeds’ longevity. Your main priority should be airtightness and protection from light.
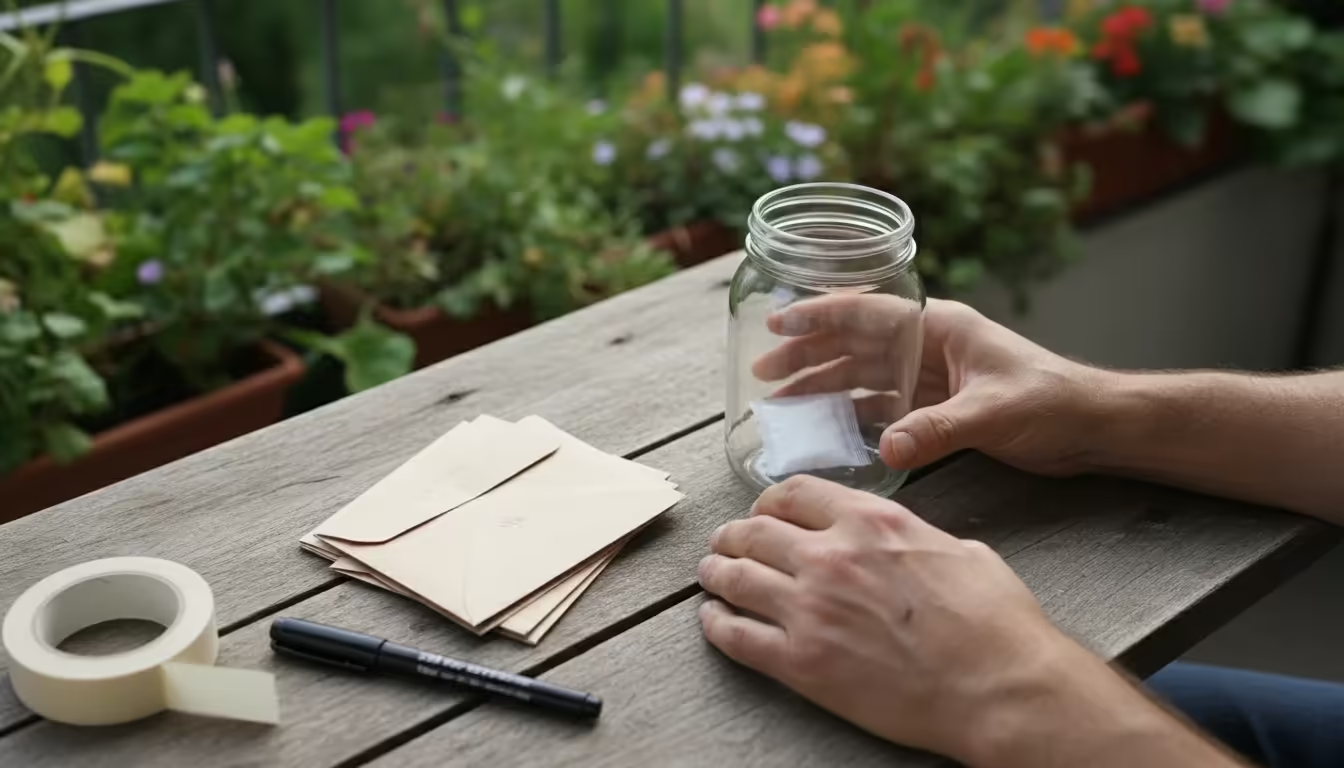
- Airtight Glass Jars: Mason jars or other glass jars with tight-fitting lids are an excellent choice. They are airtight, moisture-proof, and can be stored in the refrigerator. If the glass is clear, store these jars in a dark cupboard or wrap them in an opaque material to block light. You can even add a small packet of desiccant inside the jar for extra moisture control, especially if you live in a humid climate.
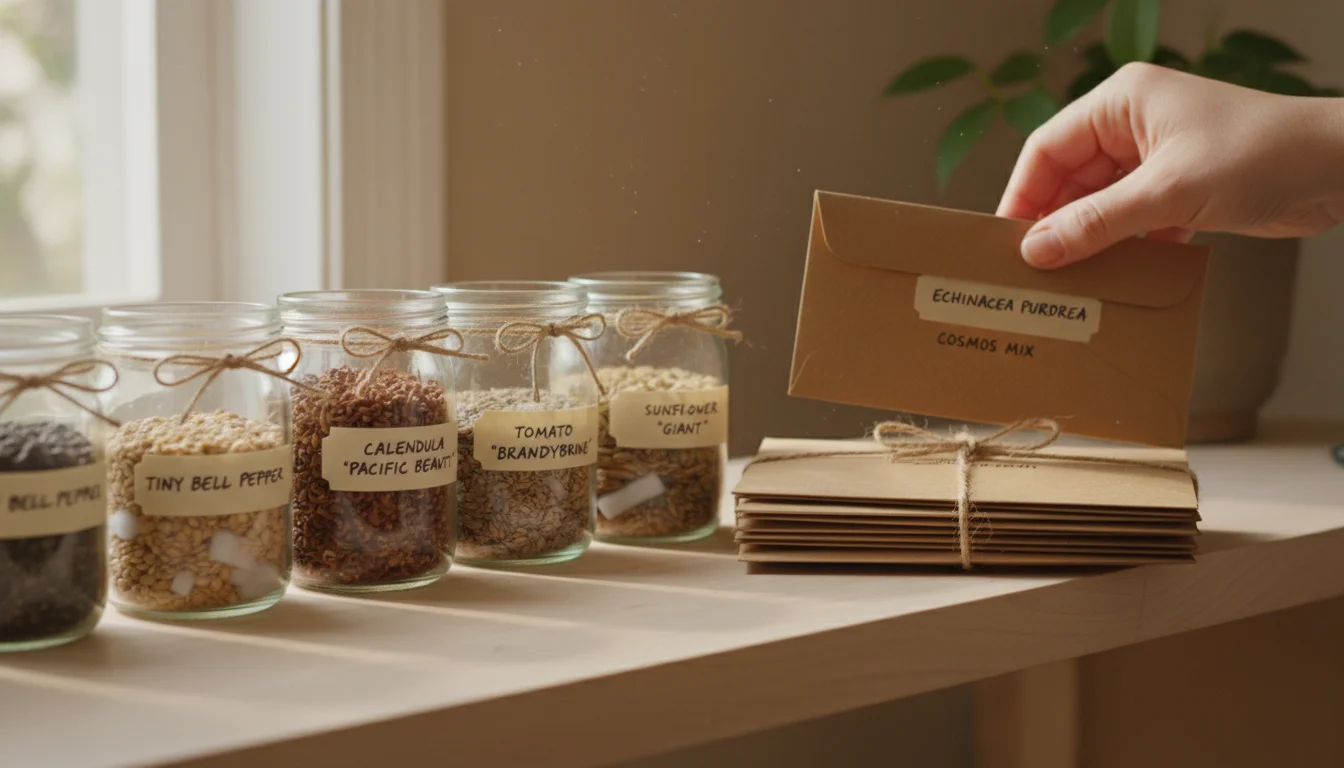
- Paper Envelopes: Small paper seed envelopes are traditional and still highly effective, particularly for dry seeds. They allow for a tiny bit of air exchange, which can be beneficial, and they are easy to label. For long-term storage, place these labeled envelopes inside a larger airtight container (like a glass jar or a sturdy plastic bin) to protect them from pests and excessive humidity.
- Sealable Plastic Bags: While useful for short-term storage, standard zip-top bags are not always completely airtight. If you use them, double-bag your seeds and place them inside a larger airtight container, especially if storing in the refrigerator, where condensation can be an issue.
The Importance of Meticulous Labeling
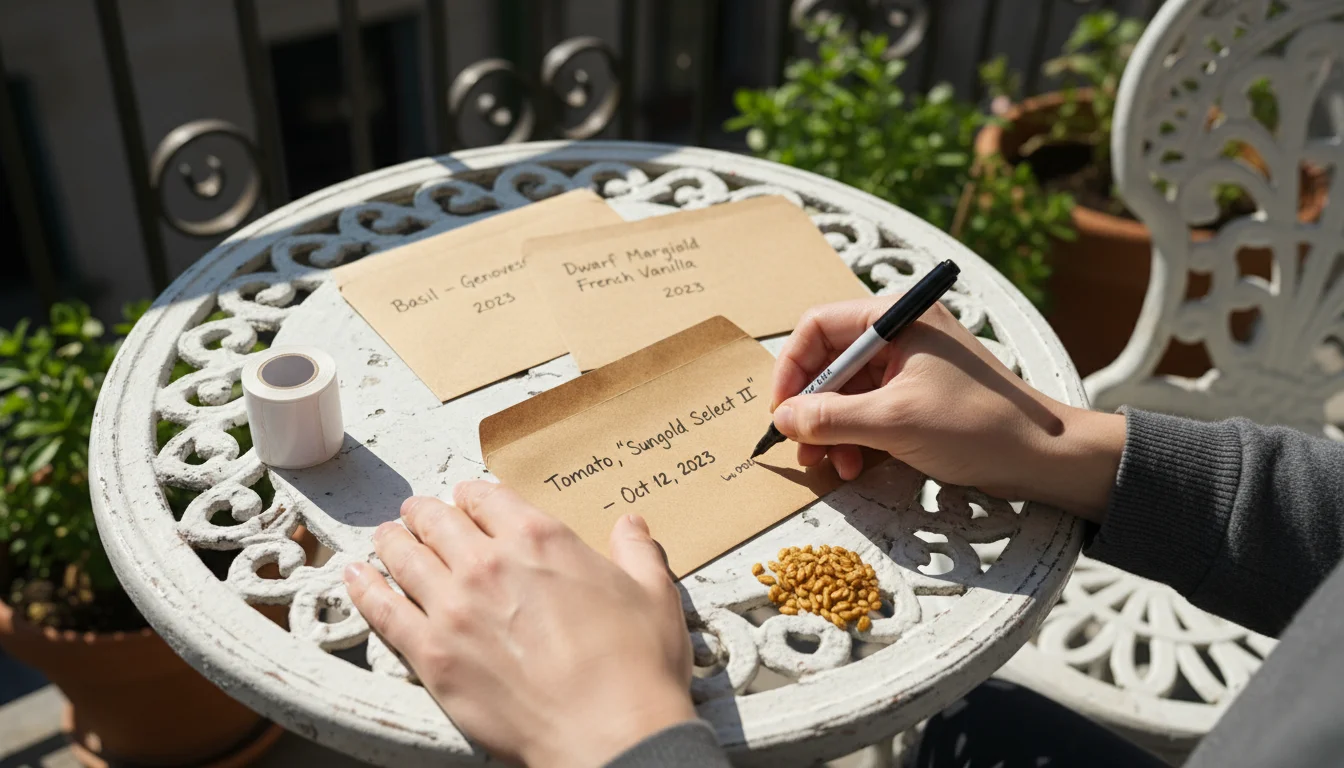
Imagine discovering a jar full of unidentified seeds next spring. Without proper labels, your careful seed-saving efforts become useless. Meticulous labeling is not just a good practice, it is mandatory for a successful seed-saving project. Each container or envelope should clearly state:
- Plant Name and Variety: For example, “Tomato, ‘Cherokee Purple’” or “Basil, ‘Genovese’.”
- Date of Harvest: This helps you track seed viability. Older seeds might still germinate, but their success rate typically declines with age.
- Notes (Optional but Recommended): You might include information such as “high yield,” “disease resistant,” or “best flavor” to remind you why you saved these particular seeds, especially helpful for selecting future parent plants.
Use a permanent marker that will not fade or smudge. For seeds stored in jars, you can write on a label affixed to the outside of the jar, or place a paper label directly inside with the seeds. Keeping an organized seed inventory, even a simple list in a notebook, further enhances your seed-saving success, making your fall gardening projects truly rewarding.
Easy Seeds to Save for Beginners in a Balcony Garden
When you are starting out with seed saving, choosing plants that reliably produce viable seeds and are relatively easy to process can make all the difference. For balcony gardeners, selecting varieties that thrive in containers and do not require extensive space for seed production is also a smart move. This section highlights some of the best candidates for your first seed-saving endeavors, ensuring a positive and rewarding experience.
Vegetables for Beginner Seed Savers
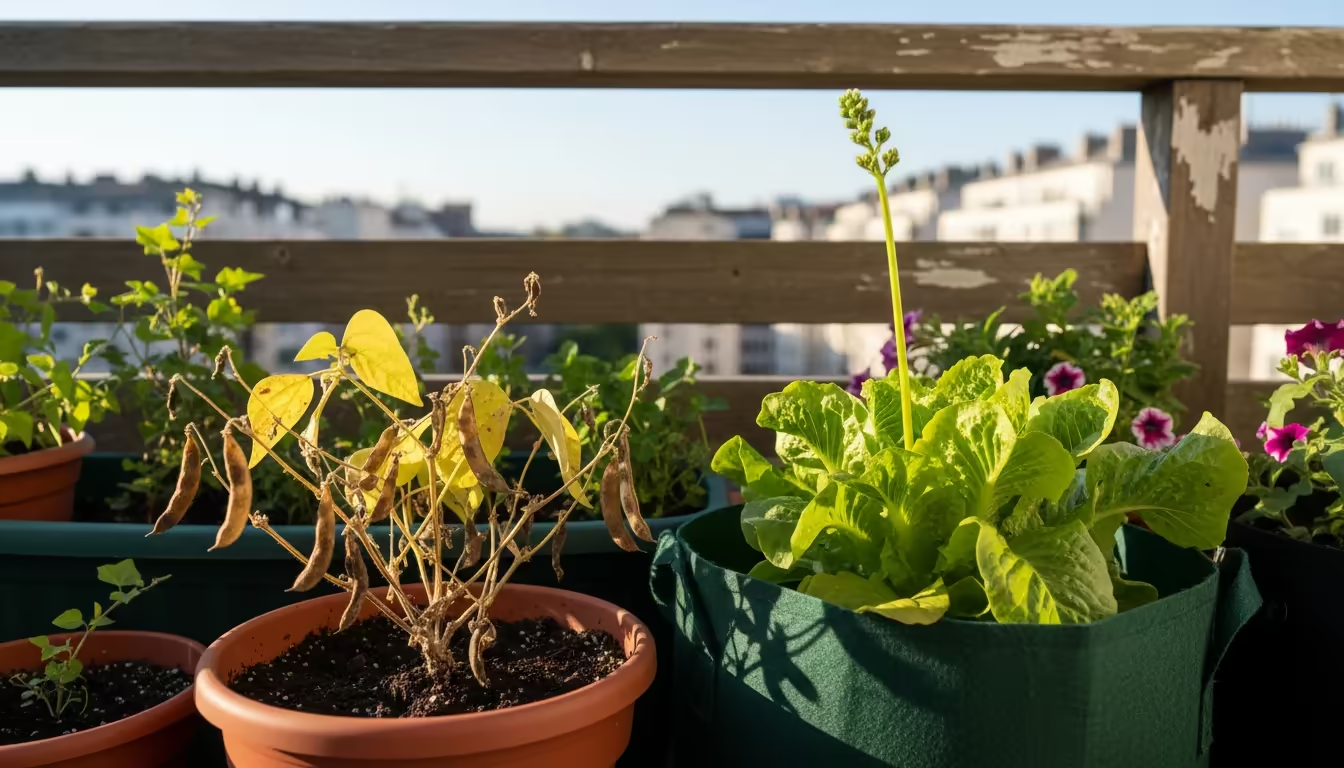
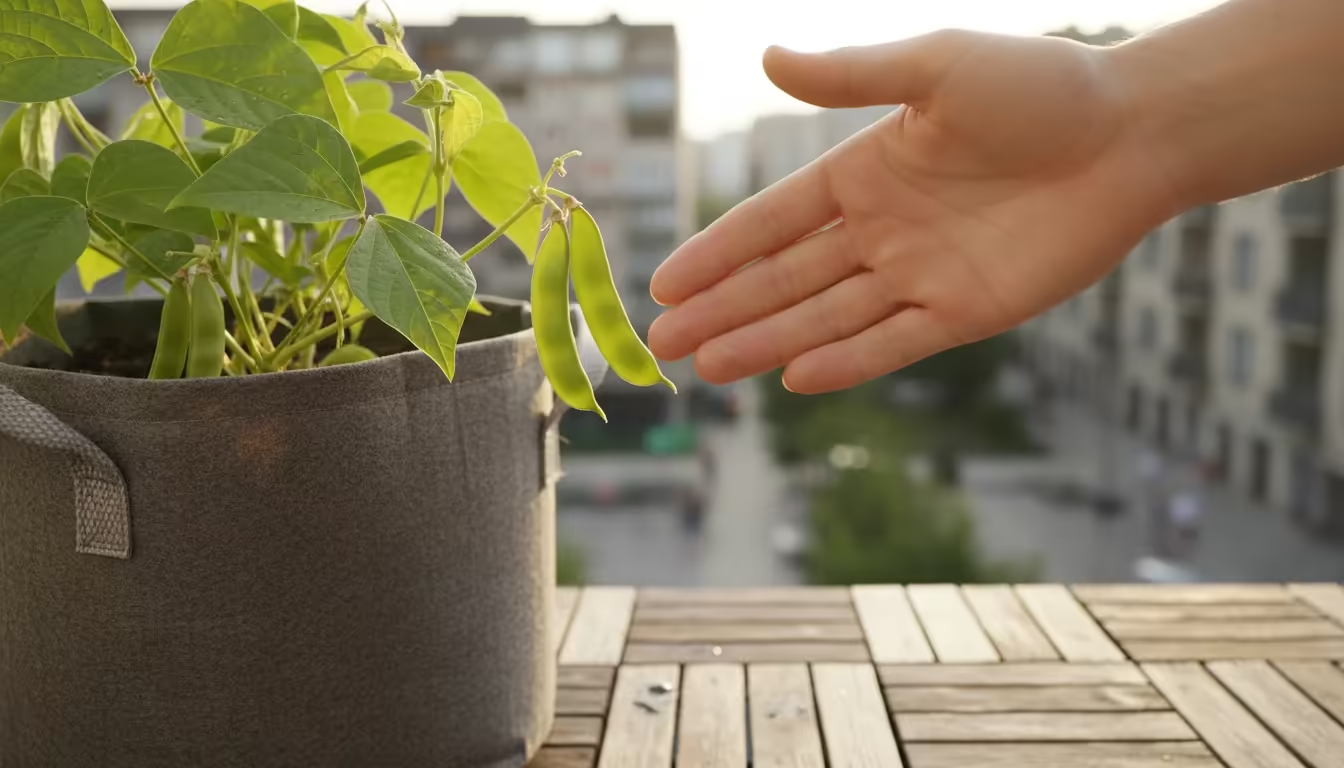
- Bush Beans and Snap Peas: These are arguably the easiest seeds to save. They are self-pollinating, meaning they produce seeds true to type without worrying about cross-pollination from other varieties. Simply allow the pods to mature fully on the plant until they dry, turn brittle, and change color (usually brown or yellow). Harvest the dry pods, shell out the beans or peas, and then ensure they are thoroughly dry before storage. Their large size makes them easy to handle.
- Lettuce (Loose-Leaf Varieties): While lettuce can cross-pollinate, if you only grow one variety of open-pollinated loose-leaf lettuce, or keep different varieties well separated on your balcony, seed saving is straightforward. Allow the plant to “bolt” (send up a flower stalk) and let the flowers mature and dry. The tiny seeds, often with feathery parachutes, are collected by gently rubbing the dried flower heads over a bowl.
- Open-Pollinated Tomatoes (Cherry and Roma Types): Many heirloom tomato varieties, especially smaller ones like cherry or Roma tomatoes, are excellent for seed saving. They are generally self-pollinating, making cross-pollination less of a concern unless you are growing multiple open-pollinated varieties very close together. You will use the fermentation method described earlier. Cherry tomatoes are particularly suitable for balconies due to their compact growth habits.
- Peppers: Both sweet and hot peppers are generally easy to save seeds from. As with tomatoes, they are mostly self-pollinating. Choose fully ripe, healthy peppers, cut them open, scrape out the seeds, and dry them thoroughly. If you grow multiple open-pollinated pepper varieties on your balcony, keep in mind they can cross-pollinate, which might lead to unexpected results in the next generation. However, this can also be a fun experiment for adventurous gardeners!
Herbs and Flowers for Seed Saving
Many herbs and flowers are also fantastic choices for beginners, adding beauty and fragrance to your balcony while providing a continuous supply of seeds.
- Dill and Cilantro: These herbs are easy to save once they go to seed. Allow the plants to flower and then let the flower heads dry completely on the plant until they turn brown and brittle. Snip the dried heads and shake them gently into a paper bag; the seeds will readily fall out.
- Basil: While a bit trickier than dill, basil seeds can be saved. Allow the flower spikes to dry out on the plant until the tiny black seeds are visible in the dried flower bracts. Gently rub the dried flower heads over a tray to release the small seeds.
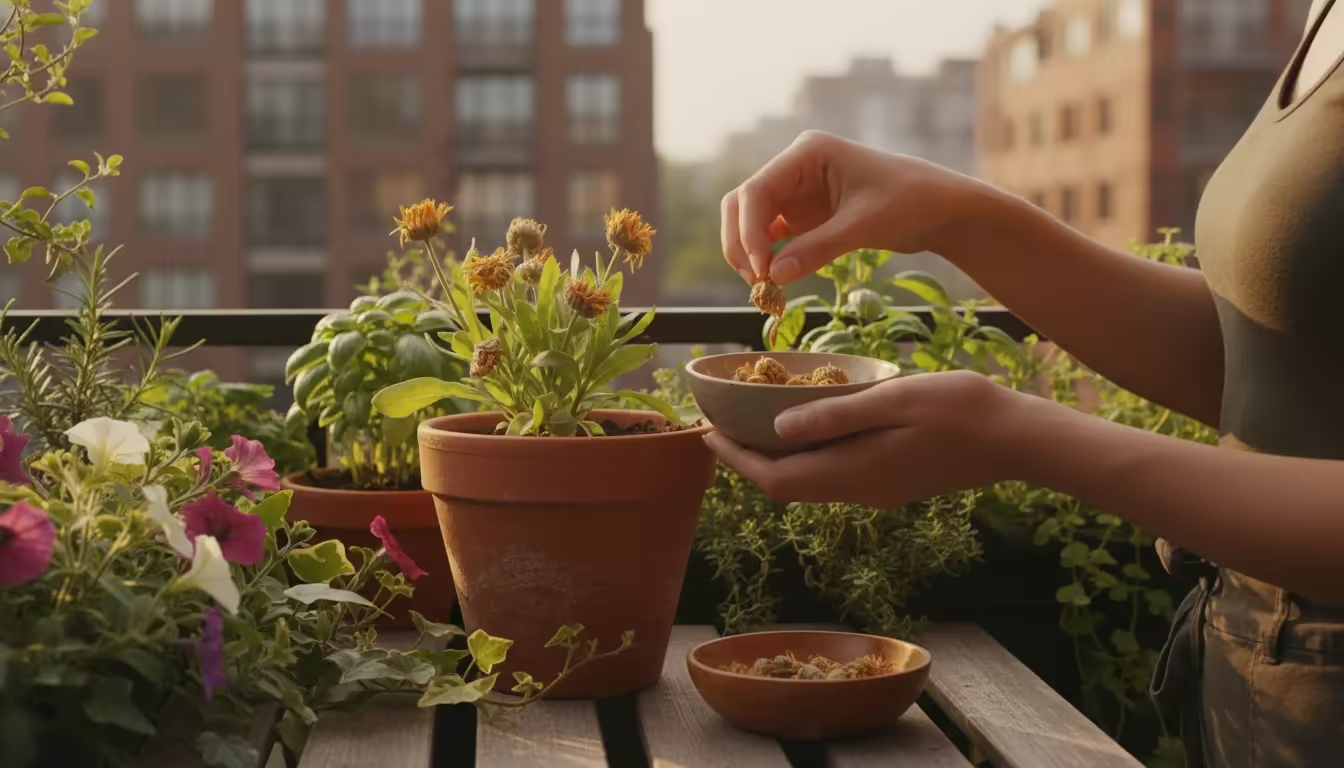
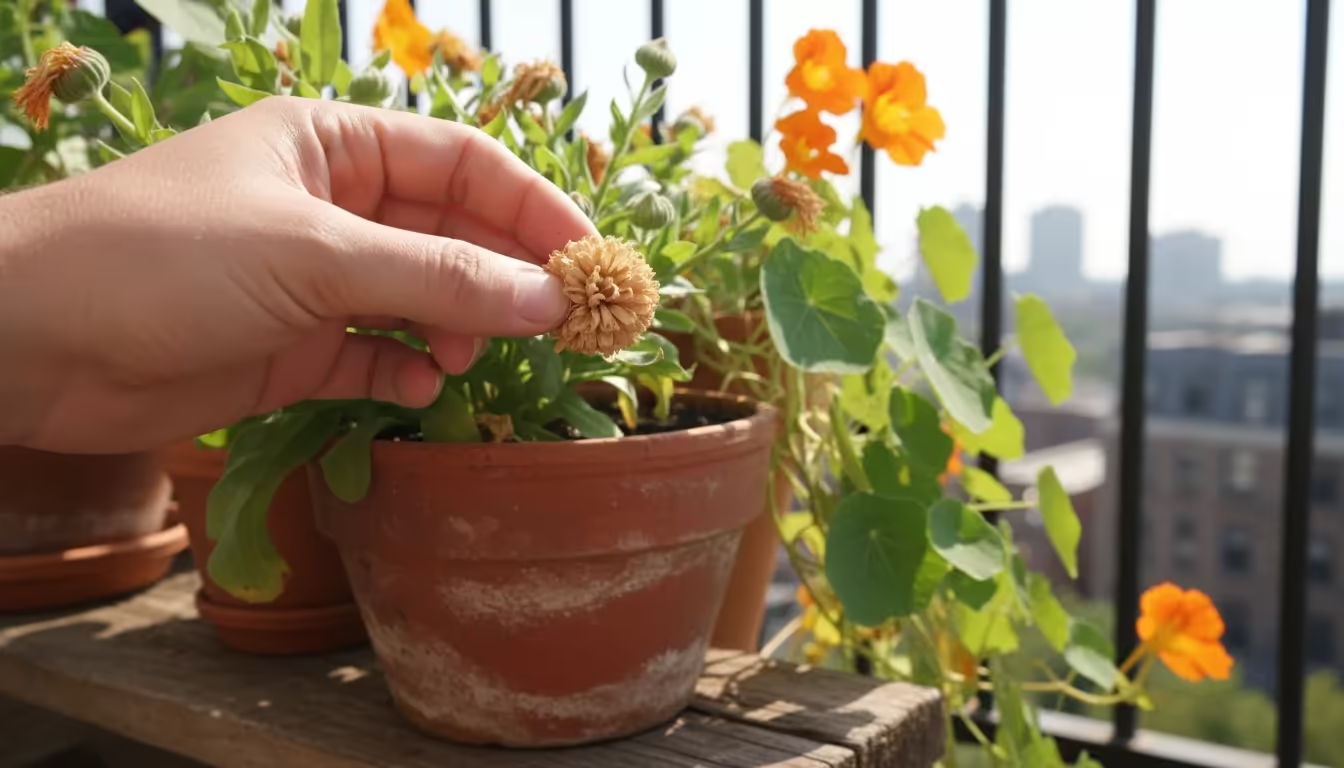
- Calendula (Pot Marigold): These cheerful flowers produce abundant, easily identifiable seeds. Let the flower heads dry on the plant until they are brown and crunchy. The seeds are C-shaped and fairly large. Simply pull them from the dried flower head.
- Marigolds: Another excellent choice for beginners, marigolds produce prolific seeds. Allow the flower heads to dry on the plant until they feel crisp. Snip the dried heads and gently pull apart the petals; the elongated seeds will be at the base of each petal.
- Nasturtiums: These edible flowers produce large, round, green seeds that dry to a light tan or brown. Allow the seeds to fully mature and drop from the plant, or collect them once they are fully dried on the plant. These are very easy to spot and collect.
Starting with these easy seeds builds confidence and skill. As you become more comfortable, you can then experiment with other, slightly more challenging varieties, gradually expanding your balcony seed-saving repertoire.
Troubleshooting and Common Mistakes to Avoid
Seed saving is a rewarding practice, but like any gardening endeavor, it comes with its own set of potential pitfalls. Knowing these common mistakes and how to avoid them will save you disappointment and ensure your efforts yield a successful harvest of viable seeds. For balcony gardeners, where space and plant numbers are often limited, maximizing the success rate of each seed saved is crucial.
Saving Seeds from Hybrid Plants
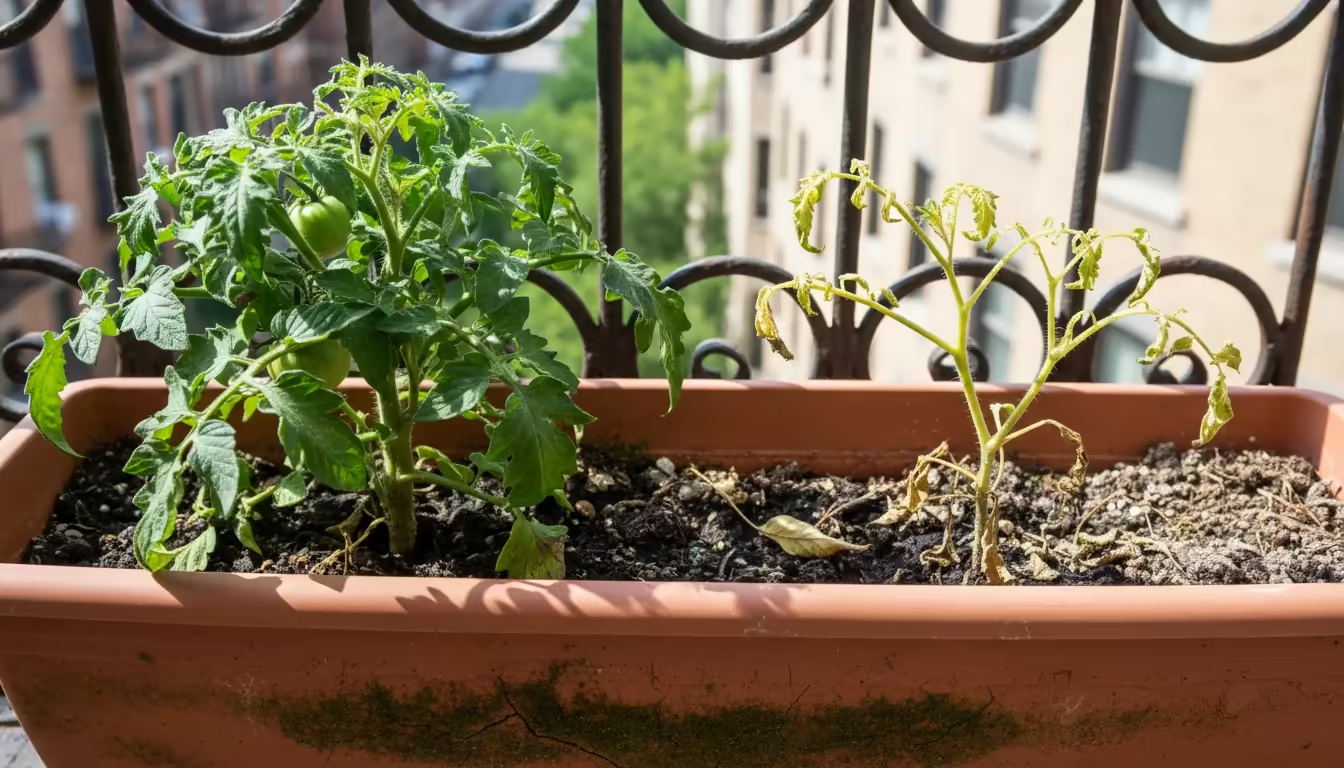
One of the most frequent mistakes beginner seed savers make is trying to save seeds from hybrid (F1) plants. As discussed earlier, hybrid plants are a cross between two distinct parent varieties. While the first generation (F1) often displays desirable traits like vigor or high yield, their offspring (F2 generation, from saved seeds) will not breed true. This means the plants you grow from these saved seeds will likely revert to characteristics of one of the original parent plants, or show a random mix of traits, often resulting in small, unproductive, or undesirable plants. Always prioritize saving seeds from open-pollinated or heirloom varieties to ensure predictable results.
Harvesting Immature Seeds
Patience is a virtue in seed saving. Harvesting seeds before they are fully mature is a guaranteed way to end up with non-viable seeds. Immature seeds simply lack the developed embryo and stored food reserves necessary for germination. Resist the temptation to harvest too early, even if frost is threatening. For most dry-seeded plants, this means allowing pods to dry completely on the plant until they are brittle and brown. For wet-seeded plants like tomatoes or peppers, the fruit must be fully ripe, often beyond the stage you would typically eat it. A good rule of thumb: if you are unsure, leave it on the plant a little longer.
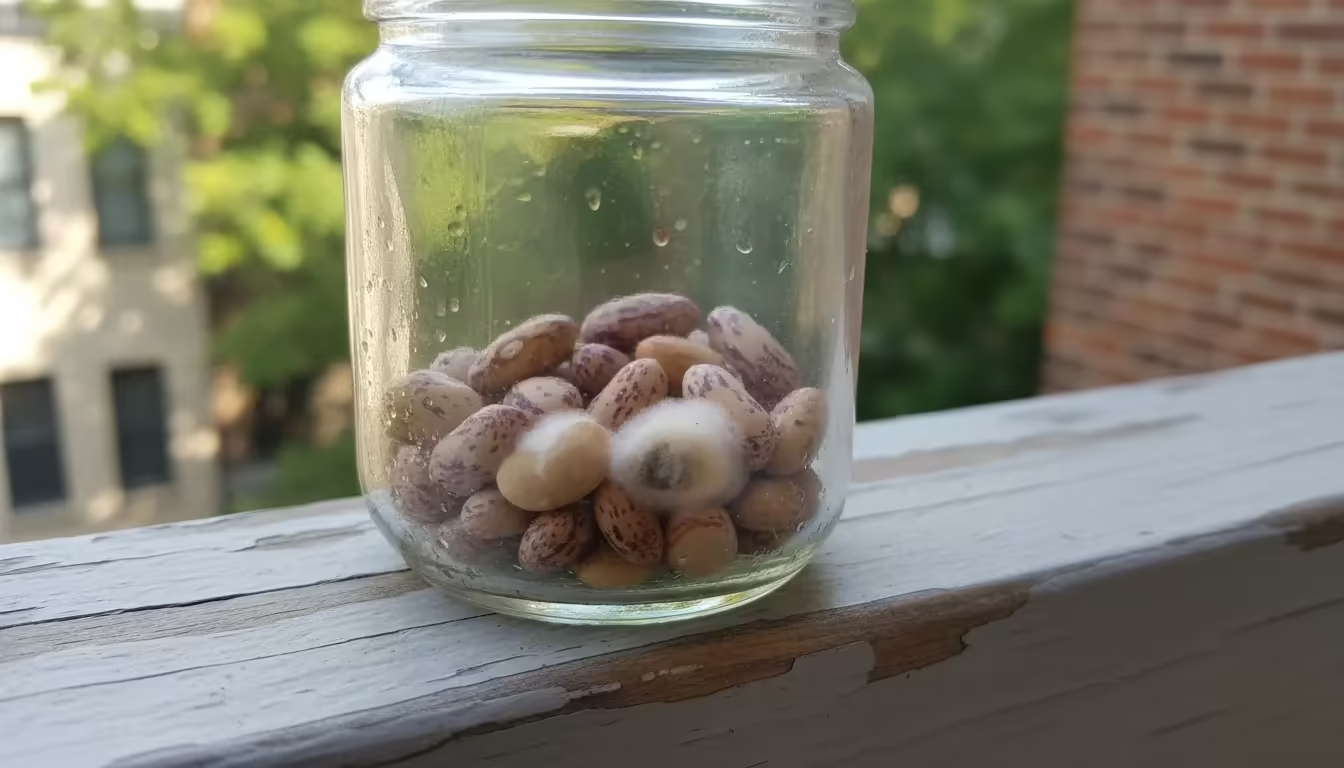
Incomplete Drying Leading to Mold and Rot
Moisture is the archenemy of stored seeds. If seeds are not completely and thoroughly dry before storage, they are highly susceptible to mold, mildew, and rot. These fungi will quickly destroy the embryo, making the seeds useless. Even a small amount of residual moisture can significantly reduce viability or cause the seeds to sprout prematurely in storage. Always ensure your seeds are crisp, hard, and brittle before sealing them away. If you are unsure, err on the side of over-drying. A simple way to check is the “snap test” for larger seeds (they should snap, not bend) or the “tap test” in an airtight jar to check for condensation.
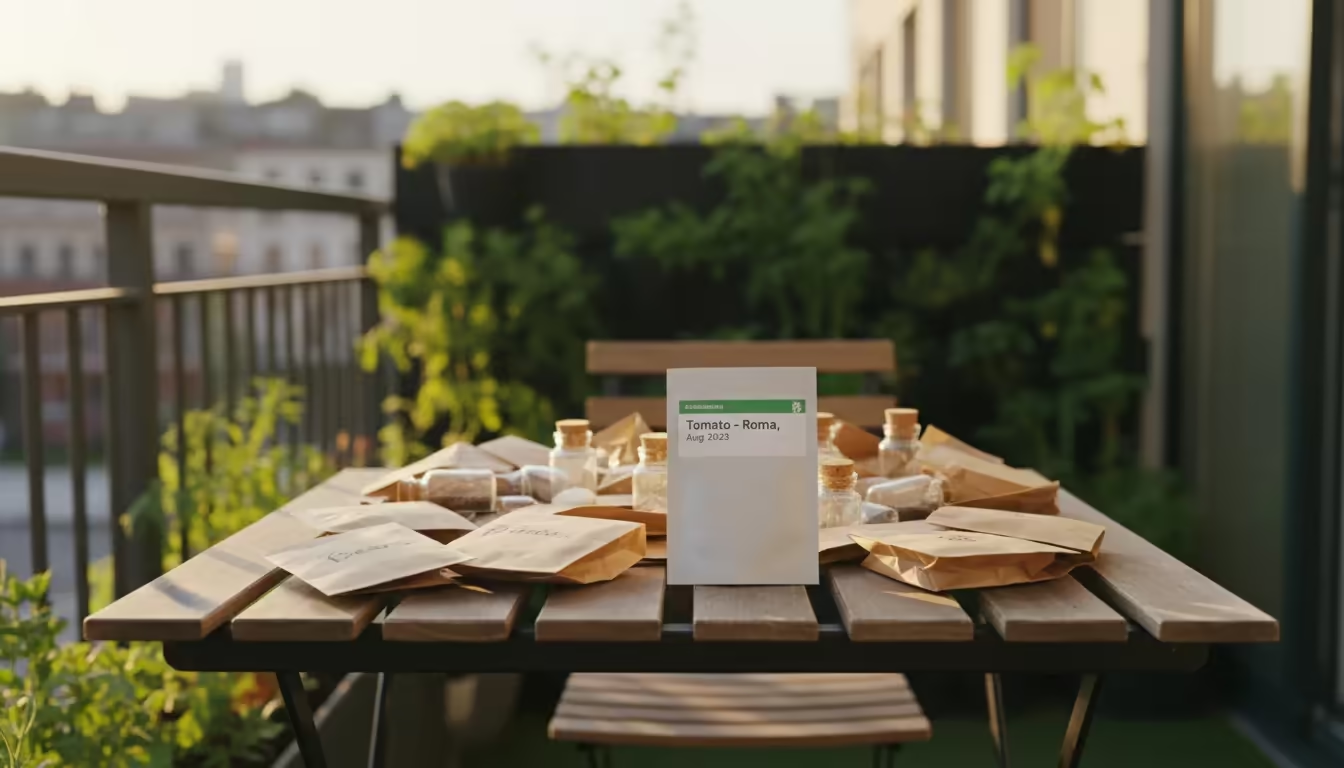
Poor Labeling or No Labeling
It seems like a minor detail, but failing to properly label your saved seeds is a major setback. You might think you will remember which seeds are which, but after a few months, or with multiple varieties, confusion is inevitable. Without labels, your hard work becomes a mystery. Always label immediately after cleaning and before drying or storage. Include the plant name, specific variety, and the date you harvested the seeds. This allows you to track viability and make informed decisions about future planting. For instance, knowing that a batch of beans from 2023 had a 90% germination rate versus a batch from 2021 with 50% helps you decide which to plant first.
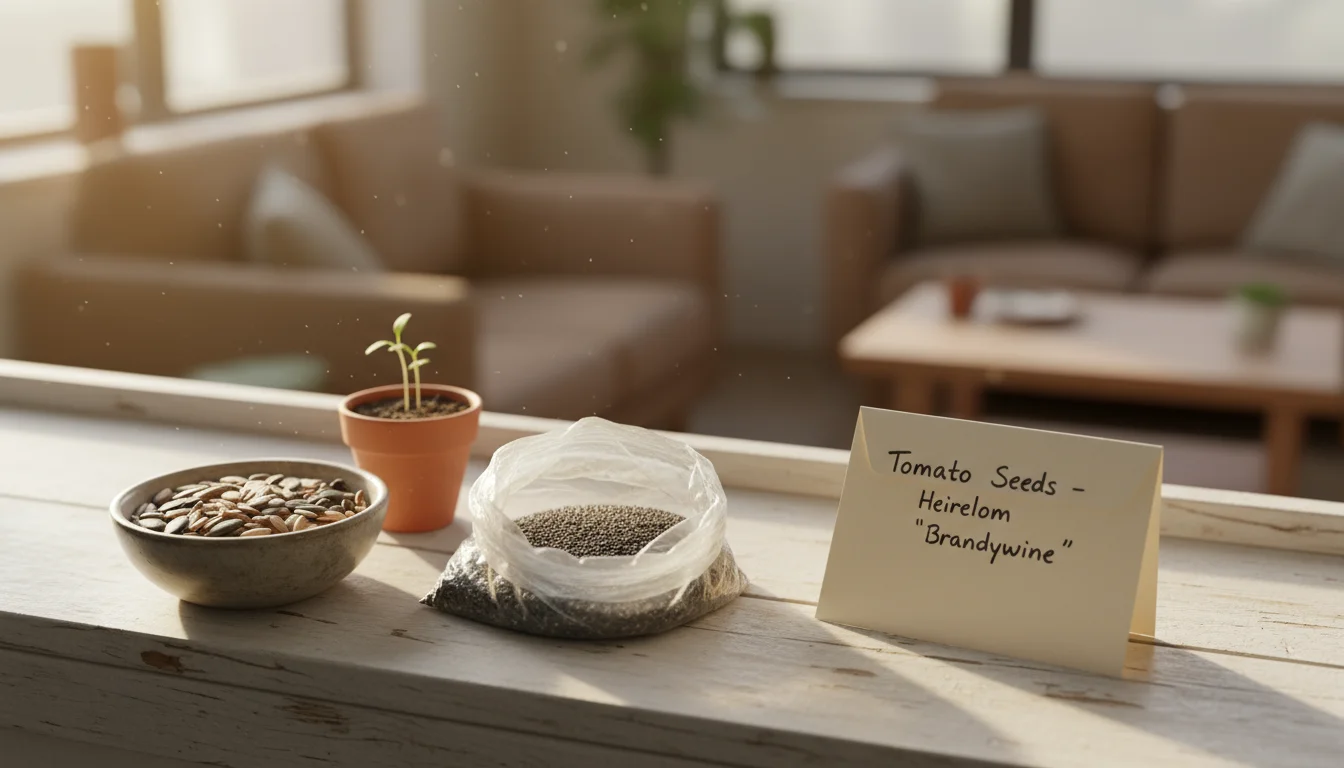
Inadequate Storage Conditions
Even perfectly dried and labeled seeds will degrade quickly if not stored in the right environment. Exposure to heat, light, and humidity rapidly depletes a seed’s viability. Storing seeds in a warm, sunny windowsill, in a damp shed, or in an unsealed container will shorten their lifespan dramatically. Remember the “cool, dark, and dry” mantra. An airtight container in a dark cupboard, a closet, or a refrigerator provides optimal conditions. Avoid storing seeds near heat sources like appliances or in areas with fluctuating temperatures and humidity, such as directly in a kitchen.
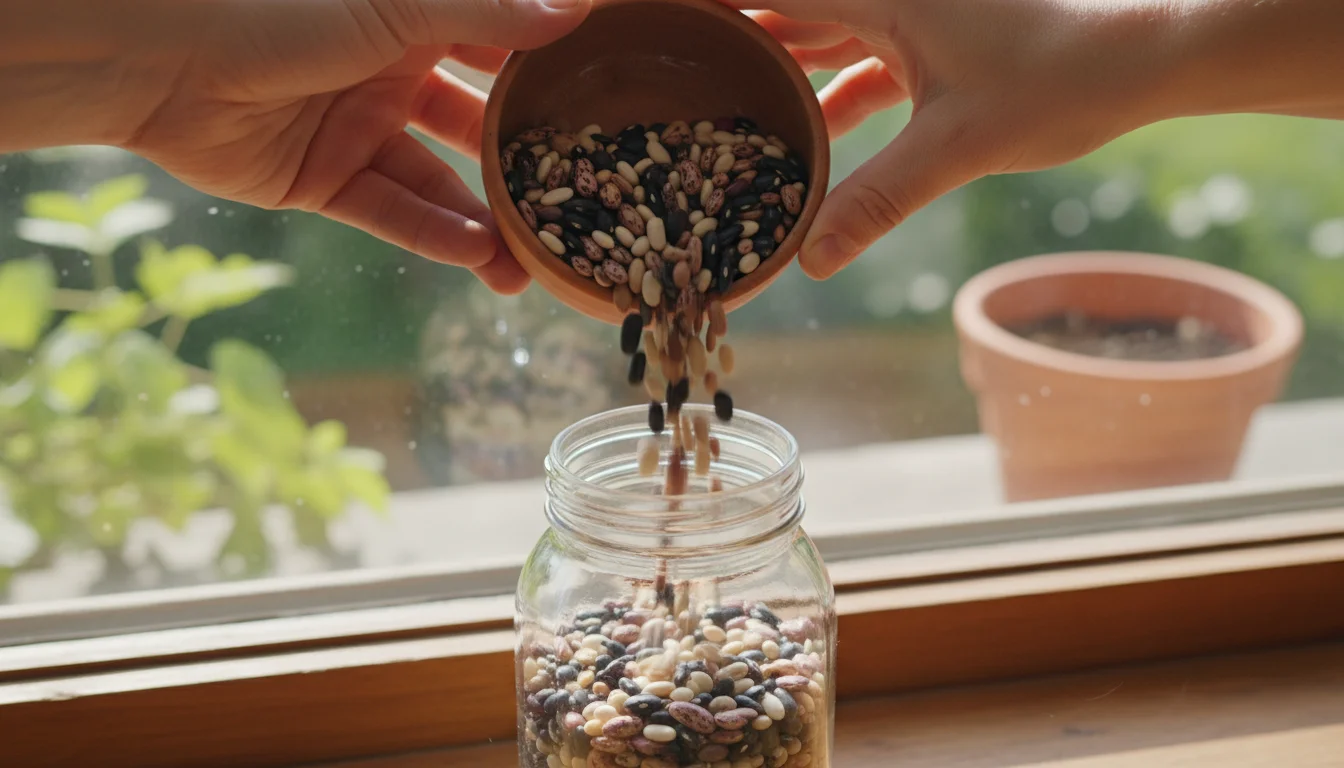
Not Saving Enough Seeds
For your balcony garden, you might only have one or two plants of a particular variety. To ensure you have enough viable seeds for next season, and as a safeguard against a low germination rate, always aim to save seeds from several healthy parent plants if possible. If you only have one plant, save as many seeds as you can. It is always better to have an excess of seeds than to discover you have too few or that they do not germinate well.
By being mindful of these common mistakes, you equip yourself to become a more successful and confident balcony seed saver, ensuring your fall gardening projects lay the groundwork for a thriving garden next spring.
Frequently Asked Questions
Can I save seeds from store-bought fruit or vegetables?
You can try saving seeds from store-bought fruits or vegetables, but often the results are unpredictable. Most commercial produce, especially varieties found in grocery stores, are hybrids (F1). As discussed, seeds from hybrids do not breed true, meaning the plants you grow from them will likely not resemble the parent plant and might produce poor quality or no fruit at all. Additionally, some store-bought produce may have been treated to prevent sprouting. For reliable results, always prioritize saving seeds from open-pollinated or heirloom varieties grown in your own garden or purchased from reputable seed suppliers.
How long do saved seeds remain viable, and how can I test them?
The viability of saved seeds varies widely depending on the plant type and, critically, on storage conditions. For example, onion seeds typically last only 1-2 years, while tomato and bean seeds can remain viable for 3-5 years or even longer when stored properly. Corn can last 2-3 years, and lettuce 3-5 years. The “cool, dark, and dry” storage method significantly extends viability. To test viability, perform a simple germination test. Place 10 seeds on a damp paper towel, roll it up, place it in a plastic bag to maintain moisture, and keep it in a warm spot. Check daily for sprouting. After the typical germination period for that seed type, count how many sprouted. If 7 out of 10 sprout, you have a 70% germination rate, which helps you decide how thickly to sow them next season.
What if my balcony plants are close together? Can they cross-pollinate?
Yes, cross-pollination can occur if you grow different varieties of the same plant species close together, especially if they are open-pollinated. Insects and wind can carry pollen between plants. For example, if you grow two different open-pollinated squash varieties on your balcony, their seeds might produce offspring with mixed characteristics. Self-pollinating plants like beans, peas, and tomatoes (most varieties) are less prone to cross-pollination. If you are serious about maintaining varietal purity for open-pollinated plants, you might need to grow only one variety of that species for seed saving, or hand-pollinate and protect the blossoms, though this is often more involved than a beginner might wish for a small-space garden. For many beginners, a little cross-pollination can be a fun surprise!
Do I need to clean seeds perfectly, or is some debris acceptable?
While you do not need surgical precision, cleaning seeds thoroughly is highly recommended. Removing all pulp, chaff, and debris is important for several reasons. First, it prevents mold and mildew from developing during storage, as organic matter can hold moisture and encourage fungal growth. Second, it reduces the risk of carrying over seed-borne diseases from the parent plant. Third, clean seeds are easier to handle, sort, and sow. A small amount of benign debris is unlikely to cause significant harm, but striving for clean seeds ensures better long-term storage and higher germination success.
Disclaimer: This article is for informational purposes only and is not a substitute for professional gardening advice. Always consult local extension services or horticulture experts for region-specific guidance.
For trustworthy gardening information, visit:
New York Botanical Garden, ASPCA Animal Poison Control and Michigan State University Extension — Gardening. These organizations provide expert, research-based advice for gardeners at all levels.
Leave a Reply