
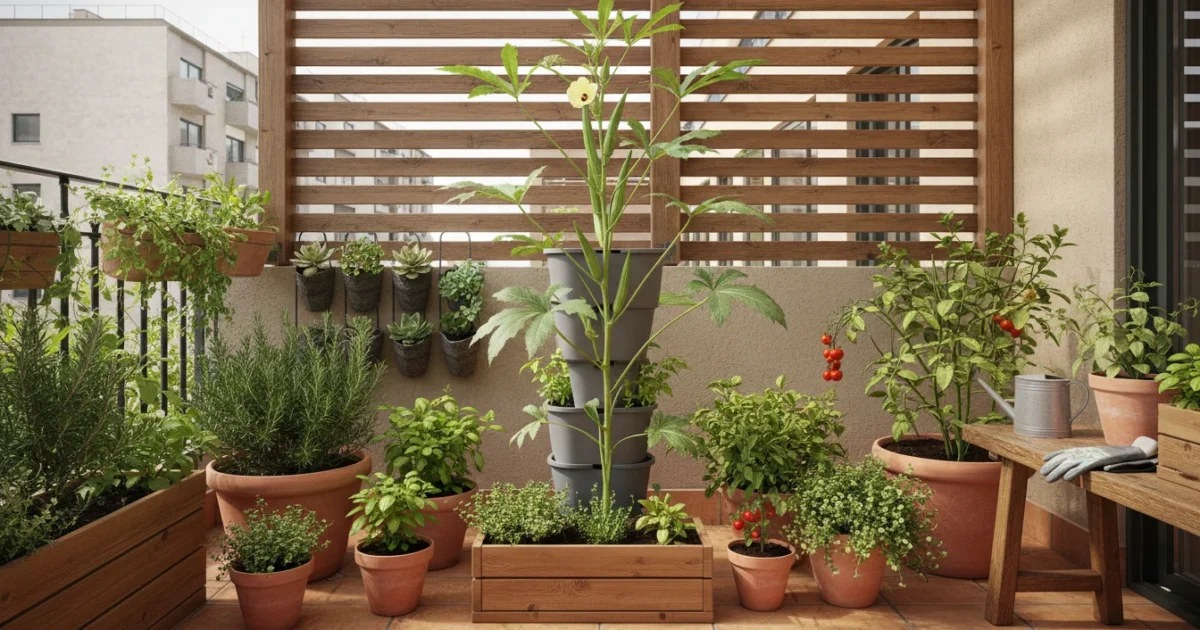
Do you dream of fresh, home-grown vegetables, but your gardening space feels limited to a sunny balcony or a small patio? Many urban gardeners face this challenge, believing a bountiful harvest requires extensive ground. However, an often-overlooked plant, the resilient okra, defies these assumptions, proving itself a true “skyscraper veggie” perfectly suited for compact, sun-drenched environments. This guide shows you exactly how to cultivate delicious okra pods in a single deep pot, even on the hottest balcony, transforming your small space into a productive edible oasis.
Why Okra Is Your Balcony’s Next Star Performer
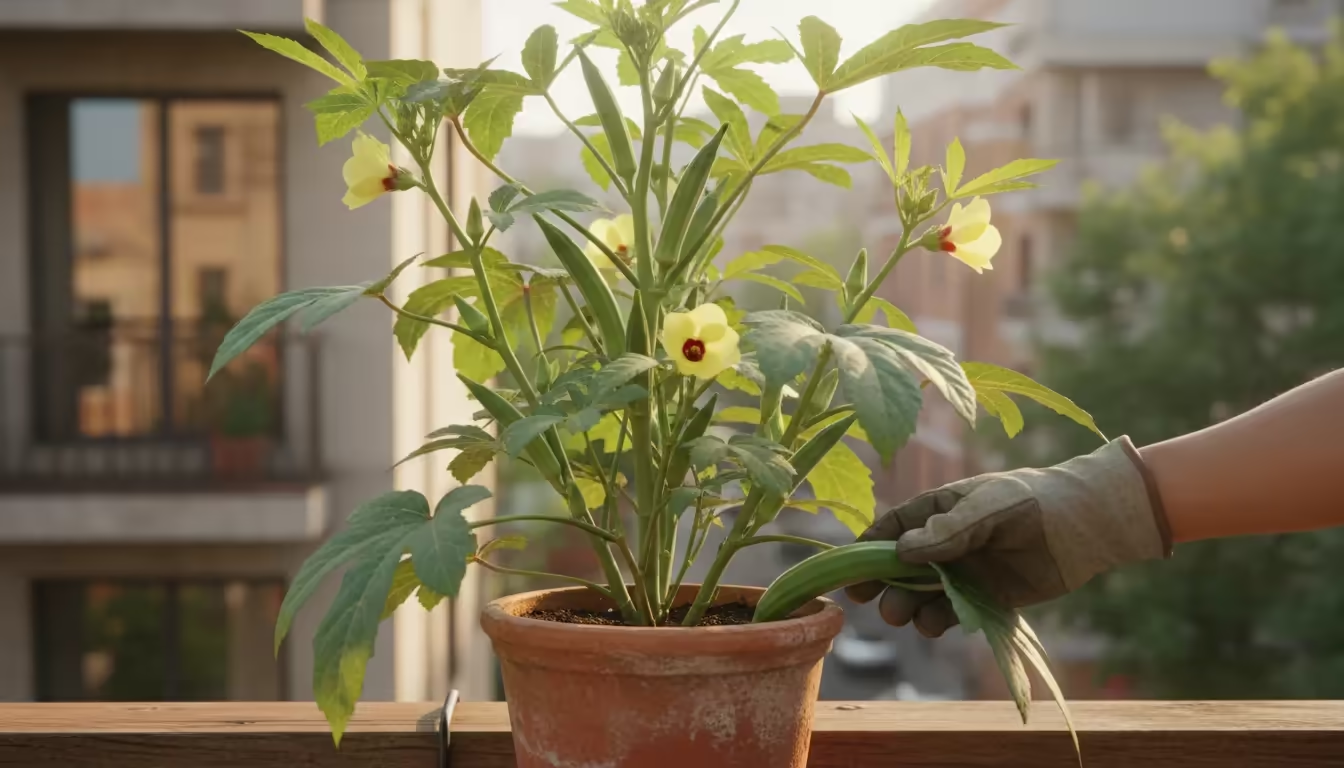
Many urban gardeners instinctively gravitate towards tomatoes or peppers for their sunny balconies. While these are excellent choices, okra offers a unique set of advantages that make it an exceptional candidate for small-space, heat-intensive environments. As a truly heat loving vegetable, okra thrives where many other plants wilt, producing a consistent yield through the peak of summer. Imagine fresh, tender okra pods, picked moments before they hit your pan, all from a single pot on your balcony.
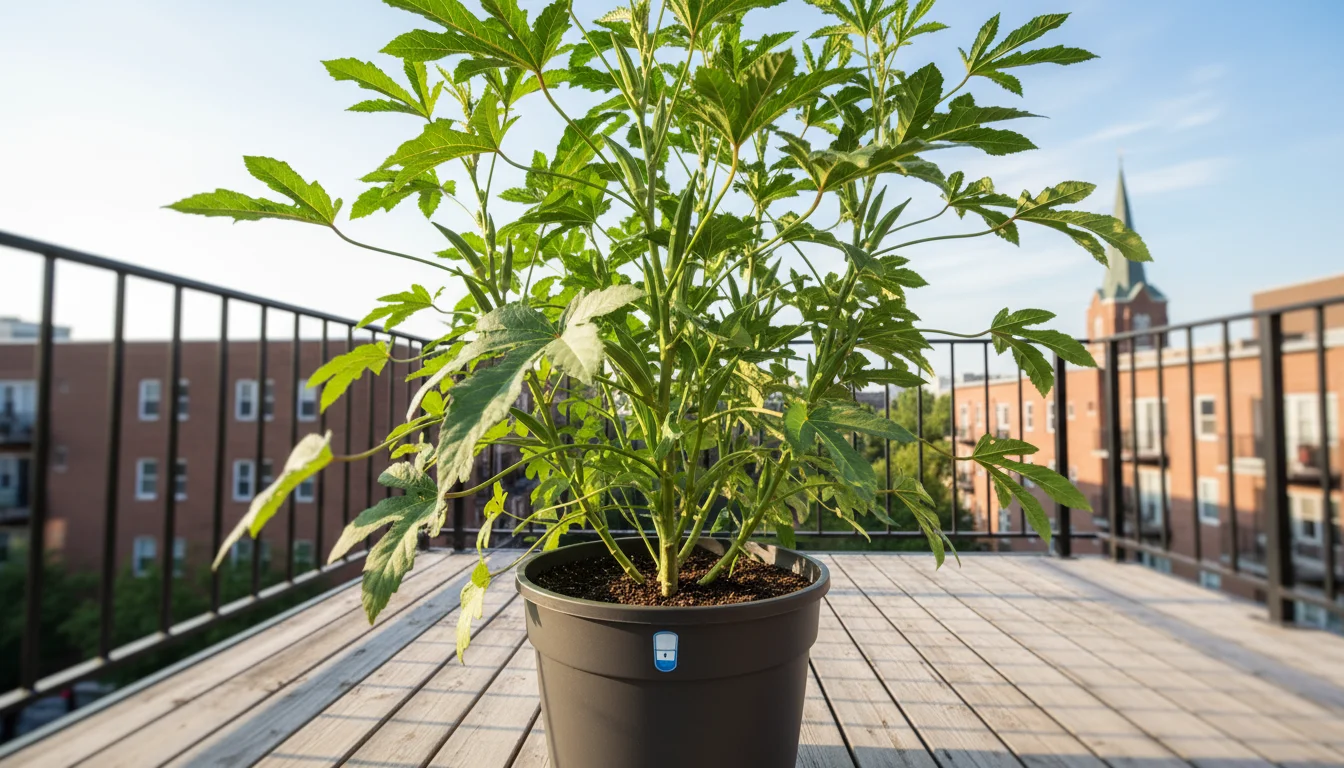
Okra’s growth habit makes it ideal for containers. It grows vertically, rather than spreading outwards, earning its “skyscraper veggie” nickname. This means it efficiently uses vertical space, which is often the only available dimension in urban settings. Its deep taproot allows it to anchor itself effectively in a sufficiently sized pot, ensuring stability even as the plant grows tall and productive. You get a steady supply of nutritious pods without needing a sprawling garden bed.
Beyond its space-saving form, okra is surprisingly low-maintenance. Once established, it requires consistent watering and adequate sunlight, but it is generally forgiving. This makes it a fantastic choice for beginner gardeners looking to build confidence without overwhelming demands. You will find success with okra even if your previous gardening attempts felt challenging.
Furthermore, okra offers aesthetic appeal. Its hibiscus-like flowers are beautiful, adding a touch of tropical elegance to your balcony before transforming into edible pods. It is a plant that gives back in multiple ways: culinary, decorative, and a sense of accomplishment.
Consider the practical benefits:
- Vertical Growth: Maximizes limited footprint.
- Heat Tolerance: Thrives in full sun and high temperatures, perfect for hot balconies.
- Continuous Harvest: Produces pods over several weeks, providing a steady supply.
- Drought Resilience: Established plants tolerate short periods of dryness better than many other vegetables.
- Pest Resistance: Generally robust against common garden pests when healthy.
- Pollinator Friendly: Its beautiful flowers attract beneficial insects.
For those interested in urban gardening, okra represents an exciting opportunity to grow something unique and productive in very constrained spaces. Its ability to perform well in single containers, enduring direct sun and radiant heat often found on balconies, positions it as a top contender for your next container gardening project.
Choosing the Best Okra Varieties for Small Spaces
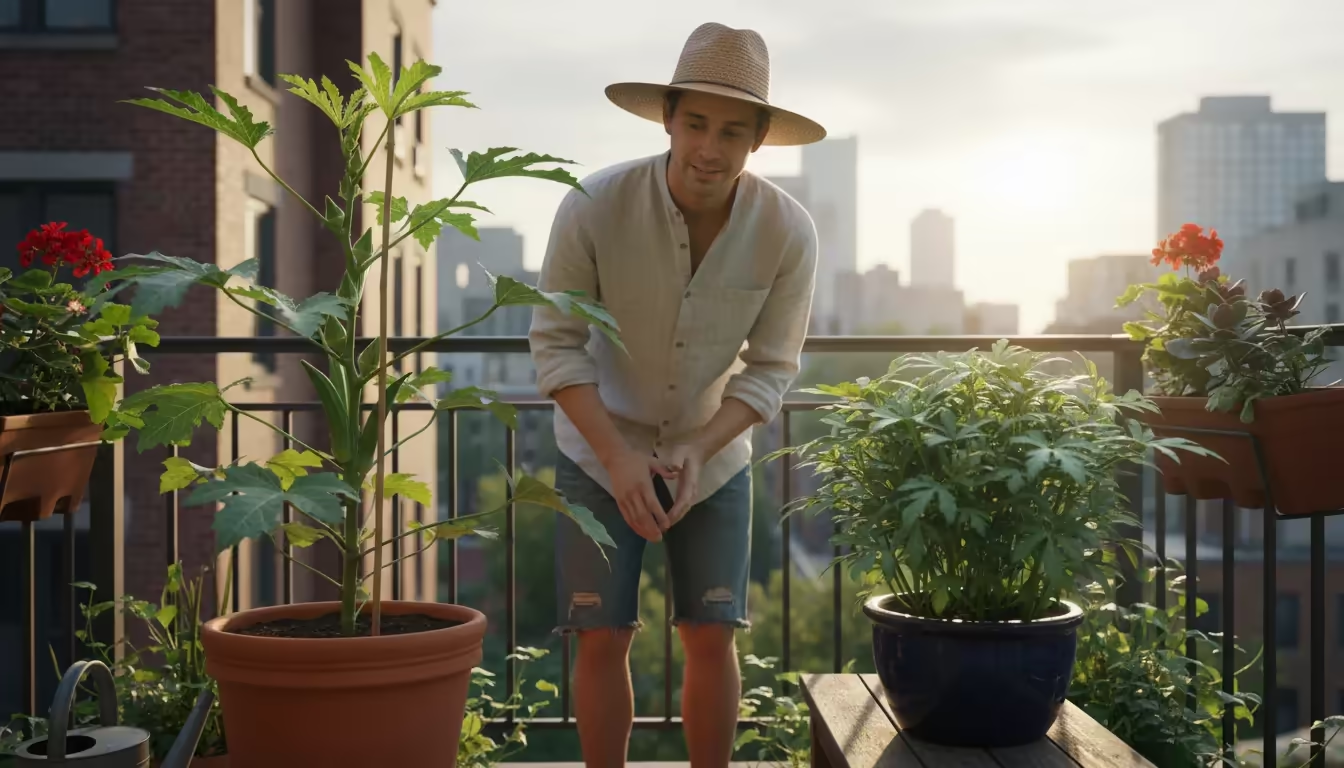
While most okra varieties eventually grow quite tall, reaching heights of 5 to 7 feet in ideal conditions, several cultivars are better suited for growing okra in pots due to their more compact growth habit or earlier production. Selecting the right variety is crucial for success on a balcony, ensuring you get a manageable plant that still produces plenty of pods.
Here are some excellent okra varieties for small spaces:
- ‘Clemson Spineless’: This is a classic, widely popular variety known for its tender, spineless pods and high yield. While it can grow tall, it is a robust producer that adapts well to large containers. Keep in mind you may need to provide some staking if it gets particularly leggy in windy conditions.
- ‘Louisiana Green Velvet’: Offers tender, dark green pods without the irritating spines found on some older varieties. It is a vigorous grower but responds well to container culture with consistent harvesting.
- ‘Burgundy’: A beautiful variety with striking red stems, leaves, and pods. ‘Burgundy’ adds ornamental value to your balcony, making it a functional and attractive plant. Its pods turn green when cooked. It generally stays a bit more compact than ‘Clemson Spineless’.
- ‘Cajun Delight’: An All-America Selections winner, ‘Cajun Delight’ is praised for its early production and slightly shorter stature, typically reaching 3 to 4 feet. This makes it an excellent choice for containers where space is truly at a premium. Its pods are tender and flavorful.
- ‘Star of David’: Known for its large, ribbed pods and often robust growth, this variety can be managed in a large container. It may require more diligent harvesting to keep pods tender, as they can quickly become tough if left on the plant too long.
When selecting seeds, look for descriptions that mention “compact,” “bush,” or “early maturing,” as these traits often correlate with better performance in containers. Remember, even with these varieties, consistent harvesting encourages more production, which you will learn more about later.
The Perfect Home: Selecting Your Pot and Soil Mix
Your okra plant’s success hinges significantly on providing it with the right container and a high-quality growing medium. These choices directly impact drainage, nutrient availability, and root development, all critical factors when you are growing okra in pots on a hot balcony.
Container Size and Material
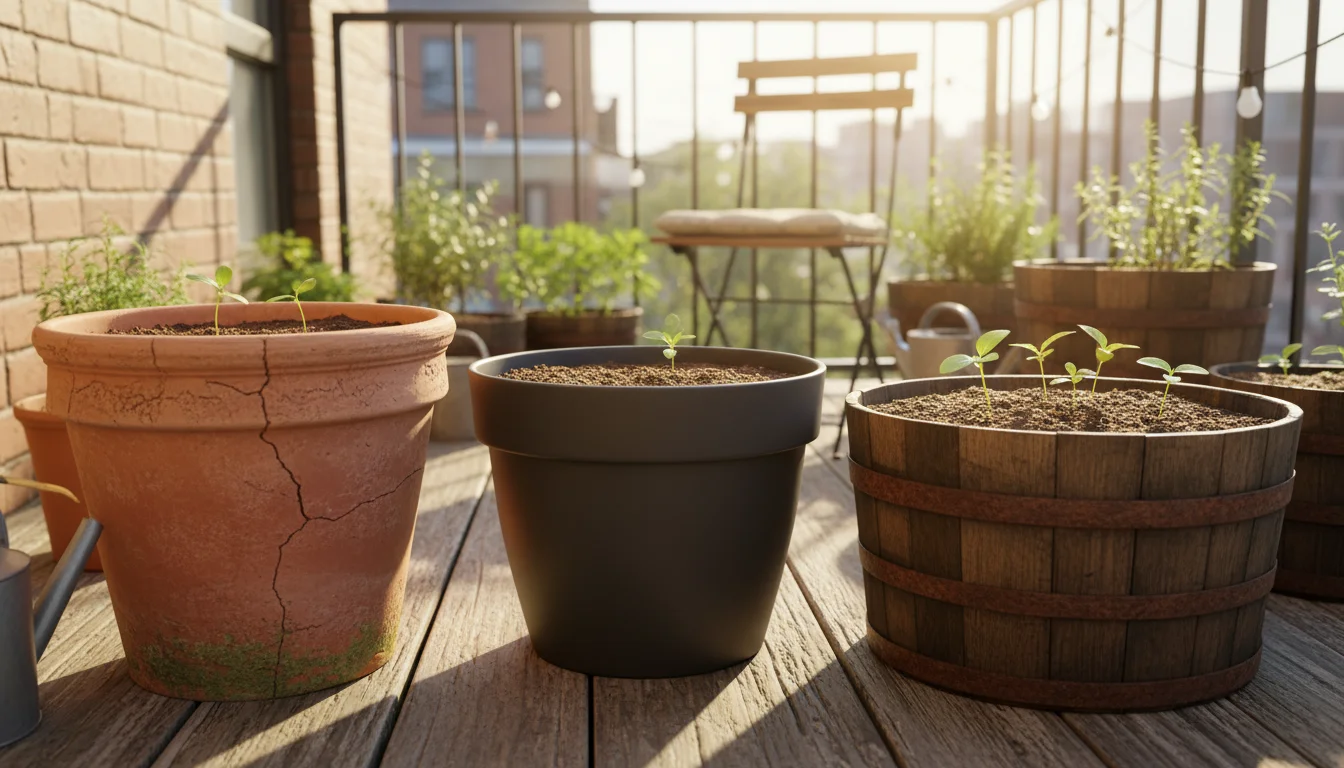
Okra plants develop a strong taproot, meaning they need depth more than extreme width. For a single okra plant, aim for a pot that is at least 15 inches in diameter and 15-20 inches deep. Larger is always better, as it provides more soil volume, which translates to more consistent moisture and nutrient availability, reducing how often you need to water. A 5-gallon container is a good minimum, but a 10-gallon or half whiskey barrel size is even better for optimal growth and yield.
Consider these options for pot materials:
- Terracotta or Clay Pots: These are attractive and allow excellent air circulation to the roots. However, they are porous, meaning water evaporates quickly. On a hot balcony, this might require daily or even twice-daily watering, especially during peak summer.
- Plastic Pots: Lightweight and retain moisture well, reducing watering frequency. Darker colors can absorb more heat, potentially warming the soil excessively on a scorching balcony, so lighter colors are often preferred. Ensure they have ample drainage holes.
- Fabric Grow Bags: An excellent choice for urban gardeners. They provide superior air circulation, preventing root circling and promoting a healthier root system. They are also lightweight, foldable for storage, and regulate soil temperature better than plastic. Opt for thick, durable fabric bags for longevity.
- Wooden Planters: Offer good insulation for roots and can be aesthetically pleasing. Ensure they are treated for outdoor use and have proper drainage.
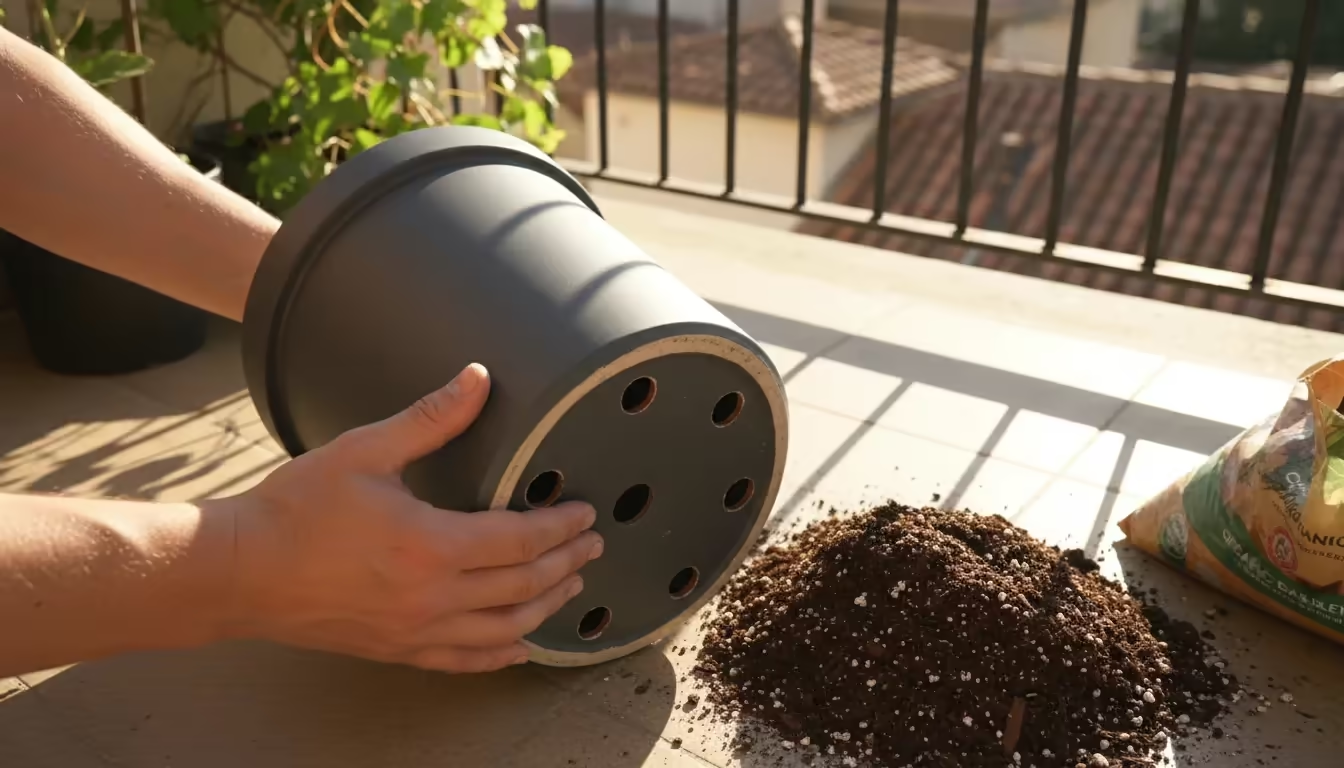
Crucially, regardless of material, your pot must have adequate drainage holes at the bottom. Without them, water collects, suffocating roots and leading to root rot. If your pot lacks sufficient holes, you can often drill more using an appropriate drill bit.
The Ideal Soil Mix for Container Okra
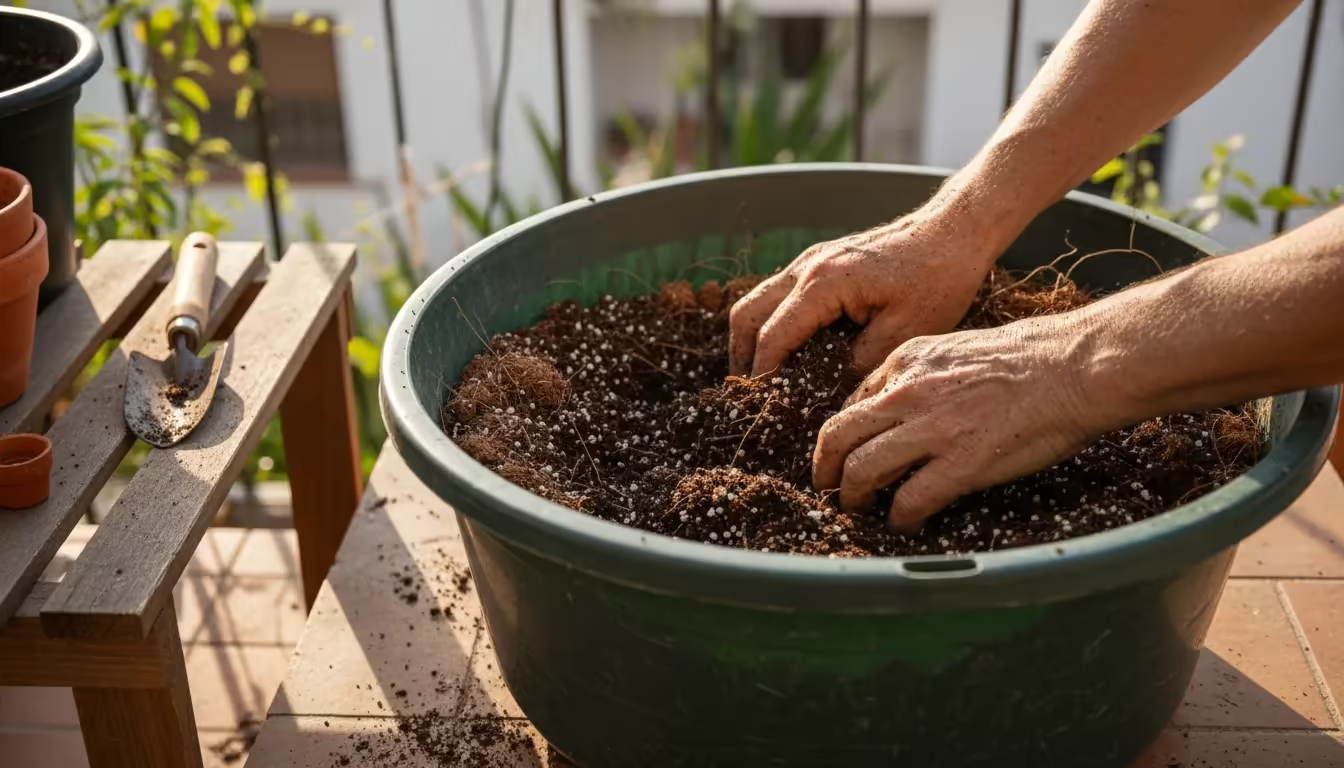
Container soil is fundamentally different from garden soil. Garden soil compacts too easily in pots, restricting root growth and drainage. You need a well-draining, nutrient-rich potting mix that provides aeration and holds moisture without becoming waterlogged.
Using heavy garden soil instead of a tailored potting mix is one of the most common balcony garden mistakes beginners make, often suffocating delicate container roots.
Here is what to look for or how to create your ideal mix:
- High-Quality Potting Mix: Start with a premium, all-purpose potting mix specifically designed for containers. These mixes typically contain peat moss or coir, perlite or vermiculite for aeration, and some initial nutrients.
- Enhance Drainage: Even good potting mixes can benefit from extra drainage, especially for okra which dislikes “wet feet.” Incorporate an additional 10-20% perlite or coarse sand into your potting mix. This improves how water moves through the soil, preventing stagnation.
- Boost Nutrients: Okra is a hungry plant. Amend your potting mix with compost or well-rotted manure (about 20-30% of the total volume). This adds a slow-release source of nutrients and improves soil structure.
- pH Balance: Okra prefers a slightly acidic to neutral pH, generally between 6.0 and 7.0. Most commercial potting mixes fall within this range. If you are concerned, a simple soil test kit can confirm your soil’s pH.
Avoid using straight garden soil in your container. It is too heavy, poorly draining, and may introduce pests and diseases. Your soil mix is the foundation of your plant’s health, so invest in good quality components.
Getting Started: Planting Okra Seeds for Success
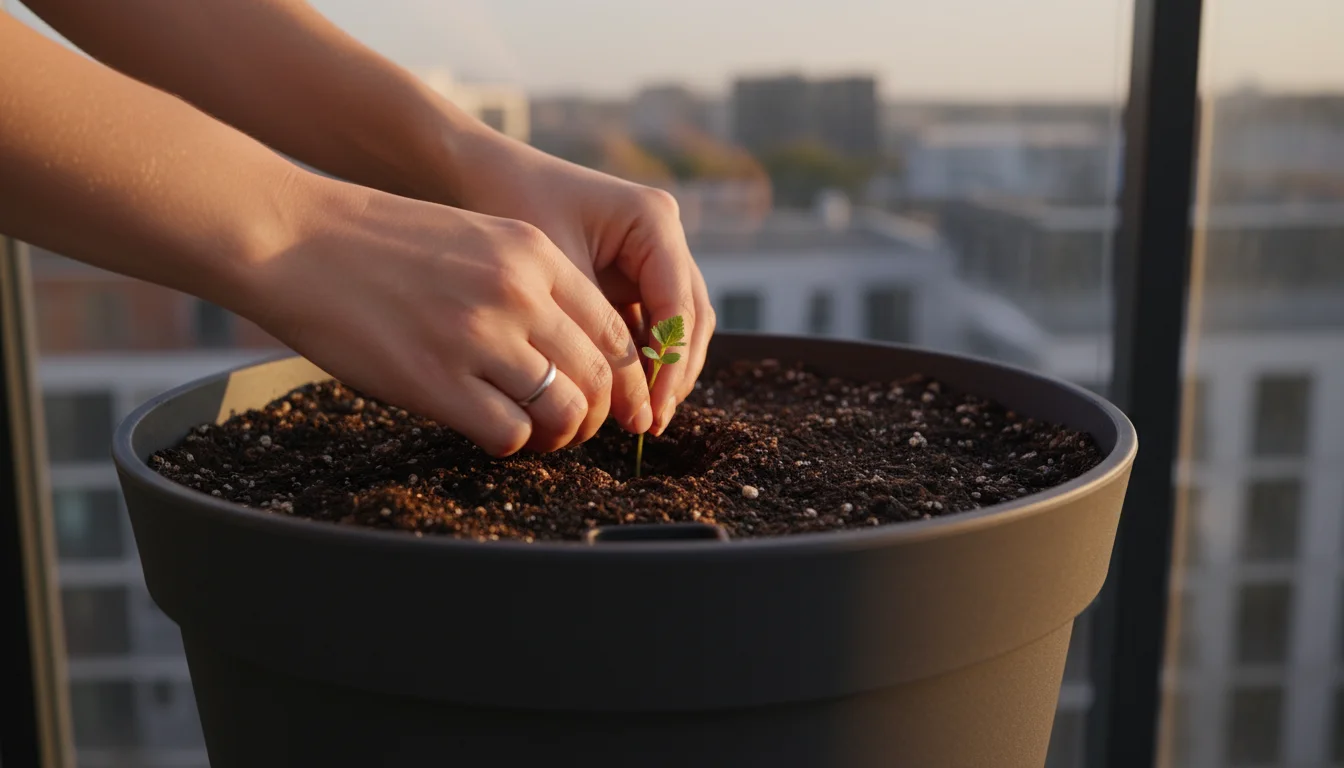
With your ideal pot and soil ready, it is time to bring your okra plant to life. Whether you start with seeds or purchase a seedling, careful planting sets the stage for a thriving “skyscraper veggie” on your balcony. This step-by-step guide walks you through the process, emphasizing success for how to grow okra on a balcony.
Seed Starting vs. Transplants
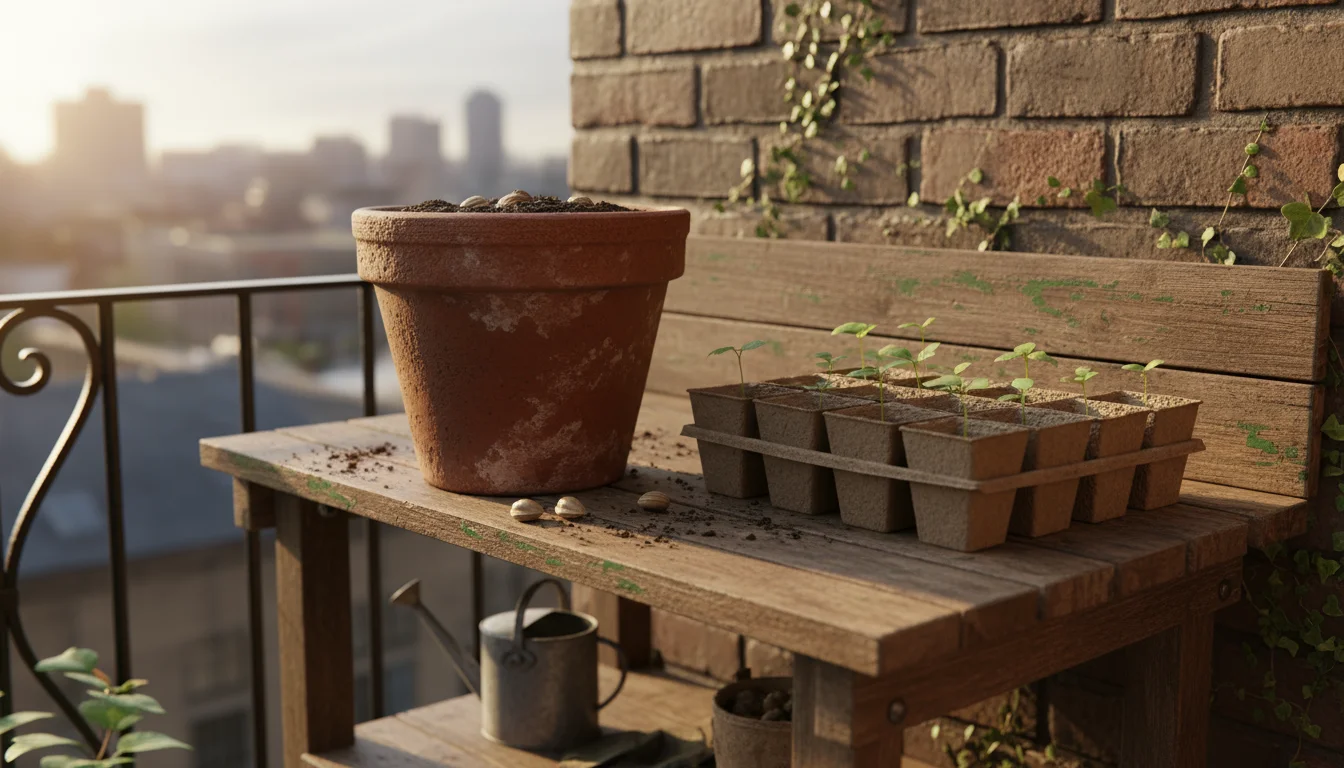
Okra thrives in warm conditions and dislikes root disturbance. For these reasons, direct sowing seeds into your final container is often the most successful method. However, if your growing season is short or you want a head start, you can start seeds indoors a few weeks before your last frost date, transplanting them carefully once outdoor temperatures are consistently warm.
- Direct Sowing: Wait until all danger of frost has passed and soil temperatures consistently reach at least 65°F (18°C), ideally 70-85°F (21-29°C). Okra seeds germinate best in warmth.
- Starting Indoors: Sow seeds in biodegradable pots (like peat pots or newspaper pots) to minimize root shock during transplanting. Plant 3-4 weeks before your last expected frost.
Preparing Your Okra Seeds for Germination
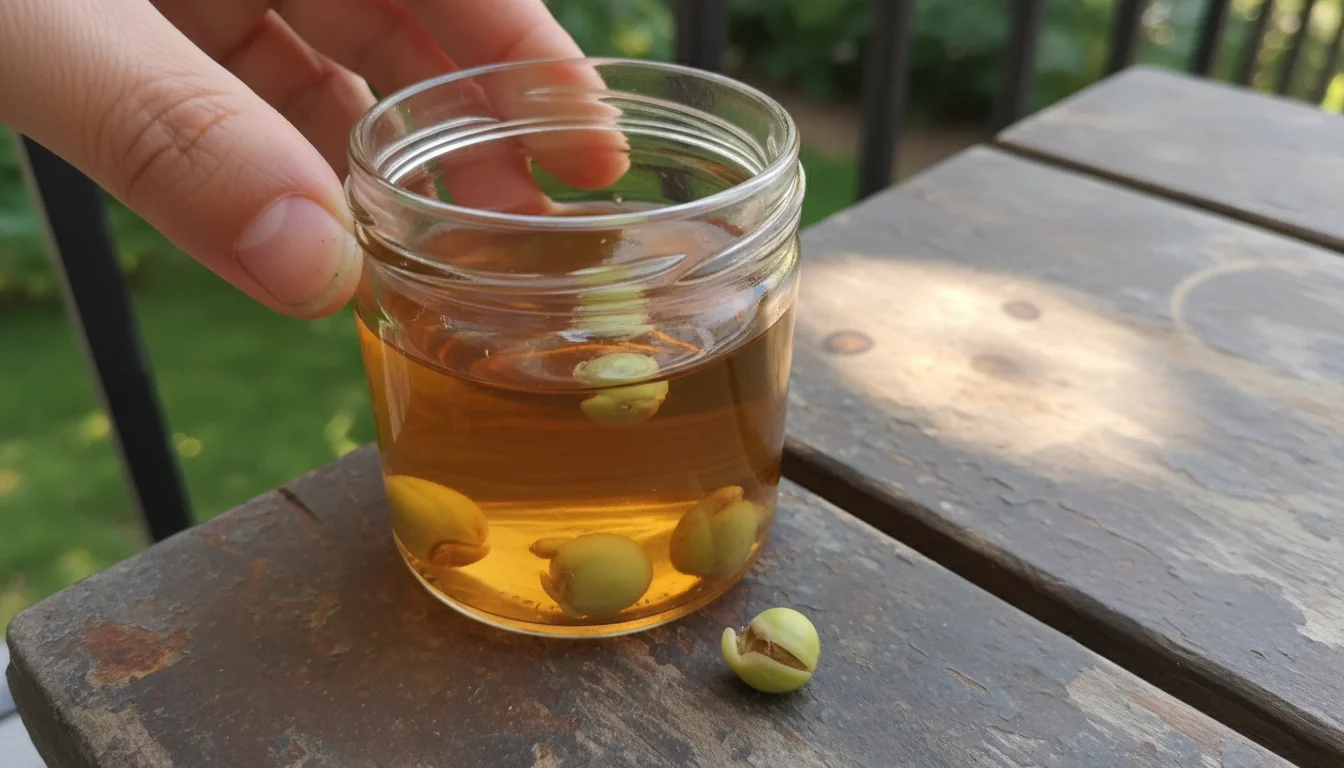
Okra seeds have a hard outer shell, which can sometimes hinder germination. To improve your chances of success, pre-treat your seeds:
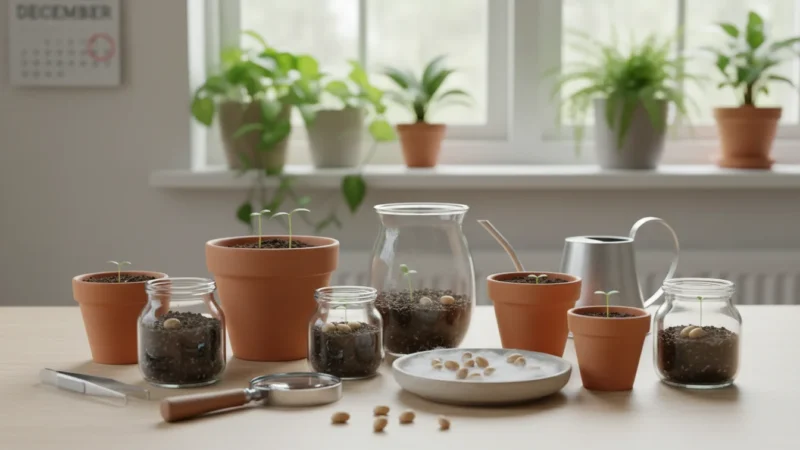
- Soak: Soak okra seeds in warm water for 12-24 hours before planting. This softens the seed coat, allowing moisture to penetrate more easily and speeding up germination.
- Nick (Optional): For particularly stubborn seeds, you can carefully nick the seed coat with a nail clipper or sandpaper. Be extremely careful not to damage the embryo inside. This is generally only needed if soaking does not yield good results.
Step-by-Step Planting in Your Pot
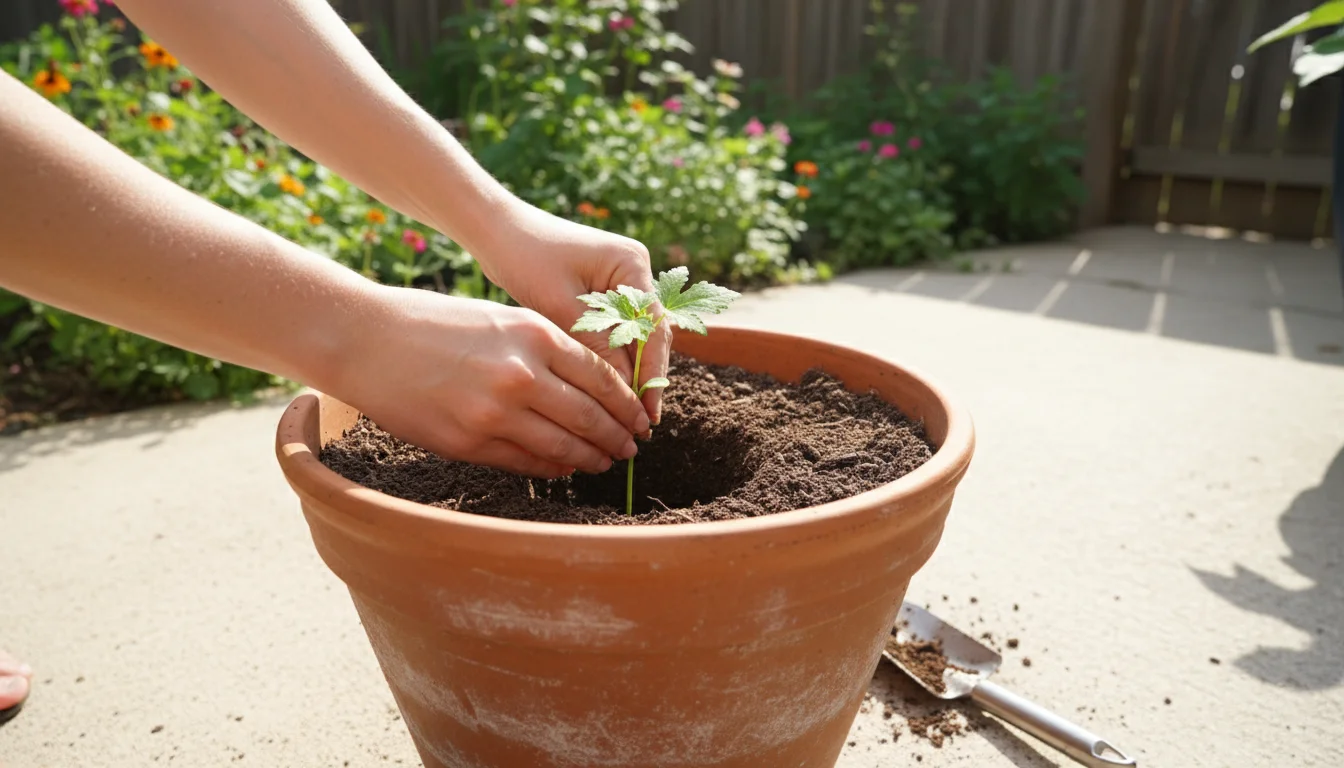
Now, let’s get those seeds or seedlings into their new home:
- Fill Your Pot: Fill your chosen container with your prepared, well-draining potting mix, leaving about 1-2 inches of space from the rim.
- Sow Seeds: If direct sowing, plant 2-3 soaked okra seeds about 1 inch deep in the center of the pot. Spacing a few seeds ensures at least one strong seedling emerges. Cover lightly with soil.
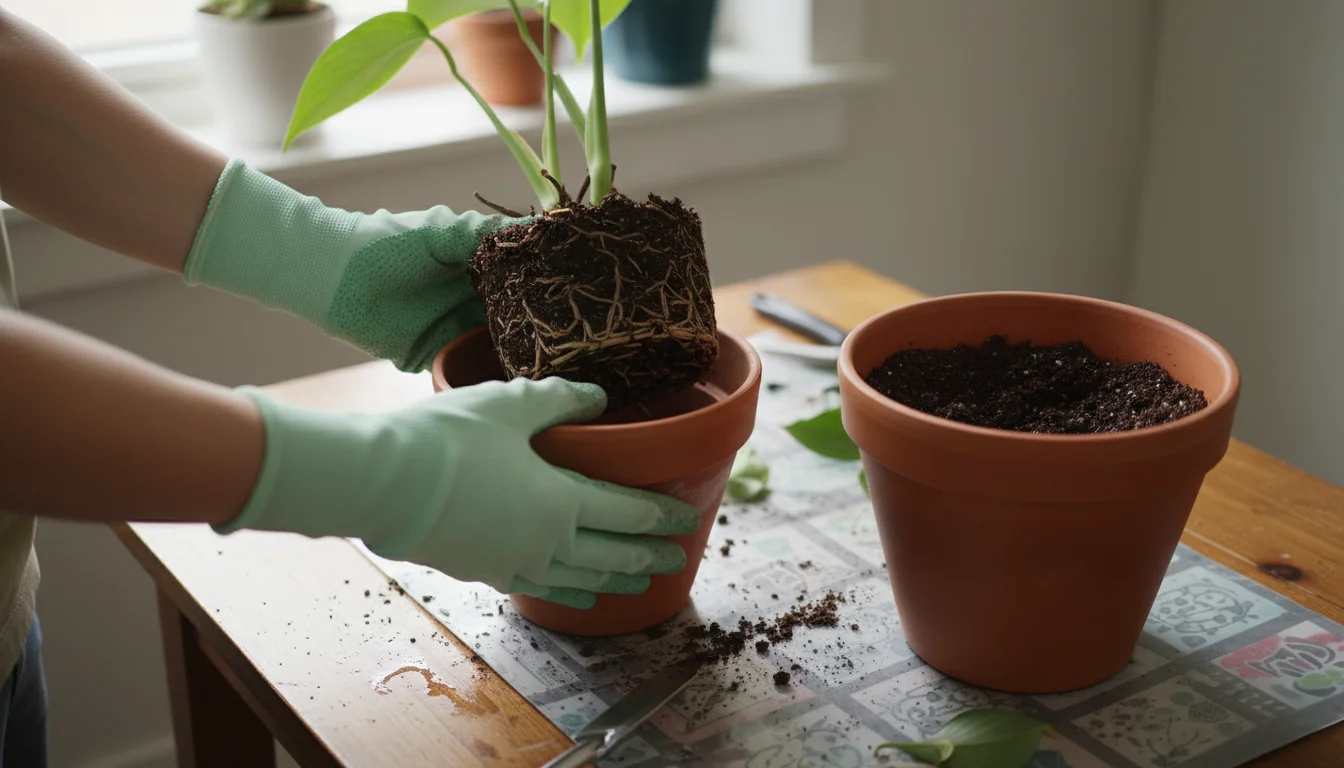
- Plant Seedlings (if transplanting): If you are using a nursery-bought seedling or one you started indoors, gently remove it from its original container, disturbing the roots as little as possible. Place the seedling in a prepared hole in your pot at the same depth it was growing previously. Backfill with soil, lightly firming it around the base.
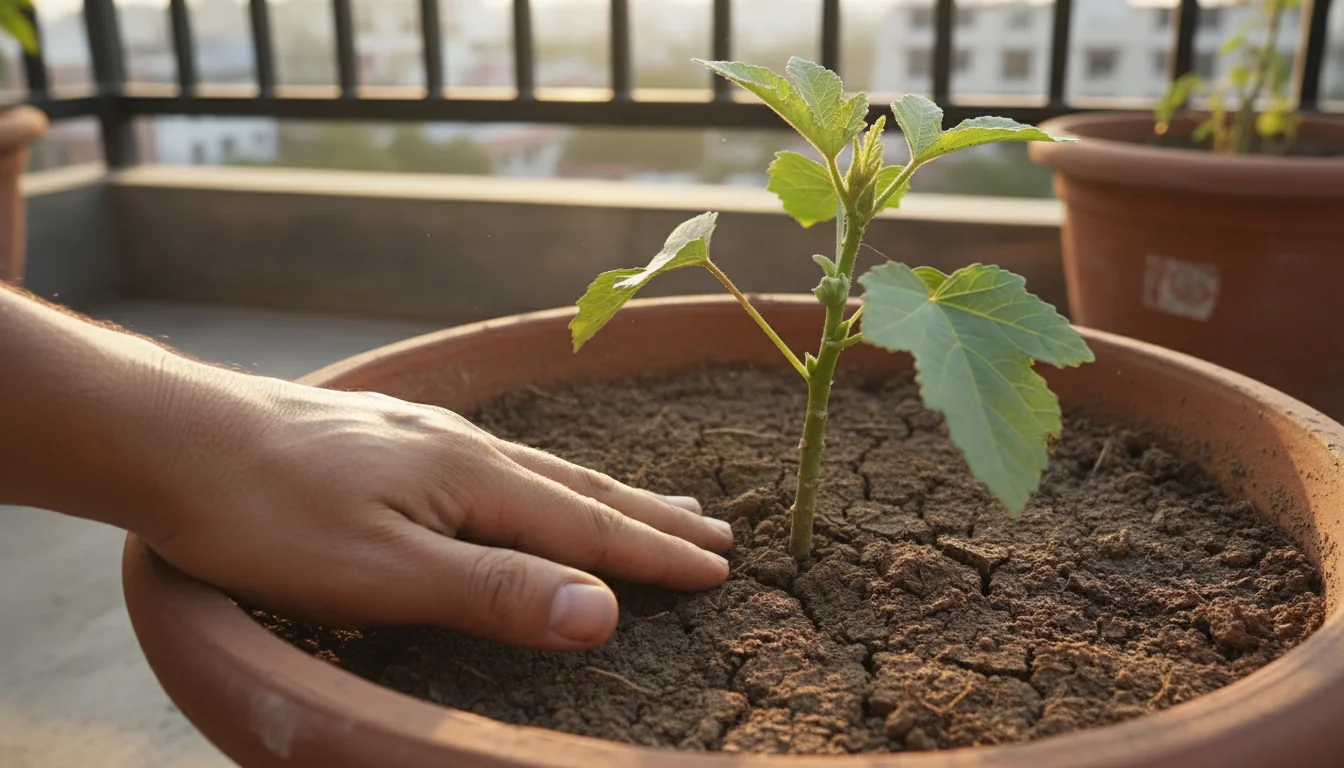
- Water Thoroughly: Immediately after planting, water the soil deeply until water drains from the bottom of the pot. This settles the soil around the seeds or roots.
- Provide Warmth: Place your pot in the sunniest, warmest spot on your balcony. Okra needs full sun, meaning at least 6-8 hours of direct sunlight per day, to thrive. Consistent warmth is key for germination and early growth.
- Thin Seedlings: Once your seedlings have grown a few sets of true leaves (the second set of leaves after the initial seed leaves), thin them to the strongest single plant per pot. Gently snip the weaker seedlings at the soil line with scissors to avoid disturbing the roots of the chosen plant. This ensures the remaining plant has ample resources to grow vigorously.
Germination typically occurs within 7-14 days, but it can take longer depending on temperature and seed viability. Be patient, and keep the soil consistently moist, but not waterlogged, during this crucial phase. You are now well on your way to growing okra in pots!
Nurturing Your Skyscraper: Watering, Feeding, and Sunlight
Once your okra plant is established in its pot, its continued health and productivity depend on consistent care, especially concerning water, nutrients, and sunlight. Remember, okra is a heat loving vegetable, but even heat lovers need proper support to thrive and yield abundant harvests.
Sunlight: The Ultimate Fuel
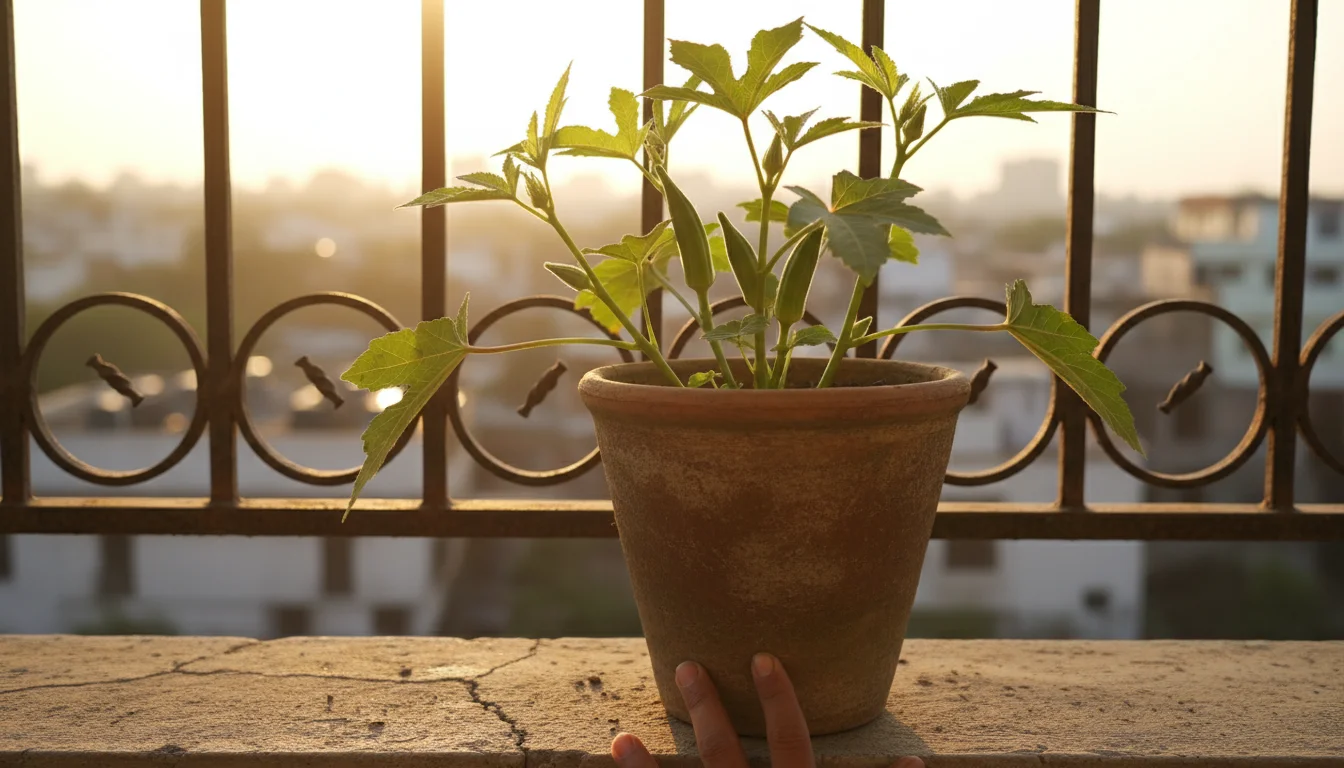
Okra demands full sun. This means at least 6-8 hours of direct sunlight every day. On a hot balcony, this is usually easy to achieve. Position your pot where it receives the maximum possible sun exposure throughout the day. Insufficient sunlight will result in leggy plants, fewer flowers, and reduced pod production. The intense heat on your balcony, far from being a problem for okra, is a significant advantage.
Watering: The Essential Balance
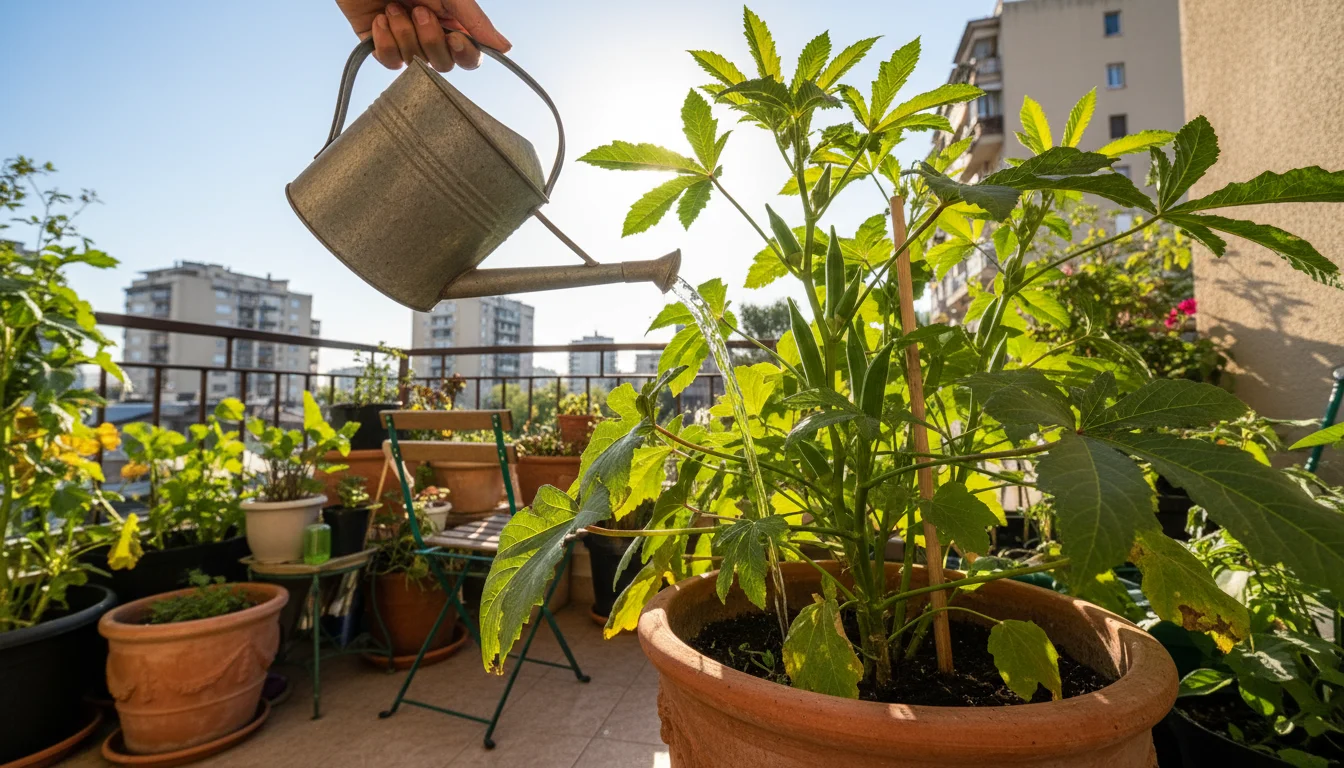
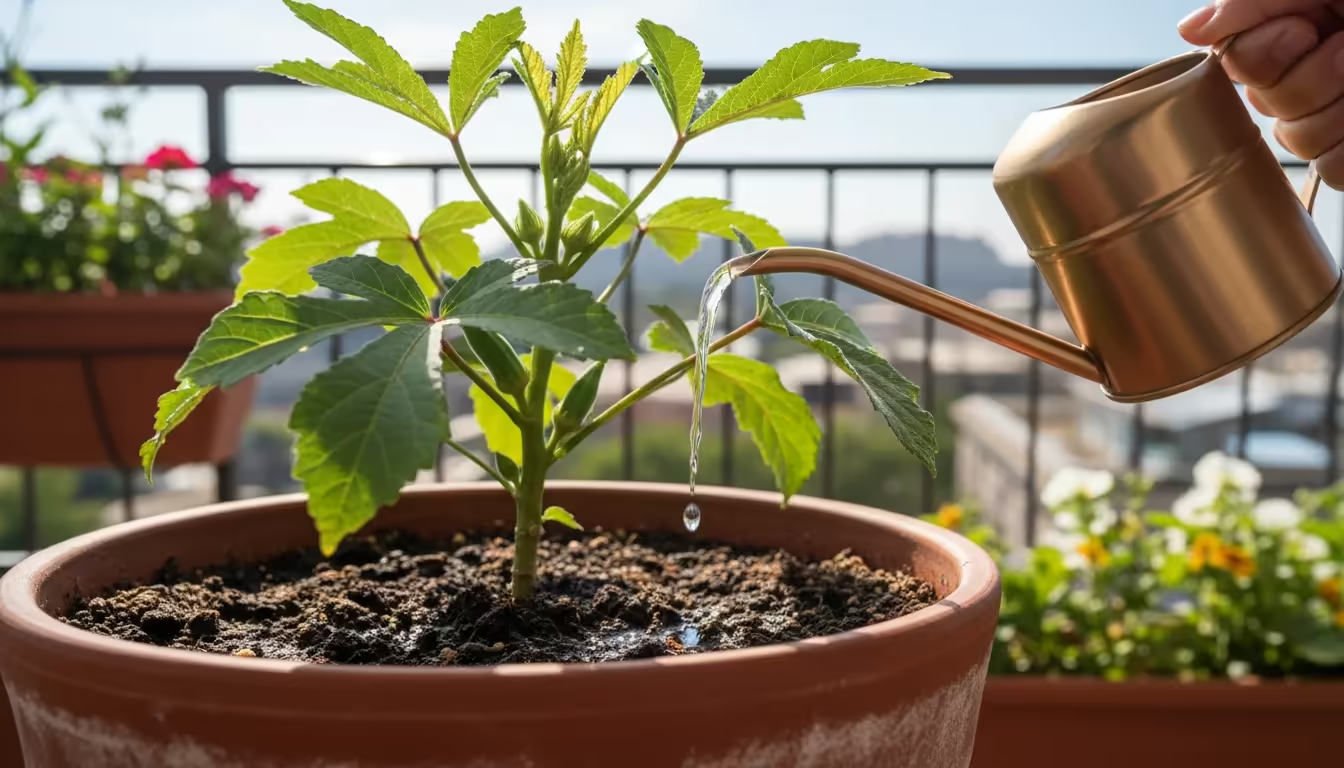
Container plants dry out much faster than plants in the ground, and a hot balcony exacerbates this. Consistent moisture is vital for okra, especially during flowering and pod development. However, “consistent moisture” does not mean constantly soggy soil, which leads to root rot.
- Frequency: Expect to water your potted okra daily, potentially twice daily during scorching heatwaves or very windy days. Stick your finger about an inch into the soil; if it feels dry, it is time to water.
- Deep Watering: When you water, do so thoroughly until you see water draining from the bottom of the pot. This ensures the entire root ball gets hydrated.
- Avoid Overhead Watering: Try to water the soil directly, rather than spraying the leaves, especially in the evening. Wet foliage can encourage fungal diseases.
- Mulch (Optional but Recommended): A thin layer of mulch, such as straw, shredded leaves, or wood chips, on the soil surface helps conserve moisture, reduces soil temperature fluctuations, and suppresses weeds. Just be sure to leave a small ring of space around the plant stem.
The goal is consistently moist soil, never bone dry and never waterlogged. Pay close attention to your plant’s signals; wilting leaves are a clear indicator of thirst, but also know that some varieties of okra will naturally droop a little in the intense midday sun, only to perk up in the evening. Learn to distinguish true thirst from natural midday slump.
Feeding: Fueling Growth and Production
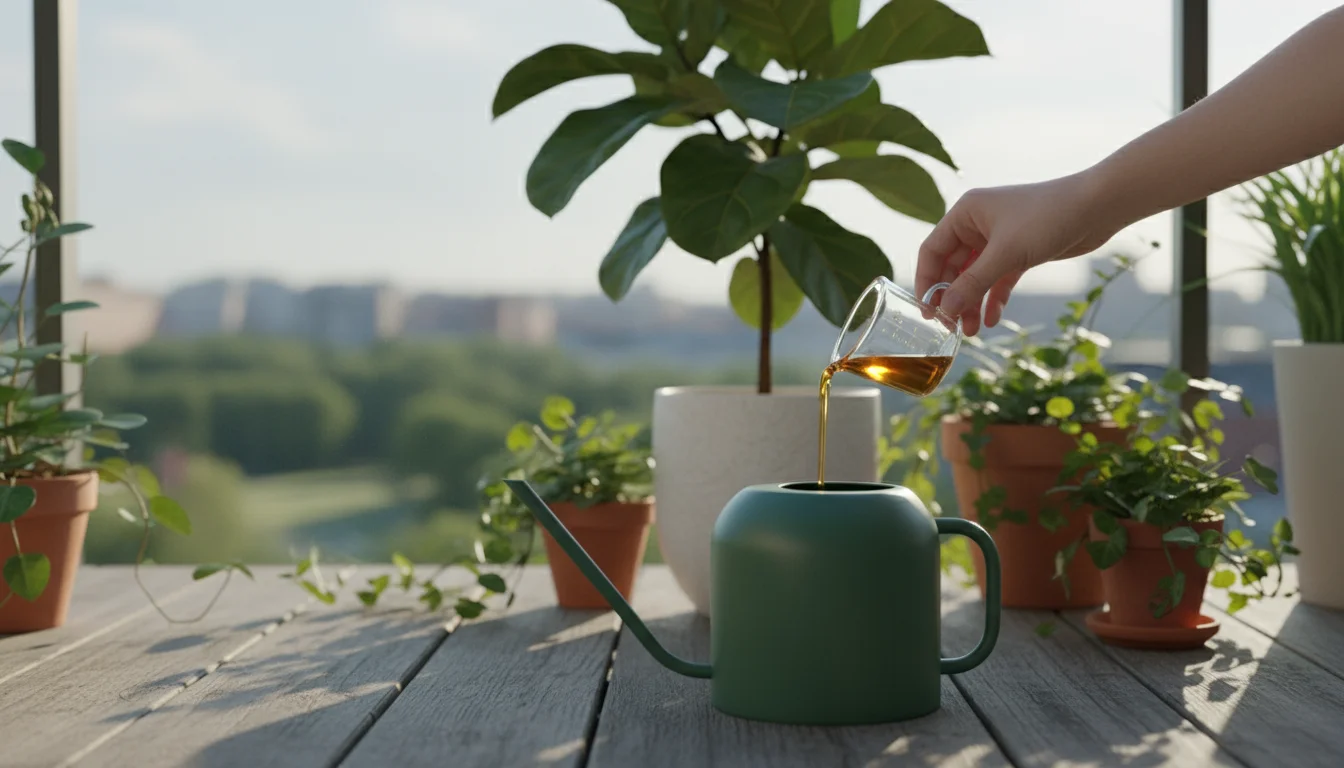
Okra is a relatively heavy feeder, and the limited soil volume in a pot means nutrients deplete faster than in a garden bed. Regular feeding supports vigorous growth and continuous pod production.
- Initial Fertilization: If you amended your potting mix with compost or slow-release fertilizer at planting, your plant will have sufficient nutrients for the first few weeks.
- Regular Feeding Schedule: Once your plant starts producing flowers and pods, begin a regular feeding regimen. Use a balanced liquid fertilizer (e.g., 5-10-10 or 10-10-10) diluted to half strength every 2-3 weeks, or as directed on the product label.
- Nutrient Needs: Okra benefits from phosphorus and potassium for flowering and fruiting. Avoid excessive nitrogen, which promotes leafy growth at the expense of pods.
- Organic Options: For an organic approach, consider fish emulsion or a balanced organic liquid feed. Compost tea also provides a gentle nutrient boost.
Monitor your plant for signs of nutrient deficiencies, such as yellowing leaves or stunted growth. These often indicate a need for more consistent feeding.
Pest Patrol and Troubleshooting Common Okra Challenges
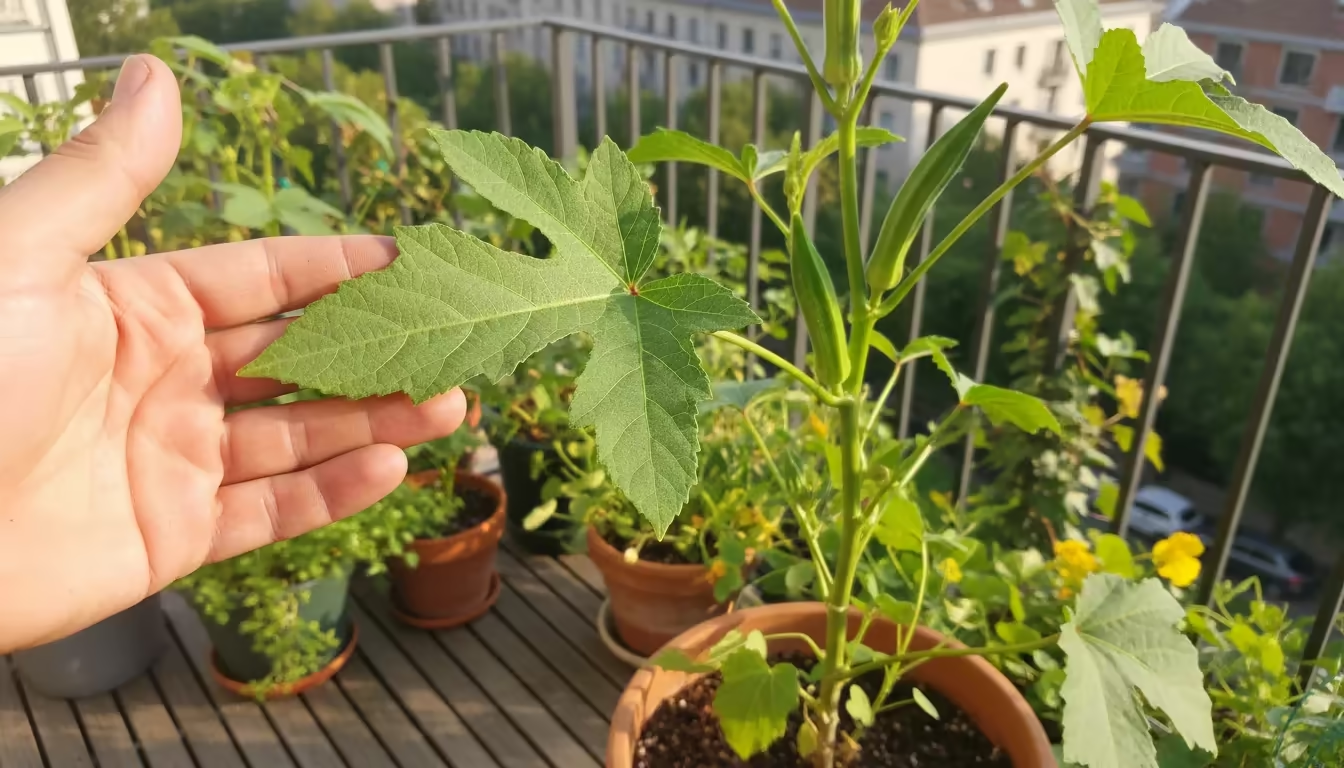
Even though okra is generally robust, container plants, especially on balconies, can still encounter pests or environmental stresses. Recognizing and addressing these issues promptly ensures your urban gardening efforts remain productive. You can keep your “skyscraper veggie” healthy with proactive observation and simple solutions.
Common Pests and Organic Solutions
The confined nature of balcony gardening can sometimes limit the natural predators that keep pest populations in check in larger garden settings. However, you can manage most common okra pests effectively without resorting to harsh chemicals.
- Aphids: Small, soft-bodied insects often found clustered on new growth or the undersides of leaves. They suck plant sap, leading to distorted growth and sticky honeydew.
- Solution: Blast them off with a strong spray of water from a hose (ensure the pot is stable). For heavier infestations, apply insecticidal soap or neem oil, covering all affected plant parts, especially leaf undersides.
- Stink Bugs and Leaf-footed Bugs: These larger insects pierce pods and leaves, causing discoloration and damage.
- Solution: Handpick and drop them into a bucket of soapy water. Cover young plants with fine mesh netting to deter them early in the season.
- Corn Earworms (Bollworms): Larvae that bore into pods, rendering them inedible.
- Solution: Regularly inspect pods for small holes and remove any affected pods immediately. Apply Bt (Bacillus thuringiensis), an organic pesticide specific to caterpillars, if infestations are severe.
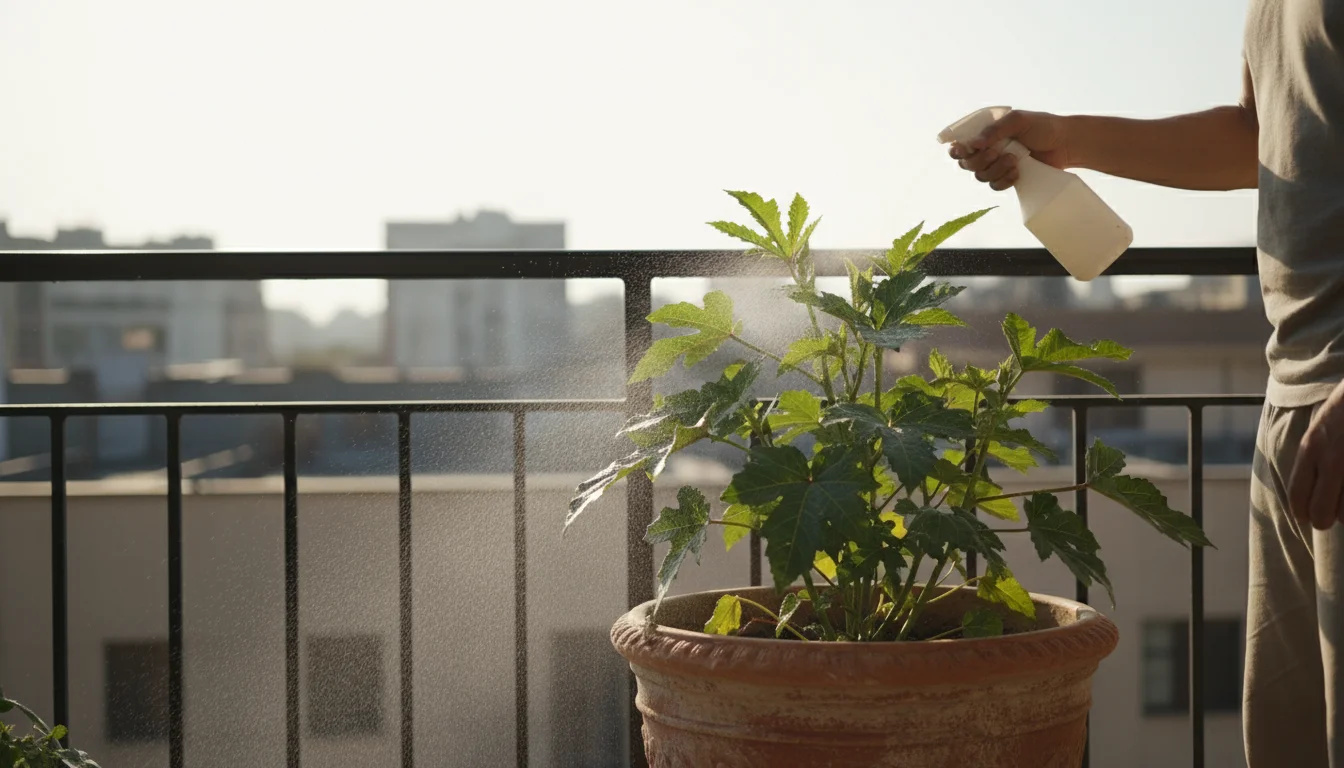
- Spider Mites: Tiny arachnids that thrive in hot, dry conditions. They cause stippling on leaves and fine webbing.
- Solution: Increase humidity around the plant by misting (avoiding midday sun). Spray with insecticidal soap or neem oil. Ensure consistent watering to prevent plant stress, which can make plants more susceptible.
Regular inspection is your best defense. Check your plant thoroughly every few days, especially the undersides of leaves and new growth. Early detection makes pest control much easier.
Troubleshooting Common Okra Problems
Even with the best intentions, you might encounter a few hiccups. Here is how to diagnose and fix common issues:
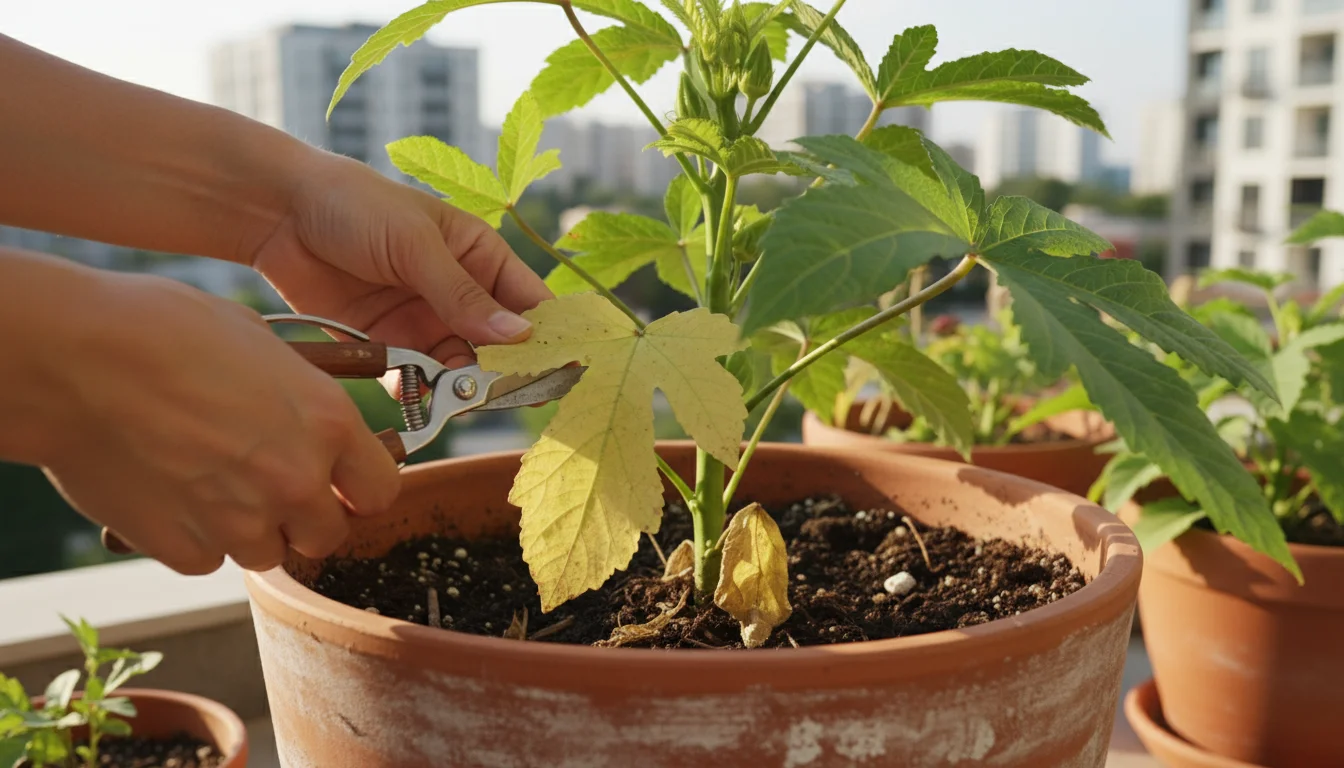
- Yellowing Leaves:
- Cause 1: Nutrient deficiency (often nitrogen or magnesium).
- Solution: Increase feeding with a balanced liquid fertilizer or apply an Epsom salt solution for magnesium deficiency.
- Cause 2: Overwatering or poor drainage.
- Solution: Ensure your pot has adequate drainage holes. Allow the top inch of soil to dry out before watering again.
- Cause 3: Natural aging of lower leaves.
- Solution: This is normal. Prune off old, yellowing lower leaves to improve air circulation and direct energy to new growth.
- Cause 1: Nutrient deficiency (often nitrogen or magnesium).
- Flowers Dropping Without Forming Pods:
- Cause 1: Extreme heat (temperatures consistently above 95°F / 35°C can sometimes cause this, even for okra).
- Solution: Provide some afternoon shade during the hottest part of the day if possible. Ensure consistent moisture.
- Cause 2: Insufficient pollination.
- Solution: Attract more pollinators to your balcony with other flowering plants. You can also hand-pollinate by gently transferring pollen from one flower to another using a small paintbrush.
- Cause 3: Nutrient imbalance (too much nitrogen, not enough phosphorus or potassium).
- Solution: Adjust your fertilizer to a higher phosphorus/potassium formula.
- Cause 1: Extreme heat (temperatures consistently above 95°F / 35°C can sometimes cause this, even for okra).
- Stunted Growth:
- Cause 1: Insufficient sunlight.
- Solution: Move your pot to a sunnier location.
- Cause 2: Small pot size or nutrient deficiency.
- Solution: Ensure your pot is large enough. Increase feeding frequency or consider repotting into a larger container if the plant appears root-bound.
- Cause 1: Insufficient sunlight.
Your attentive care makes all the difference in maintaining a healthy and productive okra plant. By addressing issues early, you protect your harvest.
Harvesting Your Balcony Bounty: Enjoying Your Okra Pods
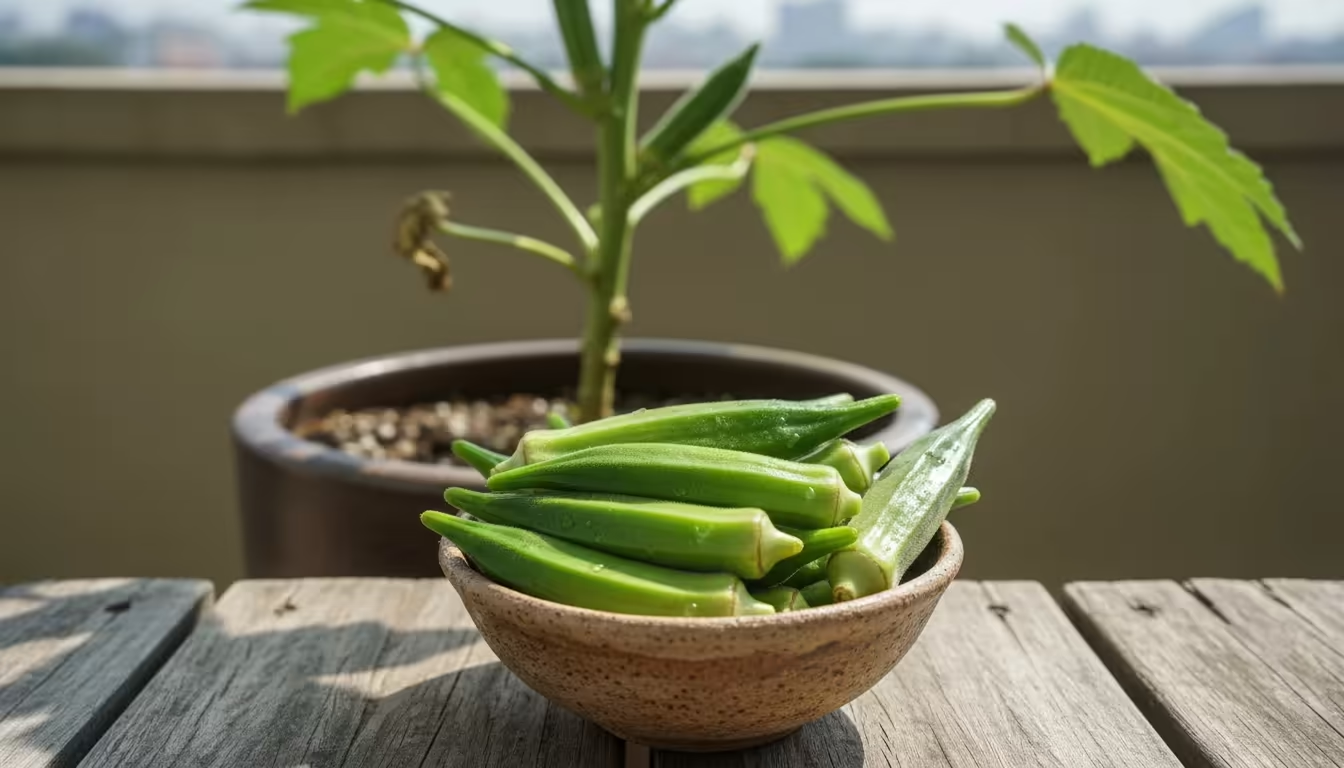
The moment of truth arrives when your okra plant, which has diligently grown into a “skyscraper veggie” on your balcony, begins to offer its delicious pods. Knowing exactly when and how to harvest ensures you get the most tender, flavorful okra from your efforts. This is the payoff for all your hard work growing okra in pots.
When to Harvest Okra
Okra typically starts producing pods about 50-60 days after planting, depending on the variety and growing conditions. The key to tender okra is to harvest young and often.
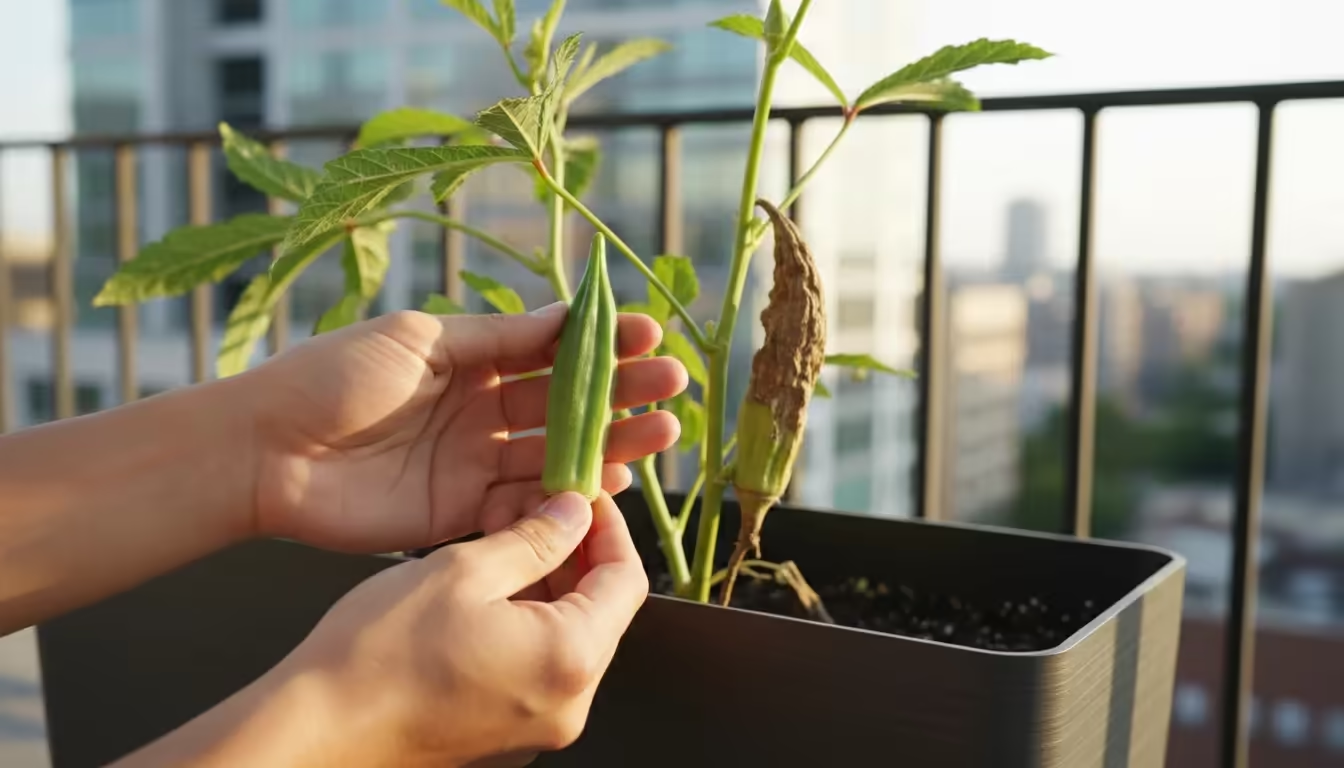
- Size Matters: Pick pods when they are 2-4 inches long. At this size, they are typically tender and have the best flavor. Larger pods, while impressive, often become tough and fibrous.
- Appearance: Pods should be bright green (or burgundy, depending on the variety), firm, and easily snap from the stem. Avoid any pods that look dull, discolored, or feel soft or spongy.
- Frequency: Harvest every one to two days. Okra is a prolific producer, and frequent harvesting encourages the plant to produce more flowers and pods. If you leave pods on the plant to mature, the plant assumes its reproductive cycle is complete and slows down or stops production.
How to Harvest Okra
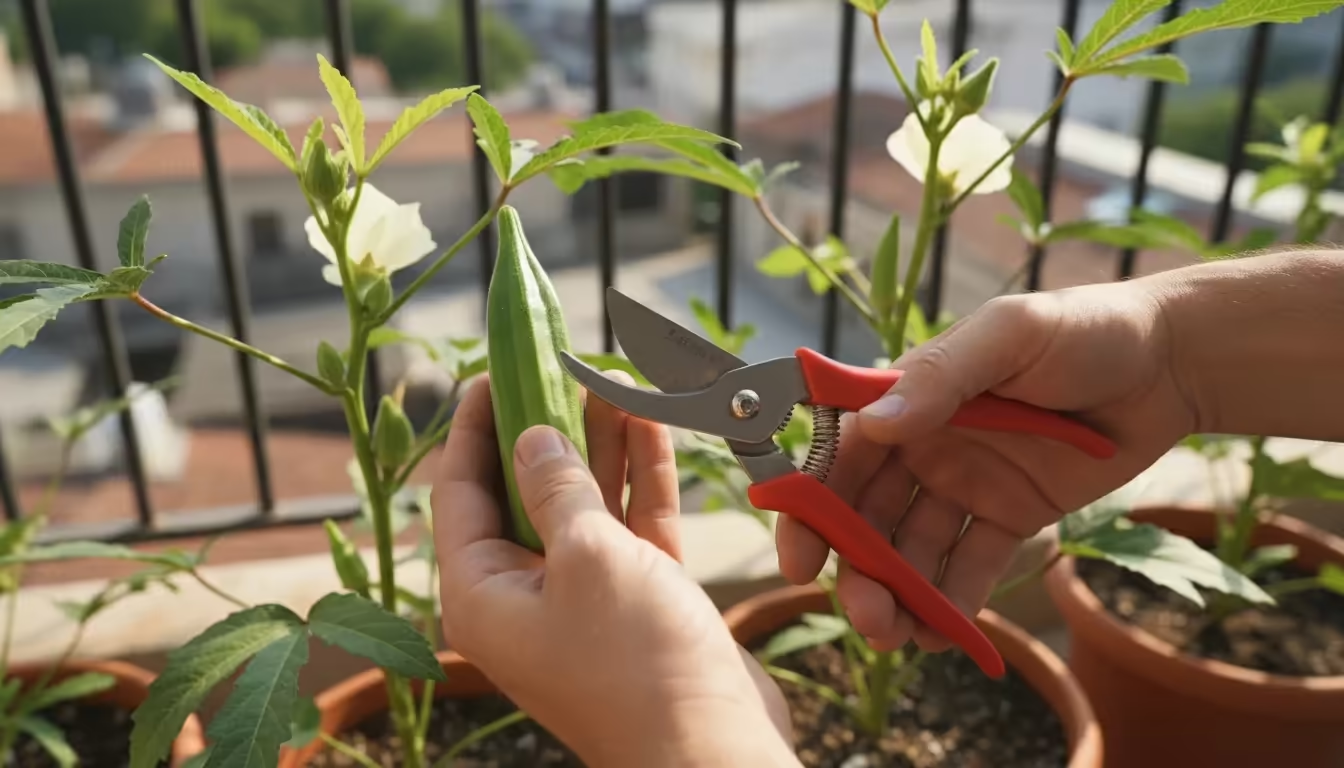
Okra stems can be a bit tough, and some varieties have tiny, irritating spines (though many modern varieties are ‘spineless’). Use garden shears or a sharp knife for a clean cut.
- Wear Gloves (Optional but Recommended): If you are sensitive to the tiny hairs on some okra stems or pods, gloves offer protection.
- Locate the Pod: Find a pod that meets the size and appearance criteria.
- Cut the Stem: Cut the stem just above the cap of the pod, making a clean slice. Avoid tearing the plant.
- Inspect and Repeat: Continuously check your plant for new pods. They can grow surprisingly quickly in warm weather, often doubling in size overnight.
The more you harvest, the more your plant produces. This continuous picking keeps your okra plant in its productive phase, yielding a steady supply of pods throughout the warm season.
Using and Storing Your Fresh Okra
Once harvested, okra is best enjoyed fresh. If you cannot use it immediately:
- Refrigeration: Store unwashed, dry pods in a paper bag or loosely wrapped in a plastic bag in the refrigerator for up to 5-7 days. Avoid washing before storing, as moisture can cause sliminess.
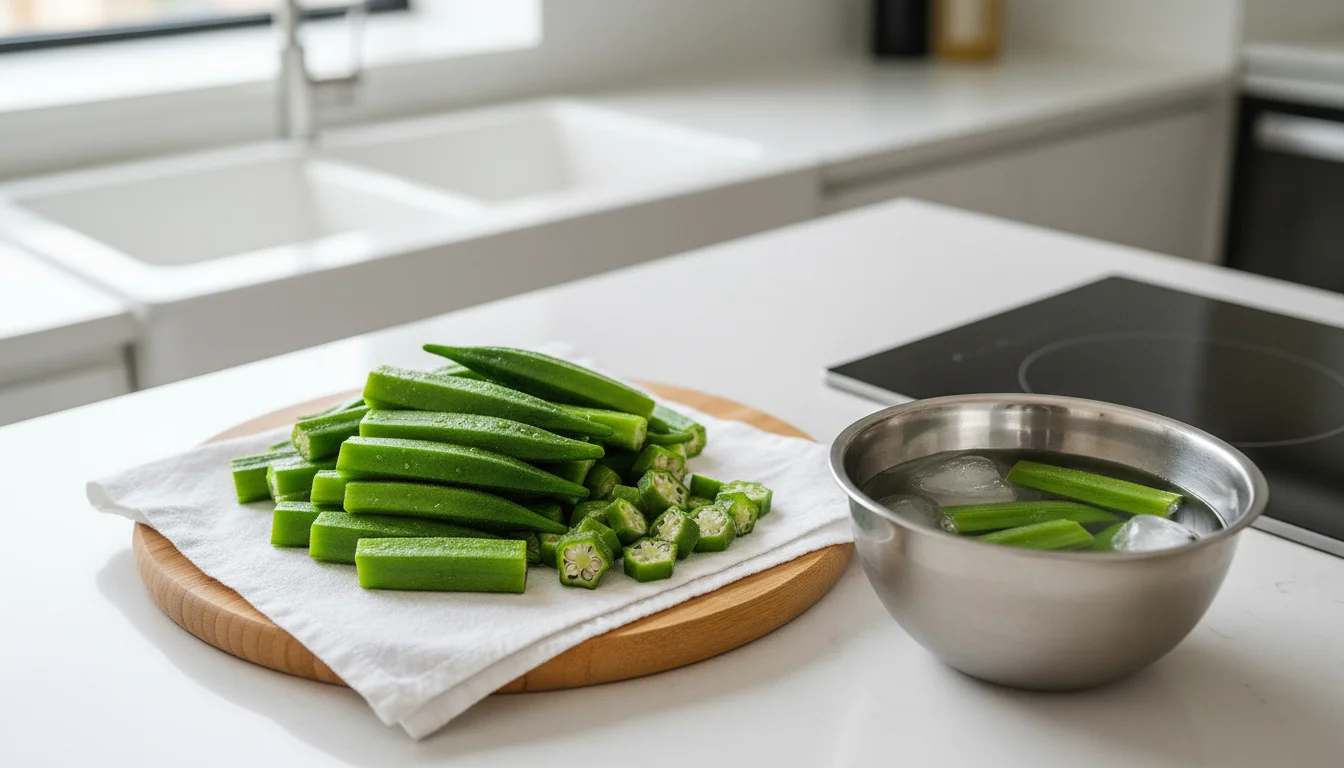
- Freezing: For longer storage, okra freezes beautifully. Blanch whole or sliced pods in boiling water for 3-4 minutes, then immediately transfer them to an ice bath to stop cooking. Drain thoroughly, pat dry, and freeze in a single layer on a baking sheet before transferring to freezer bags. This prevents them from sticking together.
From gumbo to stir-fries, roasted or fried, your home-grown okra offers a versatility that delights any culinary adventurer. Enjoy the fruits, or rather, the pods of your labor!
Maximizing Your Harvest and Embracing Sustainable Practices
As a dedicated urban gardener, you strive for productivity and also want to ensure your practices are environmentally friendly. With your okra “skyscraper veggie,” you can implement several strategies to extend your harvest and embrace sustainability, aligning perfectly with the ethos of SimpleGardenJoy.com.
Extending Your Okra Harvest
Okra is a warm-season crop, but you can maximize its yield over a longer period with a few smart techniques:
- Succession Planting: If you have space for another pot or start early, consider planting a second batch of okra seeds 2-3 weeks after your first. This ensures a continuous supply as your first plant’s production naturally declines towards the end of the season.
- Pruning for Vigor: While okra plants generally do not require heavy pruning, removing spent lower leaves that are yellowing or damaged can improve air circulation and direct the plant’s energy towards producing new pods. Some gardeners also experiment with “topping” older, leggy plants (cutting back the main stem once it reaches 5-6 feet) to encourage lateral branching and new pod development lower down, making harvesting easier. This strategy may work best for vigorous varieties in larger containers.
- Consistent Harvesting: As emphasized, frequent picking is the single most effective way to encourage more pods. Do not let pods mature on the plant unless you are saving seeds.
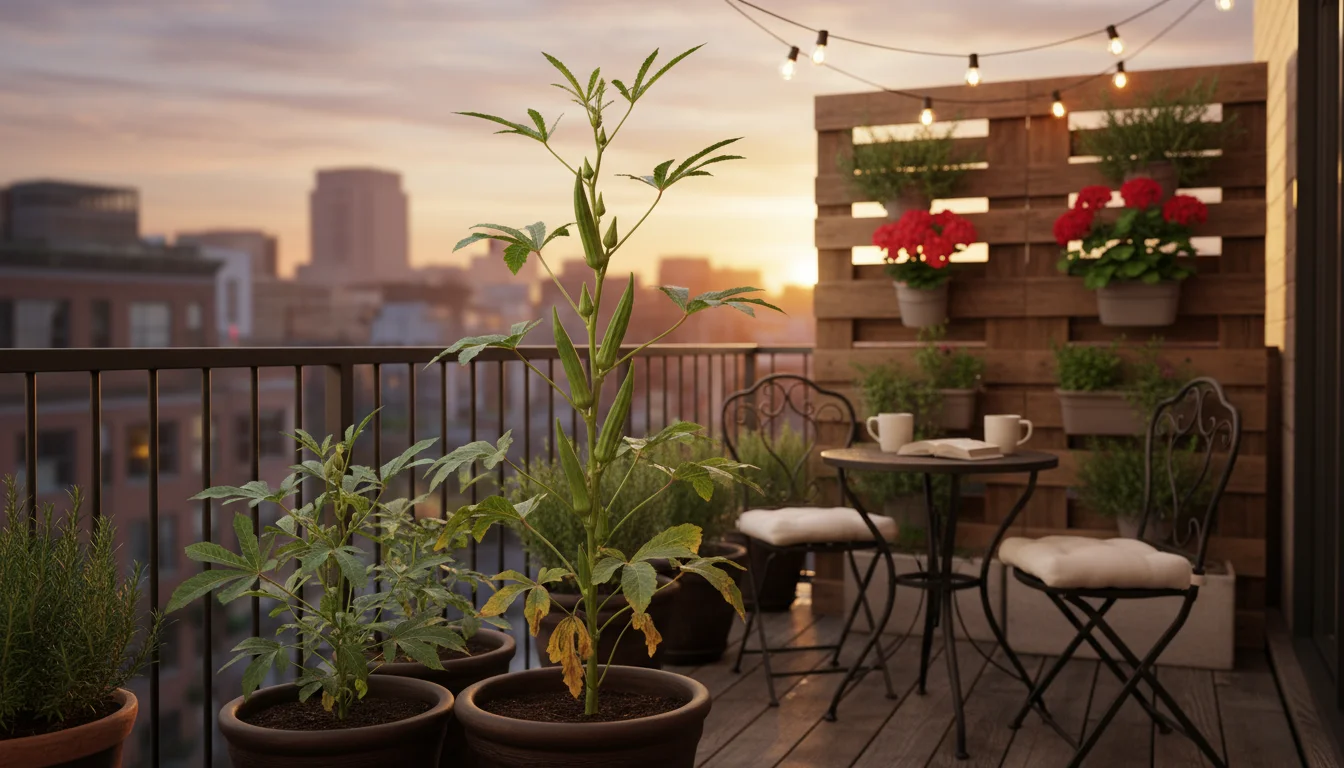
- Provide Support: As your okra plant grows tall, especially in windy balcony conditions, it may benefit from staking. A sturdy bamboo stake or small tomato cage provides essential support, preventing the plant from toppling over and allowing it to focus its energy on pod production rather than struggling for stability.
Sustainable Practices for Your Balcony Okra
Urban gardening offers unique opportunities to practice sustainability on a smaller scale. Here is how you can make your okra cultivation more eco-conscious:
- Water Conservation:
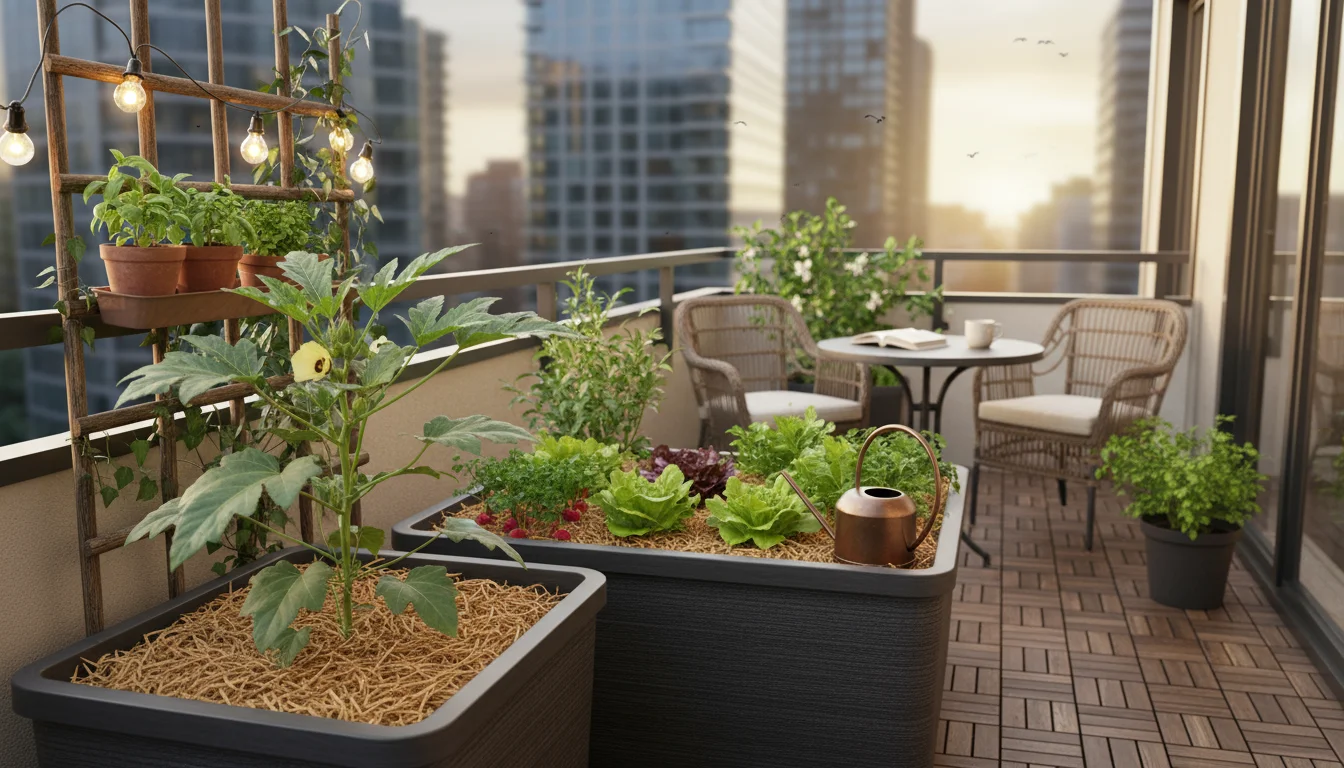
- Mulch: Apply a layer of organic mulch (straw, shredded leaves, wood chips) to the top of your pot. This significantly reduces water evaporation from the soil surface, meaning you water less often.
- Self-Watering Planters: Consider investing in a self-watering pot, which features a reservoir that continuously wicks water up to the soil. This is highly efficient and reduces your daily watering chores.
- Rainwater Collection: If feasible for your balcony setup, collect rainwater in a small bucket or barrel. Rainwater is free of chlorine and other chemicals found in tap water, and using it reduces your reliance on municipal water sources.
- Composting and Nutrient Cycling:
- Homemade Compost: If you have a small worm bin or a balcony compost system, add your kitchen scraps. The resulting compost is a fantastic, nutrient-rich amendment for your okra pot, reducing the need for purchased fertilizers.
- Compost Tea: Steep finished compost in water to create a “compost tea,” which you can use as a gentle liquid feed for your plant.
- Reuse Potting Mix: At the end of the season, do not discard your potting mix. While its structure might break down slightly, you can refresh it by adding new compost, perlite, and a fresh batch of slow-release organic fertilizer. This saves resources and money.
- Natural Pest Control:
- Beneficial Insects: Plant companion flowers like marigolds or nasturtiums in other balcony pots to attract beneficial insects that prey on common pests.
- Avoid Chemicals: Stick to organic pest control methods like insecticidal soap, neem oil, or hand-picking. These protect pollinators and keep your homegrown food chemical-free.
By integrating these practices, you not only grow a thriving okra plant but also contribute to a healthier, more sustainable home environment. Your small space can make a big impact.
Frequently Asked Questions
Is okra difficult to grow for beginners?
Okra is surprisingly easy for beginners to grow, especially as a heat loving vegetable. Its primary needs are full sun, warm temperatures, consistent moisture, and a deep pot. Once established, it is relatively forgiving and rewards you with a steady harvest, making it a great plant to build confidence in your urban gardening journey.
How tall does okra typically get in a pot, and will it need support?
While okra can reach 5-7 feet or more in ideal ground conditions, in a container, it often remains slightly shorter, typically 3-5 feet, depending on the variety and pot size. However, even at these heights, a sturdy stake or small tomato cage provides crucial support, especially for varieties like ‘Clemson Spineless’ or ‘Louisiana Green Velvet’, preventing wind damage and helping the plant bear the weight of its pods.
Can I grow more than one okra plant in a single deep pot?
For optimal production and plant health, it is generally recommended to grow only one okra plant per deep pot (at least 15-20 inches in diameter). While you might squeeze two plants into a very large container (e.g., 20+ inches diameter), this increases competition for water and nutrients, potentially reducing the yield from both. Sticking to one plant per pot ensures each plant receives ample resources to thrive as a productive “skyscraper veggie.”
What are the signs of overwatering or underwatering okra in a pot?
Overwatering often leads to yellowing lower leaves that may feel soft and droop, and the soil will remain constantly wet. Underwatering, on the other hand, causes leaves to wilt and become crispy, with the soil feeling bone-dry. The key is to check the soil moisture regularly by sticking your finger an inch or two deep. Water when the top inch feels dry, allowing water to drain fully.
How can I make my okra pods less “slimy” when cooking?
The “slime,” or mucilage, in okra is natural and a source of soluble fiber. To reduce it during cooking, cook okra quickly at high heat (roasting, grilling, stir-frying) or combine it with acidic ingredients like tomatoes or vinegar. You can also blanch it briefly and then immediately pat it dry before further cooking.
Disclaimer: This article is for informational purposes only and is not a substitute for professional gardening advice. Always consult local extension services or horticulture experts for region-specific guidance.
For trustworthy gardening information, visit:
Royal Horticultural Society (RHS), UF/IFAS Gardening Solutions, University of Illinois Extension — Gardening, UC IPM (University of California Integrated Pest Management) and Missouri Botanical Garden. These organizations provide expert, research-based advice for gardeners at all levels.

Leave a Reply