
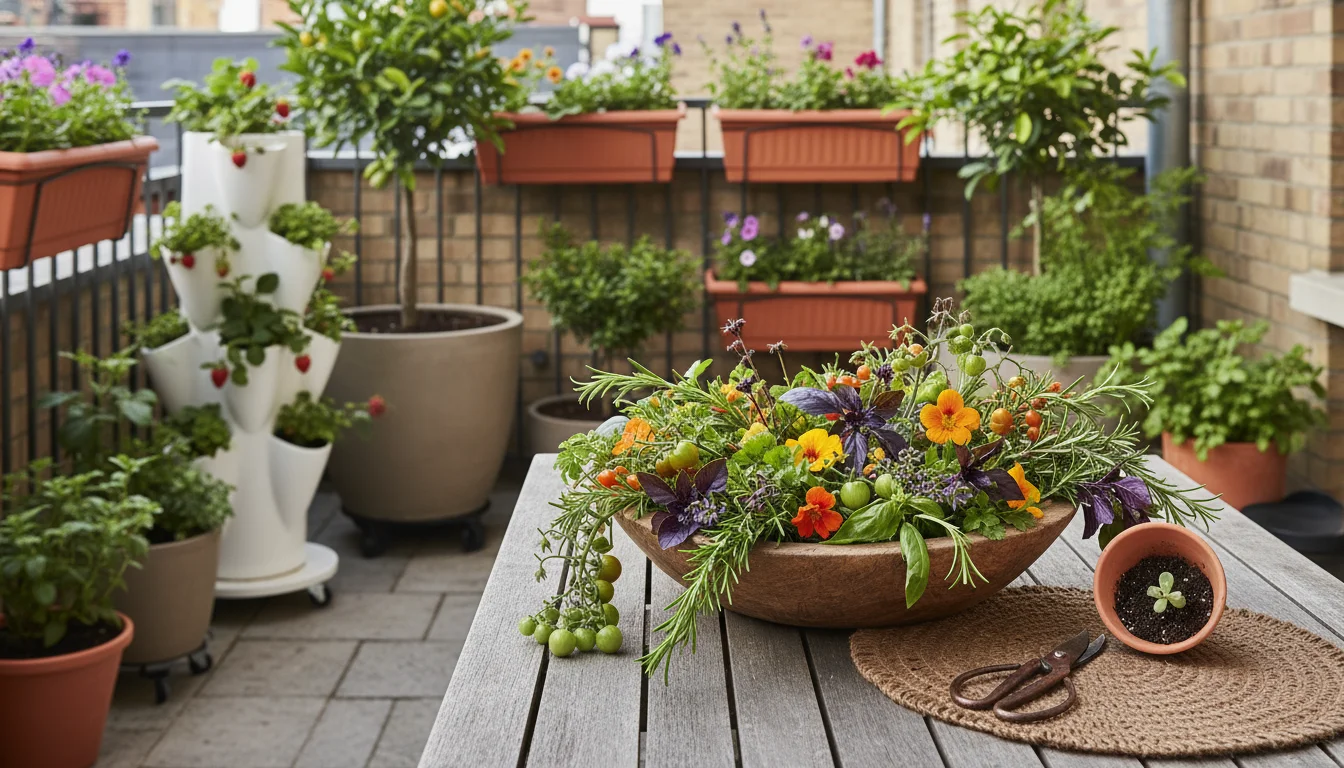
Fall arrives with a unique palette, inviting us to bring its warmth and beauty indoors. If you cultivate a small space garden on your balcony, patio, or in a compact yard, you already possess a treasure trove of potential decor.
You do not need to buy expensive, ephemeral arrangements. Instead, you can craft stunning centerpieces directly from the plants you nurture.
This guide empowers you to transform everyday garden clippings into a ‘foraged from your pots’ masterpiece, embracing sustainability and celebrating the natural cycle of your plants.
You will discover practical steps to extend your garden’s beauty into your home, creating unique fall decor ideas that reflect your green thumb and commitment to no-waste fall decorating with plants.
If you want to complement your tabletop arrangements with hanging greenery, consider creating a fall succulent wreath for your apartment door using hardy cuttings.
Contents10 sections
- Embracing the Abundance of Your Small Space Garden
- Essential Tools for Your Foraging Adventure
- Step 1: Scouting Your Garden for Fall Treasures
- Step 2: Harvesting Your Seasonal Bounty Thoughtfully
- Step 3: Preparing Your Clippings for Lasting Beauty
- Step 4: Crafting Your Centerpiece: Design Principles for Small Spaces
- Step 5: Displaying Your Creation and Extending Its Lifespan
- Troubleshooting Common Centerpiece Challenges
- Beyond the Centerpiece: Expanding Your No-Waste Fall Decor
- Frequently Asked Questions
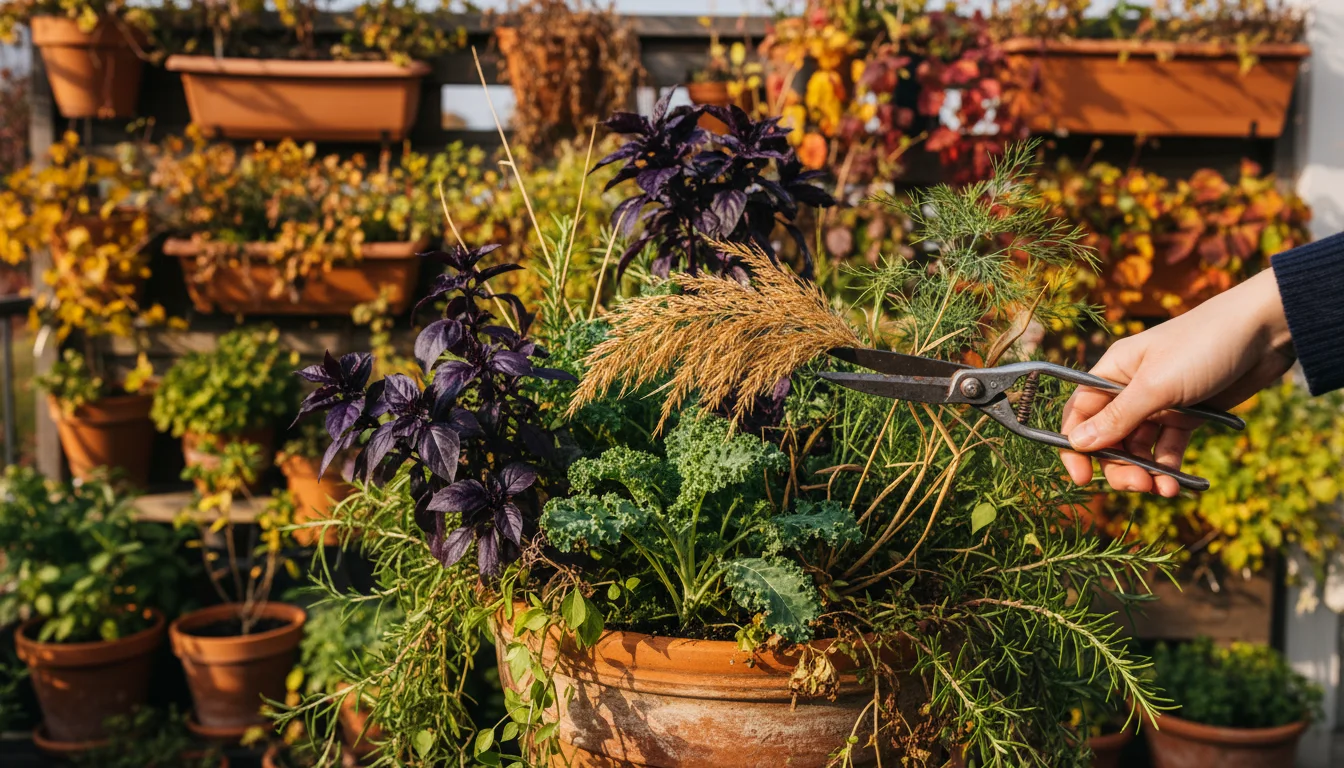
Embracing the Abundance of Your Small Space Garden
Many gardeners view their container plants as sources of food or vibrant blooms, overlooking their potential for indoor decoration. Your balcony garden or patio pots, however, offer a continuous supply of beautiful, natural materials perfect for fall centerpiece DIY projects.
As the growing season winds down, many plants develop interesting textures, colors, and dried seed heads that are ideal for creating a fall bouquet from your balcony garden. This approach embodies sustainable living, reducing waste by repurposing what your garden already provides.
Imagine the satisfaction of showcasing a unique garden clippings arrangement that you created yourself, knowing it came directly from your efforts.
This method of decorating connects your indoor and outdoor living spaces, fostering a deeper appreciation for your plants. It also aligns perfectly with a low-maintenance gardening philosophy because you are using materials that are part of the natural plant cycle.
You do not need to cultivate special flowers solely for cutting. You simply use what is available, perhaps as part of routine pruning or when plants naturally finish their primary bloom.
For instance, pruning back leggy basil or mint provides greenery, while spent coneflower or lavender stems offer fascinating dried seed heads for decoration.
Essential Tools for Your Foraging Adventure
Creating your fall centerpiece from garden clippings requires only a few basic tools, many of which you likely already own. Having the right equipment ensures clean cuts, protects your plants, and makes the arrangement process smoother.
You do not need a fancy floral toolkit. Your everyday gardening essentials will largely suffice.
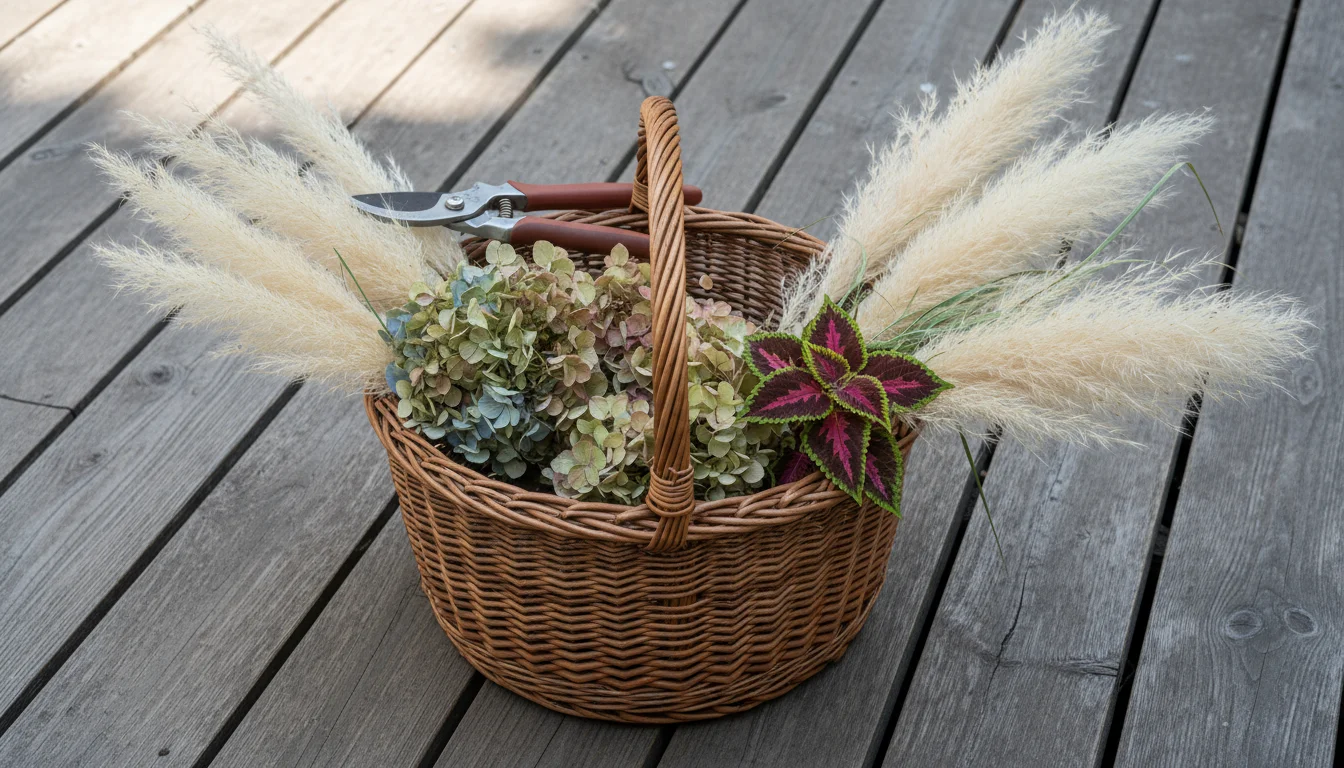
- Sharp Pruners or Scissors: These are crucial for making clean cuts that do not damage the parent plant or crush the stems of your clippings. Clean cuts also help the stems absorb water more efficiently if you use them fresh, extending their lifespan. Look for bypass pruners, which cut like scissors, providing a clean snip.
- A Gathering Basket or Bucket: A simple container prevents delicate clippings from getting crushed as you move them from your pots to your workspace. A bucket with a little water is even better for fresh stems, immediately helping them stay hydrated.
- A Sturdy Vase or Container: Choose a vase that complements your centerpiece design and the space where you will display it. Consider its size, shape, and material. A clear glass vase allows you to see the stems, while an opaque ceramic pot hides them and provides a solid base.
- Floral Foam or Chicken Wire (Optional): For more complex or structured arrangements, floral foam provides stability. However, for a truly natural, no-waste approach, crumpled chicken wire or even a few sturdy branches at the base of your vase can create a supportive grid for your stems. This eliminates the need for single-use foam and promotes reusable materials.
- Watering Can or Spray Bottle: If you are working with fresh clippings, immediate hydration is key. A watering can for the vase and a spray bottle for misting can keep your arrangement looking vibrant.
- Gloves: Protect your hands from thorns, sap, or rough textures while you gather and arrange your materials.
- Clean Work Surface: A clear, flat area makes arranging easier and helps you visualize your fall decor ideas.
With these few items, you are well-prepared to begin your journey of creating a stunning garden clippings arrangement.
Step 1: Scouting Your Garden for Fall Treasures
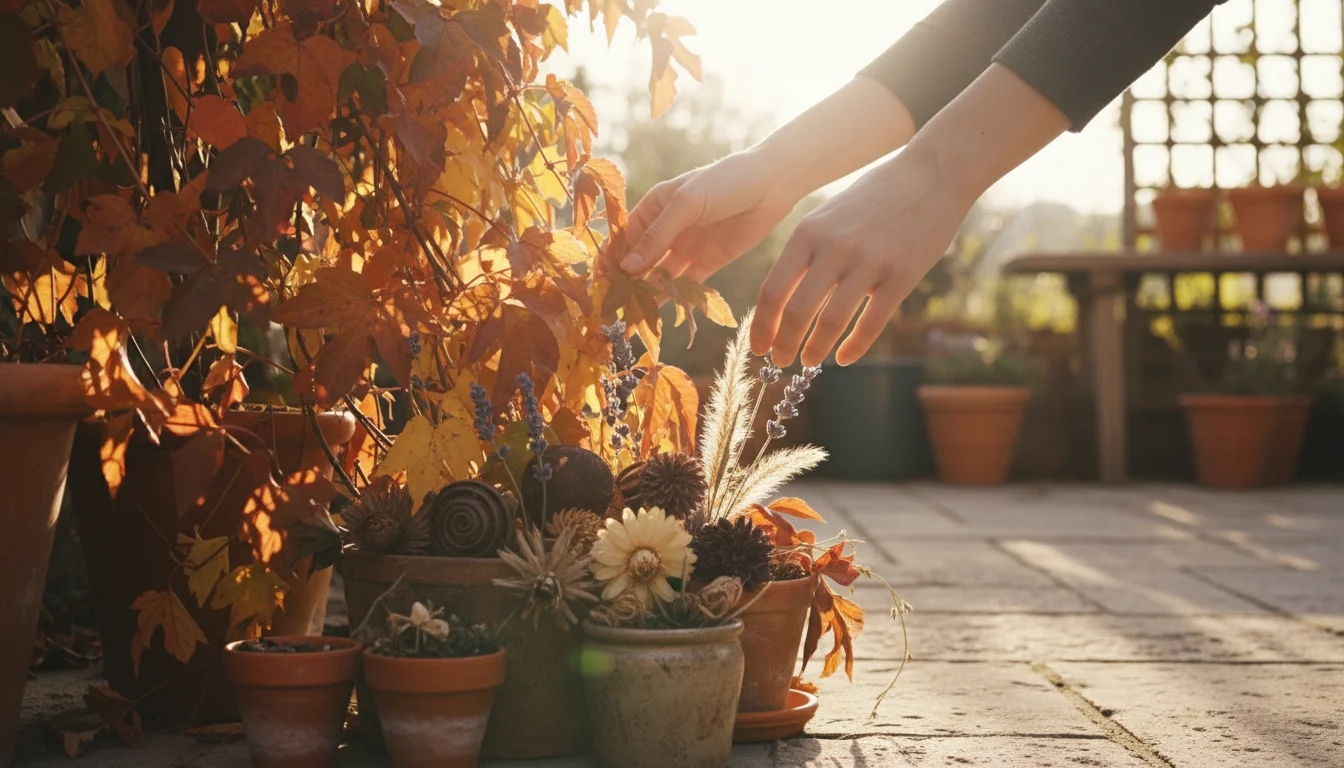
The first step in making a fall bouquet from your balcony garden involves a careful survey of your existing plants. You will be surprised by the variety of textures, shapes, and colors you can find, even in a small collection of pots.
Think beyond traditional flowers. Look for interesting foliage, developing seed pods, dried seed heads, and even sturdy stems that offer structural interest.
This step is about seeing your plants through a new lens, identifying elements that contribute to a beautiful garden clippings arrangement.
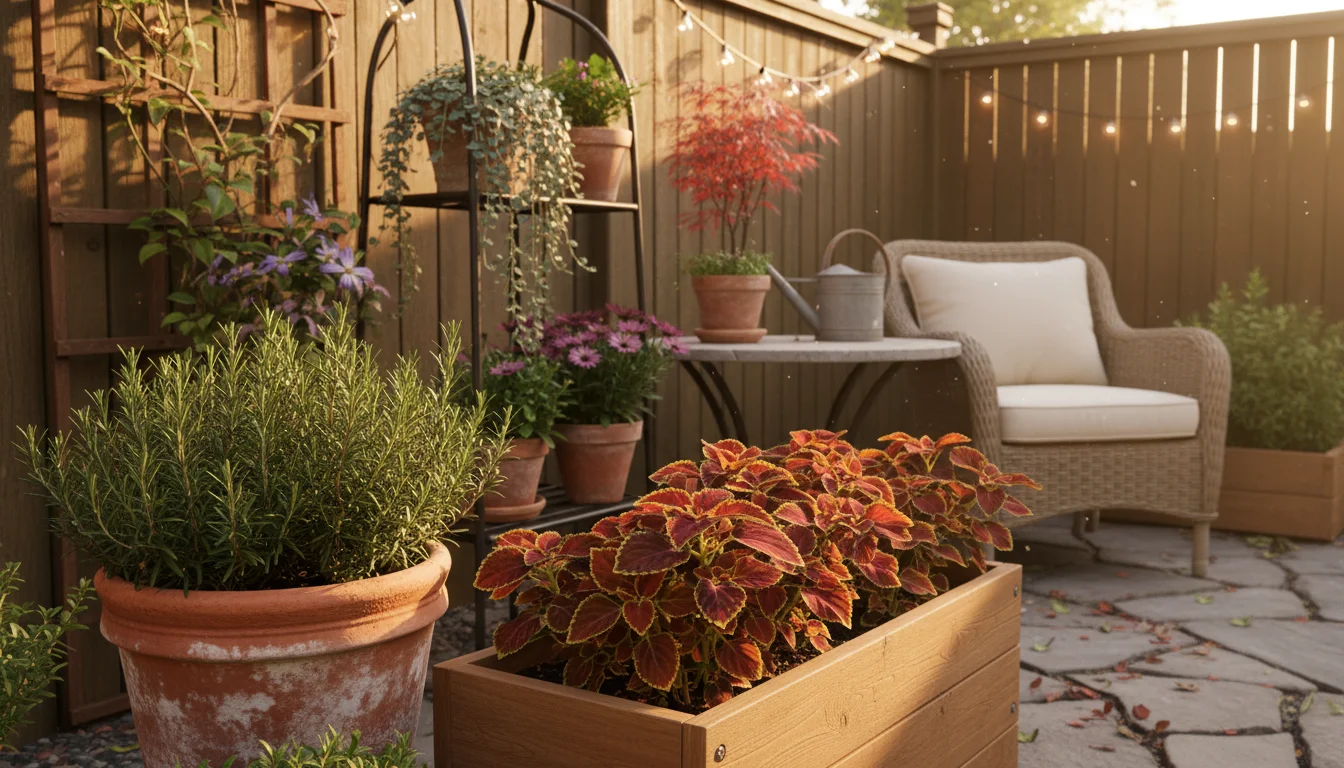
What to Look For:
- Foliage with Fall Color: While many container plants may not turn vibrant reds or oranges like deciduous trees, some varieties offer subtle shifts. Consider the deep greens of herbs like rosemary or sage, the bronze tones of coleus leaves as temperatures cool, or the variegated patterns of certain ivies. These provide a rich foundation for your fall centerpiece DIY.
- Dried Seed Heads and Pods: These are truly the stars of a how to use dried seed heads for decoration guide. Plants like coneflower (Echinacea), black-eyed Susan (Rudbeckia), sedum, ornamental grasses, lavender, and even spent calendula or poppies produce fascinating, sturdy seed heads. They add texture, height, and a rustic fall aesthetic. These are excellent for durability in a no-waste fall decorating with plants scheme.
- Interesting Stems and Branches: Sometimes, the stem itself offers visual appeal. Consider the sturdy, architectural lines of a pruned tomato branch or the delicate, intertwining tendrils of a sweet potato vine. These can provide structure and movement to your arrangement.
- Berries and Small Fruits: If your garden includes plants with edible or ornamental berries, like chili peppers, small ornamental gourds, or even a dwarf citrus tree with developing fruit, these offer bursts of color and unique shapes. Always ensure any berries or fruits are non-toxic if pets or children are present and might interact with the centerpiece.
- Textural Elements: Beyond color and shape, focus on texture. Fuzzy lamb’s ear leaves, the feathery plumes of ornamental grasses, or the ridged surface of a dried artichoke bud all add depth and interest.
As you scout, consider the overall size and scale of your arrangement. For a small dining table, you might need shorter, more delicate clippings.
For a larger statement, you can incorporate taller, bolder elements. The beauty of a ‘foraged from your pots’ centerpiece lies in its organic, less formal feel.
You are not striving for perfection, but for a celebration of your garden’s seasonal offerings.
A typical small space garden can yield an impressive array of materials. For example, a single rosemary plant can provide fragrant, evergreen sprigs.
A patch of mint offers contrasting leaf shapes and a pleasant aroma. Your petunias, even when past their prime, might have sturdy stems and interesting seed pods.
Even common weeds, if attractive and free of pests, can contribute to the wild, natural look of a garden clippings arrangement. Remember, the goal is to utilize what you already possess, transforming it into something beautiful and meaningful for your fall decor ideas.
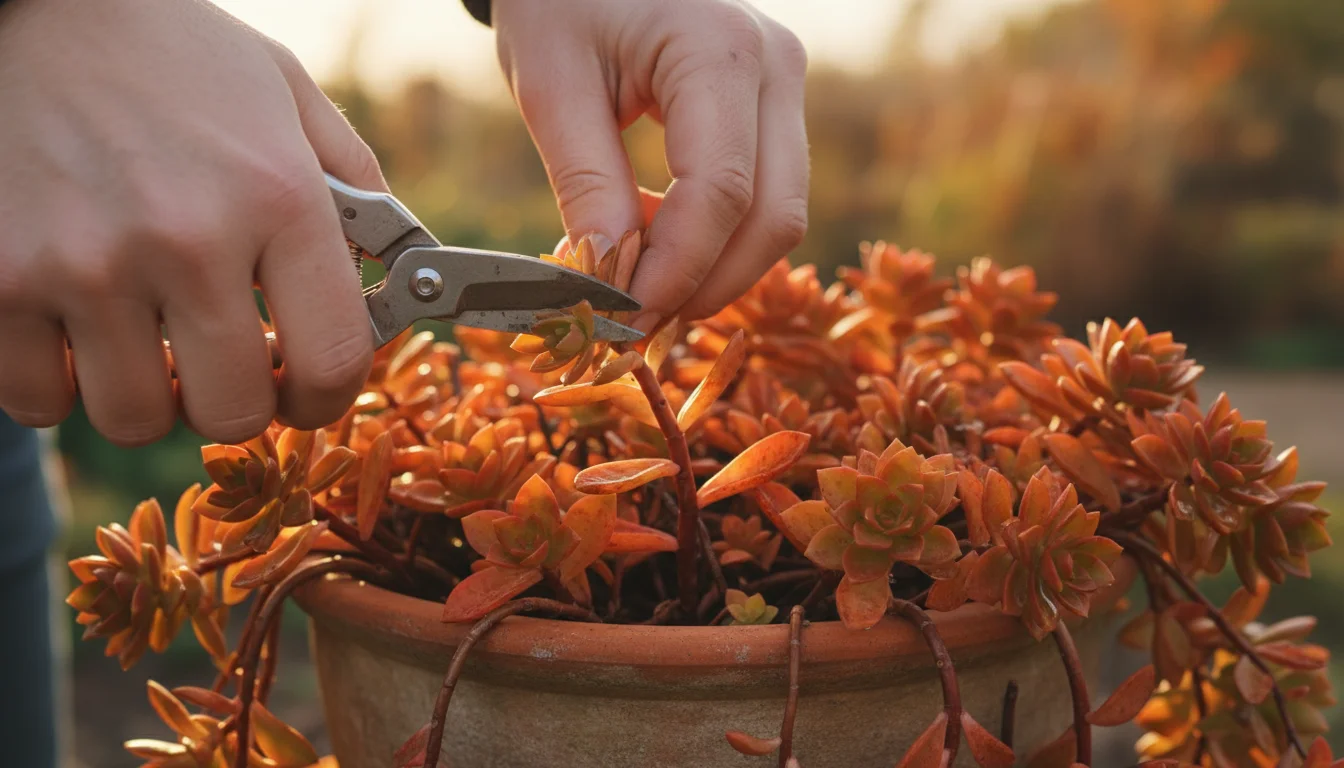
Step 2: Harvesting Your Seasonal Bounty Thoughtfully
Once you have identified your potential centerpiece components, the next step is careful harvesting. Thoughtful harvesting protects your plants, encourages new growth where desired, and ensures your clippings are in the best possible condition for your fall centerpiece DIY project.
This step emphasizes sustainable practices, making sure you do not deplete your container garden’s vitality.
As you trim your plants, you can also take fall cuttings from potted herbs and perennials to propagate healthy new starts indoors without spending a dime.
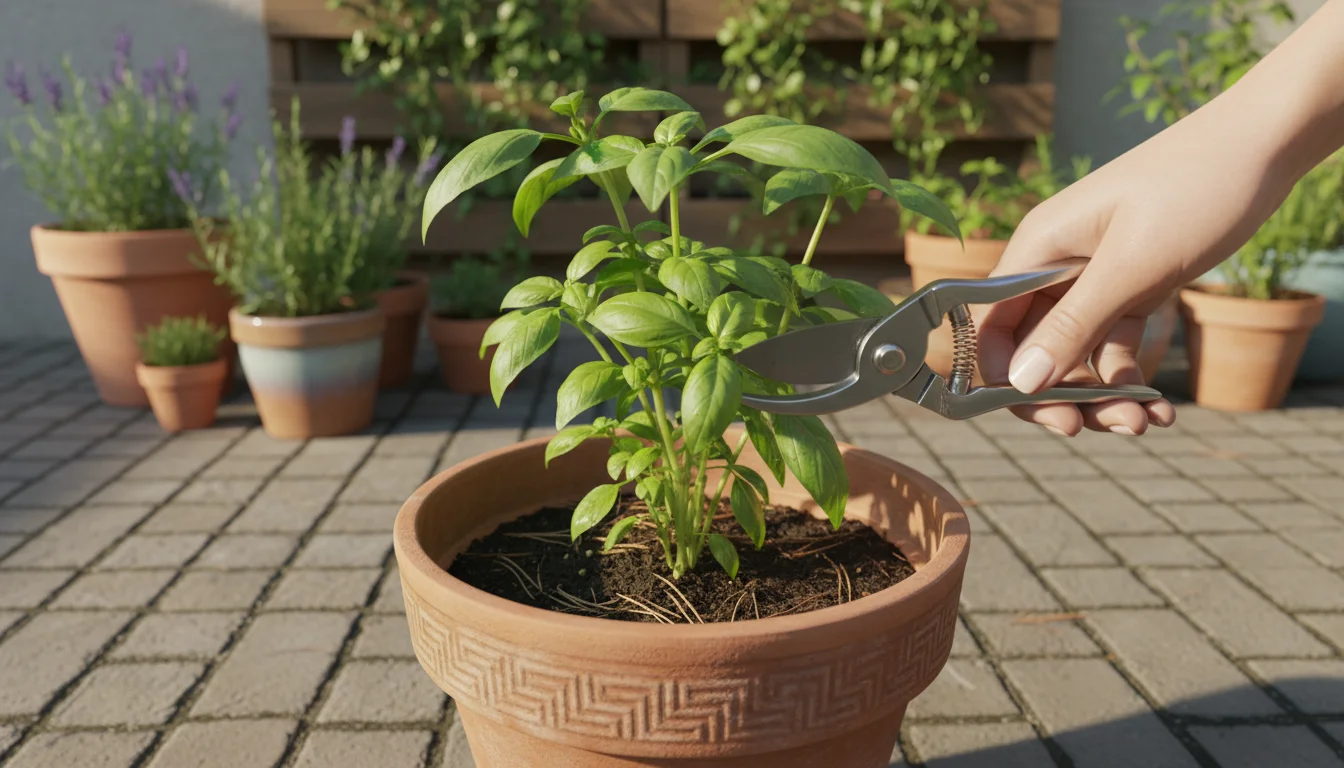
Best Practices for Harvesting:
- Choose the Right Time: Harvest early in the morning after the dew has dried, or in the late afternoon. This is when plants are typically most hydrated. Avoid harvesting during the hottest part of the day when plants are under stress.
- Use Sharp Tools: Always use clean, sharp pruners or scissors. Dull tools can crush stems, leading to poor water uptake and potential disease entry points for the parent plant. A clean cut heals faster.
- Make Strategic Cuts:
- For foliage and fresh flowers: Cut stems at an angle, just above a leaf node or side branch. This encourages the plant to branch out, often leading to more compact growth or even a flush of new blooms.
- For dried seed heads: Cut stems long enough to work with, typically 6-12 inches (15-30 cm) below the seed head. Select seed heads that are fully mature and dry, showing no signs of mold or rot.
- For woody stems: Cut just above a lateral branch or bud. Avoid taking too much from one area, which could stress the plant.
- Take Sparingly: Even if a plant looks lush, resist the urge to take too many clippings from a single plant. Aim to take no more than 20-30% of the plant’s total growth at one time. This preserves the plant’s health and ensures it can continue to thrive.
- Consider the Plant’s Future: If you are pruning a plant like basil that you want to continue producing, harvest the top few inches of growth. If you are trimming back an ornamental grass for winter, you can be more generous. Always think about how your cut affects the plant’s ongoing growth habit.
- Immediately Hydrate Fresh Clippings: For any fresh foliage, flowers, or berries, place them directly into a bucket of water as soon as you cut them. This prevents wilting and helps them last longer in your arrangement.
By following these guidelines, you ensure your garden clippings arrangement is not only beautiful but also ethically sourced from your own flourishing small space garden. You are actively participating in no-waste fall decorating with plants, using resources efficiently and sustainably.
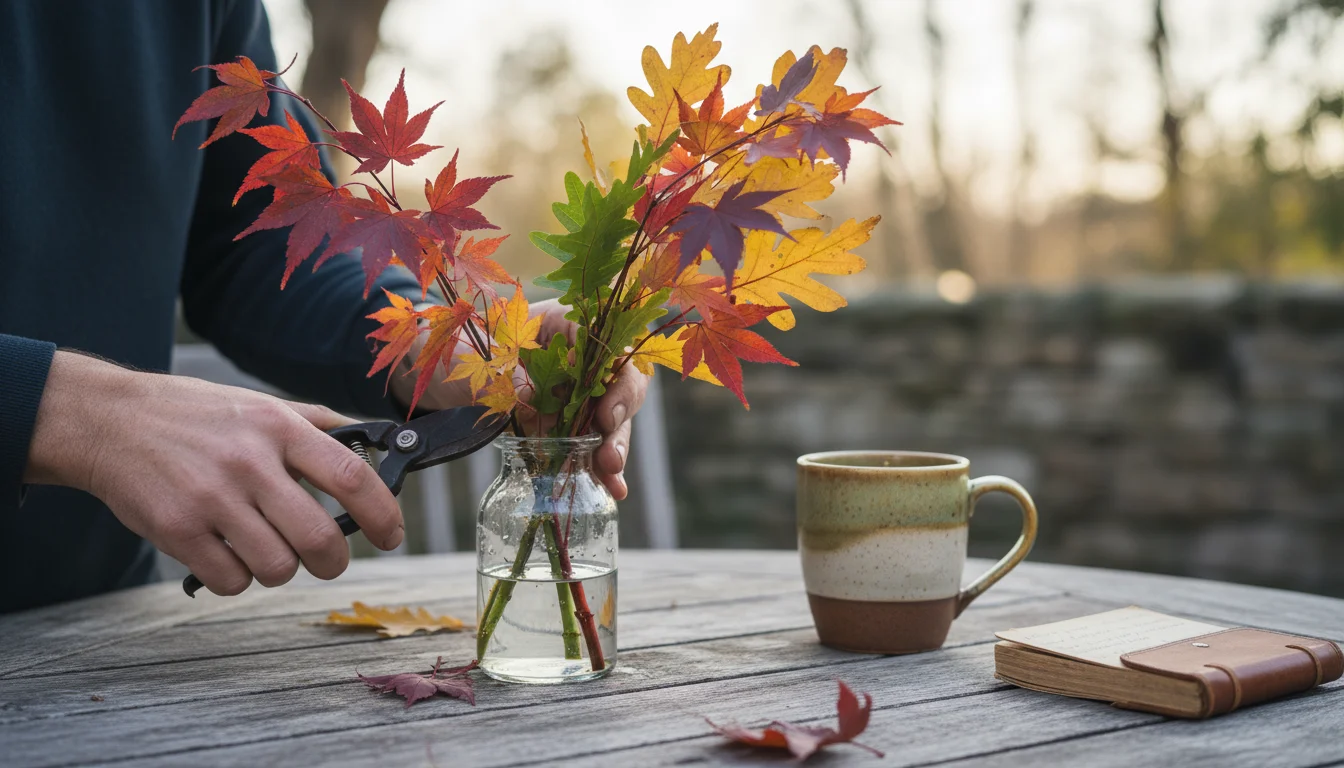
Step 3: Preparing Your Clippings for Lasting Beauty
Once you have gathered your autumn treasures, proper preparation is key to extending their life and ensuring your fall centerpiece DIY remains stunning for weeks.
This step differentiates between fresh and dried materials, as each requires a specific conditioning process to maximize its longevity in your garden clippings arrangement.
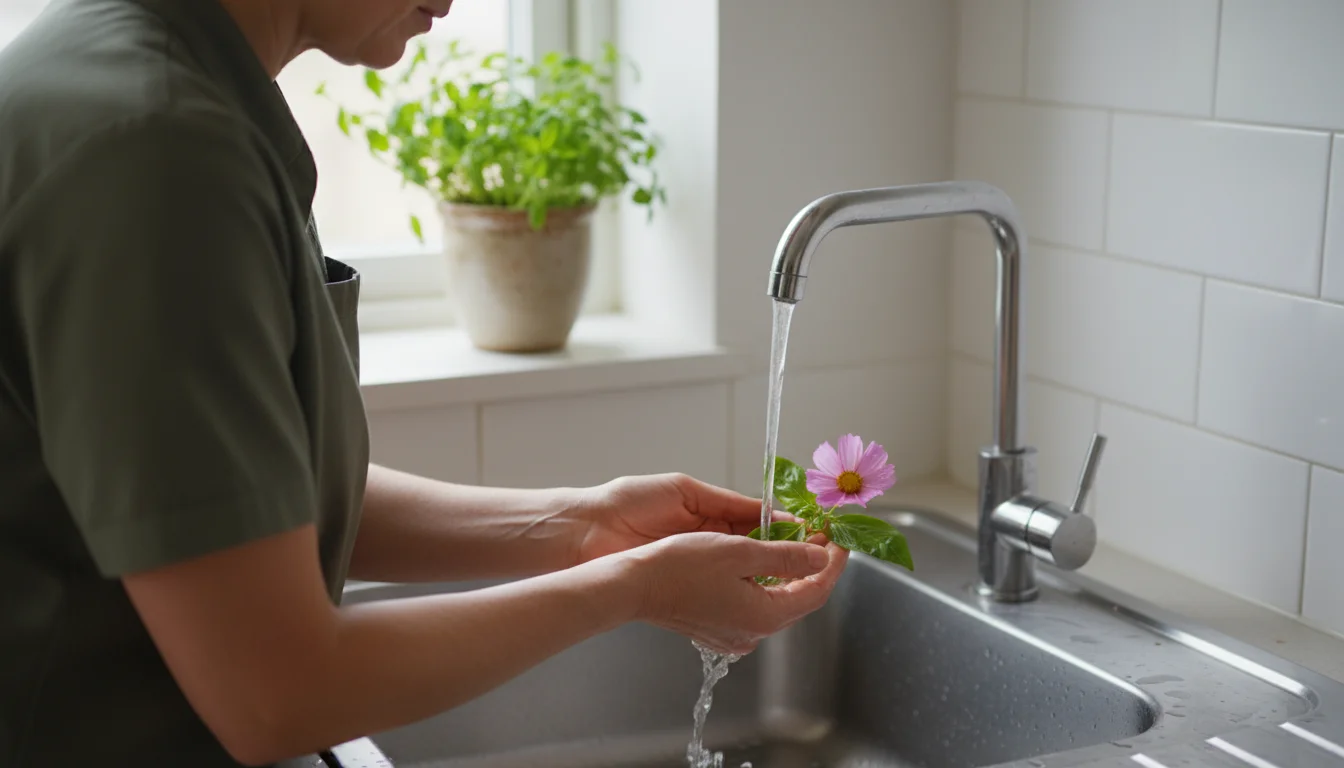
Conditioning Fresh Clippings:
Freshly cut stems need water immediately. This helps them stay turgid, meaning firm and upright, preventing them from wilting.
This process is often called “hardening off.”
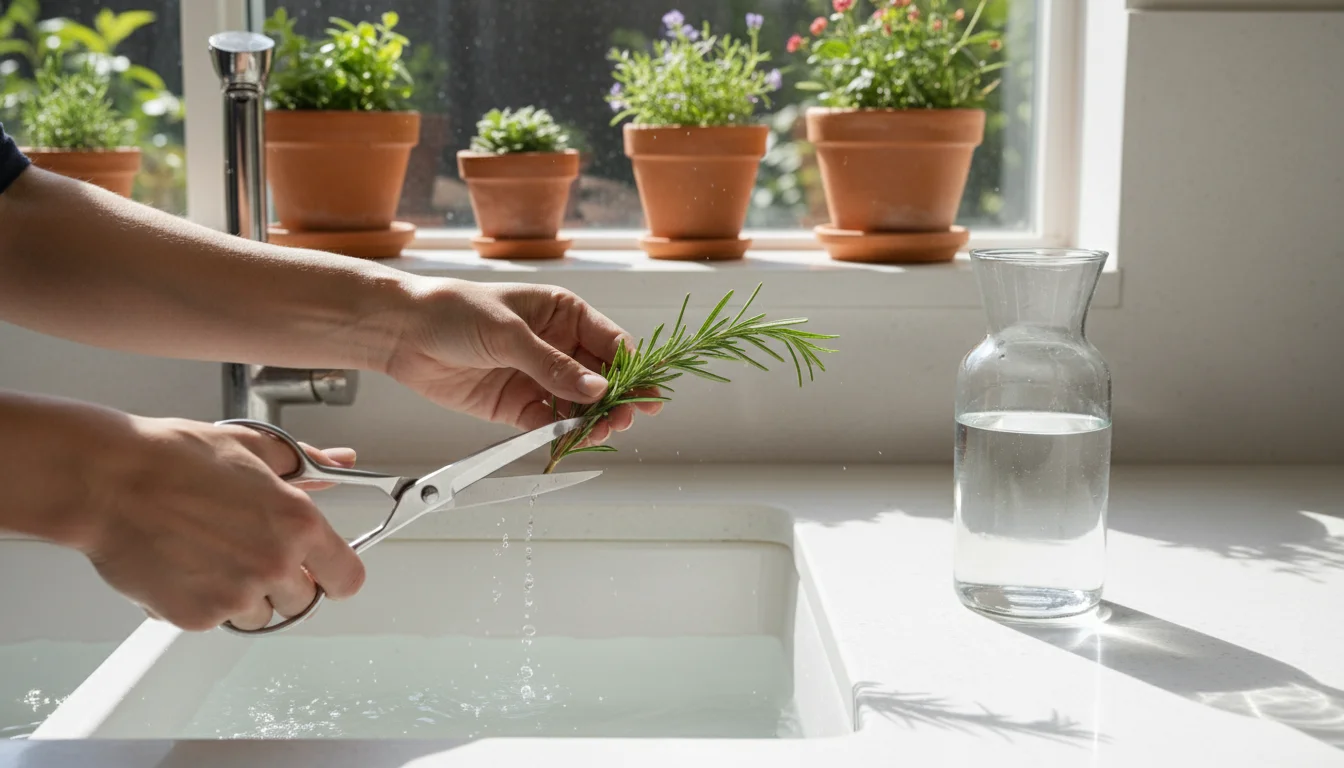
- Recut Stems: As soon as you bring fresh clippings indoors, recut the bottom 1-2 inches (2.5-5 cm) of each stem at an angle under cool, running water. This prevents air bubbles from entering the vascular system and blocking water uptake.
- Remove Lower Foliage: Strip any leaves that would fall below the waterline in your vase. Submerged leaves decompose quickly, fouling the water and promoting bacterial growth, which shortens the life of your arrangement.
- Place in Water: Immediately transfer the recut stems into a clean vase filled with fresh, cool water. Consider adding a floral preservative, which provides nutrients and inhibits bacterial growth, extending the life of your flowers by several days. If you do not have commercial preservative, a simple homemade solution of a teaspoon of sugar (for food), a few drops of bleach (to kill bacteria), and two tablespoons of lemon juice (to acidify the water) per quart of water can work.
- Allow to Hydrate: Let your fresh clippings hydrate in a cool, shaded spot for at least 2-4 hours, or preferably overnight, before arranging. This ensures they are fully rehydrated and ready for display.
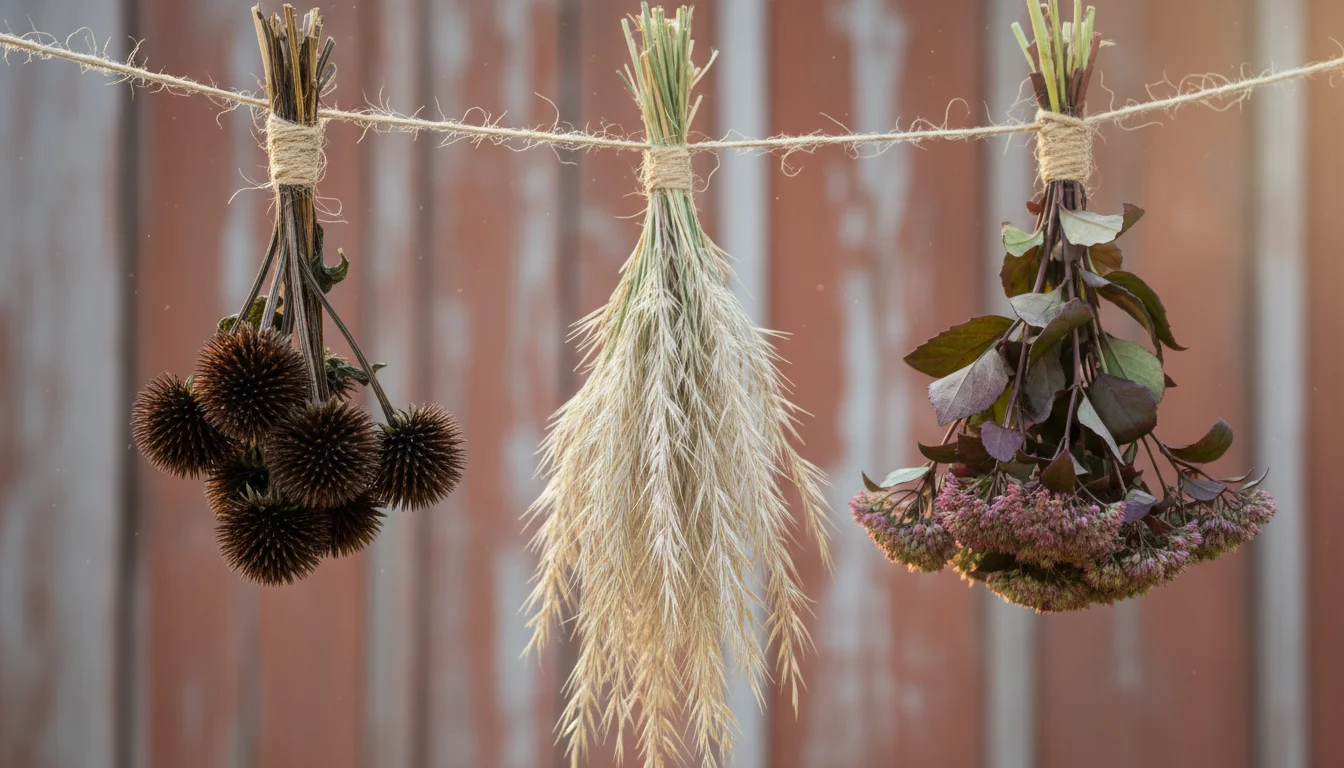
Drying Clippings for Permanent Arrangements:
Many fall elements, especially dried seed heads, ornamental grasses, and sturdy foliage, actually last longer when dried. This makes them perfect for creating a how to use dried seed heads for decoration display that endures throughout the fall season and beyond.
- Bunch and Hang: Group similar dried materials into small bunches. Secure the stems tightly with a rubber band or twine. Hang these bunches upside down in a cool, dark, well-ventilated area, such as a closet or attic. Darkness helps preserve color, and good air circulation prevents mold.
- Air Drying Duration: The drying process can take anywhere from a few days to several weeks, depending on the material’s moisture content and ambient conditions. You know they are fully dry when the stems snap rather than bend, and the leaves feel crisp.
- Silica Gel (for delicate flowers/foliage): For delicate fresh flowers you want to preserve, or specific colorful leaves, drying with silica gel can retain more of their original shape and color. Bury the clippings in silica gel crystals in an airtight container for 3-7 days.
- Glycerin Treatment (for pliable foliage): To keep certain leaves (like eucalyptus or sturdy ornamental foliage) pliable after drying, you can treat them with a glycerin solution. Mix one part glycerin with two parts boiling water. Let it cool, then place the stem ends in the solution for several weeks until the leaves feel supple.
- Protect from Pests: Once dried, store materials in a sealed container or bag if not immediately used for your fall decor ideas. This protects them from dust and pests.
By properly preparing your foraged materials, you maximize their beauty and lifespan, ensuring your garden clippings arrangement brings joy for as long as possible. This preparation is a crucial step in creating a lasting, no-waste fall decorating with plants display.
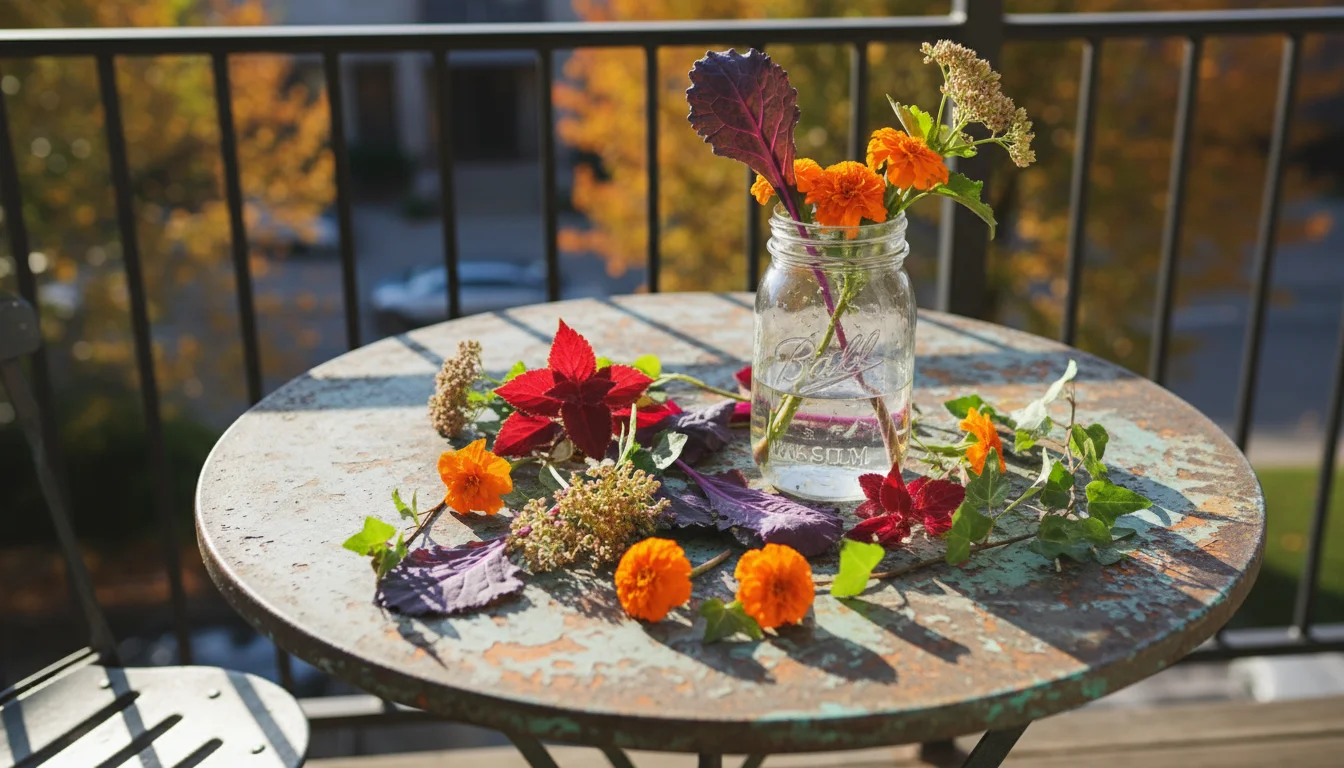
Step 4: Crafting Your Centerpiece: Design Principles for Small Spaces
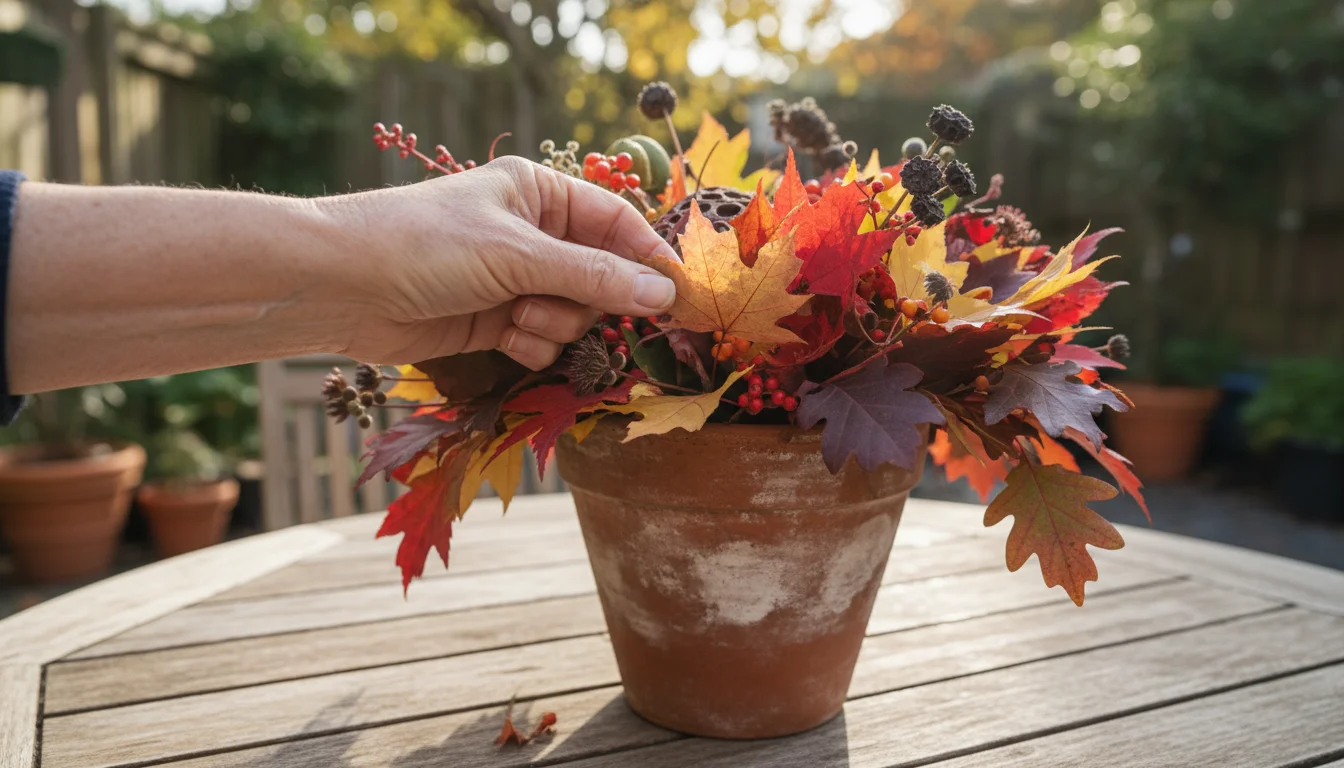
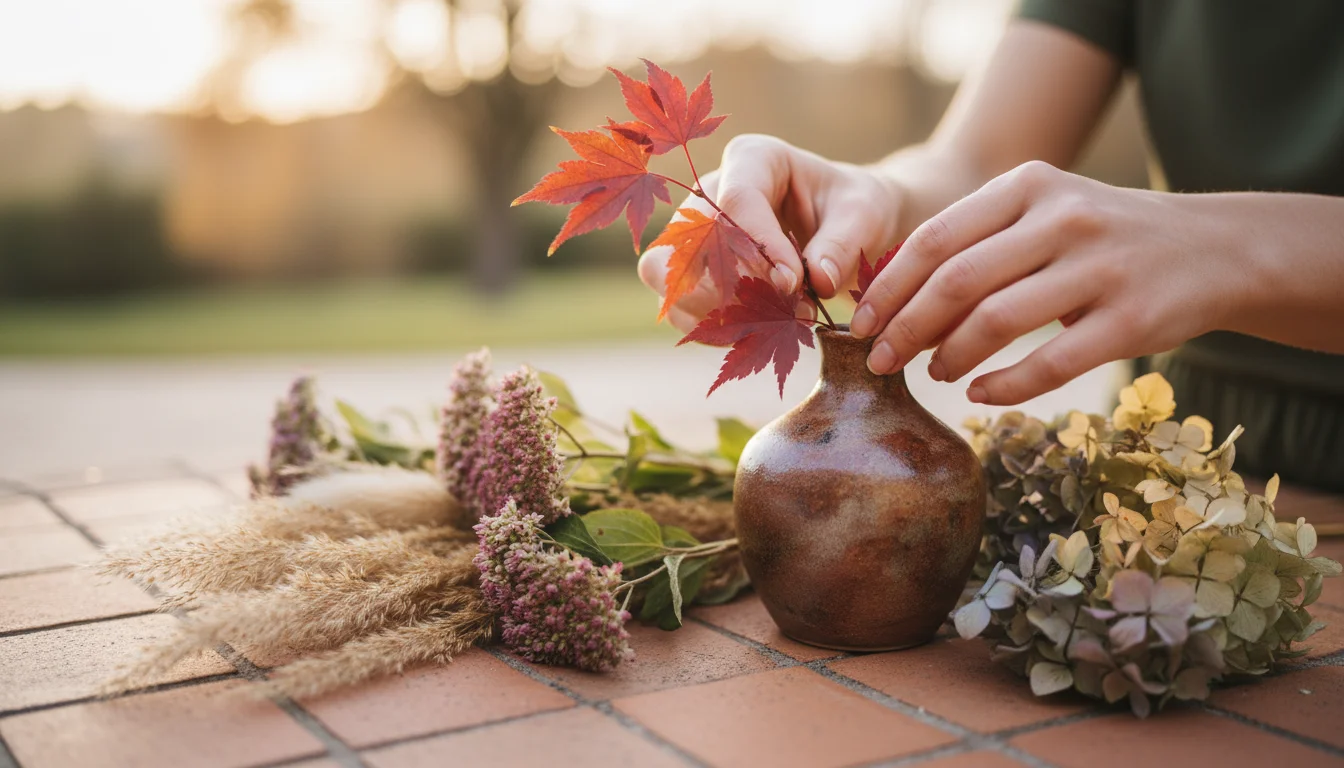
Now comes the exciting part: assembling your unique ‘foraged from your pots’ centerpiece. Creating a fall bouquet from your balcony garden involves more than simply sticking stems in a vase.
Applying a few basic design principles helps you create a cohesive, balanced, and visually appealing garden clippings arrangement, especially when working with limited space and diverse materials.
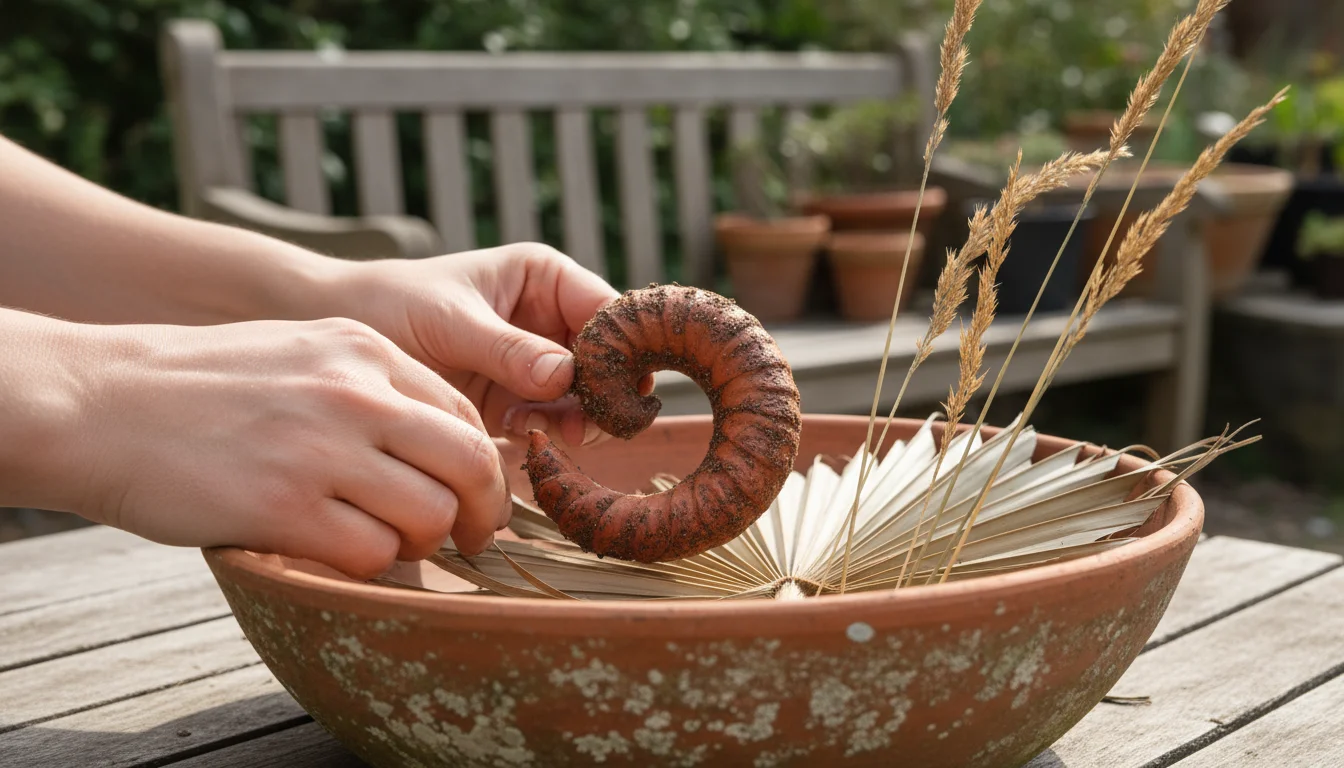
Key Design Principles:
- Choose Your Focal Point: Every good arrangement benefits from a focal point, a dominant element that draws the eye. This could be a particularly striking dried seed head, a cluster of vibrant berries, or an unusually shaped branch. Place this element first, often slightly off-center, to give your arrangement a strong beginning.
- Build in Layers: Start with your larger, more structural elements. These provide the basic shape and height. Then, fill in with medium-sized items, adding volume and breadth. Finish with smaller, more delicate pieces to add detail and texture. Think of it like building a mini landscape.
- Consider Height and Width: For small spaces, avoid overly tall arrangements that might obstruct views across a table. A good rule of thumb is that your centerpiece should be no more than 1.5 times the height of your vase. Ensure the arrangement also has some width to feel substantial but avoid making it so wide it dominates the table or patio.
- Embrace Variety in Texture: This is where your foraged materials truly shine. Combine the smooth surfaces of leaves with the spiky texture of coneflower heads, the feathery softness of ornamental grass plumes, and the rough bark of a small twig. These contrasts add visual interest and depth to your fall centerpiece DIY.
- Balance Color and Form: Fall palettes often lean towards earthy tones, but even within these, you can find subtle variations. Distribute colors evenly throughout the arrangement. Similarly, balance different forms. If you have several round seed heads, break them up with linear stems or delicate foliage to prevent a heavy, clumped look.
- Create Movement: Use longer, arching stems or delicate tendrils to create a sense of movement and natural flow within your arrangement. This prevents it from looking stiff and formal.
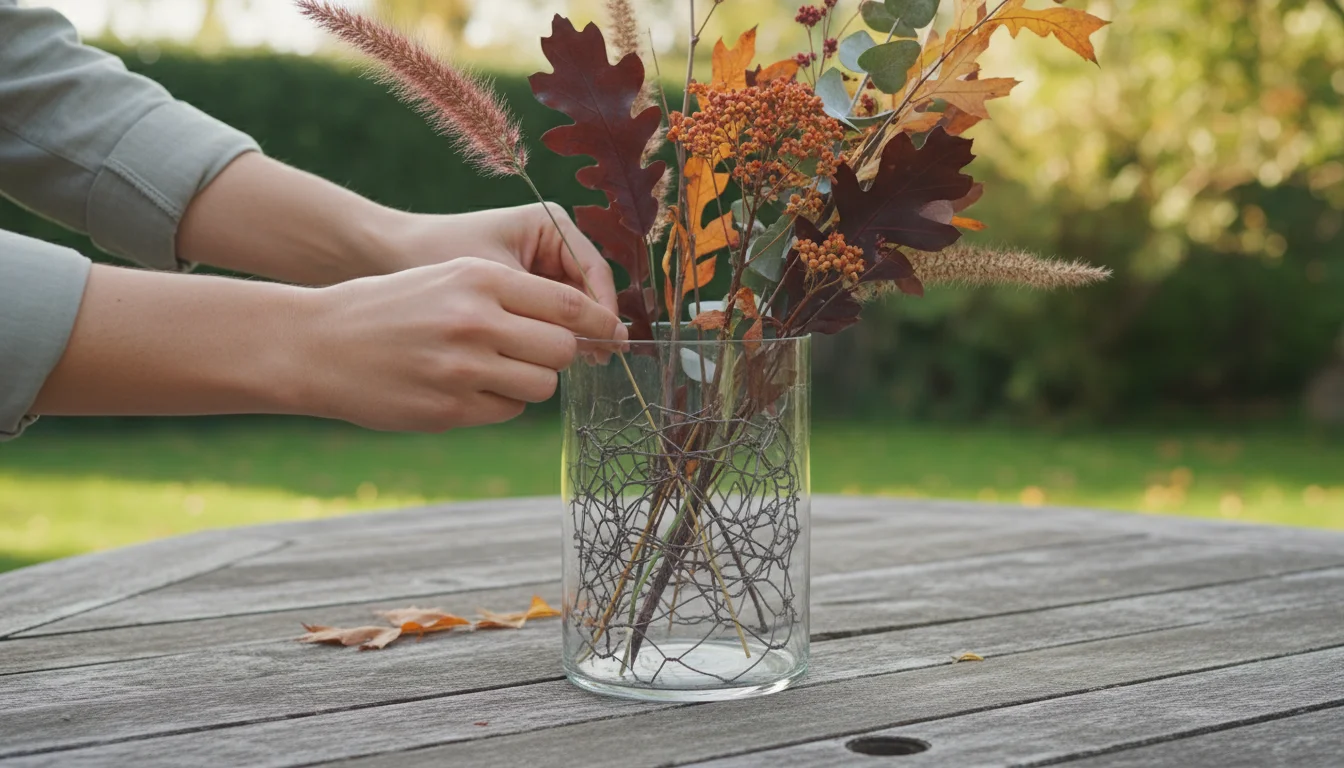
Practical Tips for Assembling Your Arrangement:
- Start with a Clean Vase: Ensure your vase is spotless to prevent bacterial growth and maintain water clarity if using fresh materials.
- Establish a Base: If you are not using floral foam, a grid made from chicken wire or even crisscrossed branches at the bottom of the vase can help hold stems in place. This is especially helpful for a complex garden clippings arrangement.
- Rotate and Observe: As you add elements, continuously rotate your vase to view the arrangement from all angles. This helps ensure it looks good from every perspective.
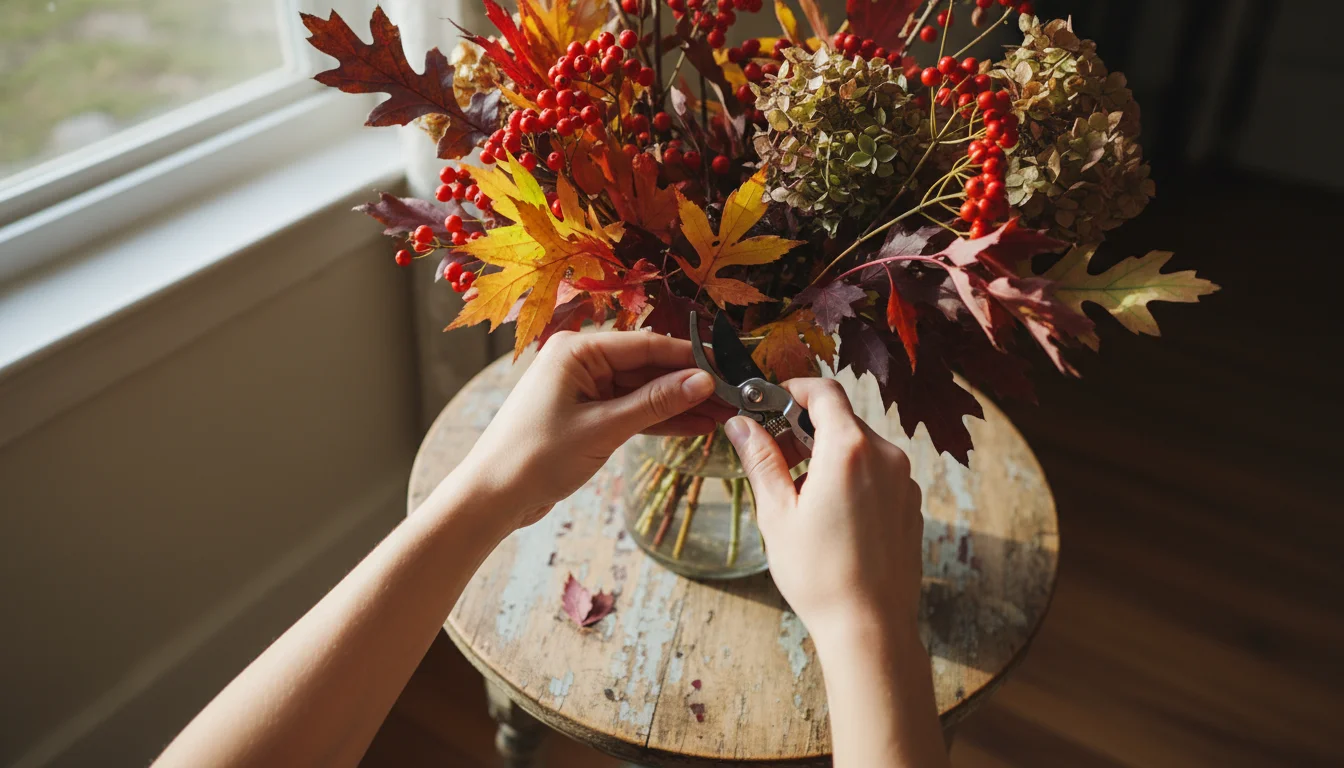
- Prune as You Go: Do not be afraid to trim stems shorter or remove excess leaves as you build the arrangement. Precision makes a difference.
- Step Back: Periodically step away from your arrangement to get a fresh perspective. Your eyes can trick you when you are too close.
Remember, the goal is to create a reflection of your garden’s autumnal beauty. There is no single “right” way to create a fall bouquet from your balcony garden.
Experiment, play, and trust your aesthetic sense. This process is about joy and connection to your plants, and it is a wonderful example of no-waste fall decorating with plants.
Step 5: Displaying Your Creation and Extending Its Lifespan
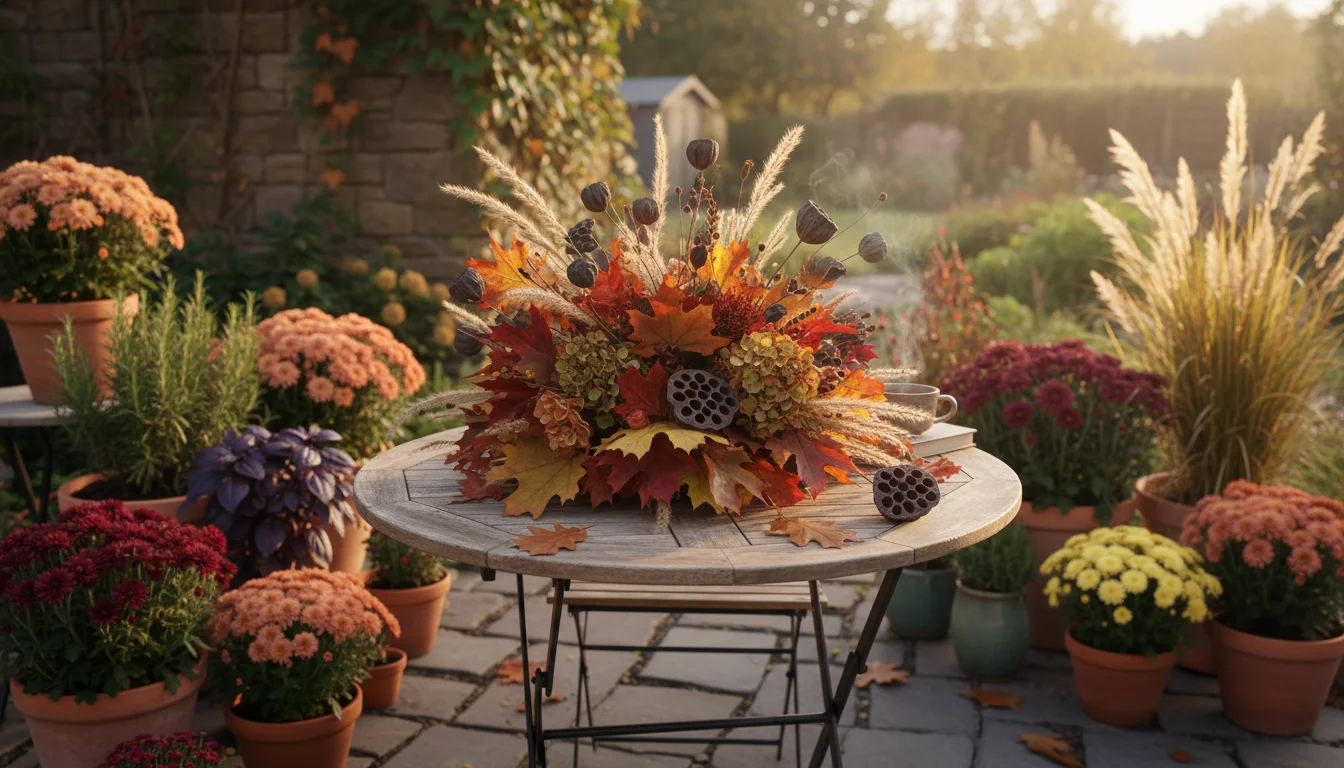
You have crafted a beautiful fall centerpiece DIY from your garden clippings, a true testament to no-waste fall decorating with plants. Now, let us ensure it graces your home with autumnal charm for as long as possible.
Proper display and a bit of ongoing care will significantly extend the life of your garden clippings arrangement.
Optimal Placement for Your Centerpiece:
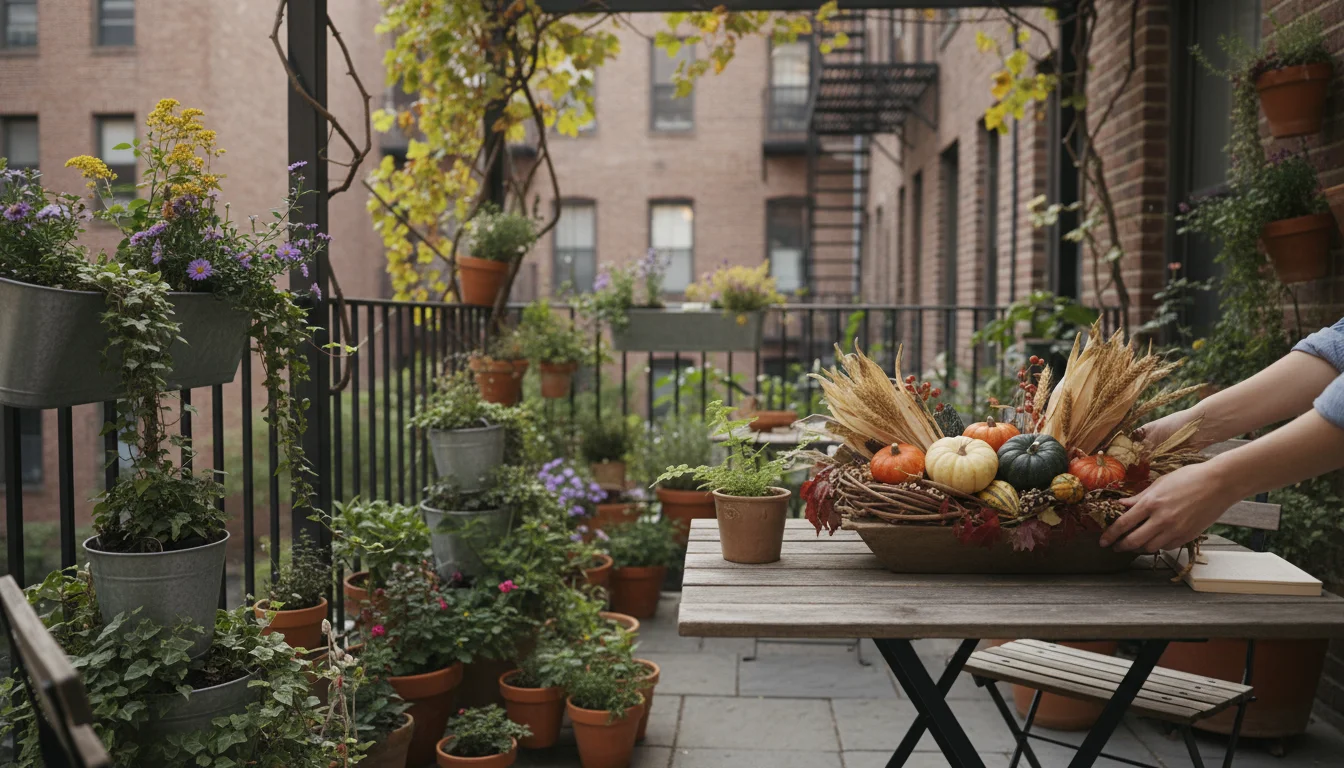
The location you choose for your fall decor ideas impacts both its visual appeal and its longevity:
- Avoid Direct Sunlight: Intense sunlight can cause fresh clippings to wilt quickly and dried materials to fade prematurely. Place your arrangement in a spot with indirect light.
- Steer Clear of Heat Sources: Radiators, fireplaces, and even some electronics emit heat that can dehydrate your arrangement. Keep your centerpiece away from these areas.
- Consider Air Circulation: Good air flow is beneficial for dried arrangements, preventing mustiness. For fresh arrangements, avoid overly drafty spots which can cause rapid drying.
- Choose a Stable Surface: Ensure the surface is flat and sturdy enough to support the weight of your vase and arrangement, preventing accidental spills or falls. This is especially important for areas with high traffic.
- Harmonize with Your Decor: Select a spot where your centerpiece complements the surrounding decor. A rustic arrangement might look best on a wooden dining table, while a more refined one could enhance a console table.
Extending the Lifespan of Your Centerpiece:
Whether your arrangement is fresh, dried, or a mix, a little maintenance goes a long way:
- For Fresh Arrangements:
- Change Water Regularly: Every 1-2 days, completely change the water in your vase. Use fresh, cool water, ideally mixed with floral preservative.
- Recut Stems: When changing water, recut the bottom of the stems by about half an inch (1.25 cm) at an angle. This reopens the vascular system, allowing better water absorption.
- Remove Spent Material: Promptly remove any wilting leaves or flowers. These decompose and release ethylene gas, which accelerates the aging of other healthy parts of the arrangement.
- Mist Lightly (if appropriate): Some foliage benefits from a light misting, but avoid misting dried elements or flowers prone to spotting.
- For Dried Arrangements:
- Dust Gently: Dried materials can accumulate dust. Use a soft brush, a hairdryer on a cool, low setting, or a can of compressed air to gently remove dust.
- Avoid Humidity: High humidity can cause dried materials to reabsorb moisture, potentially leading to mold or loss of crispness. Keep them in relatively dry environments.
- Protect from Direct Sun: As mentioned, direct sunlight fades colors. Place dried arrangements away from sunny windows to preserve their vibrancy.
- Handle with Care: Dried materials are brittle. Handle your arrangement gently when moving or cleaning it.
By following these simple display and care tips, your ‘foraged from your pots’ centerpiece will continue to bring the charm of your garden indoors, serving as a beautiful and sustainable expression of your fall decor ideas.
This mindful approach extends the value of your efforts and truly embraces no-waste fall decorating with plants.
Troubleshooting Common Centerpiece Challenges
Even with the best intentions, you might encounter a few hiccups when creating and maintaining your garden clippings arrangement. Do not let these minor challenges deter you.
As your practical gardening coach, I will guide you through common issues and provide actionable solutions, ensuring your fall centerpiece DIY remains a source of pride rather than frustration.
Issue 1: Fresh Clippings Wilt Quickly
Problem: Your beautiful fresh leaves or flowers start to droop shortly after being arranged, even after proper hydration.
Solution: This usually points to insufficient water uptake.
- Recheck Cuts: Immediately remove the stems from the vase and recut them, ensuring a fresh, sharp angle. Do this under water if possible.
- Clean Water/Vase: Ensure your vase is scrupulously clean and the water is fresh. Bacteria clog stems.
- Temperature Check: Is the room too warm or near a heat source? Move the arrangement to a cooler spot.
- Consider Material: Some plants naturally have a shorter vase life. Focus on sturdy foliage like rosemary, sage, or small branches for longer-lasting fresh elements.
Issue 2: Dried Materials Become Brittle and Break Easily
Problem: Your stunning dried seed heads or leaves snap at the slightest touch.
Solution: This indicates they are very dry and might benefit from a subtle conditioning or more careful handling.
- Gentle Handling: When arranging or moving, exercise extreme caution.
- Avoid Over-Drying: Ensure your drying area is not excessively hot or dry. A slightly humid environment (but not so humid that it causes mold) can maintain a touch more flexibility in materials like grasses.
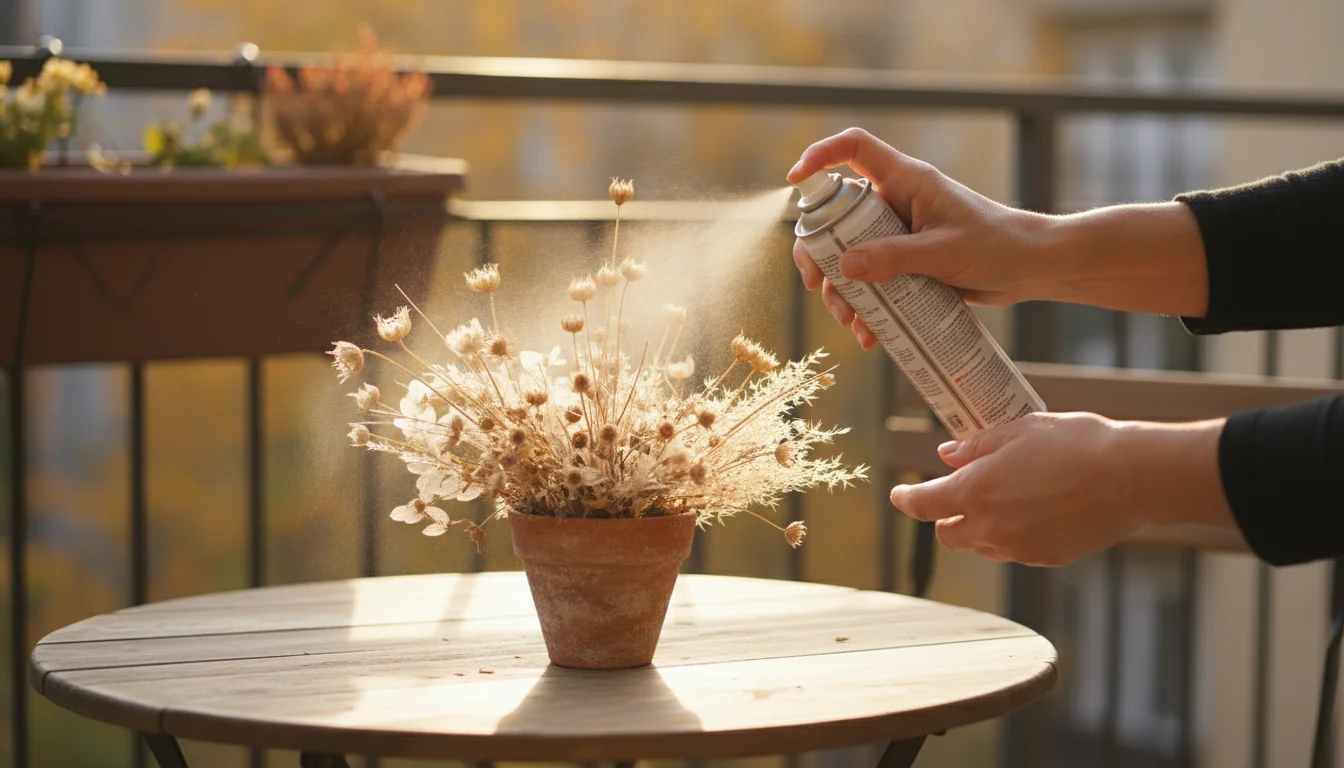
- Hairspray Fix (for certain materials): For some delicate dried flowers or seed heads, a light mist of unscented hairspray from a distance can add a protective, flexible layer, reducing shedding and brittleness. Test on an inconspicuous piece first.
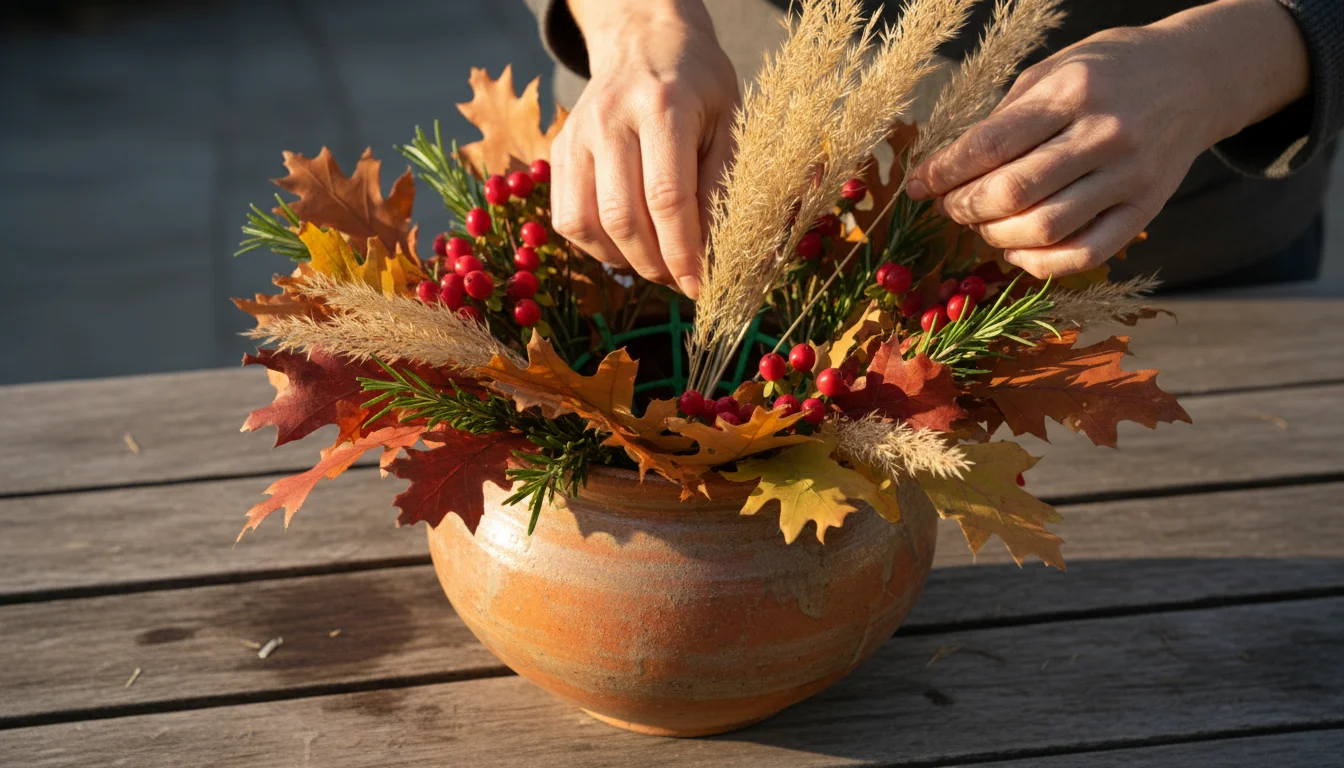
Issue 3: Arrangement Looks Unbalanced or Sparse
Problem: Your fall bouquet from your balcony garden does not have the cohesive or full look you envisioned.
Solution: This is a common design challenge.
- Add Filler: Incorporate more filler materials. Think about smaller sprigs of herbs, delicate ornamental grasses, or compact clusters of berries to fill gaps.
- Adjust Height and Depth: Vary the stem lengths. Pull some elements forward and push others back to create depth.
- Use a Grid: If your vase is wide-mouthed, use chicken wire or floral tape across the opening to create a grid. This provides more support and helps place stems precisely, preventing them from flopping to the sides.
- Re-evaluate Focal Point: Does your focal point stand out enough? Sometimes, adding a contrasting color or texture near it can make it pop.
Issue 4: Unwanted Odors from Fresh Clippings
Problem: Your fresh arrangement develops an unpleasant smell.
Solution: This almost always indicates bacterial growth in the water.
- Change Water Daily: Be diligent about changing the water every day.
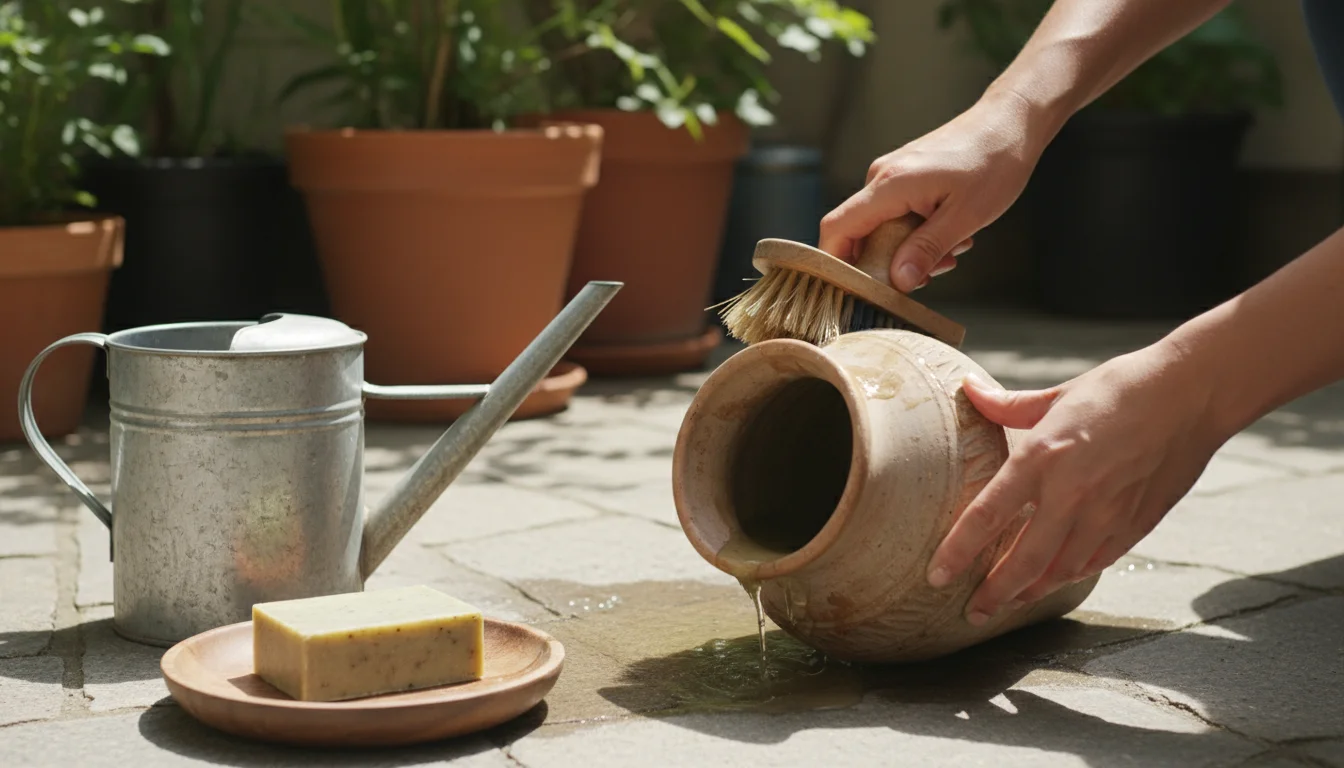
- Clean Vase Thoroughly: Wash your vase with hot, soapy water each time you change the water, using a brush if needed, to remove any slime or residue.
- Remove Submerged Foliage: Ensure no leaves or petals sit below the waterline. These are the primary culprits for decay and odor.
- Use Floral Preservative: The bleach component in floral preservatives actively inhibits bacterial growth.
By proactively addressing these common issues, you can keep your fall decor ideas vibrant and beautiful, ensuring your garden clippings arrangement continues to bring joy throughout the season. Remember, gardening and crafting are learning processes.
Every arrangement provides an opportunity to refine your skills and deepen your connection with your plants, truly embodying no-waste fall decorating with plants.
Beyond the Centerpiece: Expanding Your No-Waste Fall Decor
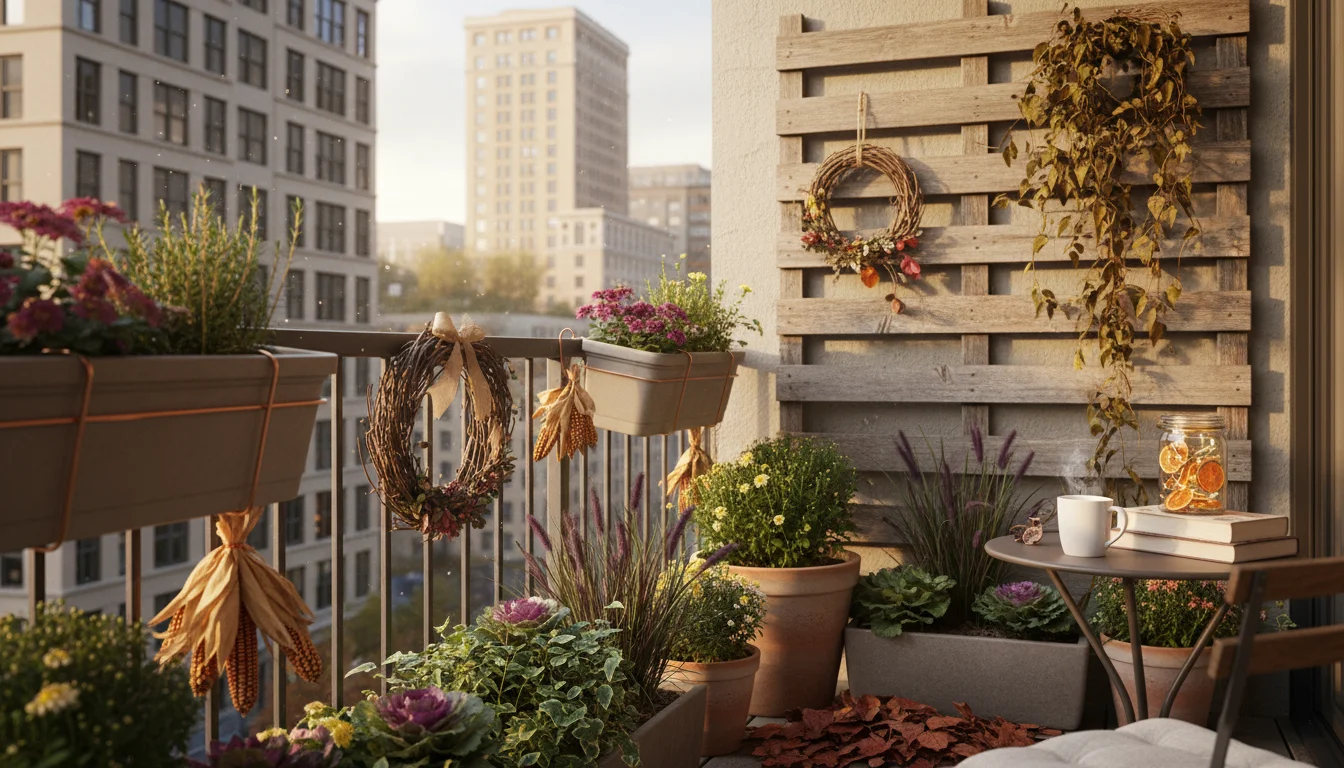
The concept of ‘foraged from your pots’ extends far beyond a single centerpiece. Once you begin to see your garden clippings as valuable decorative elements, a world of no-waste fall decorating with plants opens up.
This approach encourages creativity and maximizes the aesthetic potential of your small space garden, turning everyday pruning into an opportunity for seasonal embellishment.
Ideas for Expanding Your Garden-Inspired Decor:
- Garlands and Swags: Gather longer, flexible stems like grapevines (if you grow them), ivy, or even sturdy herb stems. Weave in dried seed heads, smaller foliage sprigs, and berries to create natural garlands for doorways, mantels, or railings. These are fantastic for a cohesive garden clippings arrangement theme throughout your home.
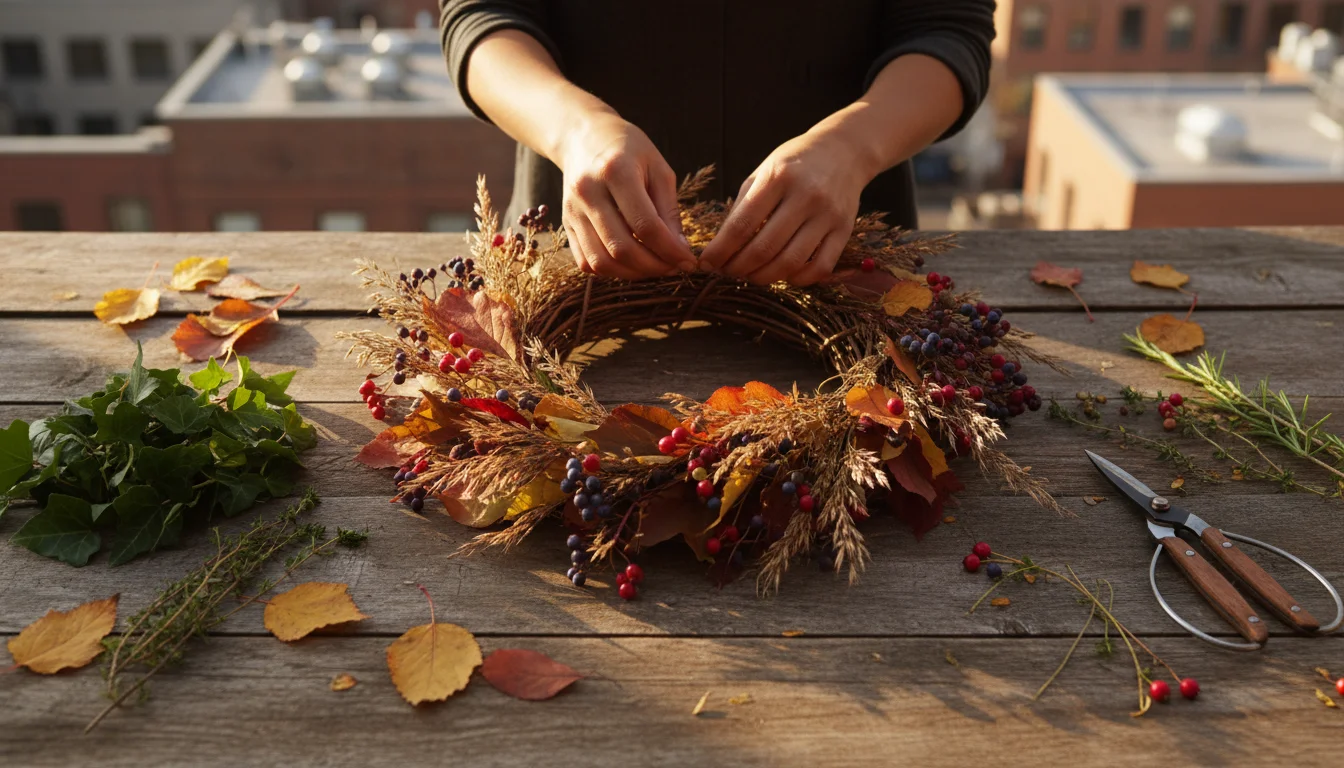
- Wreaths from Prunings: Use flexible branches pruned from shrubs or hardy herbs to form a base. Attach dried flowers, seed pods, and colorful leaves using floral wire or twine. A simple grapevine wreath base, purchased or made from your own prunings, offers an excellent foundation for a fall centerpiece DIY extension.
- Potpourri and Sachets: Harvest fragrant herbs like lavender, rosemary, mint, and lemon balm. Dry them thoroughly. Combine with dried citrus peels (also no-waste!), cinnamon sticks, and a few drops of essential oils for a natural, aromatic potpourri. Place in bowls or small fabric sachets for subtle fragrance. This is a delightful how to use dried seed heads for decoration that engages more senses.
- Decorative Bundles: Tie together bunches of dried lavender, rosemary, or ornamental grass plumes with twine. These rustic bundles can adorn shelves, hang from hooks, or serve as simple, elegant accents in baskets.
- Table Scatter: Collect individual dried leaves, small seed pods, or a few sprigs of dried herbs. Scatter them around your centerpiece or on a console table for a natural, understated fall decor ideas. This adds texture and organic appeal without requiring an elaborate setup.
- Gift Toppers: Instead of plastic bows, adorn wrapped gifts with a small sprig of dried lavender, a cluster of dried berries, or a mini pinecone (if you have conifers nearby). This personal touch is eco-friendly and charming.
- Nature Bowls: Fill a decorative bowl with a collection of your larger, more robust dried elements: gourds, interesting seed pods, large dried leaves, and sturdy sprigs of ornamental grasses. This creates a sculptural display.
By embracing these ideas, you transform your garden into an ongoing source of inspiration and decoration. You not only enjoy the beauty of your plants outdoors but also extend their life and aesthetic indoors.
This mindful approach celebrates the seasons, reduces waste, and deepens your connection to the natural world right outside your door, proving that making a fall bouquet from your balcony garden is just the beginning of your creative journey.
For trustworthy gardening information, visit:
Royal Horticultural Society (RHS), UF/IFAS Gardening Solutions, University of Illinois Extension — Gardening and UC IPM (University of California Integrated Pest Management). These organizations provide expert, research-based advice for gardeners at all levels.
Frequently Asked Questions
Can I use any plant from my garden for a centerpiece?
While many plants offer interesting elements, some are better suited than others. Prioritize plants with sturdy stems, interesting foliage that holds up well, or unique dried seed heads.
Avoid highly delicate flowers that wilt quickly or plants with toxic sap, especially if your centerpiece will be within reach of children or pets. Always research a plant’s toxicity if you are unsure.
How long will a ‘foraged from your pots’ centerpiece last?
The lifespan varies significantly. Fresh arrangements with robust foliage and hardy flowers might last 5-10 days with proper care.
Arrangements composed primarily of dried seed heads, ornamental grasses, and sturdy dried foliage can last for months, even years, if kept dry and away from direct sunlight. Mixed arrangements will see their fresh components fade first, allowing the dried elements to remain.
Do I need special tools to dry my garden clippings?
No, you do not. Simple air drying is often the most effective and eco-friendly method.
All you need are rubber bands or twine to tie bunches and a cool, dark, well-ventilated space to hang them upside down. For specific, delicate items, silica gel offers a more advanced drying option, but it is not essential for most fall materials.
What if my garden is very small and does not have many options?
Even the smallest garden or a few pots can yield treasures. Look at herbs like rosemary or sage for structure and fragrance.
Consider spent flowers like marigolds or zinnias for interesting dried forms. Ornamental grasses in pots provide fantastic texture.
If your own garden is truly sparse, consider foraging sustainably in nature (with permission) or swapping clippings with a gardening friend. Focus on texture and form over a large quantity of blooms.
Is it truly “no-waste” if I am cutting plants?
Yes, this approach aligns with a no-waste philosophy because you are utilizing materials that might otherwise be discarded or left to decompose. You are repurposing parts of your plants, often as part of routine maintenance or at the end of their natural growth cycle.
This extends the value and aesthetic life of your garden output, reducing the need to purchase new, often commercially grown and shipped, decorative items. It is a mindful and sustainable way to decorate.
Disclaimer: This article is for informational purposes only and is not a substitute for professional gardening advice. Always consult local extension services or horticulture experts for region-specific guidance.