
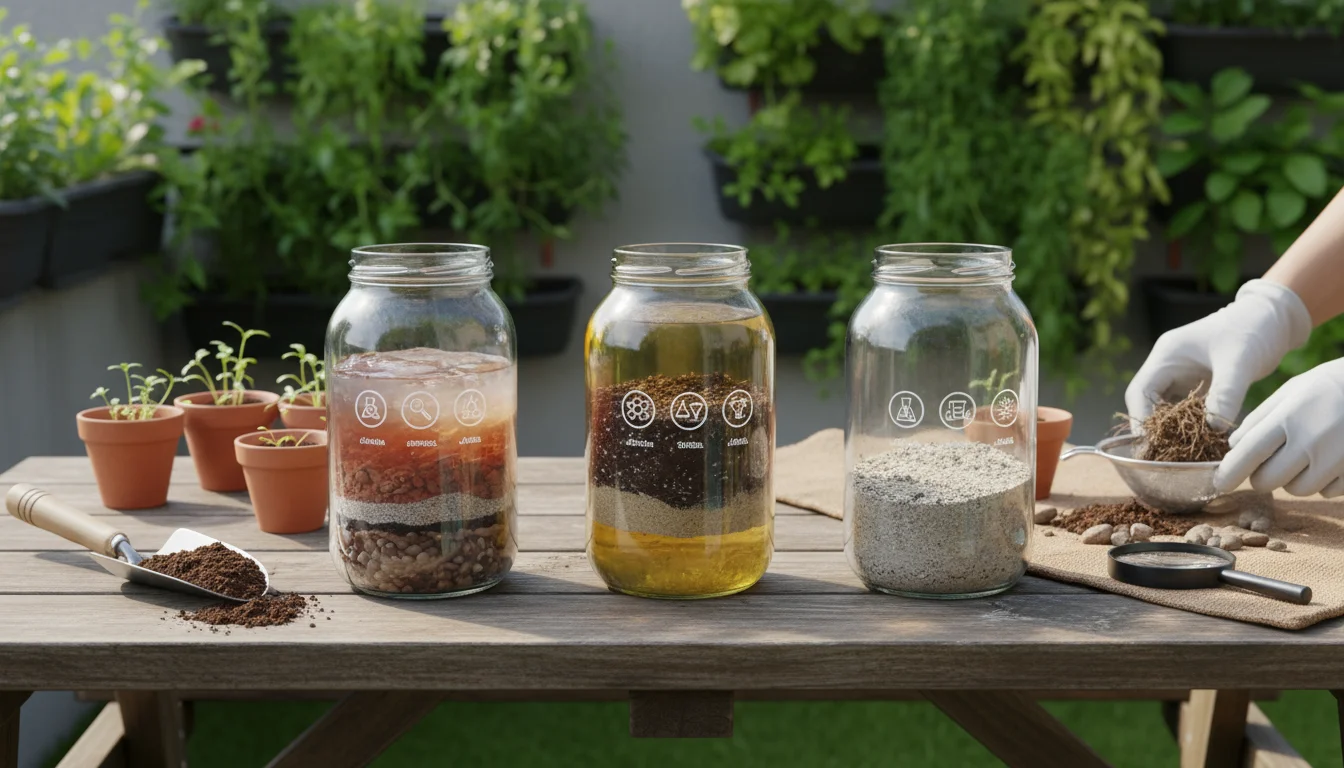
As the vibrant hues of summer gardening begin to fade, many small-space gardeners turn their thoughts to fall garden cleanup. This period offers a crucial opportunity to assess the health of your container plants’ foundations: the used potting mix.
Your potting mix is more than just dirt; it is a carefully balanced environment that provides nutrients, support, and water to your plants. Neglecting its condition can significantly impact your future gardening success.
Instead of simply tossing out all your spent soil or blindly reusing it, consider performing a “soil autopsy.”
This guide provides a straightforward, 3-step process to help you diagnose the condition of your used potting mix, identify potential problems like diagnosing compacted soil in pots, and make informed decisions for a healthier, more sustainable garden next season.
Understanding your container soil health now sets the stage for thriving plants later.
Contents10 sections
- The Unsung Hero: Why Your Used Potting Mix Deserves Attention
- Decoding Container Soil Health: Understanding the Basics
- Step 1: The Visual Inspection—Reading the Surface Signs
- Step 2: The Touch and Feel Test—Uncovering Subsurface Secrets
- Step 3: The Drainage Test—Assessing Water Movement
- Beyond the Autopsy: Common Issues with Used Potting Mix
- Rejuvenating Your Used Potting Mix: Practical Fall Solutions
- Garden Design Considerations: Optimizing Soil for Small Spaces
- Mistakes to Avoid When Handling Used Potting Mix
- Frequently Asked Questions
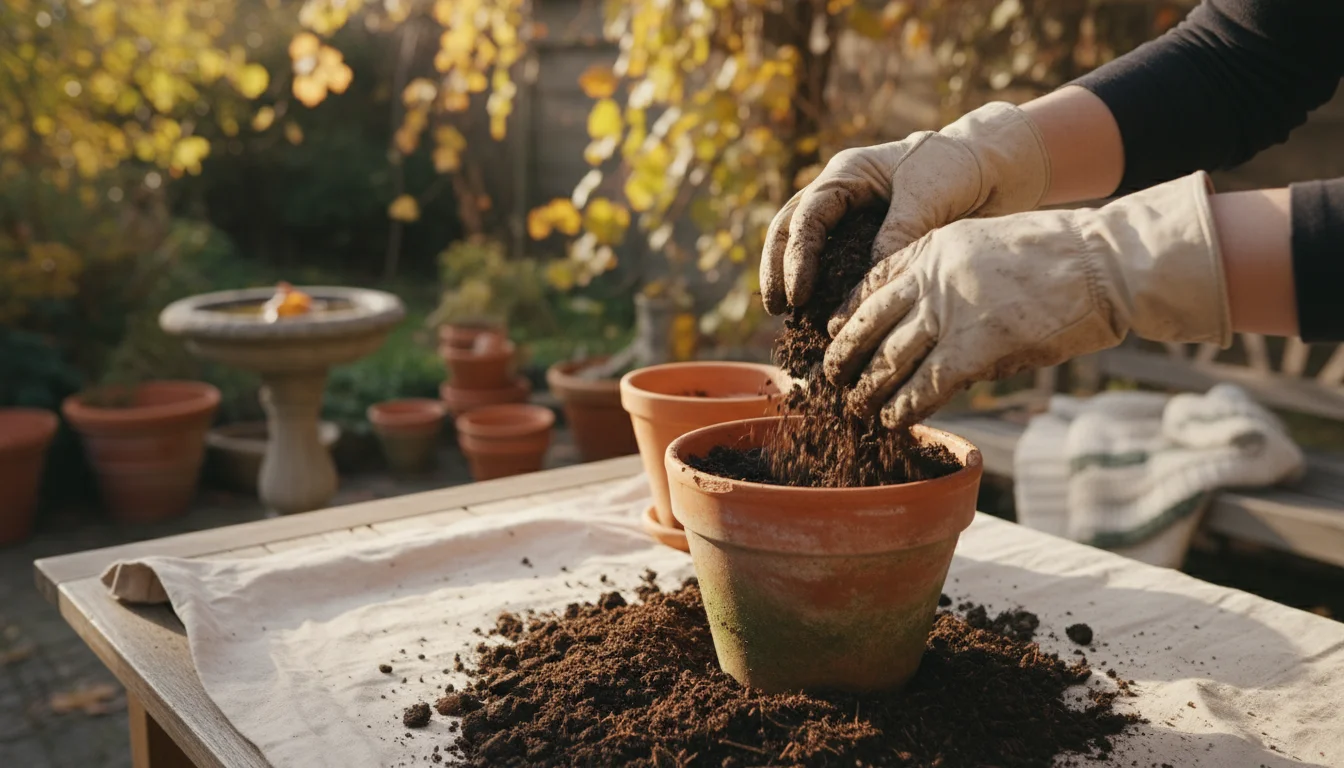
The Unsung Hero: Why Your Used Potting Mix Deserves Attention
Many gardeners, especially those new to container gardening, view potting mix as a disposable commodity. You plant, the season ends, and you might consider dumping the contents of your pots.
However, this overlooked resource holds significant value. Healthy potting mix supports robust plant growth, efficient water usage, and reduces the need for excessive fertilization.
Ignoring the state of your used potting mix can lead to a host of problems for next year’s plants, including stunted growth, increased disease susceptibility, and nutrient deficiencies. Think of your soil as the lifeblood of your container garden.
Just as you maintain your tools, you must also maintain your soil. Understanding what to do with old potting soil in fall is a fundamental step in sustainable gardening.
Over time, potting mix undergoes changes. Organic matter decomposes, beneficial microbes may dwindle, and crucial soil structure can break down.
This degradation impacts critical functions like aeration, nutrient retention, and water drainage—the ability of water to move freely through the soil. Regular assessment, particularly during your fall garden cleanup, ensures you are not setting your future plants up for failure.
By diagnosing compacted soil in pots and checking for other issues, you proactively address problems before they manifest in your thriving plants. This proactive approach saves you money, reduces waste, and helps you achieve a more successful small-space garden year after year.
Investing a little time now pays dividends in plant health and garden productivity.
Decoding Container Soil Health: Understanding the Basics
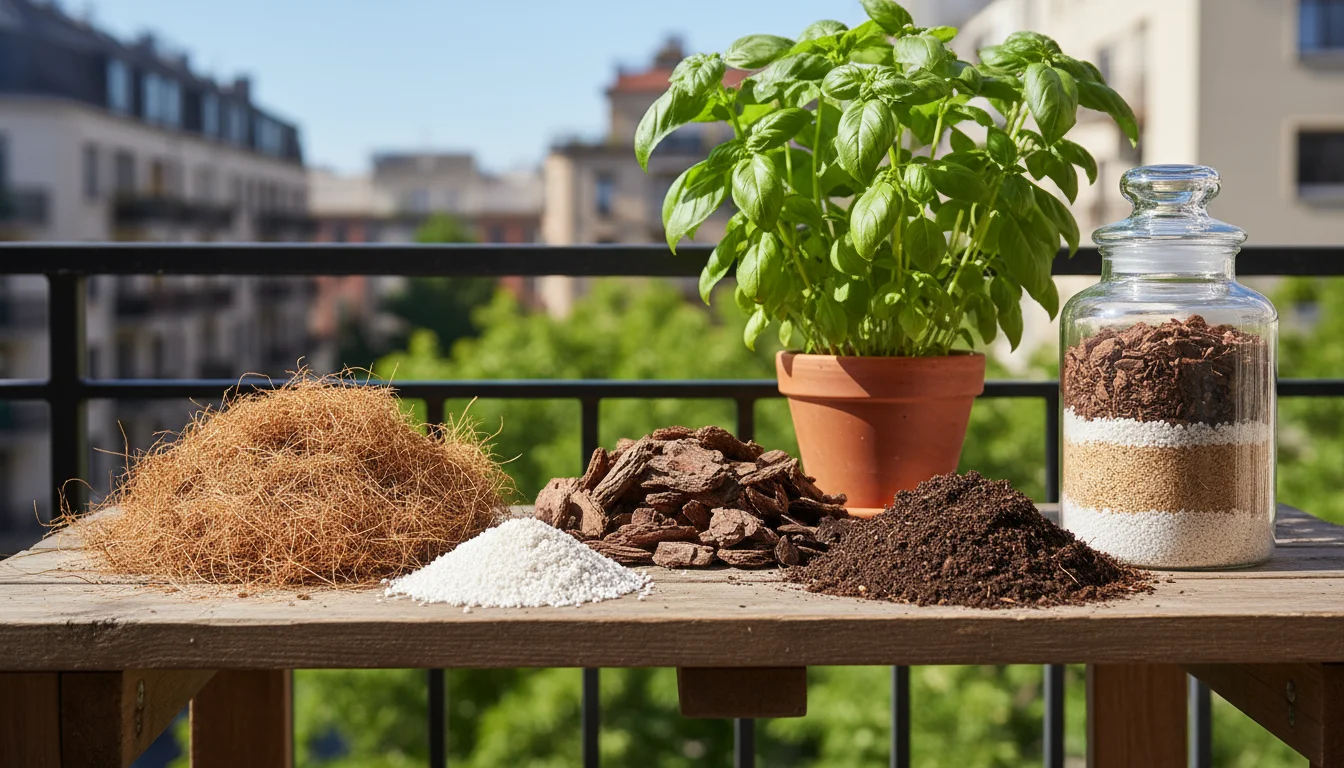
Before you dive into the autopsy, let us briefly revisit what makes a good potting mix and why its health matters. Unlike garden soil, which is rich in mineral components like clay, silt, and sand, potting mixes are typically soilless.
They contain a blend of organic materials such as peat moss, coco coir, compost, and pine bark, along with inorganic components like perlite or vermiculite.
This specific composition provides several benefits essential for container plants: excellent drainage, good aeration (air pockets for roots), adequate water retention, and a lightweight structure.
The success of your plants hinges on these characteristics. Proper drainage prevents waterlogging, which suffocates roots and leads to root rot.
Good aeration ensures roots receive oxygen for healthy respiration. Sufficient water retention means your plants do not dry out too quickly, reducing your watering frequency.
Over a single growing season, a used potting mix can lose many of these vital properties. Organic materials break down into fine particles, reducing air pockets and making the mix denser.
Water retention might decrease, or, conversely, the mix might become waterlogged if drainage channels disappear. Nutrients deplete as plants absorb them, and salts can accumulate from fertilizers and tap water.
Learning how to tell if my container soil is bad involves understanding these fundamental changes.
The goal of your soil autopsy is to evaluate how well your used potting mix is still performing these crucial functions. You want to identify signs of breakdown, compaction, and nutrient depletion.
By doing this, you equip yourself with the knowledge to amend or replace your potting mix effectively, ensuring optimal container soil health for the seasons ahead.
Step 1: The Visual Inspection—Reading the Surface Signs
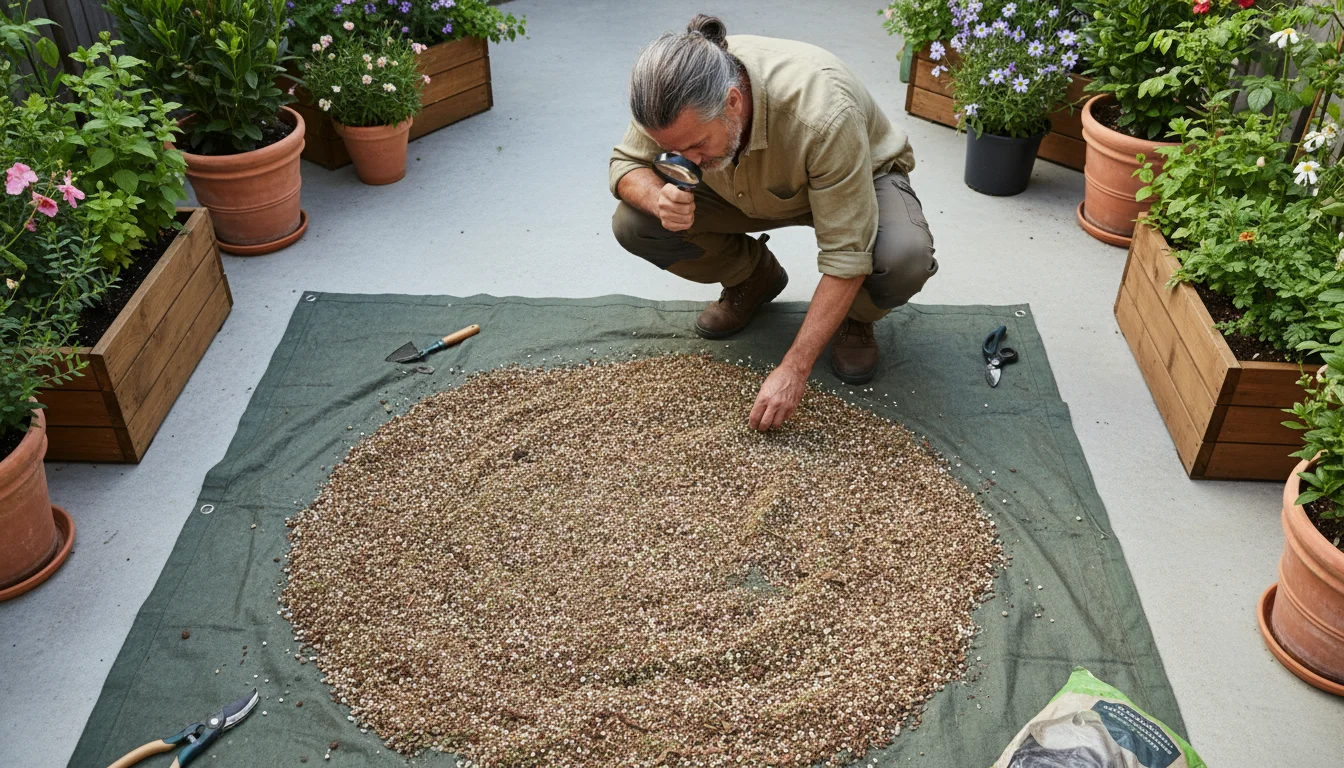
Your first step in diagnosing your used potting mix is a simple visual assessment. Much like a doctor observes a patient before any tests, you will gather initial clues about your soil’s condition just by looking at it.
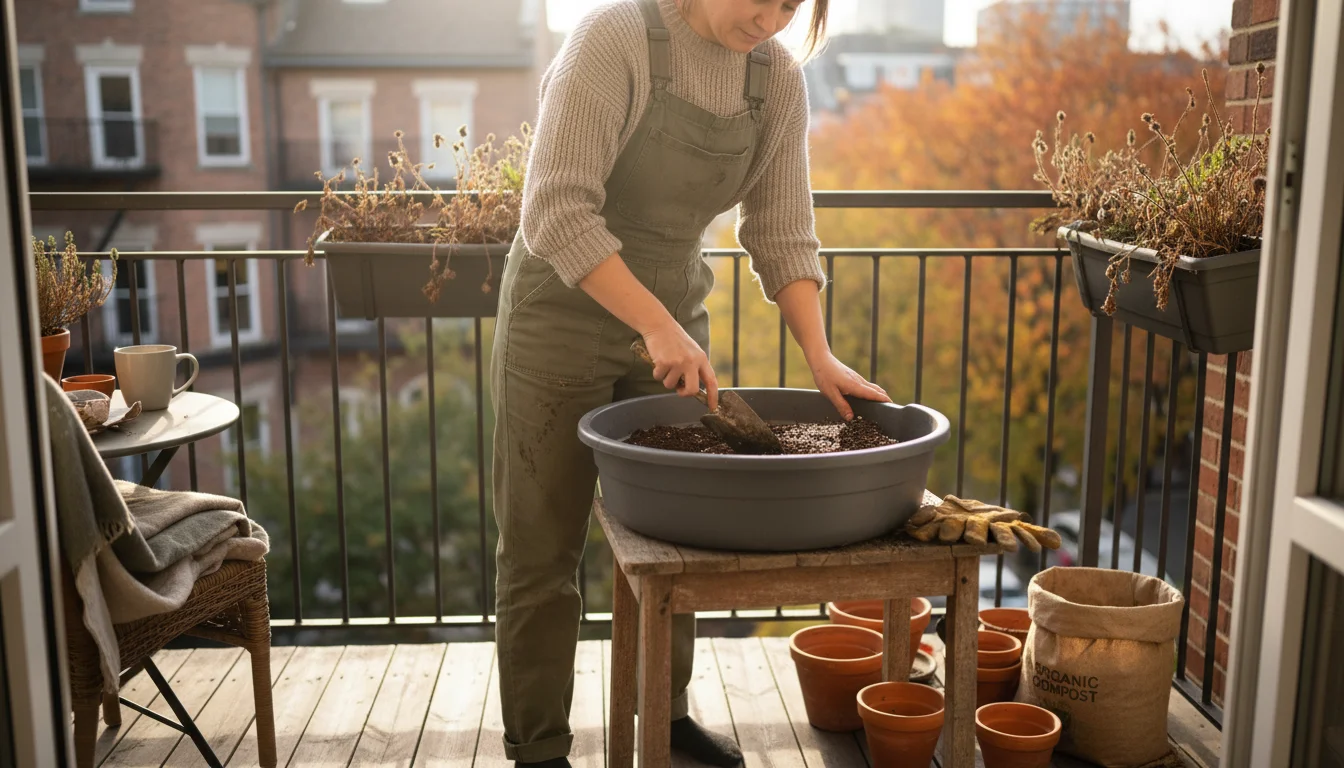
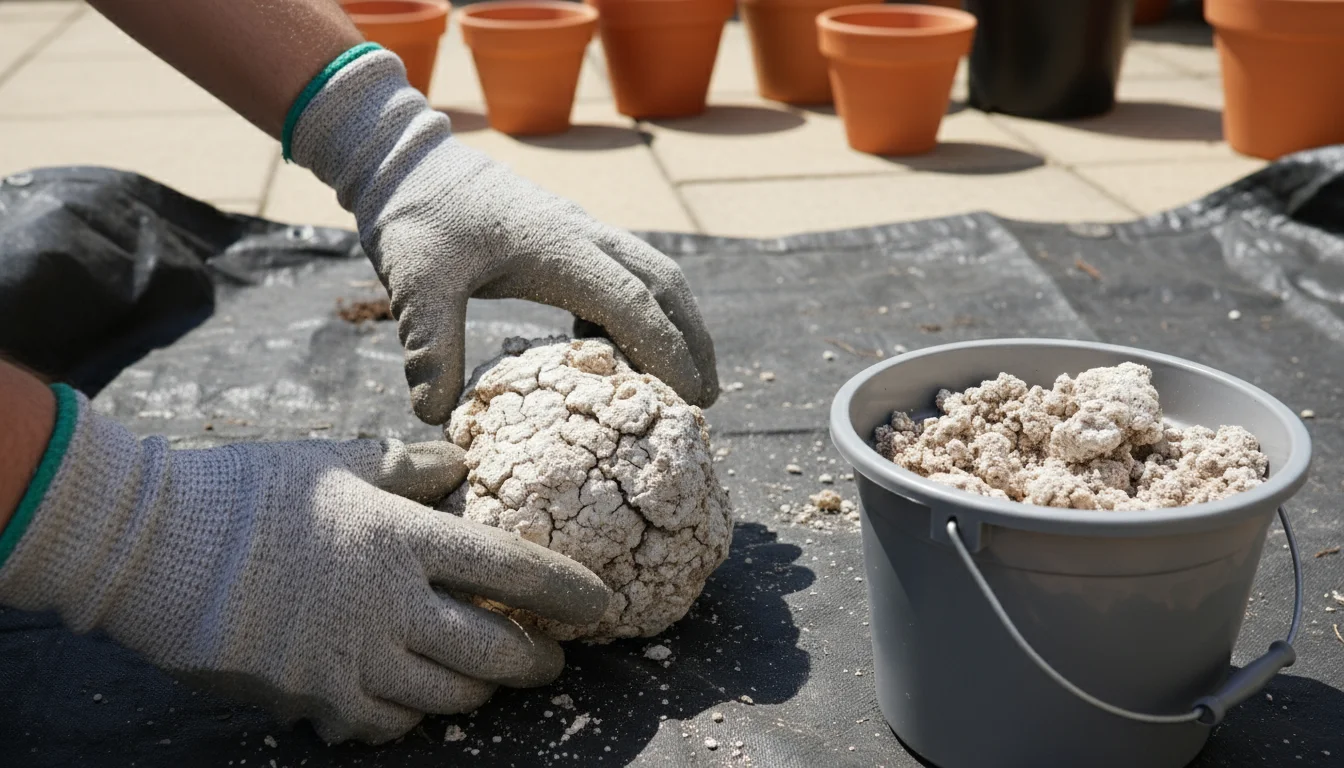
This stage requires no special tools, only your keen eye. Begin by emptying your used potting mix from its container onto a tarp or into a large tub.
Spread it out thinly to get a comprehensive view.
If you are gardening in an apartment, following a tidy balcony cleanup strategy will keep dust and spills contained during the examination.
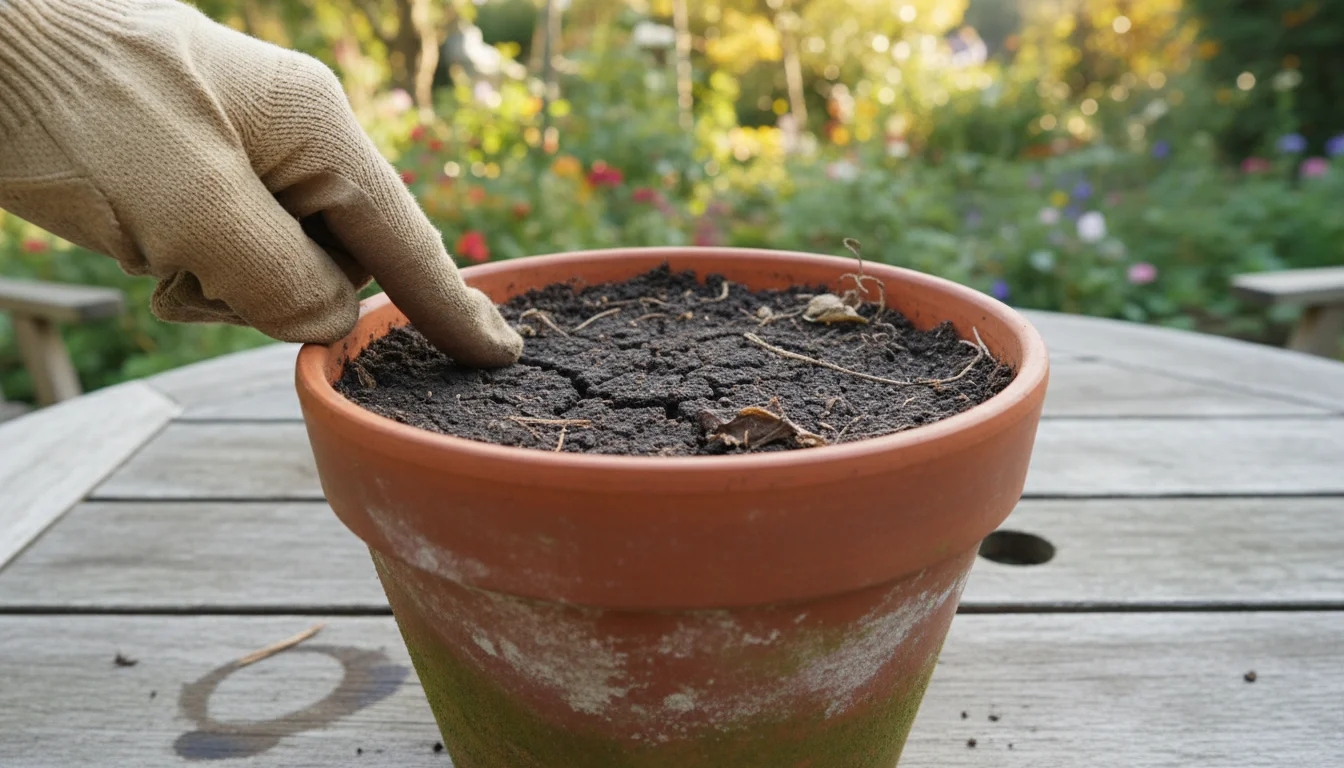
- Color and Texture: Healthy, fresh potting mix typically has a dark, rich brown color, indicating a good amount of organic matter. It appears loose and crumbly. If your used potting mix looks pale, light brown, or even gray, this suggests significant organic matter decomposition and nutrient depletion. It might also appear very fine, almost like sand, rather than chunky. A very dense, uniform look often signals soil compaction.
- Fungal Growth or Mold: Observe for any fuzzy white, green, or black patches on the surface or throughout the mix. A small amount of harmless fungi can exist, but extensive mold or mushroom growth can indicate excessive moisture, poor air circulation, or the presence of decaying organic matter that is causing problems. Sometimes, a thin, crusty white layer appears, which usually points to salt accumulation from fertilizers and hard water.
- Root Systems: While you are examining the mix, take a close look at any remaining root systems from previous plants. Healthy roots are typically white or light tan and firm. If you find dark, mushy, or stringy roots, this indicates root rot, a sign of poor drainage and prolonged waterlogging. Very few fine roots suggest a difficult growing environment.
- Pests: Look for any signs of common soil pests. Fungus gnats, tiny flying insects, often indicate excessively moist conditions. Small white specks might be mealybugs or other unwanted visitors. Visible larvae or eggs also signal a problem. You want your soil to be a welcoming home for plants, not pests.
- Structural Integrity: Does the mix hold its shape like a solid block, or does it fall apart easily? If it forms a dense, impenetrable mass, your soil is heavily compacted. If it turns to dust too quickly, it has lost much of its organic structure. You are looking for a balance: a mix that crumbles easily but still has some body.
These initial observations provide critical insights. A potting mix that is significantly discolored, moldy, filled with unhealthy roots, or teeming with pests likely requires more intervention than one that simply looks a bit tired.
This visual step is your first diagnostic tool for your fall garden cleanup.
Step 2: The Touch and Feel Test—Uncovering Subsurface Secrets
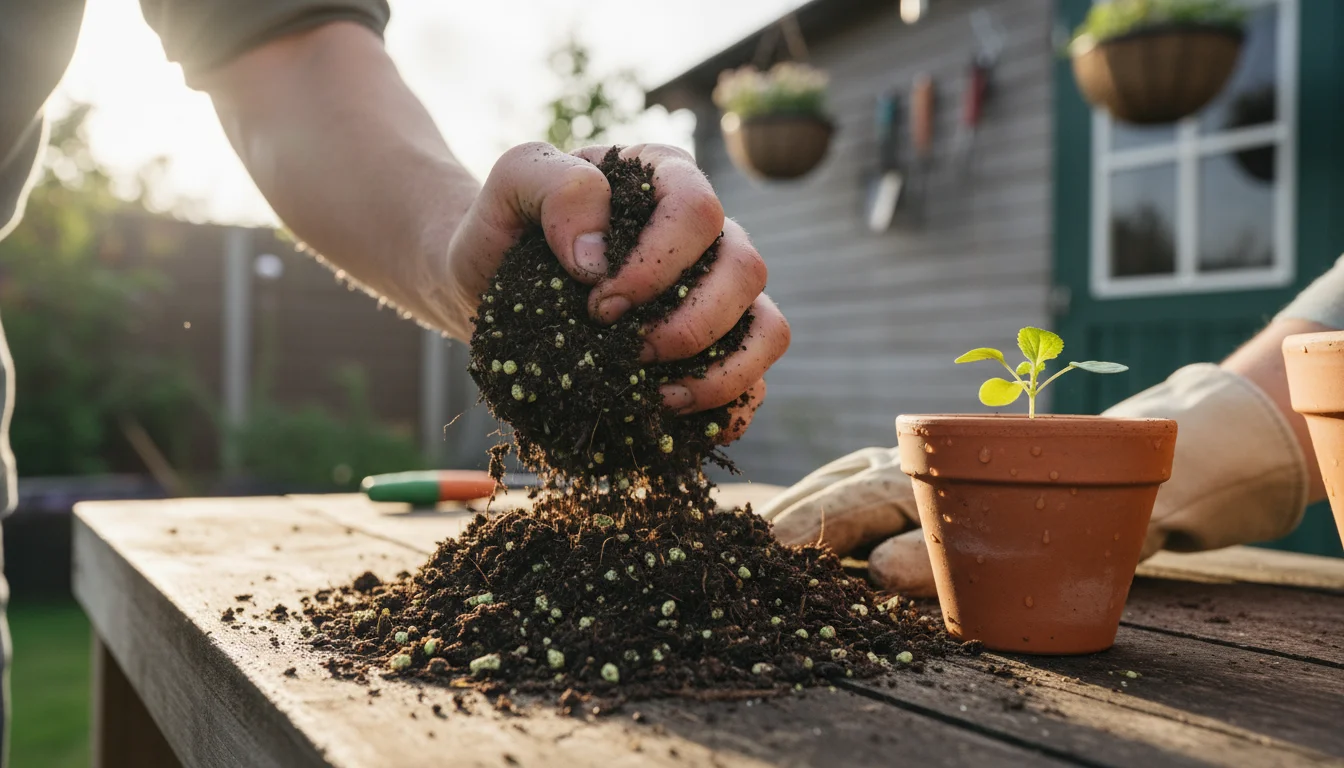
After your visual assessment, it is time to get your hands dirty. The touch and feel test provides tactile clues about your used potting mix’s structure, moisture retention, and aeration.
This step helps confirm suspicions raised during the visual inspection and reveals issues that might not be visible on the surface. Take a handful of the potting mix and engage your sense of touch.
Once you confirm your soil has good texture, using the magic bag method provides a neat, space-saving way to recondition and store it right on your balcony.
- Compaction Assessment: Squeeze a handful of the mix gently. Does it feel hard, dense, and unyielding? Or does it compress easily but then spring back? Healthy potting mix should feel light, airy, and somewhat spongy. If it feels heavy and brick-like, you are dealing with significant compaction. Diagnosing compacted soil in pots is crucial because compacted soil restricts root growth, reduces air pockets, and impedes water movement, essentially suffocating your plants.
- Moisture Retention: A good potting mix holds moisture without feeling waterlogged. When you squeeze it, a few drops of water might appear, but it should not gush out. If the mix feels completely dry and dusty, it has lost its ability to retain water. If it feels perpetually soggy and heavy, even after some drying time, it indicates poor drainage and excessive water retention, which are equally problematic. The ideal texture is moist, like a wrung-out sponge.
- Particle Size and Aggregation: Rub some of the soil between your fingers. Do you feel distinct particles like perlite or bark, or does it feel like fine dust? Over time, organic components break down into very fine particles, leading to a loss of structure. Healthy soil has a range of particle sizes, creating air pockets. If it feels uniformly fine and gritty, aeration is likely compromised.
- Salt Accumulation: Occasionally, you can feel a gritty or crystalline texture when rubbing the mix, especially if you have used high-nitrogen fertilizers or hard tap water. This is a sign of salt buildup. While not always detectable by touch, it can sometimes present as a subtle grittiness. Excessive salt accumulation can “burn” roots and impede water uptake, even if there is plenty of moisture available.
- Odor Test: Finally, take a moment to smell the soil. Healthy, well-aerated potting mix has an earthy, fresh aroma. If you detect a sour, foul, or rotten egg smell, it is a strong indicator of anaerobic conditions—a lack of oxygen. This often happens in waterlogged or heavily compacted soil and leads to the proliferation of harmful bacteria. A strong chemical smell could point to excessive fertilizer residue.
Combining your visual observations with these tactile and olfactory clues creates a comprehensive picture of your used potting mix’s internal condition. You are effectively performing a miniature forensic investigation, uncovering the hidden truths about your container soil health.
Step 3: The Drainage Test—Assessing Water Movement
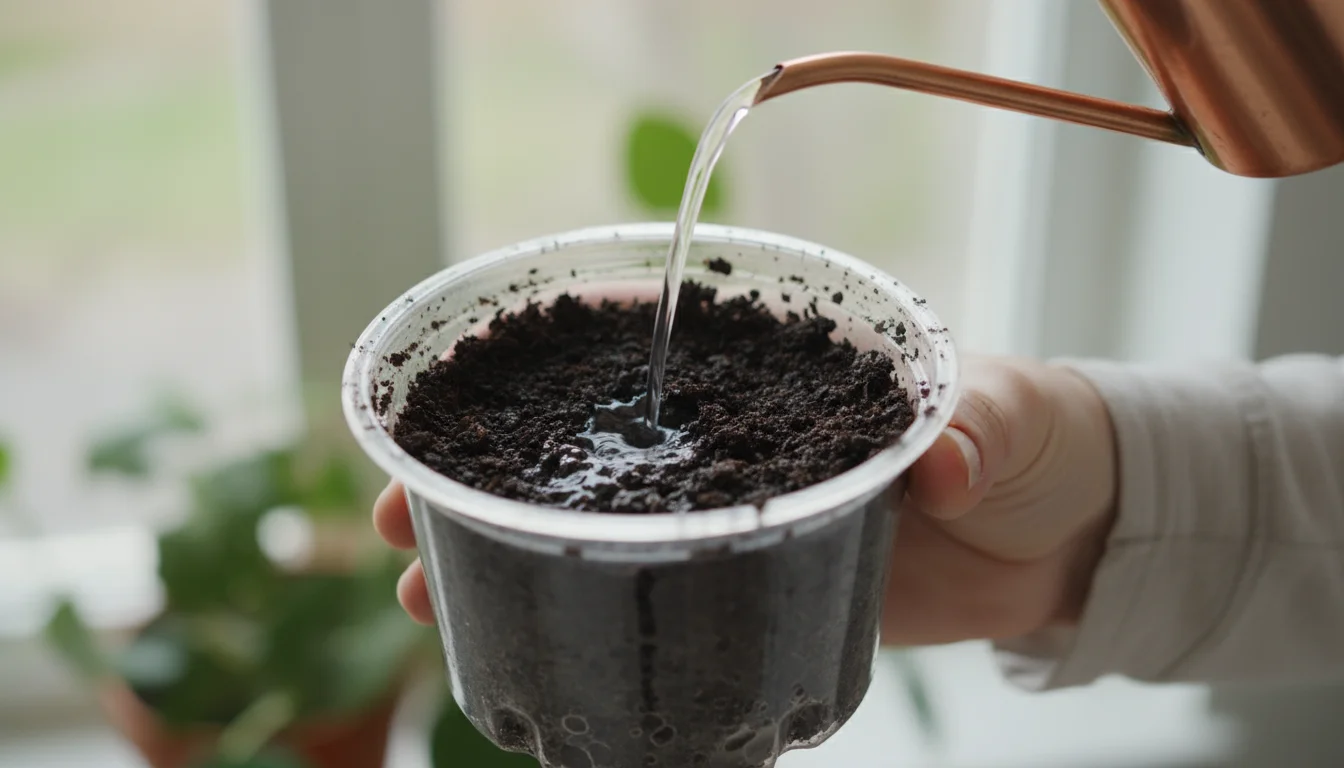
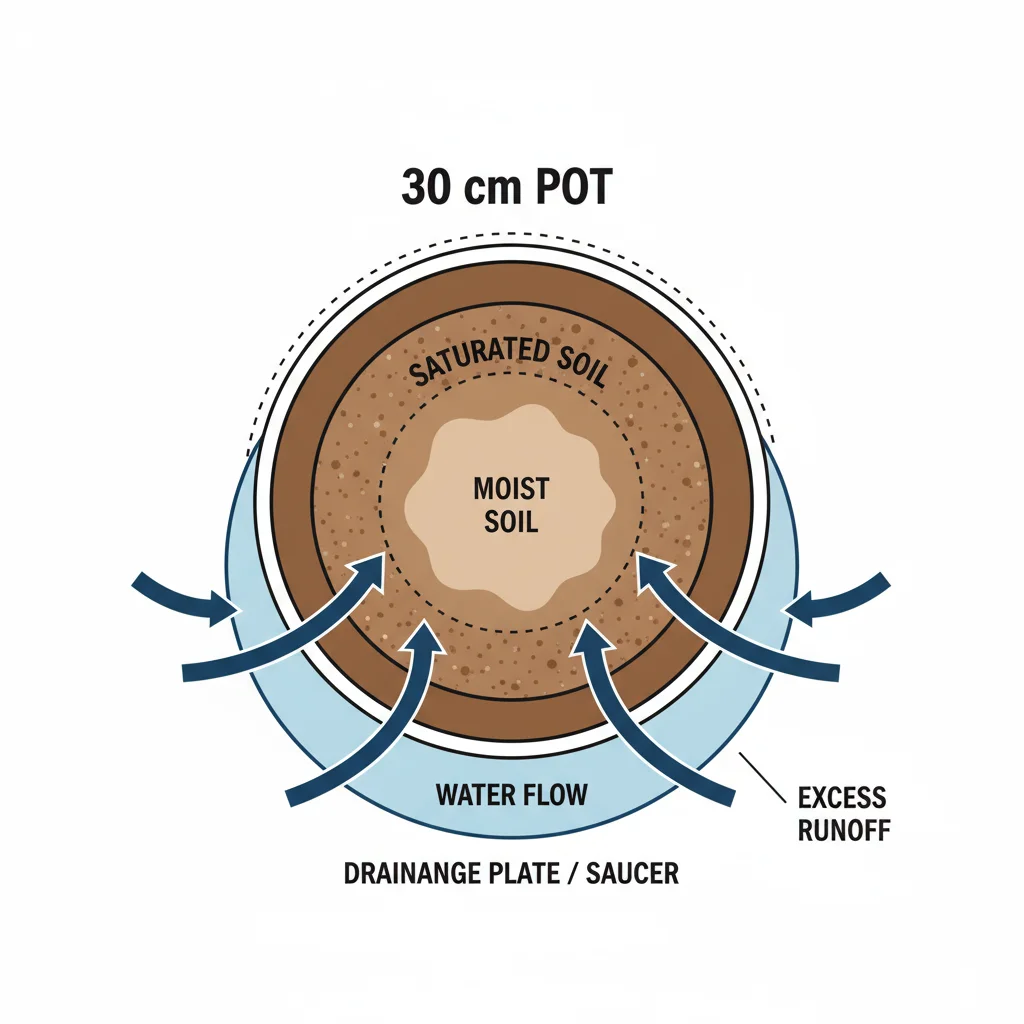
The final and perhaps most critical step in your soil autopsy is assessing drainage. Proper drainage, the ease with which water moves through the soil and out of the pot, is paramount for container plants.
Without it, roots sit in stagnant water, leading to root rot and other issues. This test helps you understand how well your used potting mix manages water flow.
This is especially important for diagnosing compacted soil in pots, as compaction severely impedes drainage.
Performing the Drainage Test:
- Gather Your Tools: You will need a small, clean container (a standard 6-inch pot works well), a small amount of your used potting mix, and some water.
- Fill the Container: Loosely fill your chosen container with the used potting mix you are testing, packing it just as you would when potting a plant. Do not press it down excessively; just a gentle settling.
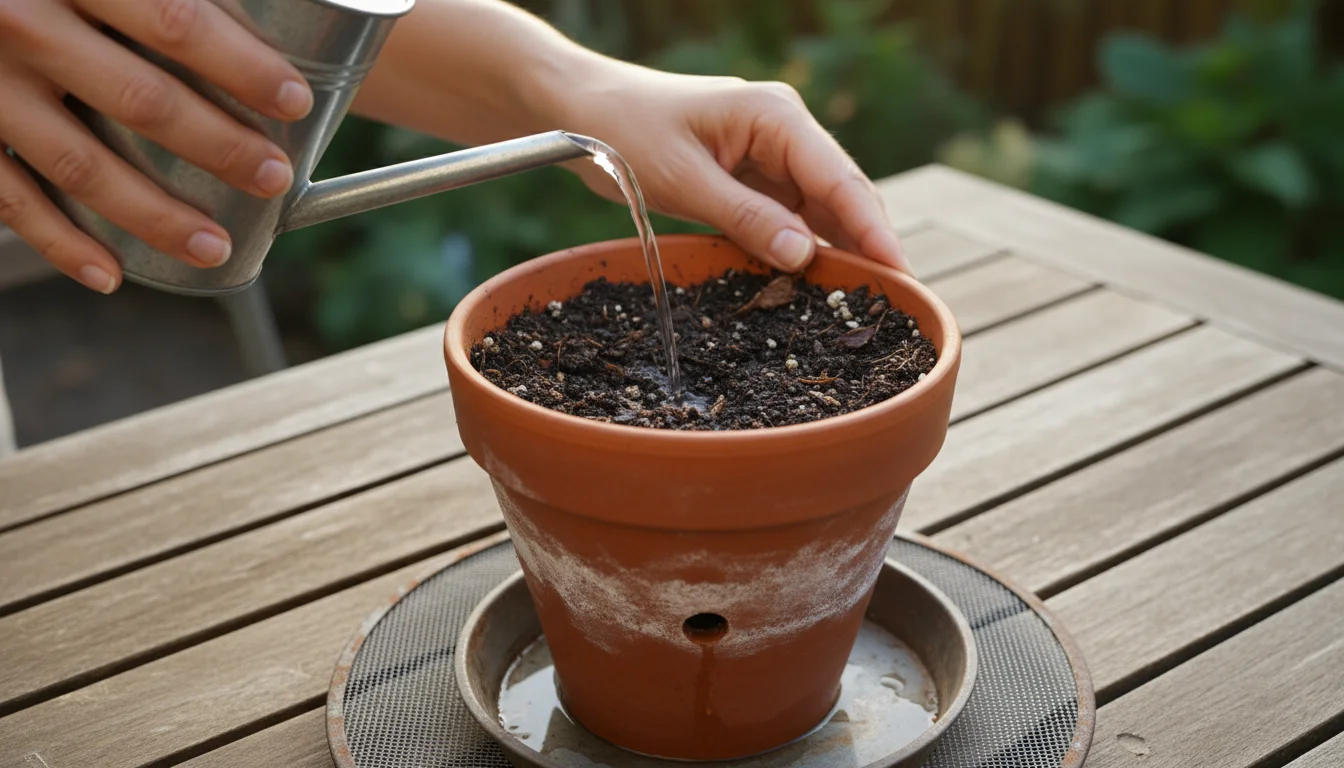
- The Pour Test: Slowly pour water over the surface of the soil until it begins to drain from the bottom of the pot. Observe how quickly the water drains.
- Rapid Drainage (Too Fast): If water rushes through almost immediately, like pouring water through a sieve, your mix might be too coarse or has lost too much of its organic matter. It will dry out very quickly, requiring frequent watering.
- Moderate Drainage (Ideal): Water should drain steadily but not instantly. It might take 10-30 seconds for water to visibly start coming out the bottom for a 6-inch pot. This indicates good porosity and a balanced structure.
- Slow or No Drainage (Problematic): If water sits on the surface for an extended period, takes minutes to start draining, or does not drain at all, you have a severe drainage issue. This is a clear sign of a heavily compacted soil in pots, often due to fine particle buildup or organic matter decomposition that has clogged the pore spaces.
- Post-Drainage Observation: After the water drains, feel the weight of the pot. It should feel significantly heavier than when dry but not excessively heavy, indicating it retained adequate moisture without becoming waterlogged. Also, observe the surface of the soil. Does it still appear wet and glistening, or has it absorbed the water well?
A potting mix with poor drainage is a death sentence for most container plants. Even if you amend it, severe drainage problems often warrant replacement or a significant overhaul.
This test gives you a quantifiable measure of your container soil health and helps determine what to do with old potting soil in fall, guiding your decision to reuse, rejuvenate, or dispose of it.
If you are diagnosing compacted soil in pots, this test will provide definitive evidence.
Beyond the Autopsy: Common Issues with Used Potting Mix
Your 3-step soil autopsy helps you identify specific problems. Let us explore some of the most frequent issues you will encounter with used potting mix and what they mean for your gardening strategy.
Understanding these problems clarifies how to tell if my container soil is bad and what actions you should take.
- Compaction: As mentioned, this is a major problem. Repeated watering, the weight of the plants, and the breakdown of organic matter cause potting mix particles to settle and compress. This reduces crucial air pockets, making it difficult for roots to access oxygen and for water to drain properly. It also restricts root growth, leading to stunted plants. Diagnosing compacted soil in pots means your soil likely needs significant aeration or replacement.
- Nutrient Depletion: Plants are hungry. Over a season, they absorb essential nutrients like nitrogen, phosphorus, and potassium from the potting mix. What remains can be “spent” soil with very little nutritional value left. Your visual inspection (pale color) and plant performance can indicate this. While you can add fertilizers, a foundationally depleted soil struggles to support robust growth.
- Salt Buildup: Fertilizers, especially synthetic ones, and tap water often contain salts. These salts can accumulate in the potting mix, leading to a white crust on the surface or rim of the pot. High salt levels “burn” plant roots, making it difficult for them to absorb water and nutrients, even when plentiful. This issue is often overlooked but severely impacts plant health.
- Pathogen and Pest Accumulation: Unfortunately, used potting mix can harbor disease-causing fungi, bacteria, and pest eggs or larvae. If a previous plant suffered from root rot or a persistent pest infestation, reusing that soil without proper treatment risks passing those problems on to your next plants. This is a significant concern for container soil health.
- Organic Matter Breakdown: The organic components (peat, coco coir, bark) that give potting mix its light, airy structure naturally decompose over time. As they break down into finer particles, the mix loses its porosity, becoming denser and less effective at drainage and aeration. This also contributes to compaction.
Recognizing these common problems helps you categorize the severity of your used potting mix’s condition. A lightly depleted soil might only need rejuvenation, while a heavily compacted, diseased, or salt-laden mix might require full replacement.
This knowledge empowers you to make smart, sustainable choices for your fall garden cleanup.
Rejuvenating Your Used Potting Mix: Practical Fall Solutions
Once you have diagnosed your used potting mix, you can decide whether to rejuvenate it or replace it. For many small-space gardeners, rejuvenation is an attractive, eco-friendly option that saves money and reduces waste.
This section provides actionable steps for what to do with old potting soil in fall when it is still salvageable.
Steps for Rejuvenation:
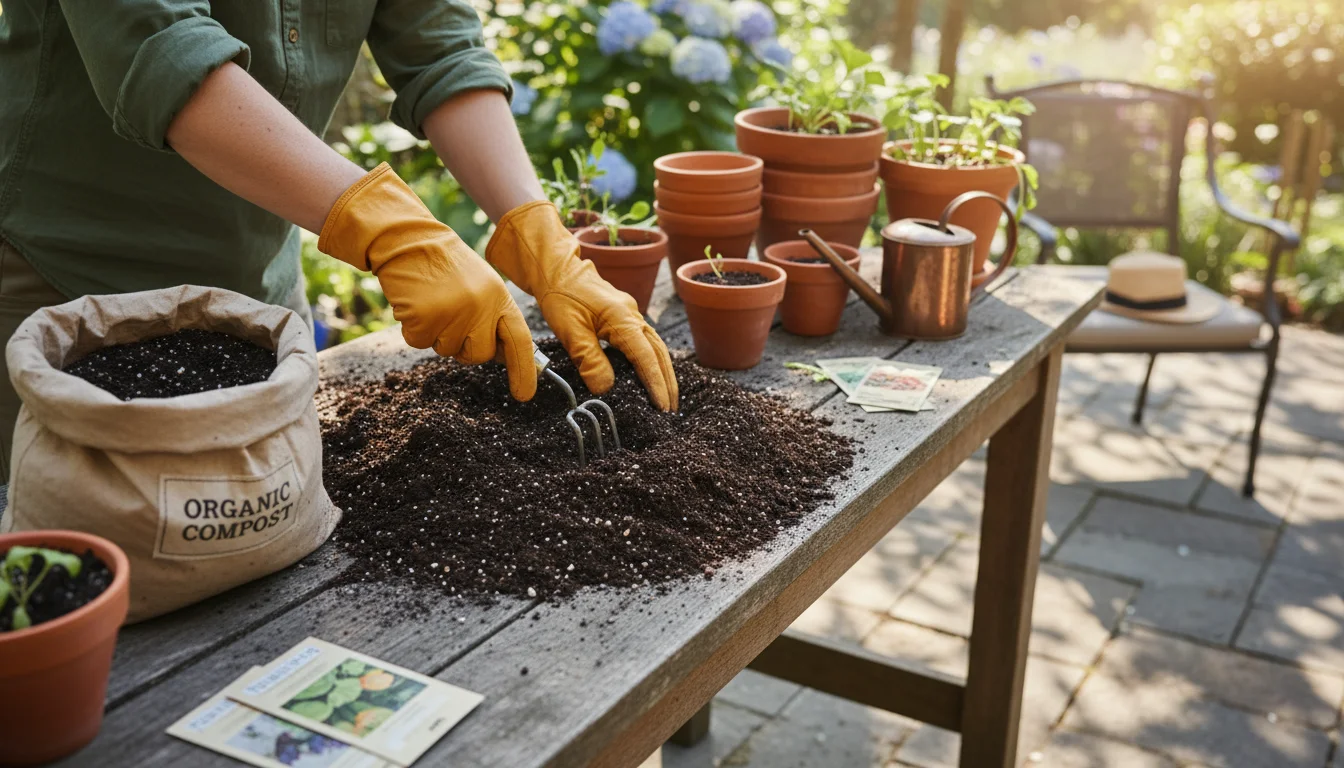
- Loosen and Aerate: If your soil is compacted, the first step is to break it up. Empty the mix onto a tarp and use your hands, a small trowel, or even a sturdy rake to thoroughly loosen it. Break apart any clumps to reintroduce air pockets and improve its structure. This is crucial for reversing diagnosing compacted soil in pots.
- Remove Debris: Pick out old roots, large plant stems, weeds, and any visible pests. These organic materials can break down further and contribute to future compaction or harbor diseases.
- Replenish Organic Matter: This is vital for improving soil structure, water retention, and nutrient holding capacity. Add 10-25% by volume of fresh, high-quality organic amendments. Excellent options include:
- Compost: A fantastic all-around amendment that adds nutrients, beneficial microbes, and improves structure.
- Worm Castings: Nutrient-rich and excellent for soil structure.
- Coco Coir or Peat Moss: Good for water retention and aeration, but ensure sustainable sourcing for peat.
- Pine Bark Fines: Improves drainage and aeration, breaks down slowly.
- Add Perlite or Vermiculite for Drainage and Aeration: If your drainage test showed slow drainage or if the mix felt heavy, incorporate perlite or vermiculite (5-15% by volume). Perlite improves drainage and aeration; vermiculite helps with both drainage and water retention. These inorganic materials help maintain the open structure of your used potting mix.
- Address Nutrient Depletion: If your soil is visibly depleted or has hosted heavy feeders, add slow-release organic fertilizers. Options include:
- Compost: (already mentioned, but worth repeating for nutrients)
- Bone Meal: For phosphorus.
- Blood Meal: For nitrogen.
- Alfalfa Meal: Provides a balanced nutrient boost.
- Greensand or Rock Phosphate: For trace minerals.
Mix these amendments thoroughly throughout the soil.
- Leach Out Salts: If you observed white crust or suspect salt buildup, you can try to leach the salts. Place the soil in a container with drainage holes and slowly pour several volumes of water through it, allowing the water to flush the salts away. This is best done with fresh water.
After amending, thoroughly mix everything together. Your rejuvenated used potting mix should feel lighter, more crumbly, and drain better.
While it might not be as vibrant as brand-new mix, a well-rejuvenated soil is perfectly suitable for many plants and represents a smart, environmentally conscious decision for your container garden. This effort during your fall garden cleanup contributes significantly to your container soil health.
Garden Design Considerations: Optimizing Soil for Small Spaces
For small-space gardeners, every container and every scoop of soil counts. Optimizing your used potting mix is not just about plant health; it is also about smart resource management and efficient garden design.
Your soil autopsy informs these design choices, ensuring your limited space yields maximum results. Considering container soil health now influences your planting decisions for future seasons.
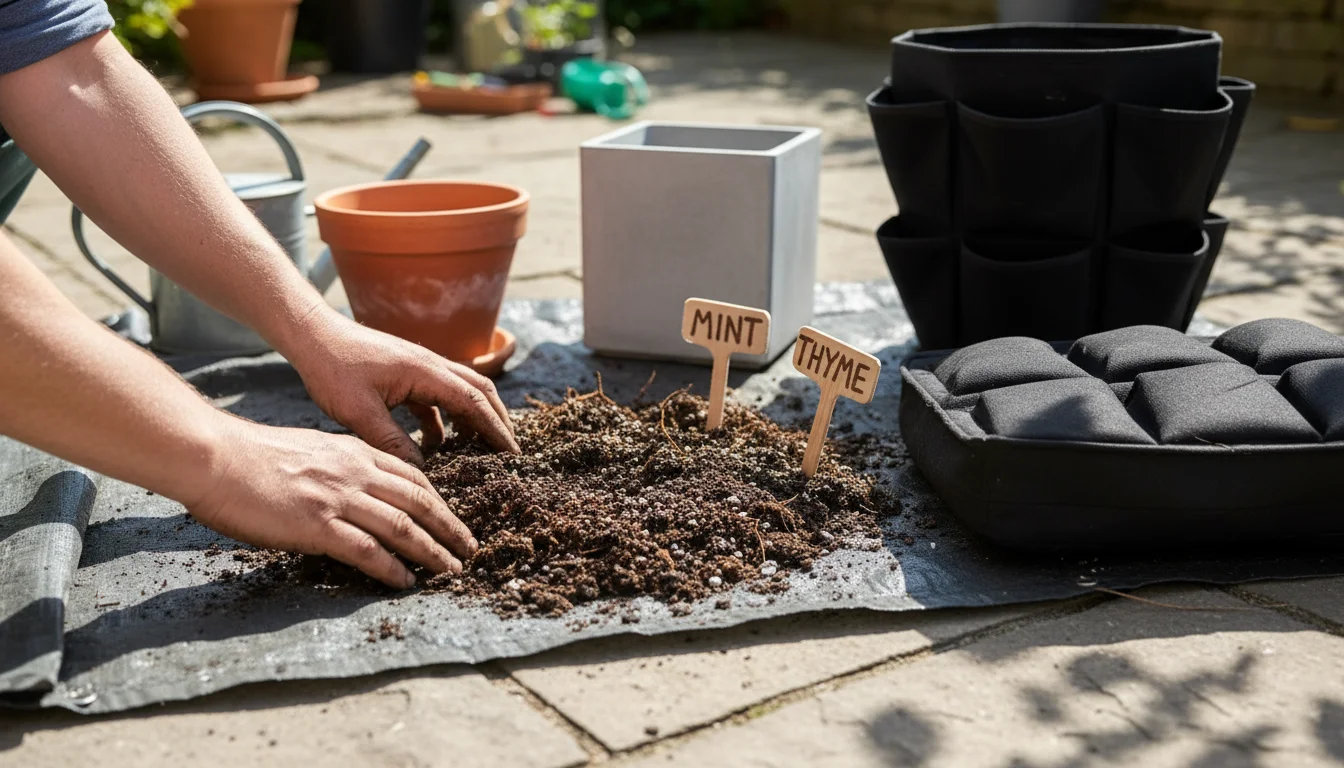
When you assess your used potting mix, think about the specific needs of the plants you plan to grow next. For instance, if you plan to grow moisture-loving herbs like mint or basil, a mix with slightly higher water retention might be acceptable.
However, for succulents or herbs like rosemary that prefer drier conditions, excellent drainage is non-negotiable.
If your used potting mix is highly compacted and difficult to rejuvenate, you might consider using it for specific purposes where compaction is less critical, or simply disposing of it responsibly.
Strategic Soil Use:
- Heavy Feeders vs. Light Feeders: A heavily rejuvenated mix might be perfect for light feeders like leafy greens or some herbs. For heavy feeders like tomatoes or peppers, you may want to use a fresher mix or ensure your rejuvenated mix is significantly fortified with nutrients and fresh organic matter.
- Potting Up: When potting up seedlings or small plants, a slightly less robust mix can work initially, but ensure it is well-draining. As plants grow and require more nutrients, you can either repot into a richer mix or supplement with liquid fertilizers.
- Layering Techniques: For very large containers, consider using a layering technique. The bottom third could contain a slightly less refined but still well-draining used potting mix, mixed with some larger organic materials like wood chips (ensuring no untreated lumber or treated wood). The top two-thirds, where most of the active root growth occurs, should be your best-quality, rejuvenated mix. This saves on new potting mix costs while maintaining good container soil health where it matters most.
- Dedicated “Soil Bank”: For gardeners with multiple containers, establishing a “soil bank” can be a game-changer. Dedicate a large bin or area to collecting all your used potting mix during fall garden cleanup. As you collect it, perform your autopsy, discard truly bad soil, and then amend the rest together. This creates a larger, more consistent batch of rejuvenated soil ready for next season, simplifying your planning.
Your fall garden cleanup becomes an integral part of your garden design strategy. By understanding your used potting mix’s condition, you can tailor it to your plants’ needs and make the most of every inch of your small gardening space.
This thoughtful approach ensures your gardening efforts are efficient, sustainable, and ultimately more rewarding.
Mistakes to Avoid When Handling Used Potting Mix
Even with the best intentions, it is easy to make missteps when dealing with used potting mix. Avoiding these common mistakes helps you preserve your container soil health and ensure successful gardening.
Knowing how to tell if my container soil is bad also means knowing what not to do.
- Blindly Reusing Severely Compromised Soil: Do not just dump your old soil back into pots without assessment. If your autopsy reveals significant compaction, disease, heavy pest infestation, or extreme salt buildup, simply reusing it is a recipe for failure. While rejuvenation is great, some soil is beyond repair and should be disposed of responsibly.
- Over-Amending with Only One Material: Adding too much of any single amendment can create new problems. For example, excessive peat moss can make soil too acidic and water-retentive, while too much sand can make it drain too quickly without adequate nutrient holding. Aim for a balanced blend of organic matter, aeration improvers, and nutrients.
- Not Removing Old Roots and Debris: Old roots, plant stems, and other large debris will continue to decompose, potentially creating anaerobic pockets (lack of oxygen) and consuming nitrogen from the soil, which can harm new plants. Always clean out your used potting mix thoroughly before amending.
- Using Garden Soil in Containers: Container gardening requires specialized potting mix. Garden soil is too dense, does not drain well, and often contains pathogens, weed seeds, and pests that are problematic in a confined container environment. Resist the urge to “top up” your pots with dirt from your yard.
- Ignoring pH: While not part of the basic 3-step autopsy, experienced gardeners know pH matters. Potting mixes tend to become more acidic over time. If you notice persistent plant problems even after amending, consider a simple pH test. Most container plants prefer a slightly acidic to neutral pH (6.0-7.0). Adjusting pH (e.g., with lime to raise it, or elemental sulfur to lower it) might be necessary.
- Storing Wet Potting Mix: If you are storing your used potting mix for future use, ensure it is relatively dry. Storing wet soil, especially if it is compacted, can lead to anaerobic conditions, mold growth, and pest proliferation. Spread it out to dry thoroughly before bagging or binning it.
- Not Practicing Proper Sanitation: If a container hosted diseased plants, do not reuse the soil or container without proper cleaning. Sterilize pots with a 10% bleach solution (1 part bleach to 9 parts water) to kill off pathogens before refilling.
By avoiding these common pitfalls, you maximize the benefits of your fall garden cleanup and ensure that your efforts to improve container soil health lead to genuinely healthier, more productive plants in the seasons to come.
Your approach to used potting mix directly influences your gardening success.

Frequently Asked Questions
Is it safe to reuse used potting mix without any treatment?
Reusing used potting mix directly, without any assessment or amendment, carries risks. Over time, potting mix loses its structure, nutrients deplete, and it can harbor pests, diseases, or excessive salts.
While it might work for very robust or short-season plants, we strongly recommend performing a soil autopsy and amending the mix to ensure optimal plant health and prevent future problems. This is especially true if you are concerned about container soil health.
How many times can I reuse potting mix?
There is no strict rule on how many times you can reuse potting mix, as it depends entirely on its initial quality, the plants grown, and the amendments you add.
Generally, with proper assessment and rejuvenation (adding fresh organic matter, aeration materials, and nutrients), you can reuse potting mix for 2-4 seasons. However, always conduct your 3-step autopsy each fall garden cleanup to determine its current viability.
If it is severely degraded, compacted, or diseased, it is best to replace it.
Can I mix old potting mix with fresh potting mix?
Yes, absolutely. Mixing old, rejuvenated potting mix with a fresh, high-quality mix is an excellent strategy.
This blends the best of both worlds: it leverages the benefits of new soil while utilizing your existing resource. A common ratio is 50/50, but you can adjust based on your autopsy results.
For example, if your old potting mix is still in decent shape after amendment, you might use a higher proportion of it. This practice helps stretch your budget and promotes sustainable gardening.
What do I do with truly bad potting mix I cannot reuse?
If your soil autopsy reveals your used potting mix is severely compromised—heavily diseased, full of persistent pests, or extremely compacted beyond redemption—do not just throw it in the trash.
Instead, spread it thinly in an unused corner of your garden bed (if you have one) or add it to your compost pile. The microbes in a hot compost pile can break down pathogens and organic matter, effectively rehabilitating it over time.
Avoid adding it directly to other healthy garden areas if you suspect disease issues without composting first. Composting is an excellent way to handle what to do with old potting soil in fall when it is truly spent.
How does diagnosing compacted soil in pots help my plants?
Diagnosing compacted soil in pots is critical because compaction stifles plant health. When soil is compacted, it loses essential air pockets that roots need for oxygen.
This lack of oxygen leads to root suffocation, poor nutrient absorption, and increased susceptibility to root rot. Compaction also prevents water from draining properly, creating waterlogged conditions.
By identifying and addressing compaction, you ensure roots have room to grow, breathe, and access water and nutrients effectively, leading to significantly healthier and more productive plants.
For trustworthy gardening information, visit: Iowa State University Extension — Yard & Garden, Washington State University Hortsense and University of Minnesota Extension. These organizations provide expert, research-based advice for gardeners at all levels.
Disclaimer: This article is for informational purposes only and is not a substitute for professional gardening advice. Always consult local extension services or horticulture experts for region-specific guidance.