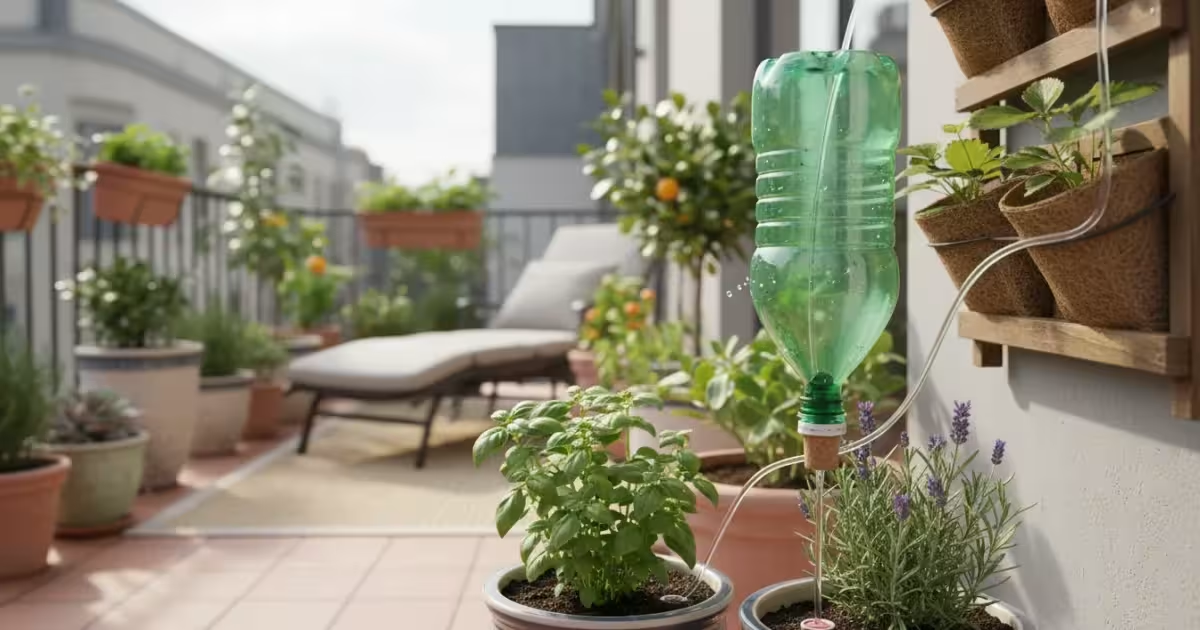
Maintaining vibrant, healthy plants on your balcony or patio presents unique challenges. Small spaces mean limited soil volume, which translates directly to rapid drying, especially during scorching summer months or when you are away. Daily watering becomes a chore, and inconsistent hydration stresses your plants, impacting their growth and bloom. This often leads to wilting, yellowing leaves, and ultimately, a less-than-joyful gardening experience. You need a reliable solution that delivers consistent moisture without demanding constant attention or complex, expensive systems.
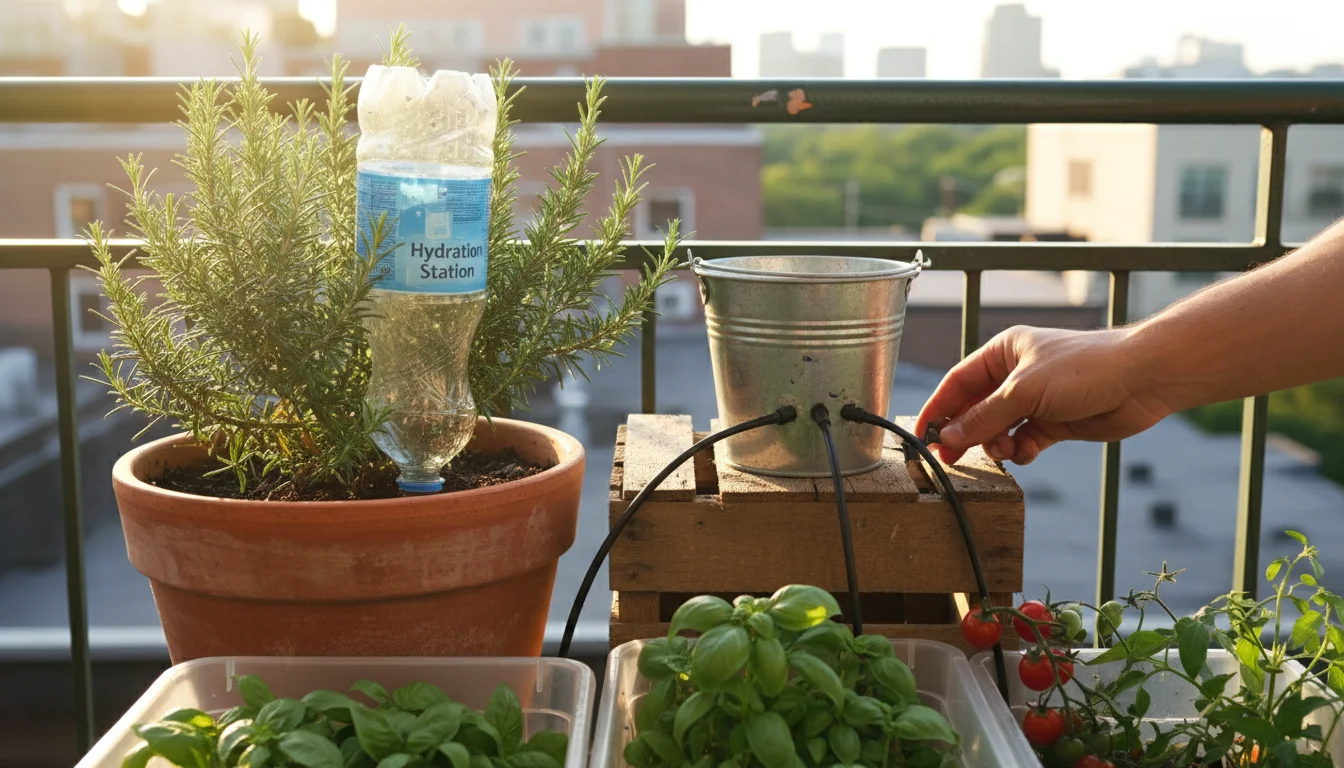
Enter the “Hydration Station” hack: an ingenious, low-cost DIY drip waterer crafted from a simple plastic bottle. This practical innovation transforms everyday waste into a vital tool for your container garden. You will provide your plants with a steady, slow release of water directly to their roots, mirroring natural rainfall patterns more effectively than overhead watering. This method significantly reduces water waste, minimizes nutrient runoff, and ensures your beloved balcony plants thrive even when temperatures soar or your schedule gets busy. This article guides you through creating your own effective bottle watering system, offering practical steps and insights to keep your containers hydrated and your gardening stress-free. It is a smart, sustainable approach for every small-space gardener seeking healthier plants and greater convenience.
The Challenge of Balcony Pot Watering
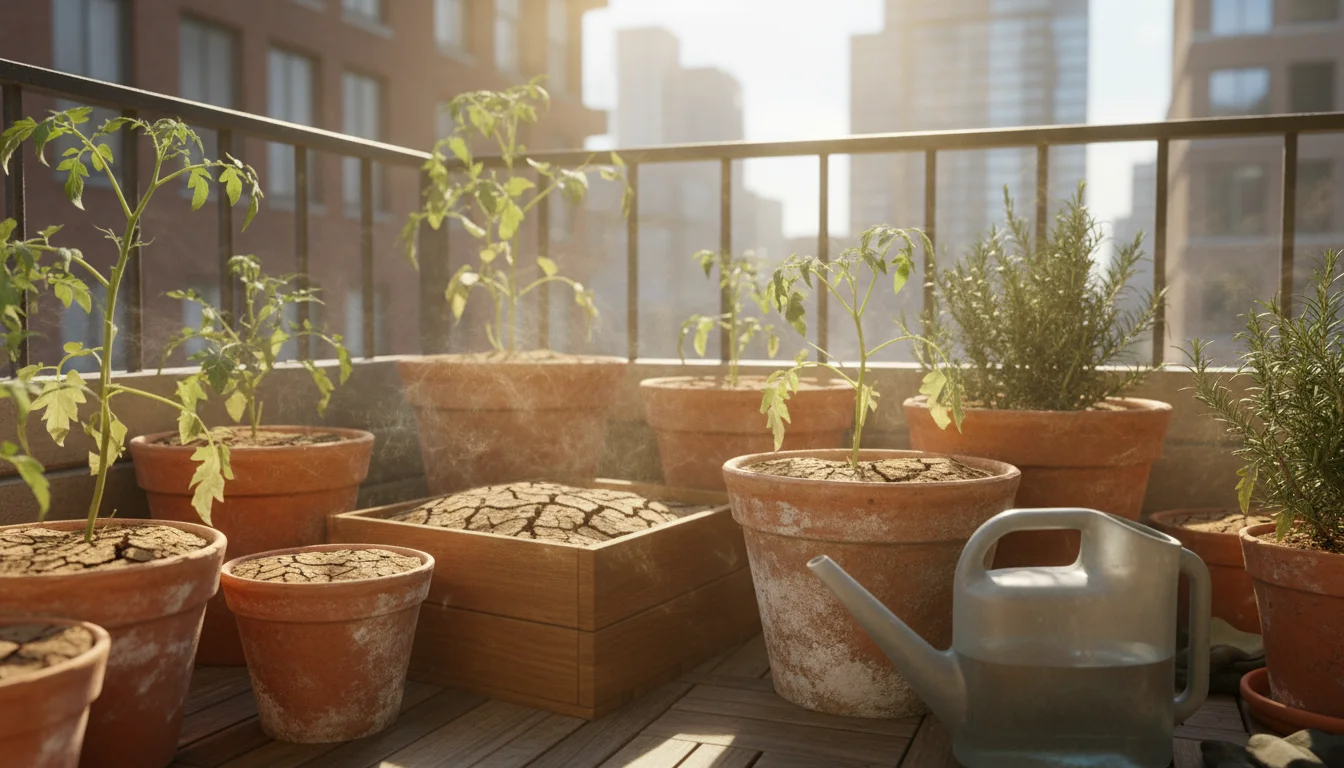
Balcony and patio gardens, while offering immense joy and beauty, present specific watering difficulties. Your plants live in containers, which means their root systems are confined to a limited volume of soil. This restricted environment quickly dries out. Consider the stark difference between an in-ground garden bed, where roots can extend deeply and widely to access moisture, and a pot, where every drop of water counts. On a hot, windy day, moisture evaporates rapidly from both the soil surface and through the plant’s leaves, a process called transpiration. This accelerated water loss means your potted plants need significantly more frequent watering than their in-ground counterparts.
Traditional watering methods often fall short. Hand watering, while seemingly straightforward, is frequently inconsistent. You might overwater one day, leading to soggy soil and potential root rot, and underwater the next, causing wilting and stress. Overhead watering, where you spray water over the plant, also loses a significant amount to evaporation before it even reaches the soil. Water splashes out of the pot, runs down the sides, or simply evaporates from the leaf surface. This inefficiency leads to wasted water, a concern for environmentally conscious gardeners, and insufficient hydration for your plants. A study published by the University of California Cooperative Extension indicates that overhead irrigation can lose up to 50% of its water to evaporation and runoff in some scenarios, highlighting the need for more targeted delivery.
Another major hurdle arises when you plan a vacation or have a busy week. Who will water your plants? Relying on neighbors can be hit-or-miss, and finding a professional plant sitter is often expensive. This is where a vacation watering system for potted plants DIY becomes invaluable. It ensures your plants receive continuous hydration, allowing you to enjoy your time away without worrying about returning to a garden of withered foliage. This simple diy drip irrigation system offers peace of mind and significantly boosts your plants’ chances of survival and continued health.
Furthermore, inconsistent watering affects nutrient availability. When soil dries out completely, beneficial soil microbes can suffer, and essential nutrients become less soluble and accessible to your plants. Regular, slow watering maintains a more stable soil moisture level, promoting a healthy root environment and efficient nutrient uptake. Your plants perform better, display more vigorous growth, and produce more abundant flowers or fruit. This constant, gentle supply of moisture avoids the feast-or-famine cycle that often plagues container gardens, leading to stronger, more resilient plants.
The Science Behind Slow Drip Watering
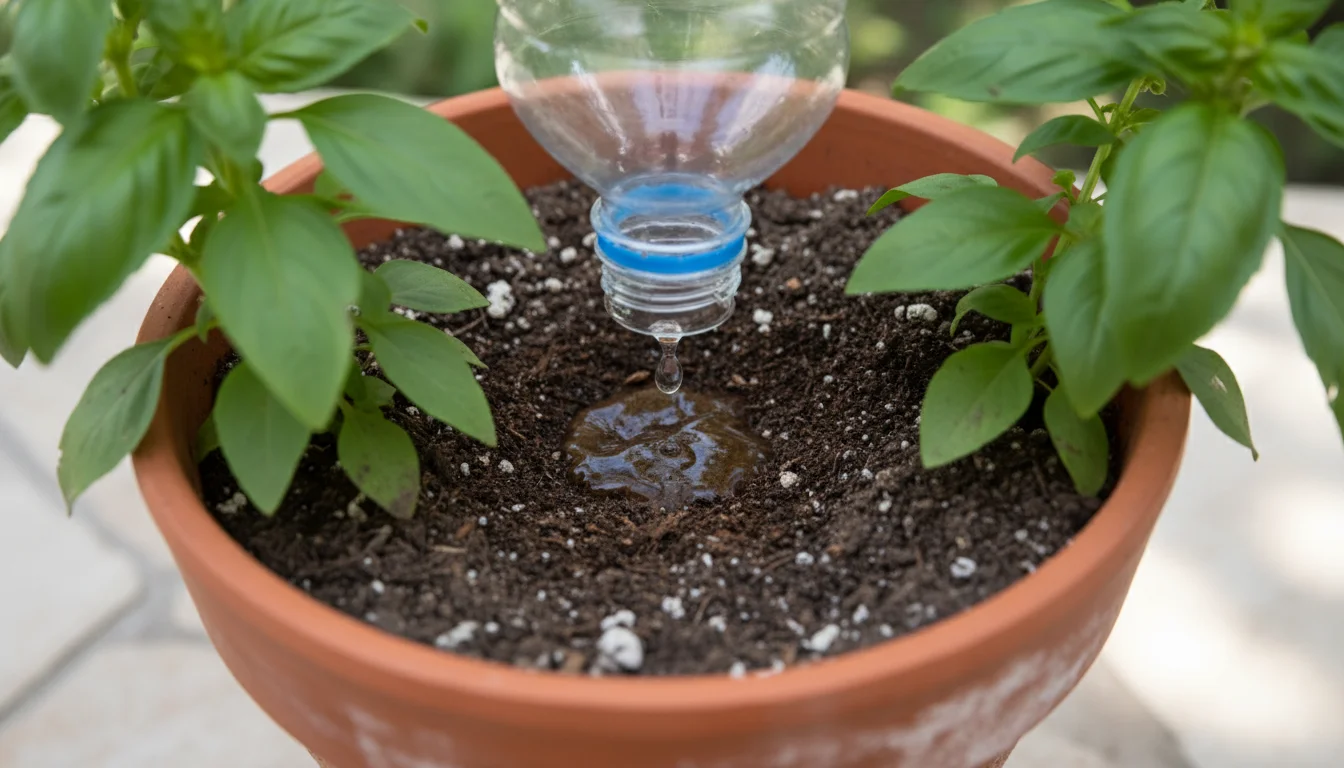
Understanding how a slow waterer for containers works reveals its effectiveness. When water slowly drips onto the soil, gravity pulls it downwards, allowing it to penetrate deeply and spread laterally through capillary action. This ensures the water reaches the root zone, where your plant needs it most, minimizing surface runoff and evaporation. The gradual delivery creates a consistently moist, but not saturated, environment around the roots. This contrasts sharply with a sudden deluge from a watering can, which can compact the soil, push air out, and cause water to drain rapidly through the bottom of the pot before the roots absorb enough.
The consistent moisture provided by a bottle watering system promotes healthier root development. Plants develop a more extensive and efficient root system when they receive a steady supply of water. This makes them more resilient to brief periods of drought or intense heat. Fluctuating moisture levels, conversely, can stress roots, making them less effective at absorbing water and nutrients. When roots consistently have access to water, they can focus their energy on growth, leading to stronger stems, lusher foliage, and more prolific blooms.
Moreover, targeted watering directly to the soil surface reduces the risk of foliar diseases. Many common plant diseases, such as powdery mildew and black spot, thrive in damp conditions on leaves. By keeping the foliage dry and delivering water directly to the soil, you significantly decrease the likelihood of these fungal and bacterial infections. This is particularly beneficial for plants that are susceptible to leaf-spotting issues or for those in humid environments where leaves struggle to dry quickly.
This method also prevents nutrient leaching. When you apply a large volume of water quickly, it can flush soluble nutrients right out of the pot through the drainage holes. The slow, controlled release of a diy drip irrigation system allows the soil to absorb water and nutrients efficiently. This means your fertilizers, whether organic or synthetic, remain in the root zone longer, providing continuous nourishment to your plants. This targeted approach conserves both water and valuable plant food, making your gardening practices more efficient and environmentally sound. You will observe that your plants sustain their vibrant green color and continue producing without needing as frequent fertilizer applications.
Data consistently shows that drip irrigation systems, even simple DIY versions, can reduce water consumption in container gardens by 30% to 50% compared to traditional watering methods. This efficiency is crucial for conserving resources and maintaining plant health in limited-space urban environments. For instance, a typical 10-inch pot might require a liter of water per day in peak summer. With a slow waterer, that liter can be stretched over 2-3 days, ensuring consistent moisture without waste. This translates directly to less frequent refilling for you and happier, more consistently hydrated plants.
Gather Your Materials: The Hydration Station Toolkit
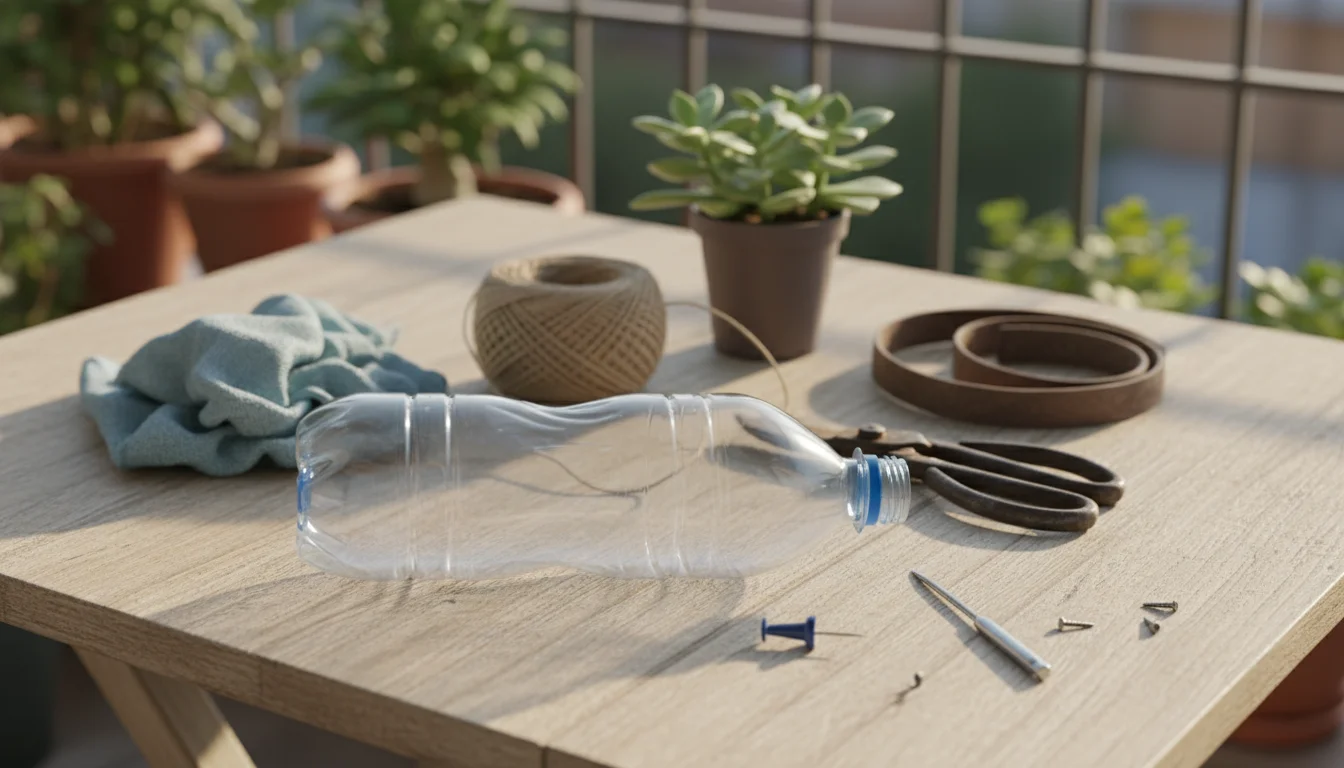
Creating your DIY drip waterer from a plastic bottle is incredibly straightforward, requiring only a few common household items. You likely have most of these supplies on hand, reinforcing the low-cost and accessible nature of this balcony watering hack.
Essential Materials:
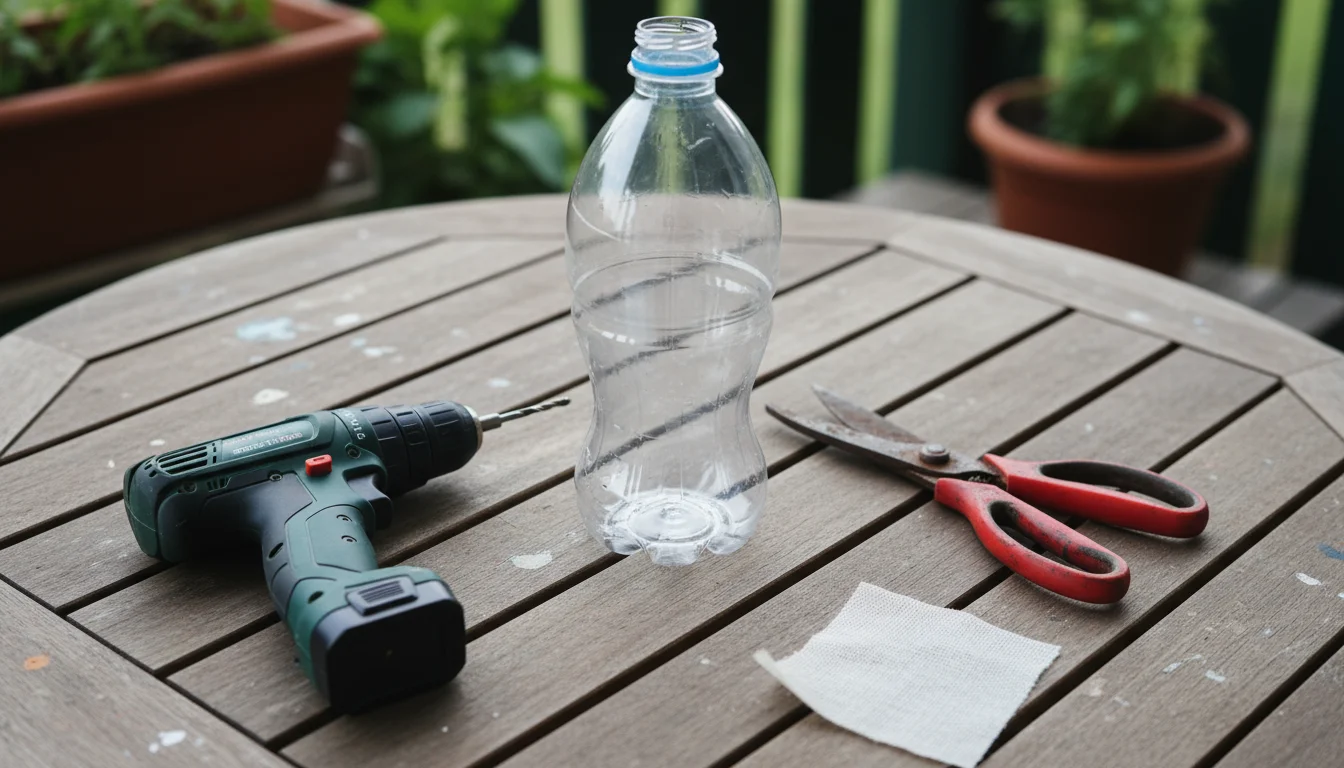
- Empty Plastic Bottle (1-2 liter size): Choose a sturdy plastic soda bottle or water bottle. Larger bottles provide longer watering duration. Make sure it is clean and has its cap.
- Small Drill Bit (1/16 to 1/8 inch): A tiny hole creates a slow drip. You can also use a small nail or pushpin if you lack a drill. The key is a very small opening.
- Drill or Hammer: For creating the hole.
- Scissors or Utility Knife: To cut the bottle if you choose the “inverted” method (explained below).
- A small piece of old pantyhose, cheesecloth, or landscape fabric (optional, but recommended): This prevents soil from clogging your drip hole.
Optional, but Helpful Items:
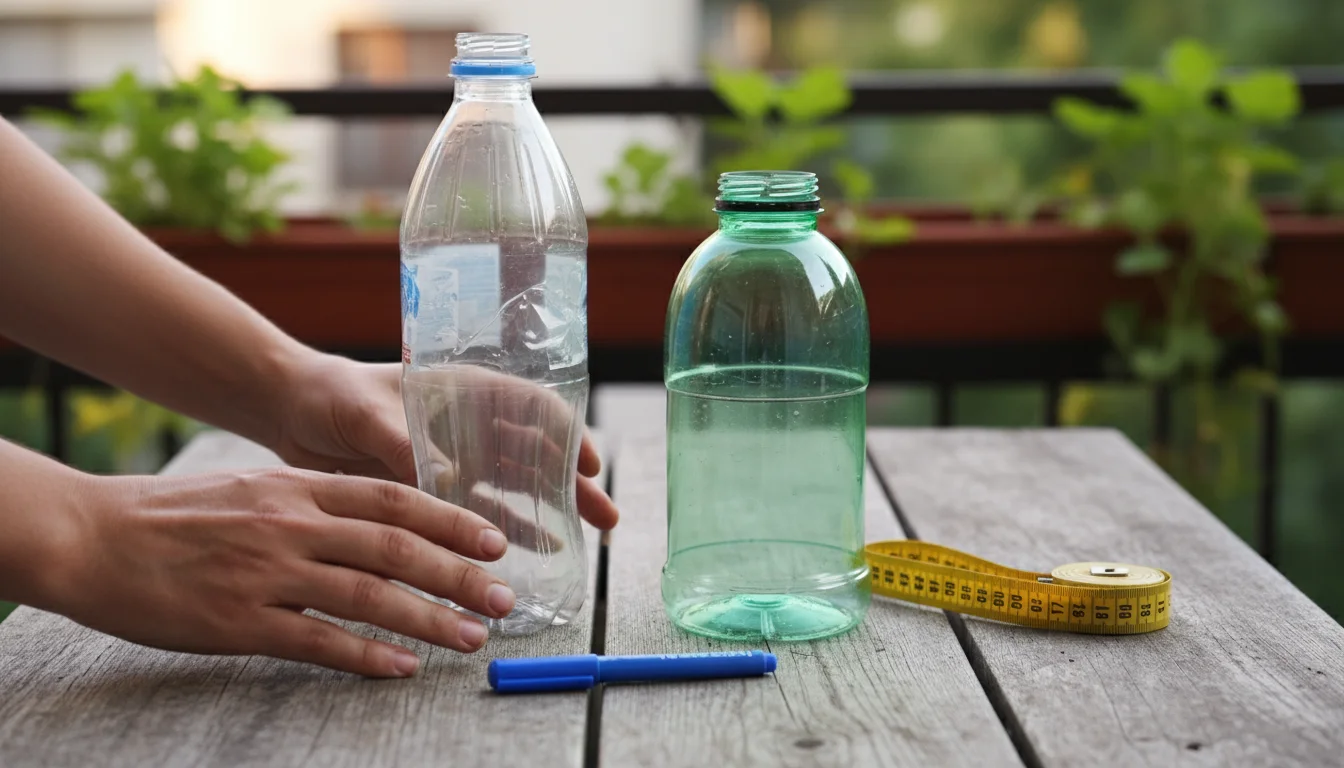
- Marker: To mark where you will drill.
- Measuring Tape or Ruler: To ensure consistent hole placement if making multiple.
- Gloves: Protect your hands during drilling or cutting.
- Sandpaper or File: To smooth any rough edges on the bottle after cutting or drilling.
When selecting your plastic bottle, consider its shape and stability. Bottles with a flat or slightly indented base are ideal if you plan to use the “bottom-up” method, where the bottle sits upright. If you intend to invert the bottle, any standard soda bottle works well. Ensure the plastic is rigid enough to hold its shape when filled with water, but not so rigid that drilling becomes overly difficult. For instance, a standard 2-liter soda bottle often provides an excellent balance of capacity and manageability. Avoid bottles with very thin plastic that might collapse when filled or degrade too quickly in sunlight.
Regarding the drill bit size, a 1/16-inch bit creates a very slow drip, perfect for smaller pots or plants that prefer slightly drier conditions. An 1/8-inch bit will provide a faster drip, suitable for larger, thirstier plants or during peak summer heat. If using a nail or pushpin, heat the tip with a lighter for a few seconds (carefully!) to easily melt a clean, small hole in the plastic. Always perform this in a well-ventilated area and exercise caution to avoid burns. The goal is a hole that allows water to escape slowly and consistently, not a gush. Experimentation with hole size on an extra bottle can save you time and ensure optimal water delivery for your specific plants.
Step-by-Step: Building Your DIY Drip Waterer
Creating your DIY drip waterer, or slow waterer for containers, is a quick project that delivers significant benefits. Follow these simple steps to build your “Hydration Station” and ensure your plants receive continuous, targeted moisture.
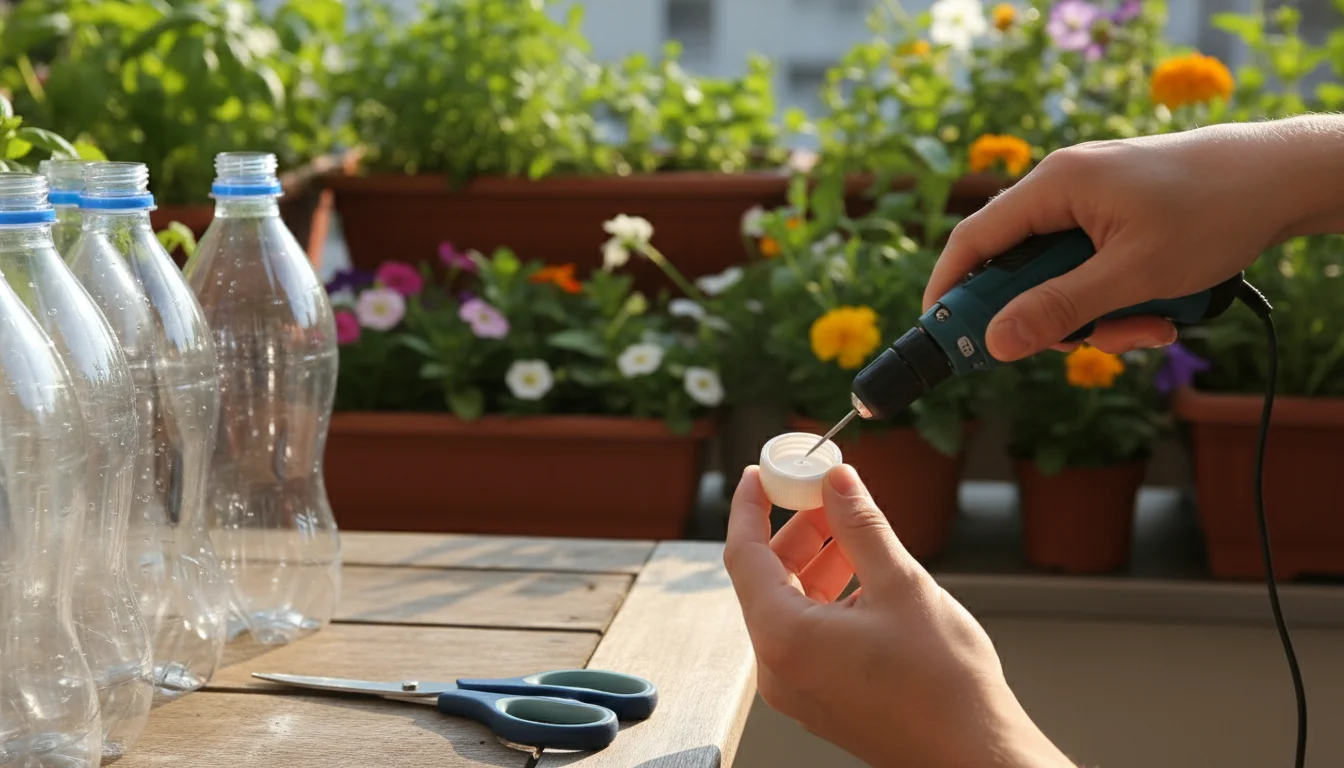
Method 1: The Inverted Bottle Drip Waterer (Most Common)
- Prepare the Bottle: Ensure your plastic bottle is clean and dry. Remove any labels. Keep the cap handy.
- Create the Drip Hole(s) in the Cap: Using your small drill bit (1/16 to 1/8 inch) or a heated nail, carefully create one to three small holes in the bottle cap. Start with one hole. You can always add more later if the drip is too slow. The number of holes directly controls the water flow rate. More holes equal faster flow.
- Prepare the Bottle Base (Optional, for easy refilling): Cut off the very bottom of the bottle. This open top will act as a funnel for easy refilling once the bottle is in place. If you skip this step, you will need to remove the bottle to refill it, which might disturb your plant.
- Prevent Clogging (Recommended): Place a small piece of pantyhose, cheesecloth, or landscape fabric over the holes on the inside of the bottle cap. Secure it with a rubber band or by twisting it through the cap threads before screwing the cap onto the bottle. This acts as a filter, preventing soil particles from entering and clogging the holes.
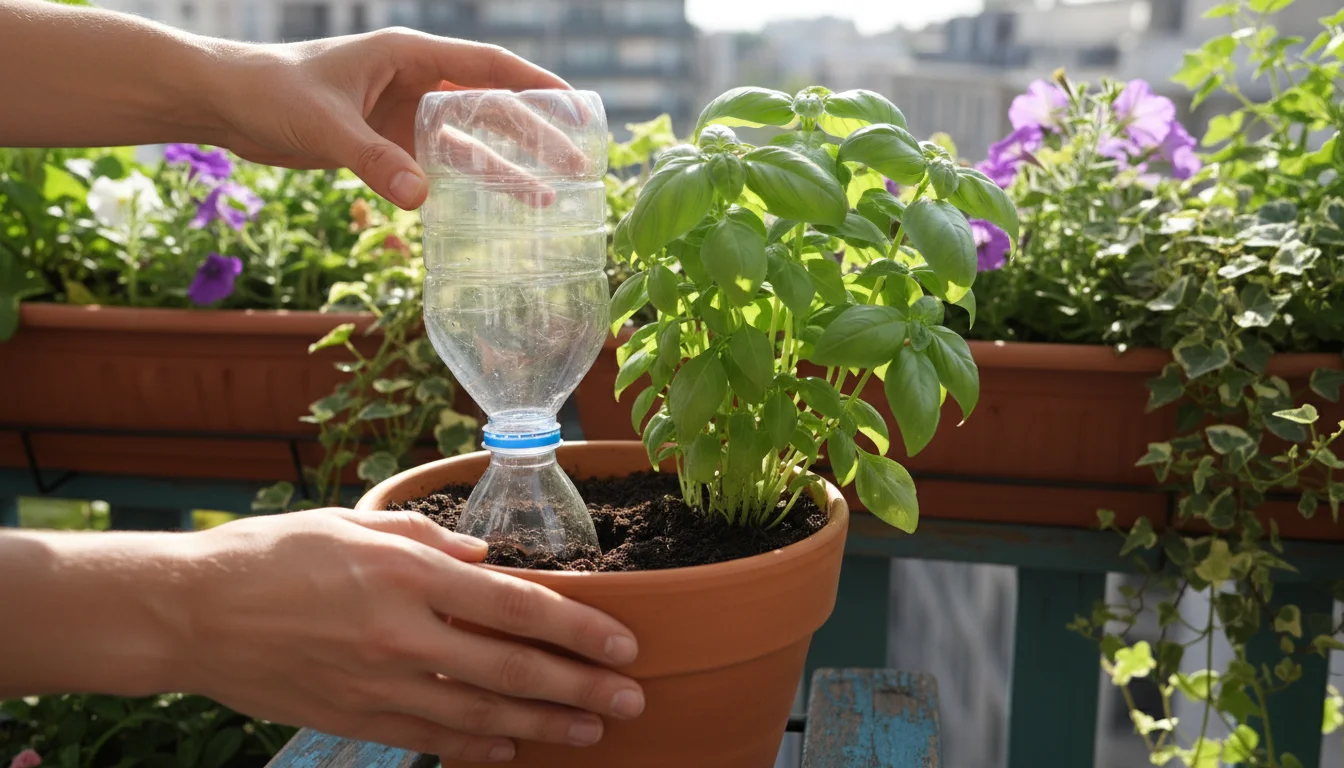
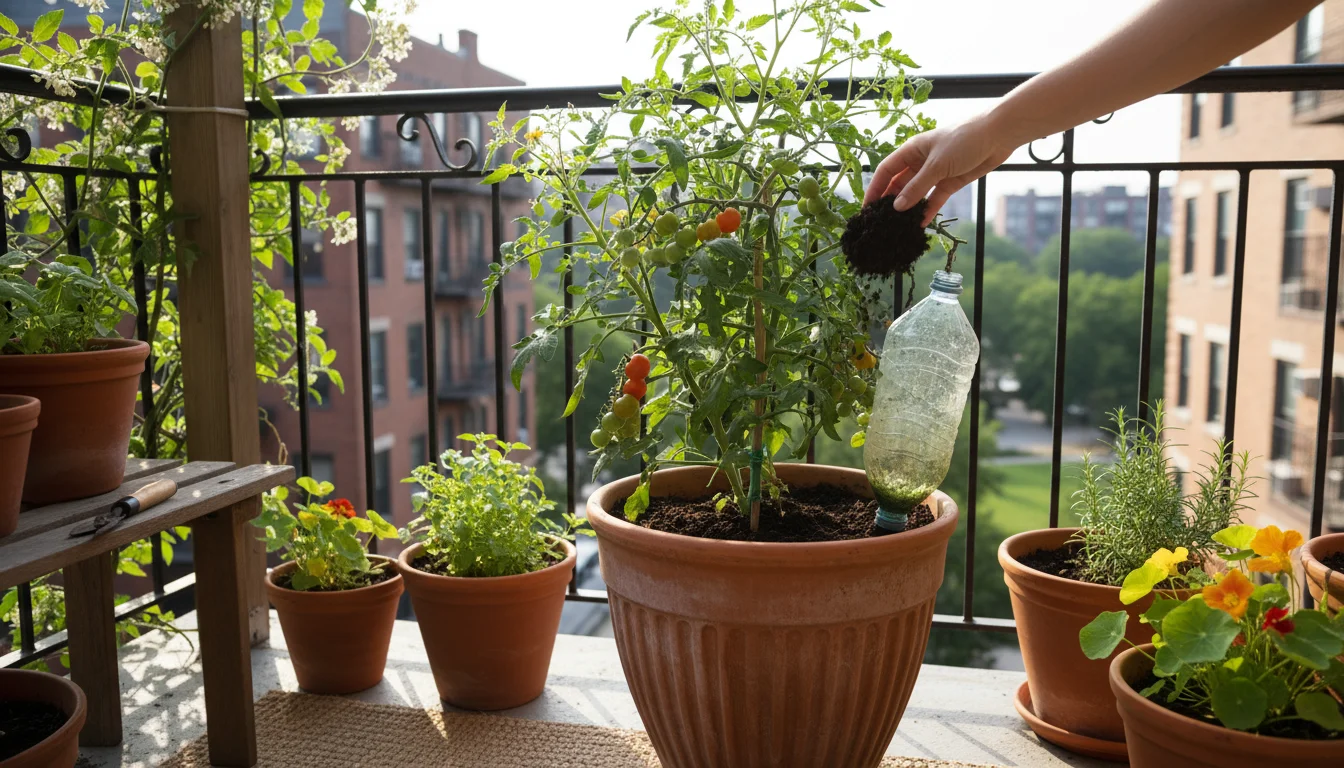
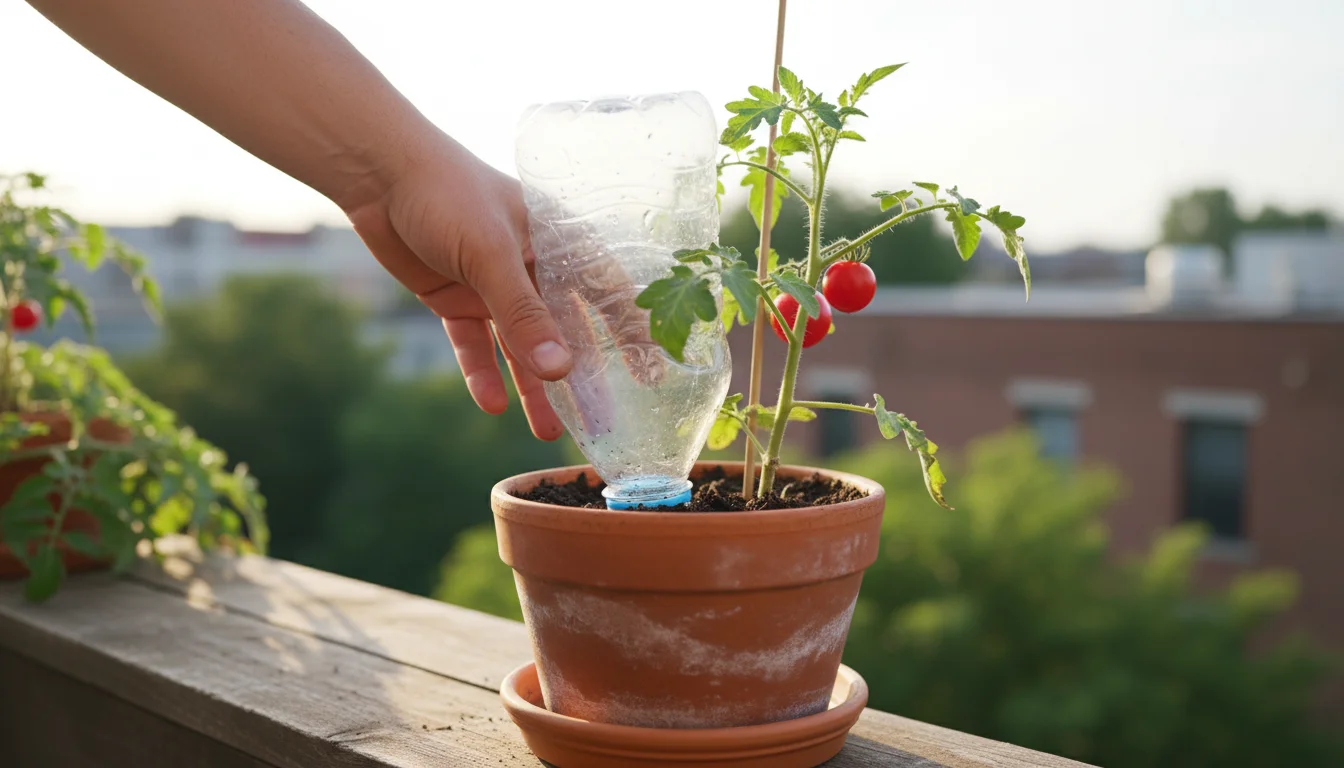
- Install the Bottle: Dig a small, shallow hole in the soil of your potted plant, near the center or slightly off-center, avoiding major roots. The hole should be deep enough to bury the bottle cap and about an inch or two of the bottle neck.
- Bury the Cap and Neck: Screw the cap onto the bottle. Invert the bottle and gently push its cap-end into the prepared hole in the soil. You want the cap to be fully submerged in the soil, ensuring the water drips directly into the root zone. Ensure the bottle stands upright and is stable. You can mound soil around the base of the bottle to provide extra stability.
- Fill the Hydration Station: Fill the inverted bottle with water through the open bottom (if you cut it). If you did not cut the bottom, you will need to temporarily lift the bottle, unscrew the cap, fill, and then re-install. Fill to about an inch from the top to prevent overflow when capping (if applicable).
- Observe and Adjust: Watch the drip rate. If it seems too fast, remove the bottle, and you might need a smaller bit for fewer holes. If too slow, add another small hole to the cap. Monitor your plant’s soil moisture for a few days to fine-tune the system.
[Insert image: A clear photograph of a completed DIY plastic bottle drip waterer installed in a potted plant.]
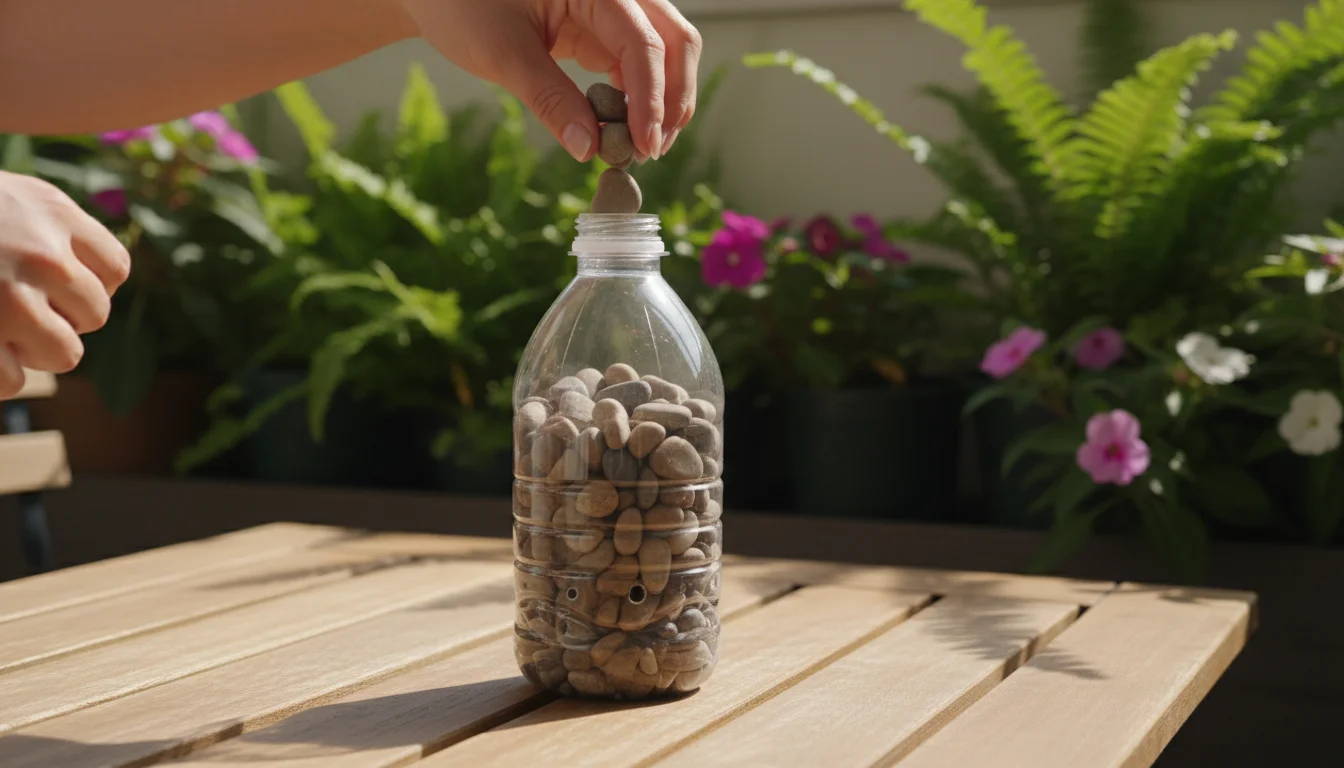
Method 2: The Upright Bottle Drip Waterer (for very shallow pots or surface watering)
- Prepare the Bottle: Ensure your plastic bottle is clean and dry. Remove any labels. You will *not* need the cap for this method, or you will use it differently.
- Create Drip Holes in the Bottle Side/Bottom: Using your small drill bit or heated nail, create one to three small holes about 1-2 inches from the *bottom* of the bottle. You can also create a single hole directly in the center of the bottle’s base. The placement of these holes dictates where the water will drip.
- Prepare for Stability: You may wish to fill the bottom 1-2 inches of the bottle with small pebbles or gravel to add weight and stability.
- Prevent Clogging (Recommended): On the *inside* of the bottle, cover the holes with a small piece of pantyhose or landscape fabric, securing it with tape or by tucking it tightly. This prevents soil or debris from entering and blocking the flow.
- Install the Bottle: Place the bottle upright in your pot, ensuring the holes are at the desired depth in the soil. For surface watering, simply place it on the soil. For deeper watering, partially bury the bottle so the holes sit within the soil.
- Fill the Hydration Station: Fill the bottle with water from the top.
- Observe and Adjust: Monitor the water level and soil moisture. This method is generally less precise than the inverted method for direct root watering, but it works well for larger pots where you want broad soil hydration or for very shallow planters where inversion is impractical.
When creating multiple diy drip irrigation systems, ensure consistency in hole size and placement. This standardizes the watering rate across your balcony garden, making maintenance simpler. A well-executed bottle watering system ensures your plants receive constant, gentle hydration, proving its value as a premier balcony watering hack.
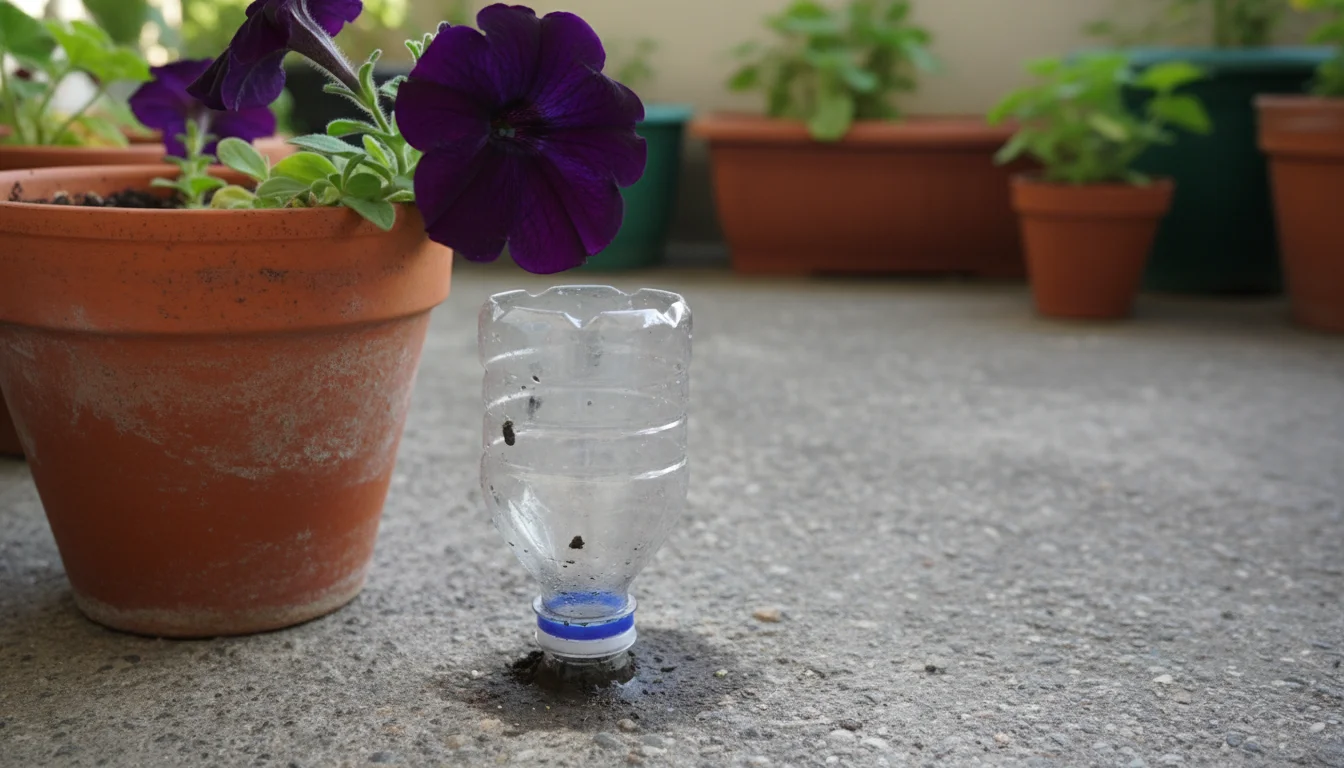
Placement and Plant Selection: Optimizing Your Hydration Station
Maximizing the benefits of your DIY drip waterer involves strategic placement within the pot and careful consideration of the plants you choose to hydrate this way. Not all plants have the same watering needs, and proper positioning of your slow waterer for containers ensures efficient delivery to the root zone.
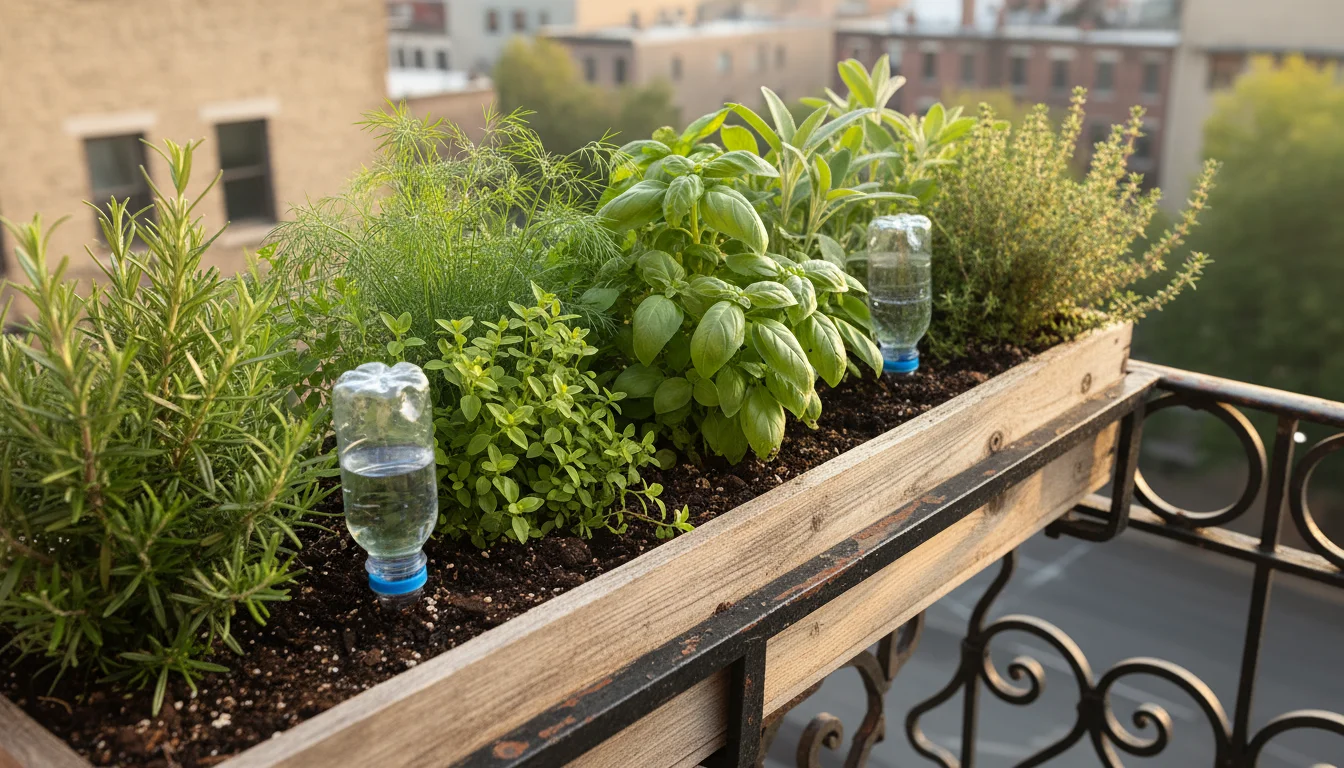
Strategic Placement within the Pot:
- For Single, Central Plants: Place the inverted bottle waterer near the center of the pot, slightly off-center to avoid disturbing the main stem or crown of the plant. The goal is to position the drip holes directly above or adjacent to the primary root ball. This ensures water spreads evenly where the plant actively absorbs moisture.
- For Multiple Plants or Wide Pots: For larger containers holding several plants, or those with a wide diameter, consider using two smaller DIY drip irrigation bottles. Position them equidistant from each other, ensuring even distribution across the entire soil surface. Alternatively, for wider pots, place the single waterer on the side where the plant demonstrates the highest water demand.
- Avoid Direct Contact with Stems: Ensure the bottle’s neck or dripping point does not press directly against the plant’s stem. Constant moisture against a stem can encourage rot or fungal issues. Maintain a small buffer zone, perhaps an inch or two, between the bottle and the plant’s base.
- Consider Root Depth: Bury the cap and neck of the inverted bottle deep enough so the drip holes are well within the root zone, typically 2-4 inches deep for most container plants. This prevents surface evaporation and encourages roots to grow downwards towards the consistent moisture source.
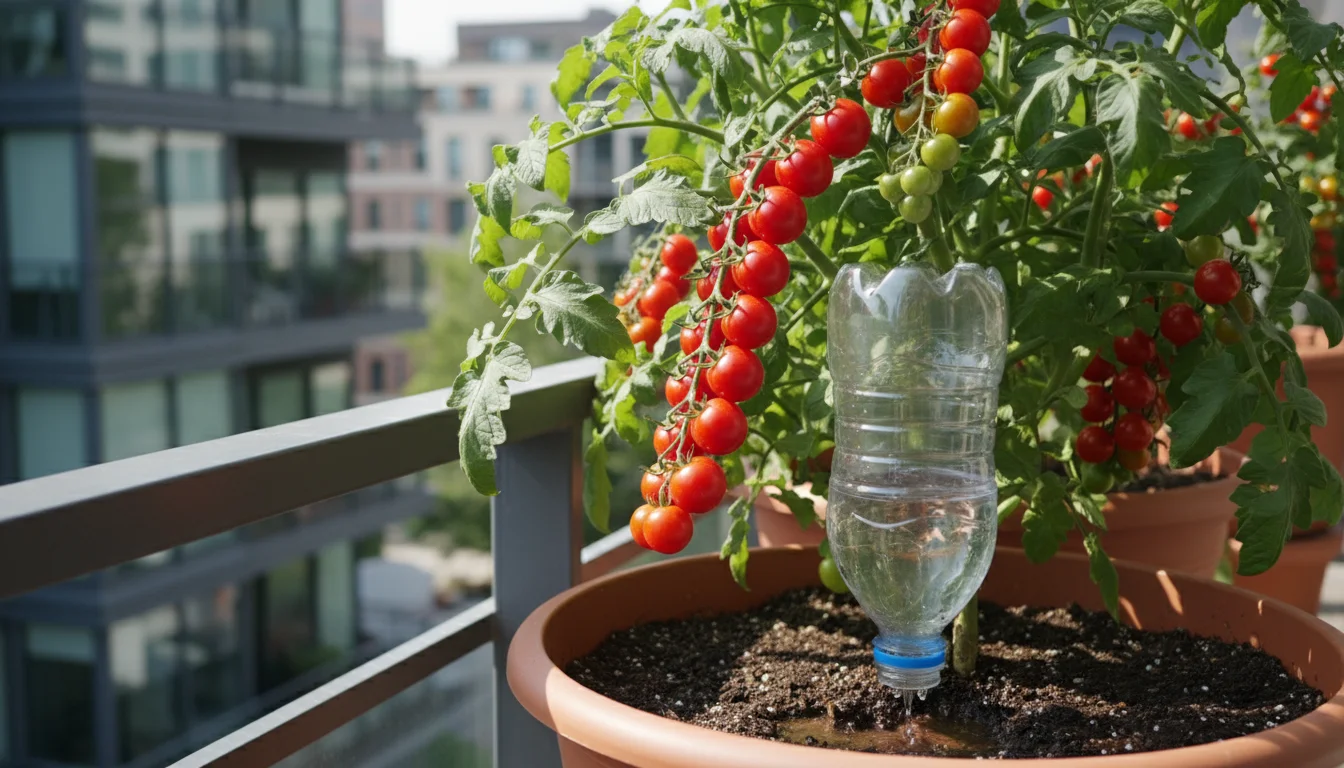
Ideal Plants for Your Hydration Station:
While most container plants benefit from consistent moisture, certain types particularly thrive with a bottle watering system. These plants often exhibit high water demands or suffer significantly from inconsistent watering.
- Thirsty Annuals: Petunias, impatiens, fuchsias, and coleus are notorious for their high water consumption, especially in summer. These plants quickly wilt in dry conditions and rebound beautifully with consistent hydration. A Hydration Station keeps them blooming profusely.
- Fruiting Vegetables: Tomatoes, peppers, and eggplants grown in containers require a steady supply of water, particularly when flowering and setting fruit. Inconsistent watering can lead to problems like blossom end rot in tomatoes and peppers. A DIY drip waterer maintains the even soil moisture these plants demand.
- Large Foliage Plants: Elephant ears, hostas, and large tropical plants with extensive leaf surfaces lose a lot of water through transpiration. They benefit immensely from a constant water supply to keep their impressive foliage turgid and healthy.
- Herbs with High Water Needs: Basil, mint, and cilantro prefer consistently moist soil. These herbs quickly bolt (go to seed) or develop poor flavor if allowed to dry out repeatedly. A slow waterer for containers supports their lush, continuous growth.
- Plants on Sun-Exposed Balconies: If your balcony receives intense, all-day sun, almost any plant will appreciate the consistent moisture. The rapid drying in such conditions makes a vacation watering system for potted plants DIY essential for survival.
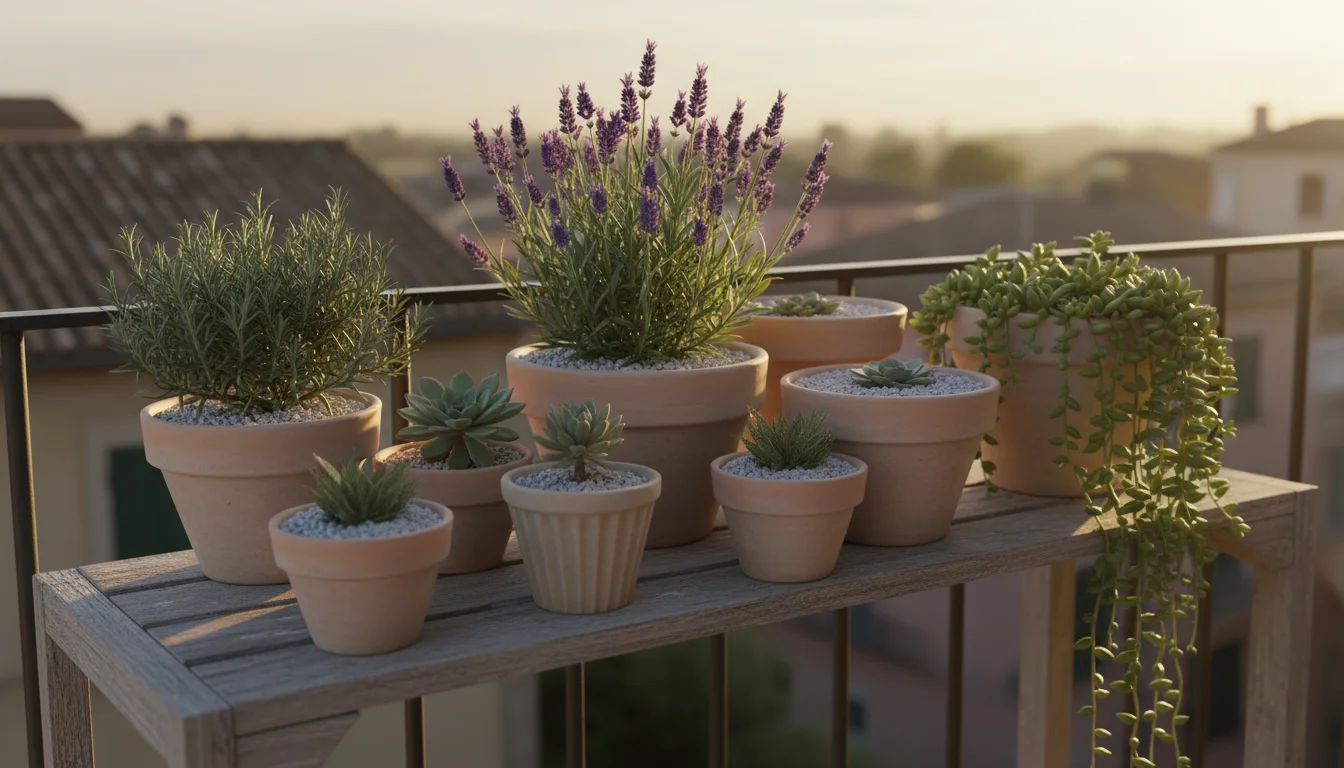
Plants Less Suited (or needing careful monitoring):
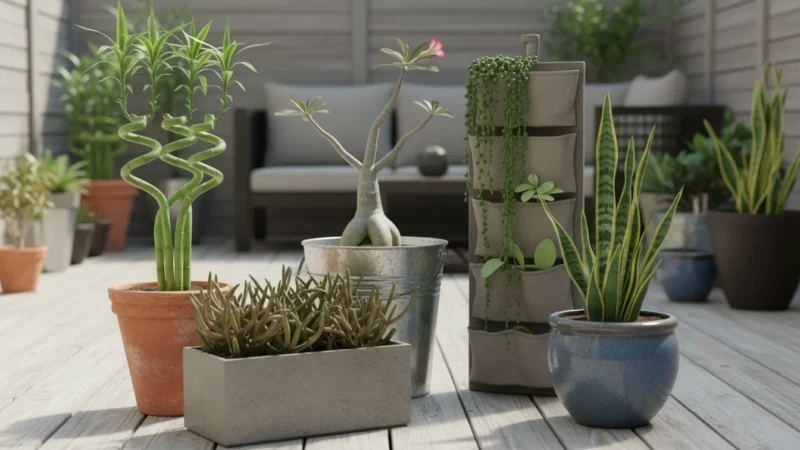
Some plants prefer drier conditions or have specific watering requirements that might make a continuous drip less ideal. Cacti, succulents, lavender, rosemary, and many Mediterranean herbs thrive in well-drained, drier soil. While a very slow drip with a tiny hole might work, you must monitor them carefully to prevent overwatering, which can lead to root rot. For these plants, consider if a different balcony watering hack, such as self-watering planters designed for drier conditions, would be more appropriate.
By carefully considering both plant needs and optimal placement, you enhance the efficiency of your diy drip irrigation system, ensuring healthier, more resilient plants throughout the growing season.
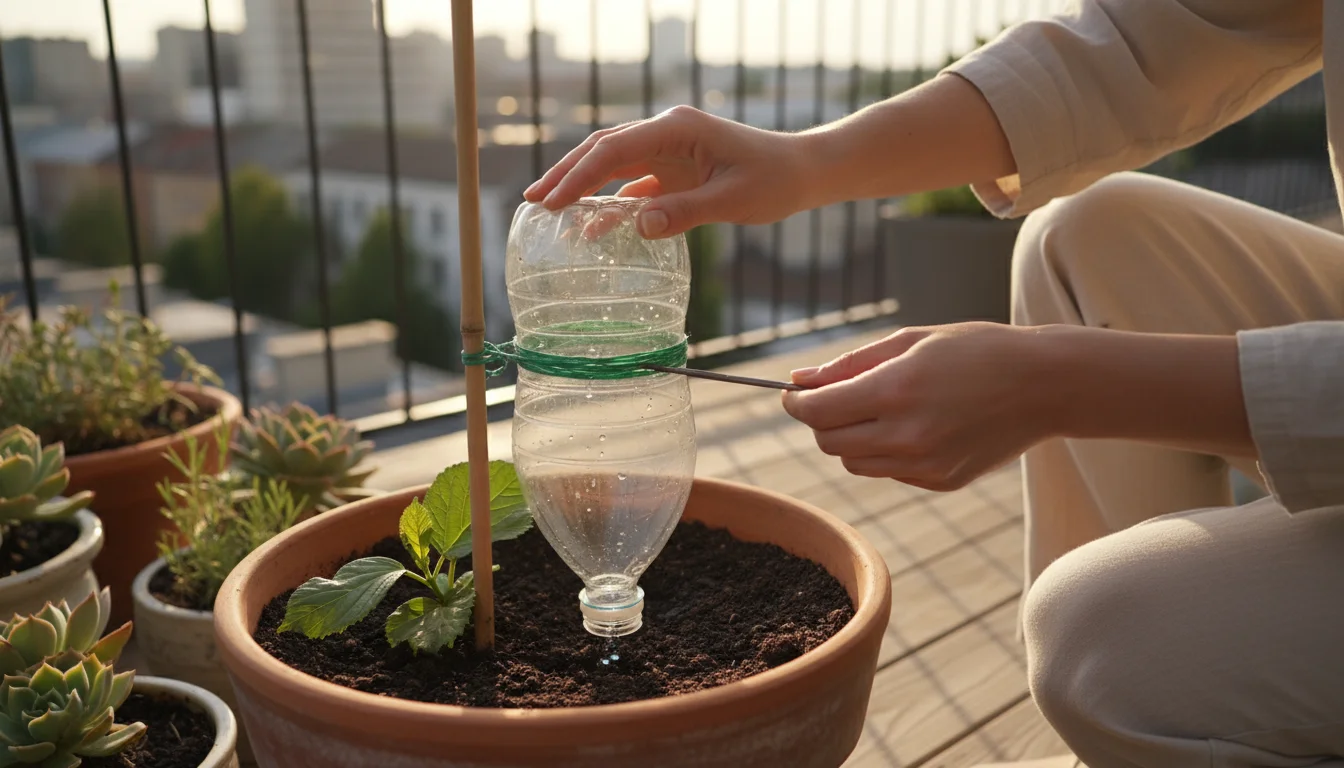
Maintenance and Troubleshooting: Keeping Your System Flowing
Your DIY drip waterer, while simple, requires occasional attention to ensure it functions effectively. Regular maintenance prevents common issues, and knowing how to troubleshoot problems keeps your Hydration Station operating at peak performance. This ensures your bottle watering system remains a reliable vacation watering system for potted plants DIY.
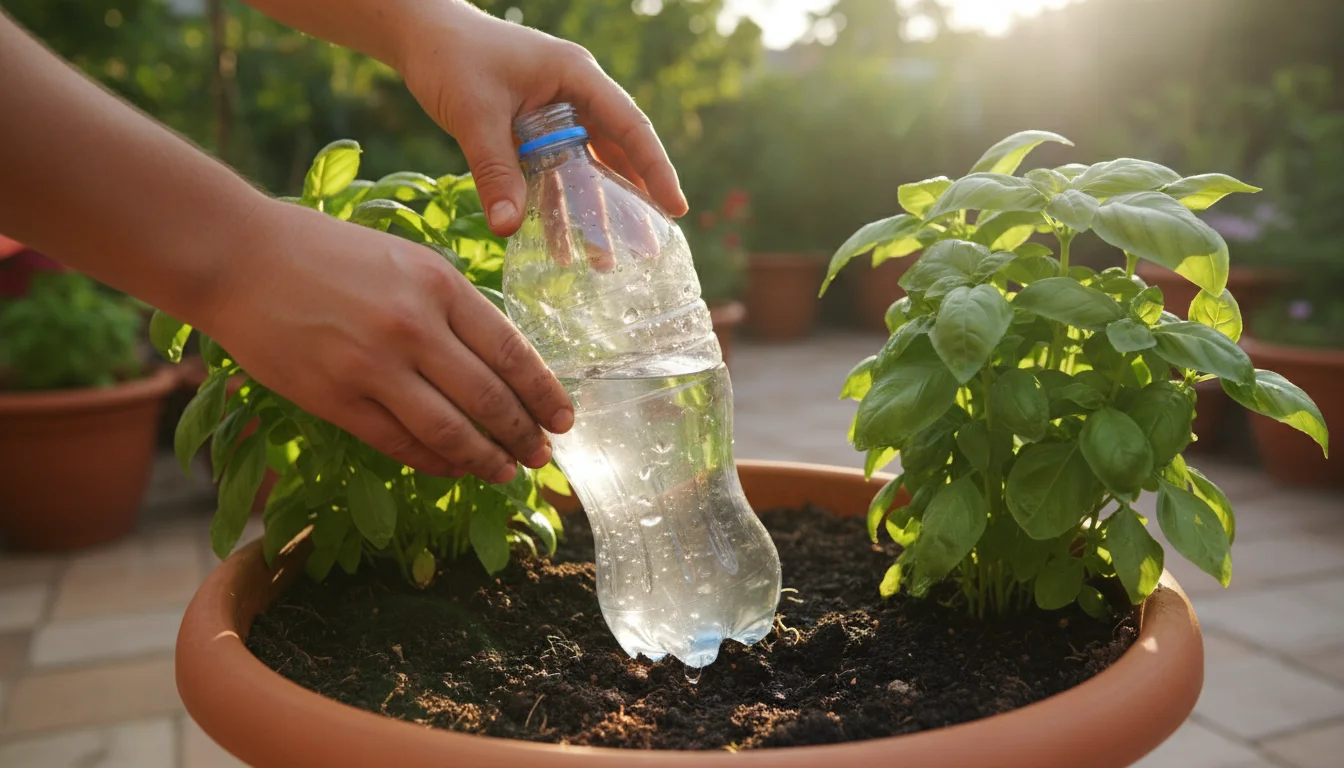
Regular Maintenance Tips:
- Refill Consistently: The most crucial maintenance step involves refilling your bottles regularly. Check water levels daily or every other day, especially during hot weather. The frequency depends on bottle size, plant thirst, and environmental conditions. Mark the expected refill interval on a calendar or set a reminder.
- Clean Bottles Periodically: Algae can grow inside the bottles, especially if exposed to sunlight. Empty and rinse bottles thoroughly every 2-4 weeks with plain water or a dilute bleach solution (1 part bleach to 10 parts water) to prevent algae buildup. Rinse several times to remove any bleach residue before refilling for your plants.
- Check Drip Holes for Clogs: Over time, mineral deposits from water or fine soil particles can clog the small drip holes. Periodically remove the bottle, unscrew the cap (for inverted systems), and visually inspect the holes. Use a thin wire, a toothpick, or even a needle to gently clear any blockages. If using the pantyhose filter, ensure it remains clean and intact.
- Inspect for Stability: Ensure the bottle remains firmly planted in the soil. Strong winds or accidental bumps can dislodge it, interrupting water flow. Re-stabilize it by pressing it back into the soil or mounding more soil around its base.
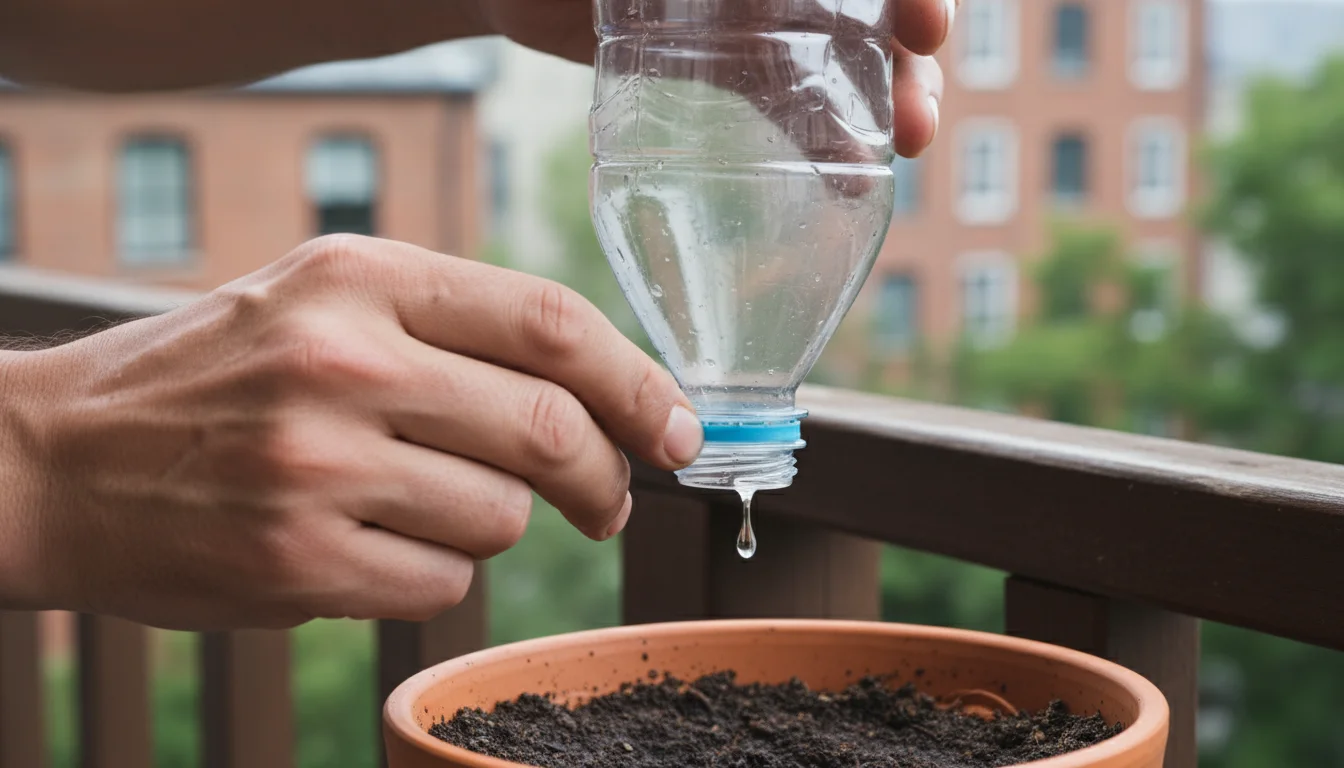
Common Troubleshooting Scenarios:
- Problem: Water is not dripping, or the drip is too slow.
- Possible Causes: Clogged holes, airlock, or insufficient hole size.
- Solutions:
- Clear Clogs: Remove the bottle and inspect the drip holes. Use a thin wire or needle to clear any blockages. Check the internal filter (pantyhose) for blockages.
- Check for Airlock: If the bottle is completely sealed except for the drip holes, a vacuum can form, preventing water release. For inverted bottles, ensure the top opening (if you cut the bottom for refilling) allows air to enter. If not, briefly lift the bottle to break the vacuum. Consider adding a tiny secondary air hole near the top of the bottle (opposite the drip holes) for consistent air intake if the bottom is sealed.
- Enlarge Holes: If cleaning does not help and you consistently notice very dry soil, the holes might be too small for your plant’s needs. Carefully enlarge the holes slightly with a larger drill bit or add another small hole.
- Problem: Water is dripping too fast, or the bottle empties too quickly.
- Possible Causes: Holes are too large, too many holes, or bottle instability.
- Solutions:
- Reduce Hole Size (if possible): If you started with too large a hole, you might need to try a new cap or bottle and make smaller holes.
- Use Fewer Holes: If you made multiple holes, try using fewer. A simple fix might be to cover one or two holes with waterproof tape temporarily to reduce flow.
- Re-stabilize Bottle: Ensure the bottle is firmly embedded in the soil. If it is wobbly, it might allow water to escape too quickly around the base.
- Problem: Algae or mold growth in the bottle.
- Possible Causes: Exposure to sunlight, warm temperatures.
- Solutions:
- Regular Cleaning: As mentioned, rinse bottles every few weeks.
- Consider Opaque Bottles: While clear plastic is common, an opaque bottle (if you can find one, or paint a clear one) can reduce light penetration and thus algae growth.
- Use Filtered Water: Tap water sometimes contains microscopic algae spores or nutrients that encourage growth. Filtered water might slow down the process, though it is not a complete preventative.
By actively managing your diy drip irrigation system and addressing issues promptly, you ensure a continuous, reliable water supply for your thirsty plants. This consistent care transforms a simple bottle watering system into a highly effective balcony watering hack, guaranteeing your gardening success.
Sustainable Gardening: Extending the Life of Your DIY System
The ‘Hydration Station’ hack inherently aligns with environmentally conscious gardening principles. You repurpose plastic waste, conserve water, and reduce your overall gardening footprint. However, you can take further steps to enhance the sustainability and longevity of your diy drip irrigation system.
Maximizing Bottle Lifespan:
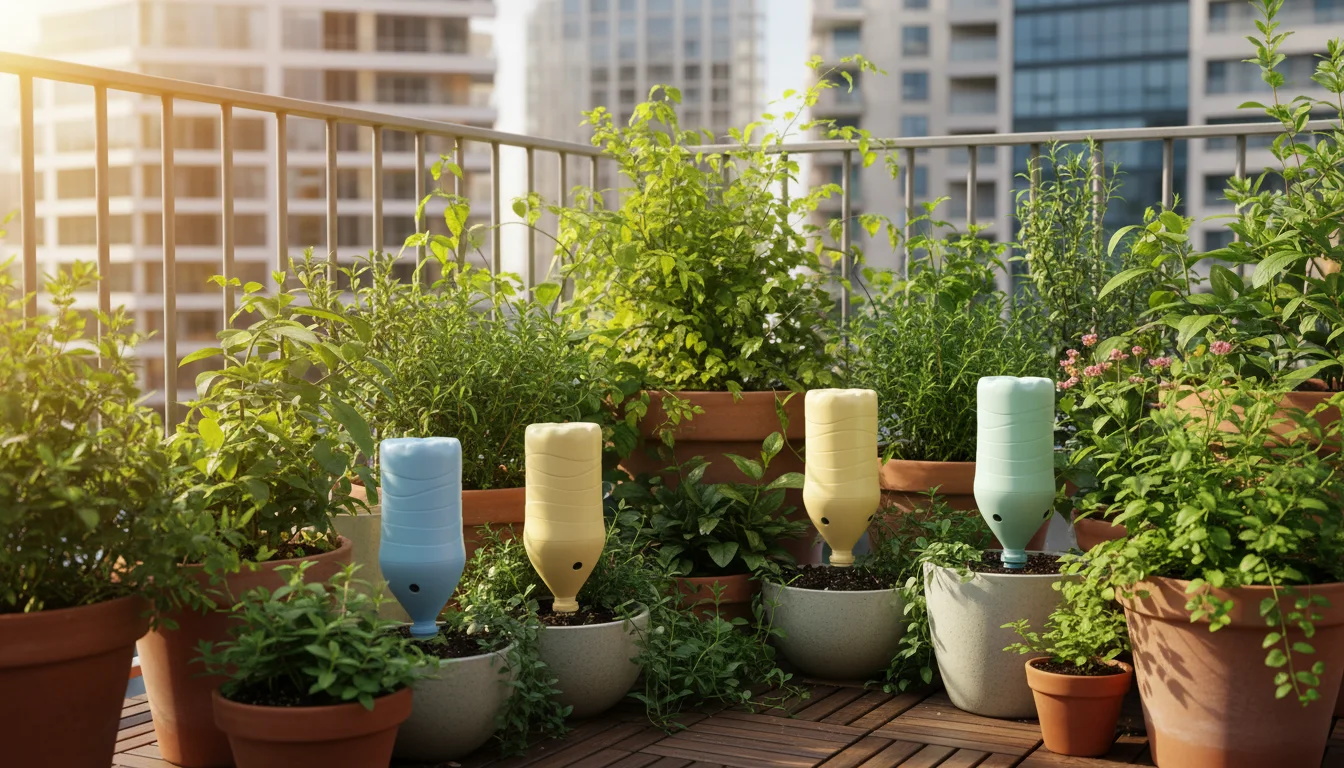
- Choose Durable Bottles: Select bottles made from thicker, more rigid plastic. These bottles withstand UV radiation and physical handling better than thin, flimsy ones, extending their useful life for many seasons. PET plastic (often marked with a ‘1’ recycling symbol) is generally robust.
- Protect from UV Degradation: Prolonged exposure to direct sunlight and UV rays degrades plastic over time, making it brittle and prone to cracking. You can extend bottle life by:
- Painting: Paint the outside of clear bottles with a light-colored, non-toxic outdoor paint. This blocks UV rays and also helps keep the water inside cooler, inhibiting algae growth. Choose a color that complements your garden aesthetic.
- Shading: Position your bottles so they receive some shade from your plants’ foliage, or consider creating a small, decorative cover.
- Proper Storage: At the end of the growing season, or if you remove the waterers for a period, clean them thoroughly and store them in a cool, dry, dark place. This protects them from extreme temperatures and UV exposure during their dormant period.
Water Conservation Beyond Drips:
While your bottle watering system significantly reduces water waste, you can implement additional strategies to enhance overall water conservation in your balcony garden.
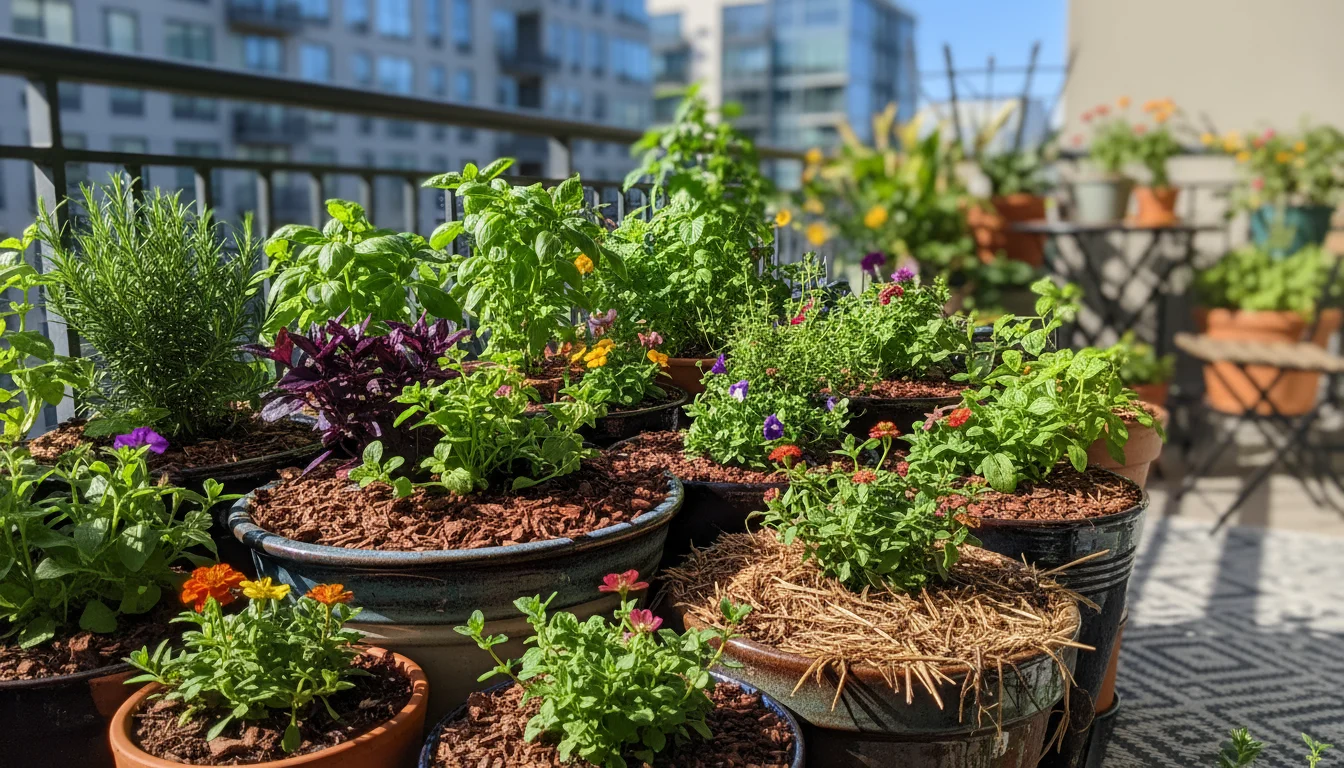
- Mulching: Apply a 1-2 inch layer of organic mulch (e.g., shredded leaves, wood chips, cocoa hulls) to the surface of your potted soil. Mulch acts as a protective barrier, reducing evaporation from the soil surface by up to 30%. It also moderates soil temperature and can break down to improve soil structure over time.
- Grouping Plants: Cluster pots together. This creates a microclimate with slightly higher humidity, reducing water loss from individual plants. This strategy is particularly effective for small-space gardeners with limited room.
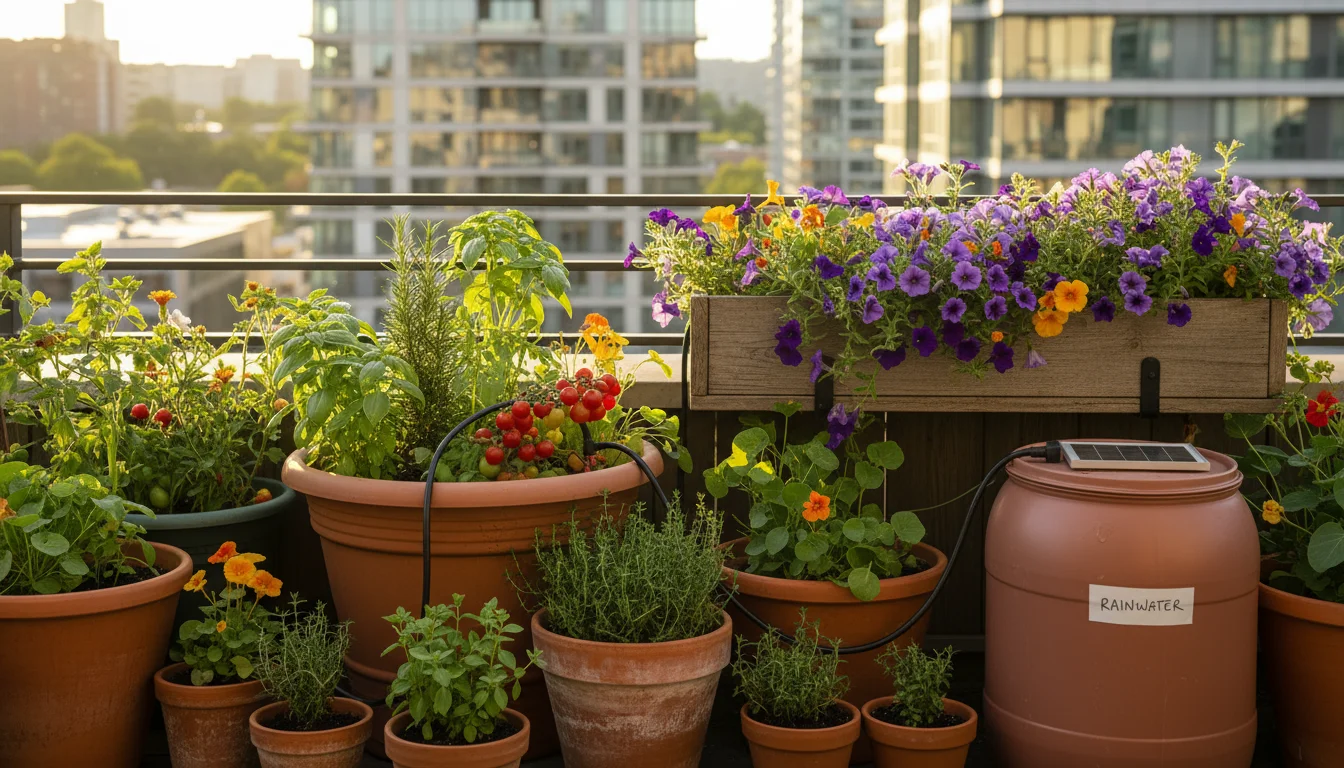
- Rainwater Harvesting: If feasible, collect rainwater for your plants. Rainwater is free of chlorine and other chemicals found in tap water, making it excellent for plant health. A simple rain barrel or even just a bucket placed during a storm can provide a substantial, sustainable water source for refilling your bottle watering system.
- Self-Watering Planters: While the DIY drip waterer is a fantastic low-cost solution, consider investing in commercial self-watering planters for some of your thirstiest plants. These planters feature a built-in reservoir that slowly wicks water up to the soil, offering another excellent slow waterer for containers option.
- Right Plant, Right Place: Choose plants well-suited to your climate and sun exposure. Drought-tolerant plants require less frequent watering overall, reducing the burden on your diy drip irrigation system and overall water usage.
By embracing these sustainable practices, you not only extend the life and effectiveness of your balcony watering hacks but also contribute to a healthier, more eco-friendly gardening environment. Your “Hydration Station” becomes a cornerstone of an efficient and green small-space garden.
Frequently Asked Questions
How long will one bottle watering system last?
The duration depends on several factors: the size of your bottle, the number and size of your drip holes, the plant’s water needs, and environmental conditions (heat, wind). A 2-liter bottle with 1-2 small holes can typically last anywhere from 1 to 3 days for a moderately thirsty plant in a medium-sized pot. Very thirsty plants in full sun might empty it in a day. Monitor your plants and soil moisture closely during the first few days to establish an appropriate refill schedule. This makes it an excellent vacation watering system for potted plants DIY.
Can I use this DIY drip irrigation system for all my plants?
This system works exceptionally well for plants that prefer consistently moist soil, such as most annuals, many vegetables, and large foliage plants. However, avoid using it for plants that prefer dry conditions, like succulents, cacti, or many Mediterranean herbs. Overwatering these plants can lead to root rot. Always match the watering method to your plant’s specific needs.
Will the drip holes get clogged with soil?
Clogging is a common concern. The best way to prevent this is by using a small piece of pantyhose, cheesecloth, or landscape fabric as a filter over the holes on the inside of the bottle cap. This creates a barrier against soil particles. Additionally, ensure you dig a clean hole for the bottle and avoid pushing large clumps of soil into the cap. Regular checks and occasional cleaning of the holes with a thin wire will maintain consistent flow.
What if I only have small plastic bottles, like water bottles?
Small water bottles (e.g., 500ml) work perfectly fine for smaller pots or plants with lower water demands. You will simply need to refill them more frequently. For larger pots or thirstier plants, you might need to install two smaller bottles per pot to ensure adequate hydration. Experimentation helps you find the right balance for your specific setup.
Can I add liquid fertilizer to my Hydration Station?
Yes, you can absolutely add diluted liquid fertilizer to your bottle watering system. This delivers nutrients directly to the root zone with each drip, ensuring a consistent feed for your plants. Always dilute the fertilizer according to the product instructions for regular feeding, and flush the bottle periodically with plain water to prevent any fertilizer residue buildup in the drip holes. This makes your slow waterer for containers even more effective as a comprehensive plant care tool.
Beyond the Bottle: Integrating Drip Irrigation into Your Garden
The ‘Hydration Station’ hack serves as an excellent entry point into the world of efficient, targeted watering. Once you experience the benefits of consistent moisture delivery and reduced manual effort, you might consider scaling up your diy drip irrigation efforts. This simple bottle watering system demonstrates the core principles of drip irrigation, which you can apply to larger or more permanent garden setups.
Exploring Commercial Drip Systems:
Many commercially available drip irrigation kits cater specifically to container gardens, raised beds, or small yards. These systems typically consist of a main water line, smaller emitter lines, and various drippers or micro-sprayers. They can connect directly to a garden hose spigot or a rain barrel. Benefits include:
- Automation: You can integrate a timer to automatically water your plants at set intervals, offering ultimate convenience, especially for extended periods away.
- Scalability: Easily expand these systems to cover more plants or larger areas.
- Precision: Emitters deliver exact amounts of water (e.g., 0.5 or 1 gallon per hour) to each plant, allowing for highly customized watering schedules based on individual plant needs.
- Durability: Made from robust, UV-resistant materials, commercial systems offer many years of reliable service.
Starting with your bottle watering system gives you hands-on experience with the concept of slow, targeted watering. You learn about drip rates, clog prevention, and plant hydration needs, preparing you for a more advanced balcony watering hack if you choose to pursue it. The transition from a simple plastic bottle to a more comprehensive system feels natural and empowering.
Soil Health and Water Retention:
Regardless of your watering system, healthy soil is crucial for efficient water use. Good container potting mix holds moisture without becoming waterlogged, and it allows for proper drainage. Incorporating organic matter, such as compost, into your potting mix improves its water-holding capacity and overall structure. Compost acts like a sponge, absorbing excess water and slowly releasing it as the soil dries. This means your plants stay hydrated longer, and your slow waterer for containers works even more effectively. A well-draining yet moisture-retentive soil ensures that the water from your diy drip irrigation system is absorbed and utilized efficiently by your plants.
Observing Your Plants: The Ultimate Guide:
No matter how sophisticated your watering system, your plants remain your best indicators of success. Learn to recognize the signs of both underwatering (wilting, crispy leaves) and overwatering (yellowing leaves, stunted growth, soggy soil). Regularly stick your finger an inch or two into the soil to check moisture levels. Adjust your drip waterer or commercial system based on these observations, as well as changes in weather. Your keen eye and hands-on interaction will always be the most valuable tools in your gardening arsenal, ensuring your plants thrive in their small-space environment.
The ‘Hydration Station’ hack represents more than just a quick fix; it is a foundational lesson in efficient and sustainable gardening. By embracing this simple, effective tool, you gain confidence, conserve resources, and cultivate a thriving balcony oasis, proving that small changes can yield significant results.
For trustworthy gardening information, visit: San Diego Botanic Garden, U.S. National Arboretum, American Horticultural Society, National Garden Bureau and National Wildlife Federation — Garden for Wildlife. These organizations provide expert, research-based advice for gardeners at all levels.
Disclaimer: This article is for informational purposes only and is not a substitute for professional gardening advice. Always consult local extension services or horticulture experts for region-specific guidance.
Leave a Reply